

Enjoy the benefits of a premium membership!
Upgrade Account
-
TalkBass has been independent since 1998. Add your voice.
Create a free account to reply to discussions, view embedded media, and browse with fewer display ads.
Join free Log in
Want zero display ads or expanded classifieds tools? Compare plans.
You are using an out of date browser. It may not display this or other websites correctly.
You should upgrade or use an alternative browser.
You should upgrade or use an alternative browser.
First Build - And May My Mistakes Be Minimal
- Thread starter PDX Rich
- Start date
More options
Who Replied?
- May 1, 2014
- 2,494
- 2,341
- 56
- Disclosures
- Owner Melodious Resonance Constructs

Walnut and ph are each equal thickness @ 3/4" for a total thickness of 1.5", which is my target. Actually a hair over so I'll need to thickness the end result down a hair.I think the purple heart on top would be dead sexy. How thin of a top are you going to have?
Once I joint the blanks I will glue on 1/4" wenge or walnut to where the wings join the neck to get a transition like I have in the neck laminate. Then I will cut the shape.
- May 1, 2014
- 2,494
- 2,341
- 56
- Disclosures
- Owner Melodious Resonance Constructs
Are you planning on chambering? My experience with PH is that it's fairly dense and heavy. I stand by my vote of PH on top, but really you can't go wrong either way.
I'm not chambering. Yeah it'll be a tad on the heavy side, but being that half of the laminate is light Peruvian walnut, I am not concerned. If I were to do a thin traditional top with the bulk being ph or similar heavy wood, I would indeed chamber.
As it stands, it'll be lighter than my original hickory body wings!
As it stands, it'll be lighter than my original hickory body wings!
Oh and as an aside, purpleheart is a dream to work with compared to hickory. Hickory seized up both my bandsaw and drill press while the purps seems to cut nicely. Not the easiest stuff to hand-shape, but far and away a kinder wood.

Personally I would do purple heart on top but I'm biased to purple basses , but if your going to use a striking wood show it off don't hide it.
, but if your going to use a striking wood show it off don't hide it.
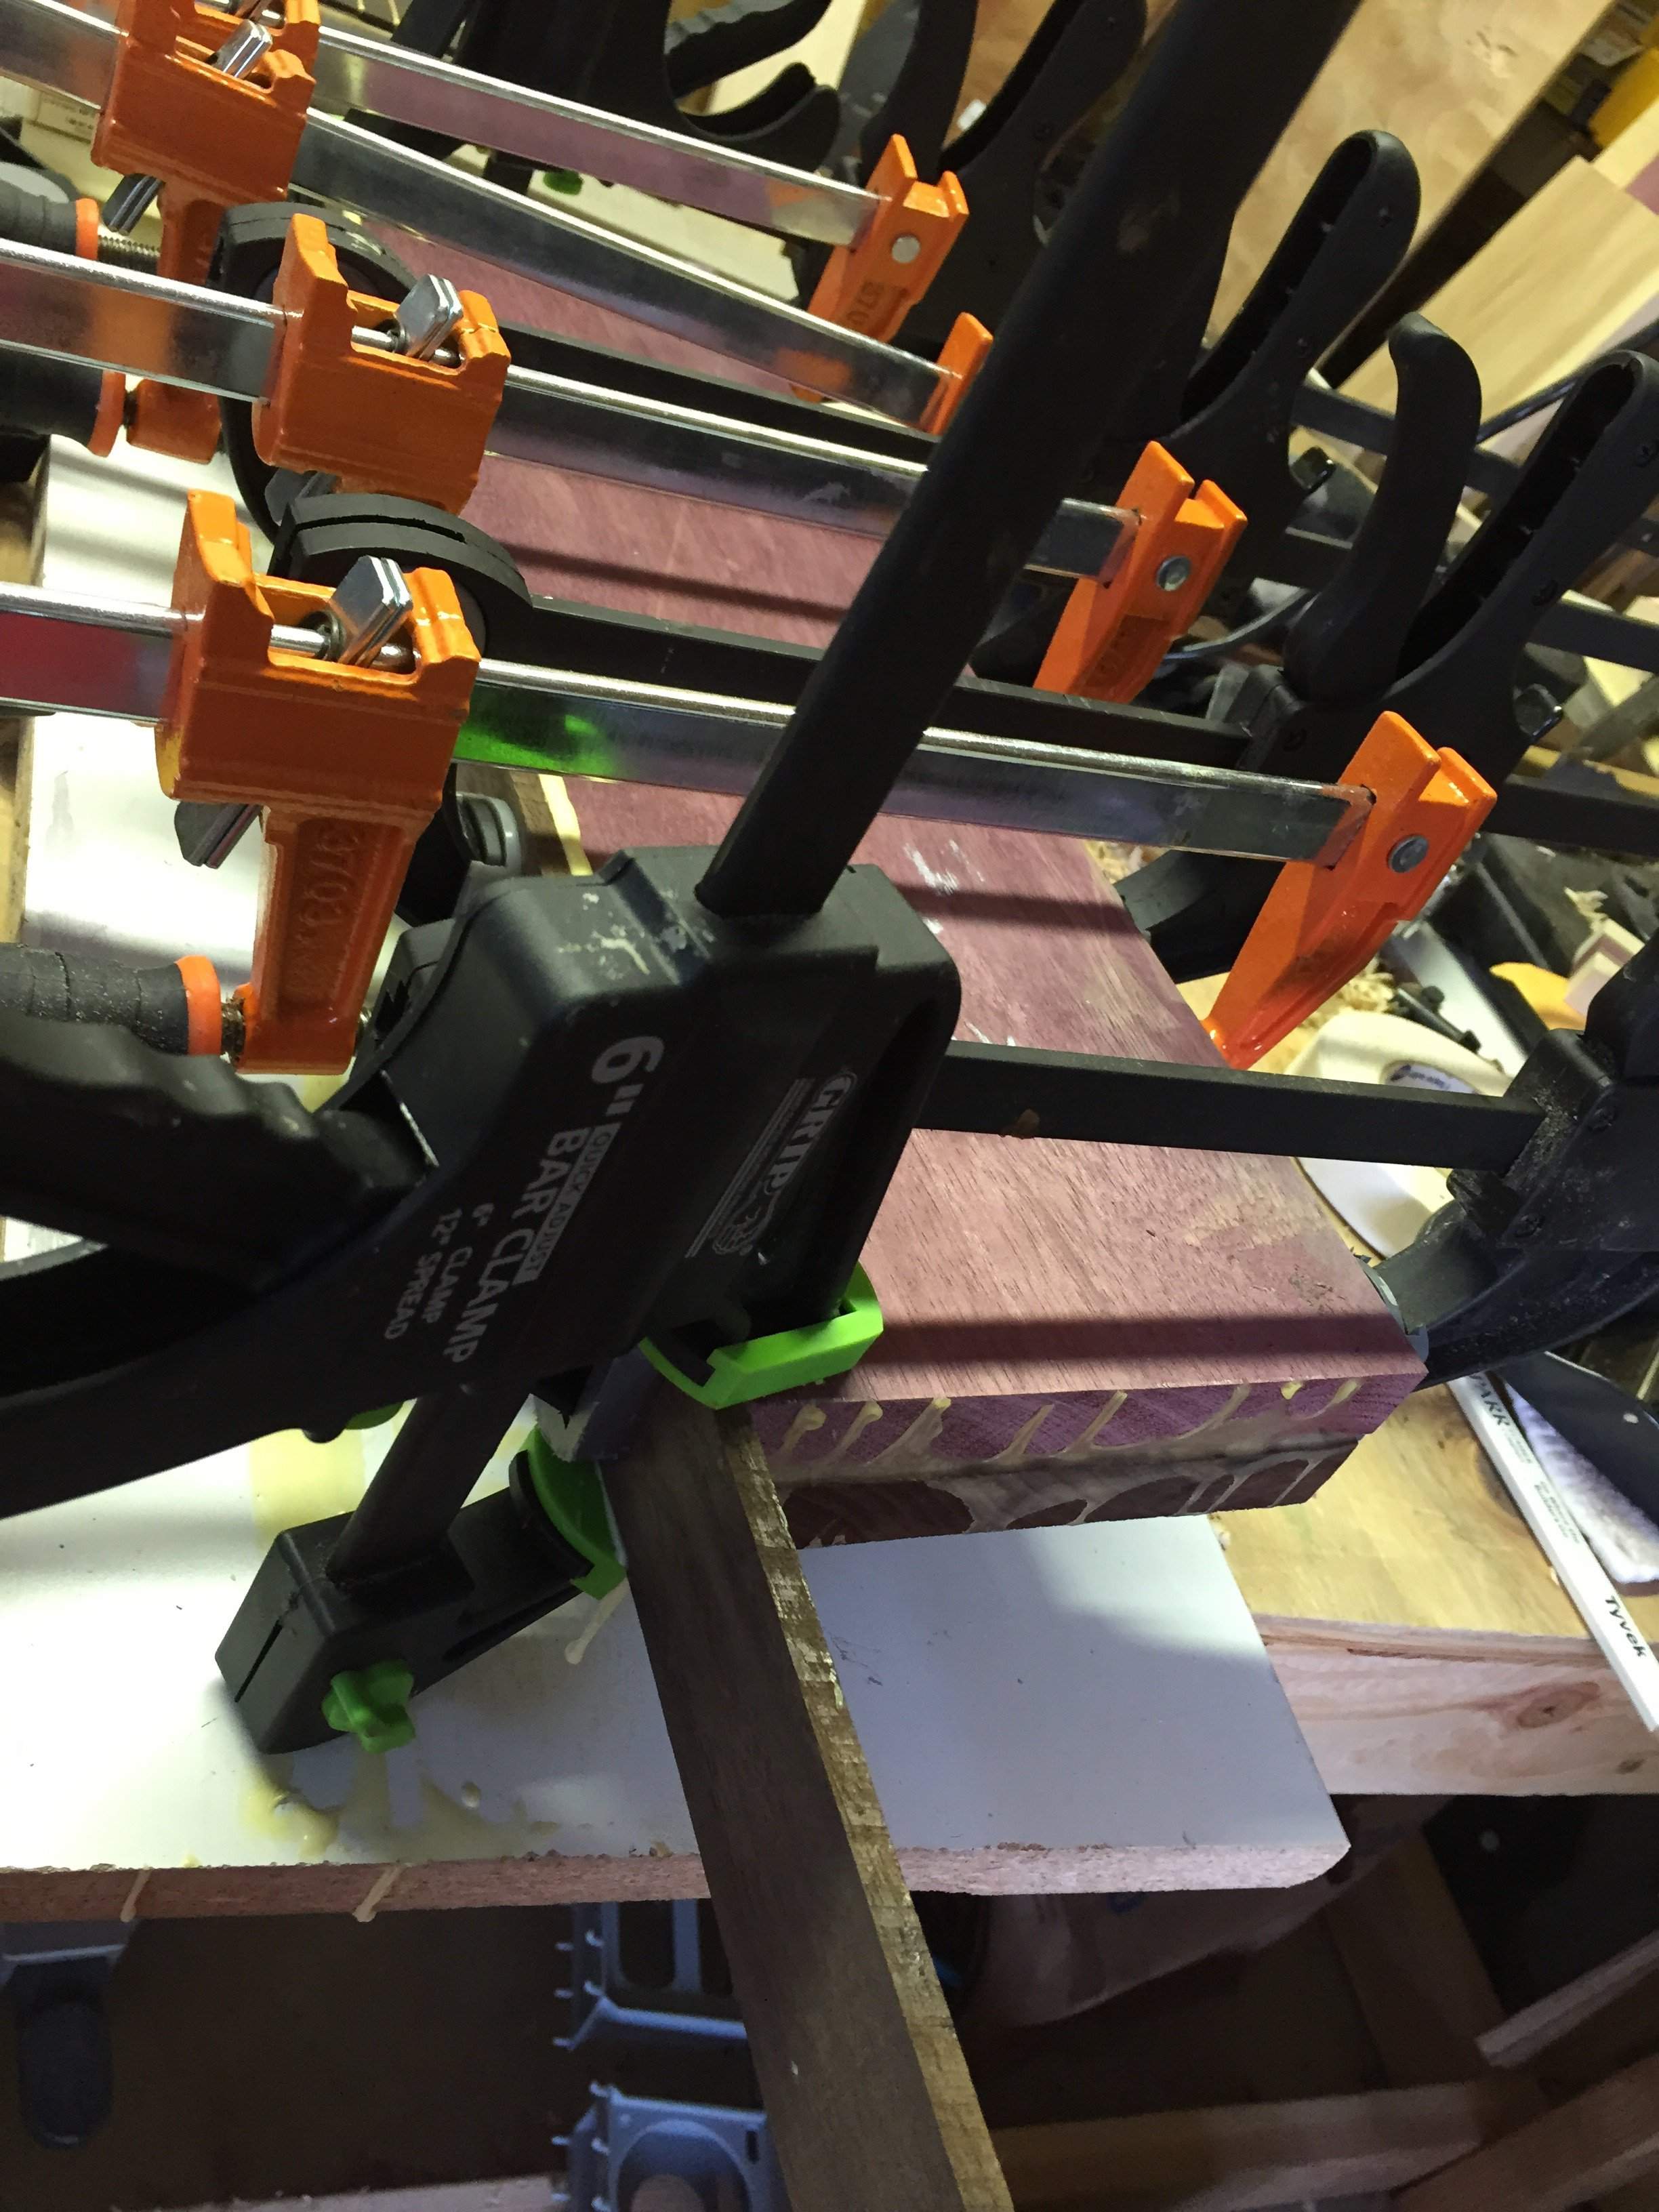
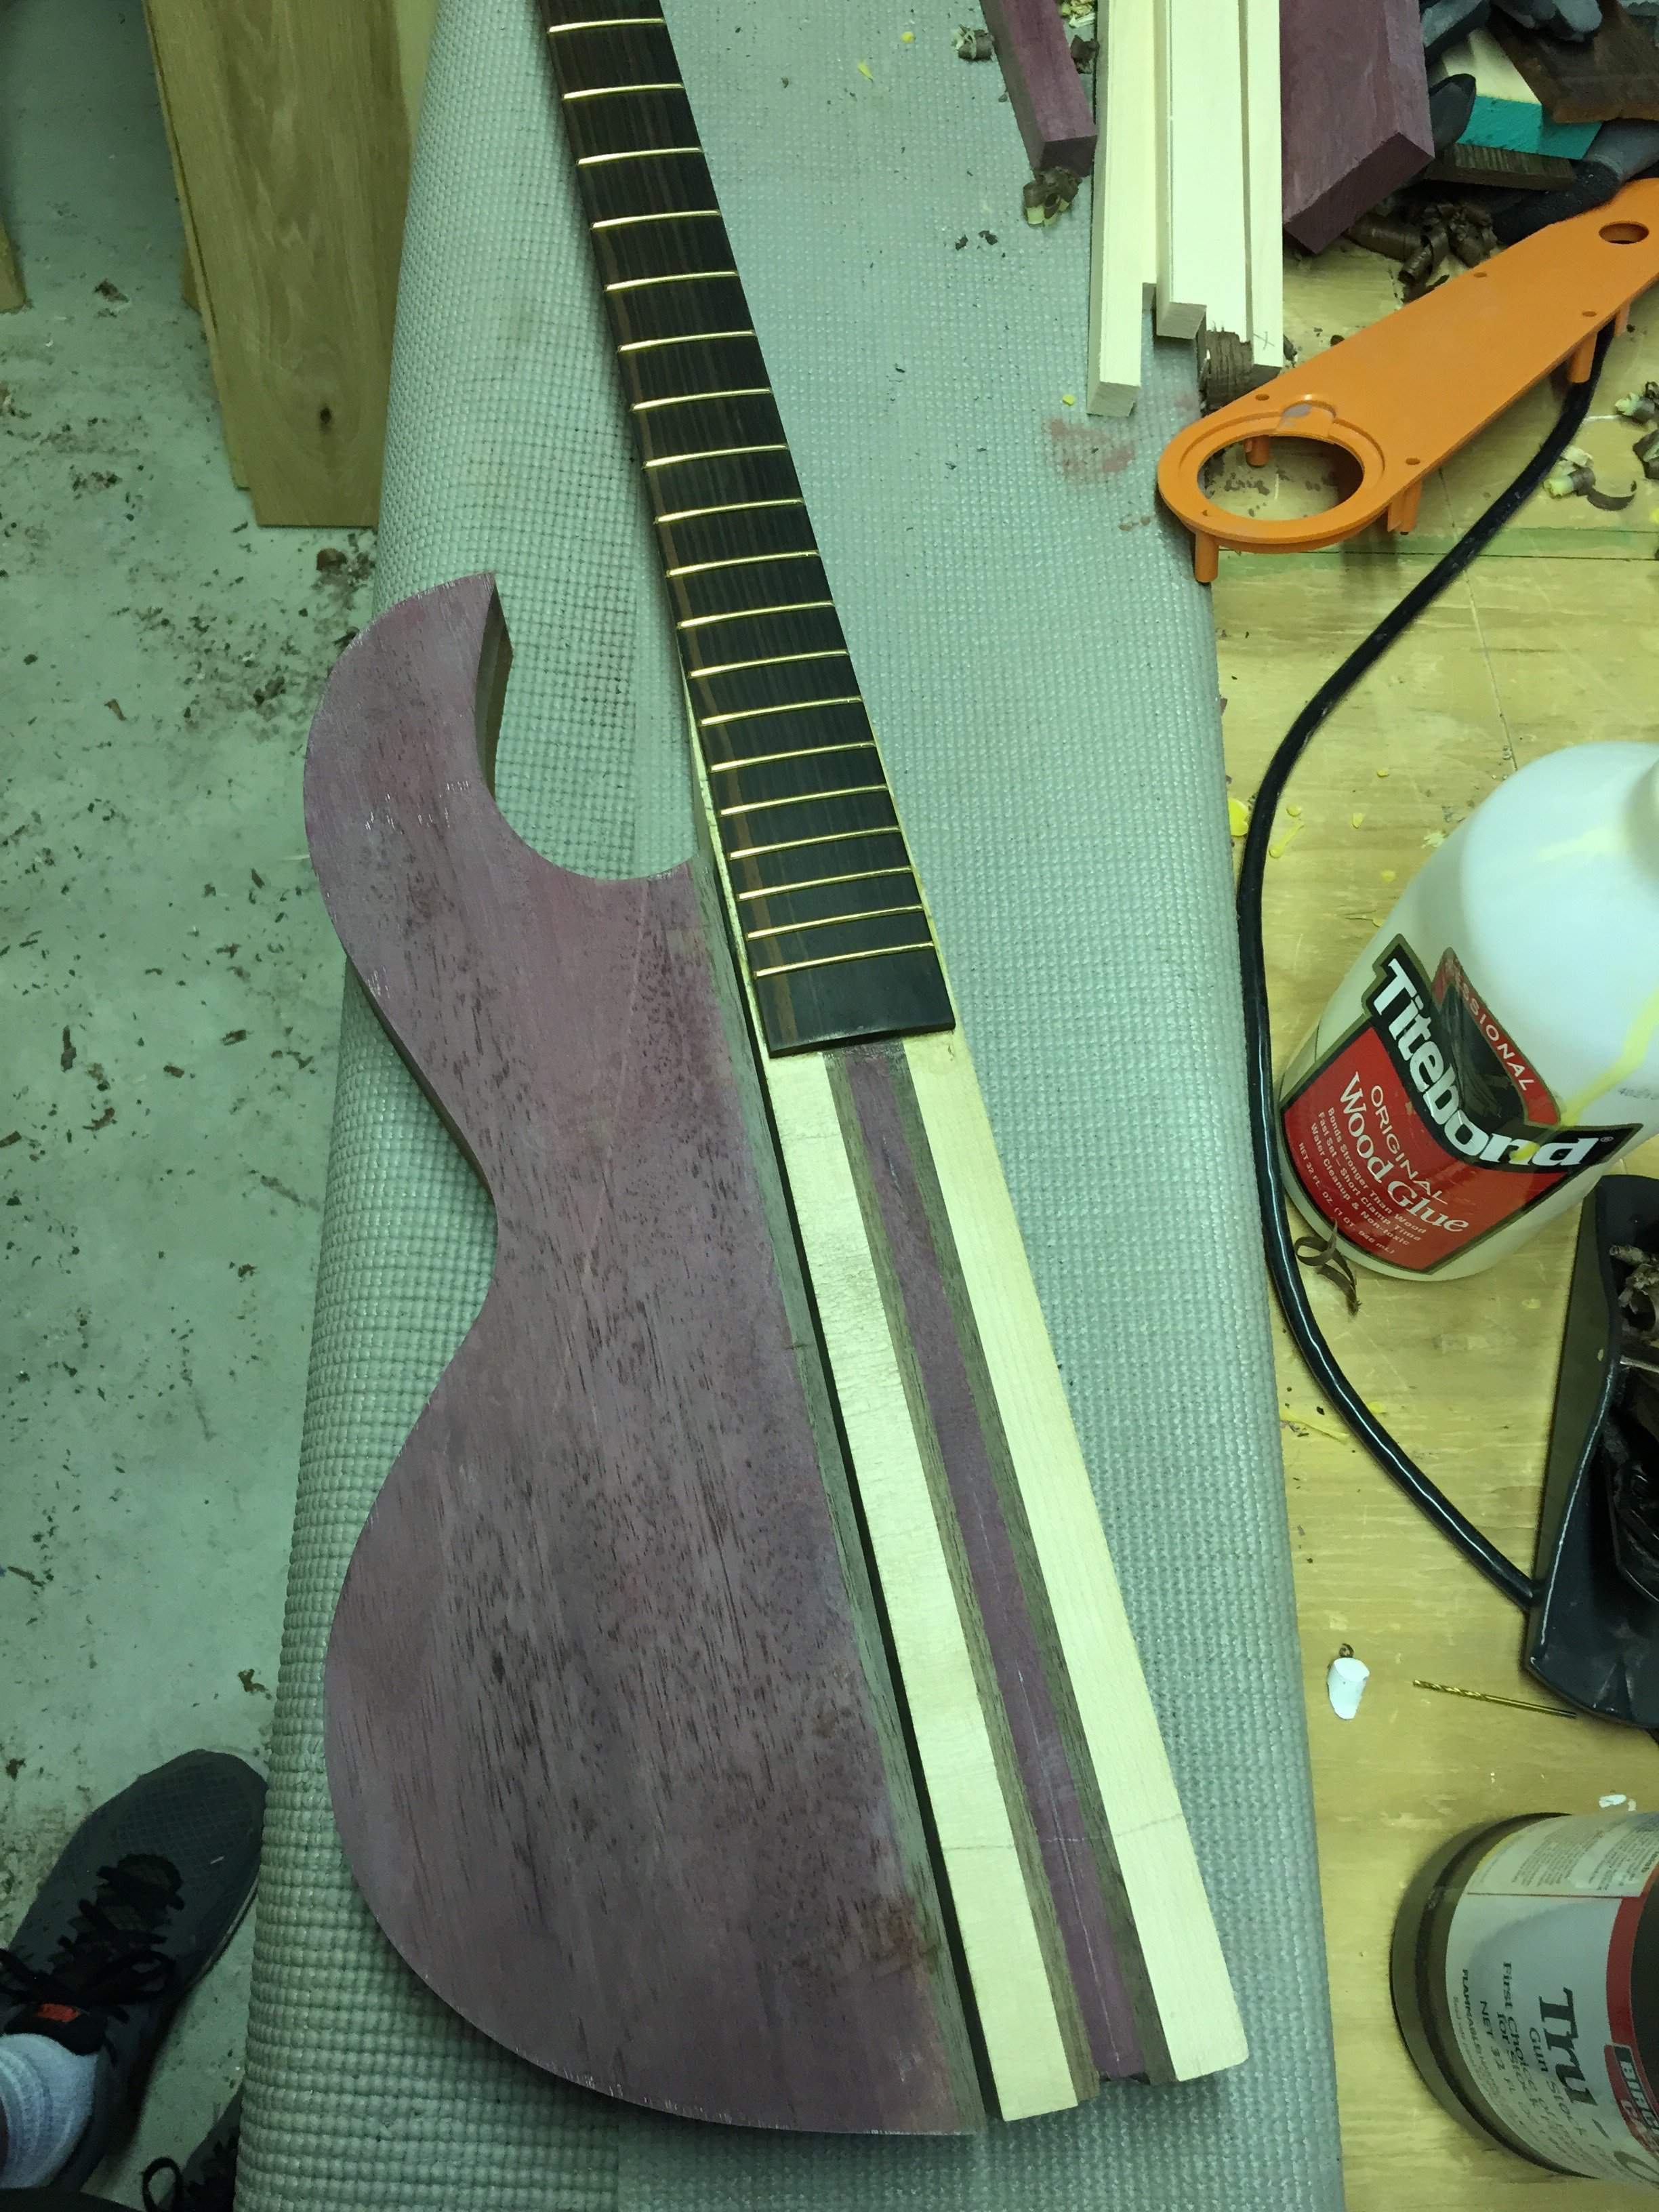
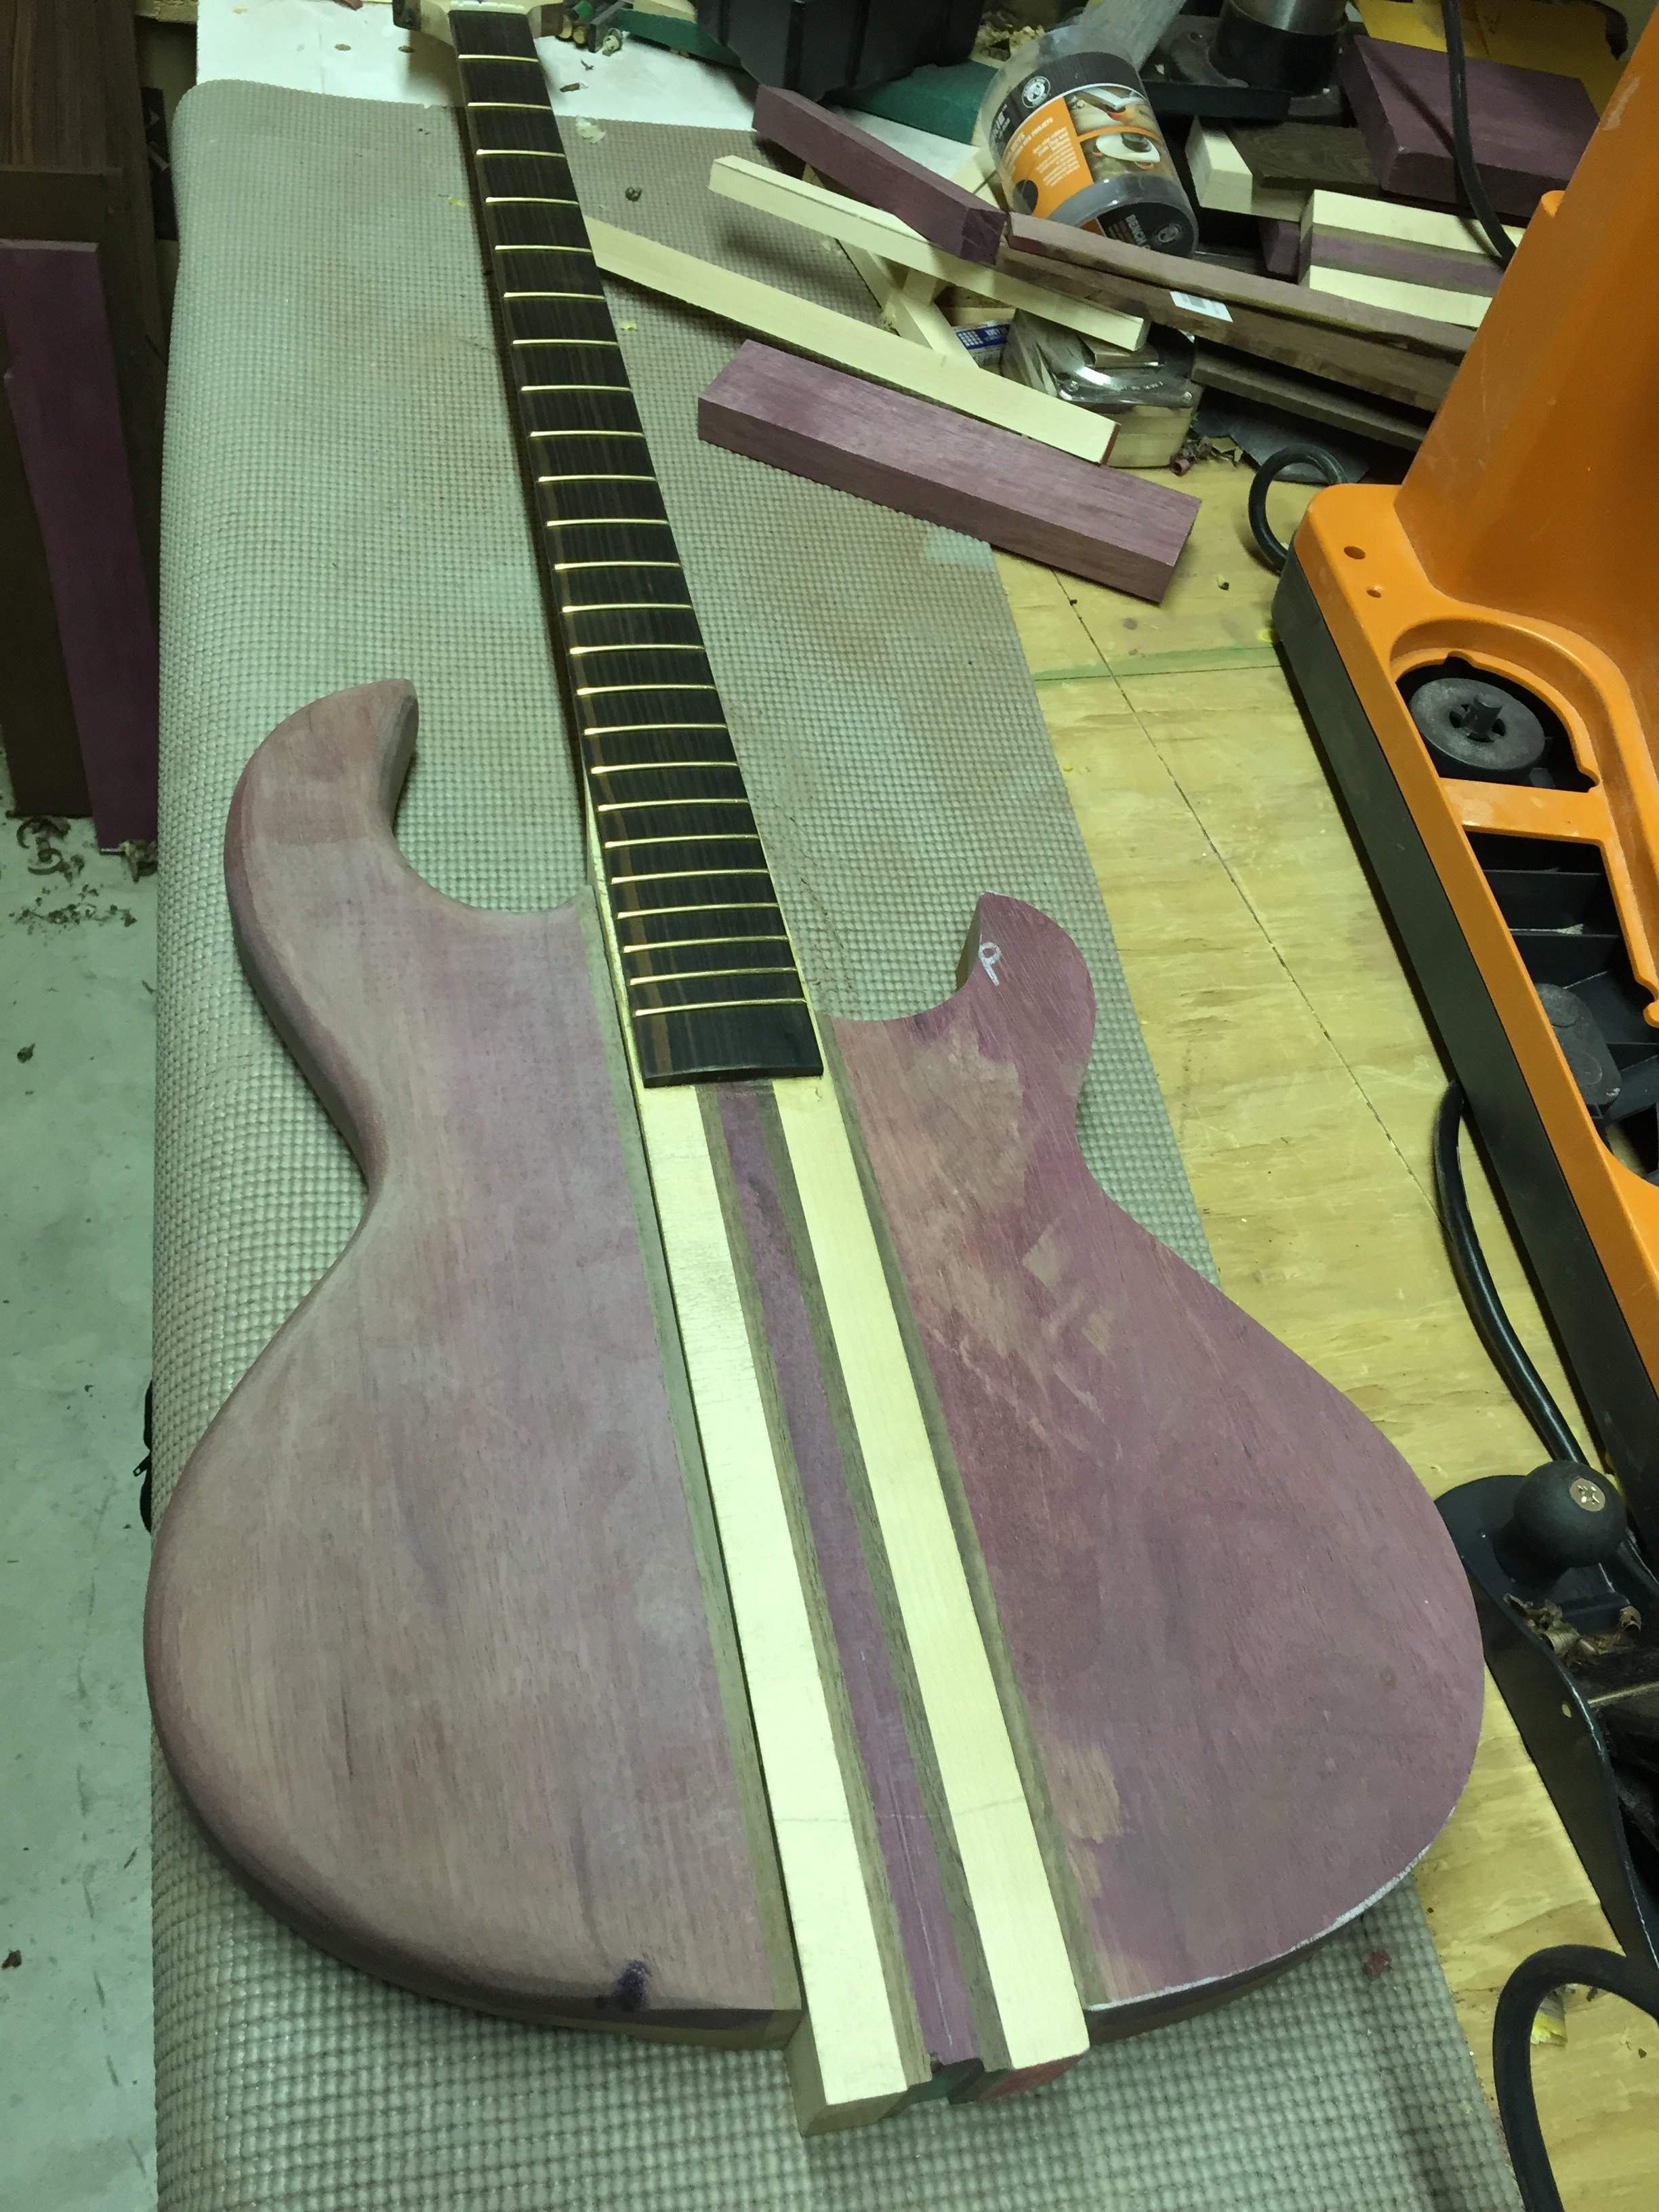
Unclamped ph/Peruvian walnut upper wing and added 1/4" walnut stringer to act as neck transition prior to shaping. Lower wing blank will be given similar treatment tomorrow.
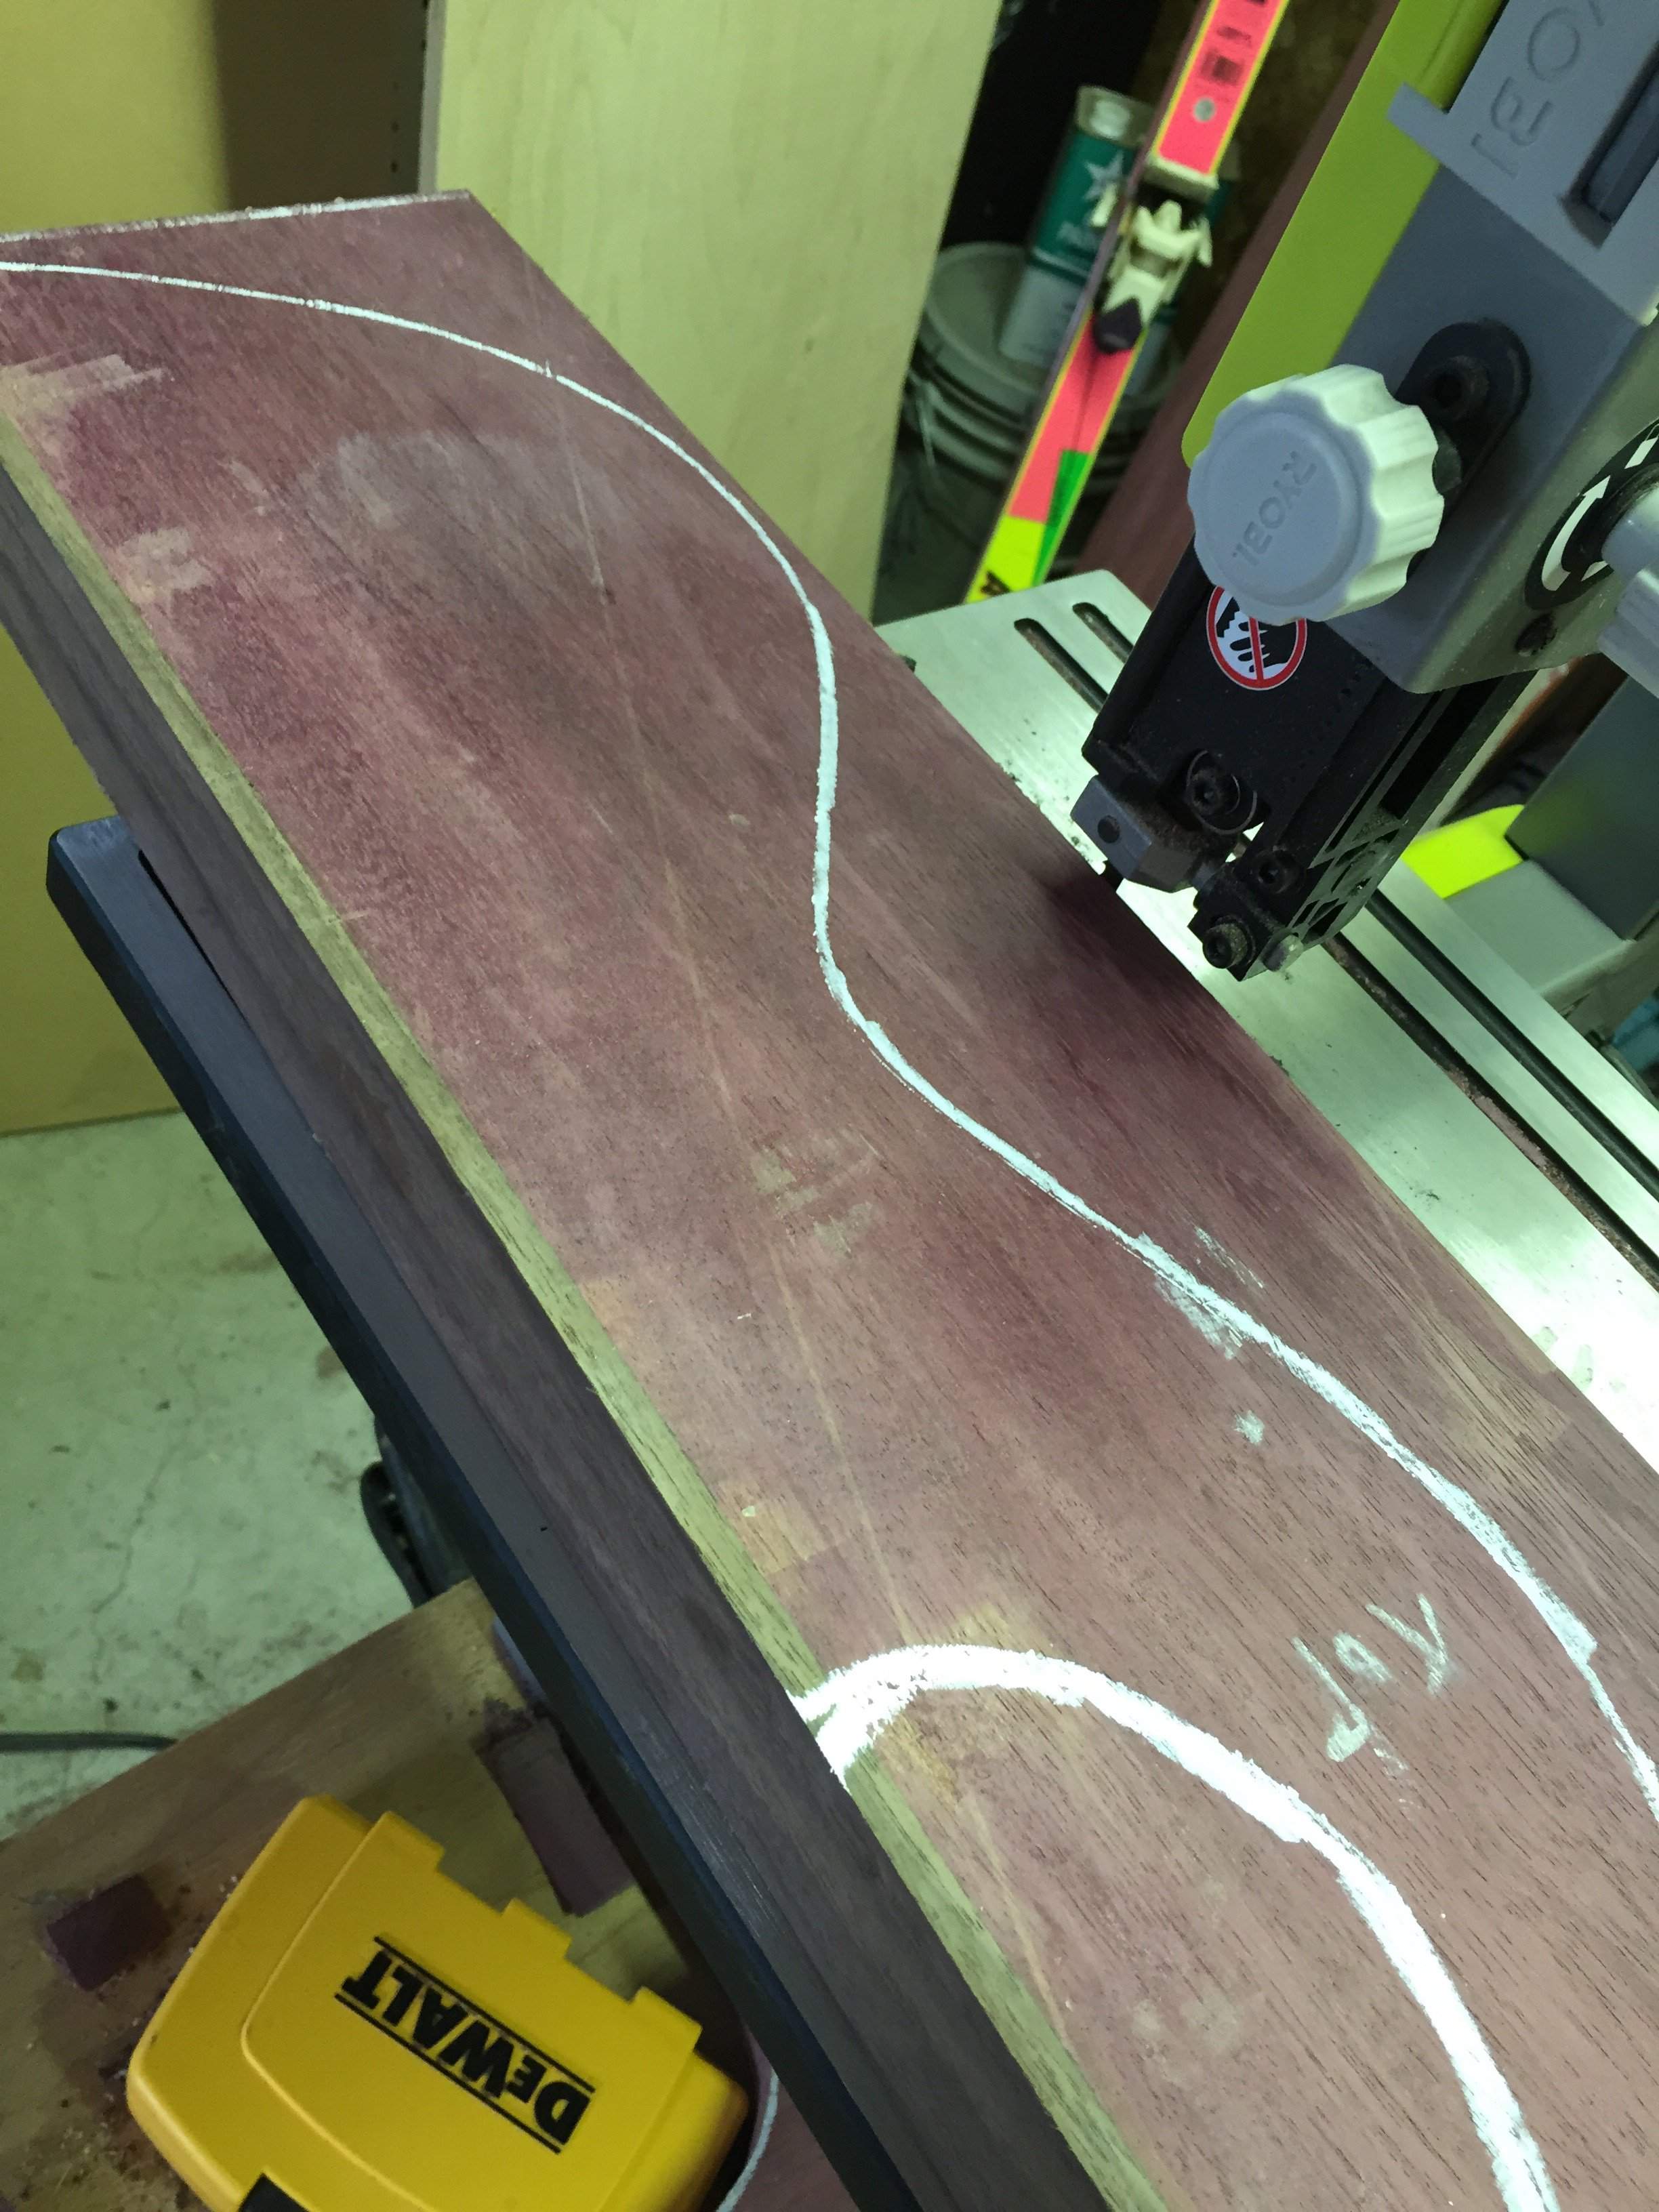
Upper wing rough cut on bandsaw, had some ROSS treatment, and is ready for a roundover. Lower wing and final glue up this weekend.
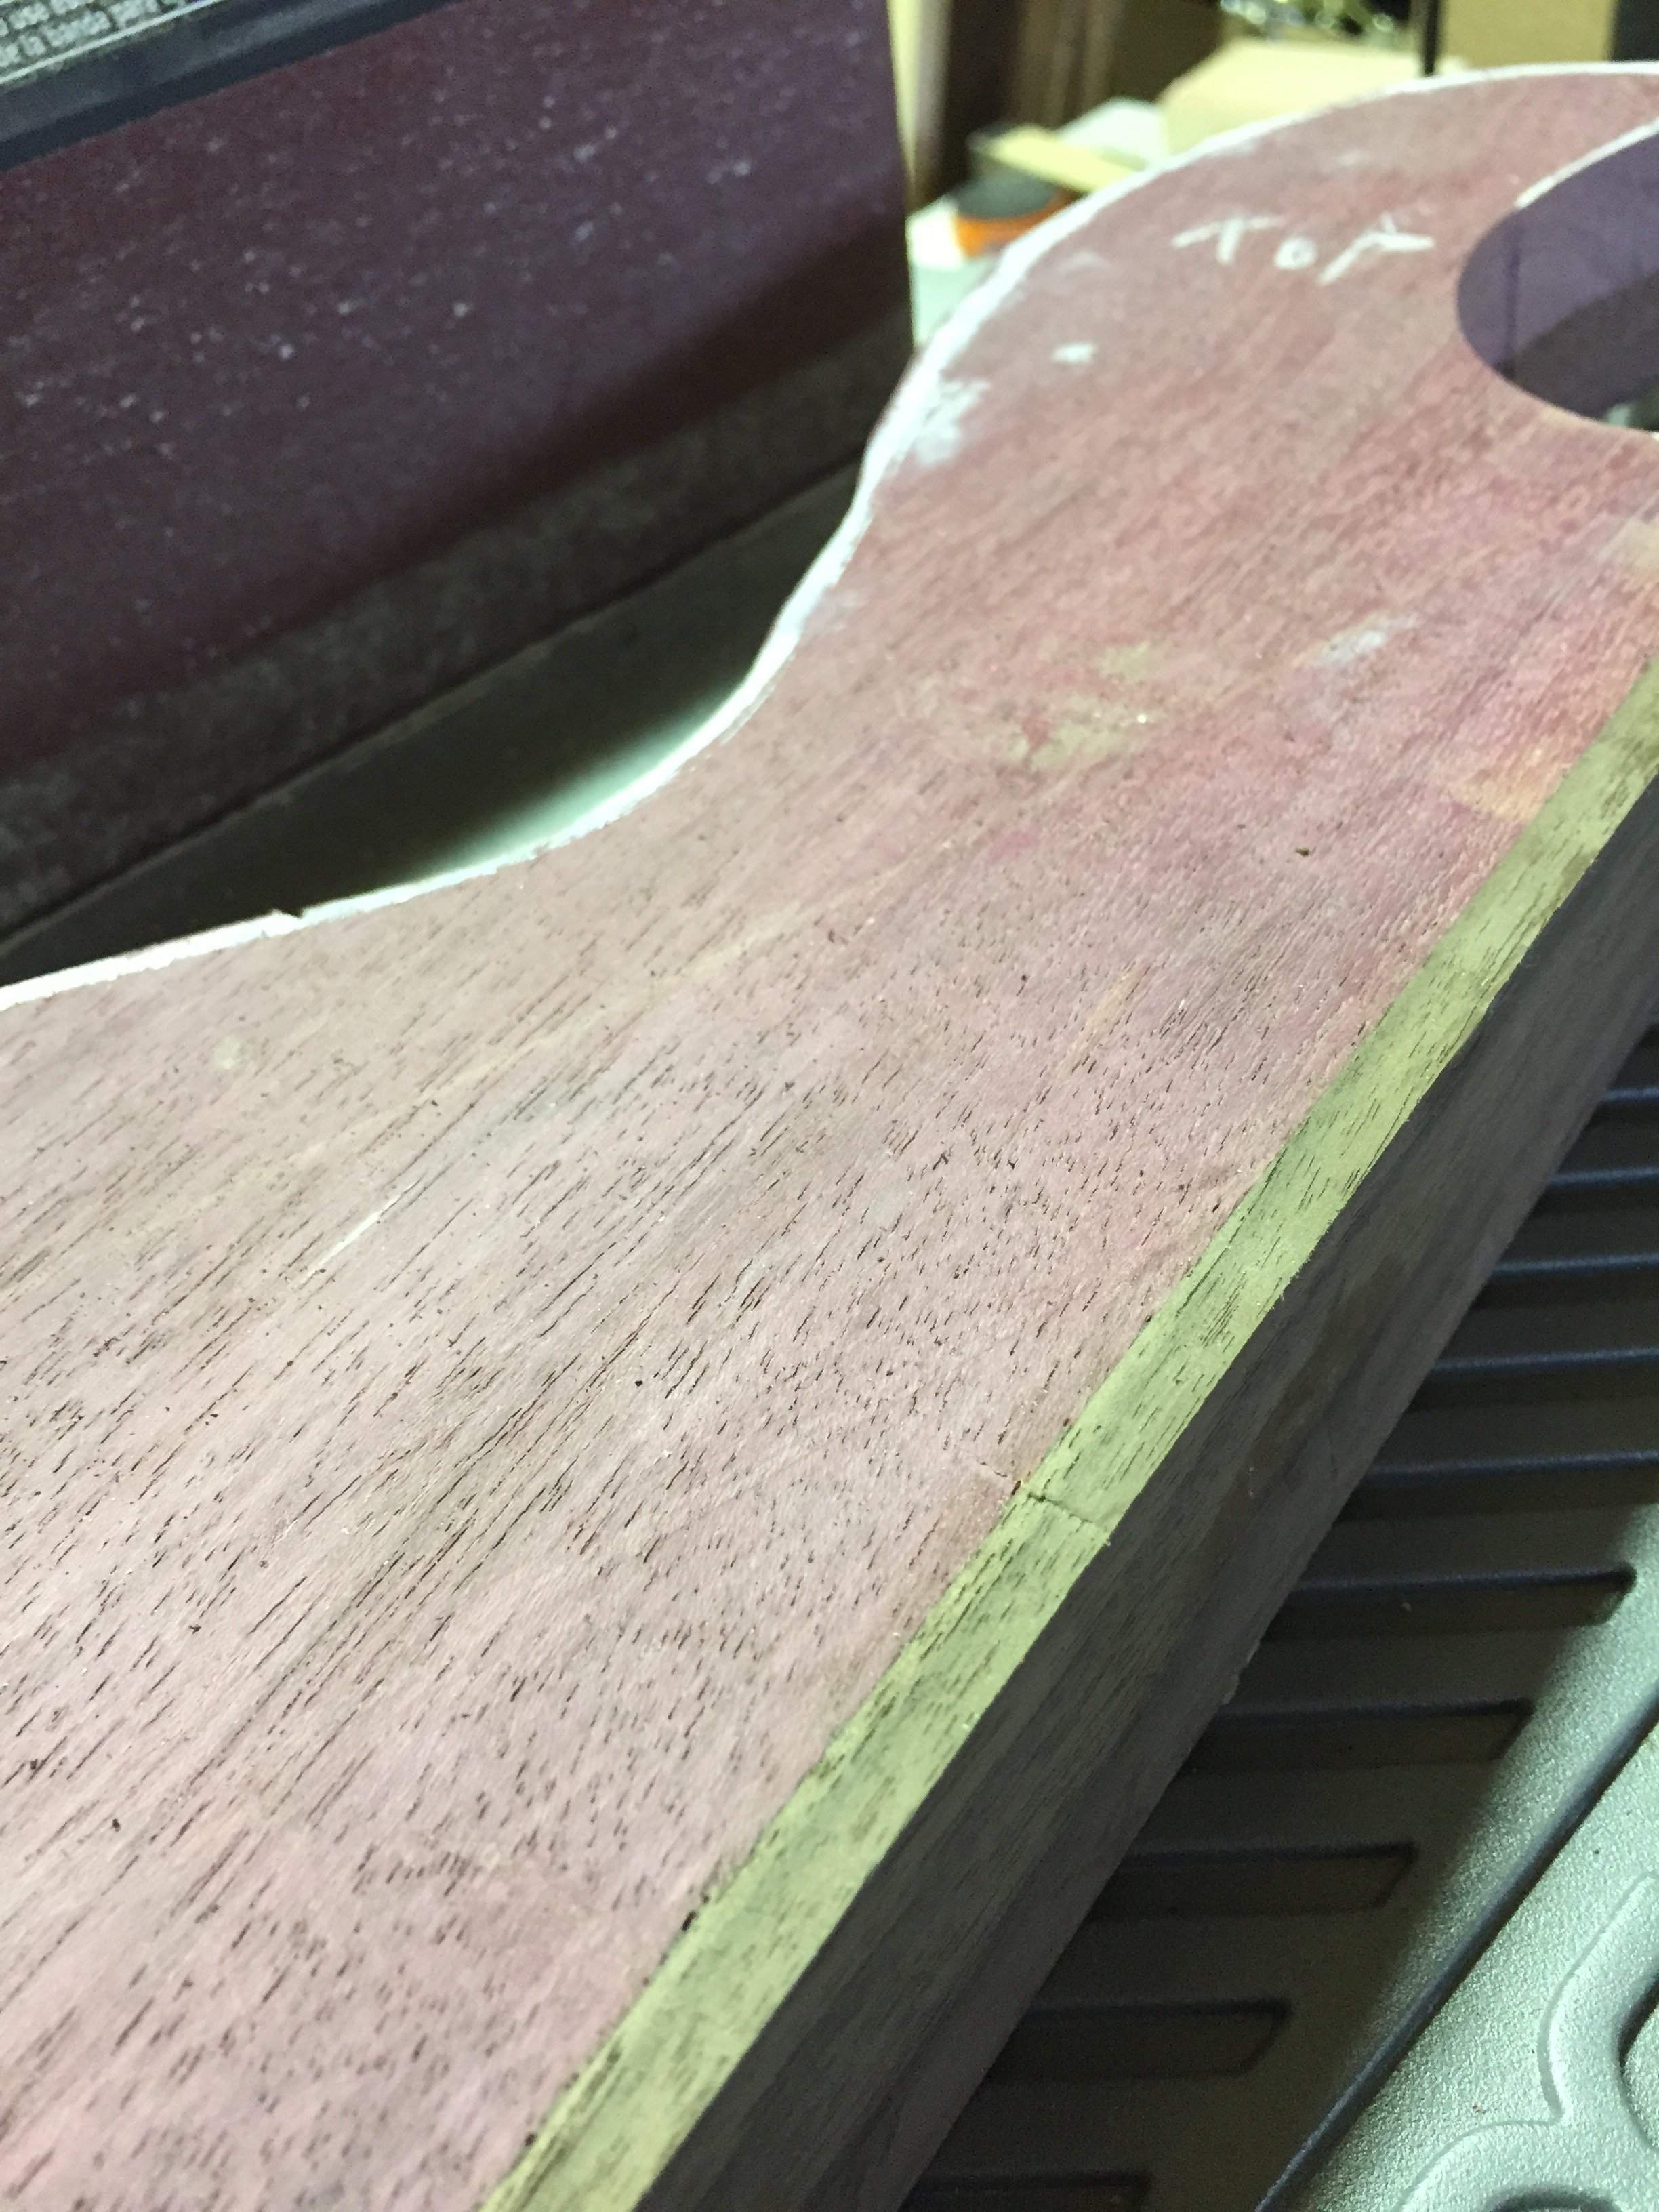
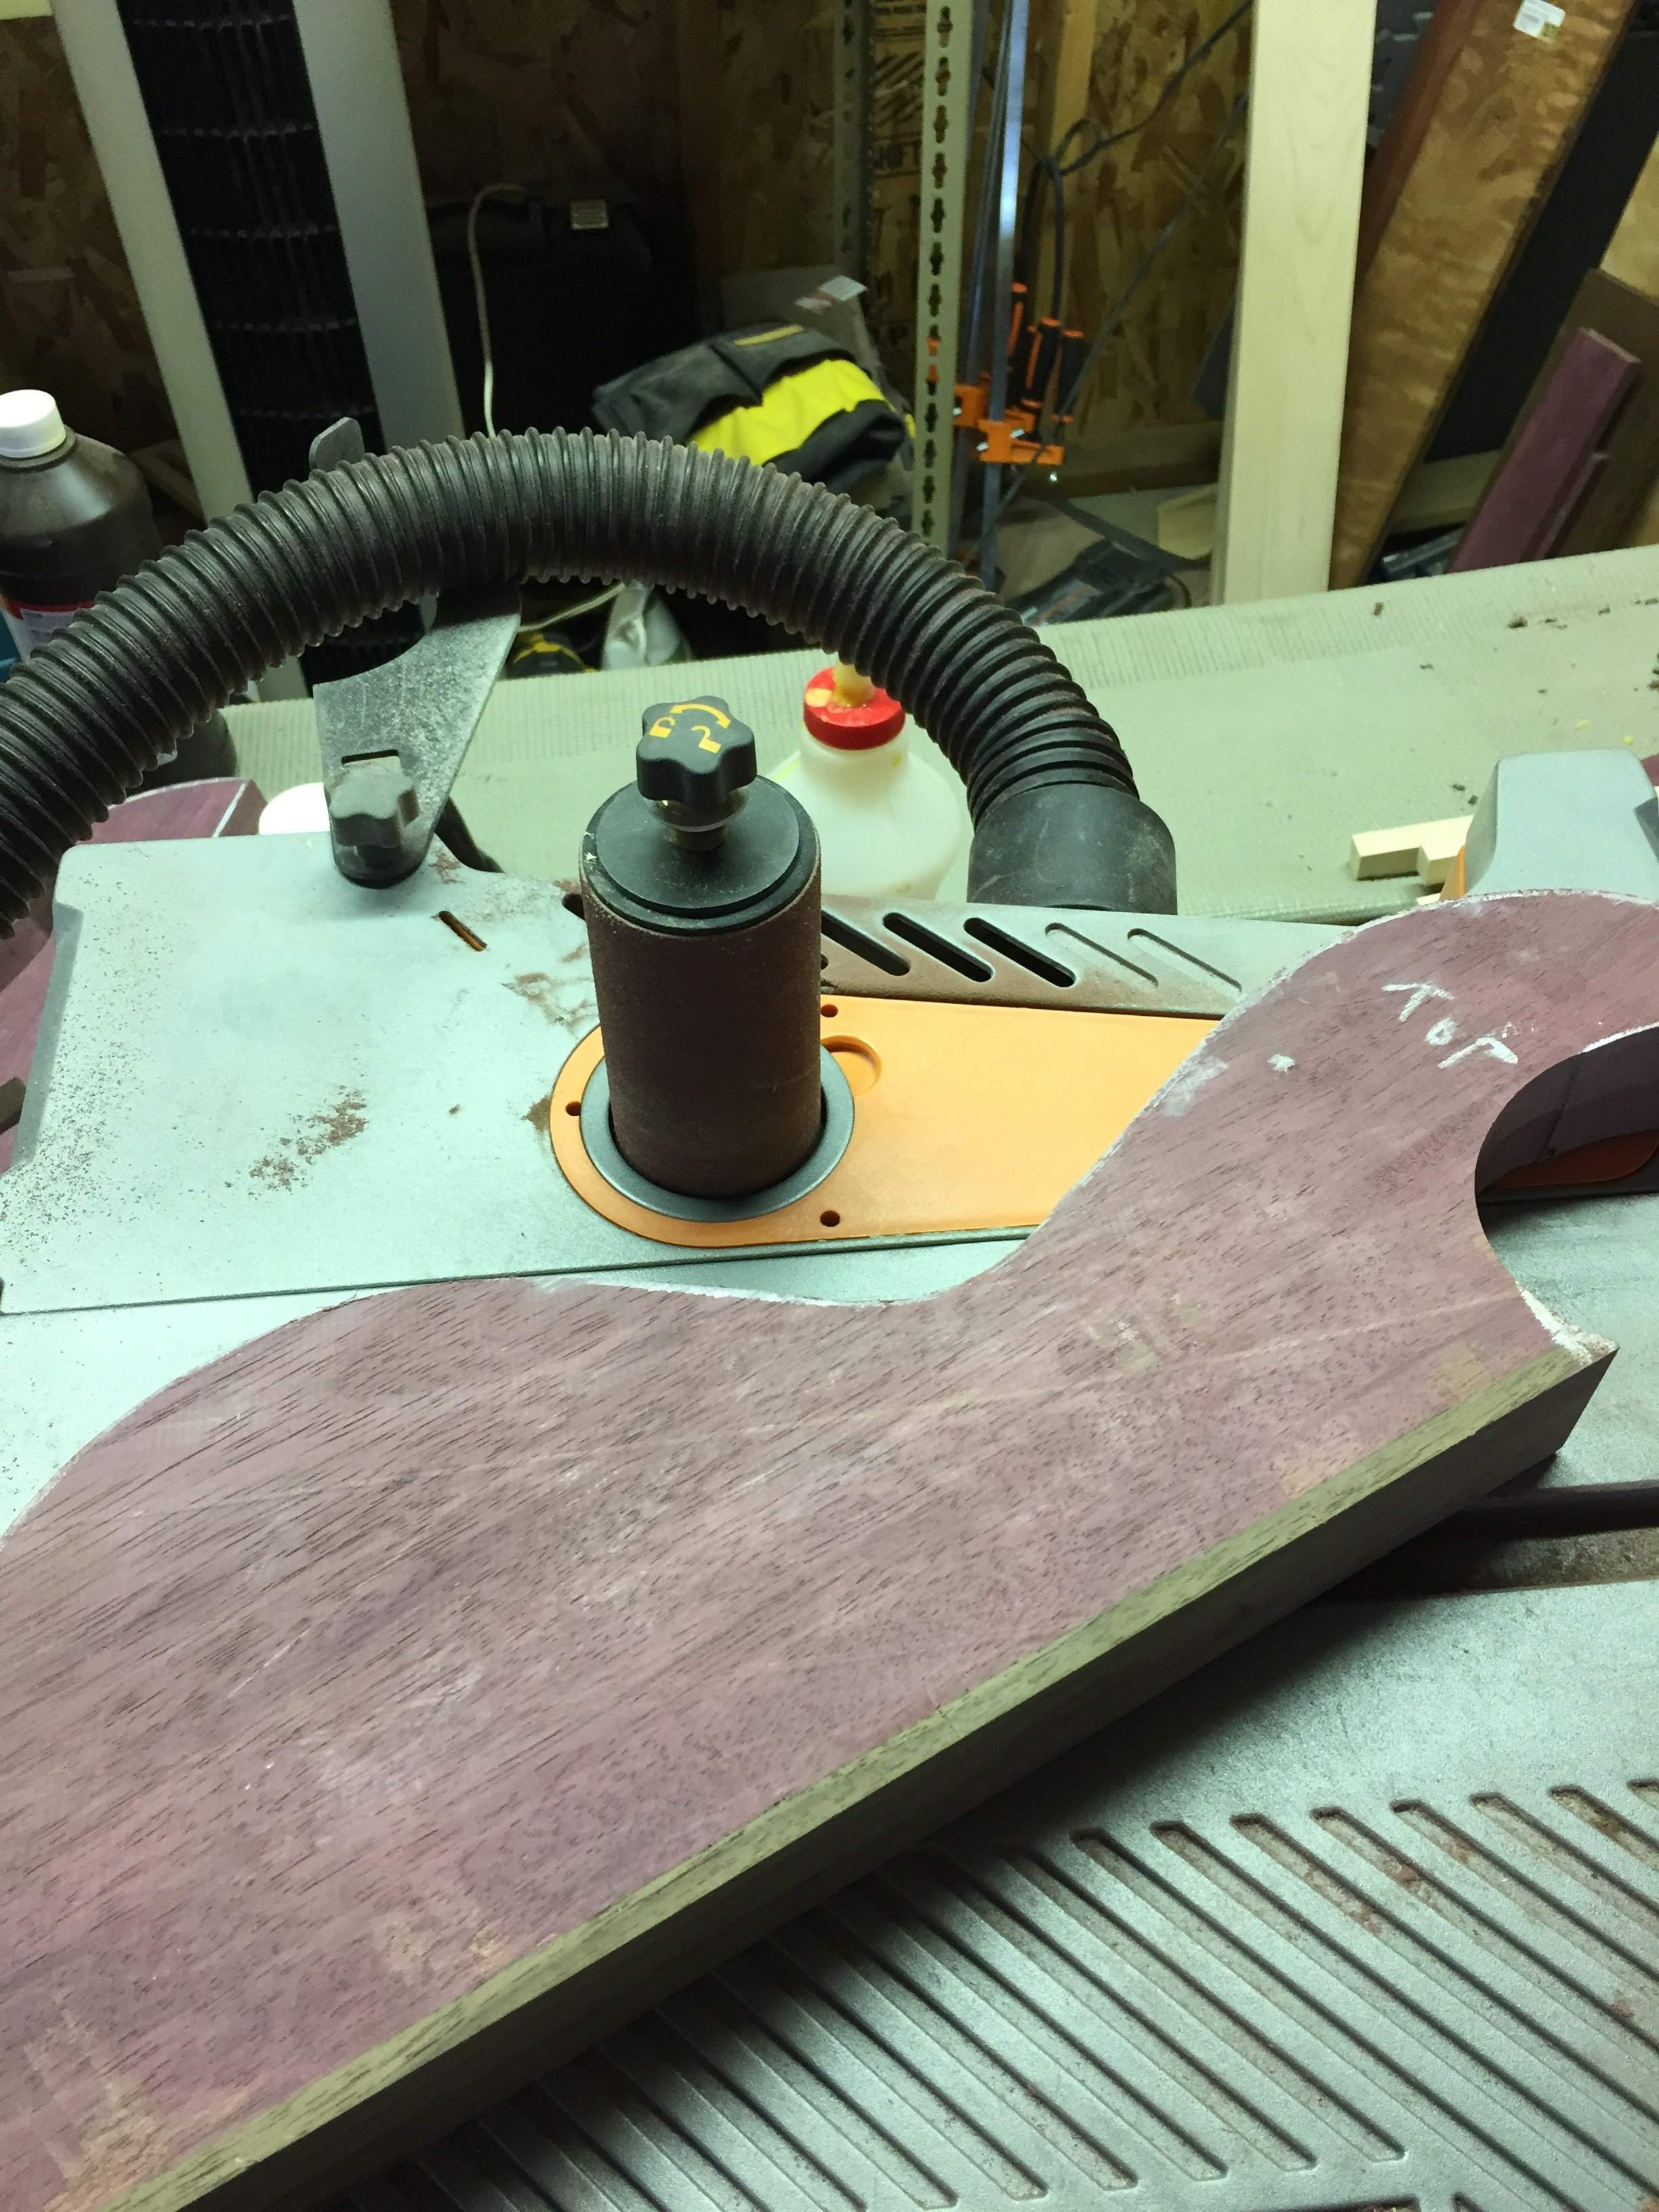
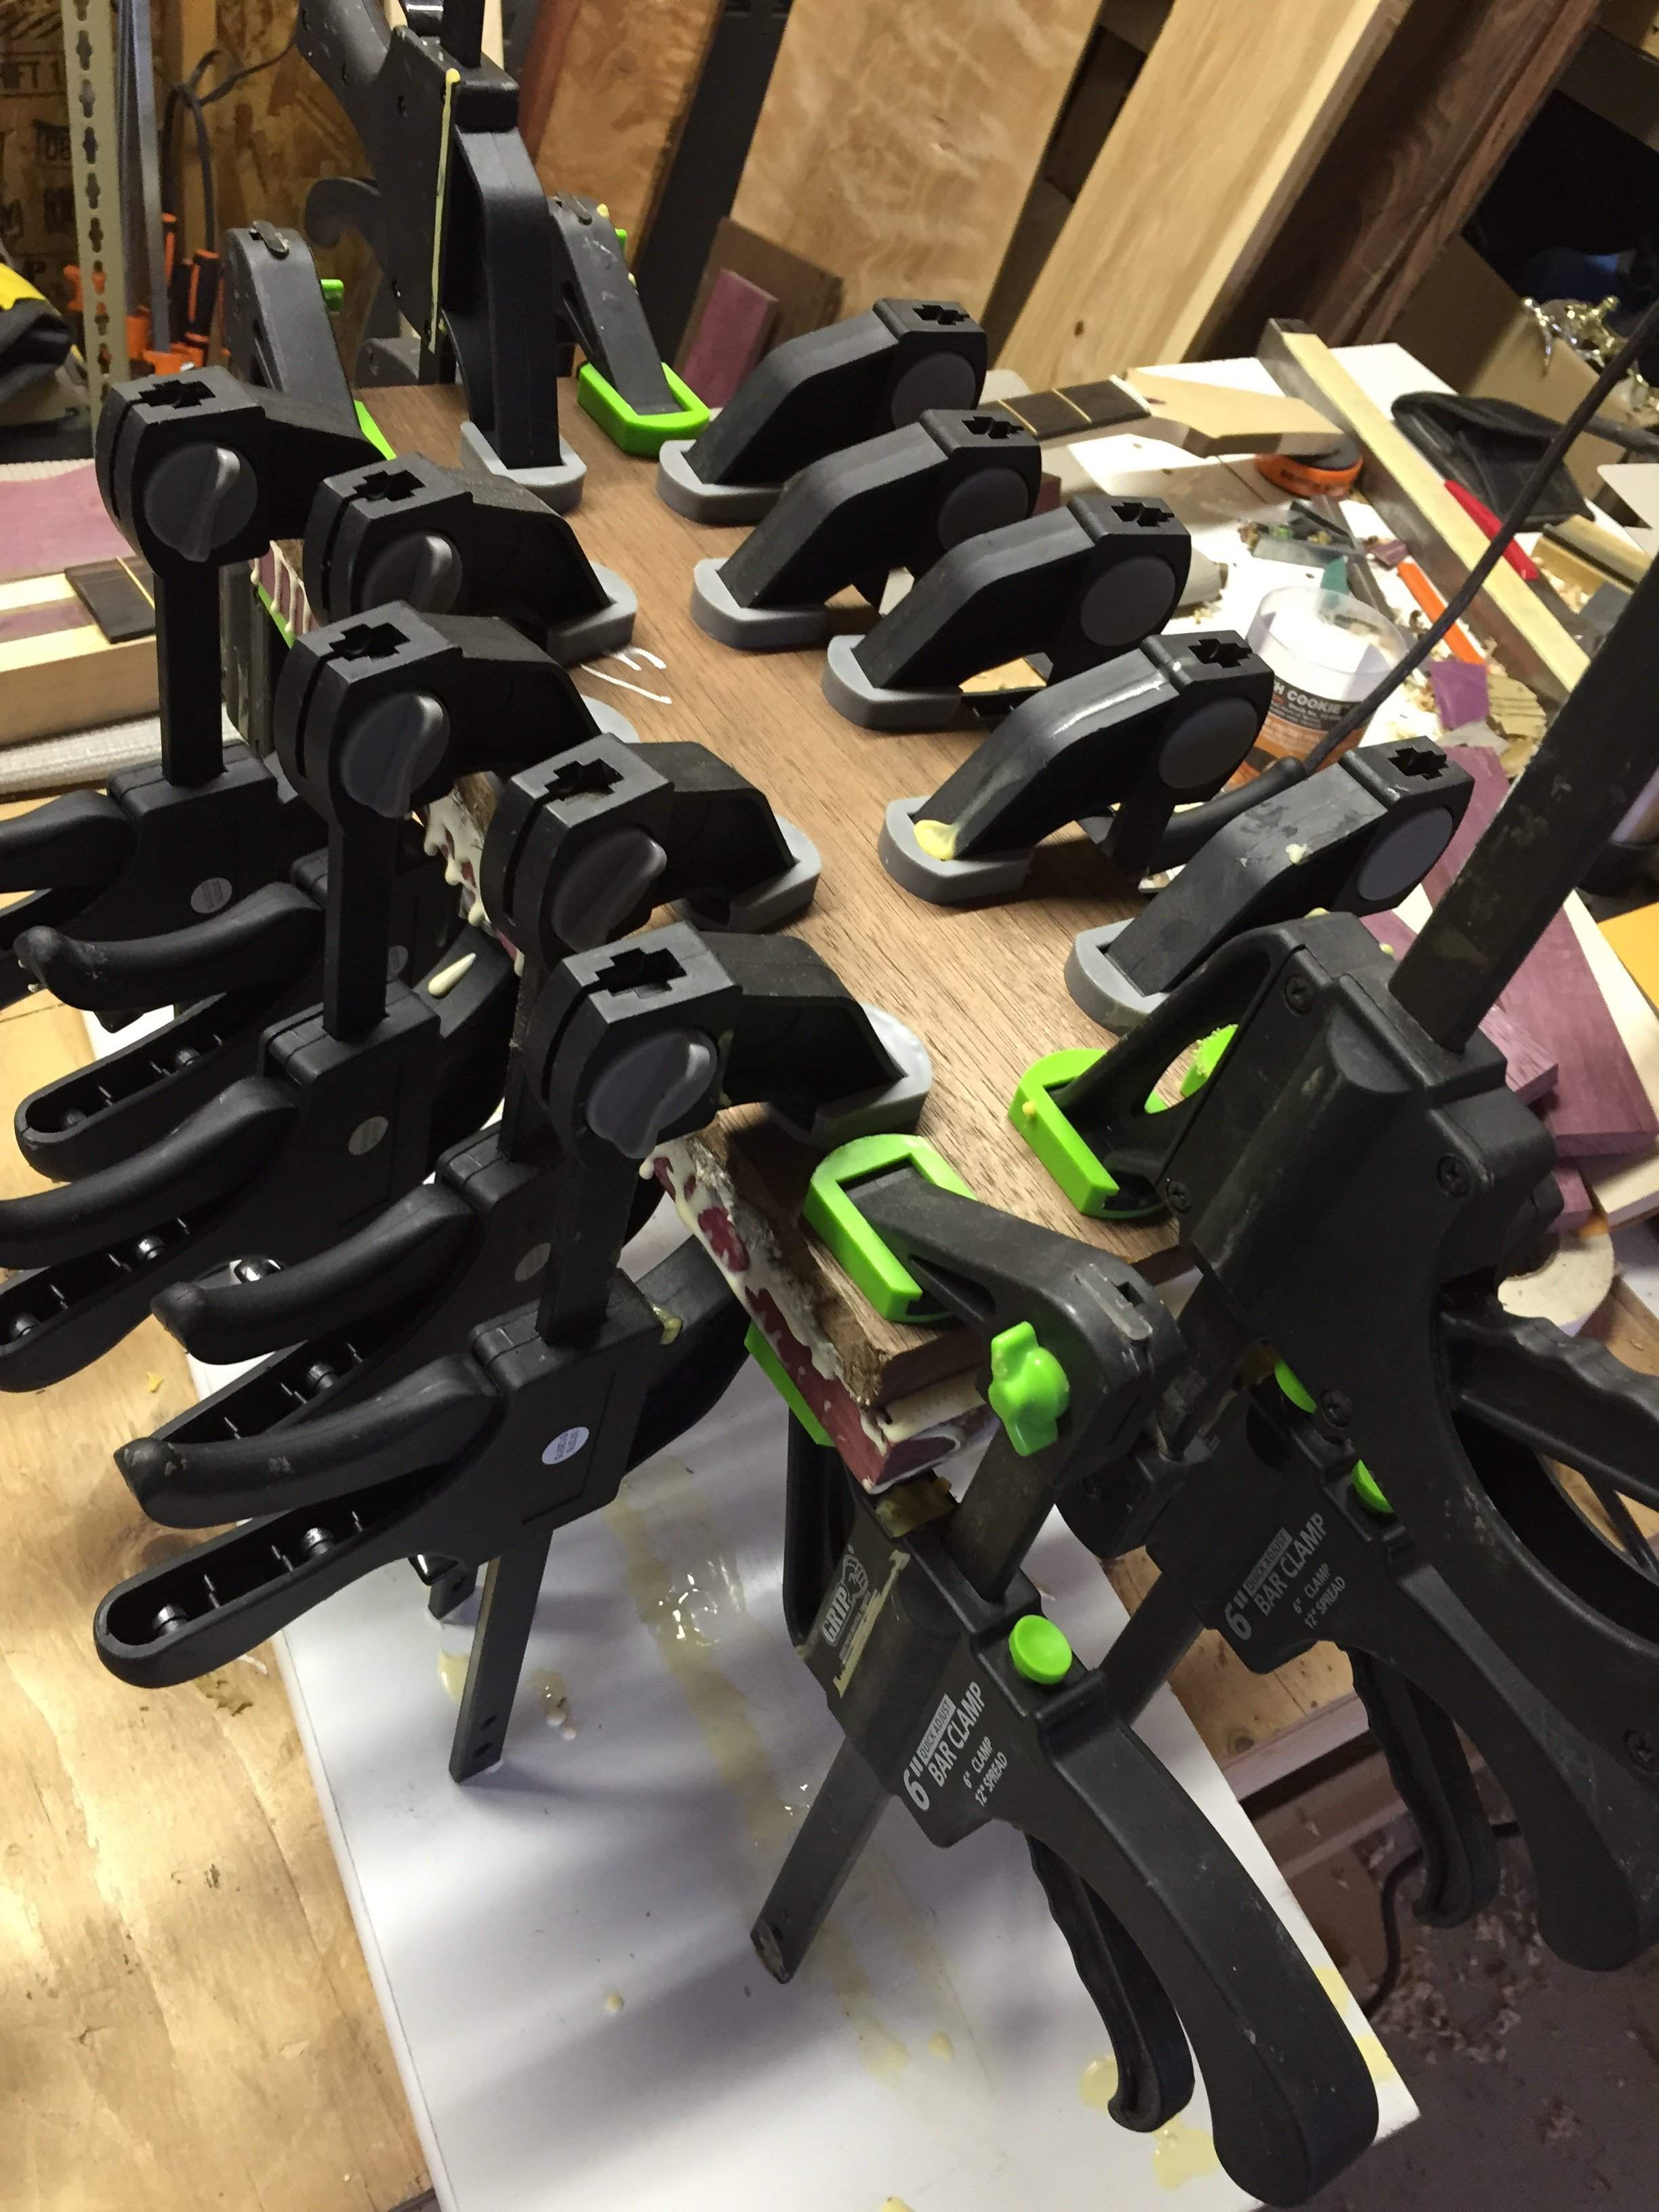
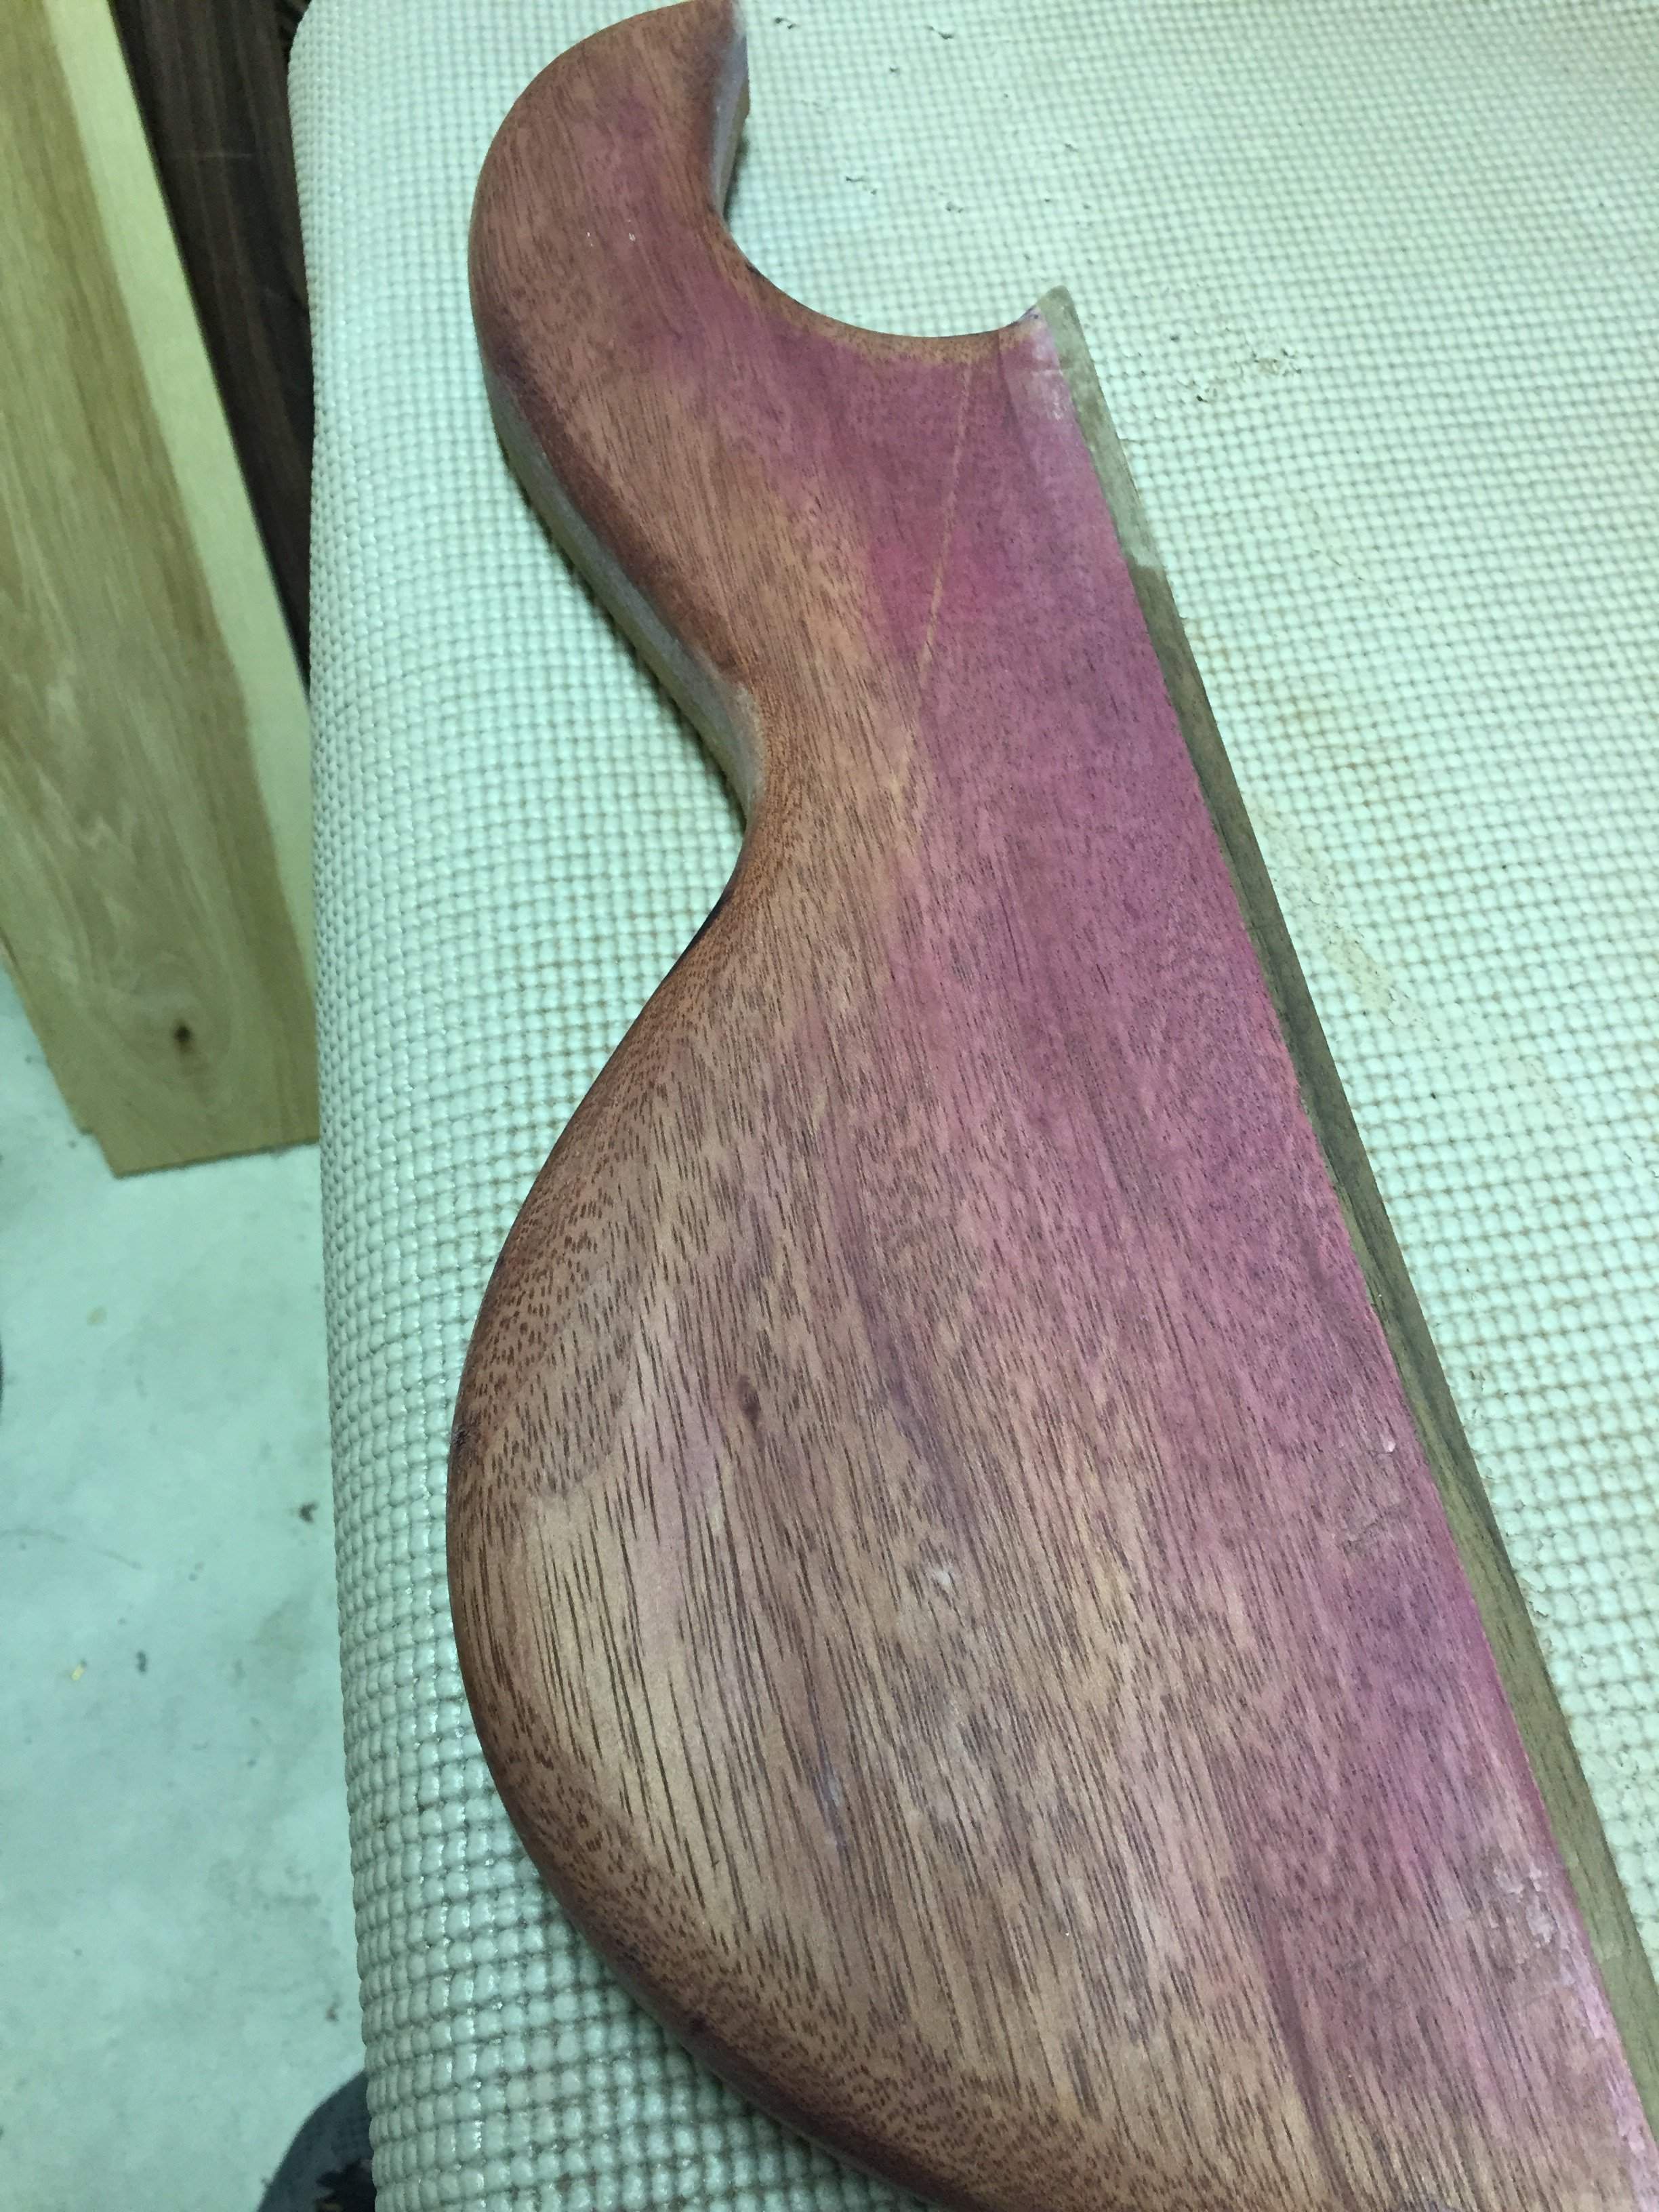
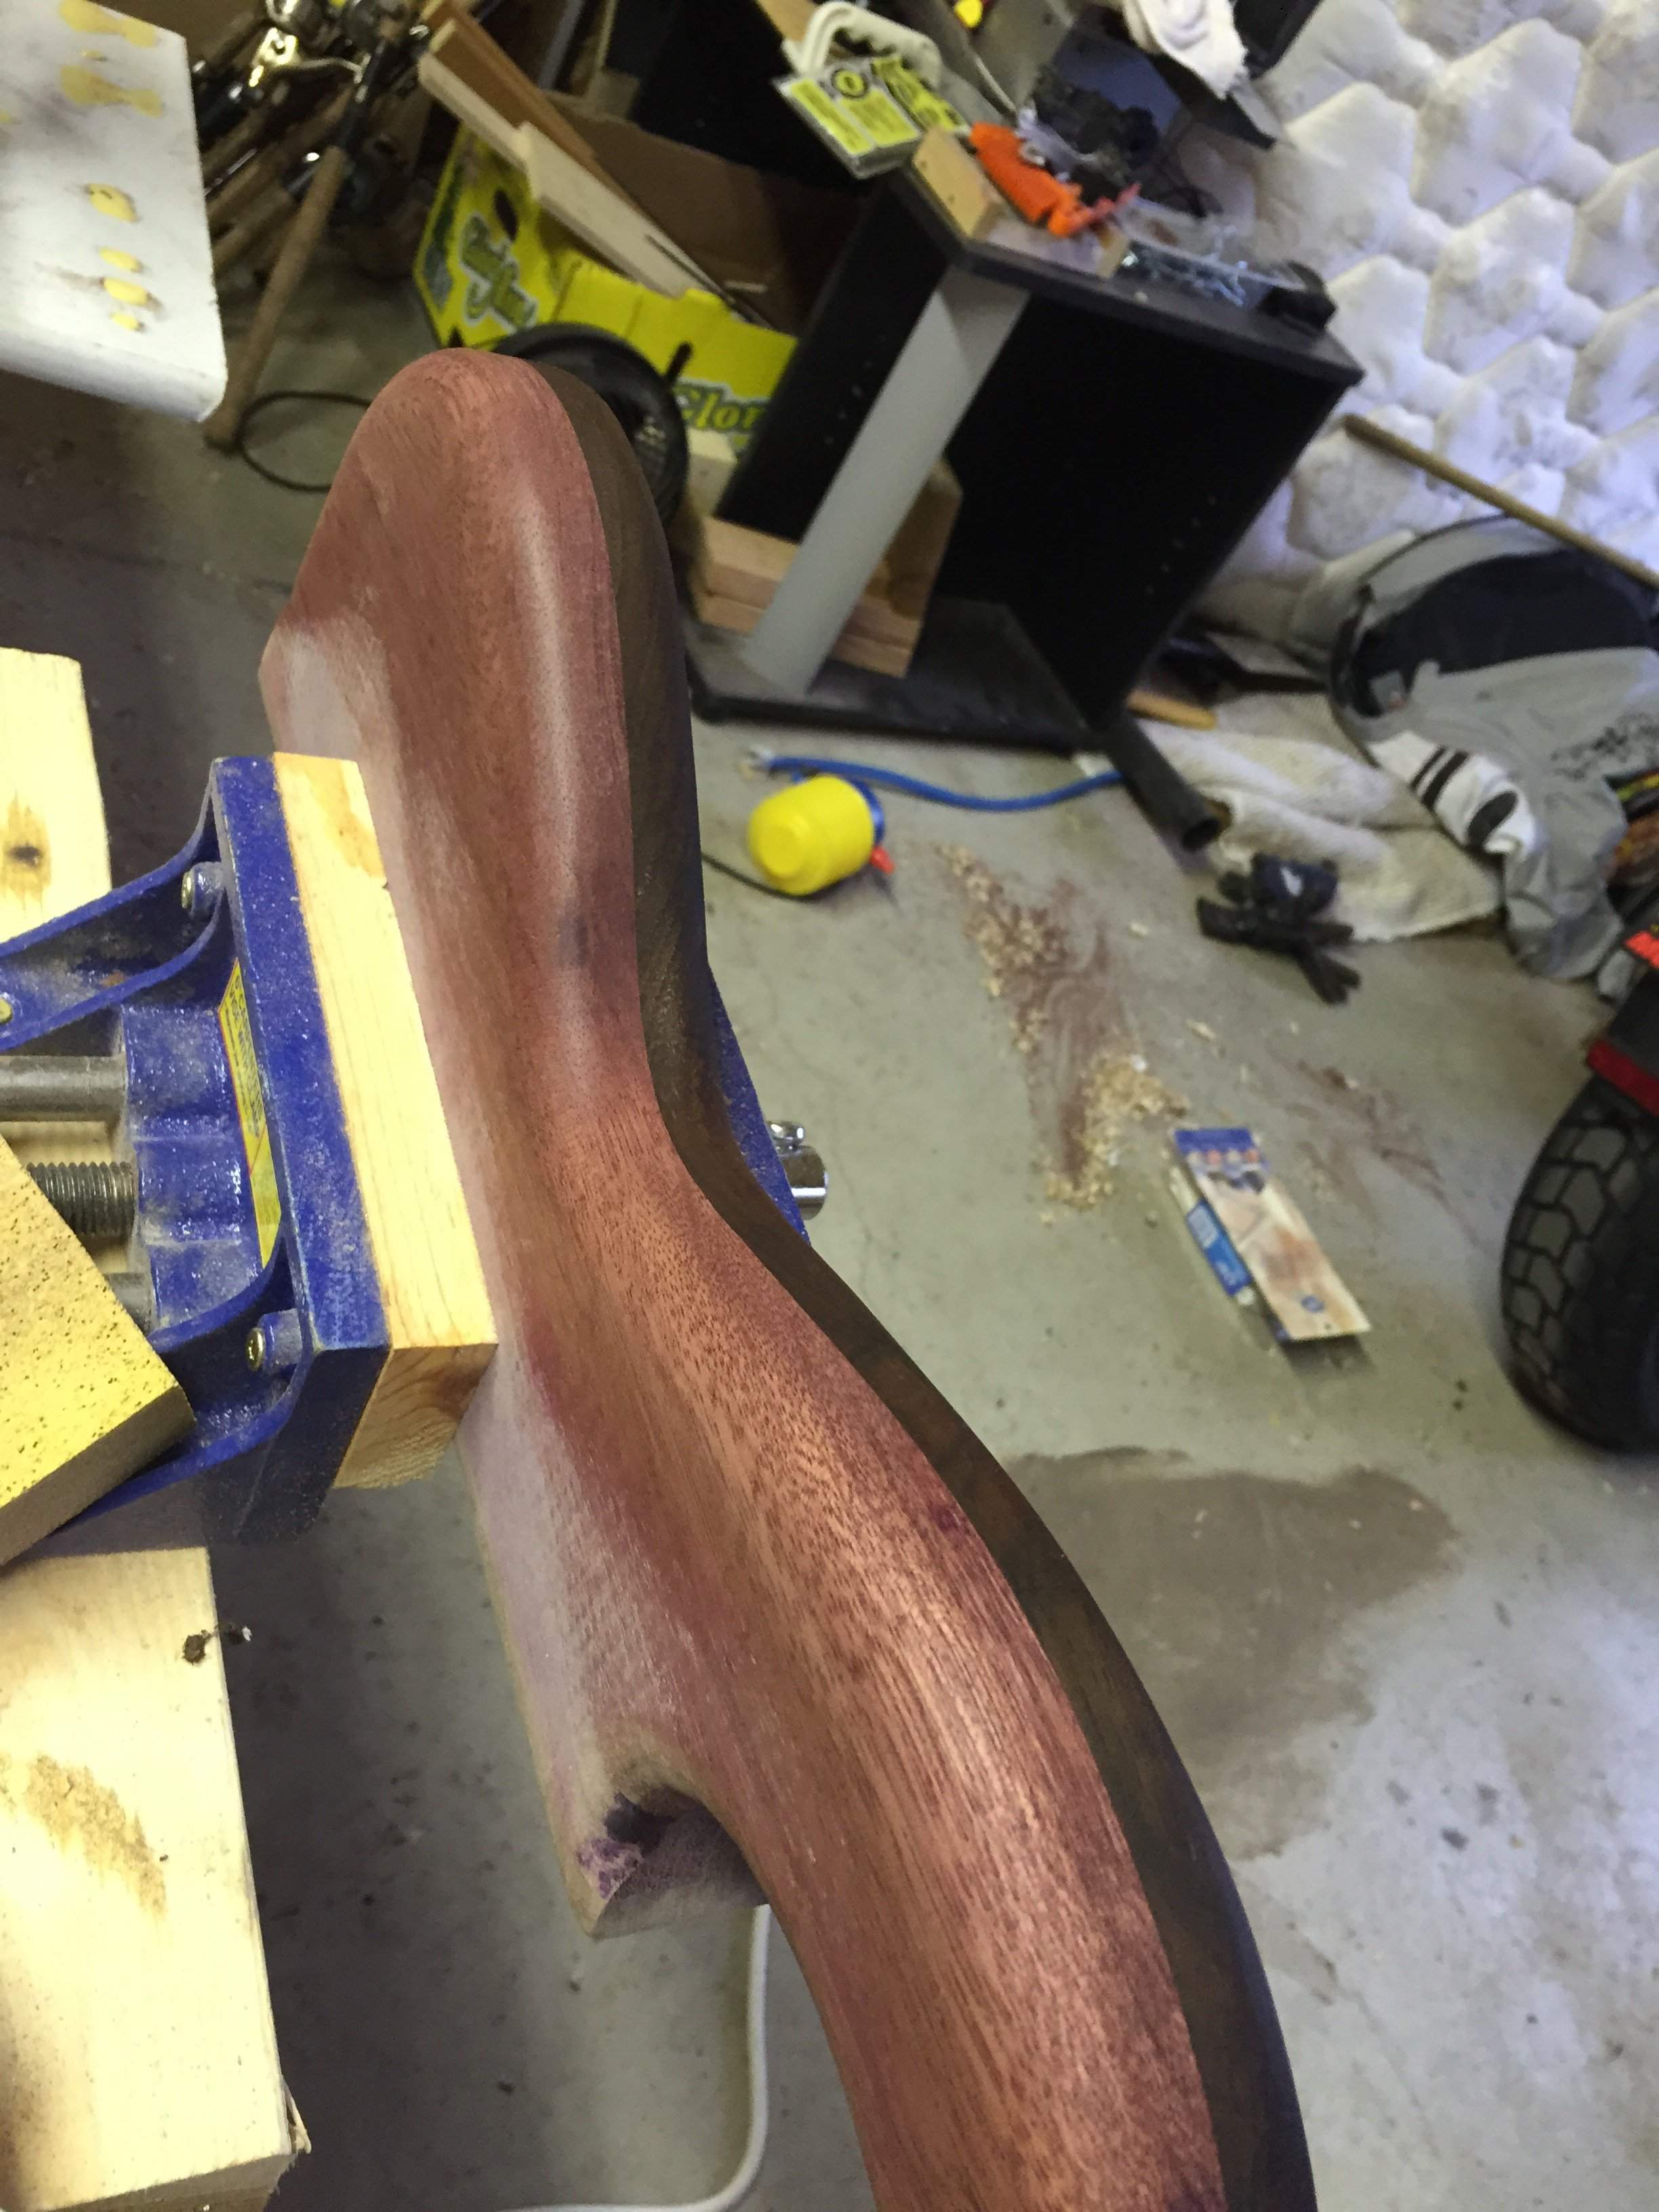
Decided to round over and sand the upper wing to rough approximation whil lower wing blank is glued and clamped.
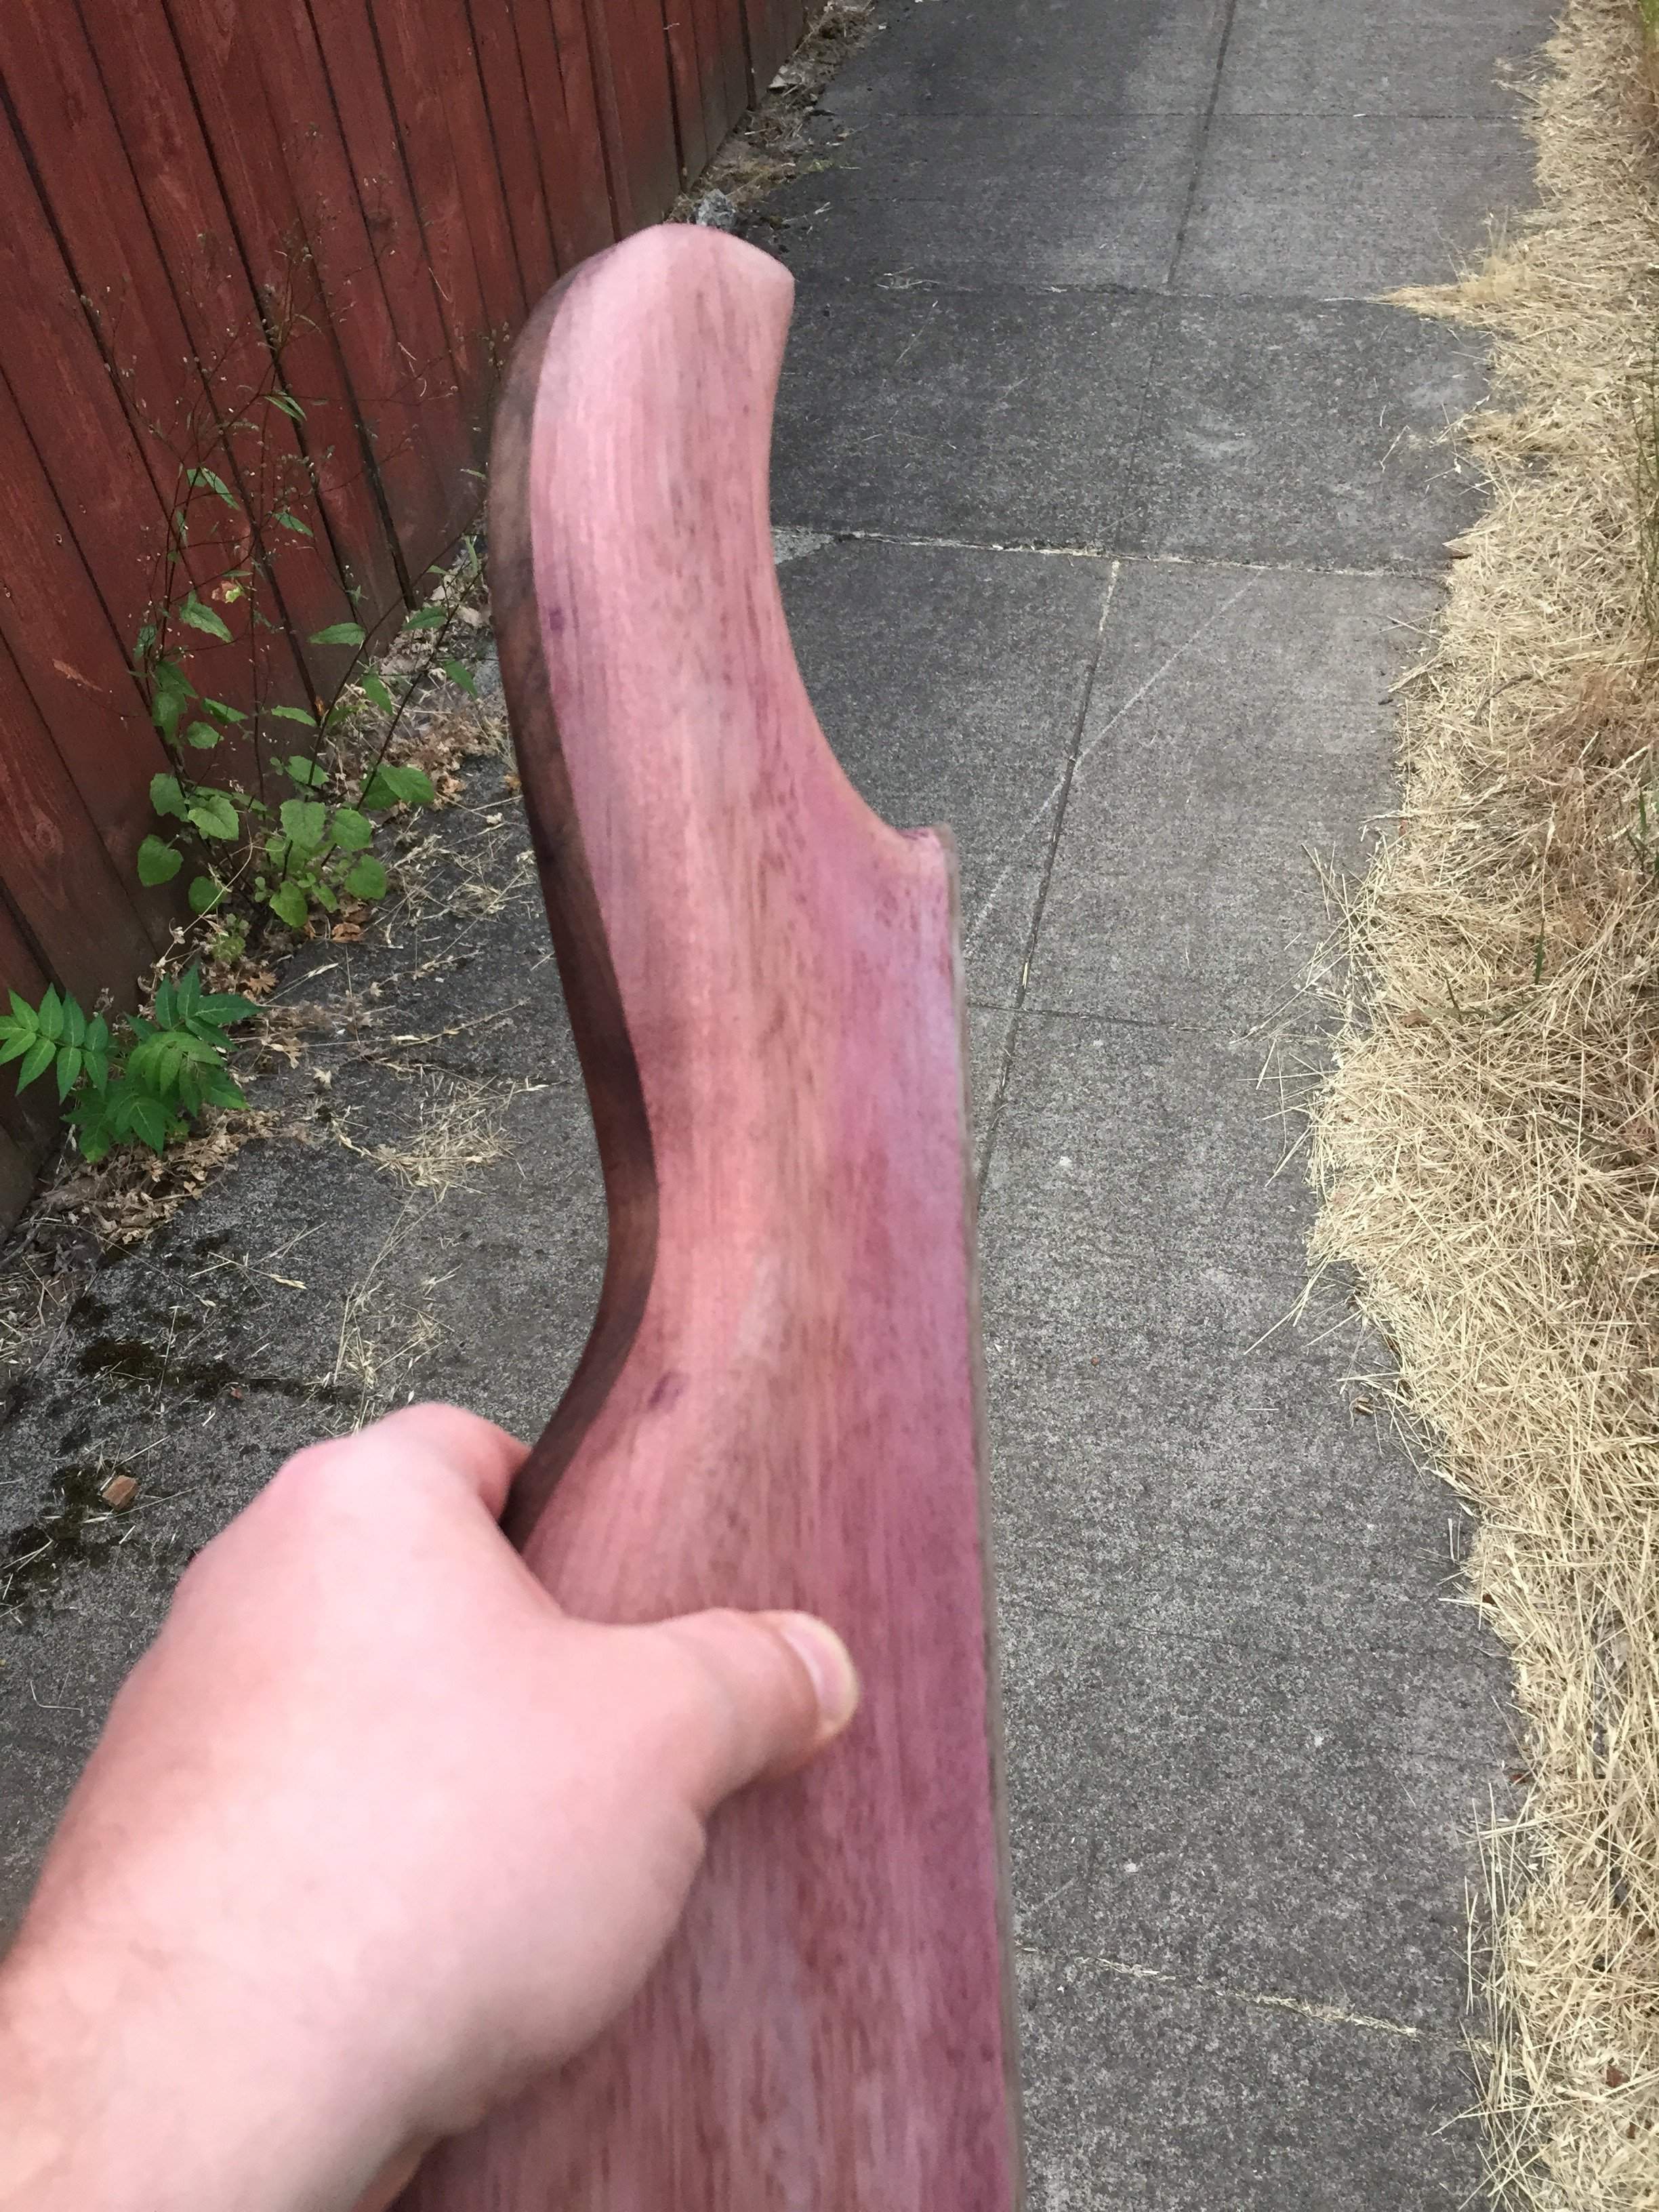
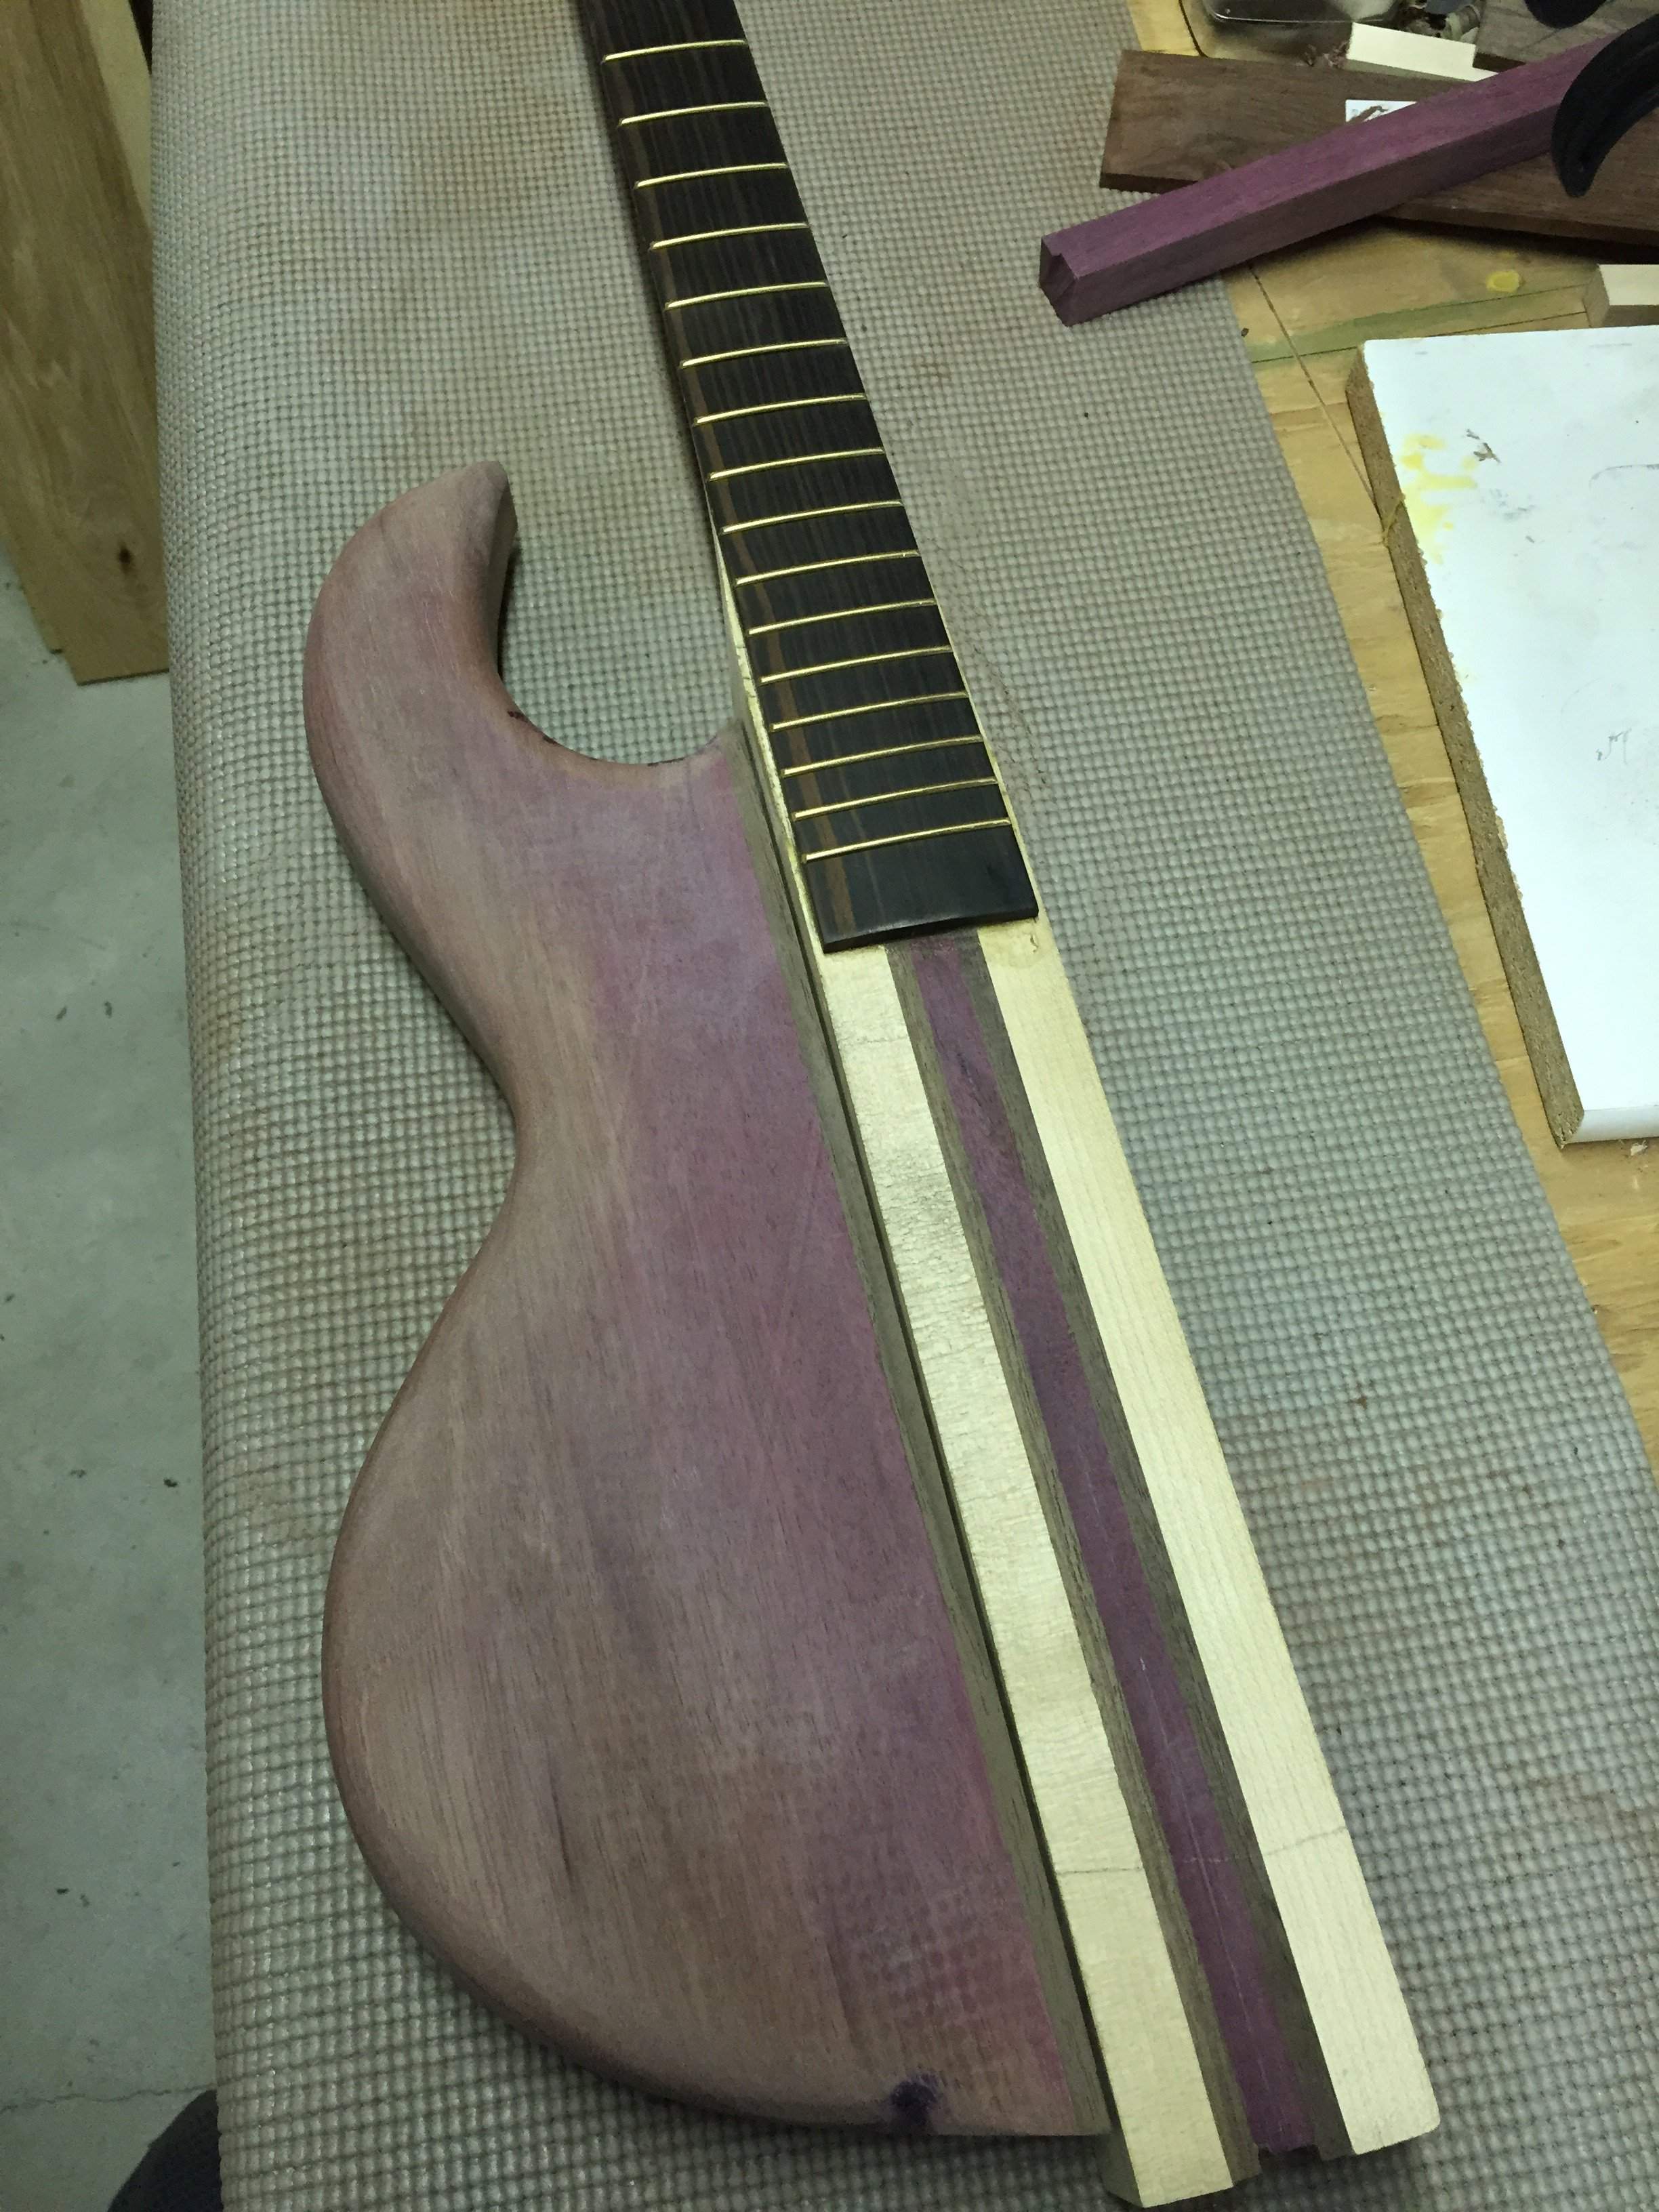
I am considering finishing with a few coats of Danish Oil as grain filler, and then a wipe-on poly after letting the Danish oil set for 3-5 days. I'd wet sand every other poly coat. Does this seem viable? I have no means to spray at the moment, but I would like to get a nice glossy finish. I'll test on scrap, of course.
Lower wing rough cut on bandsaw, then sanded to shape on ROSS. I used a hand plane to get the stringer plumb to the body blank prior to cutting.
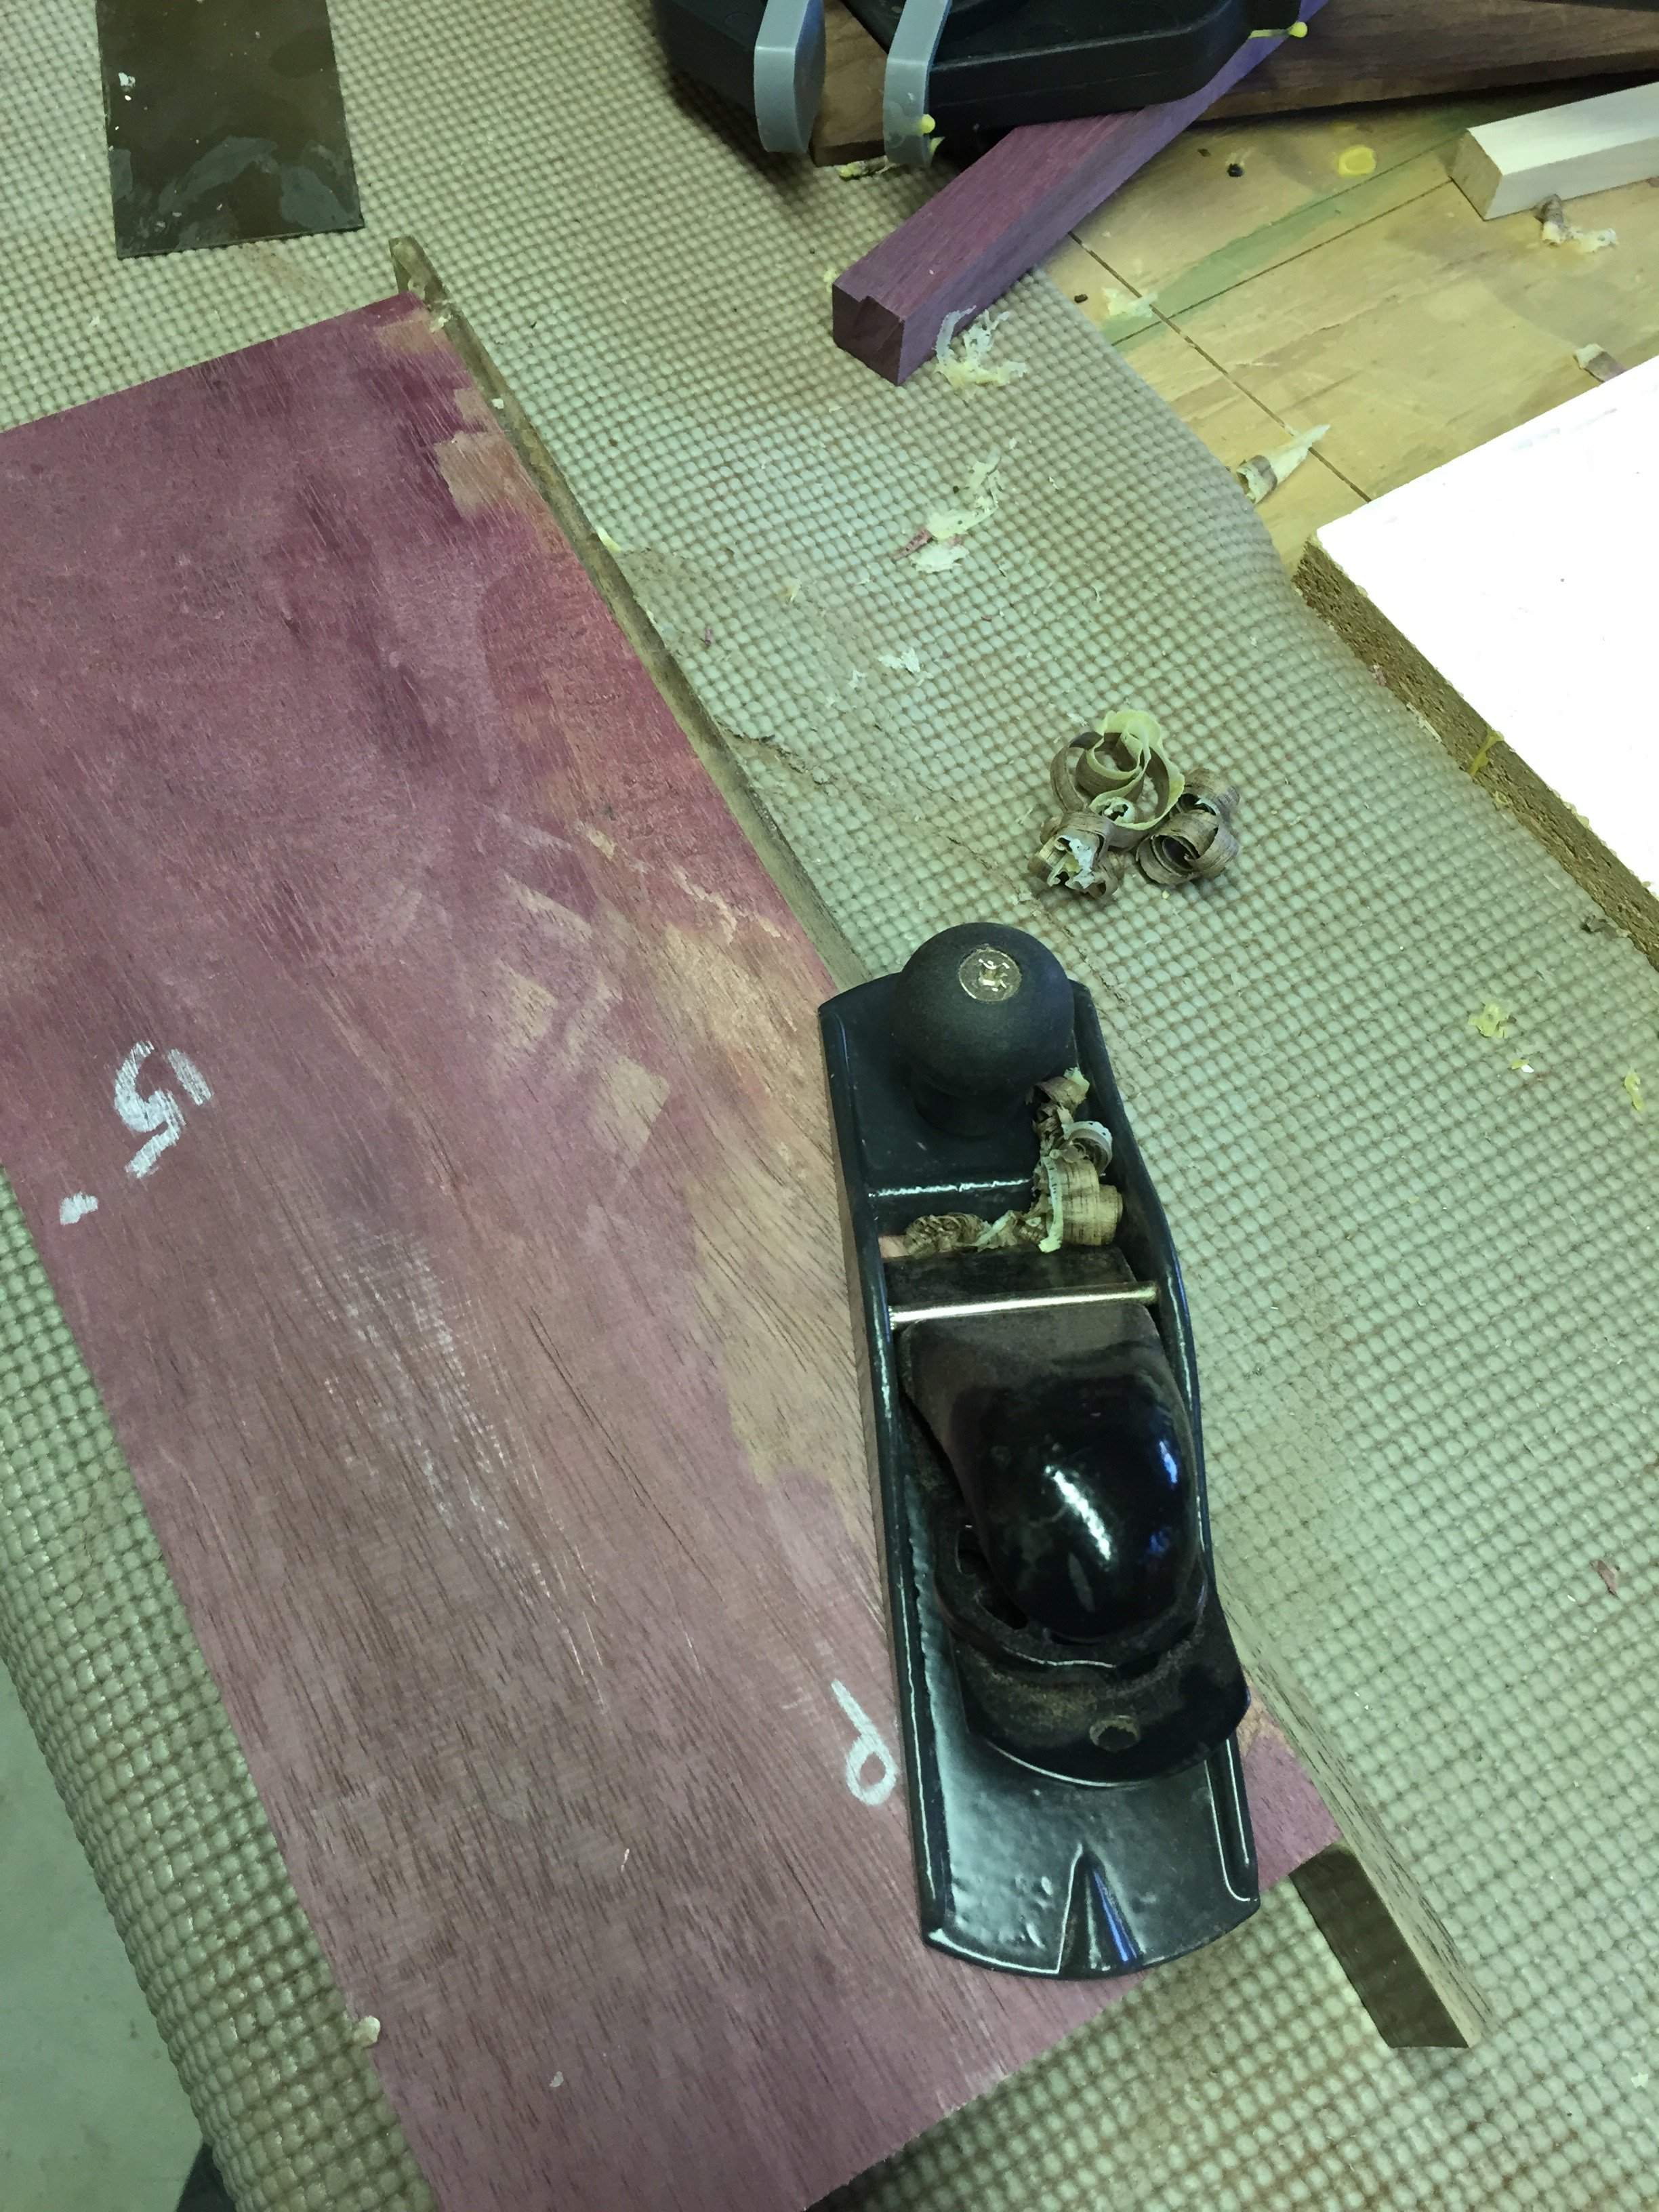
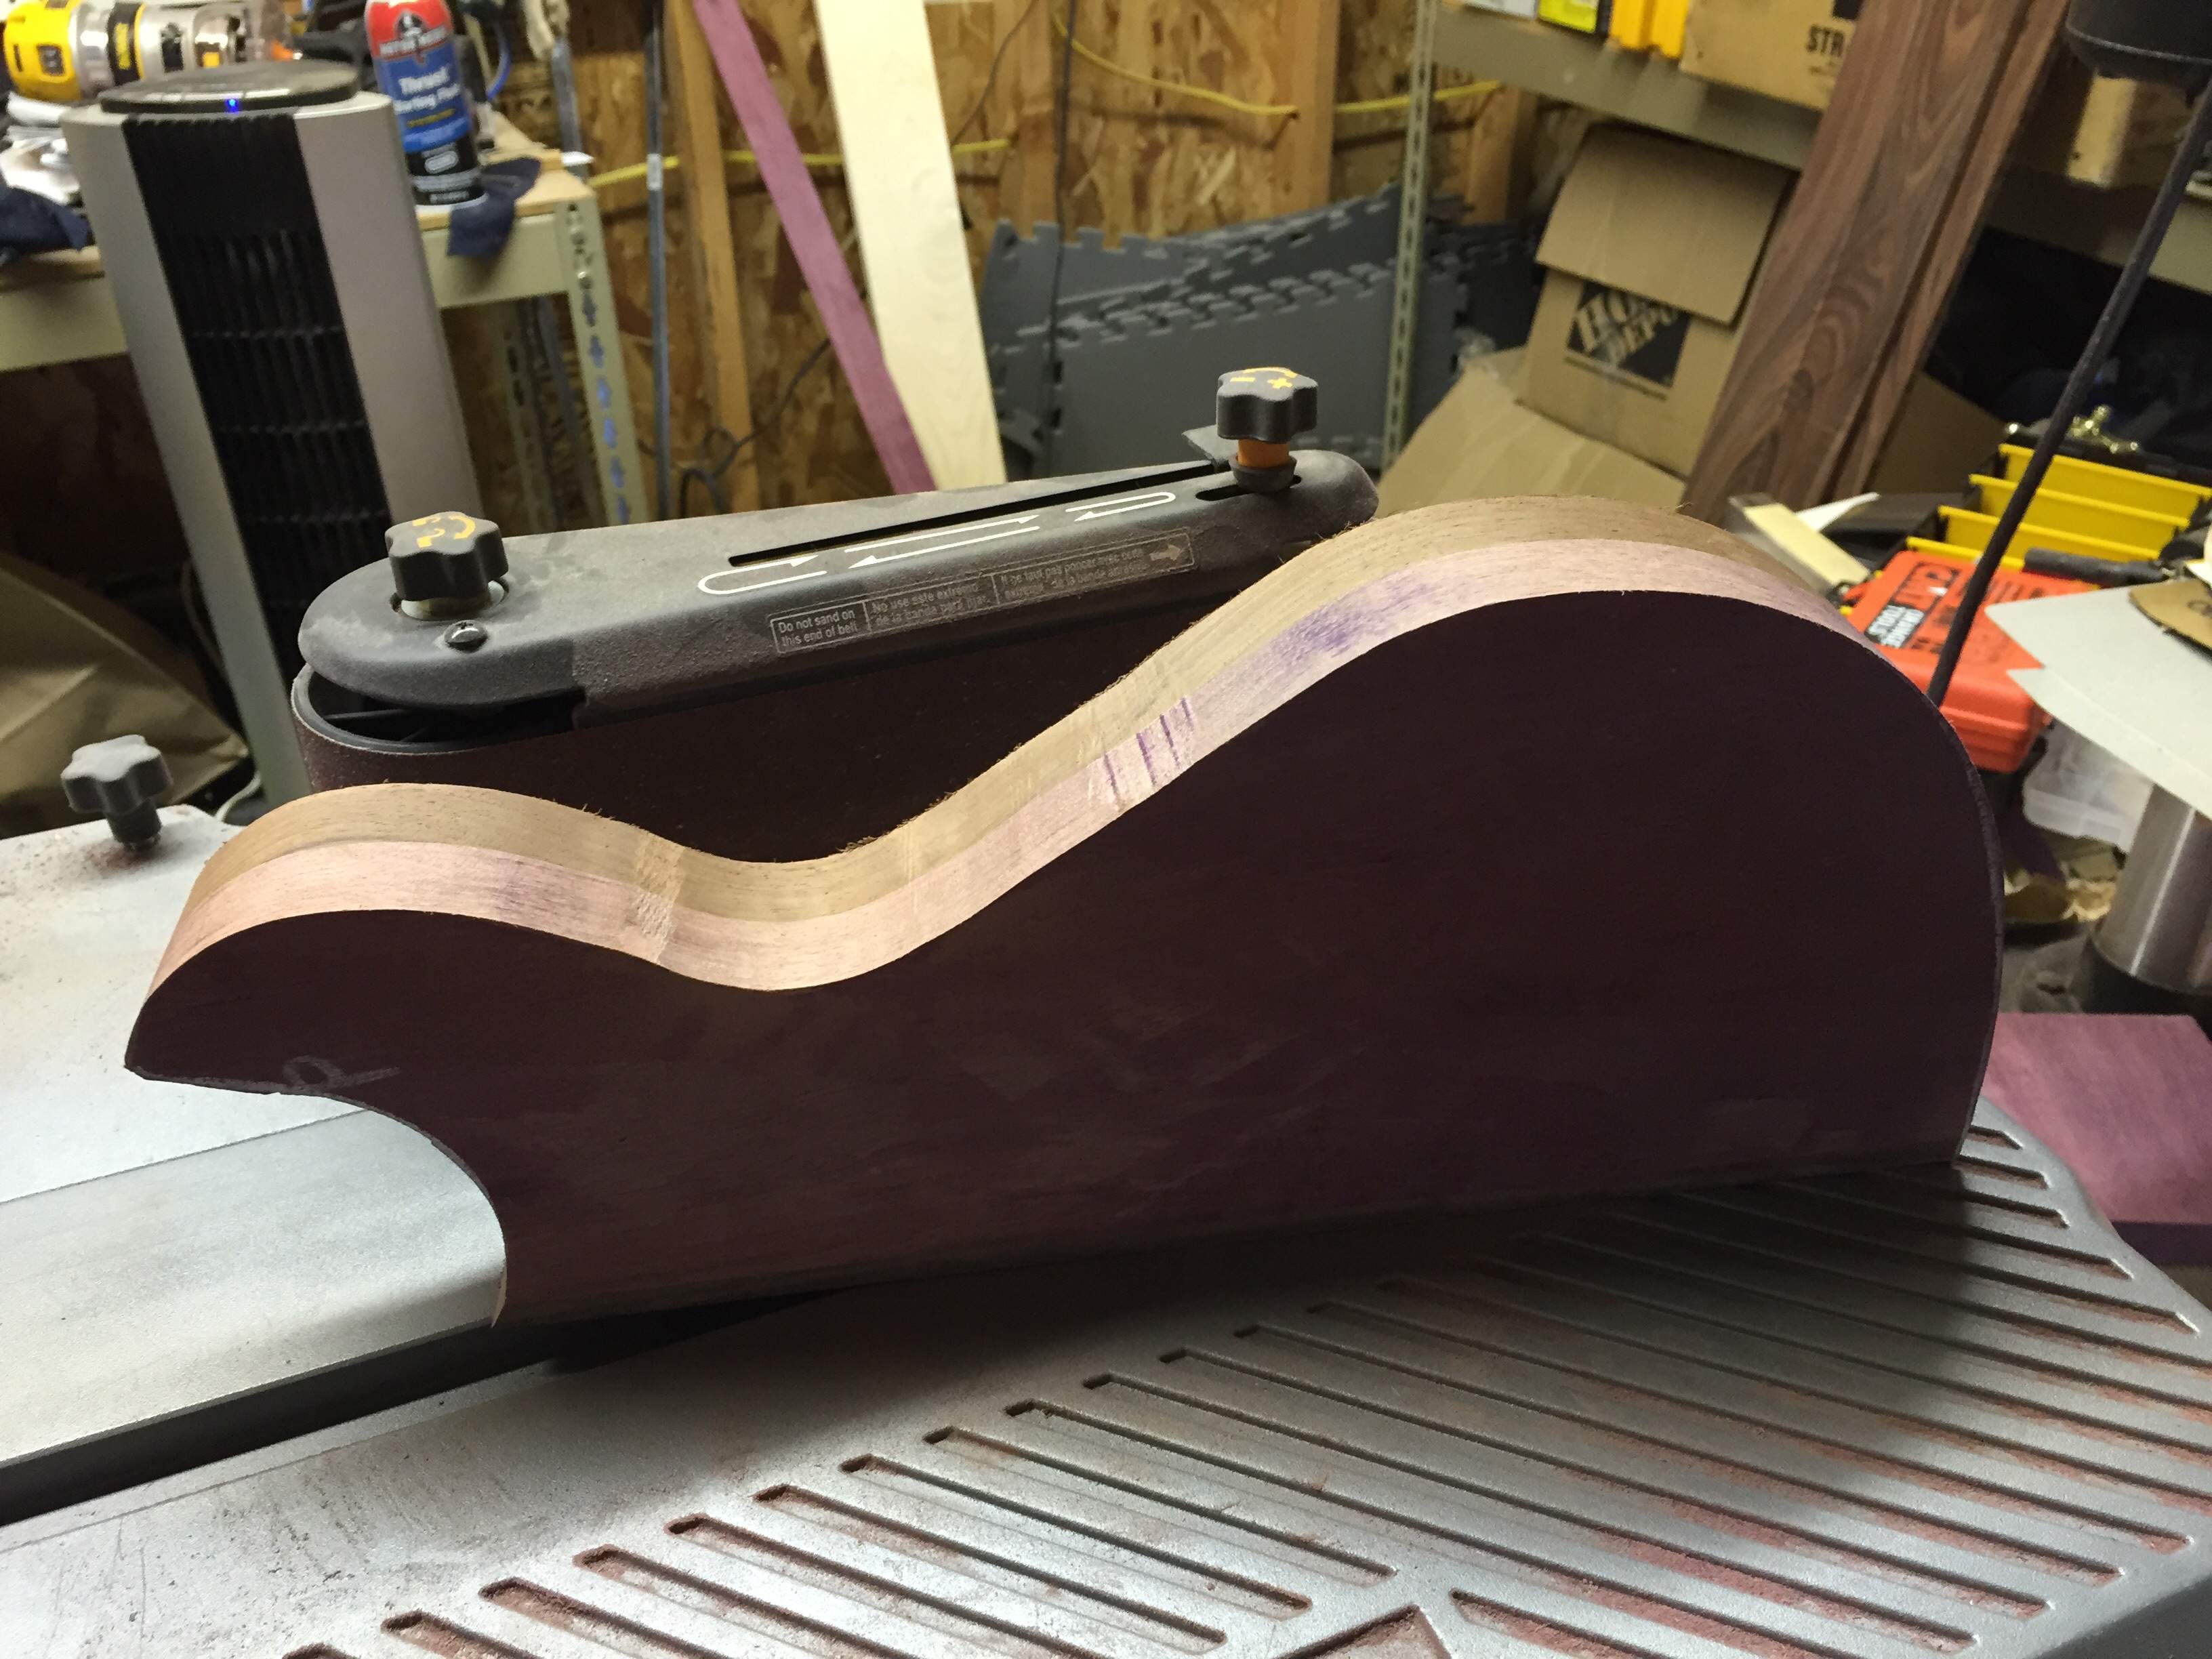
So I didn't have the router set deep enough so bearing would ride template. Managed to destroy template as well as gouge 1/4" through to where the wing joins the body.
Recoverable, or patchable and a nice battle wound? If patchable, I'd love to hear suggestions. Meh
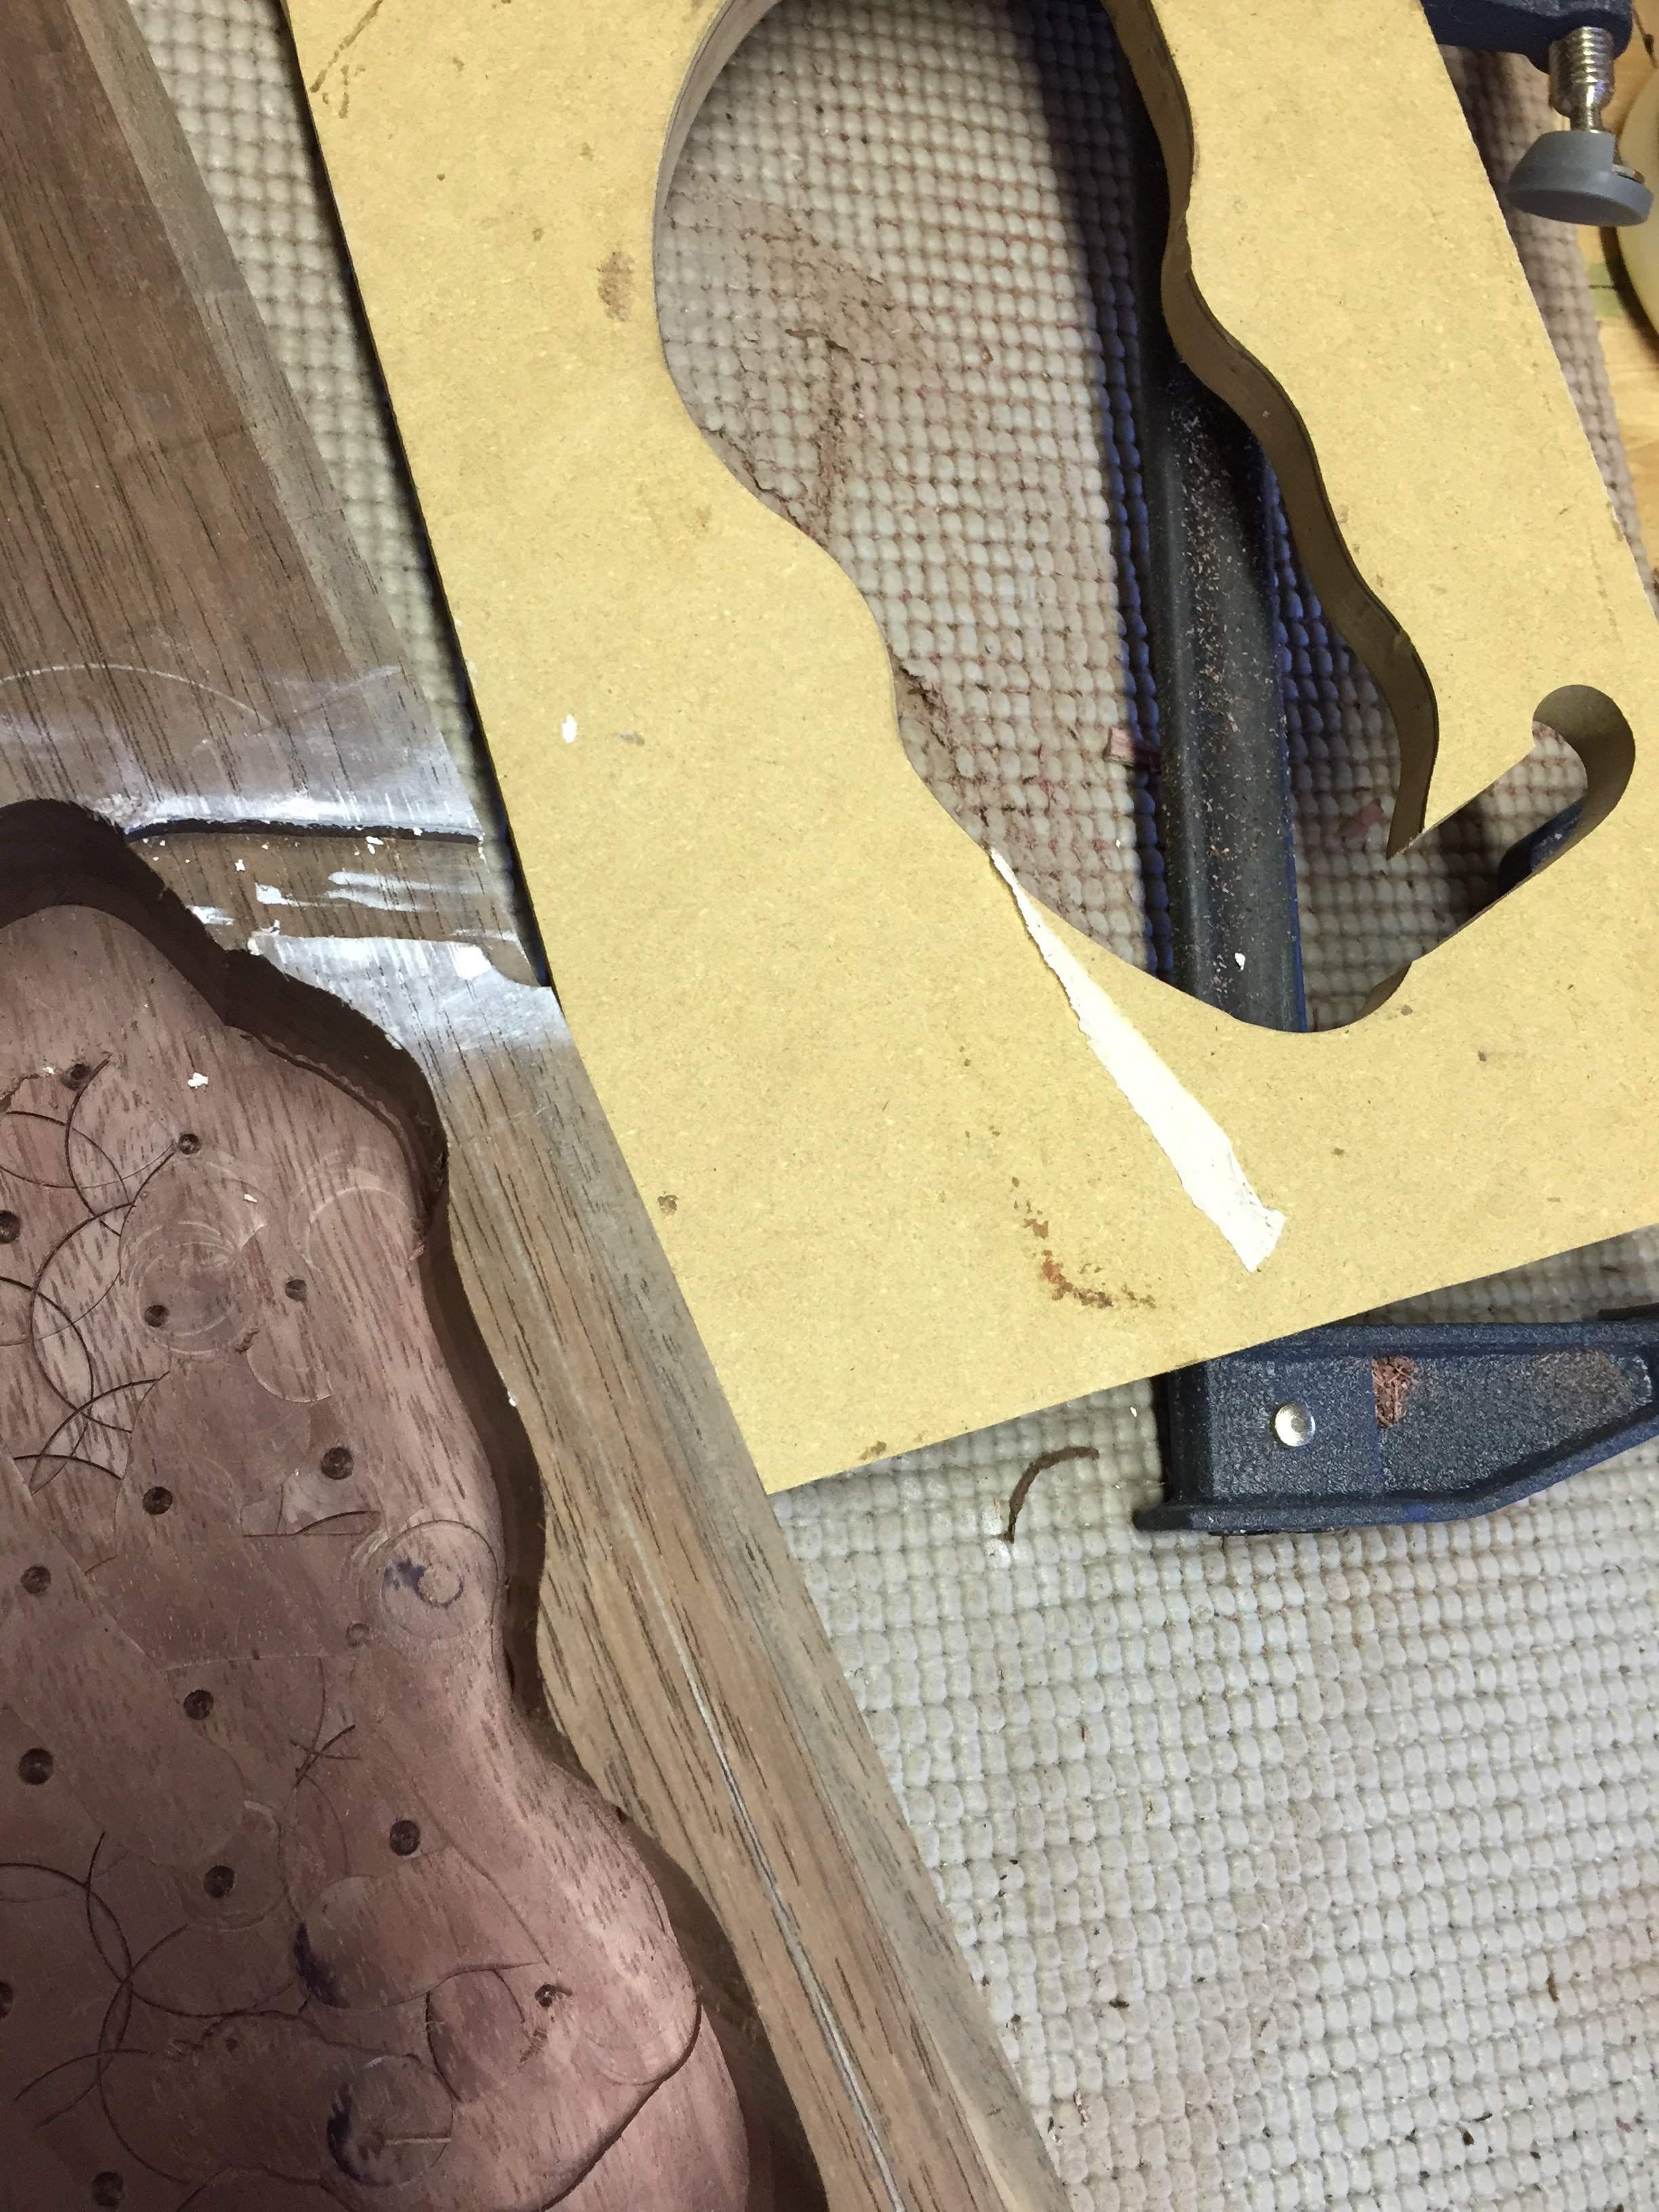
Recoverable, or patchable and a nice battle wound? If patchable, I'd love to hear suggestions. Meh
Ca glue plus walnut dust after body glue up seems like it may work. It is my first build, and I don't really want to waste the lumber! Or maybe wood filler, then walnut slurry?

CHaoZ
Guest
- Jan 27, 2015
- 101
- 66
- Disclosures
- Can't even sell my stuff for what it costs in parts alone

Clamp a straightedge down across the body right up next to the gouge, maybe 1/32" away from it. Take a sharp knife (a swiss army knife sharpened well is good) and make several passes gradually adding pressure to make a nice clean straight cut. It won't be deep, but it will set you up for the next step. Remove the straightedge, start at one end, take a 1" chisel and lay it in the cut with the angled side facing the gouge. Tap it with a hammer until it's as low as the gouge, then remove the waste by laying a 1/2" chisel flat side down in the gouge. For the side where it slipped as you were exiting, the lower edge of the gouge in the picture, you will need to widen the gouge as wide as the worst spot. So, after making the cut with the knife you will need to slowly work your way back, removing about 1/16" at a time until you get to the line.
Once you have nice clean straight edges to the gouge you can make a patch and use your block plane or sanding block to fit it. With the grain of that wood this should be a nearly invisible repair.
Red line is where you clamp the straight edge, make the knife cut and final chisel cut, black lines are wood that needs to be removed before getting to that line. You only want to be removing a tiny bit of wood on the final line. That way it will stay straight and the chisel won't have the tendency to push back into the wood.
Another option, and I'm not sure if it's possible without looking at the whole thing, would be to clamp a straightedge down and use your router to cut the gouge. Either way, you need to get the edges of that gouge straight and clean so a patch will fit in with no gaps.
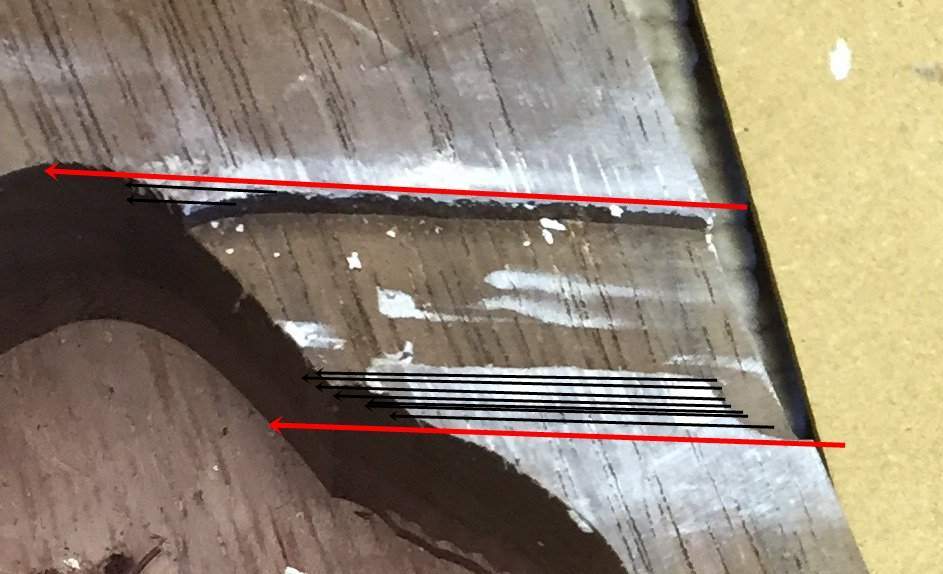
Once you have nice clean straight edges to the gouge you can make a patch and use your block plane or sanding block to fit it. With the grain of that wood this should be a nearly invisible repair.
Red line is where you clamp the straight edge, make the knife cut and final chisel cut, black lines are wood that needs to be removed before getting to that line. You only want to be removing a tiny bit of wood on the final line. That way it will stay straight and the chisel won't have the tendency to push back into the wood.
Another option, and I'm not sure if it's possible without looking at the whole thing, would be to clamp a straightedge down and use your router to cut the gouge. Either way, you need to get the edges of that gouge straight and clean so a patch will fit in with no gaps.
Last edited:

Thanks guys! I appreciate the levity and great advice. A friend of mine suggested carving it into a pattern for a cool inlay.
Seems another recoverable mistake and learning experience!
Seems another recoverable mistake and learning experience!


