
Enjoy the benefits of a premium membership!
Upgrade Account
-
TalkBass has been independent since 1998. Add your voice.
Create a free account to reply to discussions, view embedded media, and browse with fewer display ads.
Join free Log in
Want zero display ads or expanded classifieds tools? Compare plans.
You are using an out of date browser. It may not display this or other websites correctly.
You should upgrade or use an alternative browser.
You should upgrade or use an alternative browser.
First build bass for my daughter
- Thread starter jmorbita
- Start date
More options
Who Replied?
Hopkins
Commercial User

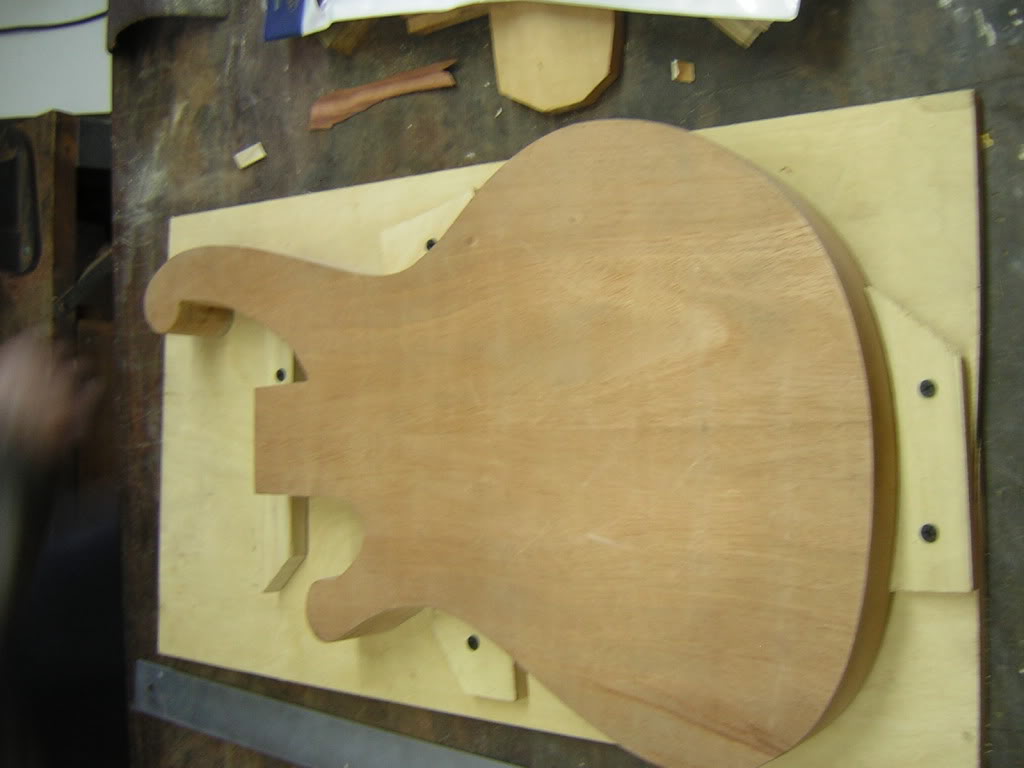
some progress... I made this thingy so that i could hold the body down and plane the back more steadily and thin down the body. i had a go at it for a few hours, until I got to 40 milimeters (about 1.57 inches?) I might try and make the body a bit thinner, I'm not really sure, it looks good for now.
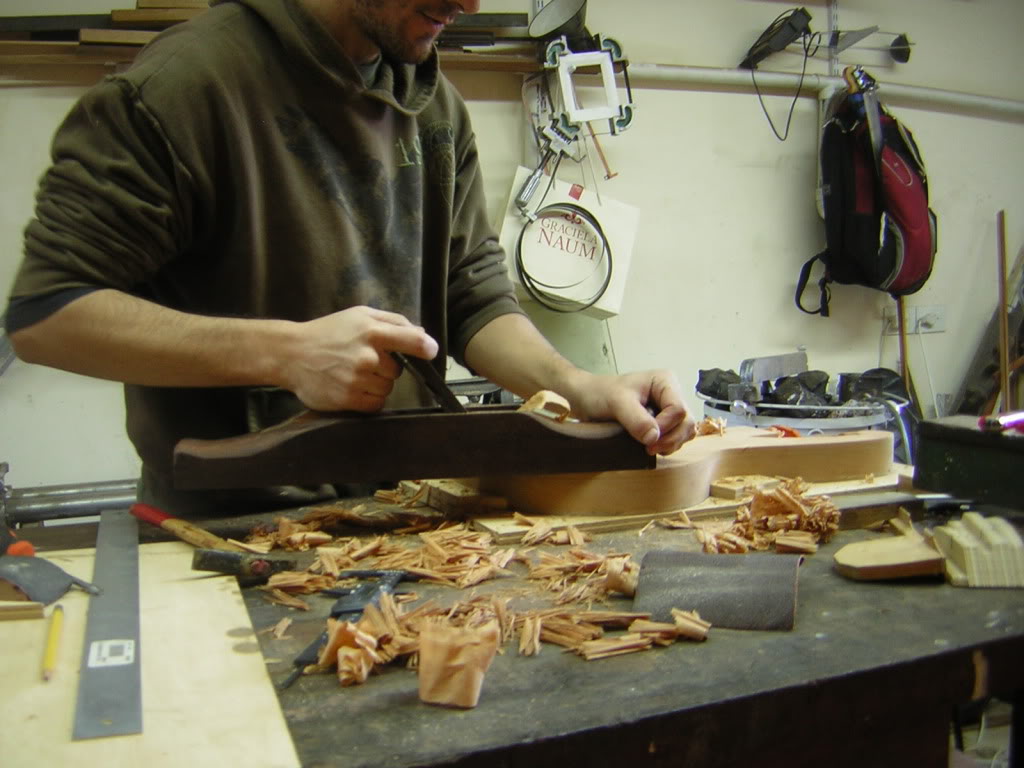
I need one of those stanley planes...
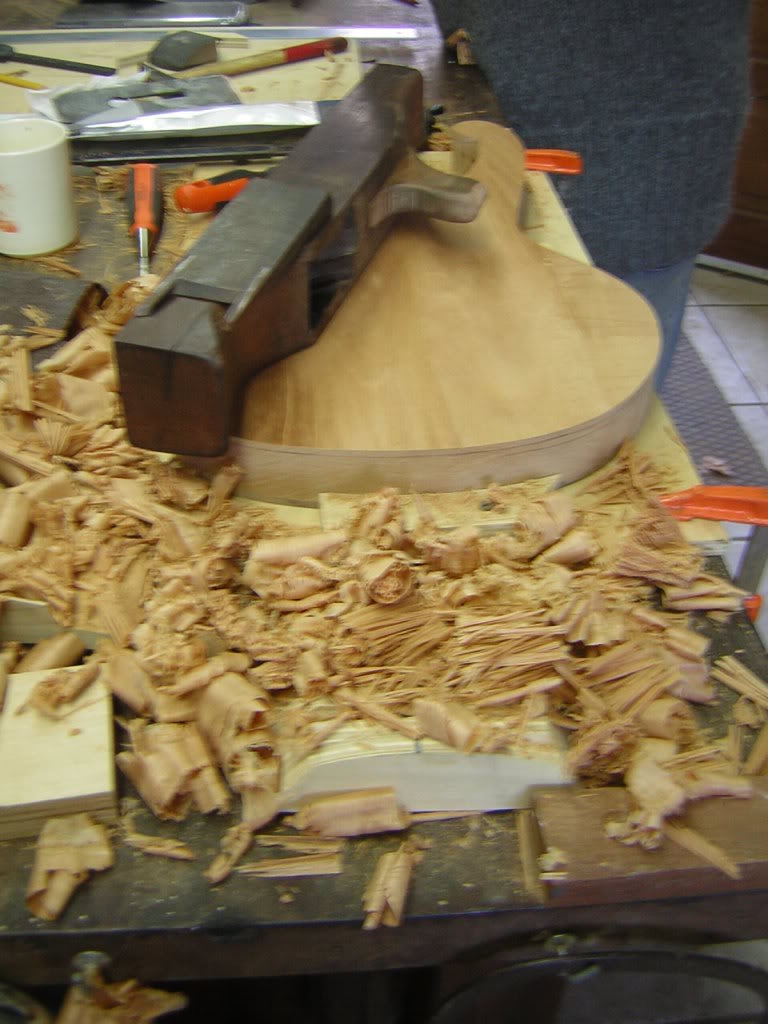
I also started filling the holes in the walnut with dust and glue. still a lot to do.
wish i had a better camera.
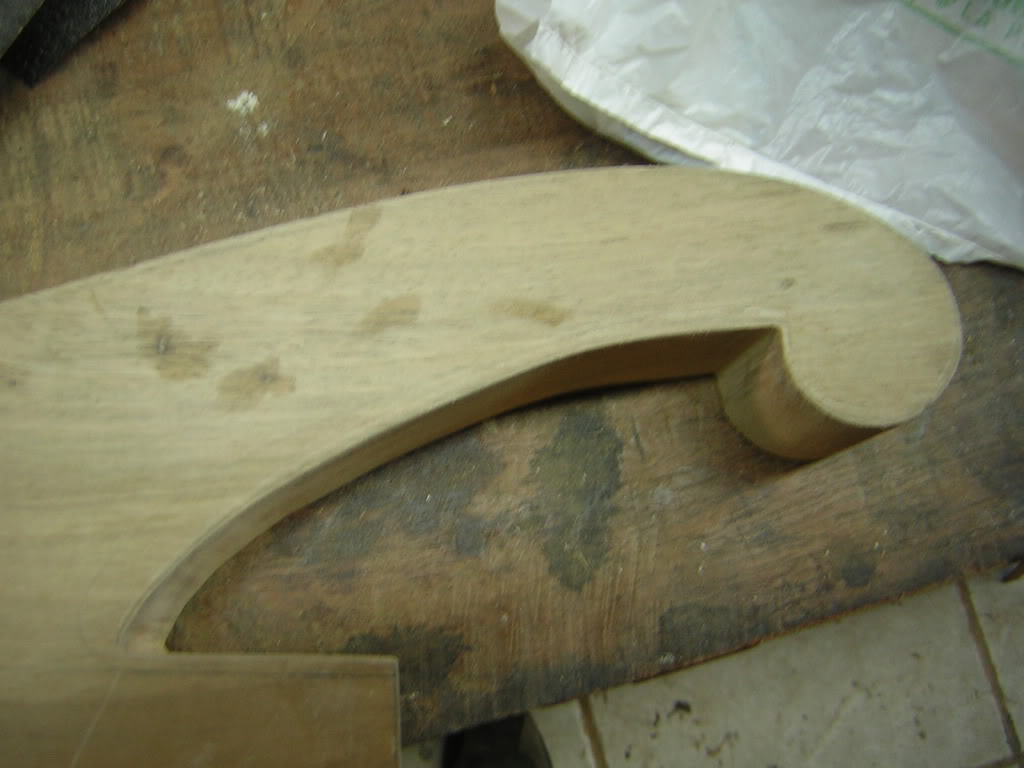
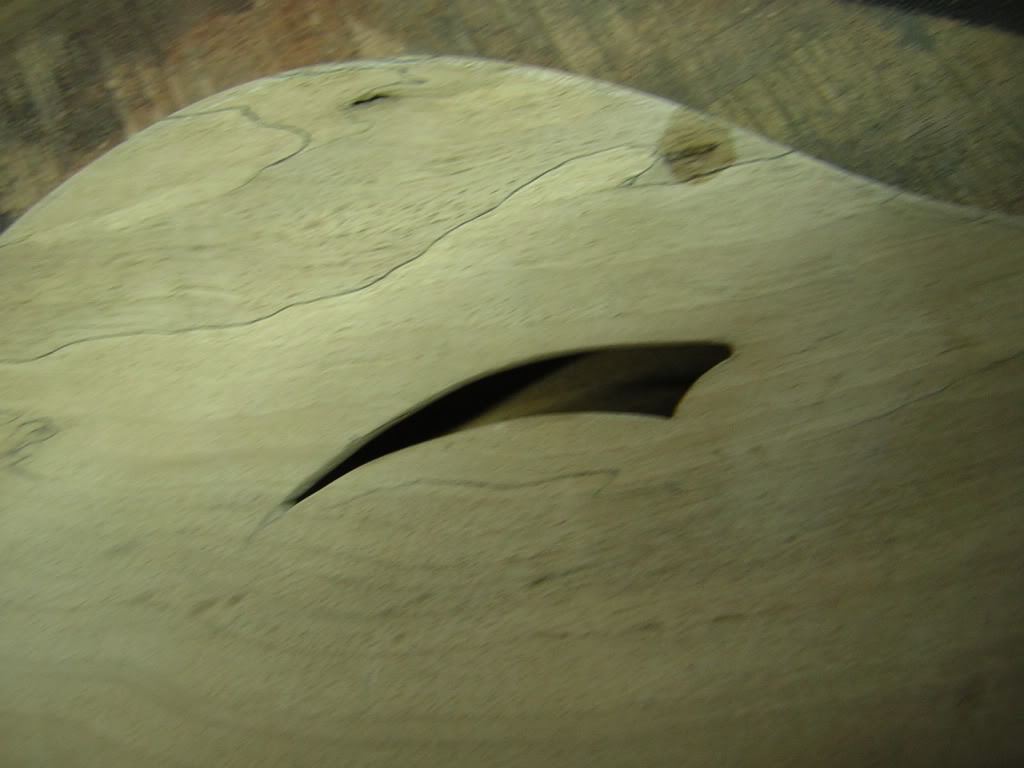
I love the spalt lines, but some of them will go because i plan on contouring the upper part of the body where the right forearm rests.
I need one of those stanley planes...
I also started filling the holes in the walnut with dust and glue. still a lot to do.
wish i had a better camera.
I love the spalt lines, but some of them will go because i plan on contouring the upper part of the body where the right forearm rests.
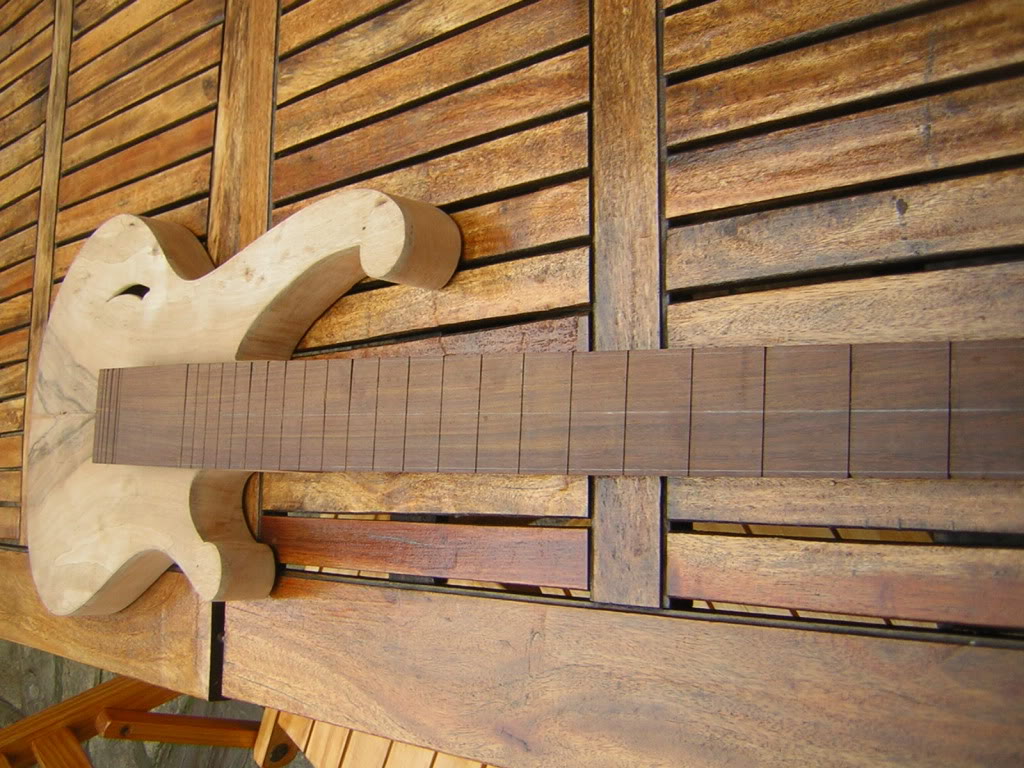
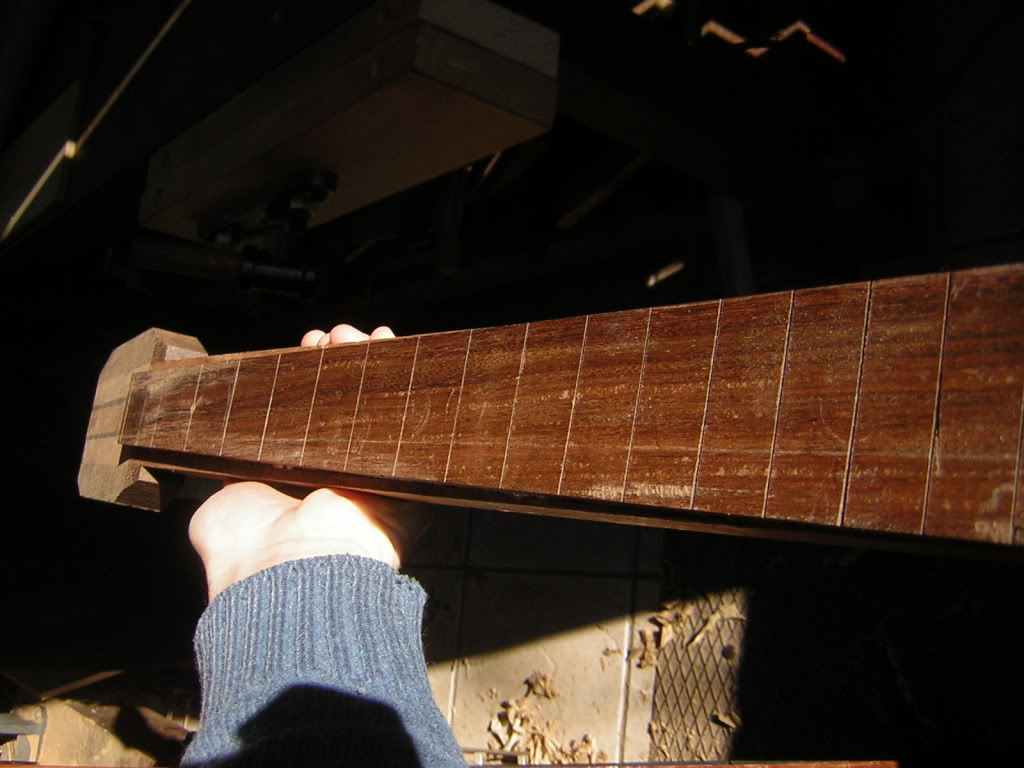
A little progress... I finished slotting the fingerboard, though I might probably need to retouch some of the slots after I radius the board.
this task has been very stressing... I felt I needed a lot of concentration and focus, and I'm not that good with the saw, at times I felt I was making too much force, my arm got tired... next build will be an unlined fretless!!
I couldn't resist to lay the fretboard on the body to have a quick mockup.
I started cutting the board to shape, it's still too long.
This wood is very hard, and while planing the sides of it, I neglected to sharpen my plane, and had some tear. Apart from being very hard, the wood's fibers seem to be all intertwined, like hair not flowing all in the same direction. I'll have to remember to stop and sharpen my tools every few passes next time.
Fortunately no real damage is done, I still have some planing to do.
Here is a picture of my not-so-perfect fretslot sawing, and the tearout on the side of the board. It's outside the fretboard.
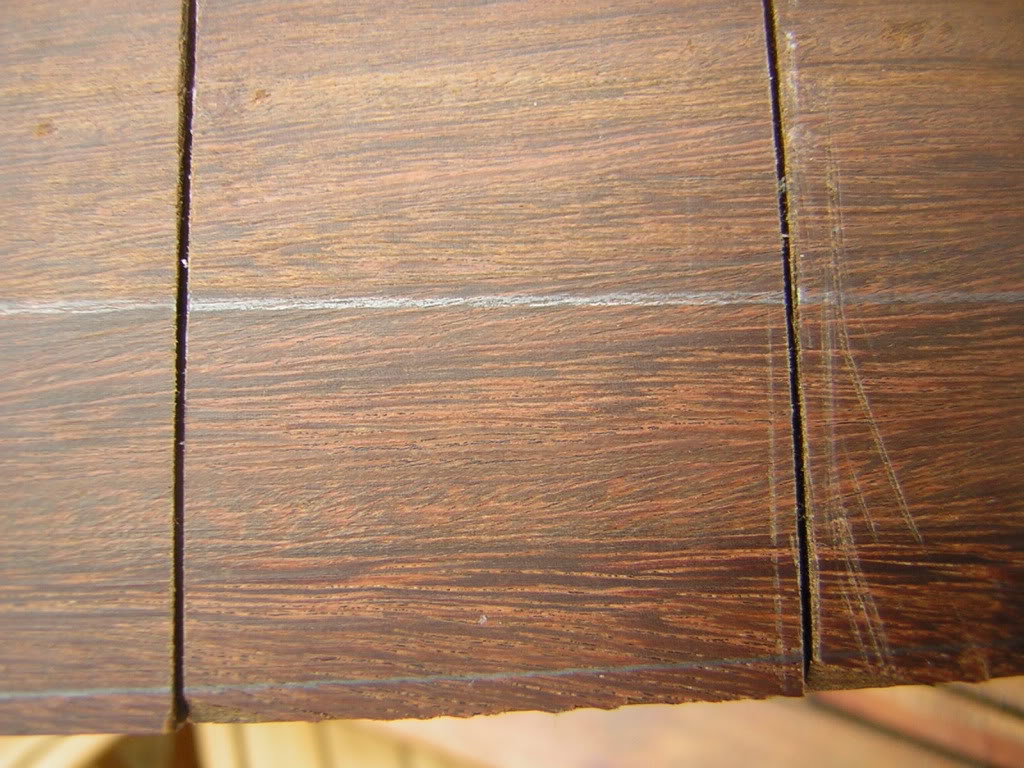
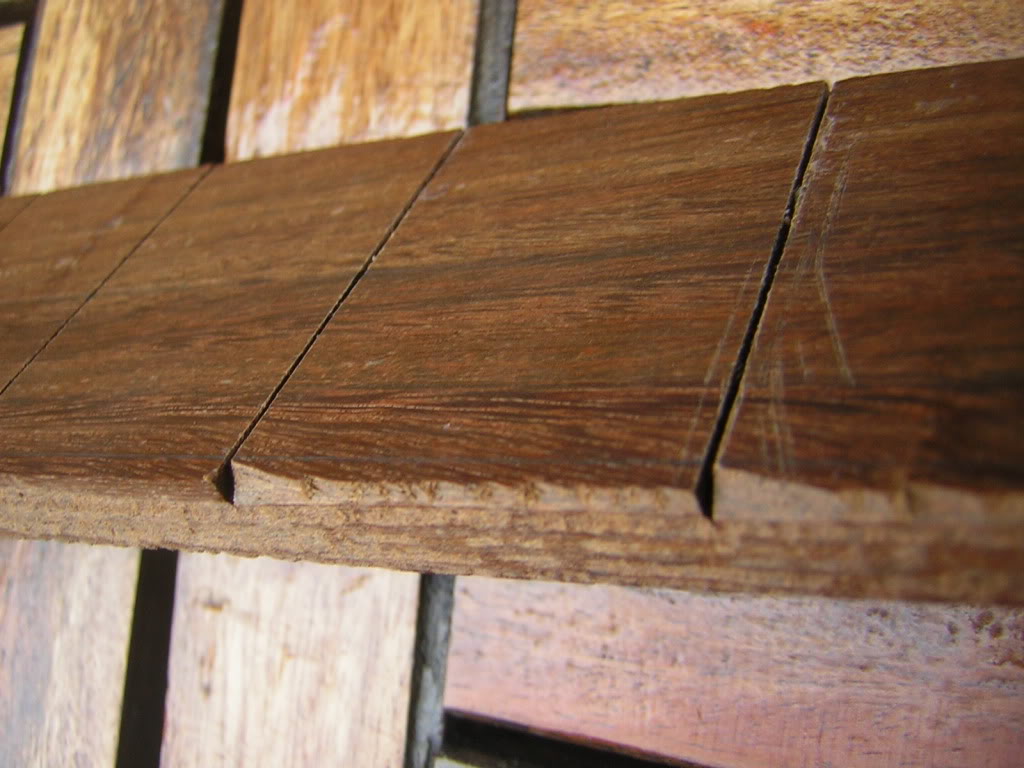
those scratches on the board will be gone when I start radiusing. The board is still too thick and I have quite a bit of sanding to do.
A lot still to learn as well.
this task has been very stressing... I felt I needed a lot of concentration and focus, and I'm not that good with the saw, at times I felt I was making too much force, my arm got tired... next build will be an unlined fretless!!
I couldn't resist to lay the fretboard on the body to have a quick mockup.
I started cutting the board to shape, it's still too long.
This wood is very hard, and while planing the sides of it, I neglected to sharpen my plane, and had some tear. Apart from being very hard, the wood's fibers seem to be all intertwined, like hair not flowing all in the same direction. I'll have to remember to stop and sharpen my tools every few passes next time.
Fortunately no real damage is done, I still have some planing to do.
Here is a picture of my not-so-perfect fretslot sawing, and the tearout on the side of the board. It's outside the fretboard.
those scratches on the board will be gone when I start radiusing. The board is still too thick and I have quite a bit of sanding to do.
A lot still to learn as well.
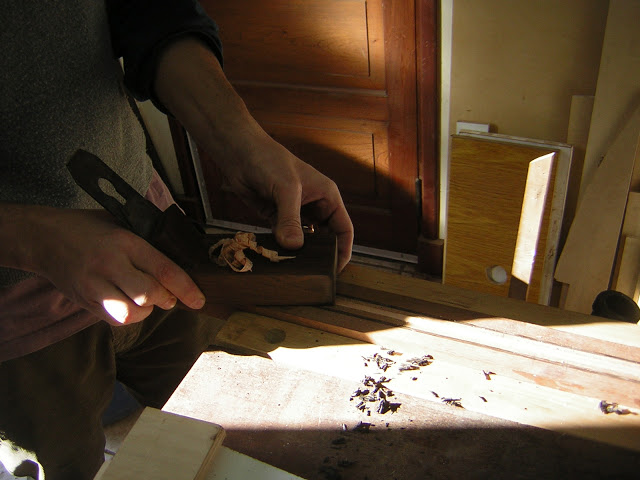
I've been planing some more, with my strusty Bleckmann Solingen blade, which needs a better cleanup. It looked way worst when I got it:
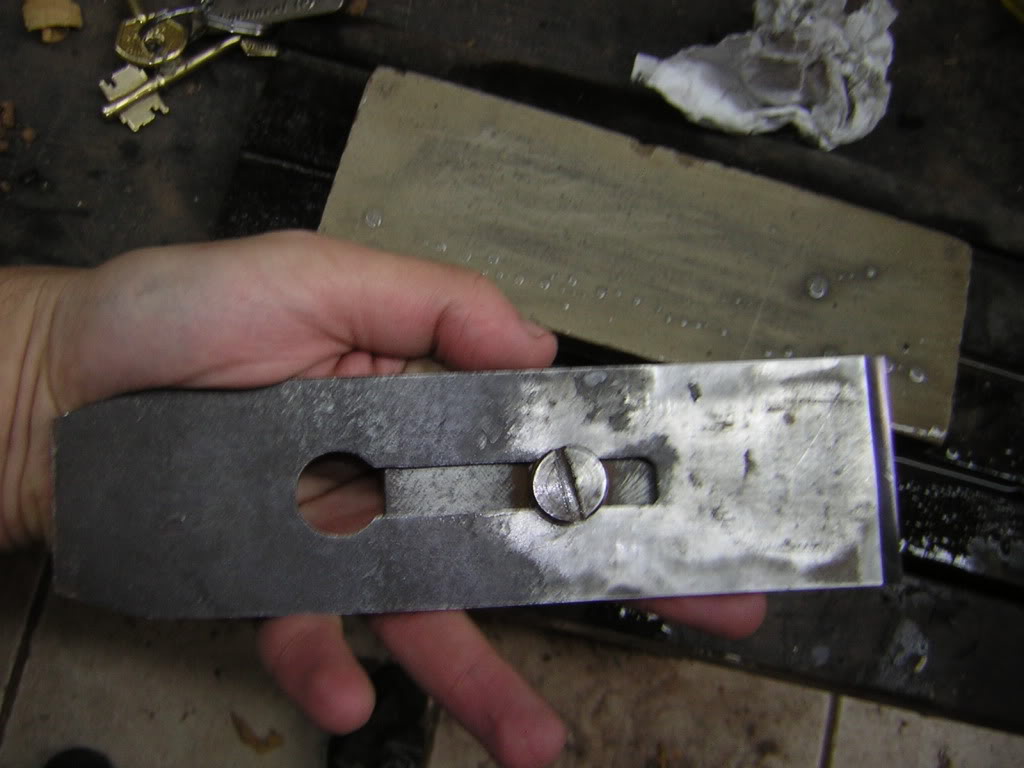
My fretboard is ready to glue up now, but first I need to finish the trussrod:
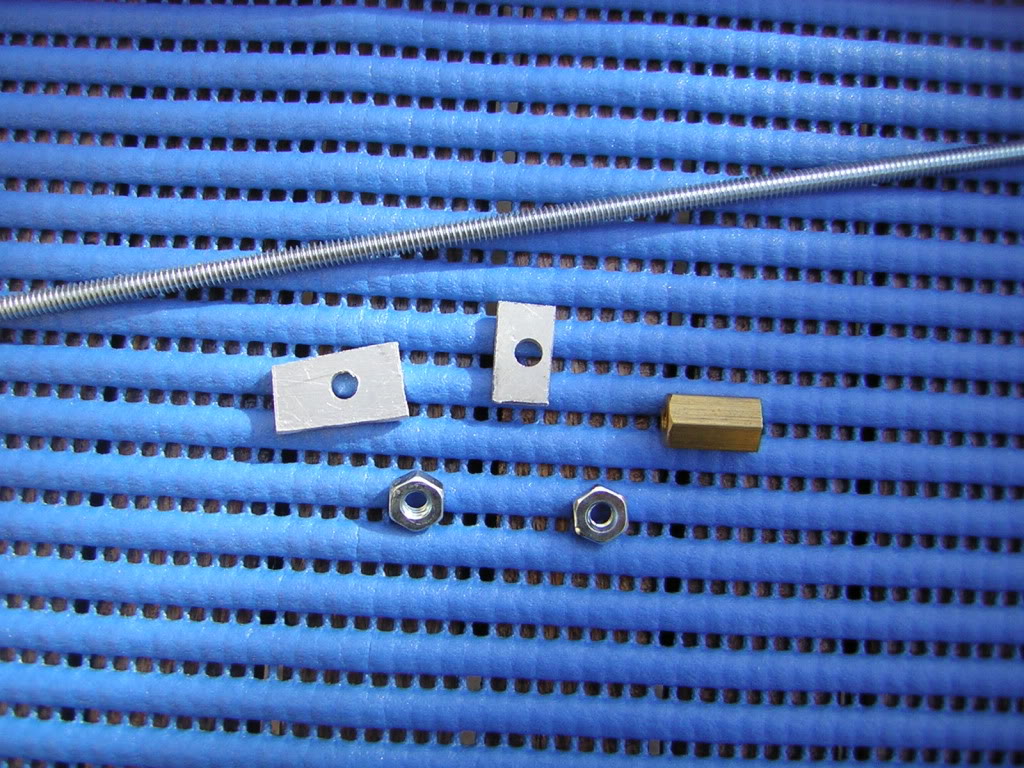
I still need to work a bit on it...
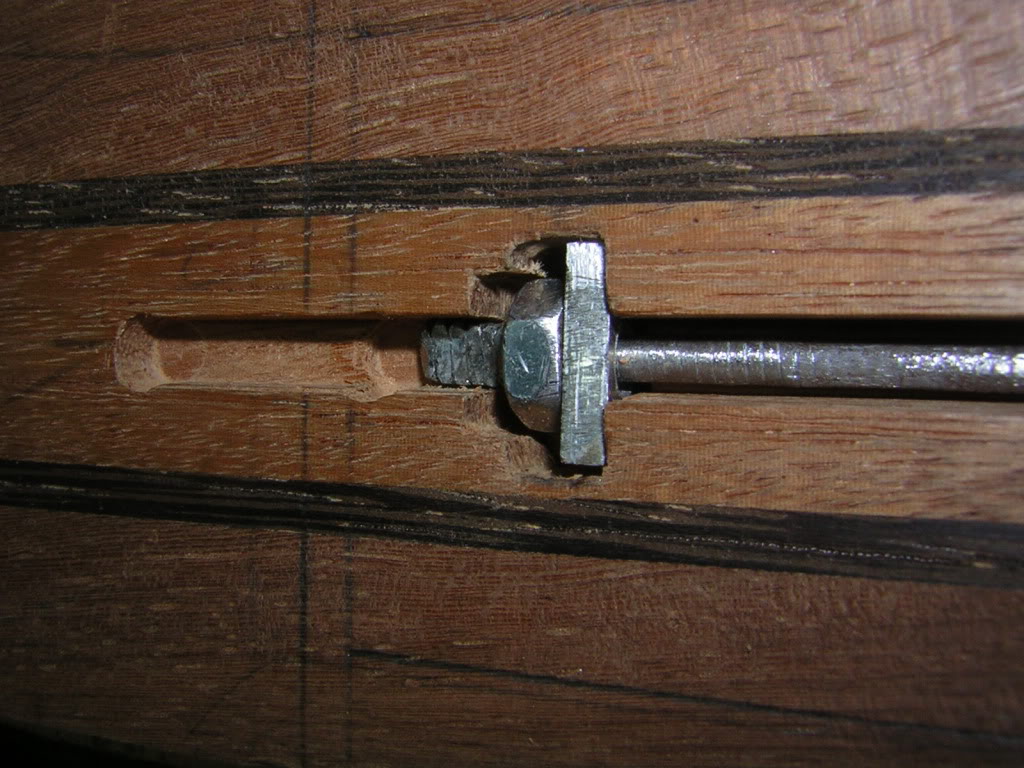
when done it should look something like this:
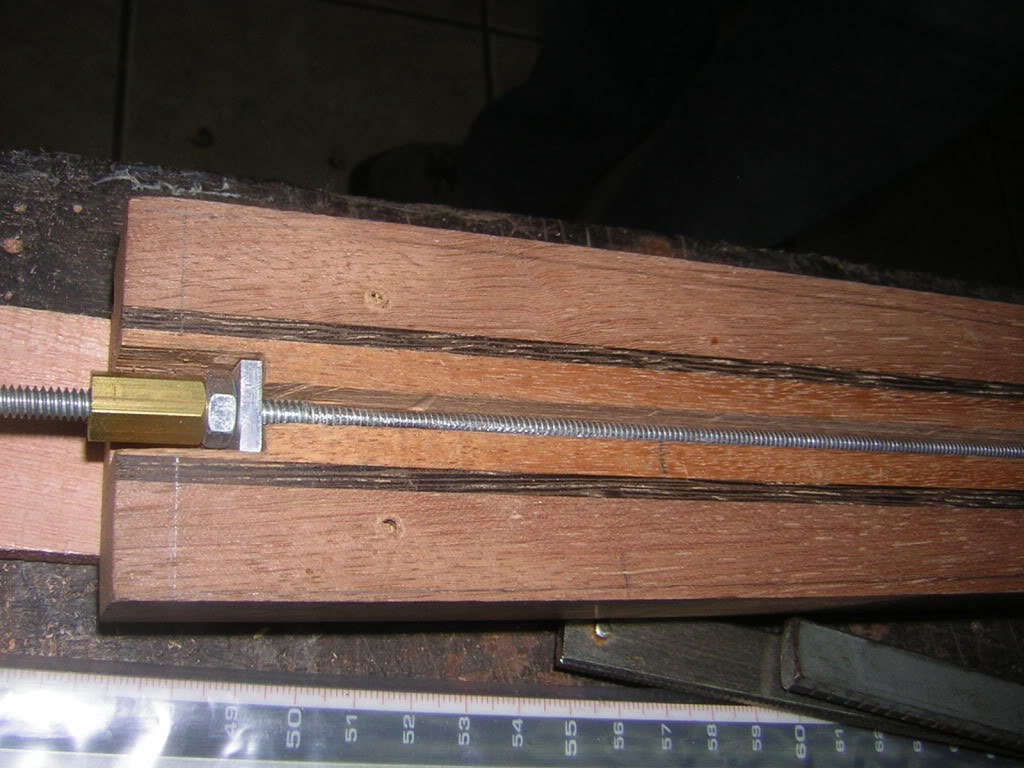
My fretboard is ready to glue up now, but first I need to finish the trussrod:
I still need to work a bit on it...
when done it should look something like this:

Today I finally finished with the truss rod.
This is one way rod, home made, that ended up being a lot cheaper than buying one.
all the parts I bought in a hardware store: a threaded rod, a couple of nuts.
the route for the truss rod is done with a curve. the threads of the rod are shaved off on the center of it so that they won't get stuck in the wood when tightened:

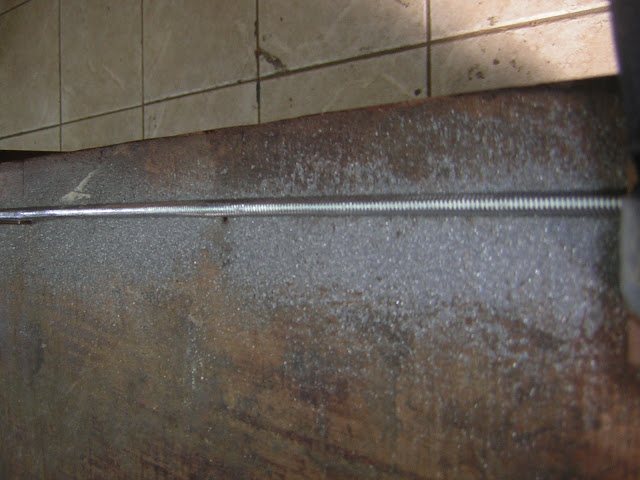
there was a soldering machine in the shop, so we decided to solder the nut on the end of the rod. I then shaved it quite a bit:
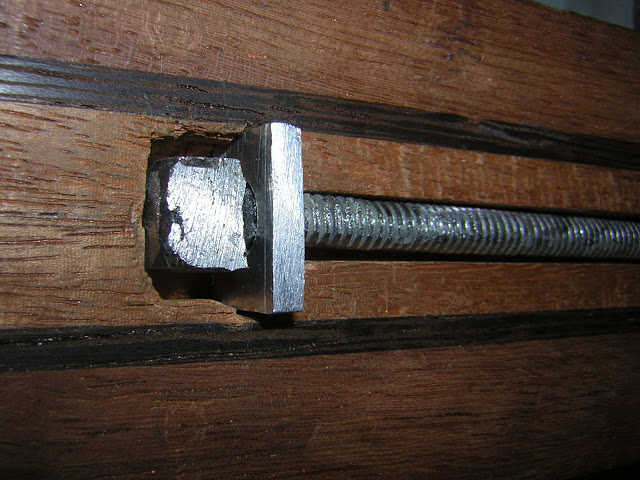
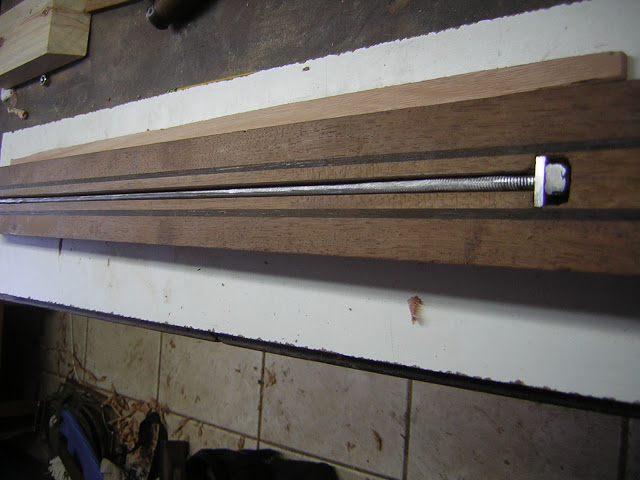
We cut a piece of wood that goes on the channel, on top of the rod, copying the curve of the channel,
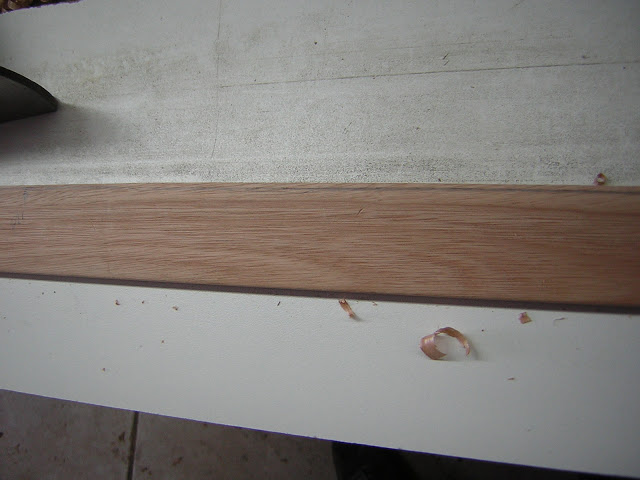
so that the rod when tightened makes preassure on this wood and acts on the neck.
This is finally glued inside the channel:
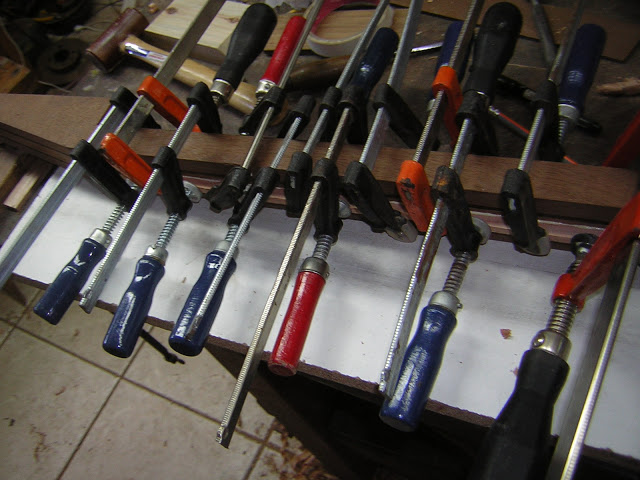
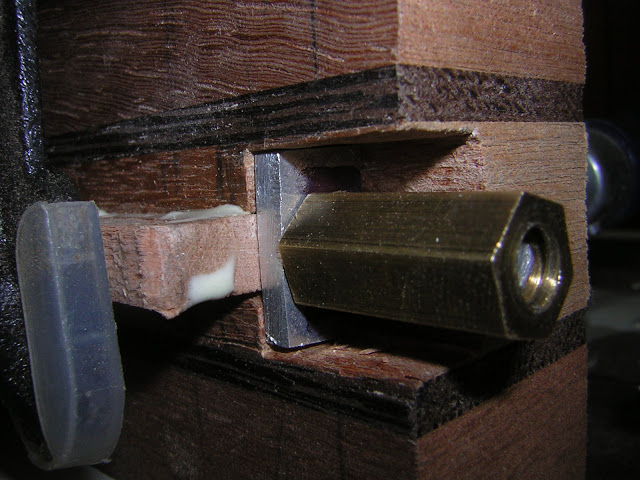
This is one way rod, home made, that ended up being a lot cheaper than buying one.
all the parts I bought in a hardware store: a threaded rod, a couple of nuts.
the route for the truss rod is done with a curve. the threads of the rod are shaved off on the center of it so that they won't get stuck in the wood when tightened:
there was a soldering machine in the shop, so we decided to solder the nut on the end of the rod. I then shaved it quite a bit:
We cut a piece of wood that goes on the channel, on top of the rod, copying the curve of the channel,
so that the rod when tightened makes preassure on this wood and acts on the neck.
This is finally glued inside the channel:
So then I'll take off the clamps, plane the neck down, and I'm ready to glue the fretboard.
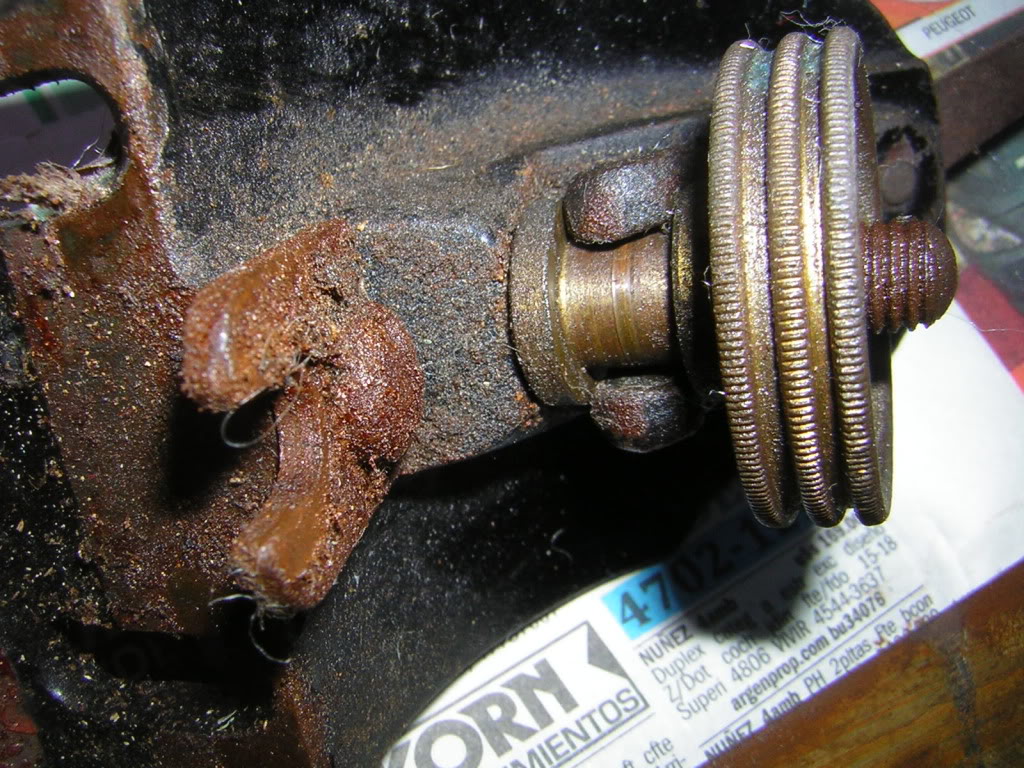
this rod will be adjusted from the body. The theory is that the adjusting nut is bronze because it is not as hard as steel, so if by chance something goes wrong when tightening the rod, the nut will break before the rod, so you won't need to change the rod, that would be a more difficult task, but only have to change the nut. (so I've been told...)
this rod will be adjusted from the body. The theory is that the adjusting nut is bronze because it is not as hard as steel, so if by chance something goes wrong when tightening the rod, the nut will break before the rod, so you won't need to change the rod, that would be a more difficult task, but only have to change the nut. (so I've been told...)
took off the clamps and now I have to plane the neck to glue the fretboard:
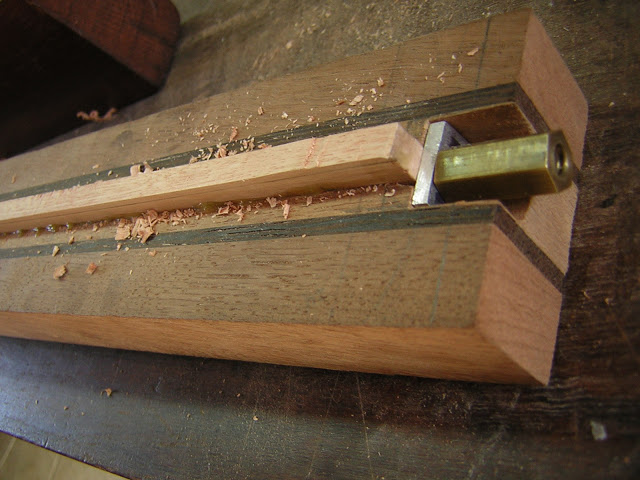
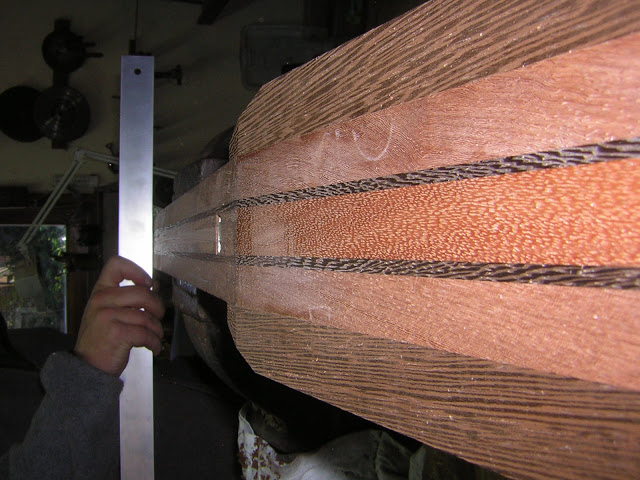
Also glued pieces of wenge at each side of the headstock.
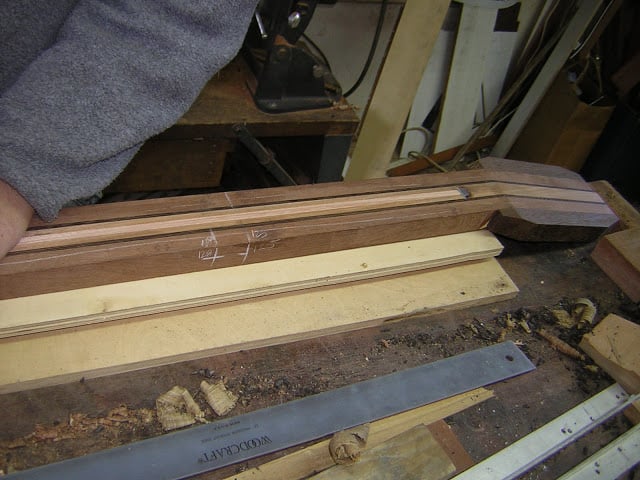
I finally got to gluing the fretboard, but no pictures of that yet.
Also glued pieces of wenge at each side of the headstock.
I finally got to gluing the fretboard, but no pictures of that yet.
Fretboard glued! 
it looks pretty rough, still needs to be sanded down.
Today I spent some time doing the headstock thingy to draw it on to the wood... what's it called? the proper name for the thingy doesn't come to me right now..
bare with me, english is not my mother tongue and I'm new to wood working. I got this piece of hard plastic, draw the shape on it, cut it to size. I think it looks nice:
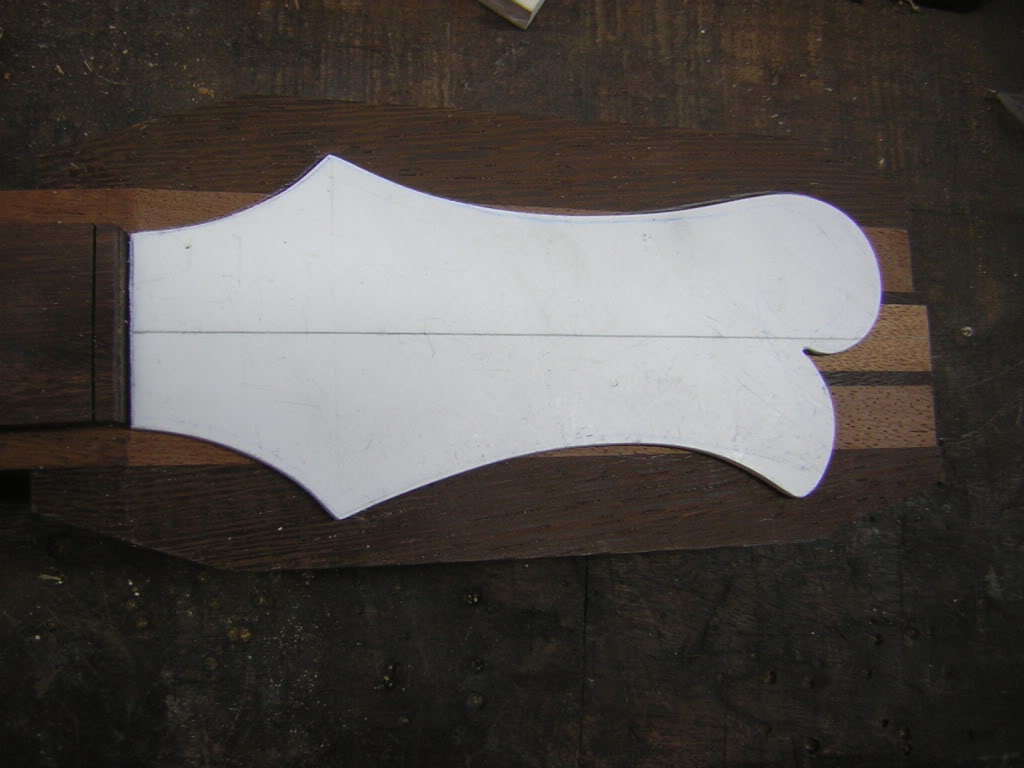
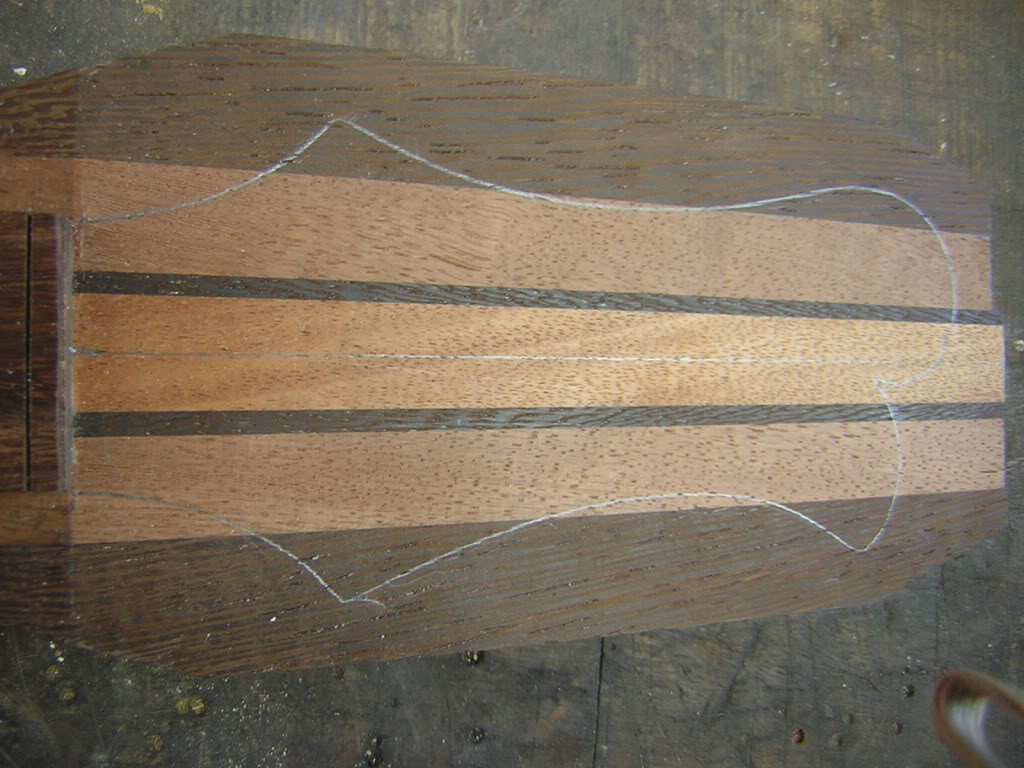
the idea is to have a walnut veneer on the headstock too, with the white accent line, to match the body.
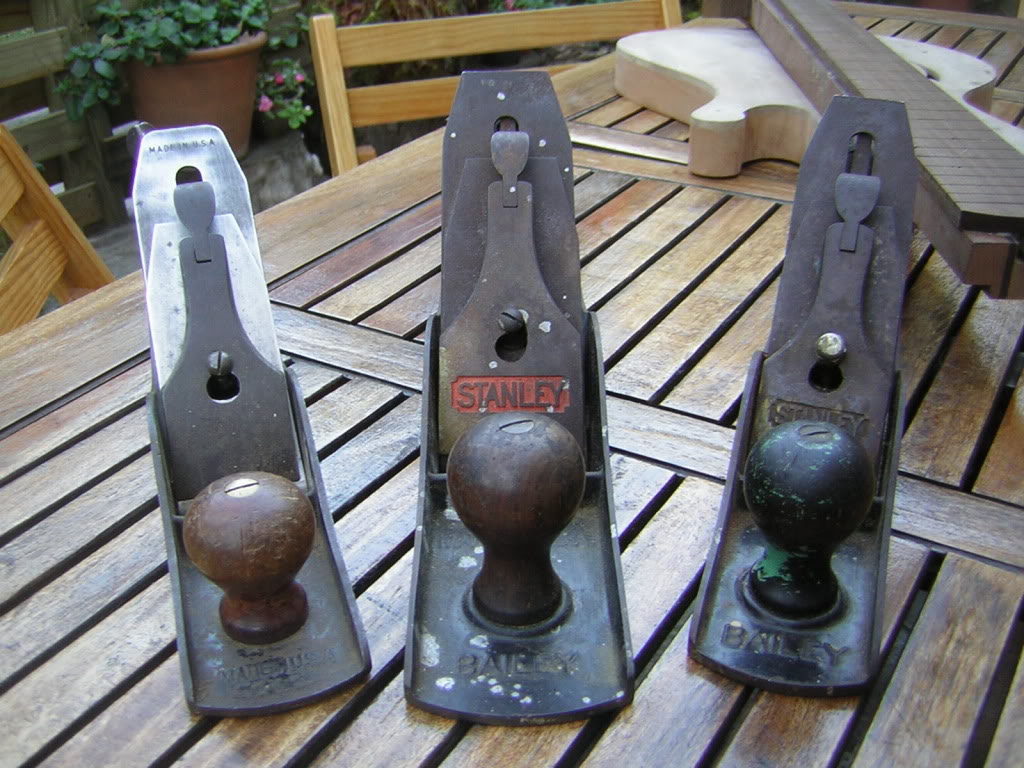
I got some new planes by the way, shipped from usa, shipping cost me twice as much as the planes... still sort of a bargain, these are rarely found in Argentina. They need to be cleaned up a bit though...
do the builders out there still use this planes for their joints?
lots more pictures right here.
thanks for looking! comments very welcome!
it looks pretty rough, still needs to be sanded down.
Today I spent some time doing the headstock thingy to draw it on to the wood... what's it called? the proper name for the thingy doesn't come to me right now..
bare with me, english is not my mother tongue and I'm new to wood working. I got this piece of hard plastic, draw the shape on it, cut it to size. I think it looks nice:
the idea is to have a walnut veneer on the headstock too, with the white accent line, to match the body.
I got some new planes by the way, shipped from usa, shipping cost me twice as much as the planes... still sort of a bargain, these are rarely found in Argentina. They need to be cleaned up a bit though...
do the builders out there still use this planes for their joints?
lots more pictures right here.
thanks for looking! comments very welcome!

looks like fun to me. thanks for posting and teaching!
It IS really fun!!
and I'm flattered that you find this informative!

The pictorial's very detailed, I'd say this was about the best explanation of how a truss-rod is installed and how it works - ever.
Also, your daughter is lucky to have a luthier dad who's so committed to making a great bass. Carry on, good sir.
Also, your daughter is lucky to have a luthier dad who's so committed to making a great bass. Carry on, good sir.

HAHAHAHAHAHA! 
And there's always the chance that you'll end up like those people on TV that had eight kids at once. It would be a shame if she had eight kids and you'd only made one bass. Why take that chance? I'd say Guiness Book it, find out the most kids born at once ever, then make one over that just in case. All different basses to account for different personality types. Your wife will thank you later, as will your twenty-seven offspring.
The pictorial's very detailed, I'd say this was about the best explanation of how a truss-rod is installed and how it works - ever.
Also, your daughter is lucky to have a luthier dad who's so committed to making a great bass. Carry on, good sir.
Thanks for your kind words!!
Don't have much to update. I've been planing the fretboard to thickness prior to sanding it to radius, but had to stop. The fretboard's wood is too hard and too brittle, and it's fibers don't run evenly as other woods I've worked with, so there was some noticeable tearing of the wood:
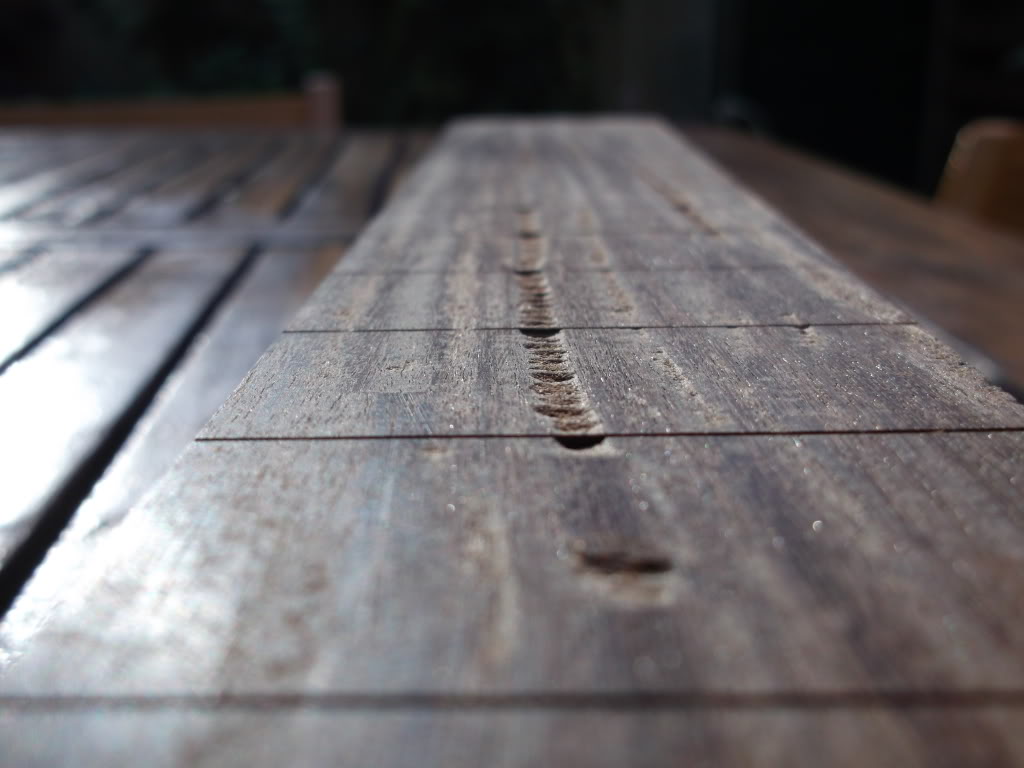
Believe me, the blade was sharp though it doesn't look like it.
No problem since the fretboard is still too thick. I'll either have to get a plane with a blade angled for hard wood (which I don't have) or continue by sanding from now on.
Believe me, the blade was sharp though it doesn't look like it.
No problem since the fretboard is still too thick. I'll either have to get a plane with a blade angled for hard wood (which I don't have) or continue by sanding from now on.


