

Enjoy the benefits of a premium membership!
Upgrade Account
-
TalkBass has been independent since 1998. Add your voice.
Create a free account to reply to discussions, view embedded media, and browse with fewer display ads.
Join free Log in
Want zero display ads or expanded classifieds tools? Compare plans.
You are using an out of date browser. It may not display this or other websites correctly.
You should upgrade or use an alternative browser.
You should upgrade or use an alternative browser.
First Build, Performer Copy
- Thread starter mapleglo
- Start date
More options
Who Replied?

Ah! Here in AZ we are only required to have a rear plate. There's a pretty big market for custom front plates. I've been looking for a Yes logo for the front, as Tink is getting pretty beat up. The background behind the wording used to be hot pink. The sun bleached it white over the years.

Oops, my Australian is showing...
Good to know, interesting how different places can be on road rules (silly left hand side drivers)
Whats the ETA for the gear now?
Good to know, interesting how different places can be on road rules (silly left hand side drivers)
Whats the ETA for the gear now?
Oops, my Australian is showing...
Good to know, interesting how different places can be on road rules (silly left hand side drivers)
Whats the ETA for the gear now?
Hard to say. I'm a little concerned about the temps since I'll be spraying outside, although from my research, it appears that nitro is not so dependent on temps as it is with humidity. That's usually pretty low here in Phoenix, especially in the winter.
OMG! I just made a huge mistake. I was trying to slim down the control cavity surface slightly so the controls would fit, and I guess the setting on the router slipped.
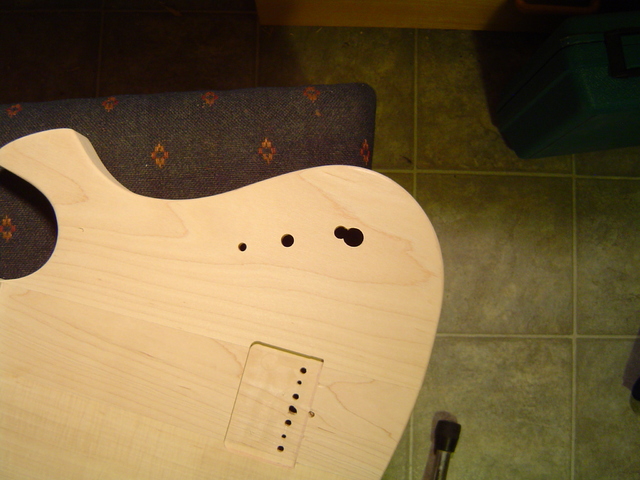
I now have an extra 1/2" hole from the router bit.
Any ideas? Can I fix it?
I now have an extra 1/2" hole from the router bit.
Any ideas? Can I fix it?

- Jun 30, 2010
- 49,600
- 222,011
- Disclosures
- musician/artist/owner - Gildaxe
OMG! I just made a huge mistake. I was trying to slim down the control cavity surface slightly so the controls would fit, and I guess the setting on the router slipped.
I now have an extra 1/2" hole from the router bit.
Any ideas? Can I fix it?
A wood (plug) will repair it and possibly seamlessly enough... Depending on the radius from center of your pot hole, a knob skirt can further cover and reinforce the plug area. I got my nickel-plated brass skirts at a cabinet place here in SF. I had to open the hole larger to clear the pot shaft. They had 1-3/16ths plated flat skirts (like a nice chrome washer) there also. I used one for a jack reinforcement and staged the other two w/knobs to show what they could look like.
Invalid Link Removed
Invalid Link Removed
Ouch.
Agree with above, a plug is pretty much the only option I can think of, short of a pickguard/control plate type thing, or JIO's skirt/washer ideas.
Well, upon further inspection, it's worse than it seems, when viewed from the back.
Apparently, I didn't back out of it as cleanly as I thought. And after buying an $18.00 1/2" plug cutter, I see that the hole is slightly larger than 1/2". I'll start looking into trying to fabricate a multi faceted plug, compete with compound curves.
Short of that, I may have to go with some kind of plate. The hole extends pretty far past what the knob will cover.
Well, I guess in the mean time, I'll move forward. Attempted to drill the jack hole with the drill press.
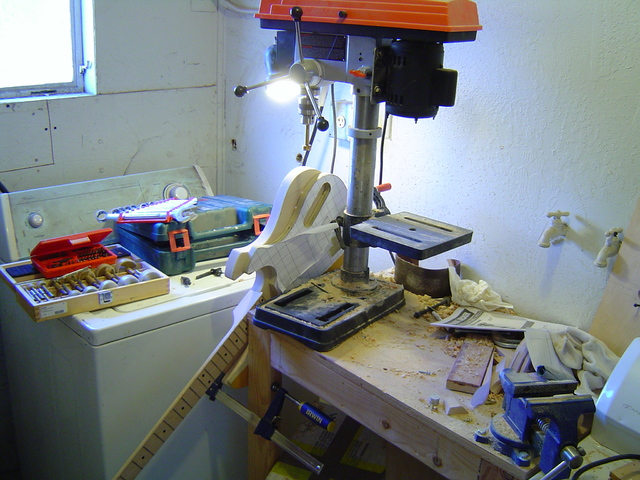
Unfortunately, that didn't work as planned. I ended up just using a hand drill.
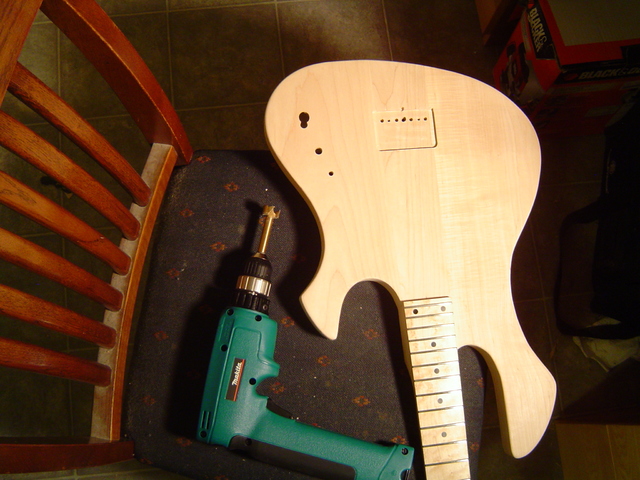
While scary, it worked out pretty well.
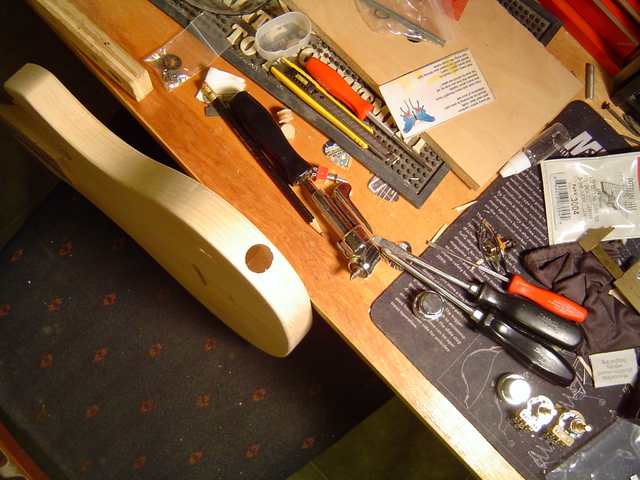
With the jack plate in place.
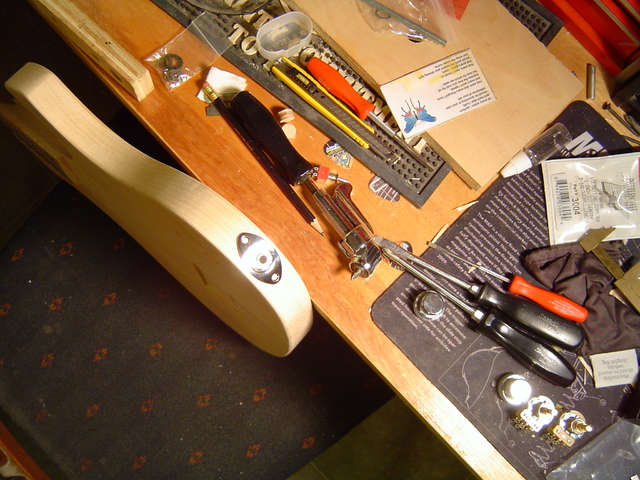
I guess I'll start working on the plug. Oddly enough, I got a bit of tear out on the side of the control cavity as well. I have no idea how that happened, as I was cutting the floor of the cavity, and not the sides. I suppose the template was not exactly in place perfectly, and the router bit brushed up against the wall. The cover plate should cover that at least.
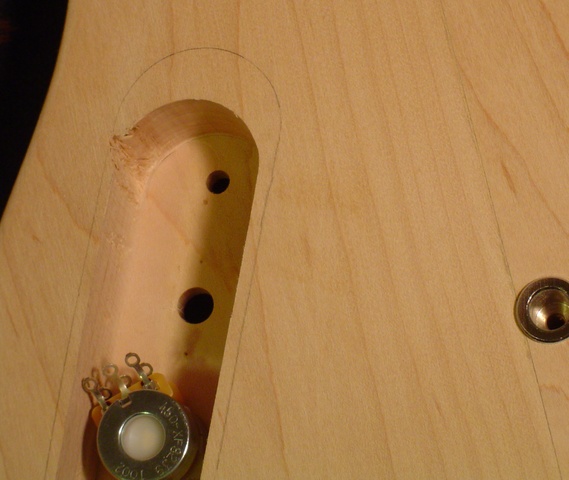
Unfortunately, that didn't work as planned. I ended up just using a hand drill.
While scary, it worked out pretty well.
With the jack plate in place.
I guess I'll start working on the plug. Oddly enough, I got a bit of tear out on the side of the control cavity as well. I have no idea how that happened, as I was cutting the floor of the cavity, and not the sides. I suppose the template was not exactly in place perfectly, and the router bit brushed up against the wall. The cover plate should cover that at least.

I would just cut two 1/2" plugs. Use one to fill the full hole and then reshape the second to fill the partial cut from the back. Once the glue is good and solid pass over them again in cavity with the router, with the depth adjustment well secured of course  A little sanding on the front and you should be good.
A little sanding on the front and you should be good.
Plug both holes and choose a position for a new hole that's exactly in the center of the total width of these two plugs, if you are lucky the knob might just cover both plugs and no one can see the mistake.
You can do simple check beforehand to see if this will work by just placing the knob over the two holes and see if it will cover them both.
If this works out maybe you want to plug the hole for the middle knob as well so you can correct the spacing between the three knobs.
You can do simple check beforehand to see if this will work by just placing the knob over the two holes and see if it will cover them both.
If this works out maybe you want to plug the hole for the middle knob as well so you can correct the spacing between the three knobs.
Unfortunately, the 1/2" hole is slightly oversized. I must have moved the router as I pulled it out. I'll have to think about the various options, to see which one I can live with. The knob does cover both holes, but it won't fit well in the cavity if I center it so that it covers both holes (and plugs). I'll either cut a plug that fits, or go with some kind of plate cover, either a piece of maple laminate, washer, or white plastic. This is a set back, but it won't ruin the project.
Plug is in and clamped. I had to get a little creative on this one, as the hole was slightly oval and just over 1/2". I cut a 1/2" plug in a scrap body piece, but only went 1/2 way through the wood. I cut around the other end of the plug, put the 1/2" portion in the electric drill, and ran it slowly against some sand paper. Of course, it couldn't be perfectly round, but I used that to my advantage. I sanded it down to just over 1/2", applied some glue, and clamped it. Since the knob covers a portion of it, and the plug will be below the knob, I'm hoping it will be pretty faint. Hoping for the best...
This is the rough plug. I made 2, just in case I messed one up. But this is what it looked like before I chucked it in the drill and sanded it to size.
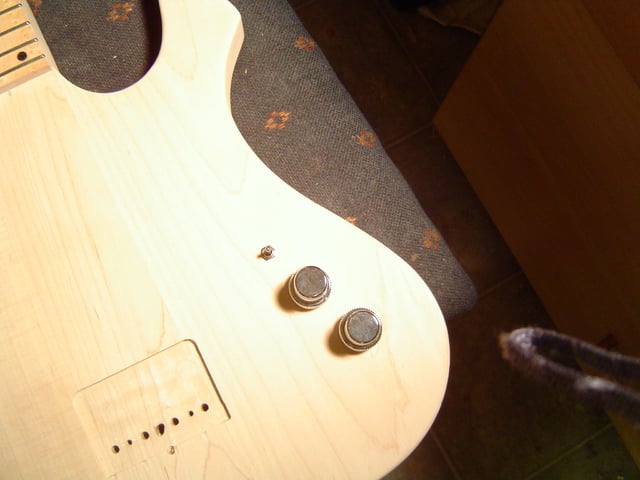
For better or for worse, the repair is finished, plug installed, and sanded smooth. It's still visible, but no longer a gaping hole. I might have chosen a better matching piece, but I can live with this. It's actually more visible than the picture shows, but under the knob like that, I thinks it'll be ok.

Hopkins
Commercial User
For better or for worse, the repair is finished, plug installed, and sanded smooth. It's still visible, but no longer a gaping hole. I might have chosen a better matching piece, but I can live with this. It's actually more visible than the picture shows, but under the knob like that, I thinks it'll be ok.
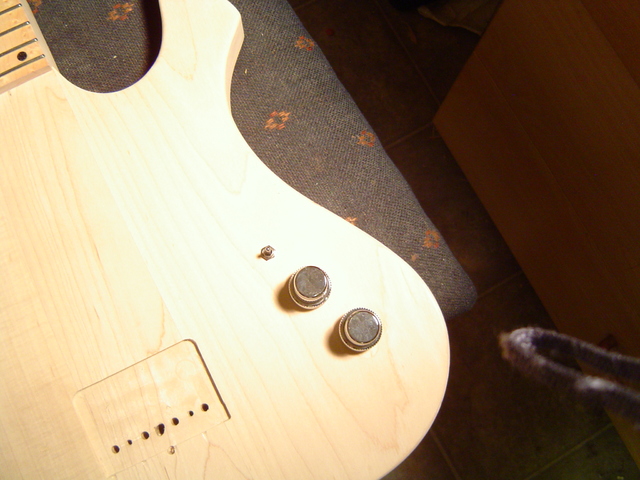
It's not even visible in the photo, but I think the flash took away some of the detail.



