• TalkBass has been independent since 1998. Add your voice.
    Create a free account to reply to discussions, view embedded media, and browse with fewer display ads.
    Join freeLog in
    Want zero display ads or expanded classifieds tools? Compare plans.

Gene Simmons LoBue Tribute Build

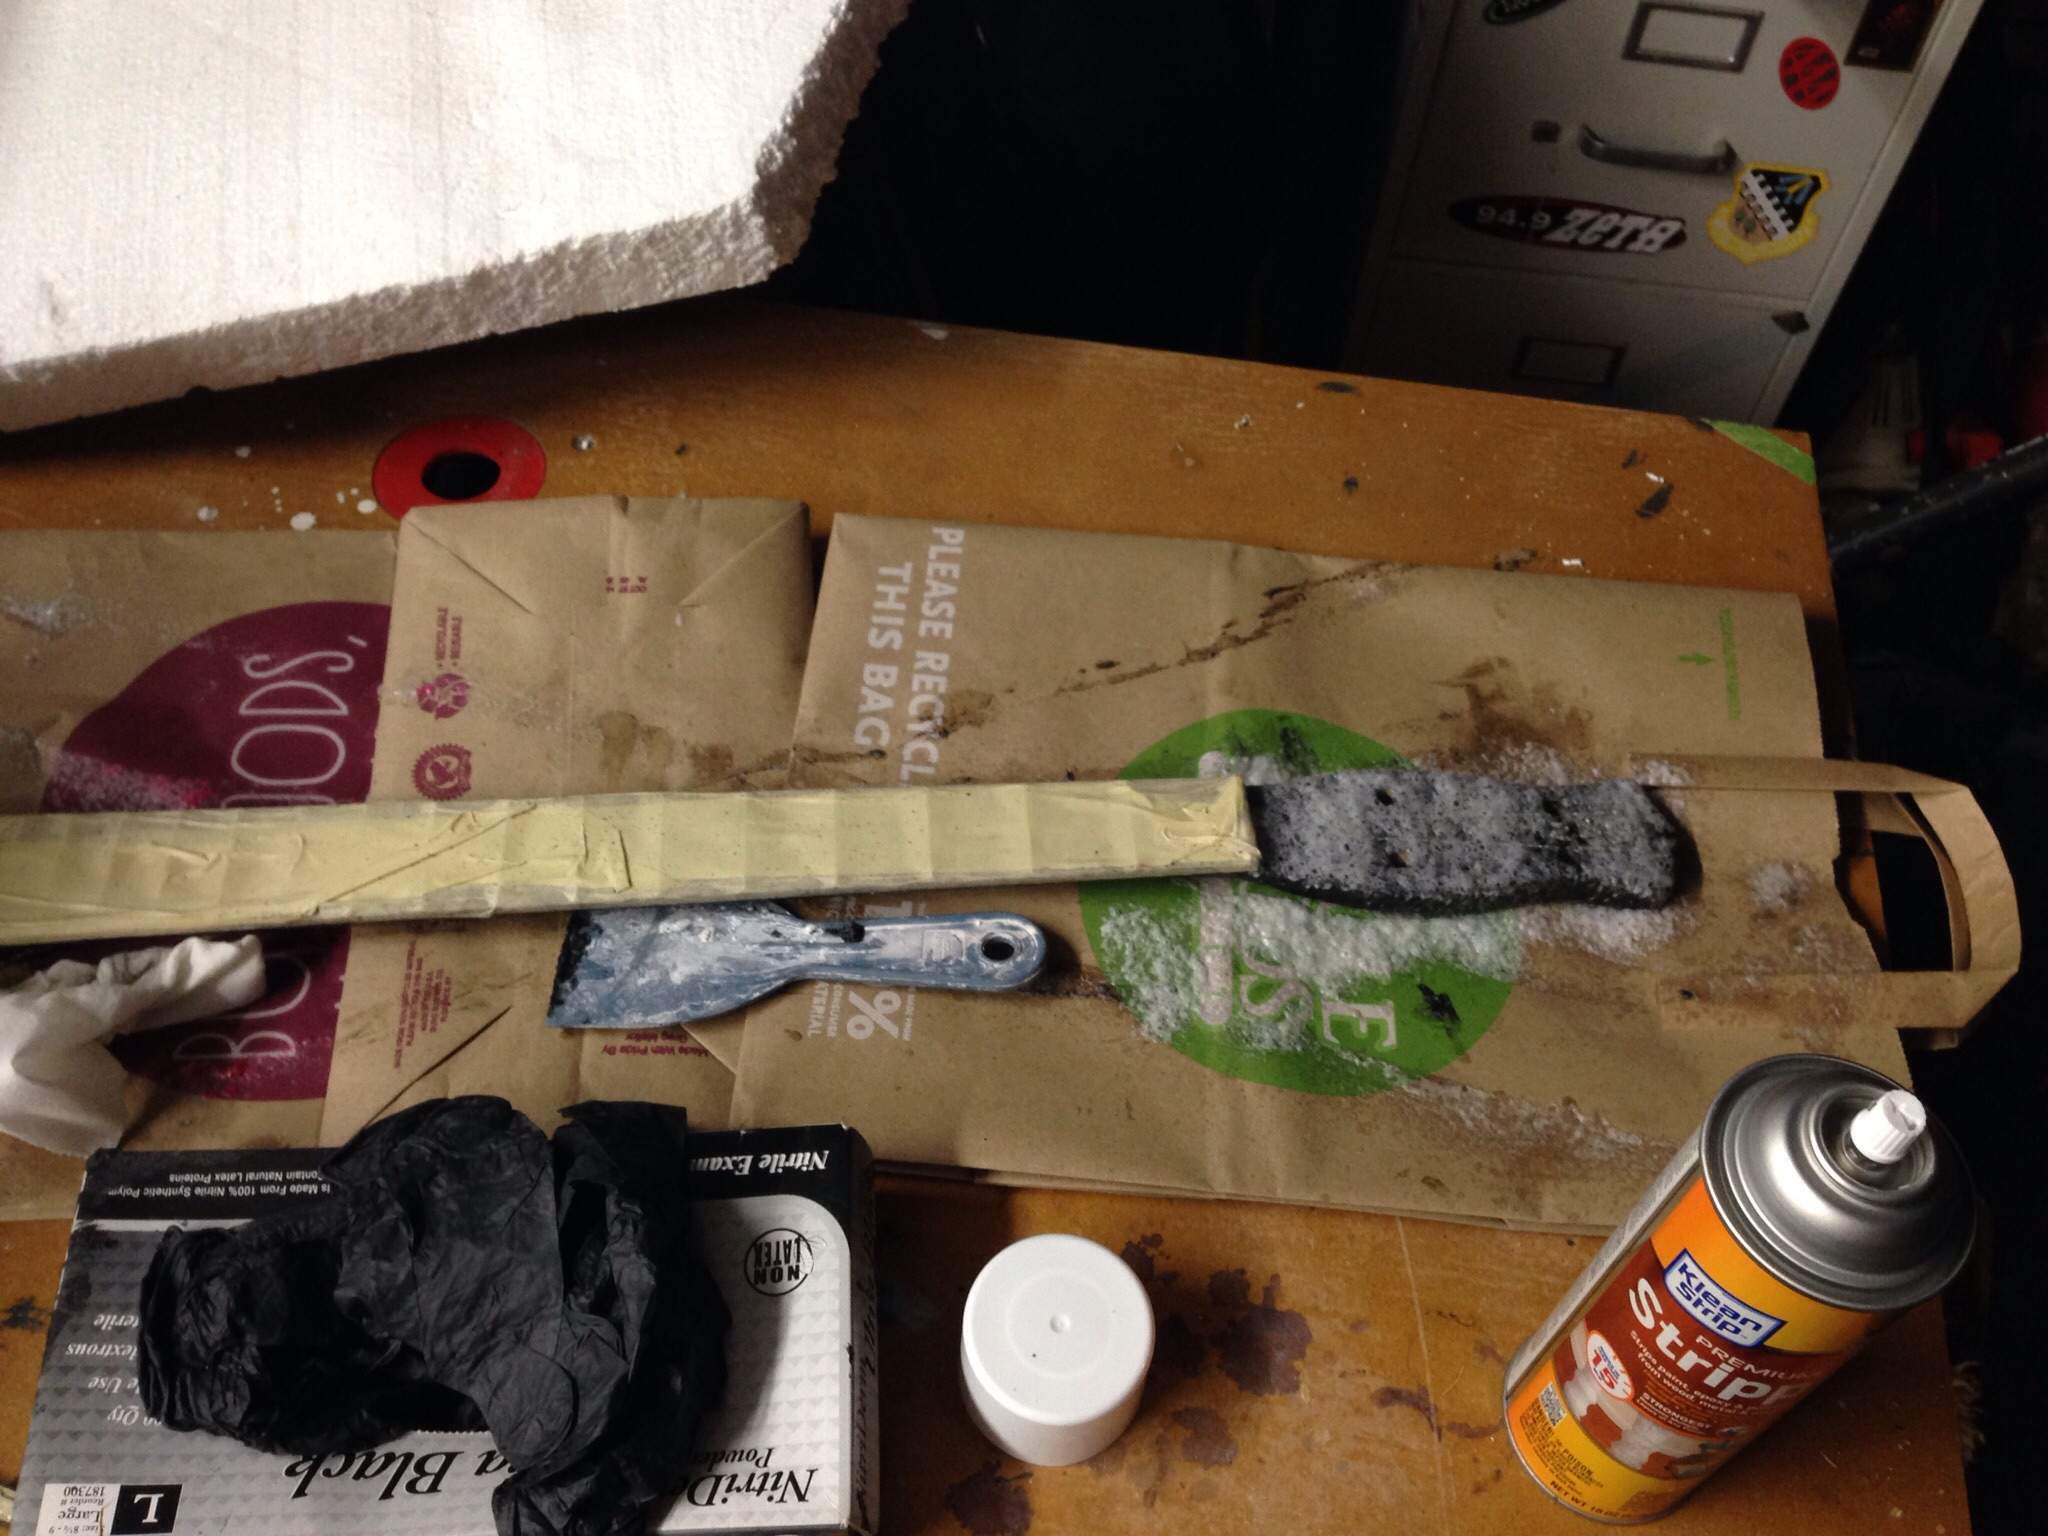
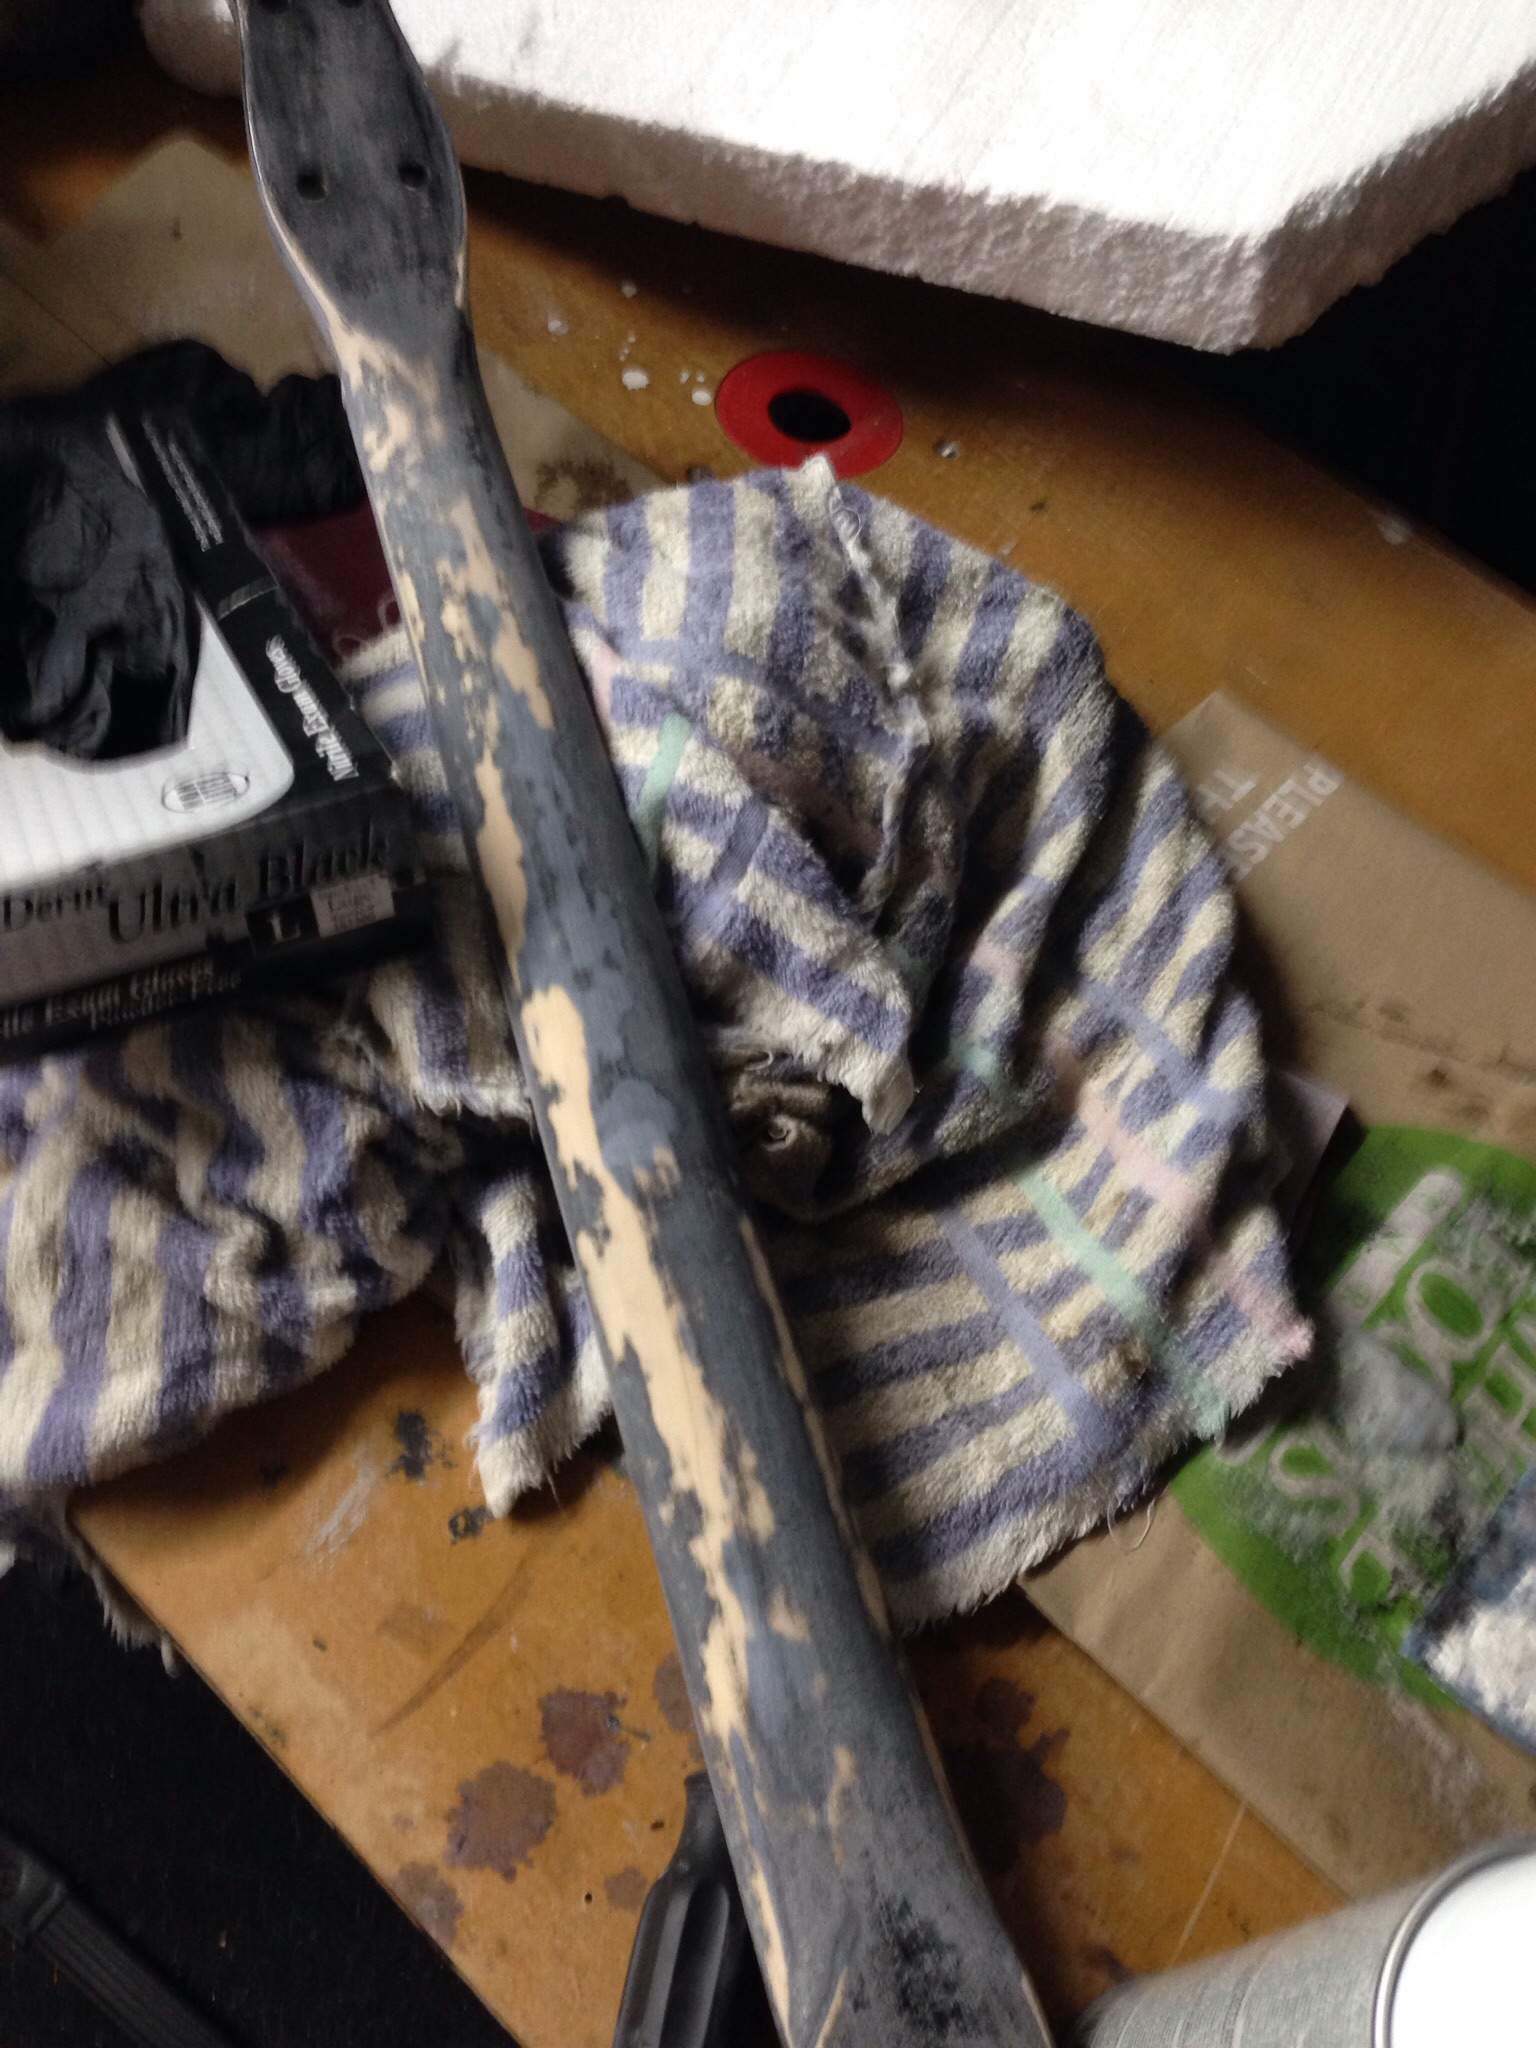
I kicked off LoBue II with some simple stripping.
image.jpg
image.jpg


What donned on me was, "Do I make a brand new looking LoBue, or should I relic it?"

Your thoughts...

Stay tuned. Headstock is reshaped!
 
Tonight was headstock trimming and joining day.
First, I found the center and straight lines where I would cut.
Bridge comes off and will probably be replaced with a bone version.
image.jpg


Drawing lines, and finding center.
image.jpg


Next, I had to make a jig which allowed me to cut a flush joint on the headstock. I tried double stick tape, but the piece moved around too much. I know the screws leave holes, but I can fill the damage and cover with black.
image.jpg


I hate doing this cut. It's dangerous, and akways makes me recall the day I had a table saw kick back on me.
image.jpg

I screwed up the tip, but it will be trimmed off anyways, since the Dano headstock is longer than the LoBue.
Finally, it was time to cut out some mahogany wings.
image.jpg

image.jpg


Last order of business; gluing.
image.jpg


More next week!
 
Since having twins, my time has been a little occupied. However, the kids went to bed early last night, so I got some headstock shaping done.
Band sawed the extra around the template.
image.jpg

image.jpg


Now, it was time to route it into the famous LoBue headstock!
 
  • Like
Reactions: Nocturnal
So tonight I had a lot of questions regarding the use of EMGs for these two builds. (Yes, I will be building both at once)

I've heard that covering the pickups with metal cover would kill the signal.

To be fair, my first LoBue pickup is the quietest passive I have ever used, so it wouldn't be a huge challenge to have a LoBue with hotter output.

Control layout:
Volume, Tone, Presence Controller, Afterburner<- (Mounted inside the control cavity)

Opening the boxes.
image.jpg

Wire up, made easy with solderless connections.
image.jpg


Next, we try it out!
image.jpg


At first, all seemed good, but the output of the afterburner seemed ineffective.

After actually reading the directions, I realized that it's a push/pull pot.

I powered it up, pulled the pot, and I was blown out of my seat!

I think it's safe to say that output won't be affected by the metal plate.

Now, my concern...

Fitting pickups under a pickup cover may be a challenge.

No matter how I do it, the pickup is in the way of the pickup cover mounting screws.
image.jpg

image.jpg


I'm going to have to get creative to stuff these pickups under the cover.

I'm pretty sure that the sides of the pickup cover for my P pickup version, will have to be trimmed.

Any ideas, let me know.
 
image.jpg
I think I figured out how to mount the humbucker.
image.jpg
image.jpg

The screws are kind of small, but I think this will work. I just have to shave the sides of the pickup to accommodate the screws. Yes!


No I have to figure out the P pickup logistics.
 
Seems like you could hide the P pickup under the pick guard and just have the chrome cover sitting on the surface of the guard. Maybe have a section cut out of the guard under the pickup cover so you could access the pickups if needed. Not sure if that would be too much distance between the pickup and strings but you could maybe make a tester "body" to attach everything to and see if it was functional. Hope this made sense. I can picture it in my mind but may not be wording it correctly.
 
  • Like
Reactions: ThaCoast