• TalkBass has been independent since 1998. Add your voice.
    Create a free account to reply to discussions, view embedded media, and browse with fewer display ads.
    Join freeLog in
    Want zero display ads or expanded classifieds tools? Compare plans.

Gene Simmons LoBue Tribute Build

Last night, I neglected the most important part of this rout, besides getting the cavity straight; the depth!

First, I lowered the bridge down to its lowest setting. Once lowered, I used a thin ruler to sit on the divot in the string saddle, while my metal ruler makes the measurement.
It comes to 7/16".
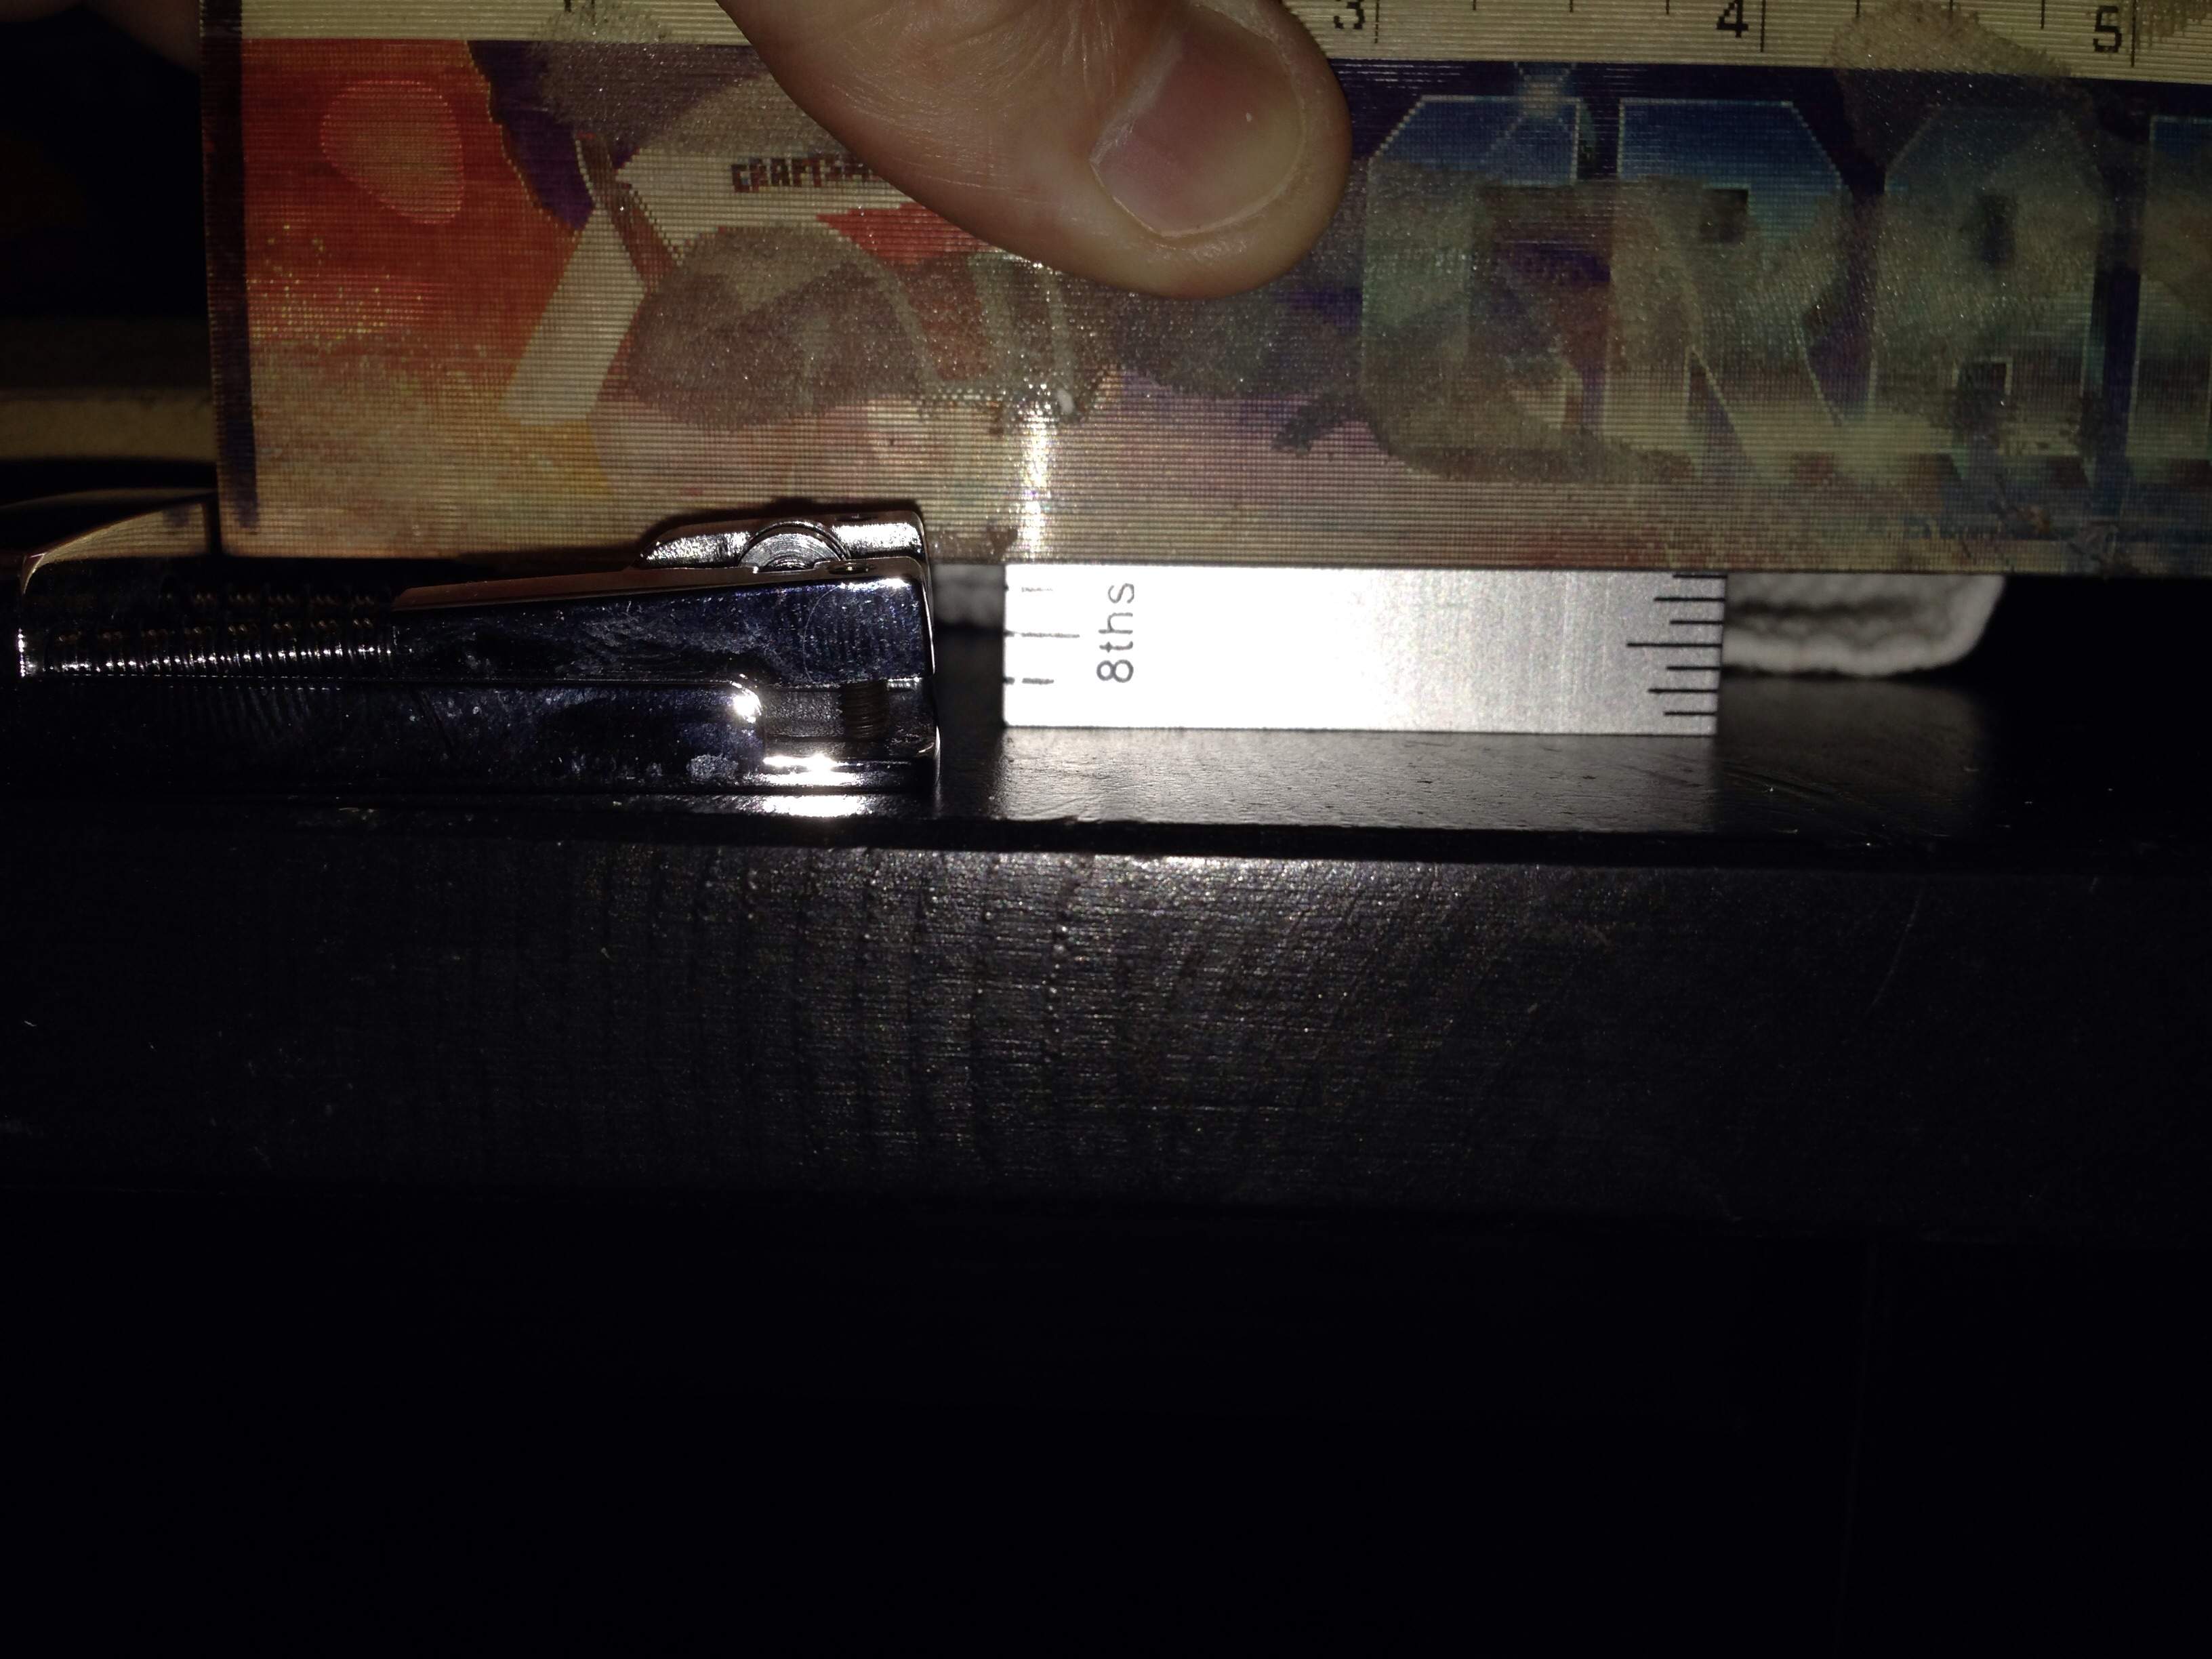
image.jpg


Next, I measured the thickness of the neck. I used a wooden block and my metal ruler.
It comes to 1 1/16", or 17/16".
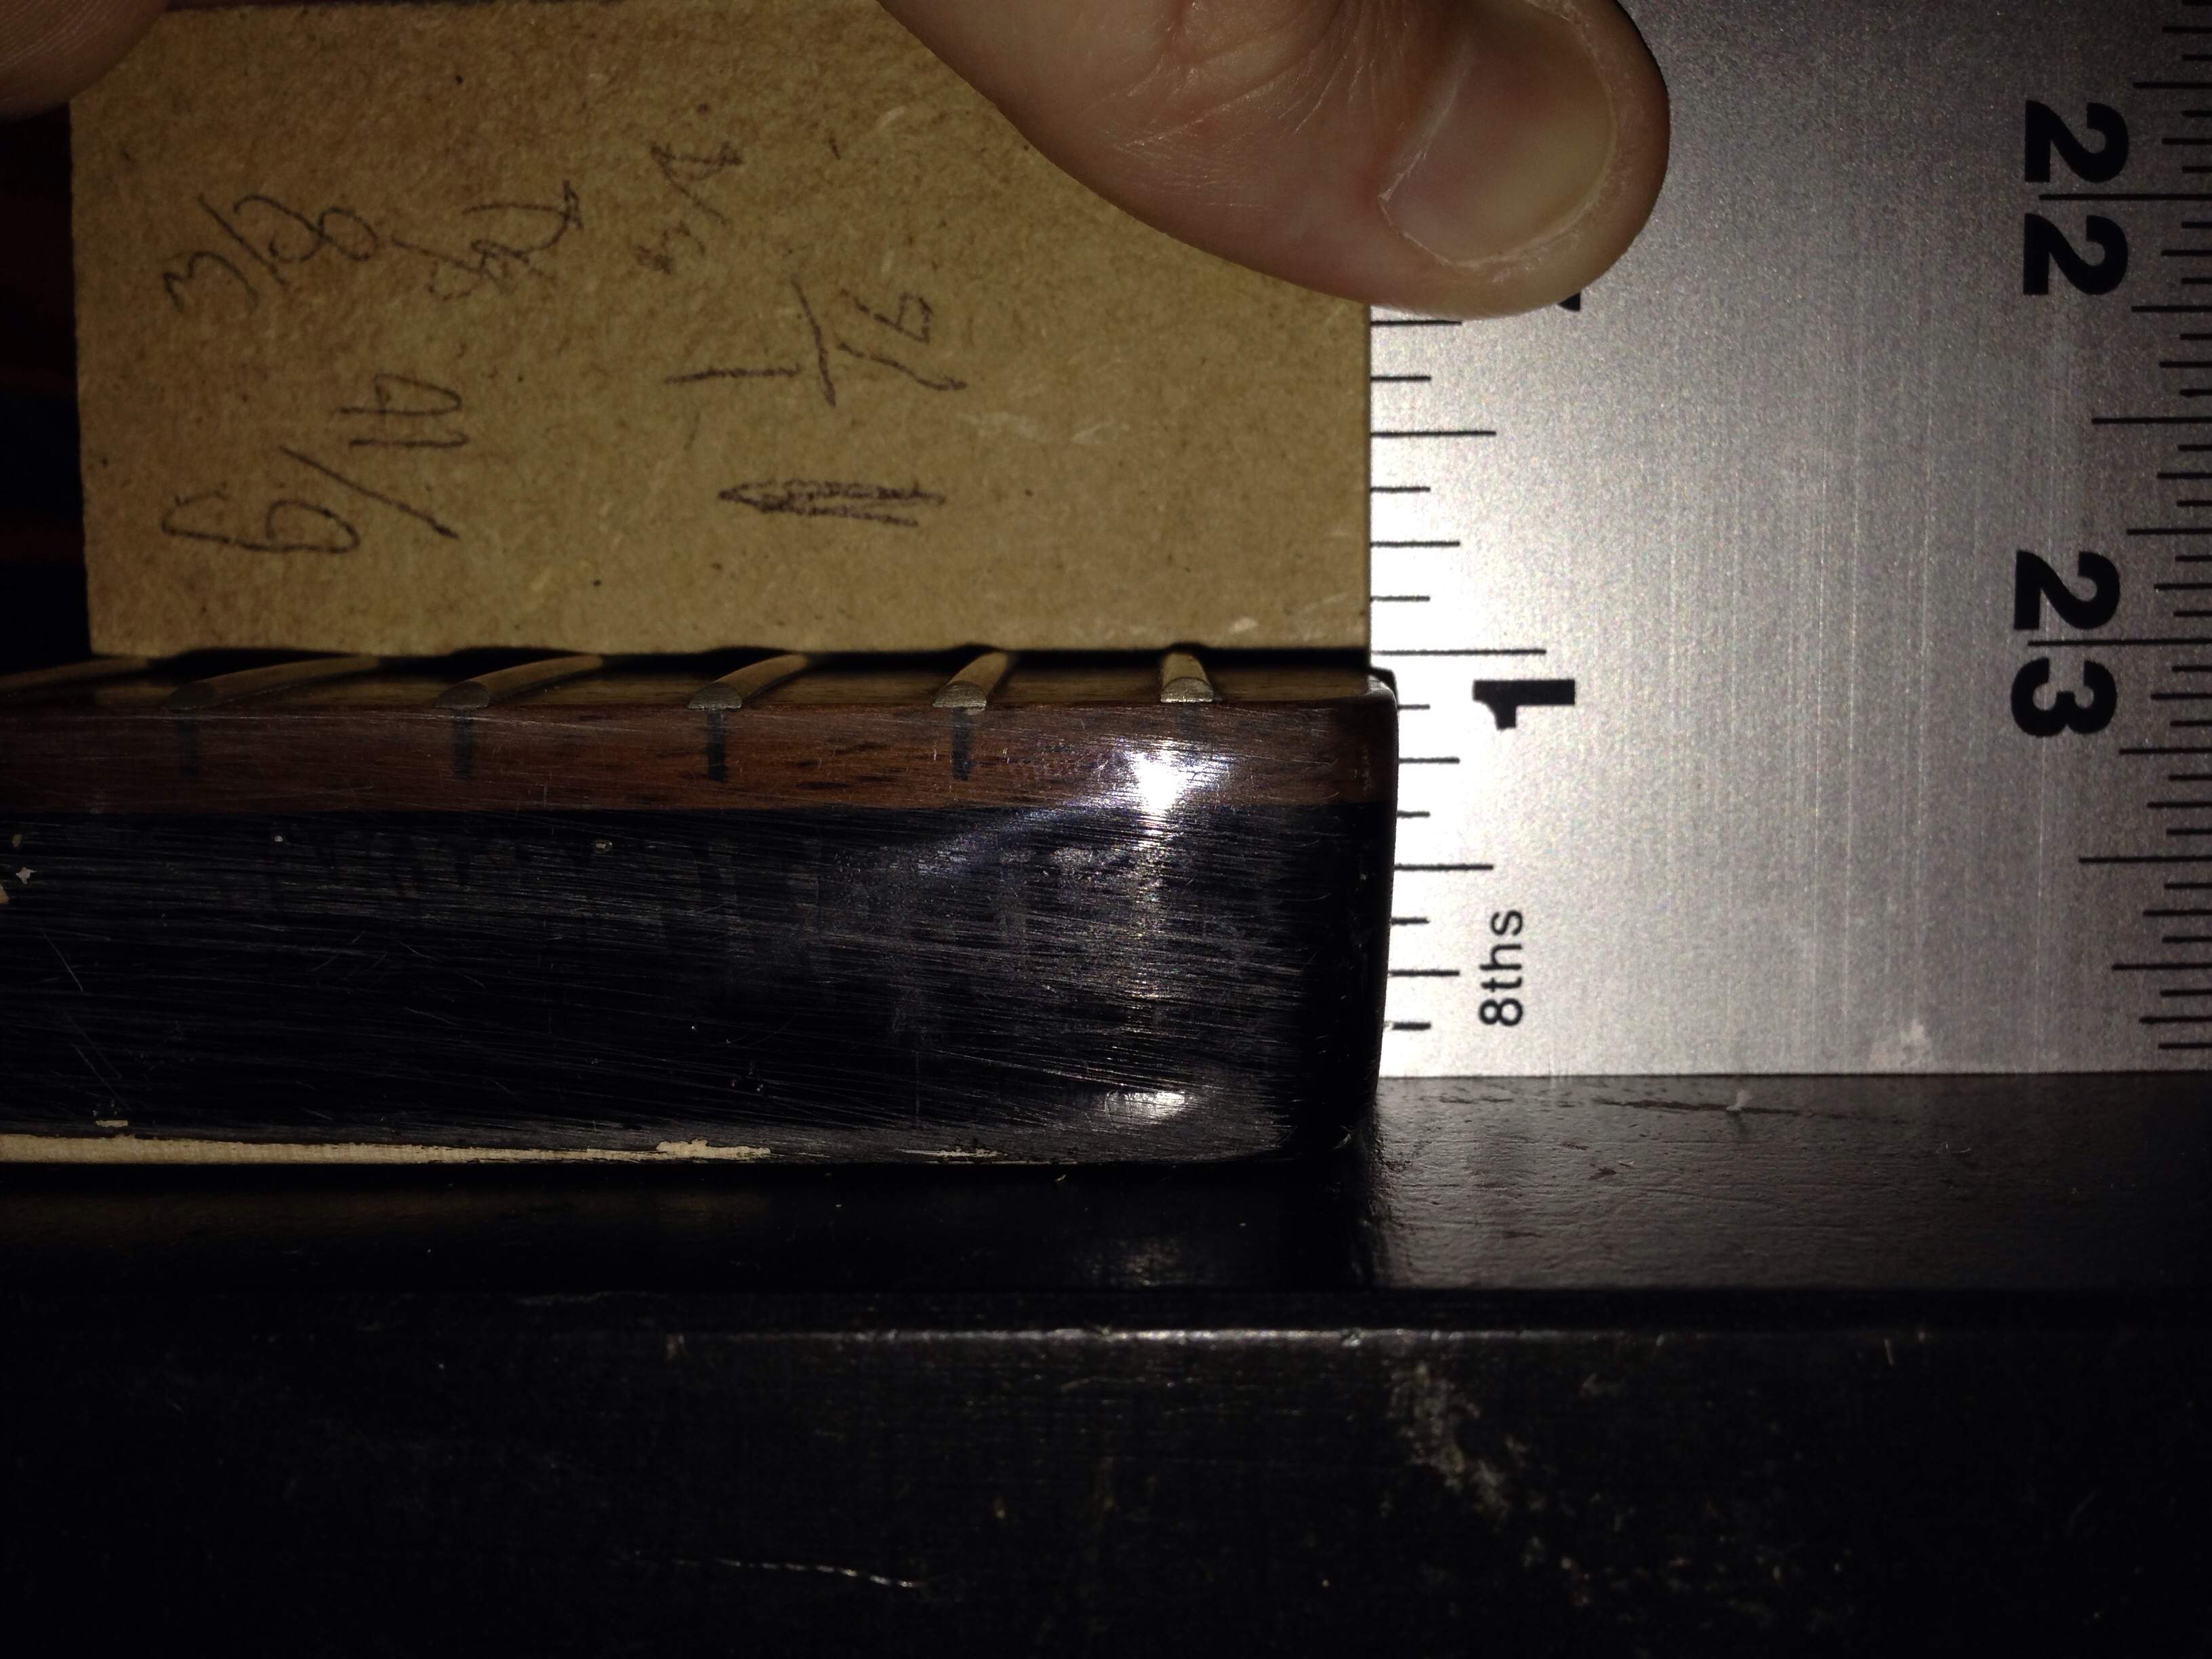
image.jpg


If my math is correct, 17/16 - 7/16 = 10/16" or 5/8".

That is how deep my rout should be.

Stay tuned.
 
  • Like
Reactions: ThaCoast
Tonight was the big dance. Time to see if I could get a super tight, non crooked, proper depth neck pocket.

First, to save router bit wear and tear, I drilled out a lot of material via Forstner bit.
image.jpg


After first couple passes with my shallow router bit.
image.jpg


Done, and it looks good!
image.jpg


How does it fit?
image.jpg


Tighter than a Korean boy! That is not glued, just pressed together.
image.jpg

image.jpg

image.jpg

I think I may need to shave off those real thin side walls at the edge of the neck pocket, but properly glued, it may not be an issue.

More to come!
 
  • Like
Reactions: Geoff St. Germaine
Tonight I addressed my active LoBue pickup issue.
After looking at the EMG P, 35DC, and HB, I finally decided the HB would be the easiest to get under the mudbucker cover.

I bought one used, and the seller wasn't sure if the pickup worked. Time to find out...
Gathering all the parts and tools.
image.jpg


First order of business was to solder a power wire connection, so I could simply plug my pickup into the power bus.
image.jpg

Next was to solder the pickup to the quick disconnects on the volume pot.
image.jpg

Next, I looked at the routing template for this pickup.
image.jpg


I was pretty disappointed at how sloppy loose the pickup fit in the template.

I thought about how to reduce the size of the cavity.
Then it dawned on me; simply use a wider router bearing.
image.jpg

You can see how the bit on the left has a bearing the same diameter. The one on the right has a larger bearing than the bit, making the piece smaller than the template.

To test my theory, I routed out a piece of wall board, using the larger bearing. The cavity is just a touch smaller than the template.
image.jpg


I may need the shave the cavity a bit where the mounting ears go, but the pickup fits a lot nicer.
image.jpg


Lastly, I finalized the bridge location on the body. 20 minutes of measuring, and it's time to do a string test to check alignment.
image.jpg


Looks pretty dead on. If luck is on my side, I will get the bridge and pickup mounted this weekend. Stay tuned!
 
Tonight I got a ton completed.
First, I routed the inlay for my control cavity cover, and I also routed out the battery box.
image.jpg


Next, I drilled out my jack input, and mounted the jack panel.
image.jpg


With it al ready, I got a rough idea where all my pots would be oriented.
image.jpg


The long pot on the bottom is the afterburner. It will be mounted inside the control cavity. Luckily, this cavity is roomy.

From there, I just started finalizing, and screwing the hardware to the body.
image.jpg

image.jpg


This is the odd part of this build; the tail piece. It's simply a Fender bridge, sans saddles. (Shrugs)
image.jpg

After this, I decided to scallop the neck heel, so the joint is a tad more refined.
image.jpg
image.jpg

image.jpg

And that's it for tonight.

Just have to fabricate and mount the pickguard, mount the bridge cover, rout the trus rod pocket, glue the neck, and we paint!
I also cut out my other LoBue today, as well
image.jpg
 
I had forgotten you were doing the later version with the studs until you mentioned the saddleless bridge. Will you be applying the studs directly on the body or will you do like gene & have them on a separate piece taped to the body :D
I plan to use either rigid black plastic or a padded leather base to attach the studs to.
 
  • Like
Reactions: ThaCoast
Tonight was pickguard night.
First I mounted my template to the pickguard material.
image.jpg


Then I rough cut the material with a dremel tool.
image.jpg


Next, we rout, fine tune, sand and mount the pickguard.
image.jpg


Next was the tricky part. I wanted to use the pickguard material to mount the actual pickup to. Instead of just foaming the bottom of the pickup, and have it press into the chrome mudbucker cover, I thought using the ears on the actual pickup would be a classy touch.
First, I had to line up the cavity of the pickup. When that was found, I measured out the actual pick, less the mounting ears.
image.jpg


Once I was happy with my measurements, it was time to do some delicate cutting.
First, I tape off the area I'm not working to prevent any unwanted damage.
image.jpg


Next, I score the edge of the hole with a razor. I find this helps the dremel blade stay in line.
image.jpg


After cutting out, I test fit the pickup. Hooray!
image.jpg


Now, I drill out the mounting screws.
image.jpg

image.jpg


After some slight adjusting, we're in!
image.jpg
 
  • Like
Reactions: AGH and Nocturnal
After a day of sitting, I went to work, attached pickup cover, bridge cover, and strings.
image.jpg


She set up nicely, and sounds good.

A couple of things:
1. It's much better than my first one.
2. After testing with covering the pickup with the pickup cover, I discovered that the afterburner may not be essential.
3. Love this bridge.
4. The shim caused a nice eck pocket angle, which helped action height.

I hope the customer likes it

Ops check at band practice Wednesday, and then she's torn down for paint.
 

Latest posts