• TalkBass has been independent since 1998. Add your voice.
    Create a free account to reply to discussions, view embedded media, and browse with fewer display ads.
    Join freeLog in
    Want zero display ads or expanded classifieds tools? Compare plans.

High School Woodshop Bass Build

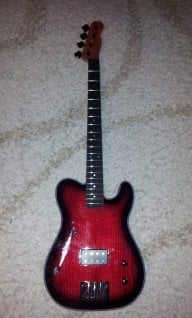
this is my woodshop project for my sophomore year. it's going to be a 30.5 inch scale fretless with active electronics.
1htbIrh.jpg

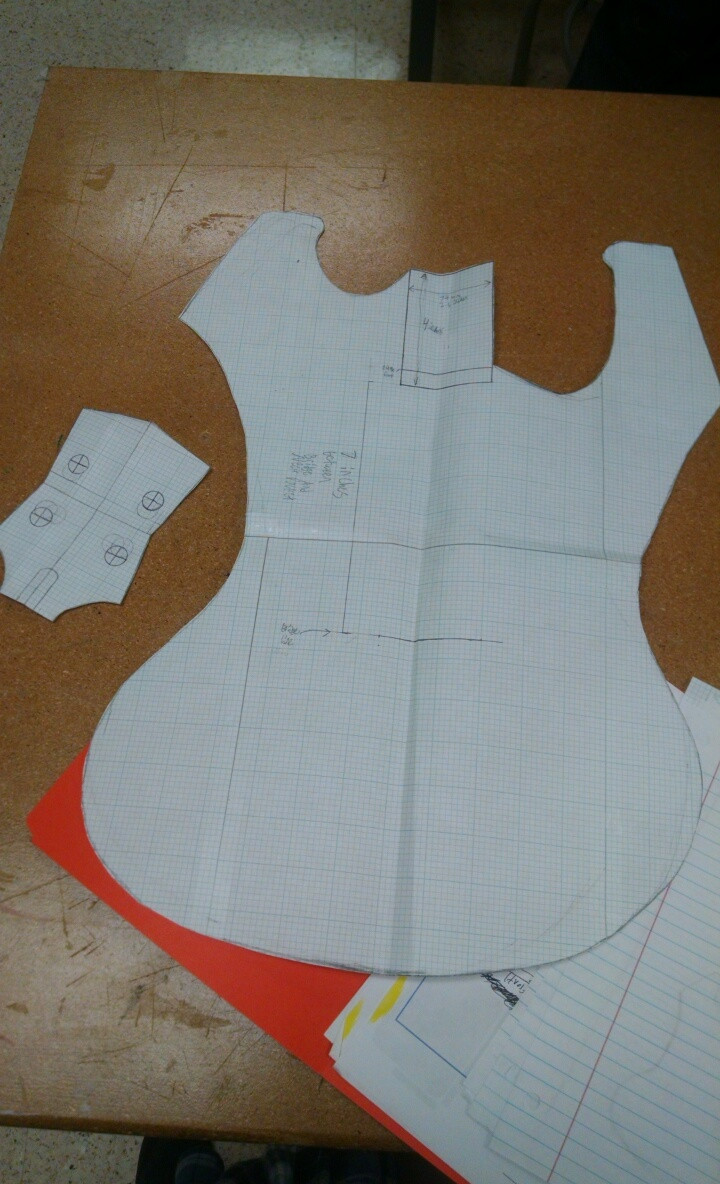
full scale template of the body and the headstock, i later had to redesign the headstock because it was too wide for the neck blank.
dDb2vMU.jpg

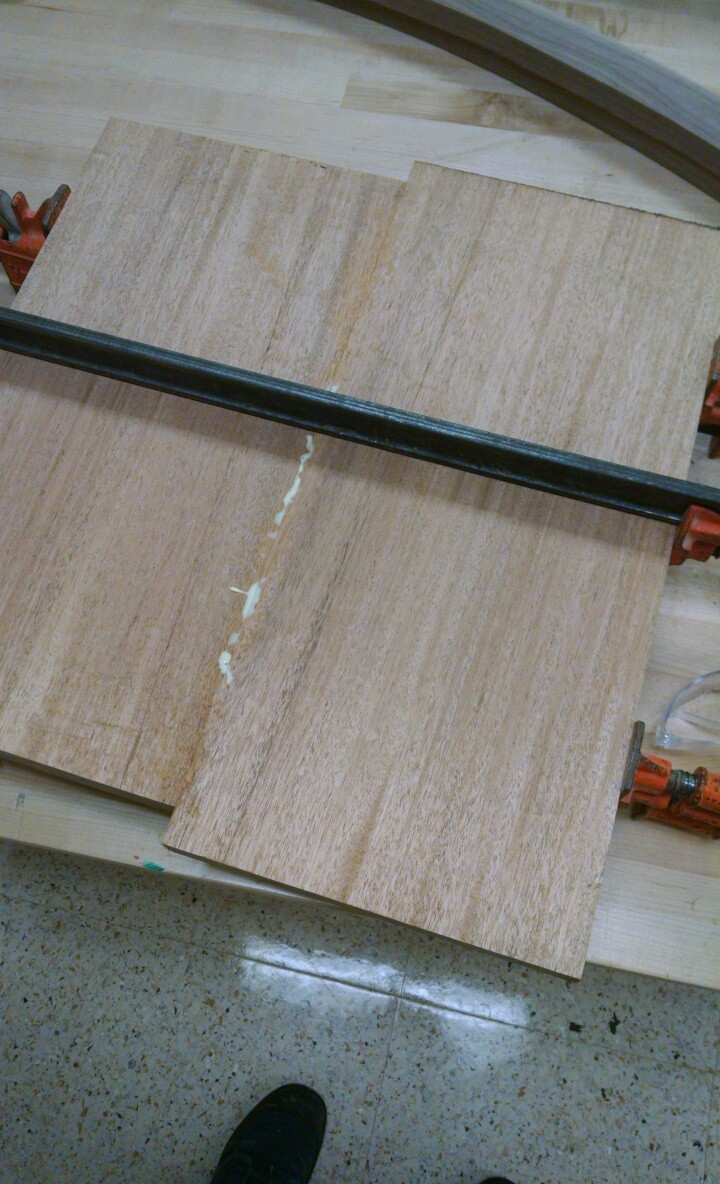
i cut a large piece of mahogany in half and glued it together to make the body blank.
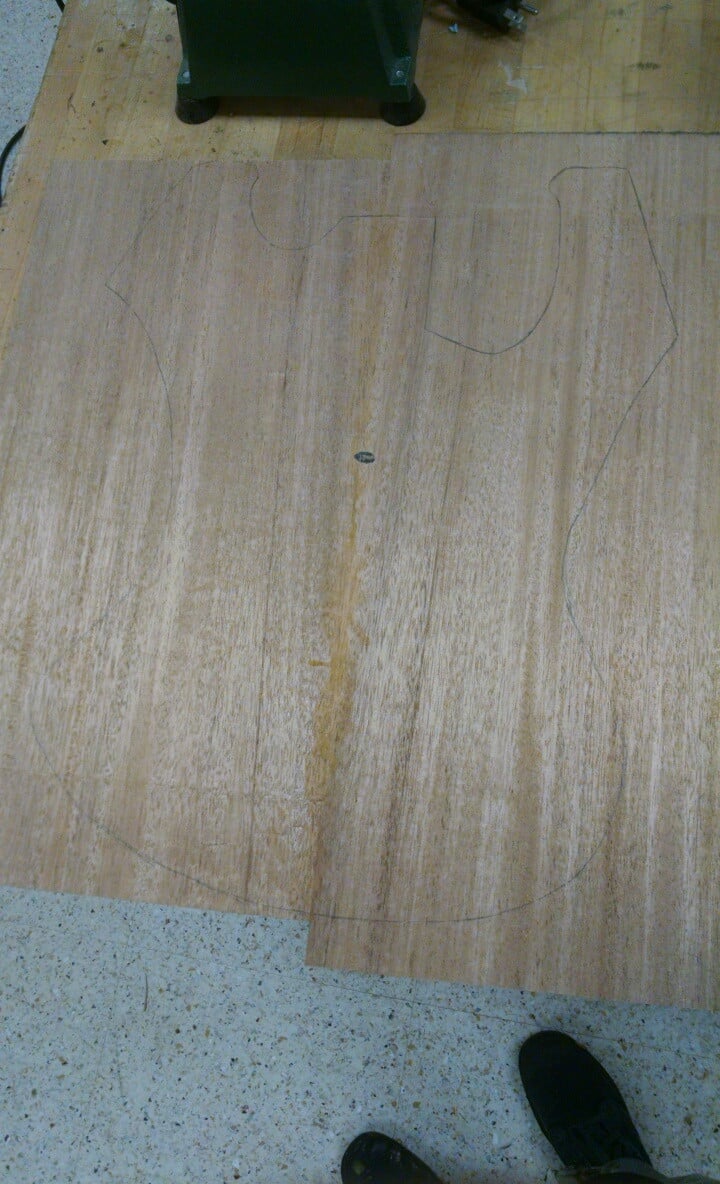
kWCHZAP.jpg

the body blank with my template traced into it. it's about to get cut out on the bandsaw, which i cut outside the line and sand down to the line.
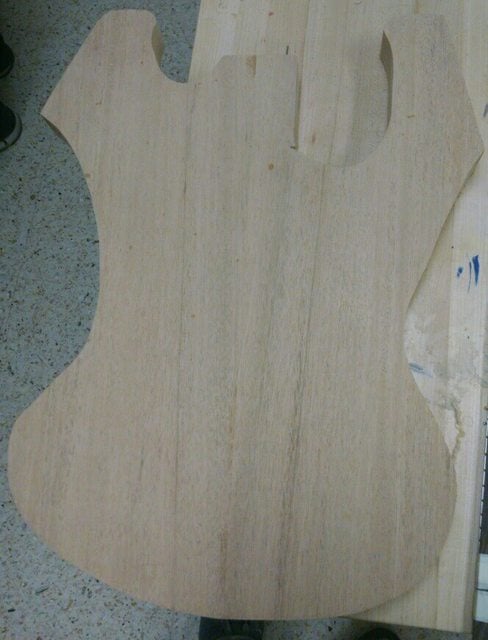
83jG3cyl.jpg

i spent about an hour cutting it out and sanding it to get it to this stage. there is a spot you can notice near the right cutaway where i was too overzealous on the bandsaw and slipped.
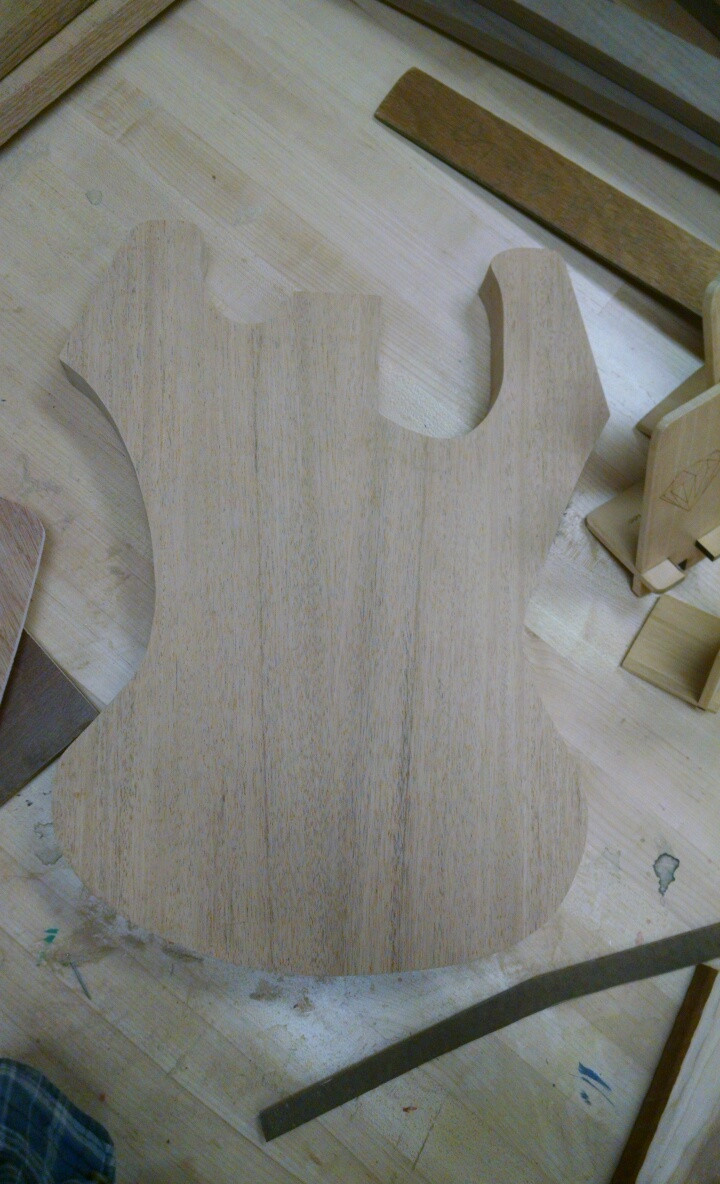
GU2EVPX.jpg

because of my school's lack of a functioning belt sander, i had to sand out the imperfections near the cutaway with sandpaper by hand.
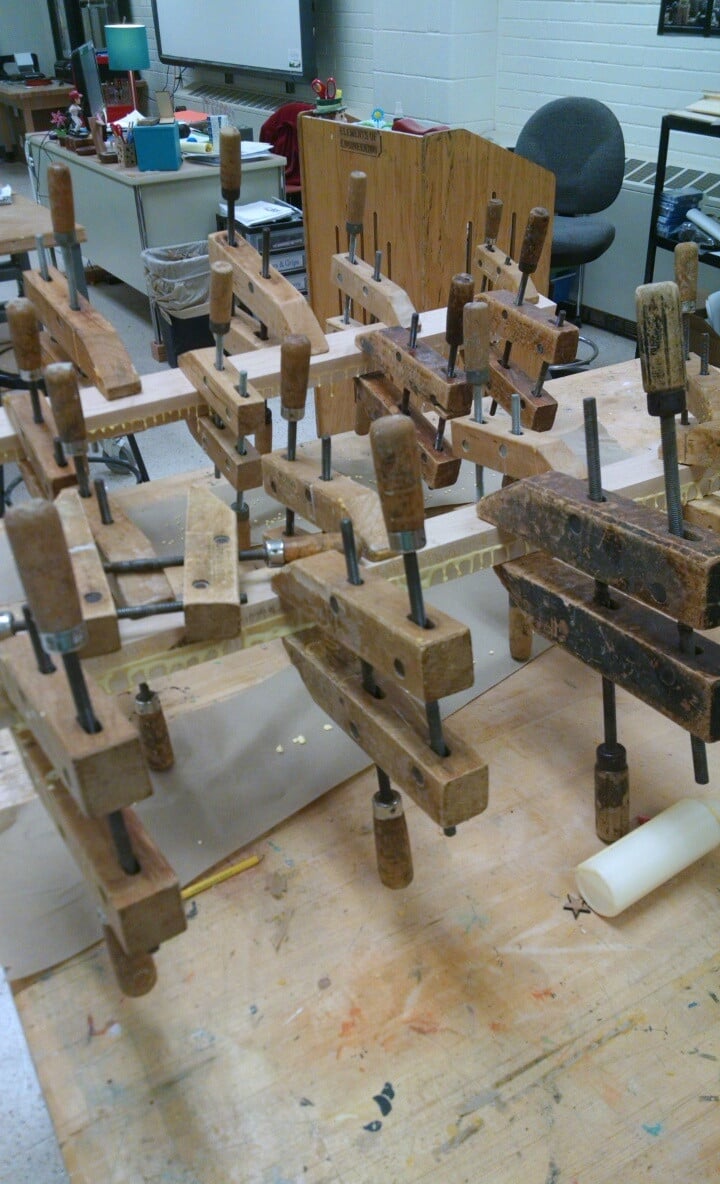
YflltZe.jpg

4 pieces of wood are glued together to make 2 pieces for the neck blank...
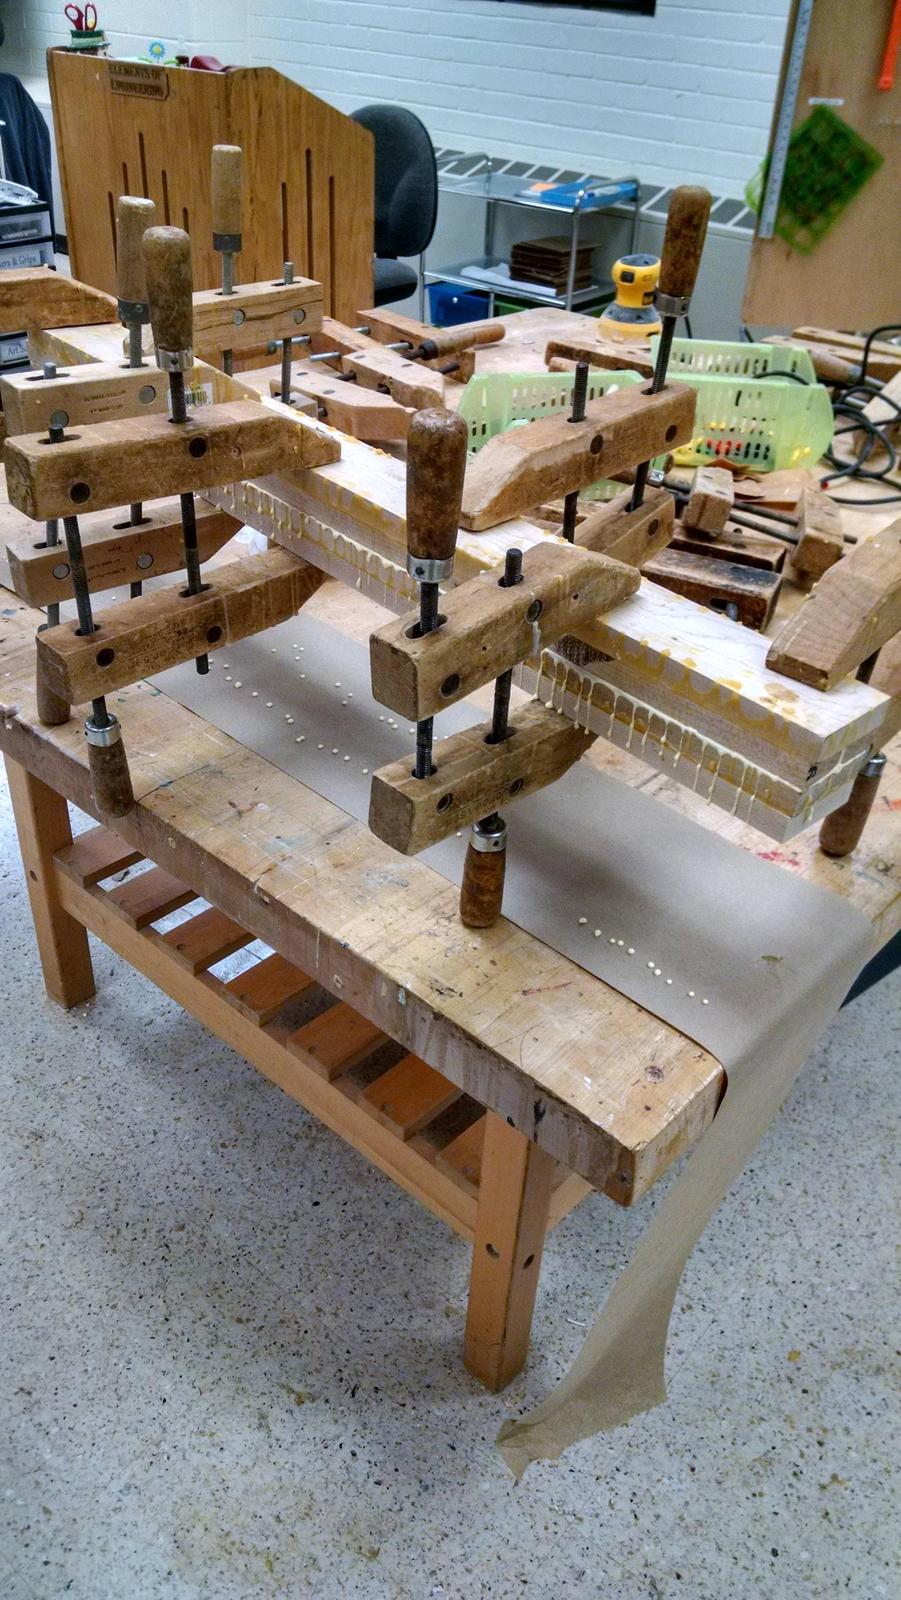
D7XD2RF.jpg

....and then they are glued together to make a single gigantic neck blank. this neck blank will be used for me and another student making a guitar to both make our necks out of one blank. (from this picture onwards i figured out how to enabled HDR on my phone's camera and photo quality is better)
JDy04QEh.jpg

i was not able to get a picture of the giant neck blank after being jointed and having the excess glue chiseled off. this is my neck cut out to a basic side profile. it still is not sanded.
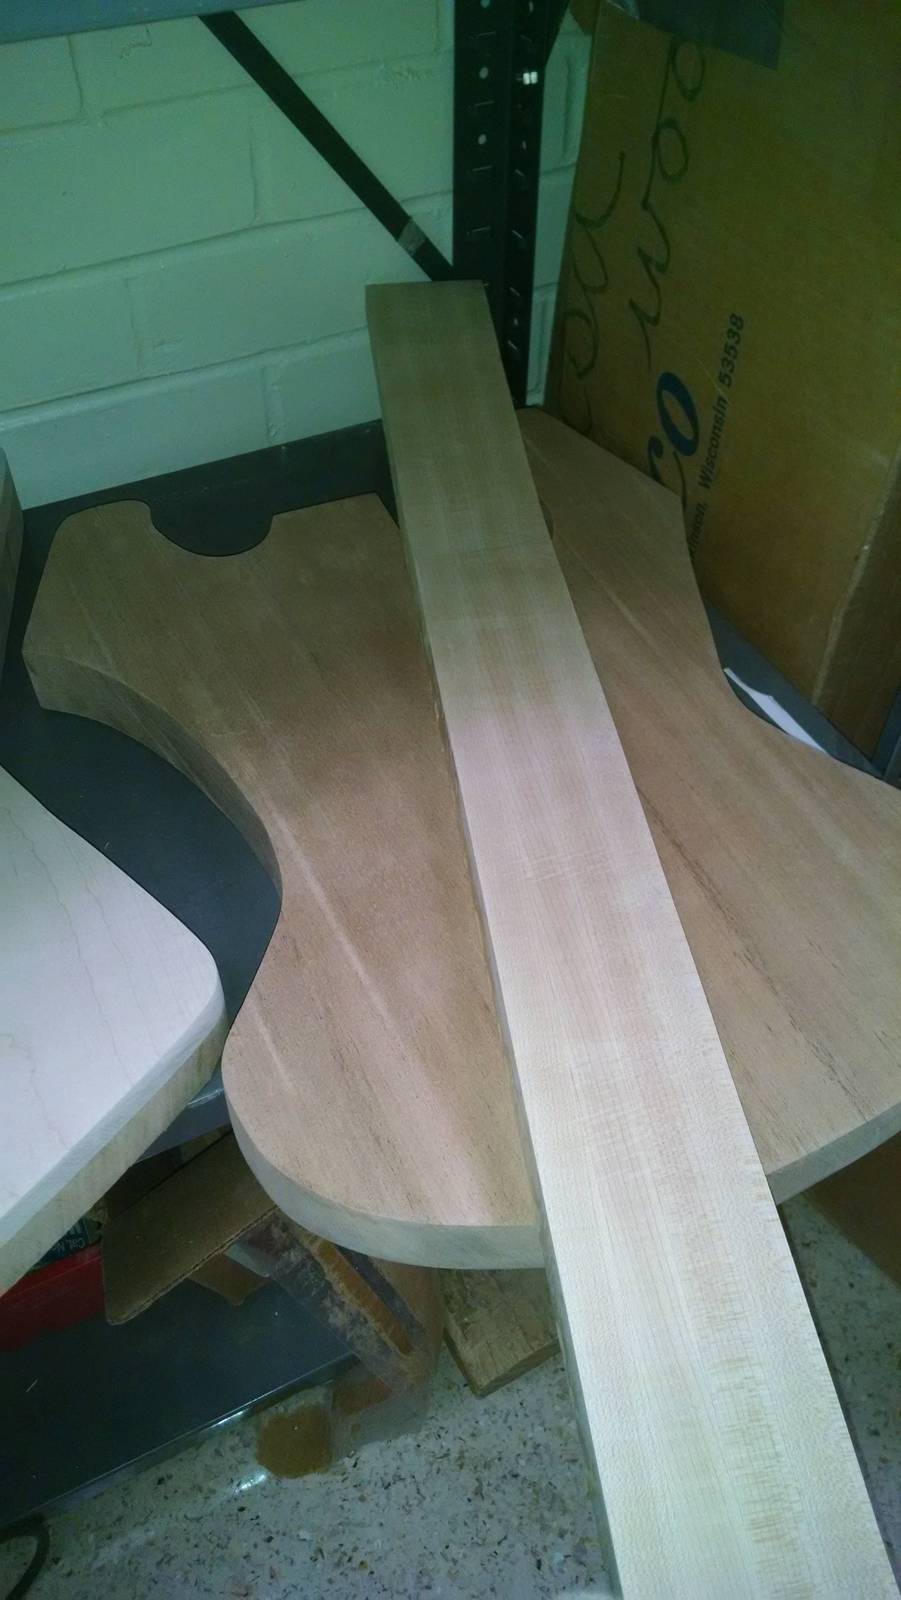
5j9ODzL.jpg

the neck and the body at this point, with another student's ESP explorer next to it.
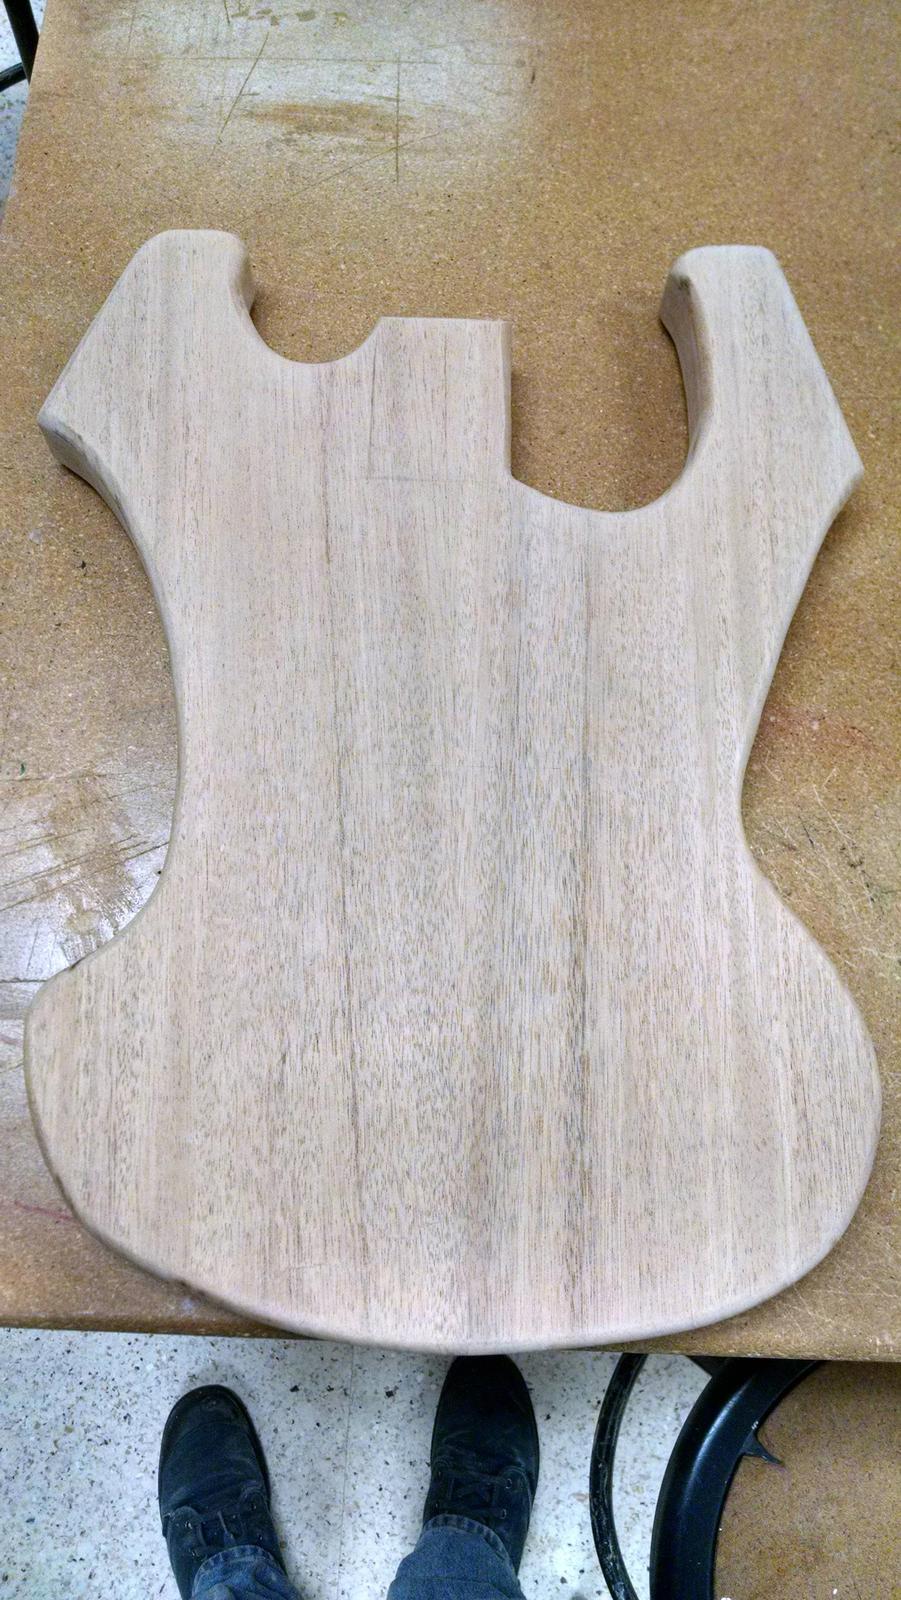
SROVagD.jpg

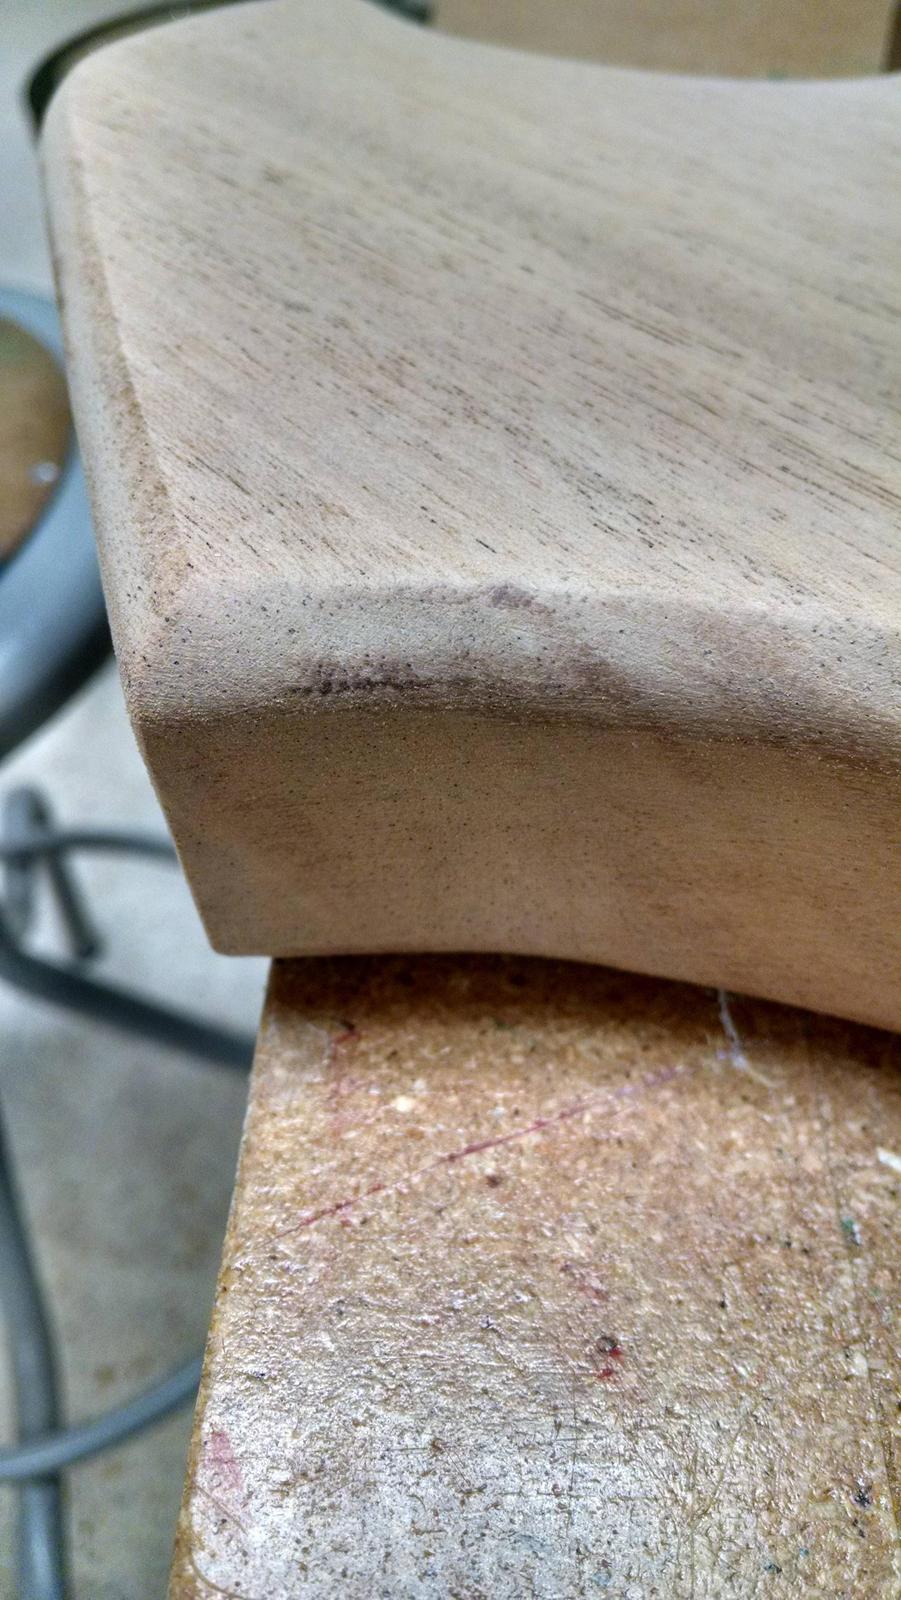
the body, with a slightly modified shape, and rounded edges after i used a router with a roundover bit. there is minor router burn i will have to sand off.
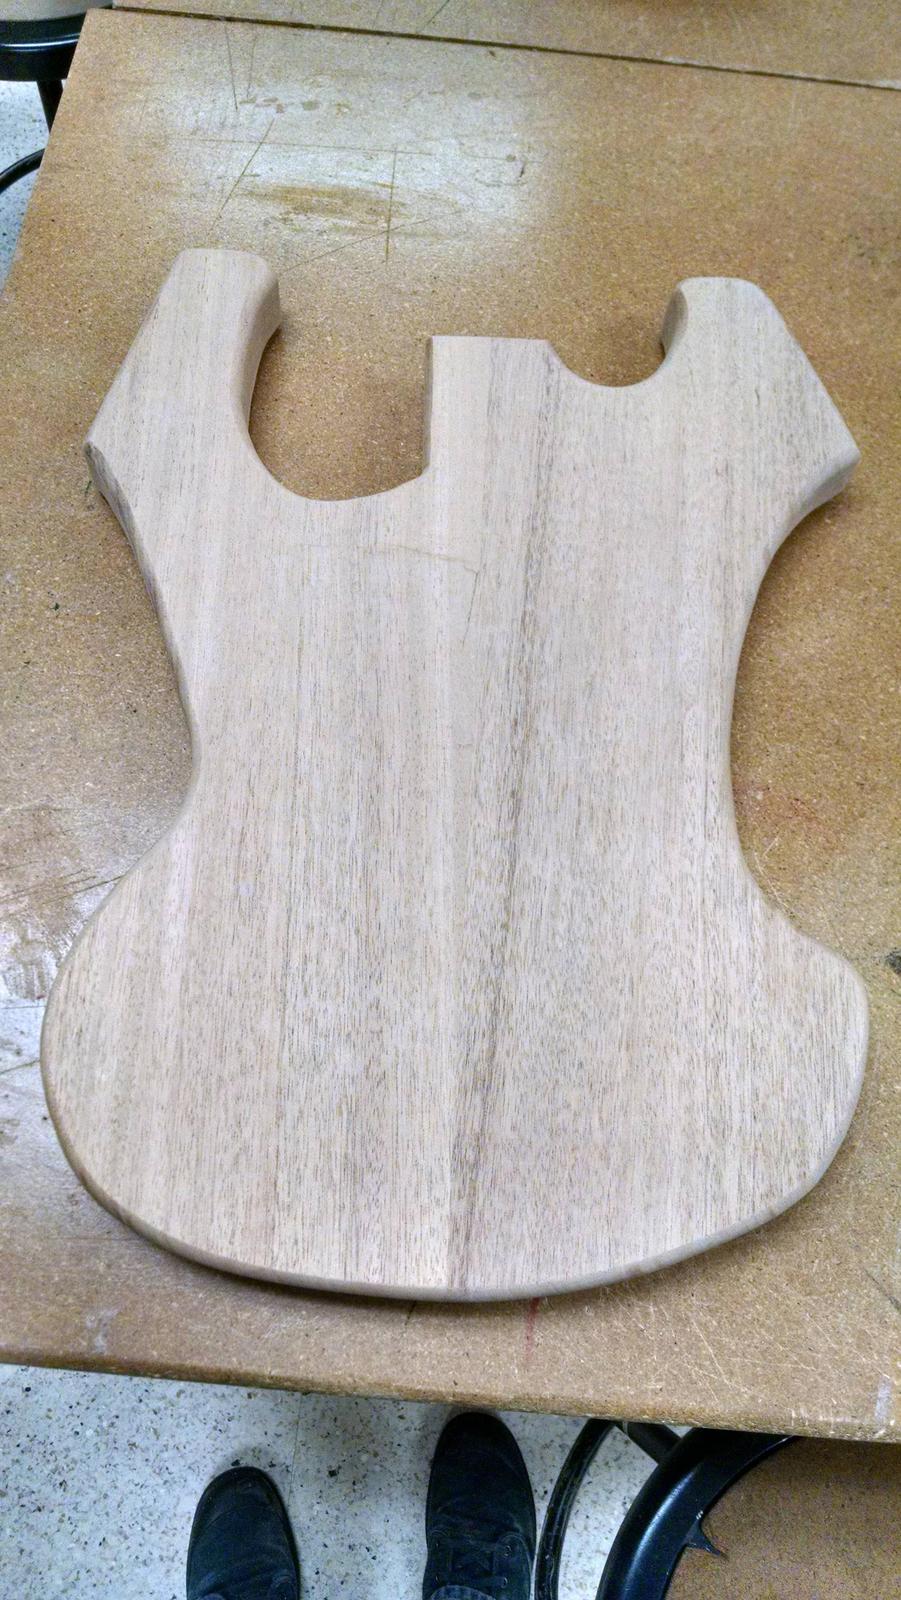
haGdmax.jpg

the back had the edges rounded as well.
U72GgX4.jpg

a closeup of the rounded edges and the router burn that i am in the process of sanding off.


this is all of the progress i have made so far, i will post more pictures as i continue to work on this.
 
I disagree with this. Just make sure you have an accurate center line. That said, interesting body shape. I'm looking forward to seeing your progress.

I find it's difficult to route the neck pocket after cutting out the body. After cutting out the body, the template doesn't have as much wood around it on all sides to support it and keep it stable. Sometimes this can lead to a neck pocket that isn't perfectly parallel to the front surface of the body. So, you might end up having to shim the neck.
 
  • Like
Reactions: Dadagoboi
I find it's difficult to route the neck pocket after cutting out the body. After cutting out the body, the template doesn't have as much wood around it on all sides to support it and keep it stable. Sometimes this can lead to a neck pocket that isn't perfectly parallel to the front surface of the body. So, you might end up having to shim the neck.
100% this. The more wood you have, the easier to work on it. There's no harm in having the extra surrounding wood and there's no benefit in doing it the other way. Of course you can use the cutoff as support, but why not cut the shape out AFTER routing?
 
  • Like
Reactions: Dadagoboi and Luvie
today spent about 3 hours doing routing on the body and various steps in making the neck.

the routing template for the pickup finally came in, but when the teacher was demonstrating how to route the pickup cavity, the router was not set up properly and it cut through the routing template. it was not bad enough to ruin the bass, but it was bad enough to ruin the template. the router bit also wasnt small enough to reach the corners completely, so i have to carve them to shape.
1vp7JFM.jpg

i decided to leave that work for later, during downtime in class. i routed out the electronics cavity, using a drill press to help the process.
qNNggach.jpg

after this, i started working on the neck, as my fingerboard and truss rod had finally arrived. the fingerboard is smaller than i expected and i was only able to fit 17 fret lines on it.
rItADqQh.jpg

despite not being as long as i hoped, its still a beautiful piece of rosewood. after cutting the fret lines, the neck was prepared for the truss rod to be placed in it. my teacher cut out the truss rod channel with a table saw, since students are forbidden from using the table saw. i glued the fingerboard into the neck and clamped it down.
QSpTHhDh.jpg

there is scrap wood on top of the fingerboard to prevent the clamps from damaging it. i will begin cutting the neck to shape next week in class
 
Last edited:
2gUj77R.jpg

the neck after being cut closer to it's final shape. there is a neck template screwed onto the back, and using a router i will shape the neck more cleanly next time i work on this.
K94iTtWh.jpg

i had to glue extra pieces of maple to the headstock area. originally i planned to scale down my headstock design, but now it should be able to fit.

i won't be able to work on this project again until january 6th. after that i have 2 weeks to finish shaping the neck, install tuners and a nut, fill in the fret slots with veneer, install the pickup and electronics, route the neck pocket, and sand + finish the body and neck.
 
today i continued working on the neck. i will only have 3 class periods to finish the rest of the project, so i am coming in after school to work on it at least twice this week.
vhL5sn8h.jpg

the neck has been shaped and in this photograph the headstock is about to be cut out.
lbGg5wO.jpg

after cutting the headstock and sanding the sides.
0rCAhZ5.jpg

the back of the neck. there is an overhanging fretboard that hangs about half an inch over. i still have to do a lot more sanding to finish this part of the neck.
 
  • Like
Reactions: DavidBassista
2Zc60UH.jpg

i routed the neck pocket and finished carving the rest of the pickup route. the end result was not very visually appealing, so i glued veneer around the edges to make a pickup ring of sorts. the line a few inches below the pickup is where the bridge saddles will be.
wTEX7je.jpg

it is a little hard to see on camera, but the veneer has been glued in and sanded flat with the fingerboard. my phone was dead on the day i glued the veneer, so there's no photos of those steps.
 
O7Yz6KS.jpg

the body and neck, with several coats of lacquer. i was given a choice between doing it myself using the disgusting finish the school had (polycrylic) or having the teacher take it home and use high quality finish (lacquer can't be used in school due to the toxicity of the fumes). i opted for the latter and the finish turned out great.
FnUGlO7.jpg

the body, loaded up with hardware and electronics. tragically, the head broke off one of the bridge screws while trying to screw it in. im probably going to just glue it back so it's more aesthetically pleasing.
AIFsuXXh.jpg

the fretboard has a 10" radius. the fretboard got a lacquer coating along with the rest of the neck. this will allow me to use a larger variety of strings without damaging the fretboard. i shaped the nut blank and then i glued it in place with cyanoacrylate.
7wYCFofh.jpg

the entire neck.
oG7rp37.jpg

the back of the neck. i may or may not have drilled one of the tuner screw holes in the wrong spot the first time...
lNOHUqs.jpg

the back of the body. the contours are much more visible with finish. the control cover is made out of purpleheart. it was salvaged from a scrap ukelele top.

i do not have the class because it is now the second semester, so i will not get a chance to see the teacher until wednesday next week. on that day i'll be installing the tuners, adding strap buttons, joining the neck to the body, adding knobs, and finally putting on strings.
 
sorry about the lack of updates lately. i still have to affix the bolt on neck to the body and install the new nut. the nut i installed has to be removed because the thickest nut file was .056 gauge. it will be replaced with a tusq slotted nut. i installed the strap buttons last week, and that was all i was able to do that day.
3RrXraIh.jpg

i was supposed to come in after school today to complete the bass, but my teacher had a meeting. on friday i will be done, if nothing else comes in the way.
 
  • Like
Reactions: AGH