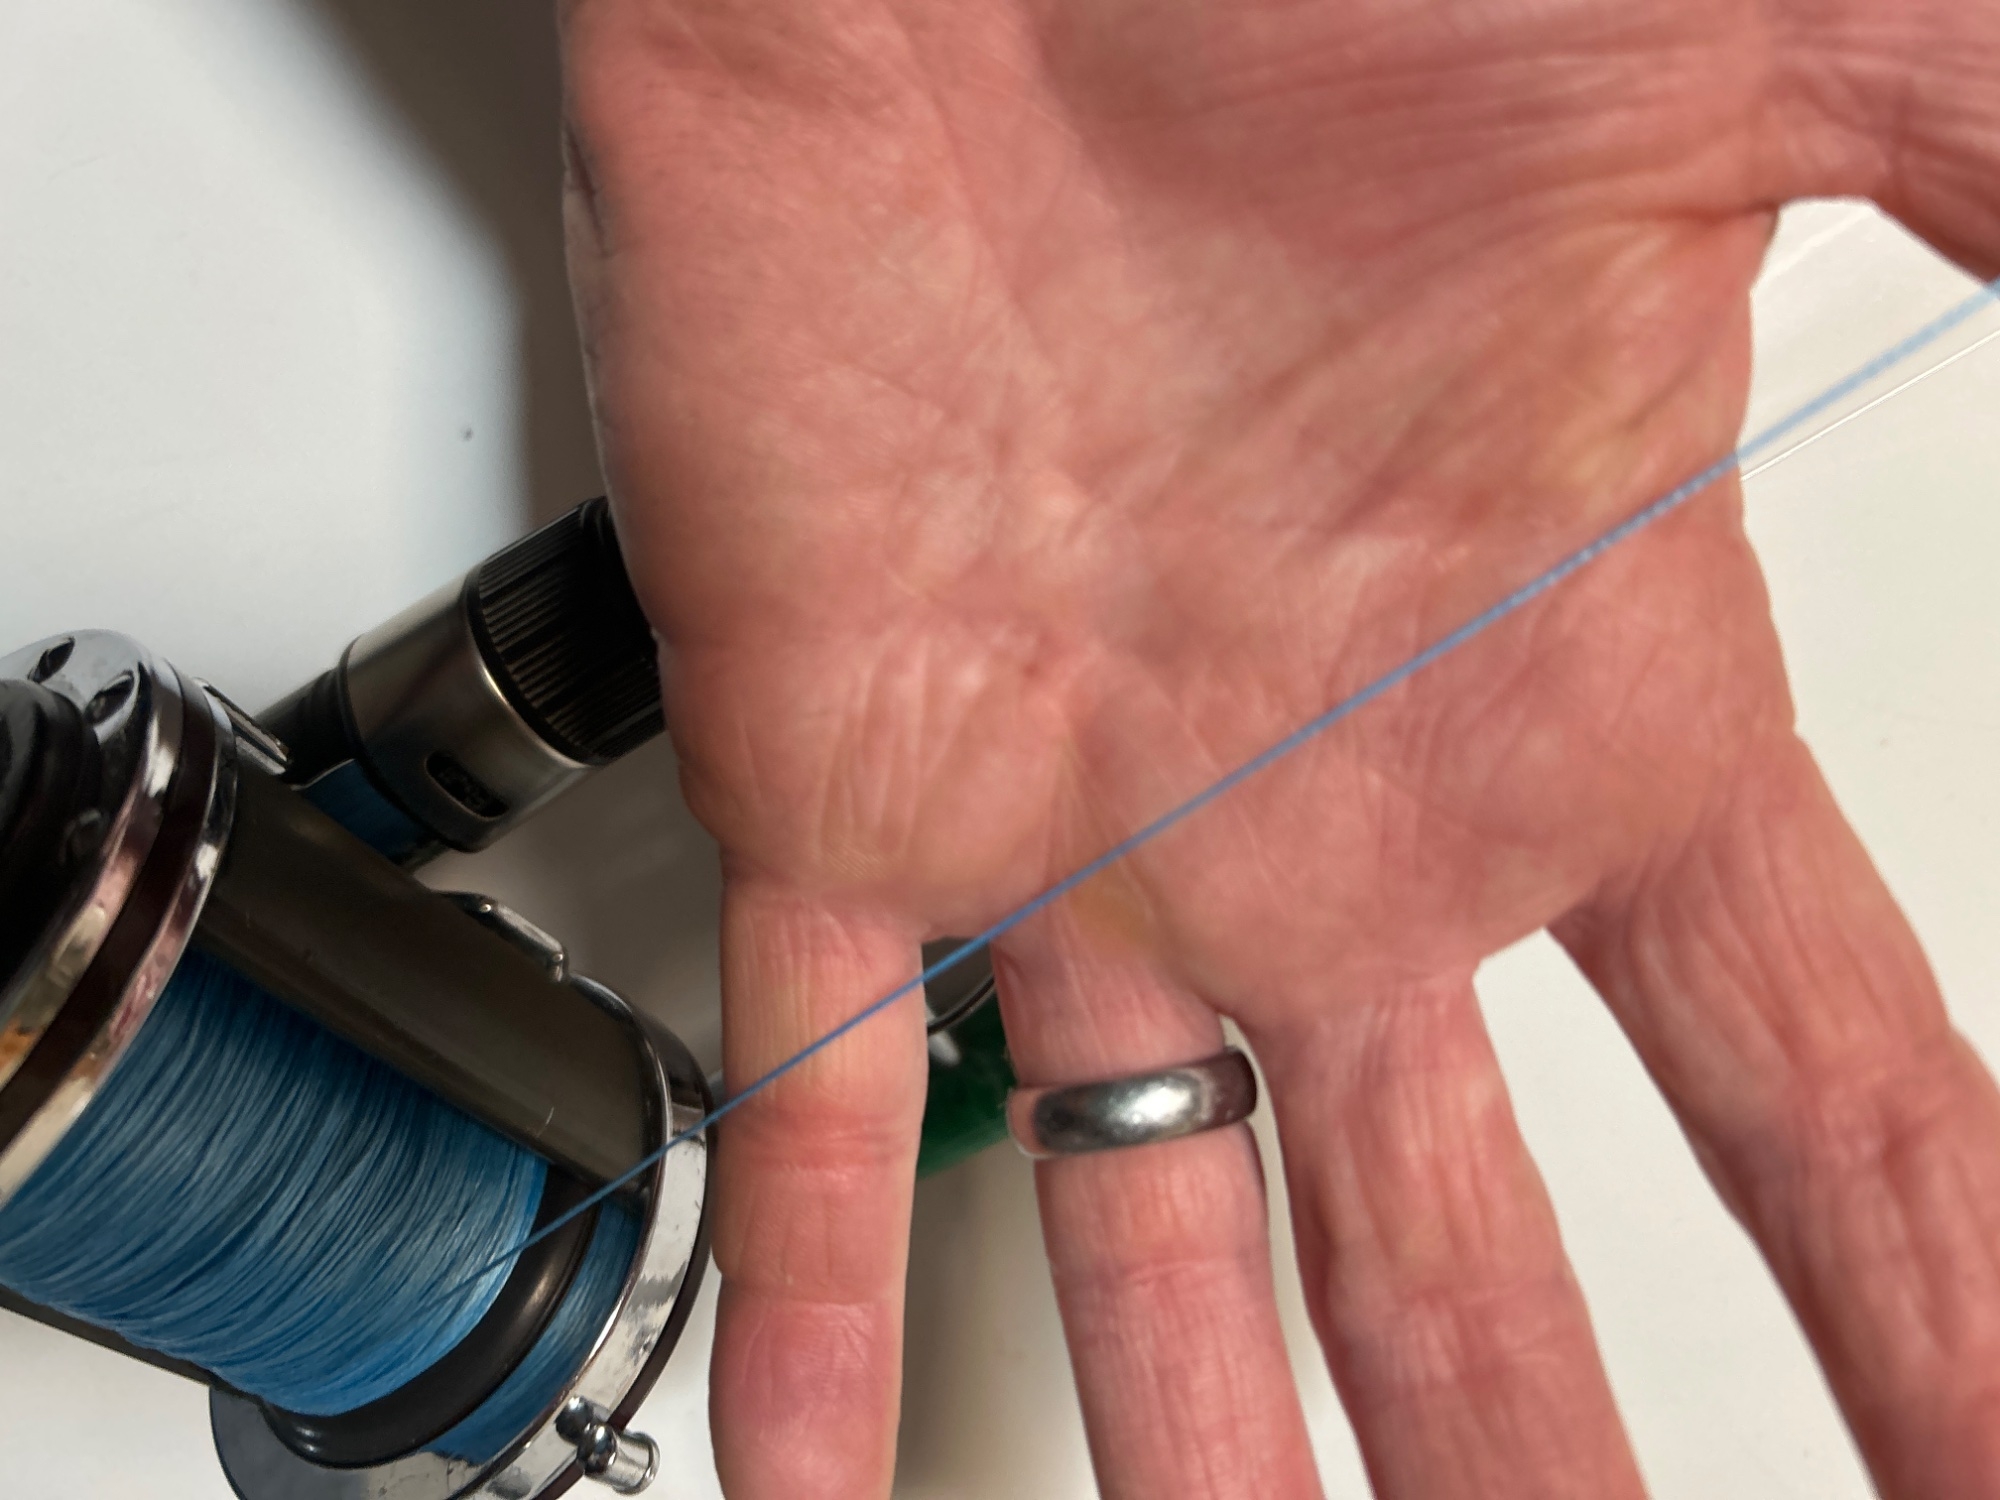
There is a fishing line called PowerPro, 80lb test is a good thickness and strong as all get out I believe it comes in white too. I’d use it for the project. PM me your address and I’ll send you a couple feet to play with

TalkBass has been independent since 1998. Add your voice.
Create a free account to reply to discussions, view embedded media, and browse with fewer display ads.
Join free Log in
Want zero display ads or expanded classifieds tools? Compare plans.

Since I enjoy "re-inventing the wheel" every time I do something new, the guitar strap project was done by first gluing the two pieces of leather together, then drilling a row of stitch holes with a 1/16" drill bit. I followed that by doing the actual saddle stitching. Since I don't have an industrial sewing machine that made the small project easy.One of the ”things” in this project is working with hands so no machine sewing. I’m making a sort of a prototype from thick paper and use that as a template. Stitch hole punch set, needles and thread should arrive on Monday, I have leather and zipper and I need to go and buy the liner and padding.

100%! I was going to suggest a stitching pony as well. It will definitely make the process much more fluid and easier on the hands.A stitching horse would be recommended for a piece as large as a gig bag. Small pieces can be done without (wallets, keychains, etc) but larger projects really need to be held firmly while saddle stitching.



That’s how I’m going to sew. Glue, punch holes, sew.Since I enjoy "re-inventing the wheel" every time I do something new, the guitar strap project was done by first gluing the two pieces of leather together, then drilling a row of stitch holes with a 1/16" drill bit. I followed that by doing the actual saddle stitching. Since I don't have an industrial sewing machine that made the small project easy.


That's what I do.That’s how I’m going to sew. Glue, punch holes, sew.

Leatherwork is loads of fun! And you will get better if you stick with, like anything else. You will have this gig bag for a long time and you'll always be able to look back at it and see how far you have come.After making another handle I used the template to draw the pieces on the leather. I cut the pieces with a cut blade knife and ruler.
View attachment 7453103
View attachment 7453104
Then I glued reinforcment pieces inside for the handles, glued the handles and stitched them.
View attachment 7453105
View attachment 7453106
View attachment 7453107
Last thing today was gluing and stitching my logo.
I have to say I’m not totally happy with the quality of my work. Some seams are fine, some are tilted or other ways nowhere near good but as a first leatherwork I think they are acceptable. Anyway leather work is fun!

A buddy of mine is a green wood chair maker and leather worker. He adapted his shop-made shaving horse to accommodate both task's using removable jaw inserts.100%! I was going to suggest a stitching pony as well. It will definitely make the process much more fluid and easier on the hands.
I made this one almost 30 years ago with hand tools. I could make a better one in the shop now, but this one always served me well. Since you also do woodcraft, something like this would be pretty simple to put together. I liked this one because I could sit in a chair and slide it under my legs to hold it or I could clamp it to the workbench. Stitching horses are also nice, but they can get pretty large and then you've got to store them somewhere. They're basically like the pony, but mounted on a bench.
View attachment 7451939View attachment 7451940
Are you using a template to layout the holes before punching or drilling them?After making another handle I used the template to draw the pieces on the leather. I cut the pieces with a cut blade knife and ruler.
View attachment 7453103
View attachment 7453104
Then I glued reinforcment pieces inside for the handles, glued the handles and stitched them.
View attachment 7453105
View attachment 7453106
View attachment 7453107
Last thing today was gluing and stitching my logo.
View attachment 7453108
I have to say I’m not totally happy with the quality of my work. Some seams are fine, some are tilted or other ways nowhere near good but as a first leatherwork I think they are acceptable. Anyway leather work is fun!


