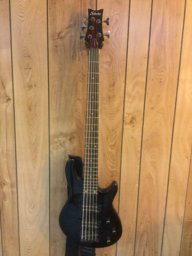
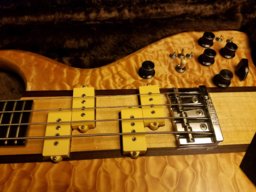
I have an idea for you, one that I often use in one form or another.
I often "pattern route" finished shapes by using a smaller template temporarily fastened to the top of the work. I then use a simple straight profile router bit (no bearing needed...) to route the work by using the route BASE against the template edge. This works well if you have a round based router (many are...) and your final design doesn't have any concave curves smaller than the router base diameter. You do have that in the curve below the neck, but you can do the rest of the body and shape that small area with an electric drill fitted with a 2" sanding drum and 50 or 80 grit drum.
As an example, my Porter-Cable with a 1/2" twin flute carbide bit uses something like a 4-1/2" offset. The pattern is made that much smaller all the way around to produce work that's full size.
The undersized pattern is made by measuring from the bit edge to the outer edge of the router base and subtracting that amount from the actual outline. The pattern is attached to the work by using screws in areas that will be covered by hardware. Neck route, pickup locations, tailpiece, or any area covered by the pick guard are typical examples.
In your case I'd most likely do a first router cut 1/8" or 1/4" deep to establish the shape, jig saw off the majority of the waste by sawing directly in the center of the routed channel, then following up with progressively deeper cuts to true up the sawed edge.
It sounds complex, but it isn't. Once you think through the reasoning about how this works you may wonder why more builders with limited resources don't use the technique.
I also use the same technique for neck pockets, pickup routes, and control cavity routes. In those cases I make up my complete guide that the router base will ride against, clamp the guide over another piece of template material and route the shape in the lower piece of template stock. Before un-clamping this new "inner portion" I draw the outer router base guide shape on the lower portion, un-clamp and cut the lower portion so it fits easily in the router guide portion. To use the new guide the inner part drops in the router guide and the actual shape can be positioned easily. Clamp the outer guide in place, remove the inner "positioning template" and route away. (It's worth reasoning this one out, too.)