

Enjoy the benefits of a premium membership!
Upgrade Account
-
TalkBass has been independent since 1998. Add your voice.
Create a free account to reply to discussions, view embedded media, and browse with fewer display ads.
Join free Log in
Want zero display ads or expanded classifieds tools? Compare plans.
You are using an out of date browser. It may not display this or other websites correctly.
You should upgrade or use an alternative browser.
You should upgrade or use an alternative browser.
My New Studio Build (perhaps overly detailed)
- Thread starter silky smoove
- Start date
More options
Who Replied?
Yep. More of the same 4” Alpha panels, but they get mounted with this cool Cloud Bracket system that puts a 4” air gap between the panels and the ceiling. This increases the low frequency absorption of the panels considerably. I’ll be installing eight panels on the ceiling next weekend.Do you have ceiling treatments or a cloud?
Here’s how the brackets work: Link Removed

Bah! I misread the instructions for the cloud mounting brackets. They're not compatible with the Alpha series panels. That one is on me, not GIK. Looks like I'll use the standard hook/eye plus chain or wire approach to ceiling mounting panels.
Needing to use a toggle bolt on the ceiling portion of the panel mounts is proving to be a pain. My initial plan was to use a toggle bolt with a hook or eye on the end to pair with an eye screwed into the sides of the panels as my means of suspending the panels just below the ceiling. I could then adjust the wire length to facilitate as large or small of an air gap as I want. The trick is that while these toggle bolts exist, finding them in-stock anywhere locally is proving to be impossible. Looks like Amazon will be the way to go.
EDIT: Found some on Amazon that I think will work. My wife has a Prime account for her business, so they'll be here tomorrow and shipping was free. Hopefully this works.
EDIT: Found some on Amazon that I think will work. My wife has a Prime account for her business, so they'll be here tomorrow and shipping was free. Hopefully this works.
Last edited:

You could buy the toggle bolts and switch the bolt out with an eye,Needing to use a toggle bolt on the ceiling portion of the panel mounts is proving to be a pain. My initial plan was to use a toggle bolt with a hook or eye on the end to pair with an eye screwed into the sides of the panels as my means of suspending the panels just below the ceiling. I could then adjust the wire length to facilitate as large or small of an air gap as I want. The trick is that while these toggle bolts exist, finding them in-stock anywhere locally is proving to be impossible. Looks like Amazon will be the way to go.
EDIT: Found some on Amazon that I think will work. My wife has a Prime account for her business, so they'll be here tomorrow and shipping was free. Hopefully this works.
Individual eye bolts tend to only go down to 1/4", which requires a larger pilot hole than I want to use. I found a set of 1/8" toggle bolt hooks that will work with a 3/8" pilot hole like I did on the walls. Minimizing holes and hole sizes is critical for sound isolation performance (hence my insistence on small toggle bolts and large washers on the wall panel installations).You could buy the toggle bolts and switch the bolt out with an eye,

If amazon doesn’t pan out, try Pilot Supplies and Aircraft Parts from Aircraft Spruce. Otherwise McMaster-Carr.
Works great. Slightly bigger anchor heads than I would have liked, but not too big. I pulled on the hook as I pushed the drywall piece (remnant from the HRV hole saw fiasco) as hard as I could, and it didn’t budge. I’ll be using three per panel so the capacity will be adequate... well... overkill 
With these and the #6 eye screws I picked up earlier tonight at Home Depot the resultant air gap should be about 2”. Ideally I would match the thickness of the absorptive material (i.e. 4”). I might add hanger wire to these if I’m not satisfied with the gap. Before making that decision I will (gasp) listen to the room
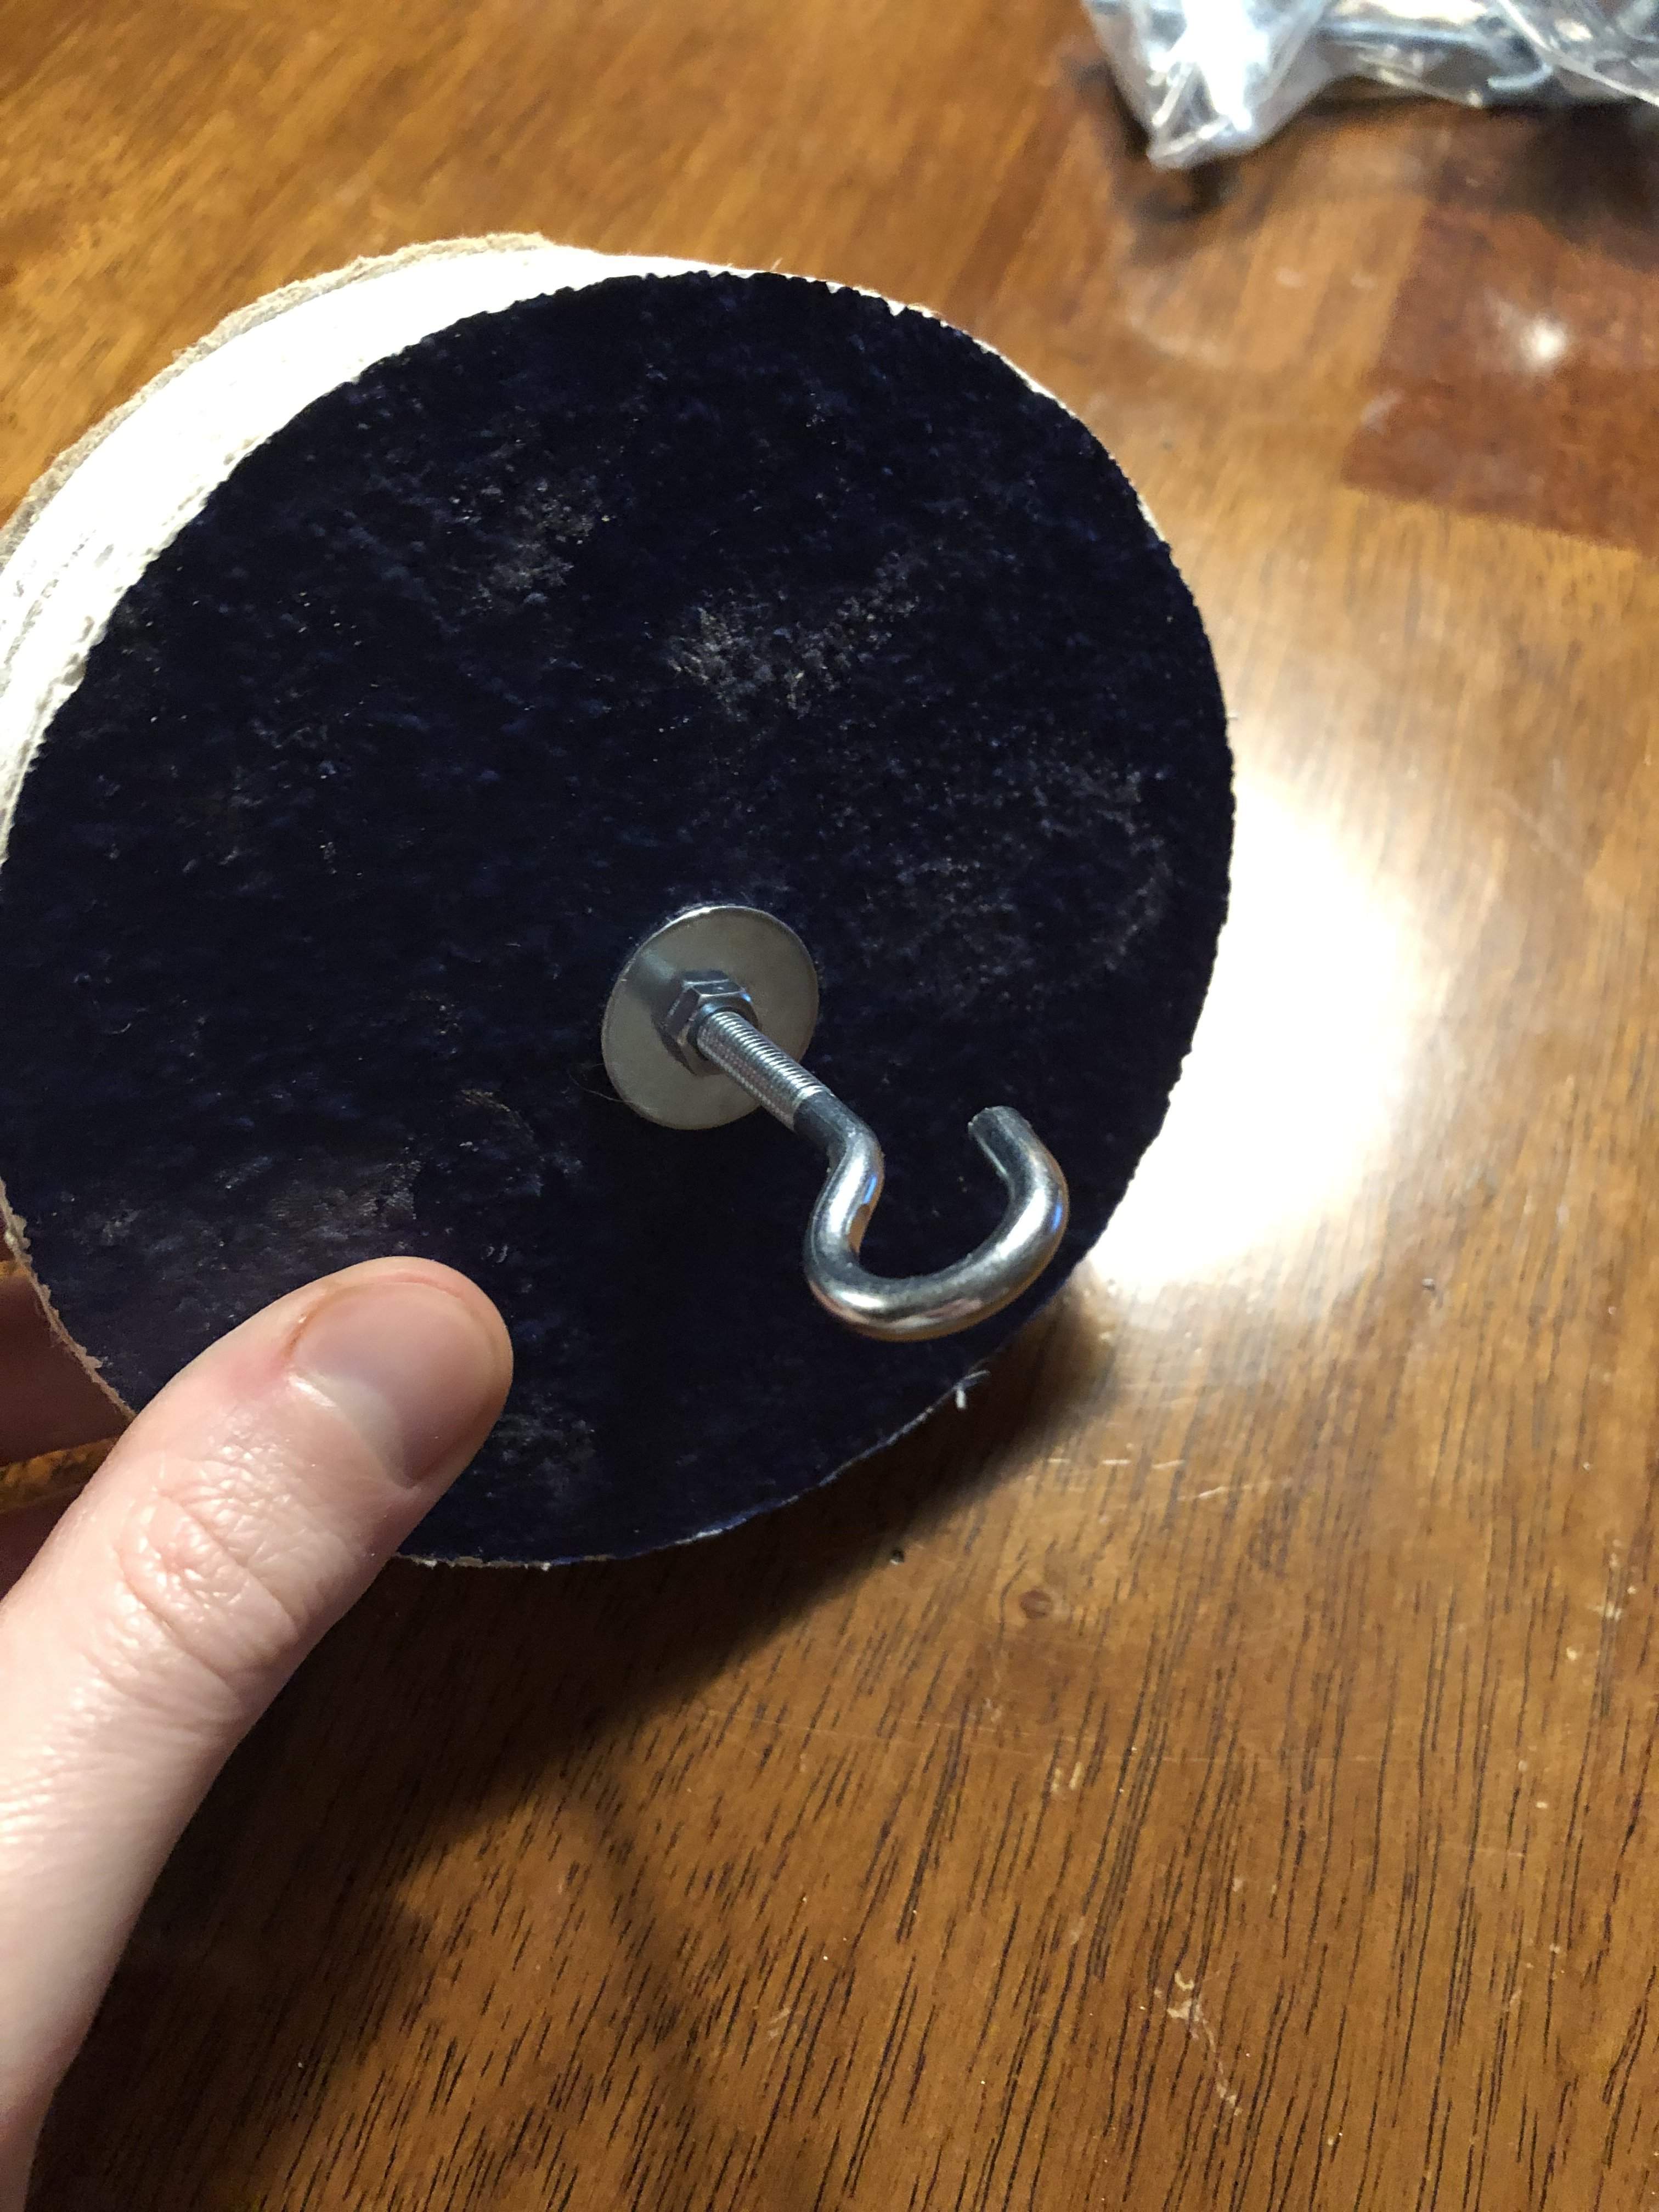
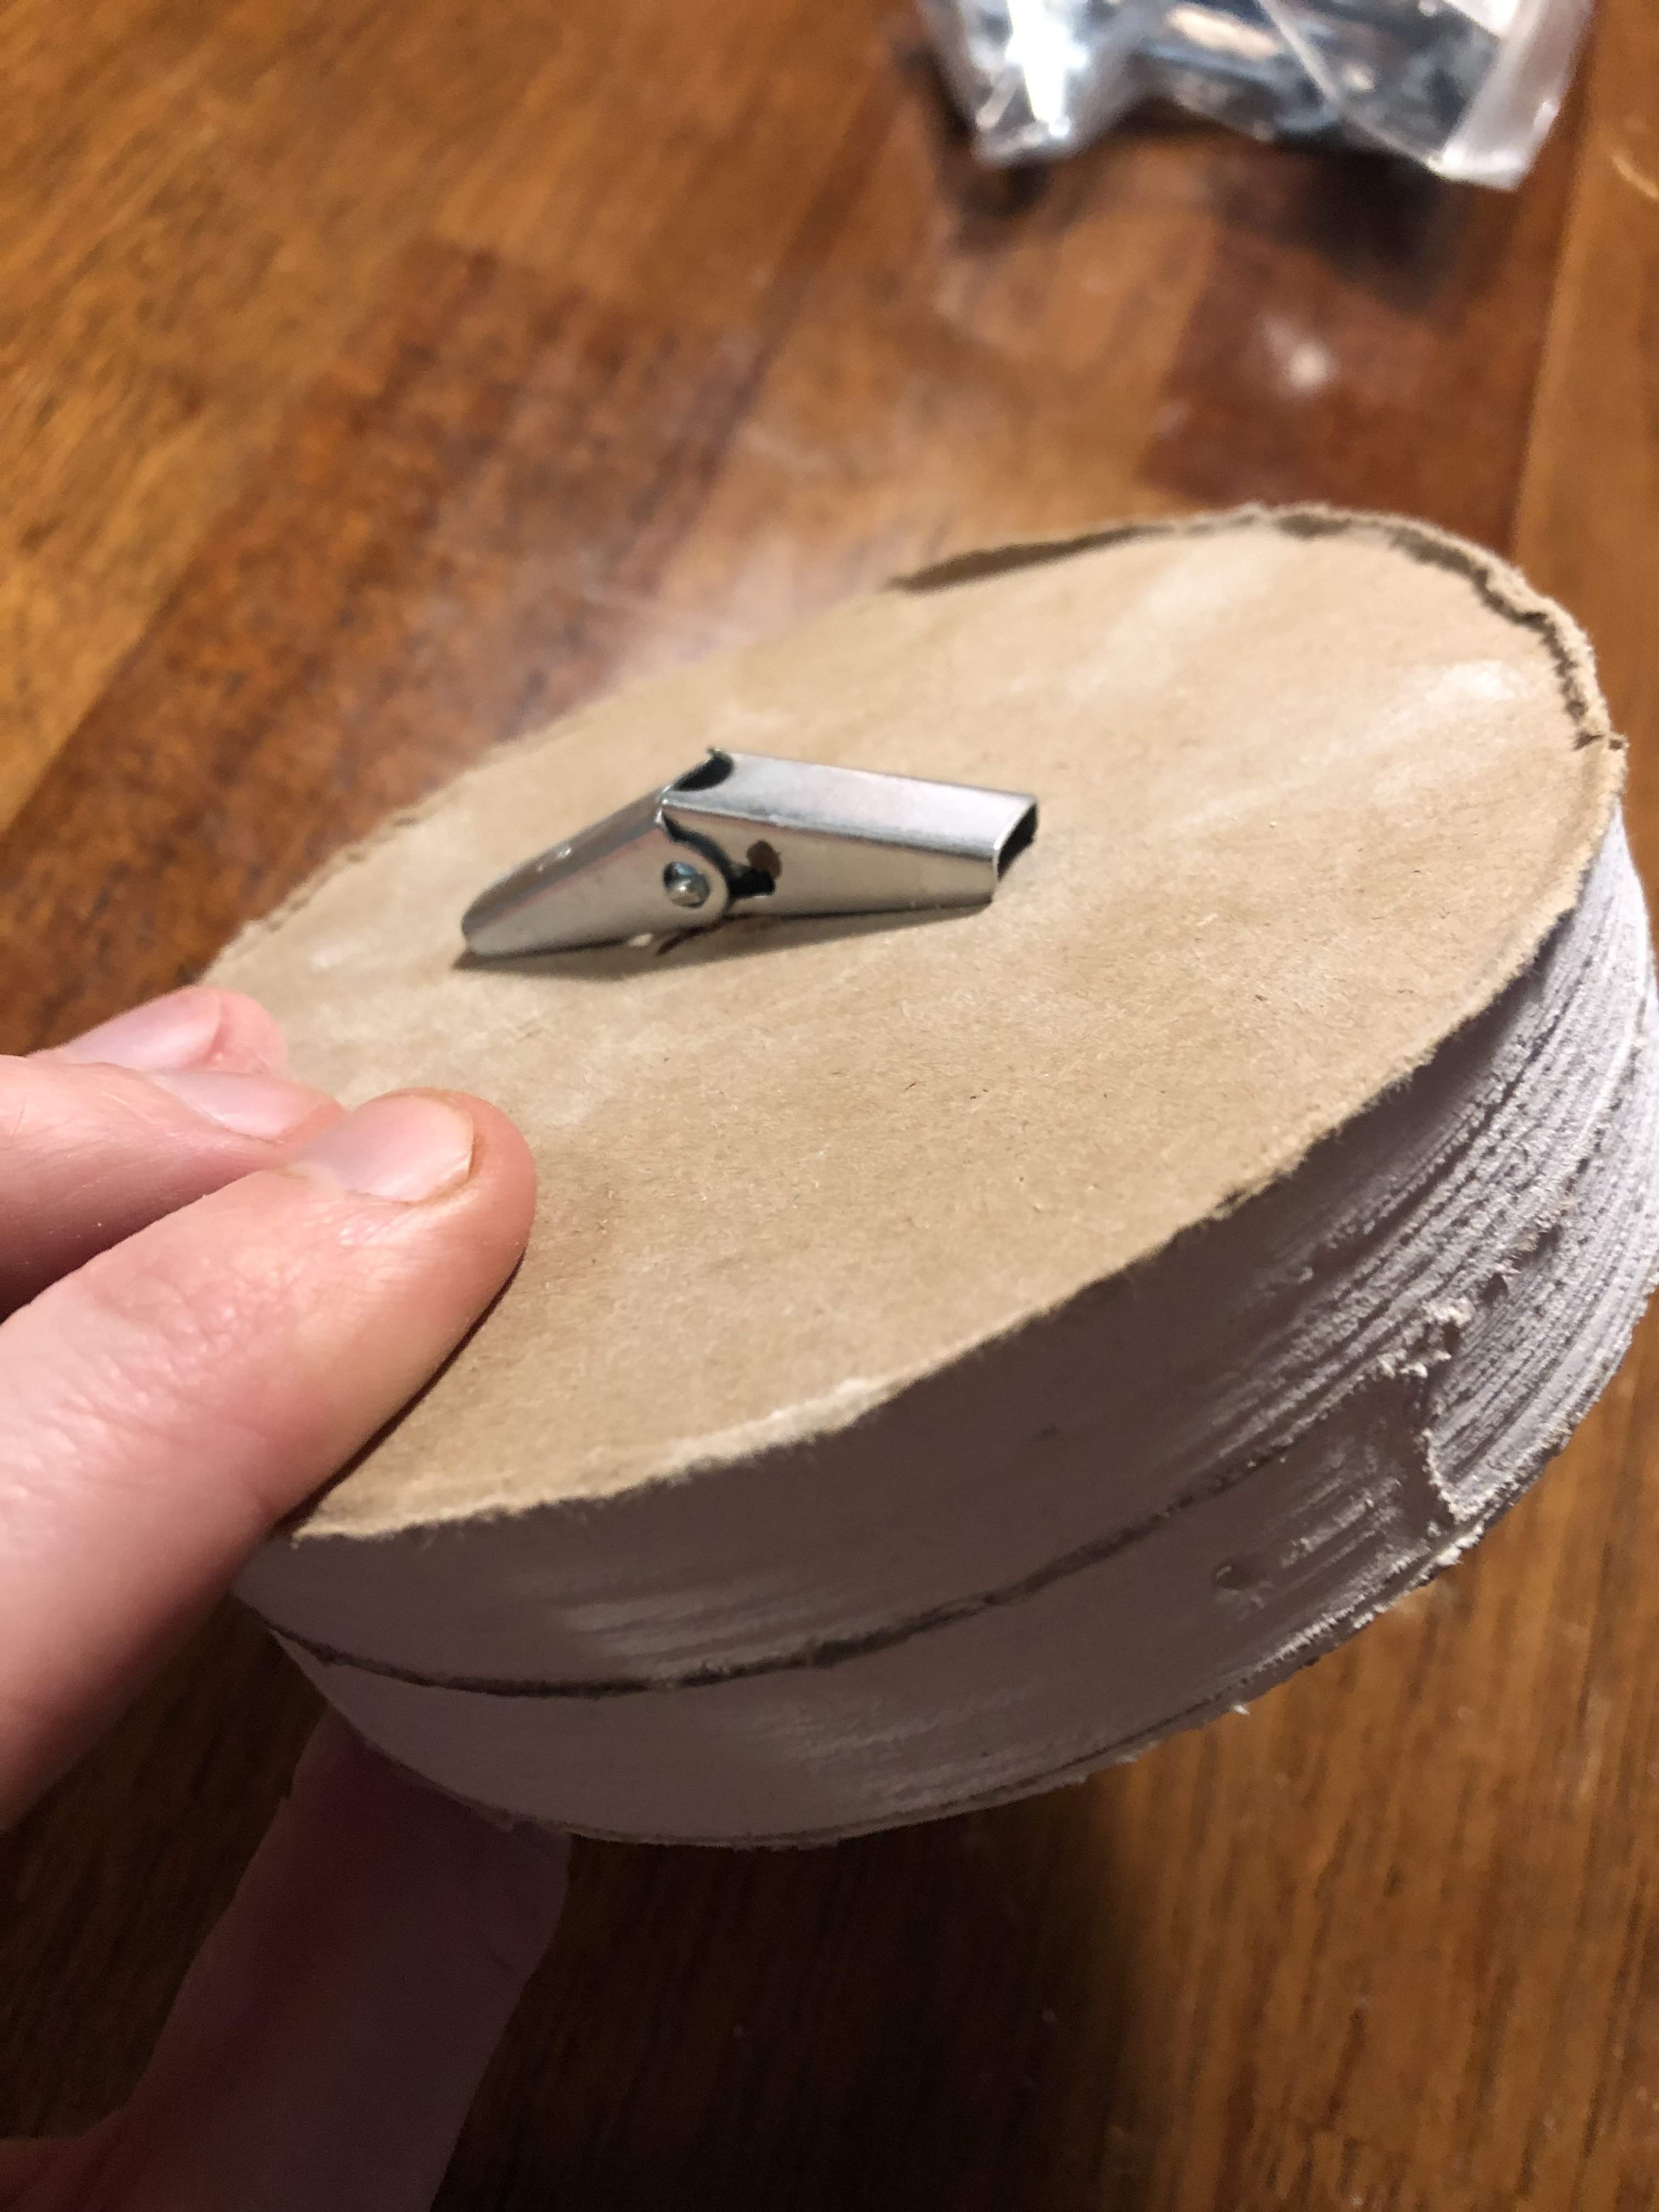
With these and the #6 eye screws I picked up earlier tonight at Home Depot the resultant air gap should be about 2”. Ideally I would match the thickness of the absorptive material (i.e. 4”). I might add hanger wire to these if I’m not satisfied with the gap. Before making that decision I will (gasp) listen to the room
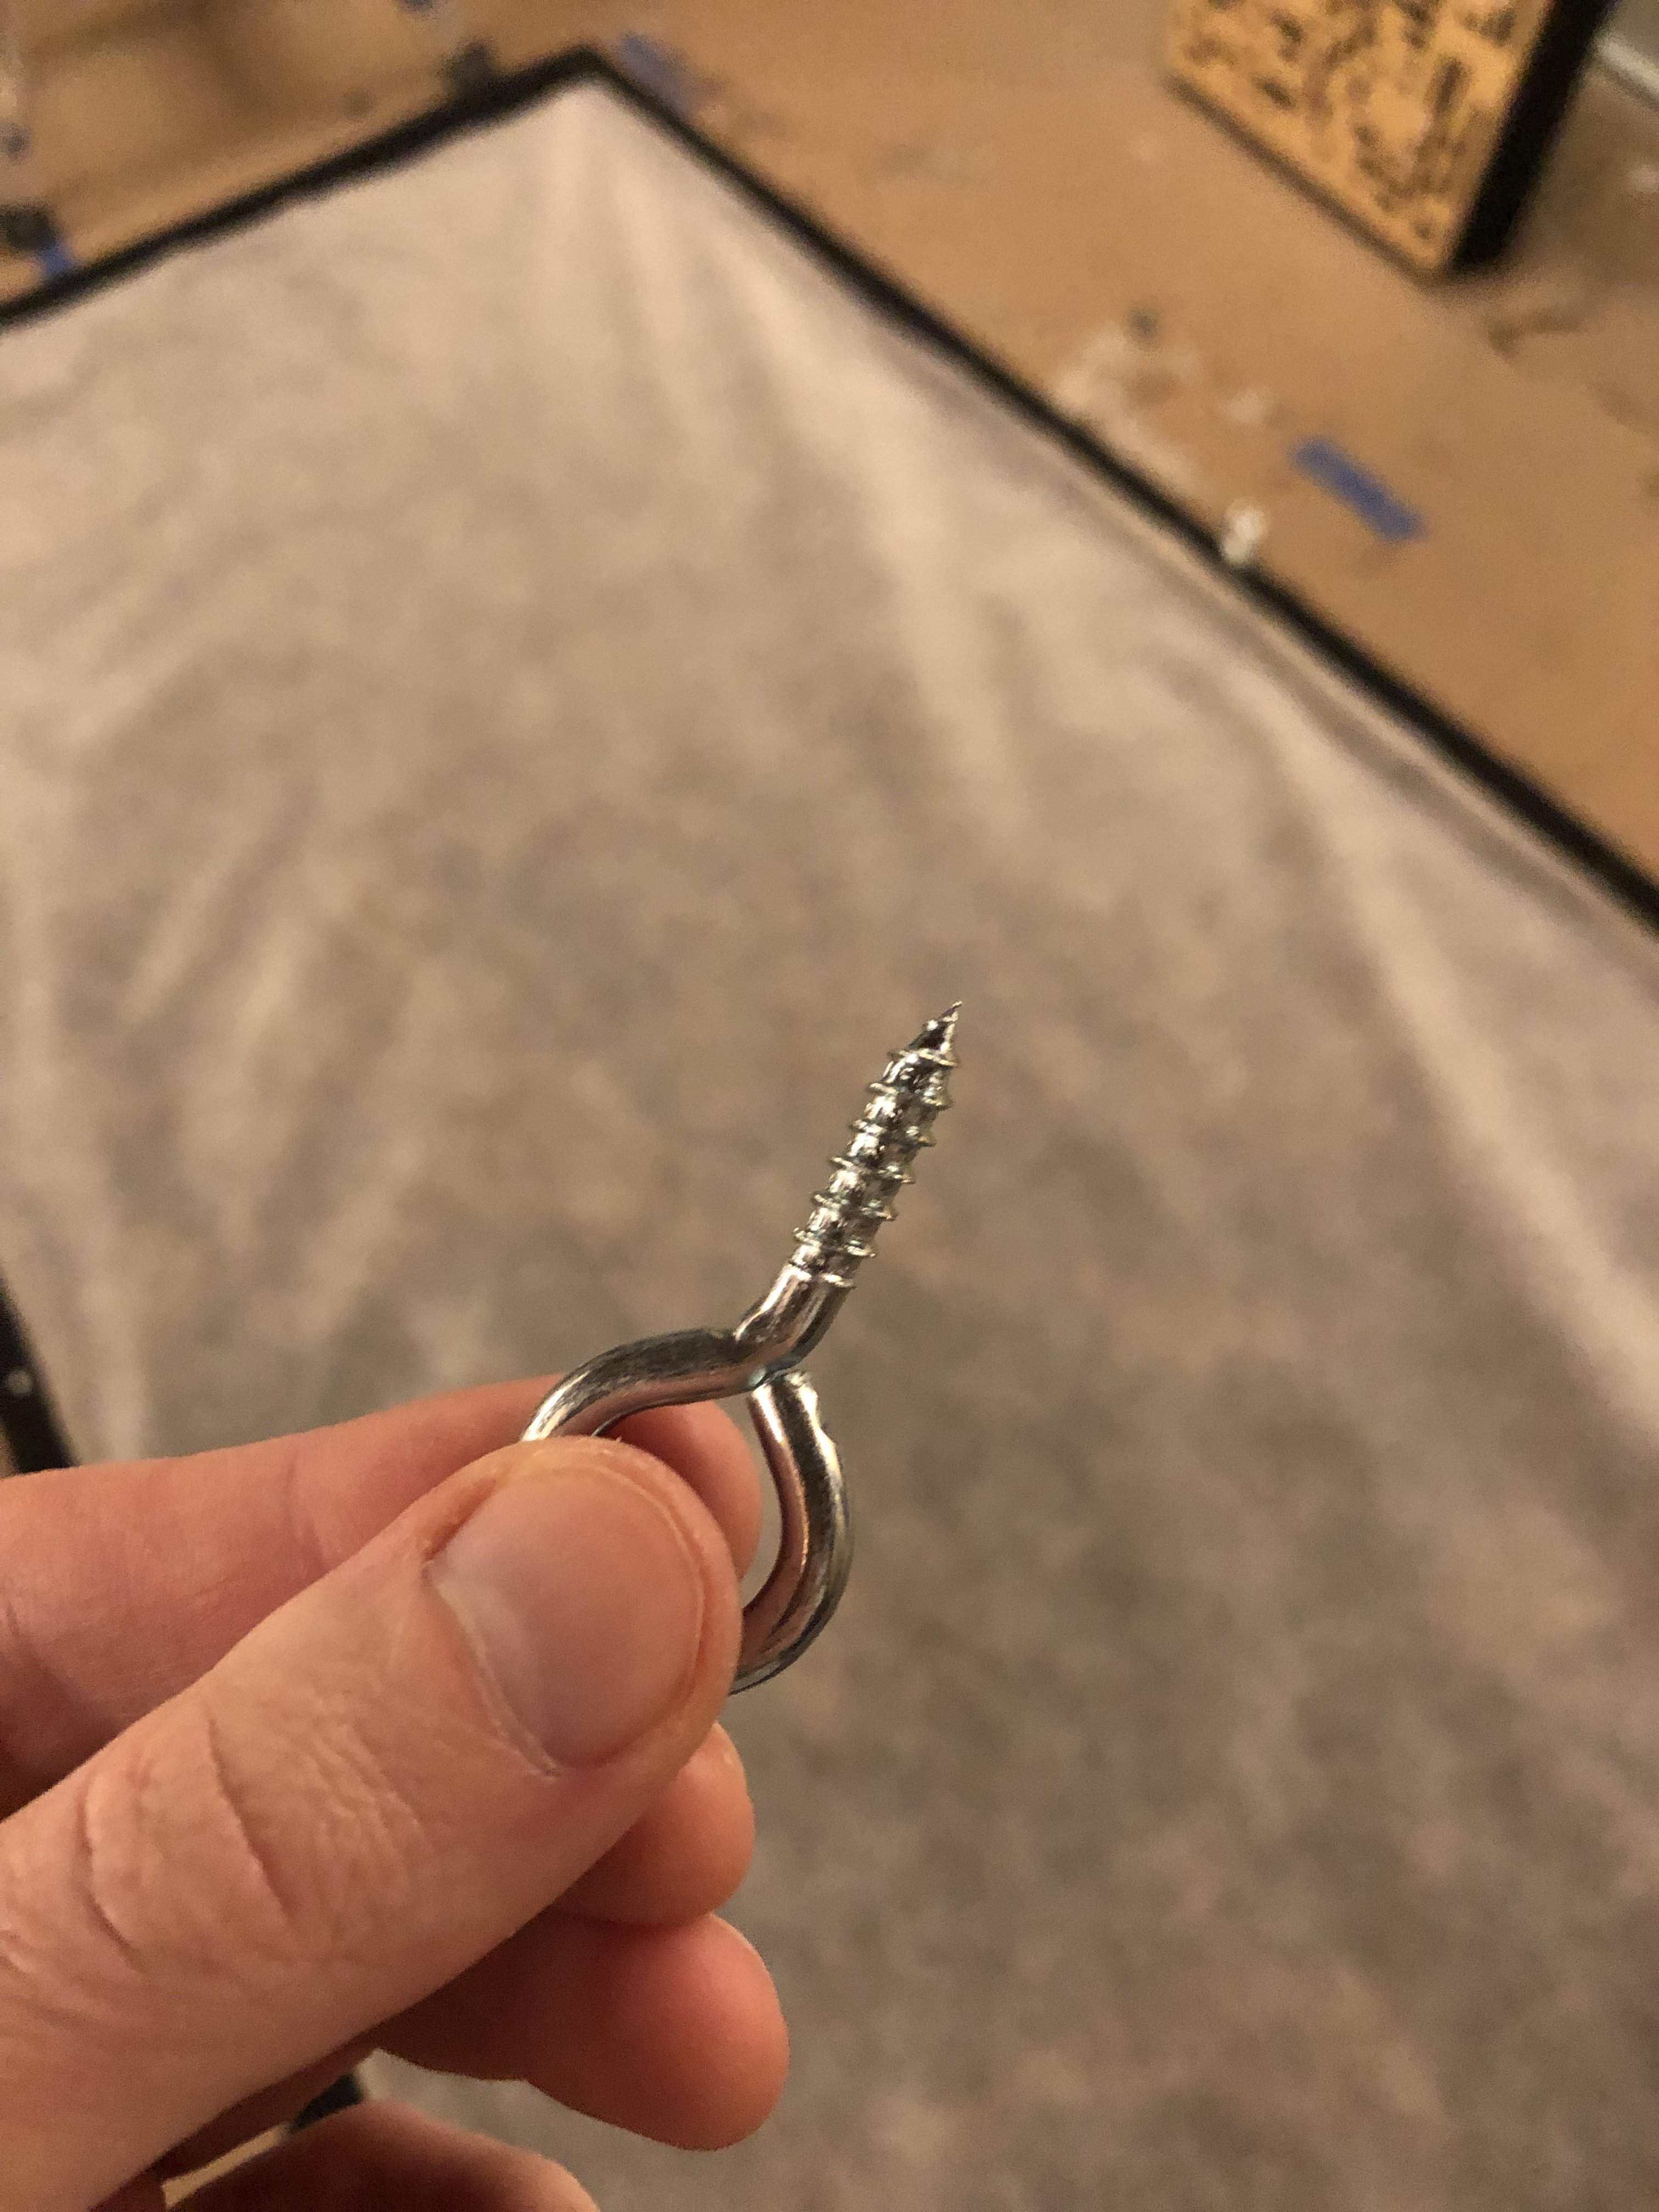
Here are the #6 eye screw getting installed in the panels.
Here’s one installed (actually two if you count the one out of focus in the background). Initially I was going to go in on the side to add to the load capacity, but seeing as how these are each rated at 70lbs (obviously dictated by the substrate) I decided to go in the back. This has the benefits of hiding the fasteners more effectively from view, and adding to the air gap behind the panels. These are set to protrude 1” above the back of the panel. This should get me to 3-3.5” with the toggle hooks, which will be great acoustically.
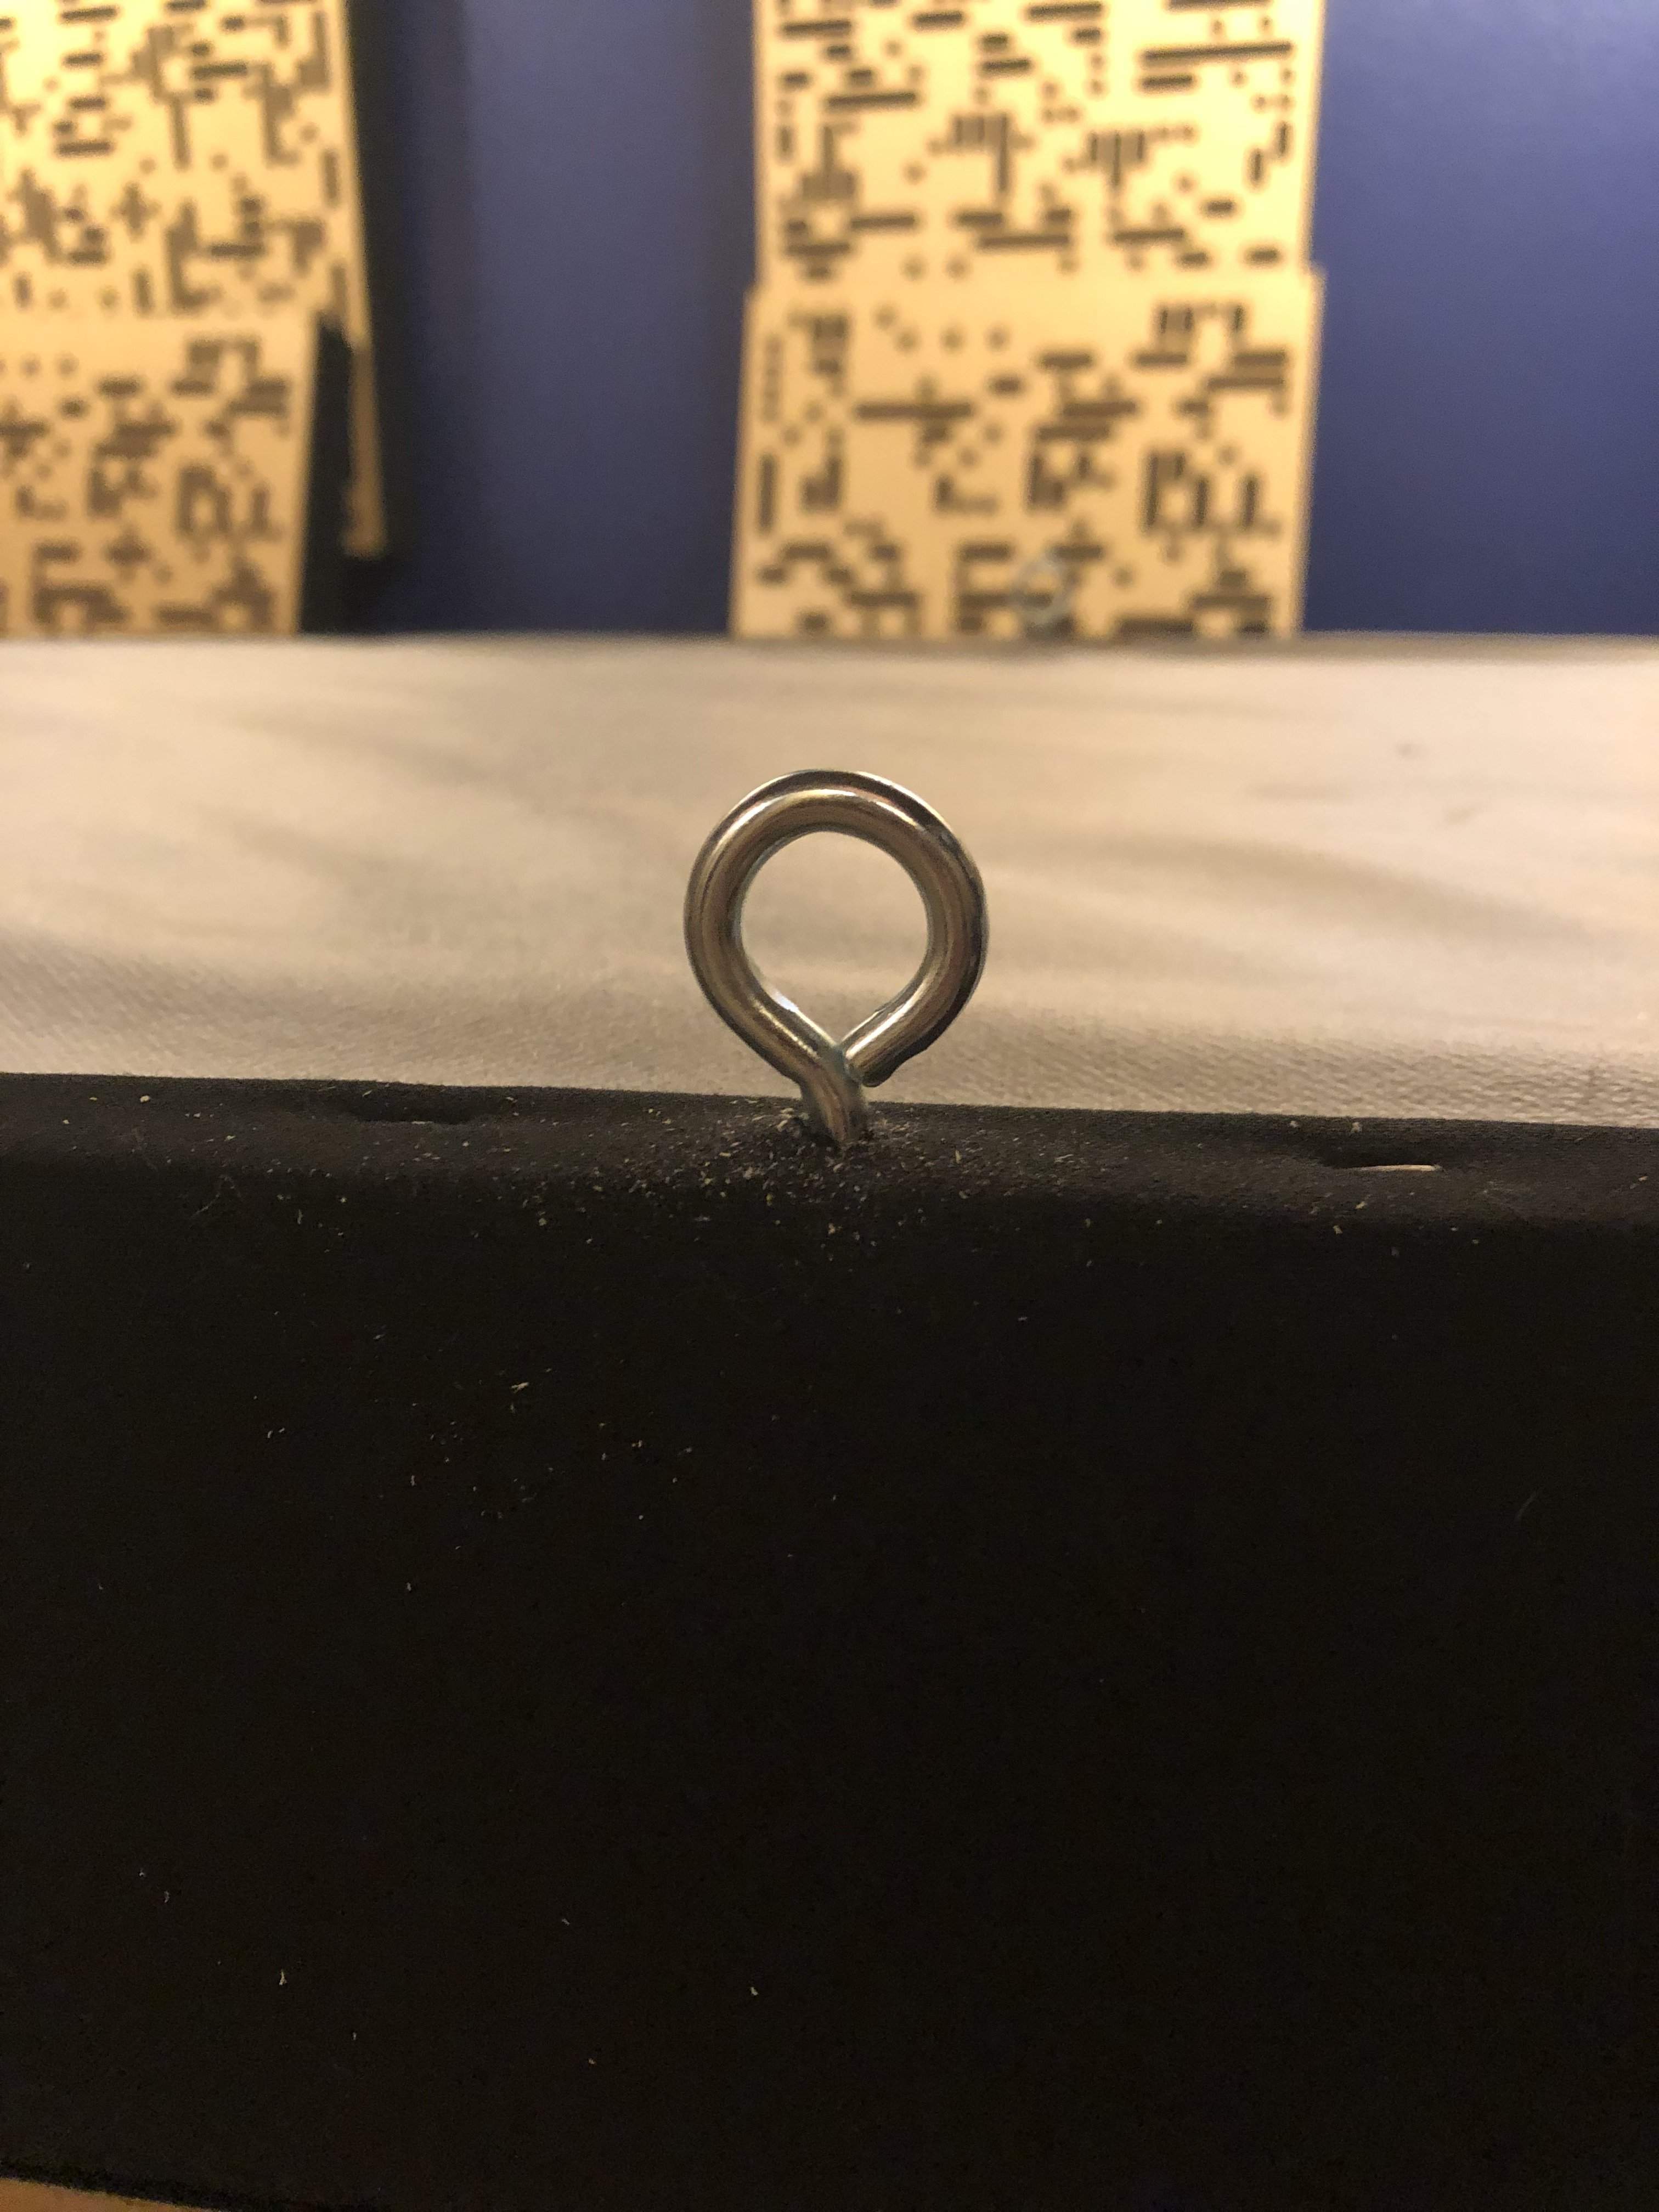
Here’s one installed (actually two if you count the one out of focus in the background). Initially I was going to go in on the side to add to the load capacity, but seeing as how these are each rated at 70lbs (obviously dictated by the substrate) I decided to go in the back. This has the benefits of hiding the fasteners more effectively from view, and adding to the air gap behind the panels. These are set to protrude 1” above the back of the panel. This should get me to 3-3.5” with the toggle hooks, which will be great acoustically.
The two on the long sides hold the panel up. The one on the short side (located on the peak side of the vaulted ceiling as opposed to the wall side) keep the panel parallel to the ceiling.
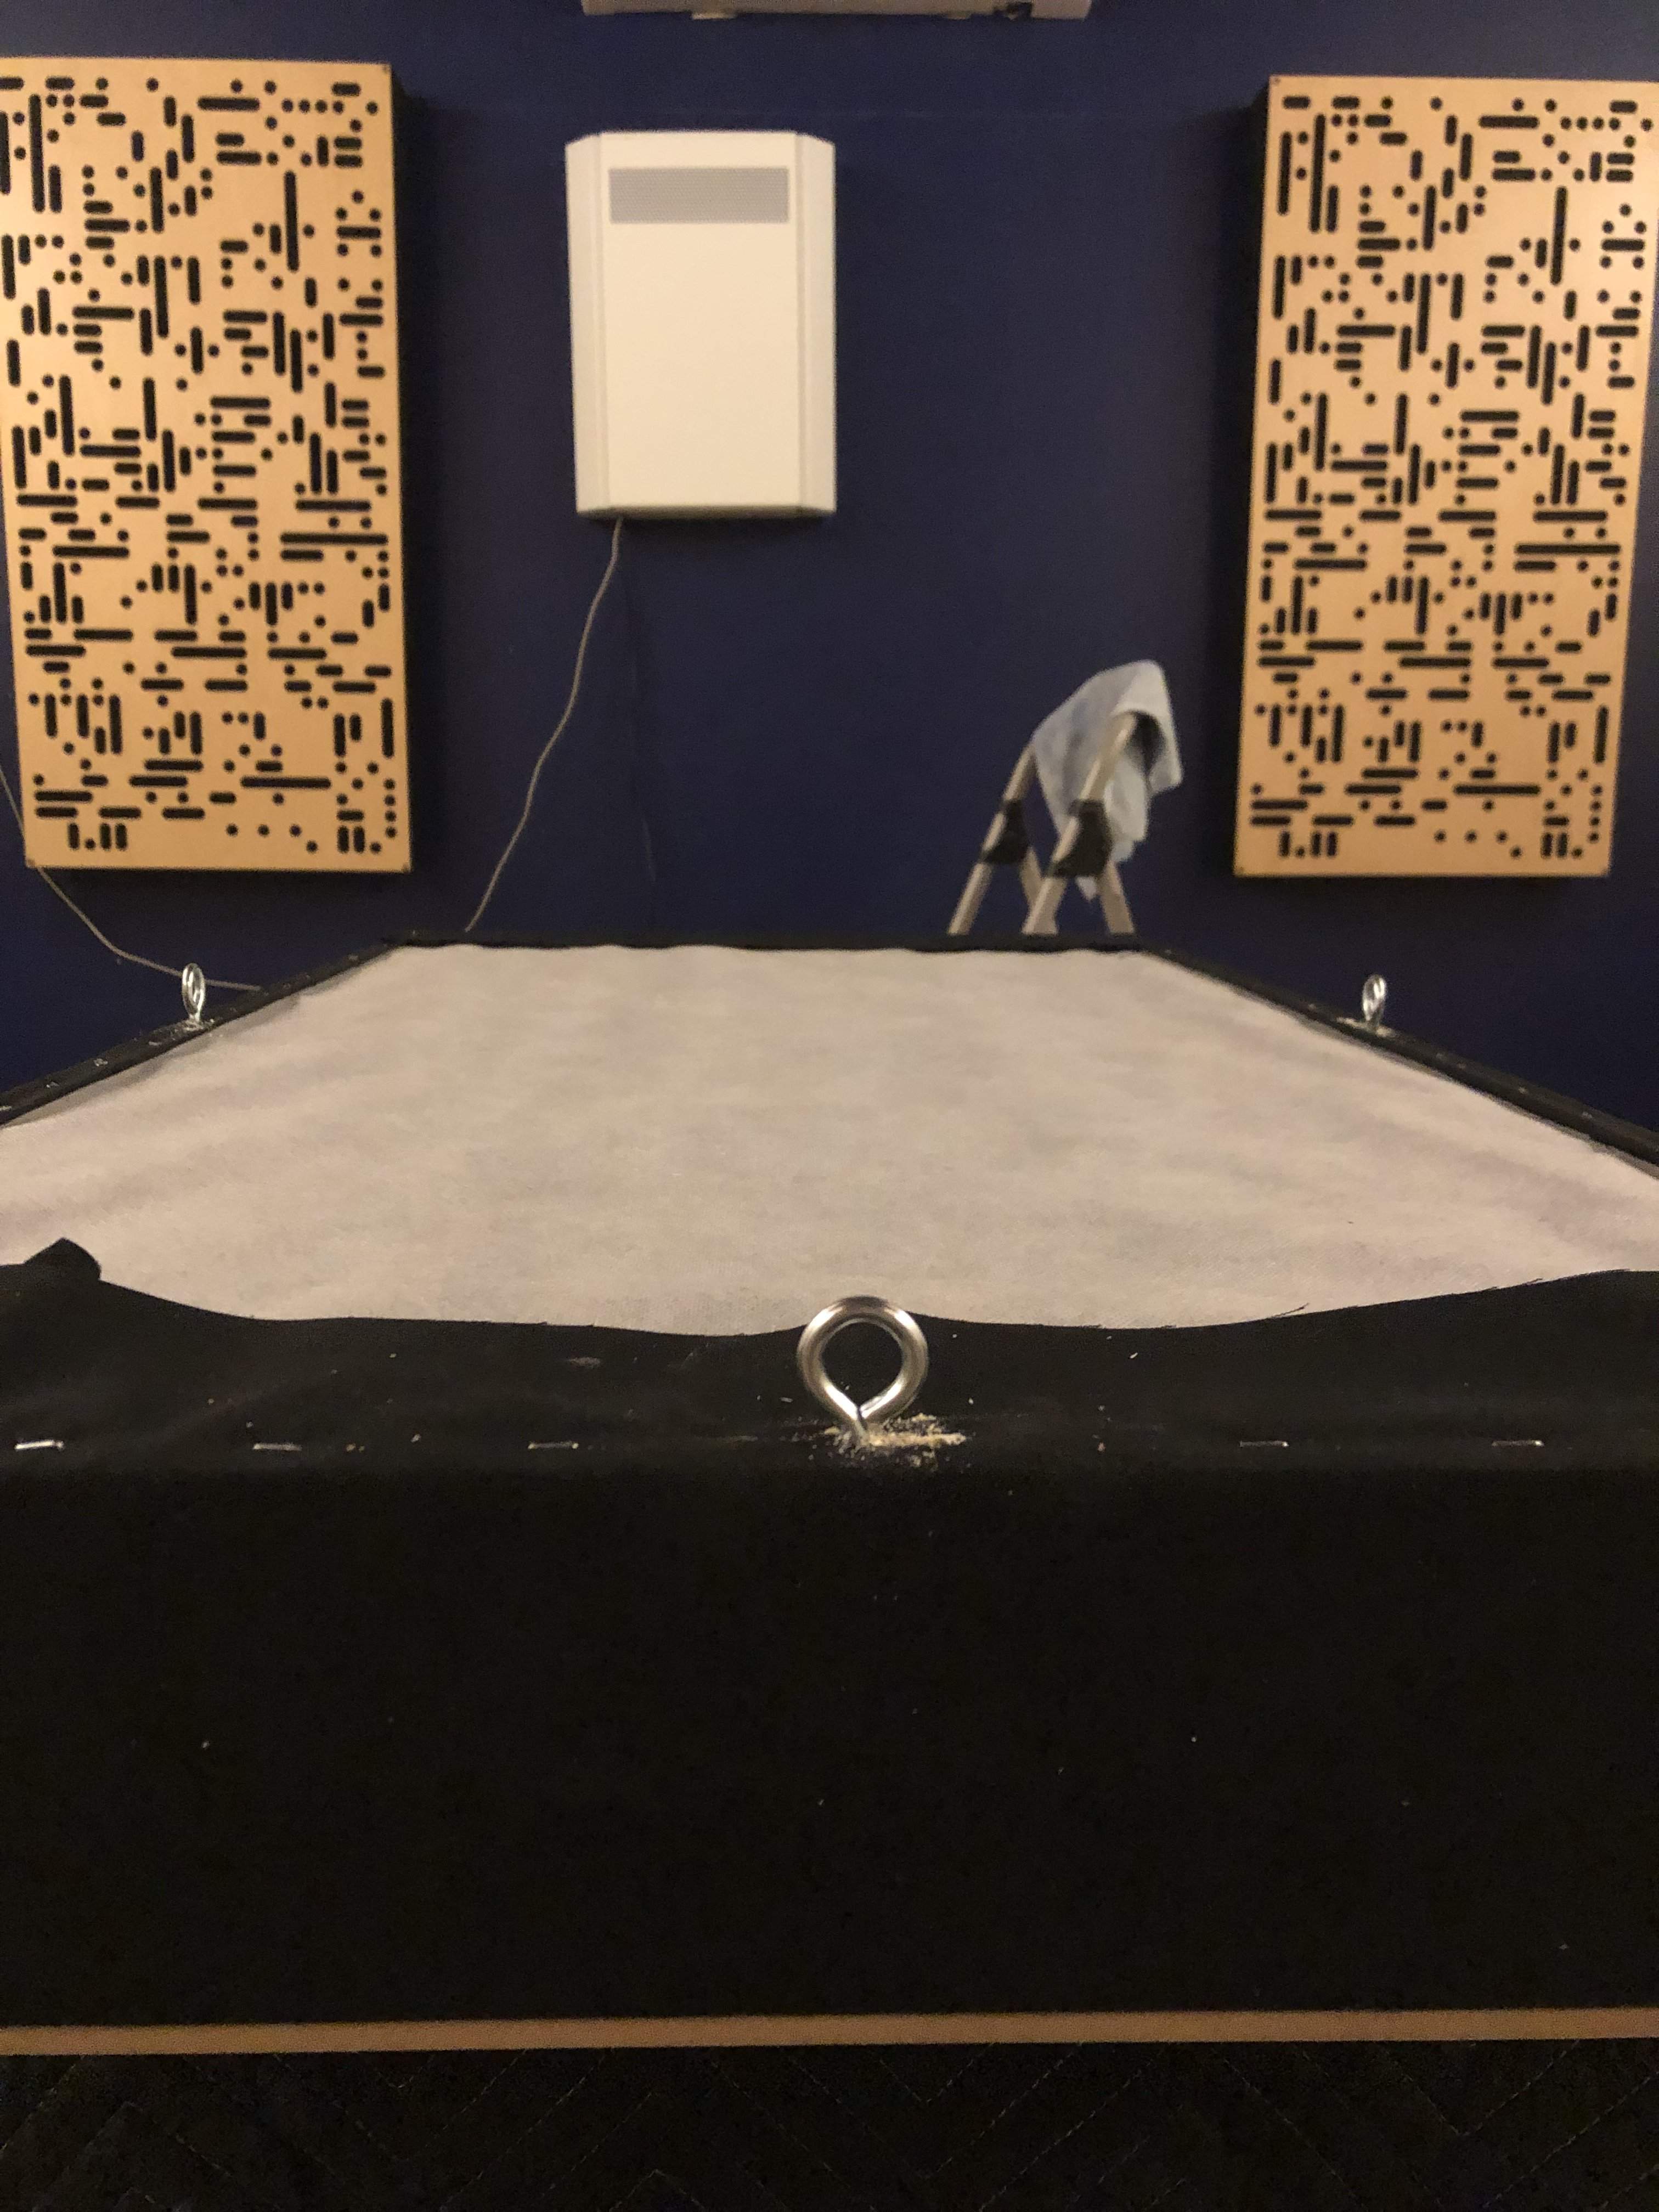
Resultant gap is 2.5” with the toggle hook extended as far as I’m comfortable. I could maximize it to MAYBE 2.75”, but that would only leave one or two threads on the head, which feels irresponsible for such a small gain.
2.5” will be sufficient acoustically and will keep me from needing to add wire. Also, more headroom while walking around and room to set the mics way above a drum kit to get that Bonham sound (if that’s what I’m after).

2.5” will be sufficient acoustically and will keep me from needing to add wire. Also, more headroom while walking around and room to set the mics way above a drum kit to get that Bonham sound (if that’s what I’m after).
Just ordered 10 Hercules wall hangers for guitars to go between the wall panels. I’ve only got 7 instruments to hang, but this will give me a reason to buy more!
Ceiling treatments are almost done. Literally one bolt away (more on that later). It all went smoothly, save for one panel where a toggle hadn't opened up despite me pulling on it to test that it was secure. I began tightening the nut and the bolt slipped out of the hole, which resulted in the panel bashing into my face. Fortunately the panel didn't fall, I didn't fall off the ladder, and I was able to reinstall the toggle hook correctly.
This was the first panel I got up in the air. The two hooks on the long side hold it up, but at this point it's not parallel to the ceiling.
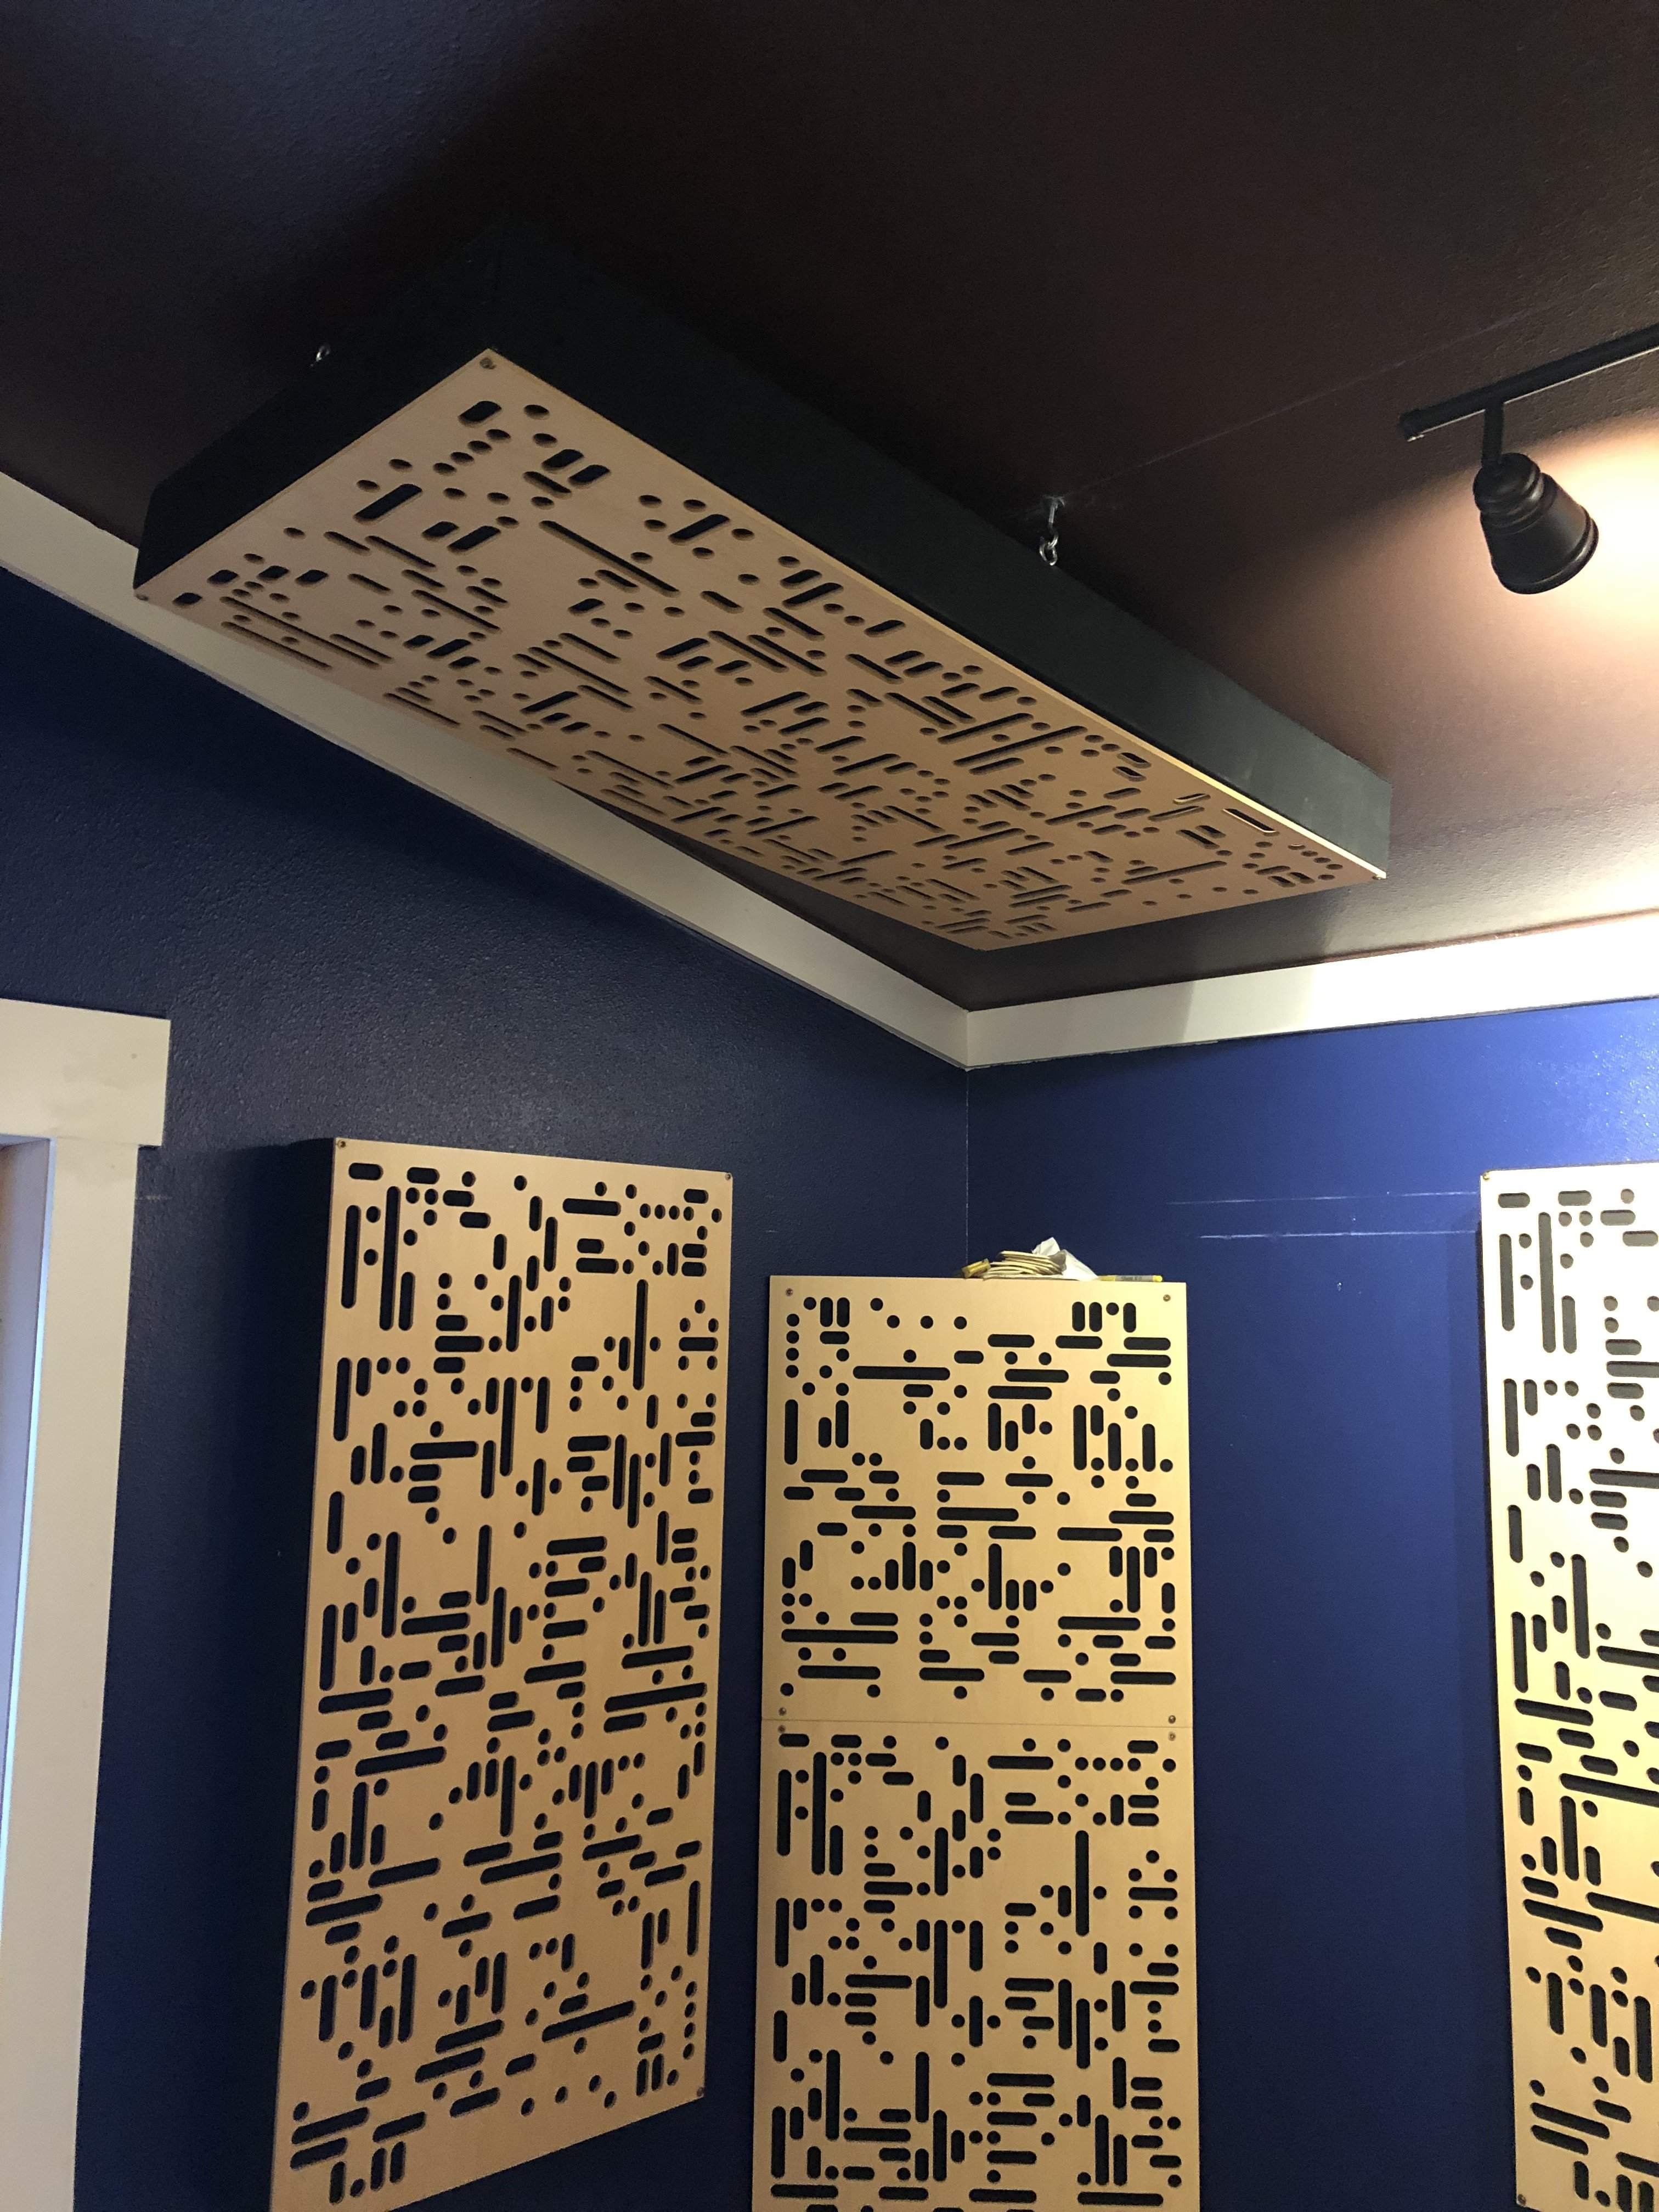
Here's a better shot of the not-parallel alignment.

West wall installed, but not yet parallel

First panel to be made parallel with the third eye screw and toggle hook on the short side

Here's the resultant 3" air gap behind the panels

Finished view to the south

"Finished" view to the north. Finished is in quotes because you'll notice the panel in the back right is not yet parallel to the ceiling. In my infinite wisdom I ordered exactly as many toggle hooks as I would need to complete the job. Over the course of the job, one of said toggle hooks broke and I was left without any spares. Not my brightest moment. The good news is that another pack will be arriving tomorrow. I've already marked the hole location, so all I have to do is drill it, hammer the bolt in-place, install the panel and tighten the nut to stabilize it.

This was the first panel I got up in the air. The two hooks on the long side hold it up, but at this point it's not parallel to the ceiling.
Here's a better shot of the not-parallel alignment.
West wall installed, but not yet parallel
First panel to be made parallel with the third eye screw and toggle hook on the short side
Here's the resultant 3" air gap behind the panels
Finished view to the south
"Finished" view to the north. Finished is in quotes because you'll notice the panel in the back right is not yet parallel to the ceiling. In my infinite wisdom I ordered exactly as many toggle hooks as I would need to complete the job. Over the course of the job, one of said toggle hooks broke and I was left without any spares. Not my brightest moment. The good news is that another pack will be arriving tomorrow. I've already marked the hole location, so all I have to do is drill it, hammer the bolt in-place, install the panel and tighten the nut to stabilize it.
First high tech audio test after installing all of the treatments:
First high tech audio test after installing all of the treatments:

I was sitting on the couch last night thinking about my recent progress and how close I am to moving in. My brain couldn't process the concept and kept rejecting it as a fantasy.So friggin cool dude - almost there!
Reality: The last toggle hook arrives tomorrow and will be installed this weekend. I still need to shoot some spray foam into the wall hole where the mini split tubing punches through (needs to be done before there's a desk right below it). After that I need to empty out the main room, wipe down the walls, ceiling and treatment veneers, pull the construction paper, sweep the floor, mop and then I can move into the main room. There's no reason that can't happen this weekend.

Beyond that I still have some minor work to do that can be accomplished after moving in:
- Finish caulking the vestibule
- Touch-up paint in the vestibule
- Build vestibule shelving
- Install the sound door lever (I have the thick slab extension kit already)
- Caulk and touch-up paint the trim around the sound door
- Hang the guitar/bass wall hangers (they arrive on Tuesday)
- Make a box to wall mount the HRV controller and conceal its signal cable (has to happen once the desk and monitors are in-place to make sure it's still accessible)


