• TalkBass has been independent since 1998. Add your voice.
    Create a free account to reply to discussions, view embedded media, and browse with fewer display ads.
    Join freeLog in
    Want zero display ads or expanded classifieds tools? Compare plans.

New cabinet build.

I thought I should just start a build thread for this, after the help I got here about dimensions I started building this cabinet.

After several years of not really getting g any new bass gear, mostly due to the band taking a break, I have lately expressed my gas to get a fresh setup. So I found an Ampeg B25b locally for a good price, and realized I don’t have a cab to go with it, so here we are. I have had a pair of Celestion bl12-200x for a while just waiting for a home, so I am tailoring this cabinet to these drivers, and to match the Ampeg.

The finished outside dimensions will be 34” tall x 24” wide x 14.5” deep. The head is 24” wide so it should match nicely, and after I throw a set of casters on it the total height should be about 3.5’ tall with the head, perfect for at home, and portable enough to lug to practice.

map far I have the sides/top/bottom all glued and tacked together, need to grab another sheet of plywood to do the back and baffle, then I can sand, round over the corners, paint the baffle black, and wrap it in tolex. I’ll try to update this as I go.
55B5333D-2B07-4673-A5AF-FBB90C9EAB00.jpeg
D885622E-DD49-424E-BCD6-4475F5D57D01.jpeg
 
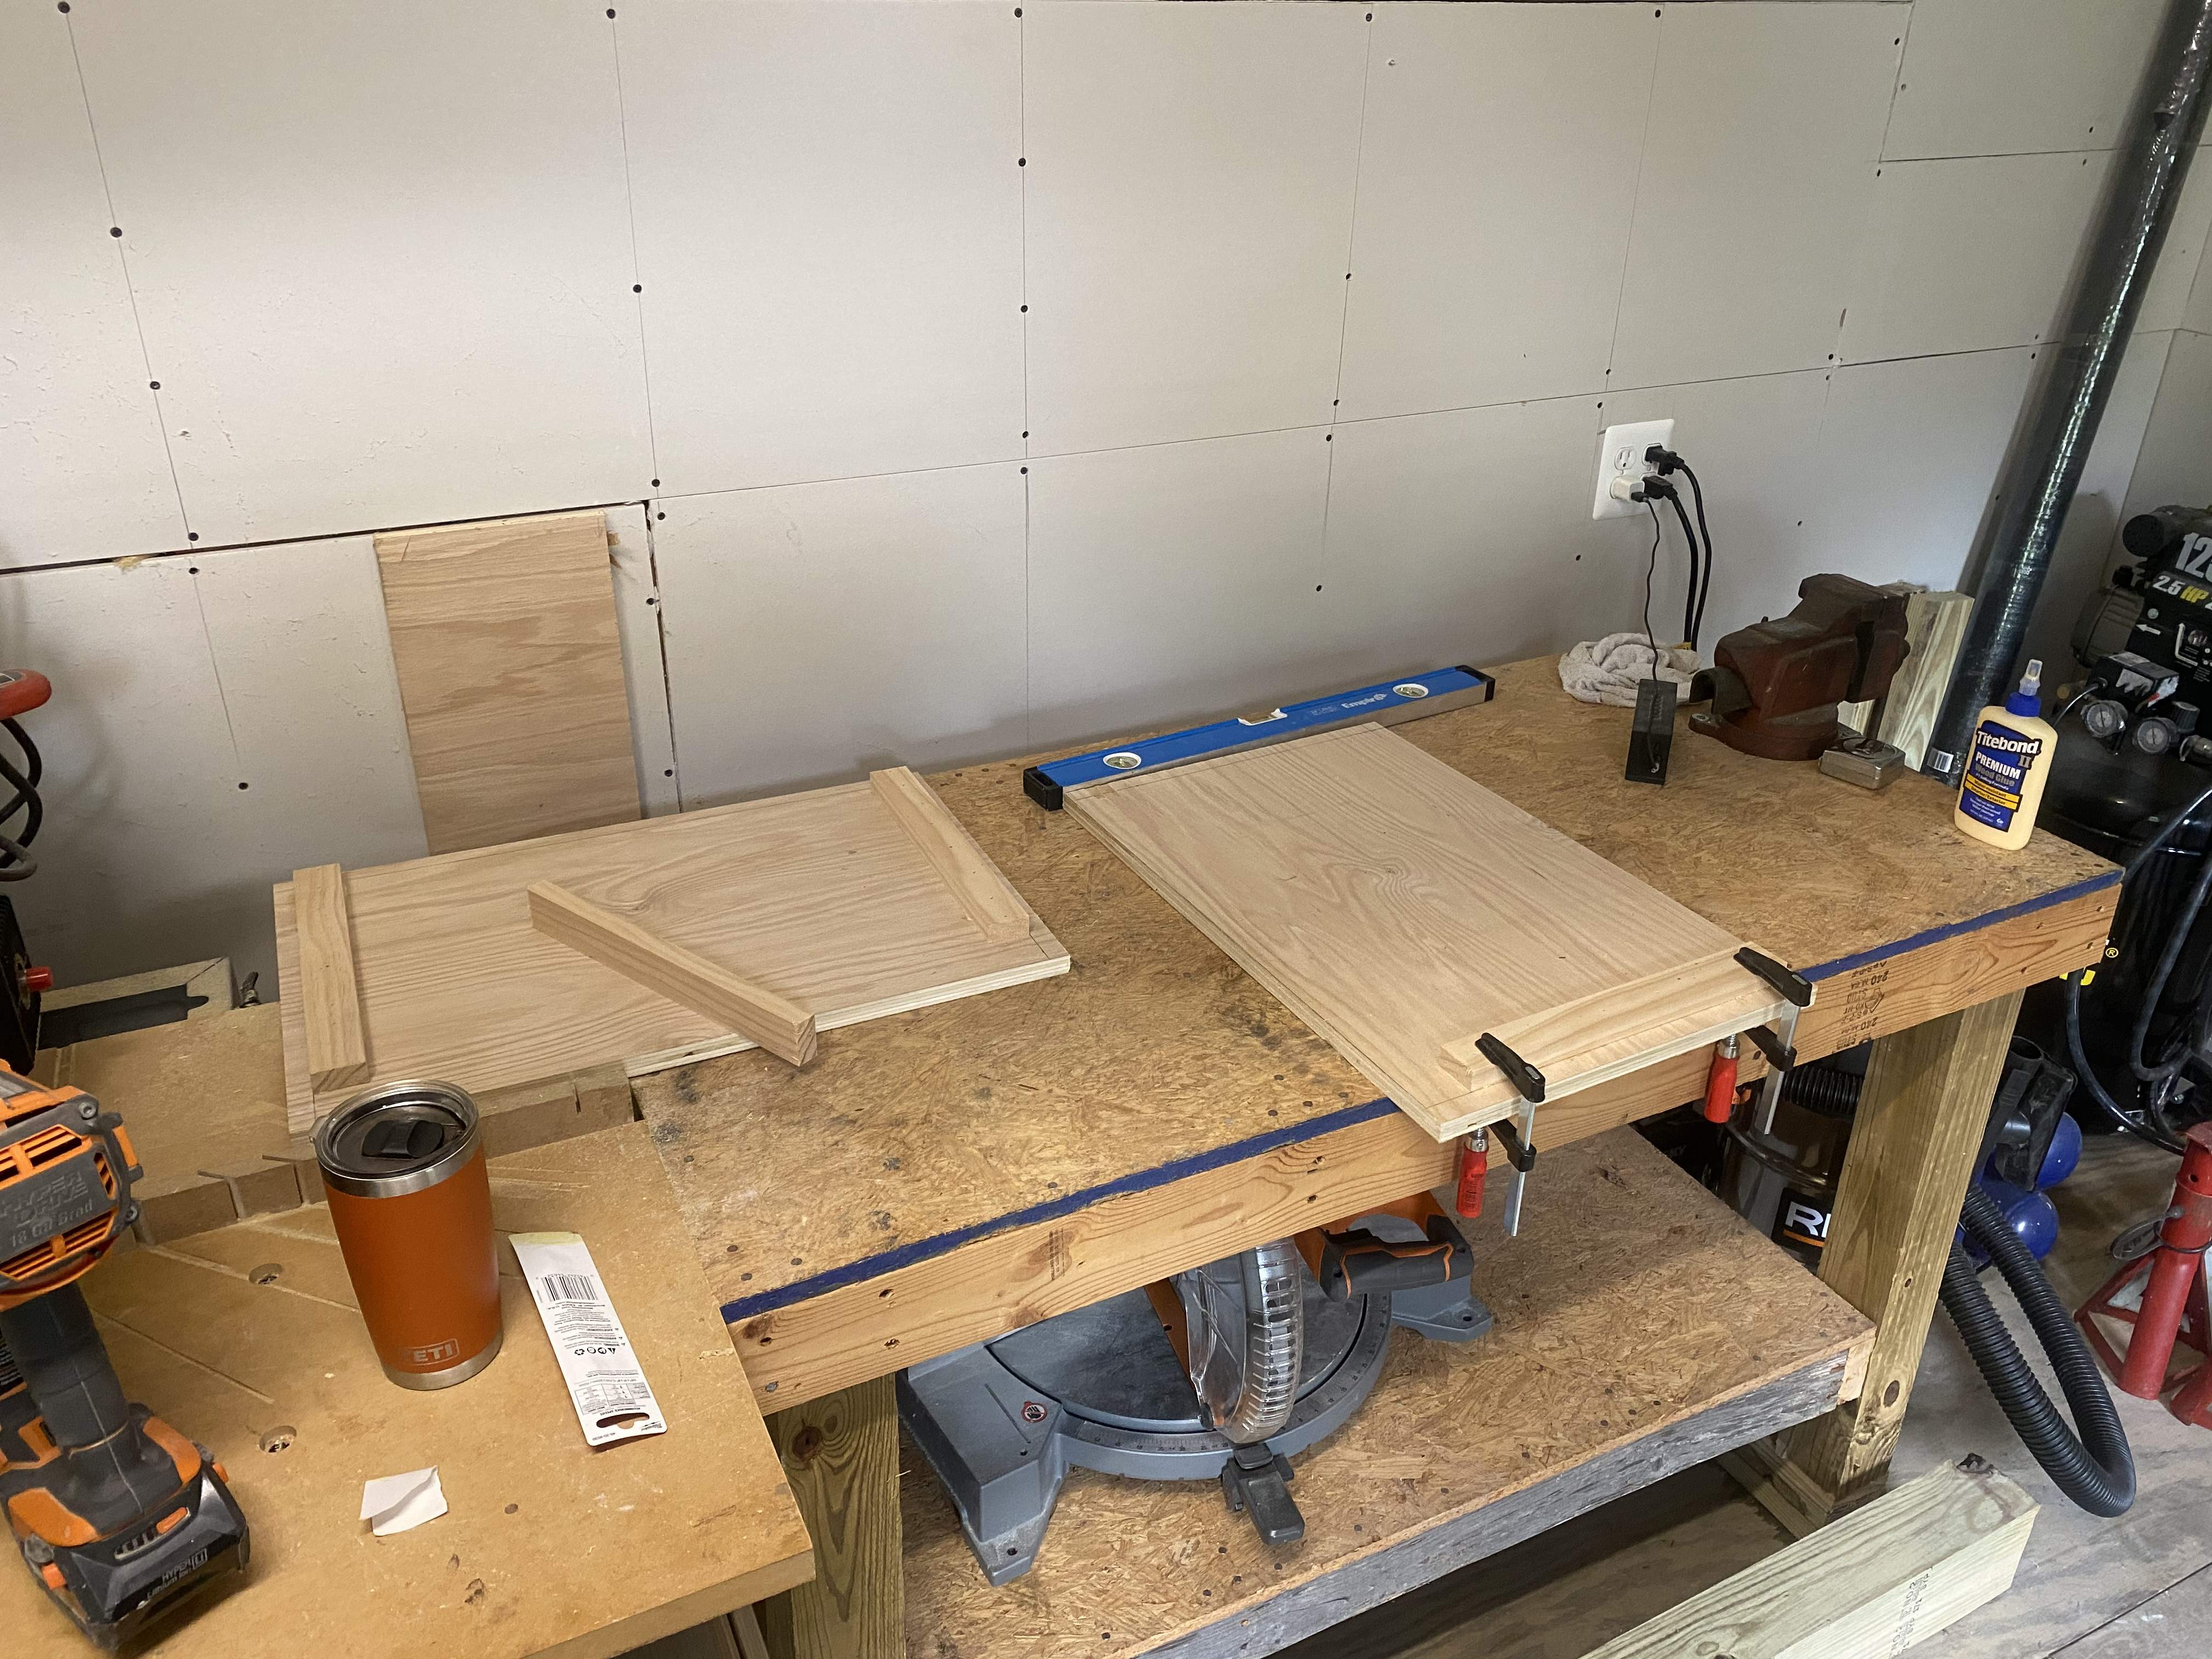
A little slow going over here with the baby, But I managed to get some parts ordered, and get my back in and baffle cut and painted. I realized I made the classic error of not accounting for the thickness of my material when cutting the sides, so it’s a little bigger than I want. Overall the outer size is just right for what I want, so I will have to make some additions to the inside. I’m going to put angled baffles in the top and bottom corners, which should get my inner volume back on target. I had just enough scrap plywood left over to do it, so that’s next on the list. After that I’ll hit the whole thing with the sander, round over the corners, and start measuring and drilling my holes for hardware, baffle screws, Jack plate, and build a frame for my grill cloth. I have enough left over from my half failed rehab of my acoustic 105 cabinet to make it match. The 105 needs new tolex, so I’ll probably just order enough to have both cabs match.
 

Attachments

  • 58570250-1F1F-471C-BF98-AB972CE33879.jpeg
    58570250-1F1F-471C-BF98-AB972CE33879.jpeg
    1.2 MB · Views: 96
  • 05AF1B10-D8FF-4373-8040-B75881744206.jpeg
    05AF1B10-D8FF-4373-8040-B75881744206.jpeg
    937.2 KB · Views: 92
  • FC0D4C0B-9538-4732-B6F6-6B76CF2A86FE.jpeg
    FC0D4C0B-9538-4732-B6F6-6B76CF2A86FE.jpeg
    907.3 KB · Views: 95
  • A601D0D1-5B79-495A-9C7E-B9E6309D039C.jpeg
    A601D0D1-5B79-495A-9C7E-B9E6309D039C.jpeg
    1.9 MB · Views: 92
  • Like
Reactions: Funk With Me
I thought I should just start a build thread for this, after the help I got here about dimensions I started building this cabinet.

After several years of not really getting g any new bass gear, mostly due to the band taking a break, I have lately expressed my gas to get a fresh setup. So I found an Ampeg B25b locally for a good price, and realized I don’t have a cab to go with it, so here we are. I have had a pair of Celestion bl12-200x for a while just waiting for a home, so I am tailoring this cabinet to these drivers, and to match the Ampeg.

The finished outside dimensions will be 34” tall x 24” wide x 14.5” deep. The head is 24” wide so it should match nicely, and after I throw a set of casters on it the total height should be about 3.5’ tall with the head, perfect for at home, and portable enough to lug to practice.

map far I have the sides/top/bottom all glued and tacked together, need to grab another sheet of plywood to do the back and baffle, then I can sand, round over the corners, paint the baffle black, and wrap it in tolex. I’ll try to update this as I go. View attachment 3958604View attachment 3958605
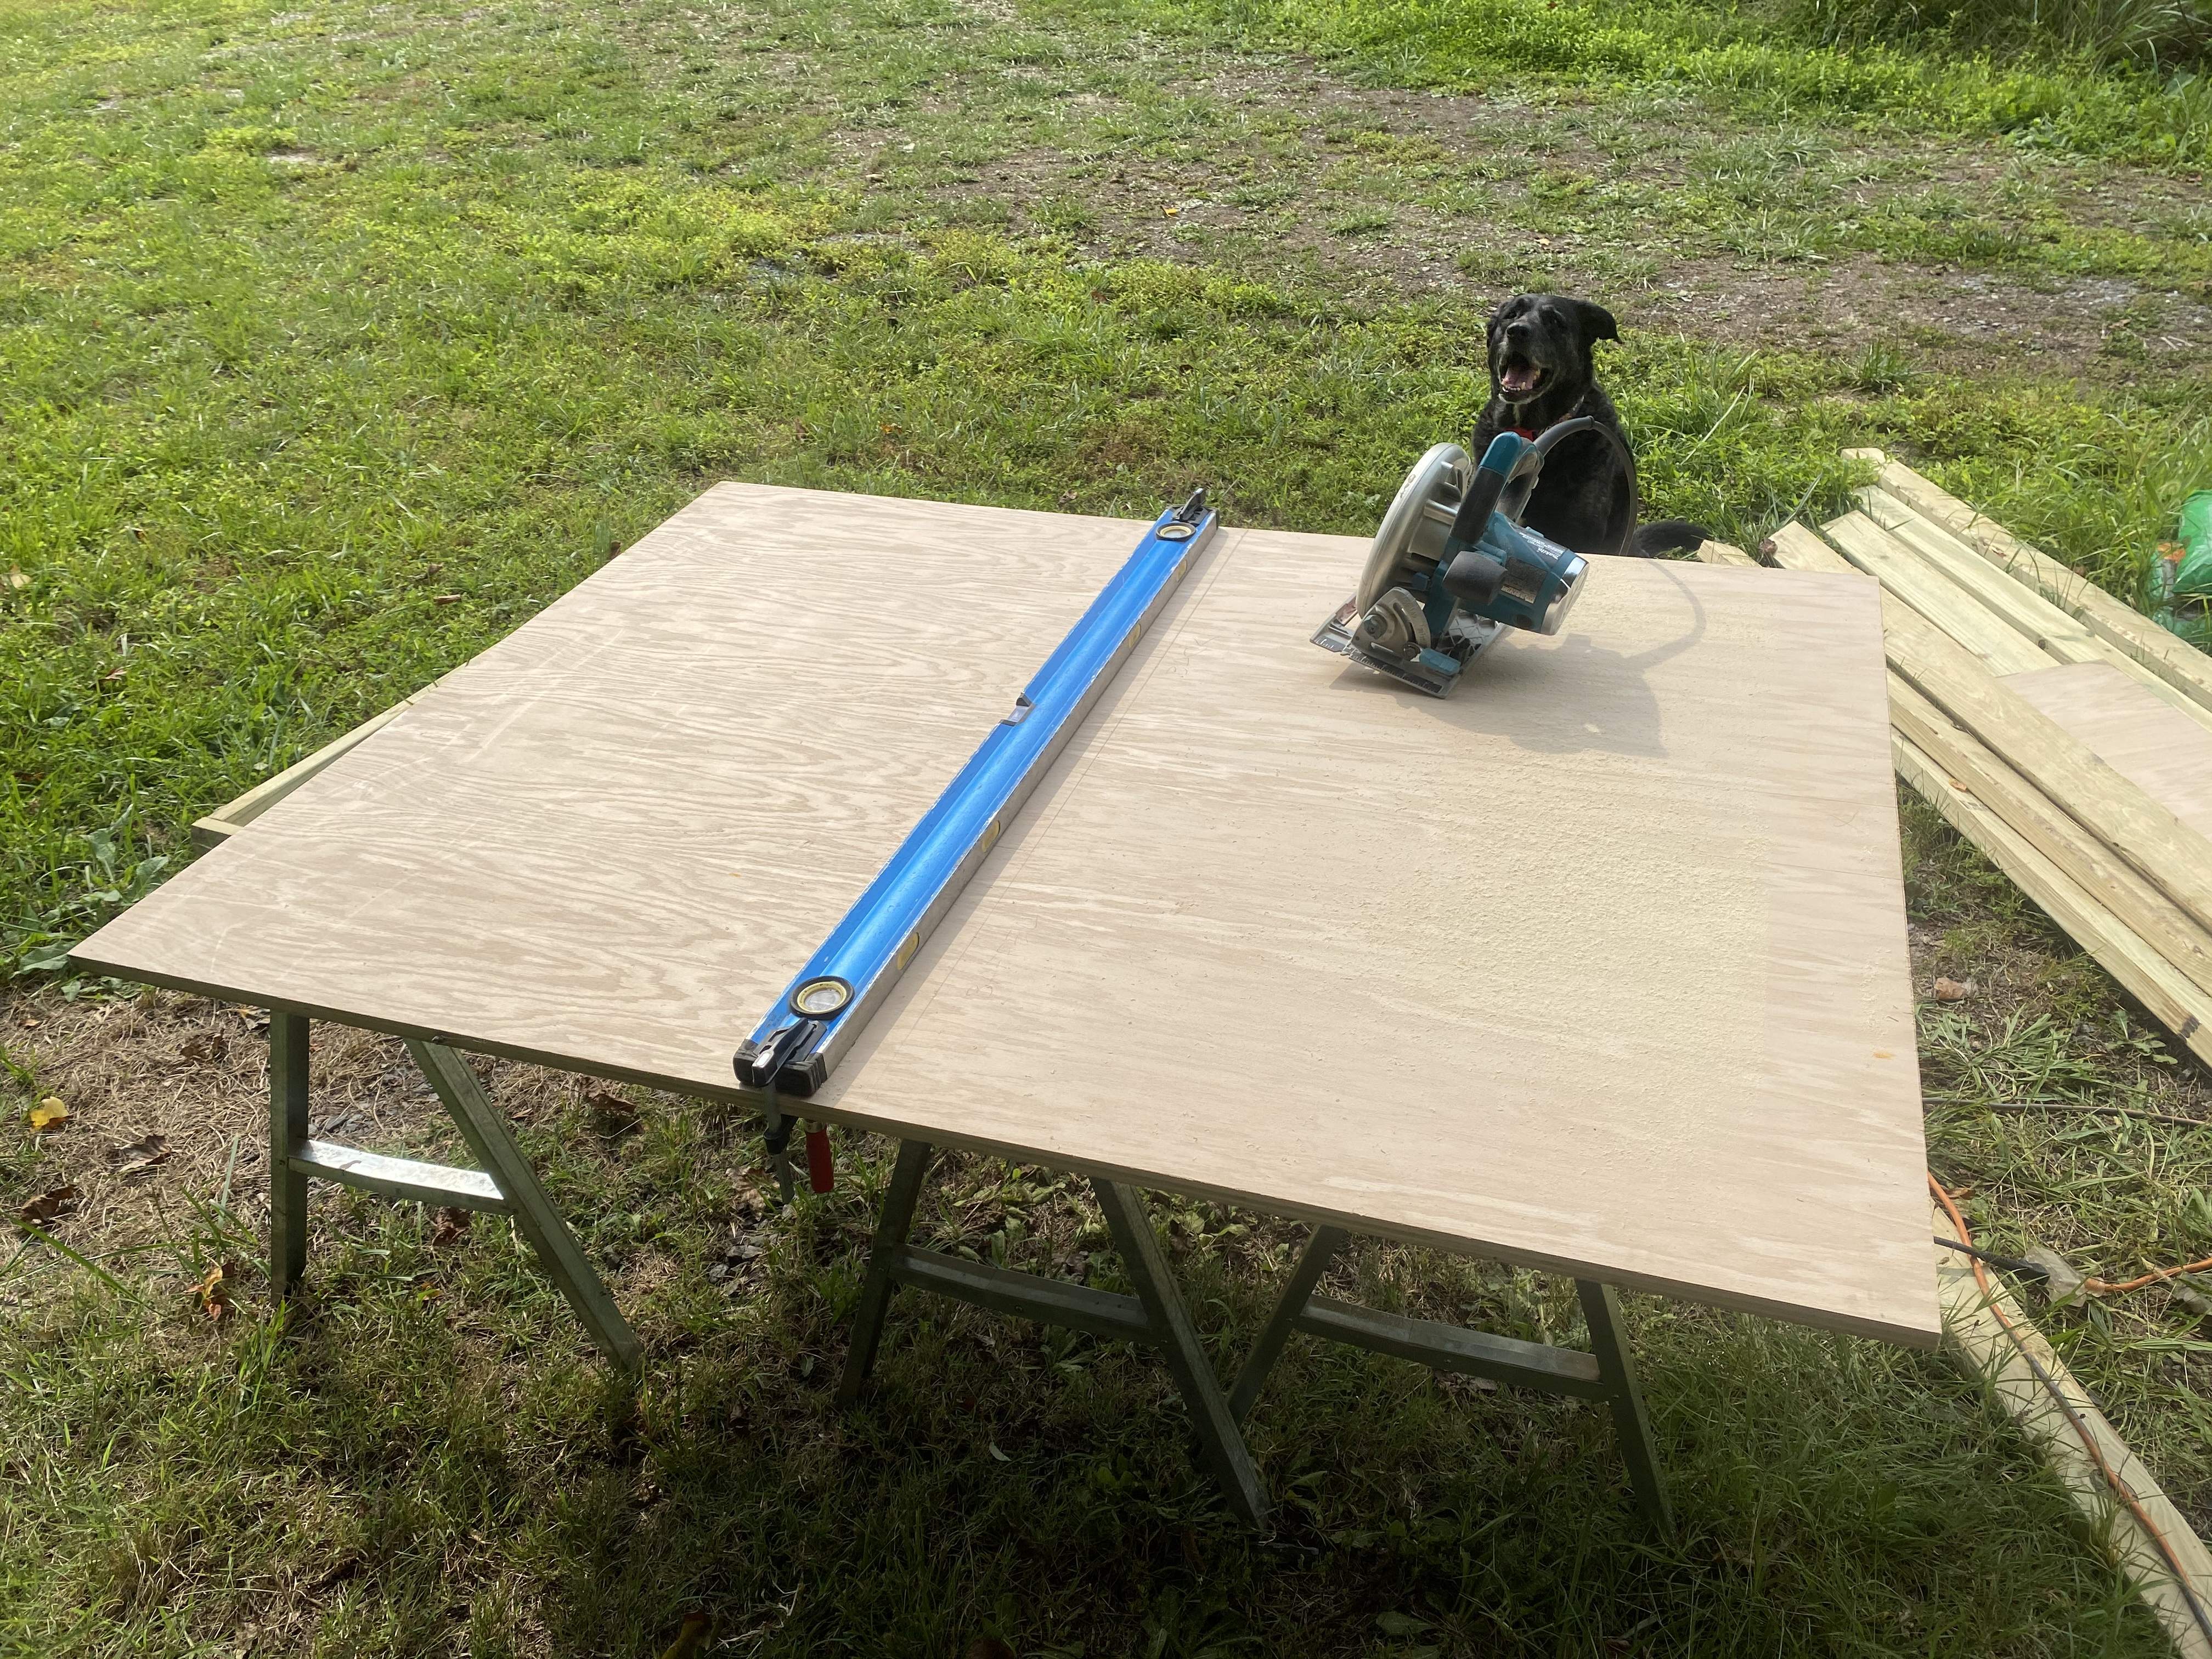
You trust "Jake" with a Skillsaw???
 
You trust "Jake" with a Skillsaw???

No, but he is a decent broom when he starts rolling around in the saw dust.

Had a little more time this afternoon after picking up the head this goes with from the shop (hooray!) so I broke out the sanders and the router. Should have bought a new belt because mine broke pretty much immediately. Had to work it all down to pretty even with the orbital.

should have bought a new round over bit for the router also because mine was a little dull. I should really just buy a table router, but that may have to wait. The router dug in a little here and there, but it was mostly along the bottom edges, save for a decent sized chip it took out of a top front corner. So I glued the chip back in and I’ll just have to work that corner by hand once it dries. I got it all about 80% cleaned up so far, it will need some filler here and there and I still have to order tolex so I’m in no hurry. I’d like to try and find time this weekend to make the frame for the grill cloth, I have some fender 60s sort of stuff that will look good. I did throw the casters on and sit the head on top just to get a feel for it. I like it, not too big, but tall enough to get that top speaker projecting high enough to cut through I hope.

Additionally I thought I’d mention I’m doing a sealed rear panel and making the baffle removable to load the speakers. Why? Because I glued the back in before I thought about it and I’m not gonna try and cut it back out at this point. New baby sleep deprivation has me a little foggy, but it’s all good! I’ll just evenly space a dozen or so good screws around the edge of the baffle to get good tight contact.
8E8FC7E3-91DF-4929-A66D-050B7D19D5A5.jpeg
B32A5329-E0F2-4F34-B6BA-648768D0D1FC.jpeg


Thanks for checking this out guys, and glad a few folks are enjoying it. Cabinetry isn’t really my specialty, but this is working out well so far.
 

Attachments

  • 45653662-5576-417A-8BE9-015F873B030F.jpeg
    45653662-5576-417A-8BE9-015F873B030F.jpeg
    2.5 MB · Views: 79
Funny story, before my wife and I moved to our current house last year, which has this lovely outbuilding I was able to convert to my rinky dunk shop, I had 4 perfectly functional corner clamps. Apparently I now only have 1 corner clamp, so I’m doing the frame for the grill cloth one corner at a time. I suppose 3 clamps is a small price to pay for a functional shop.

got that corner cleaned up a bit. I’ll mix up some filler and go over it again, but it will be pretty much cornered by the corner pieces anyway.
D02B0CE2-971C-4F03-AA6E-9BE35CB3F4A9.jpeg
6D18B0A3-575A-4D59-B9FE-57D6E8D52846.jpeg
 
A bit late in the day but you did verify that the enclosure size is suitable for two of your selected drivers?

I did, sort of. I have a target of 4 cubic feet interior volume, based on specs. I did make a measurement error (baby induced sleep deprivation is a bitch!) but it’s something I can correct. I’ll have to add 2 baffles at the top/bottom rear corners, which will chew up the excess interior volume and put me right at 4.1 cubic feet, which should be close enough!

I ordered the rest of my parts and tolex, so I’m hoping I can get the cab filled with putty where it needs it, throw those baffles in, and sand it this weekend.

moving along, slowly but surely.
 
.8 cubic feet. It will only be 2 strips of ply added, and will up the weight by maybe half a pound to a pound.
Cool. I'm not sure it's worth the effort, but I know absolutely nothing about your drivers. :)

Are you front-mounting the drivers? I noted your 'mistake' in gluing the back in, but that's how I typically build cabs and I mount the drivers from the front -- some folks say 'front-loaded', but that actually means something else to me.

Forgot to mention...your cab is looking good. :D
 
Cool. I'm not sure it's worth the effort, but I know absolutely nothing about your drivers. :)

Are you front-mounting the drivers? I noted your 'mistake' in gluing the back in, but that's how I typically build cabs and I mount the drivers from the front -- some folks say 'front-loaded', but that actually means something else to me.

Forgot to mention...your cab is looking good. :D

thanks! Yep, gonna front load them. Should work out just fine.
 
  • Like
Reactions: Redbrangus

Latest posts