• TalkBass has been independent since 1998. Add your voice.
    Create a free account to reply to discussions, view embedded media, and browse with fewer display ads.
    Join freeLog in
    Want zero display ads or expanded classifieds tools? Compare plans.

New headless build… might be a long thread :-)

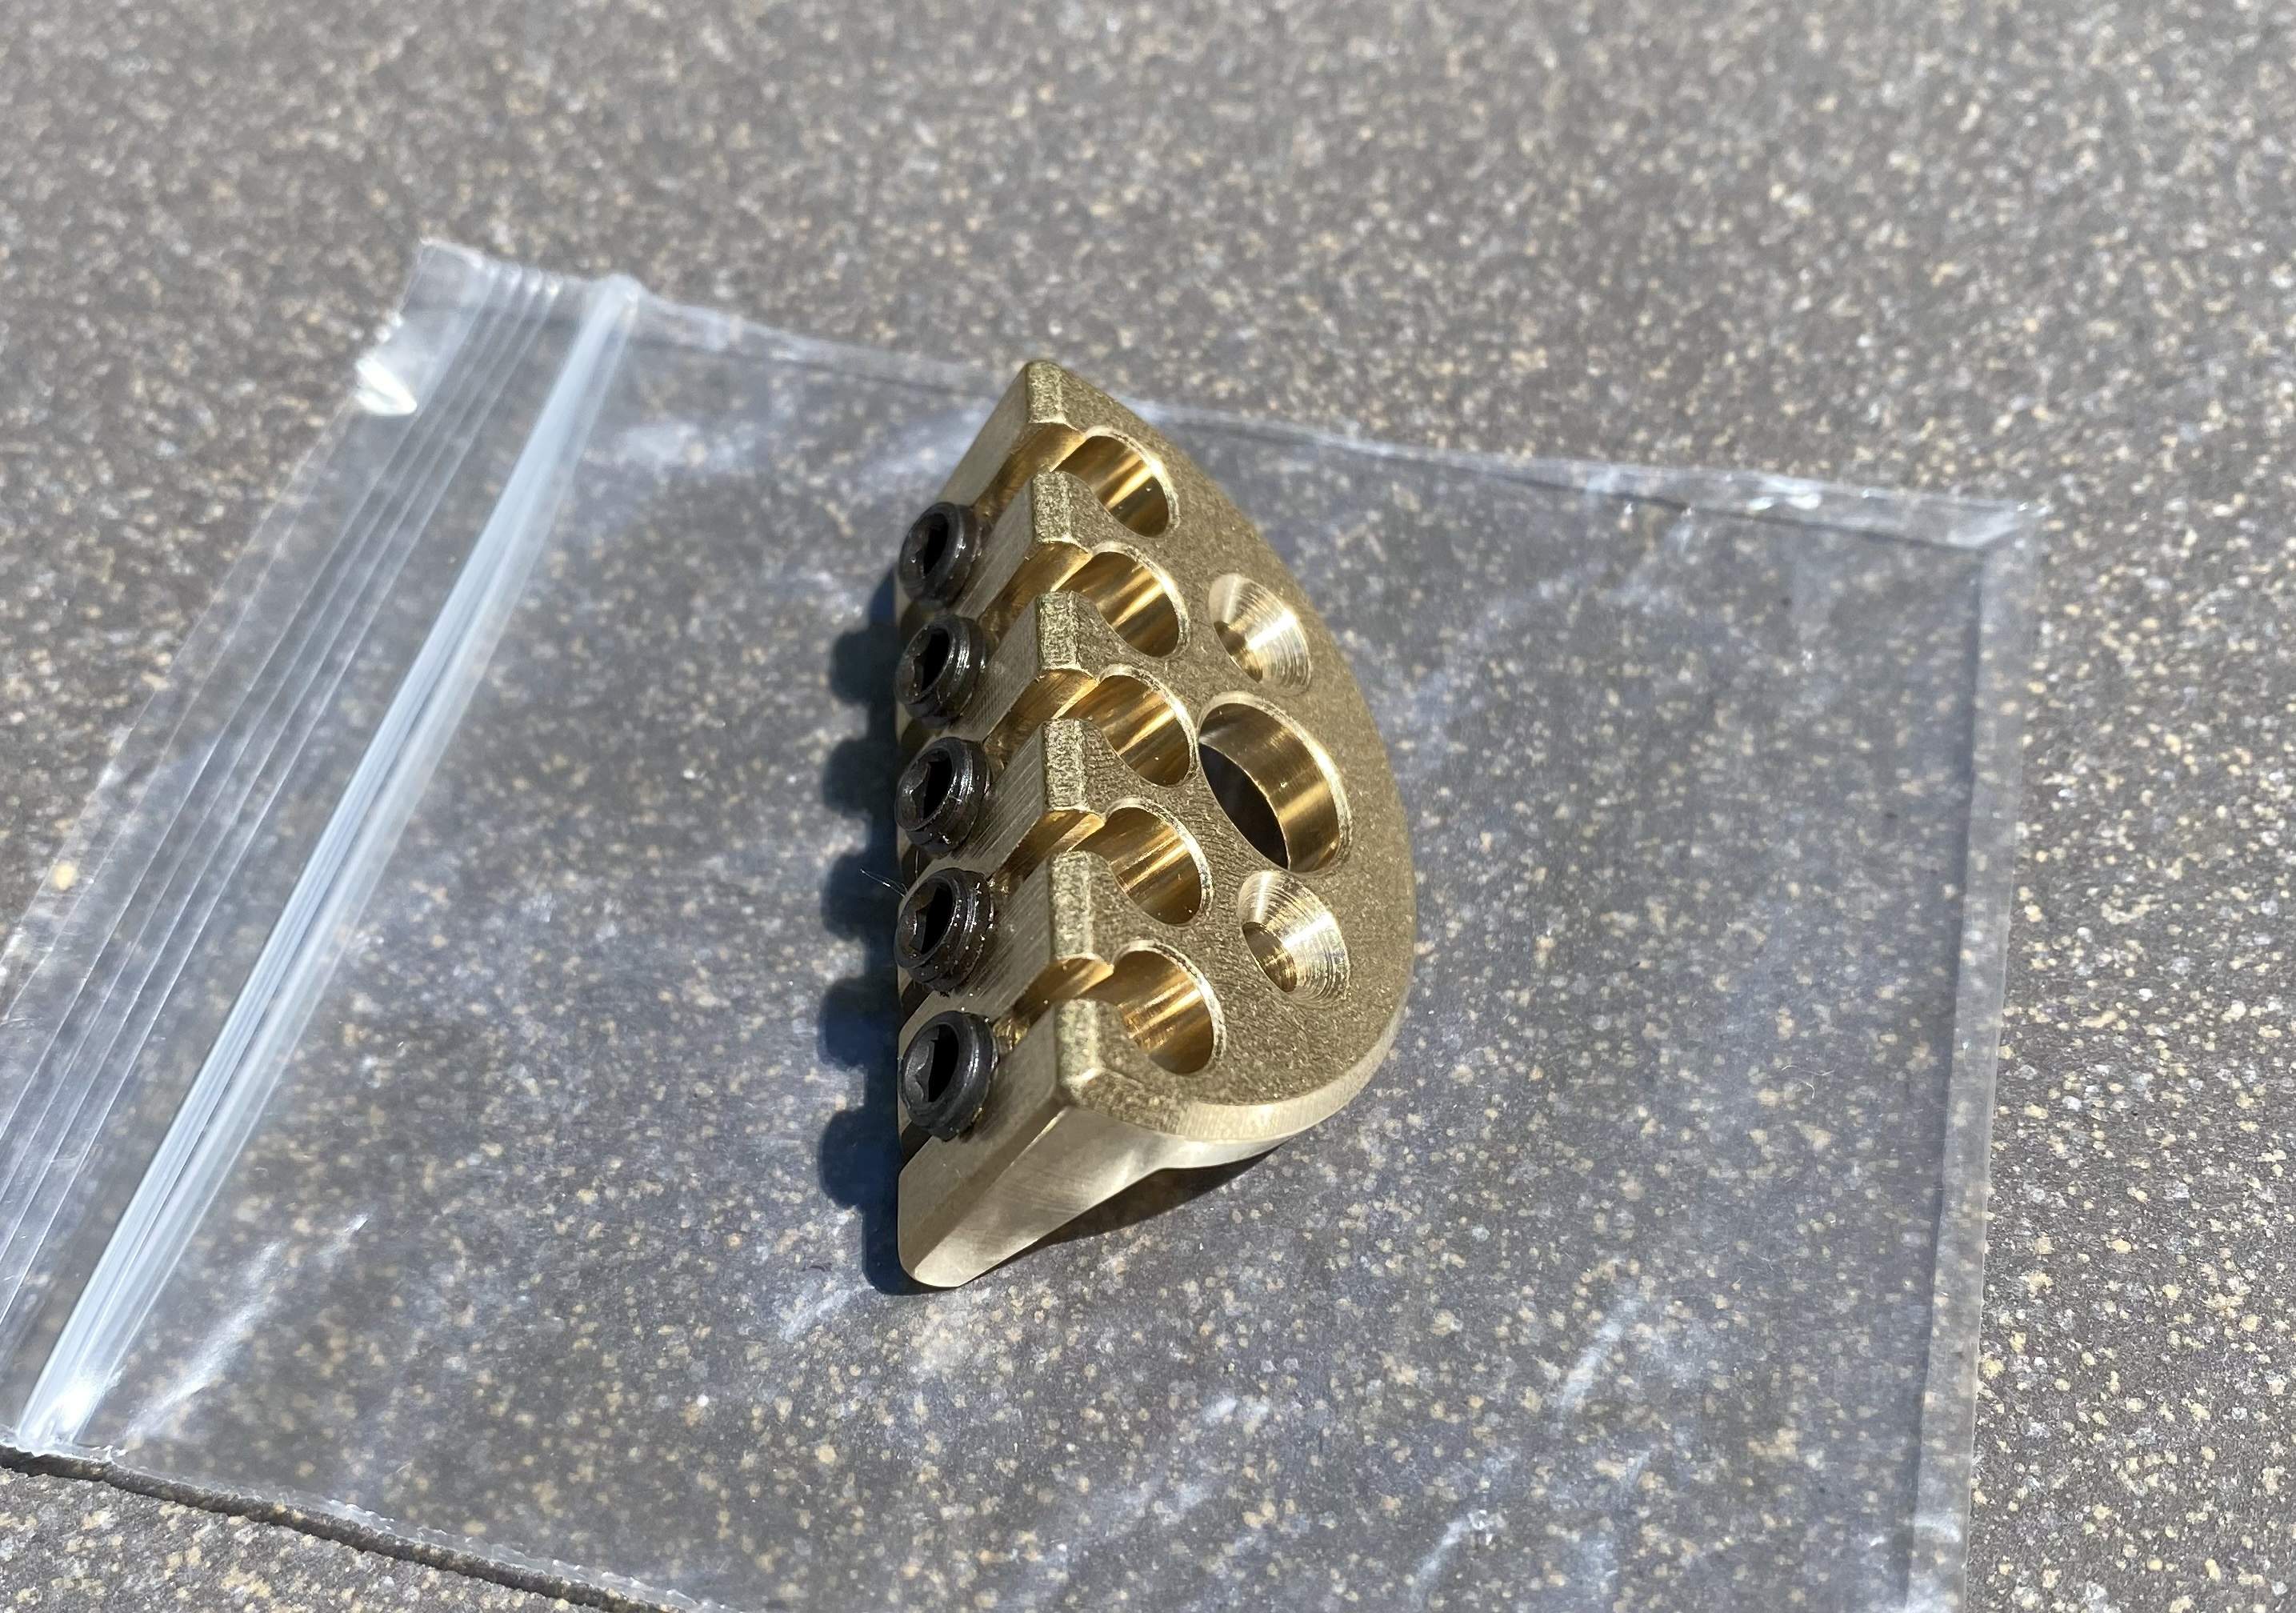
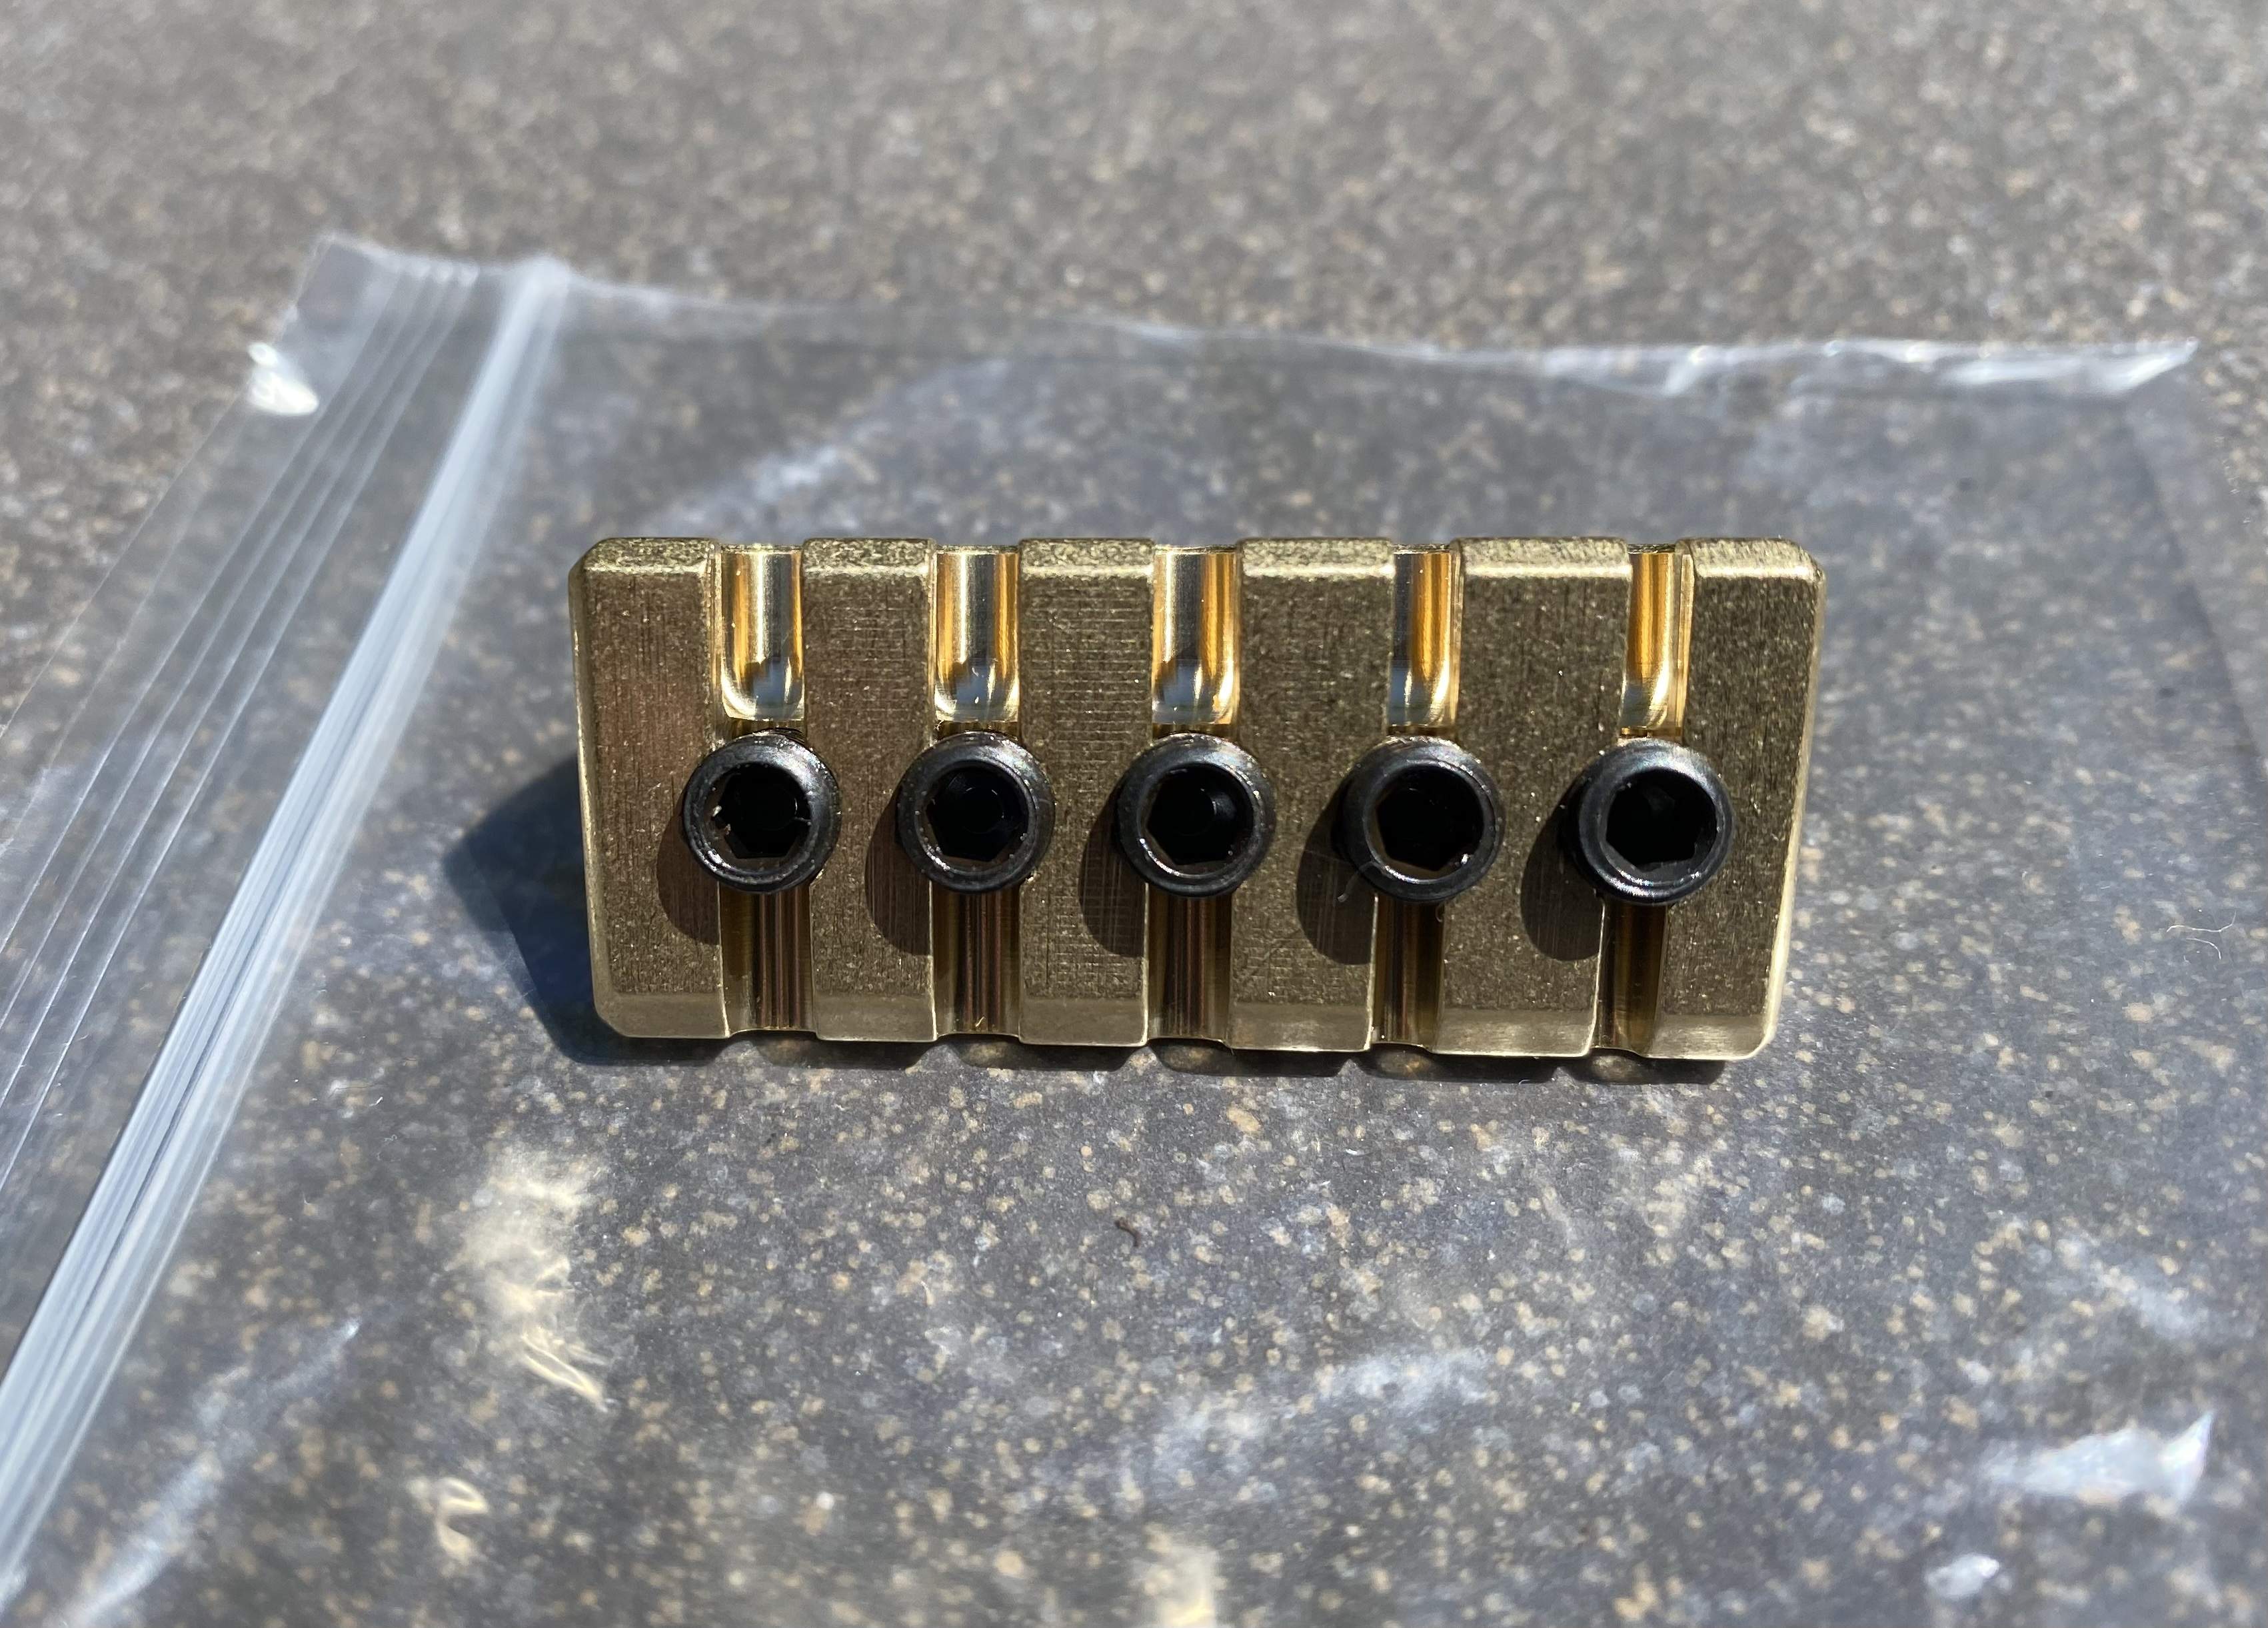
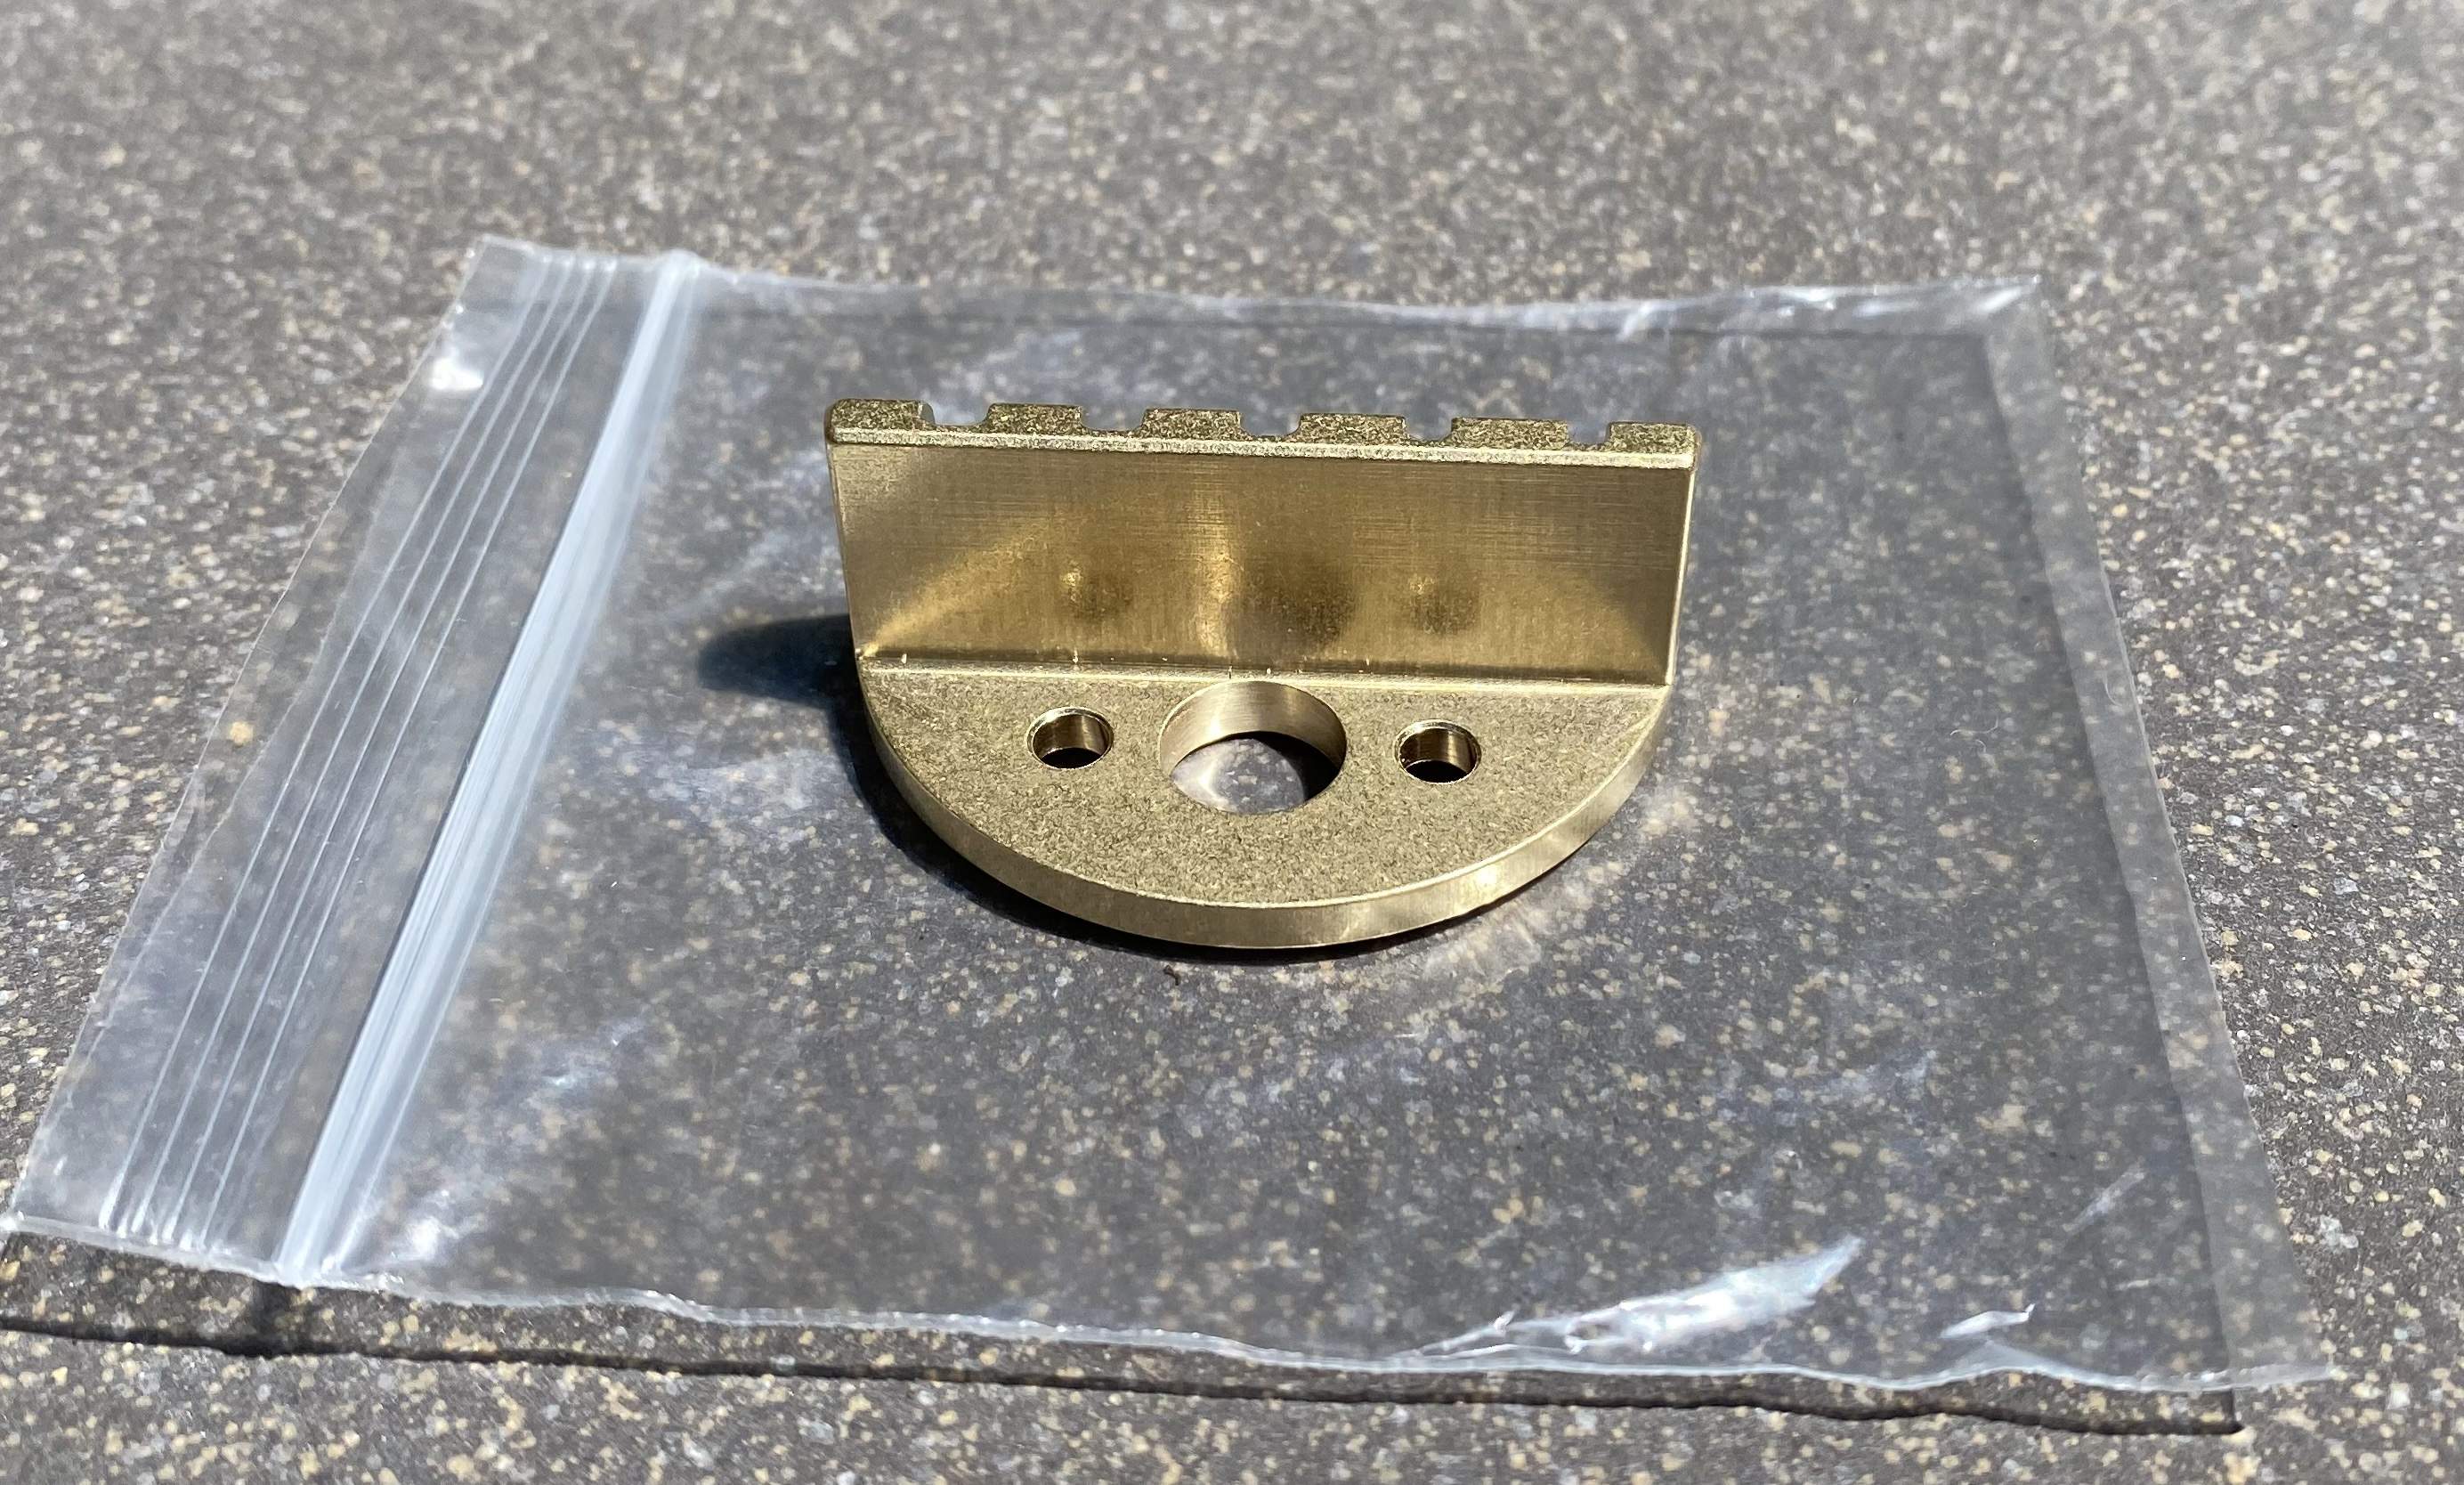
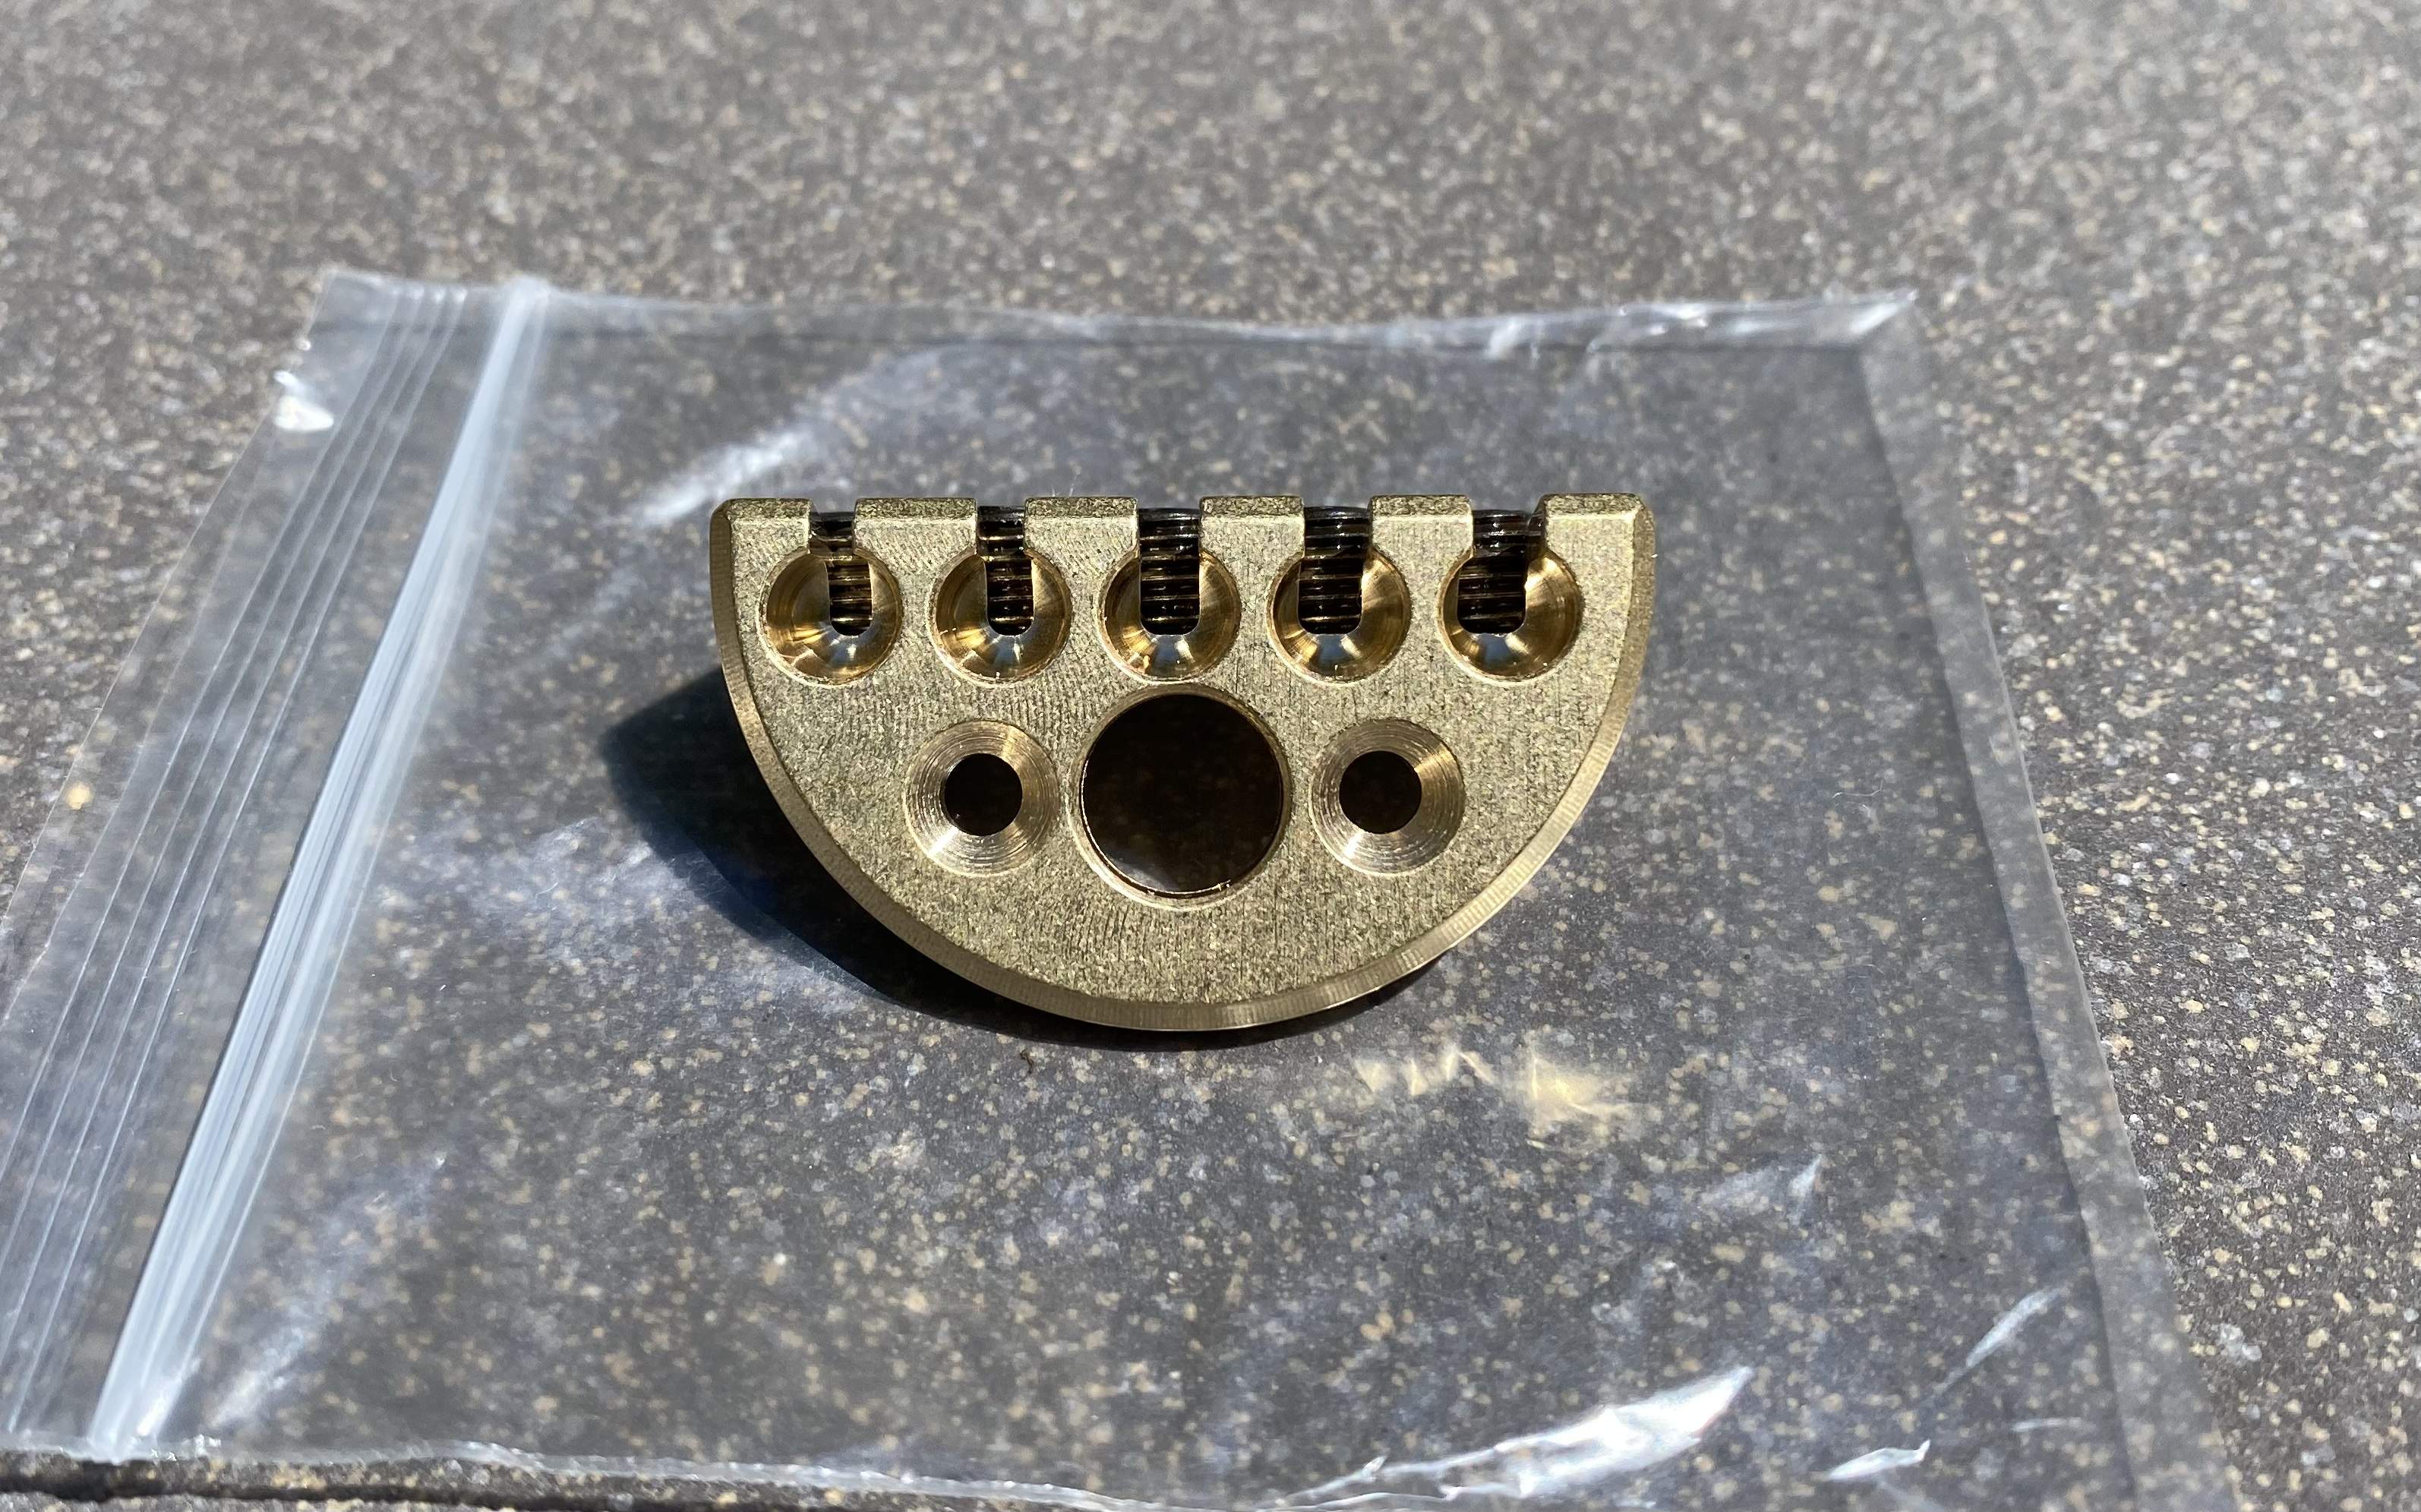
More hunks of brass, this time from Ireland.

Built to my exact dimensions and look great. In discussions to have him build some solid brass bridges as well.
27b854b4-86e6-472d-9dd9-e096b0958514-jpeg.4710717
adf57842-9233-4c77-be9e-ae23011d9a42-jpeg.4710718
f9ff97c4-3a7b-4373-9299-3547dcad2757-jpeg.4710720
45be10d2-59d8-4429-bd62-86bd5db97299-jpeg.4710721

Now I need to get back on building, I’m overrun with high quality parts that need to be used!
 
Using my epic math brain, given a 9.5mm drop across a chord of 300mm, I get a radius of 1190mm.
Thanks gents.
I'm laser cutting my new routing sled sides for the body scalloping on the headless Zebrawood project (will use it on the Black Limba body as well). This will be for a 3/8" scallop (as measured on my Thumb 5) I have a 50" radius (approx 127cm).

My bass bodies are smaller at only 11" wide (approx 28cm), and I don't scallop the tops as I hand carve those to my my own contours. The first one I do will only be 1/4" depth so the radius will be 55" for that one.
Screen Shot 2022-06-06 at 4.17.00 PM.png
 
Last edited:
I'm laser cutting my new routing sled sides for the body scalloping on the headless Zebrawood project (will use it on the Black Limba body as well). This will be for a 3/8" scallop (as measured on my Thumb 5) I have a 50" radius (approx 127cm).

My bass bodies are smaller at only 11" wide (approx 28cm), and I don't scallop the tops as I hand carve those to my my own contours. The first one I do will only be 1/4" depth so the radius will be 55" for that one.
View attachment 4712988
These panels were cut this morning. So I’ll route this evening.
955DC5FA-08C9-4F9C-9F7A-A141C079AB52.jpeg
 
Installed this morning, fits perfect however there are a couple of minor mods needed. The grub screws need to be pushed closer to the end to allow more room for the thicker gauge strings.
View attachment 4713871
There’s some kind of mojo with this headpiece, after playing with it on this bass for a couple of days I’m getting crazy sustain… like play a chord and it sustains forever. Brass on both ends makes a huge difference.

After thinking this through a bit, I’m pretty sure this is due to the end mounted headpiece along with the downward pressure from strings to the zero fret vs just laying on the zero fret like others. I think that the additional downward pressure is amplifying the sustain. I had a brass block with the other headpiece but no downward pressure like this.
 
Last edited:
Home responsibilities are really cutting into my build time. ;) The laser makes building tooling so easy!!


I made progress on my tooling for cutting the back with a 55” radius sled and a new 26” finger board sled, and a new low profile bearing plate to accommodate the new dust collection module from Dewalt ($14.99!!!), love my Dewalt router!

Tomorrow I’ll finally do some routing!!!

A77A3998-FEAD-4B25-98C2-A1DB18F44532.jpeg

ACB79187-2EE7-429D-88BC-21E16D57C965.jpeg


I’m also building a routing box to shape my necks. That’ll make it easy to gol build several necks at once with the ‘special’ neck wood :woot:
 
Last edited:
How are you going to keep the body and sled in position sideways? Maybe some rails outside the sled and glue the body to the table with hot melt glue or double sided tape?
Just using rails clamped to the table with 2-sided tape to hold the body in place, the same process I’ve used for everything else. Actually not sure I really need the tape at all, the non slip rubber mat holds the body in place quite well.
 
Last edited:
This will require a full how-to writeup with too many pics.
I’ve cut all the panels to build the box and have more skateboard bearings for each end. I’m working on the math for the cams at each end, and I’ve designed it so the cams can be easily swapped for different neck profiles. My approach will be to just laser cut different cams for different neck profiles and insert/swap as needed.

I’m not sure which I enjoy more, building the tooling or the instrument itself :woot:
 
I scalloped the back a little over 3/16” since I didn’t want to go too deep and I had already carved and thinned the body a lot with the contouring earlier. I usually like to leave the bottom a bit thicker so the control cavity is plenty deep. The carving was done with a large 5/8” bowl bit with rounded edges to carve the scallop and leveled with 120 grit then smoothed with 220.

After routing the control cavity and neck pocket (tomorrow?) I’ll start sanding with 400 and work my way up to final sanding before spraying. This body is very petite at 10.5” high and just under 1.5” so it will be uber comfortable.

655ECB5E-A6D6-4447-9741-3D09C0D9A3CE.jpeg