• TalkBass has been independent since 1998. Add your voice.
    Create a free account to reply to discussions, view embedded media, and browse with fewer display ads.
    Join freeLog in
    Want zero display ads or expanded classifieds tools? Compare plans.

New headless build… might be a long thread :-)

Barticus

Supporting Member
Sep 16, 2017
6,926
20,037
Midwest
This one is mostly for prototyping and testing out some things that I’ve been wanting to try for a while with twin builds.

The first one is essentially going to be a body replacement for an existing custom build that I did quite a while ago.

The second one will be a neck through where I’m going to be testing some new materials for the neck itself.

So what am I testing?
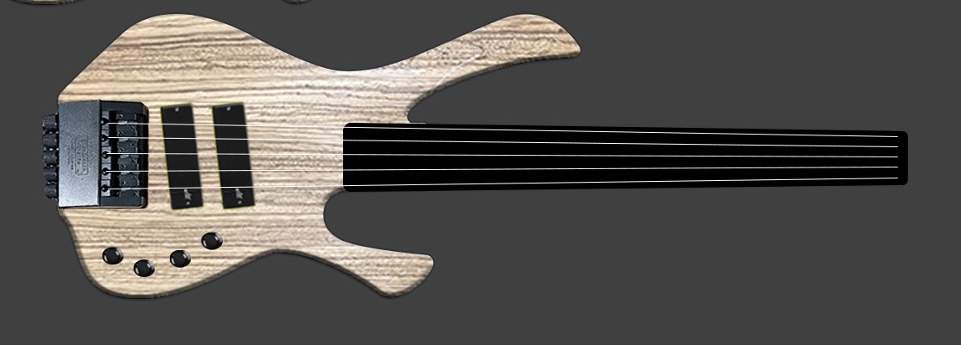
  • New body design and new template process (for me)
  • Integrated finger ramp system
  • Some new routing bits (for me)
  • New finishing process (for me)
  • New neck woods
  • Curved back body carving process
  • Planning to use neodymium magnets as closures for compartment covers
  • Possibly a new LED neck inlay process (for me)
  • Possibly a new custom milled brass head piece
  • Using this as a prototype prior to new CNC ops I’m working on
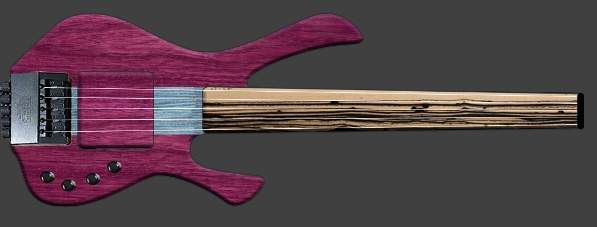
Pretty basic design with the 2 general ideas. Zebrawood for body one and Purpleheart for a body two.
2758EF58-21DF-4DBB-8B8B-7B6905D2A13E.jpeg
2ED7CCCD-91DD-41CB-8002-34A2BFED73D4.jpeg


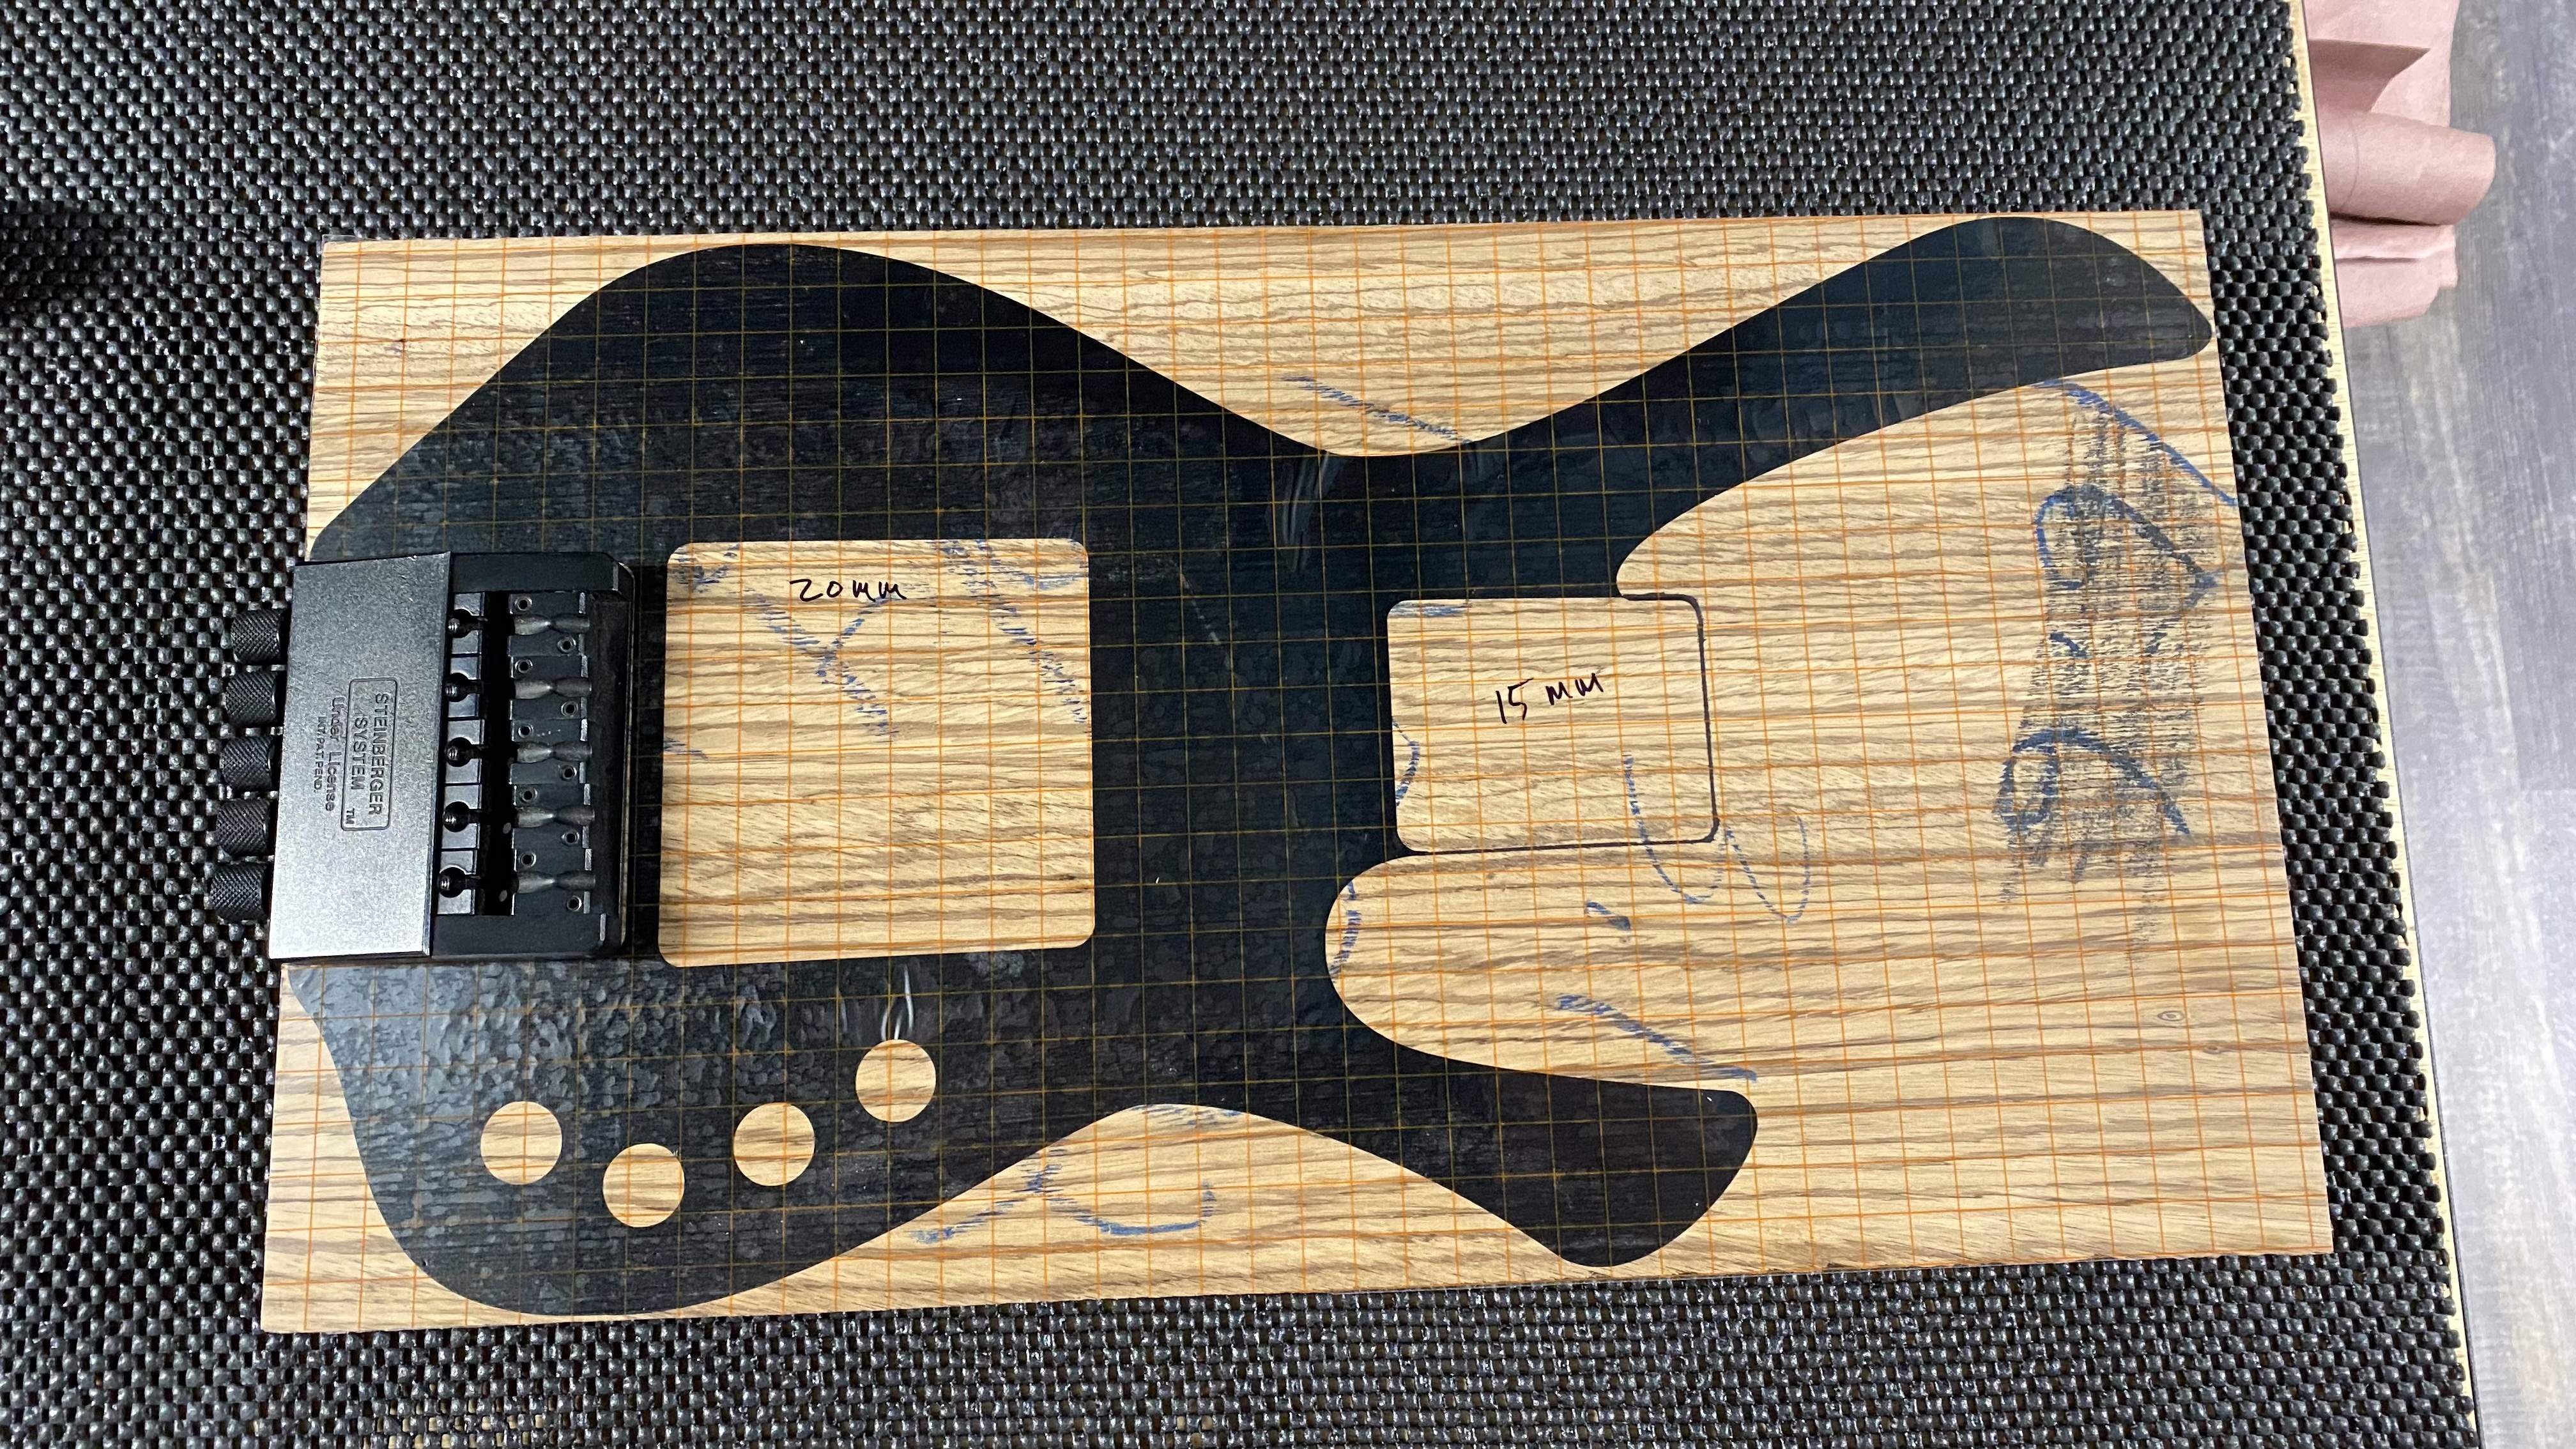
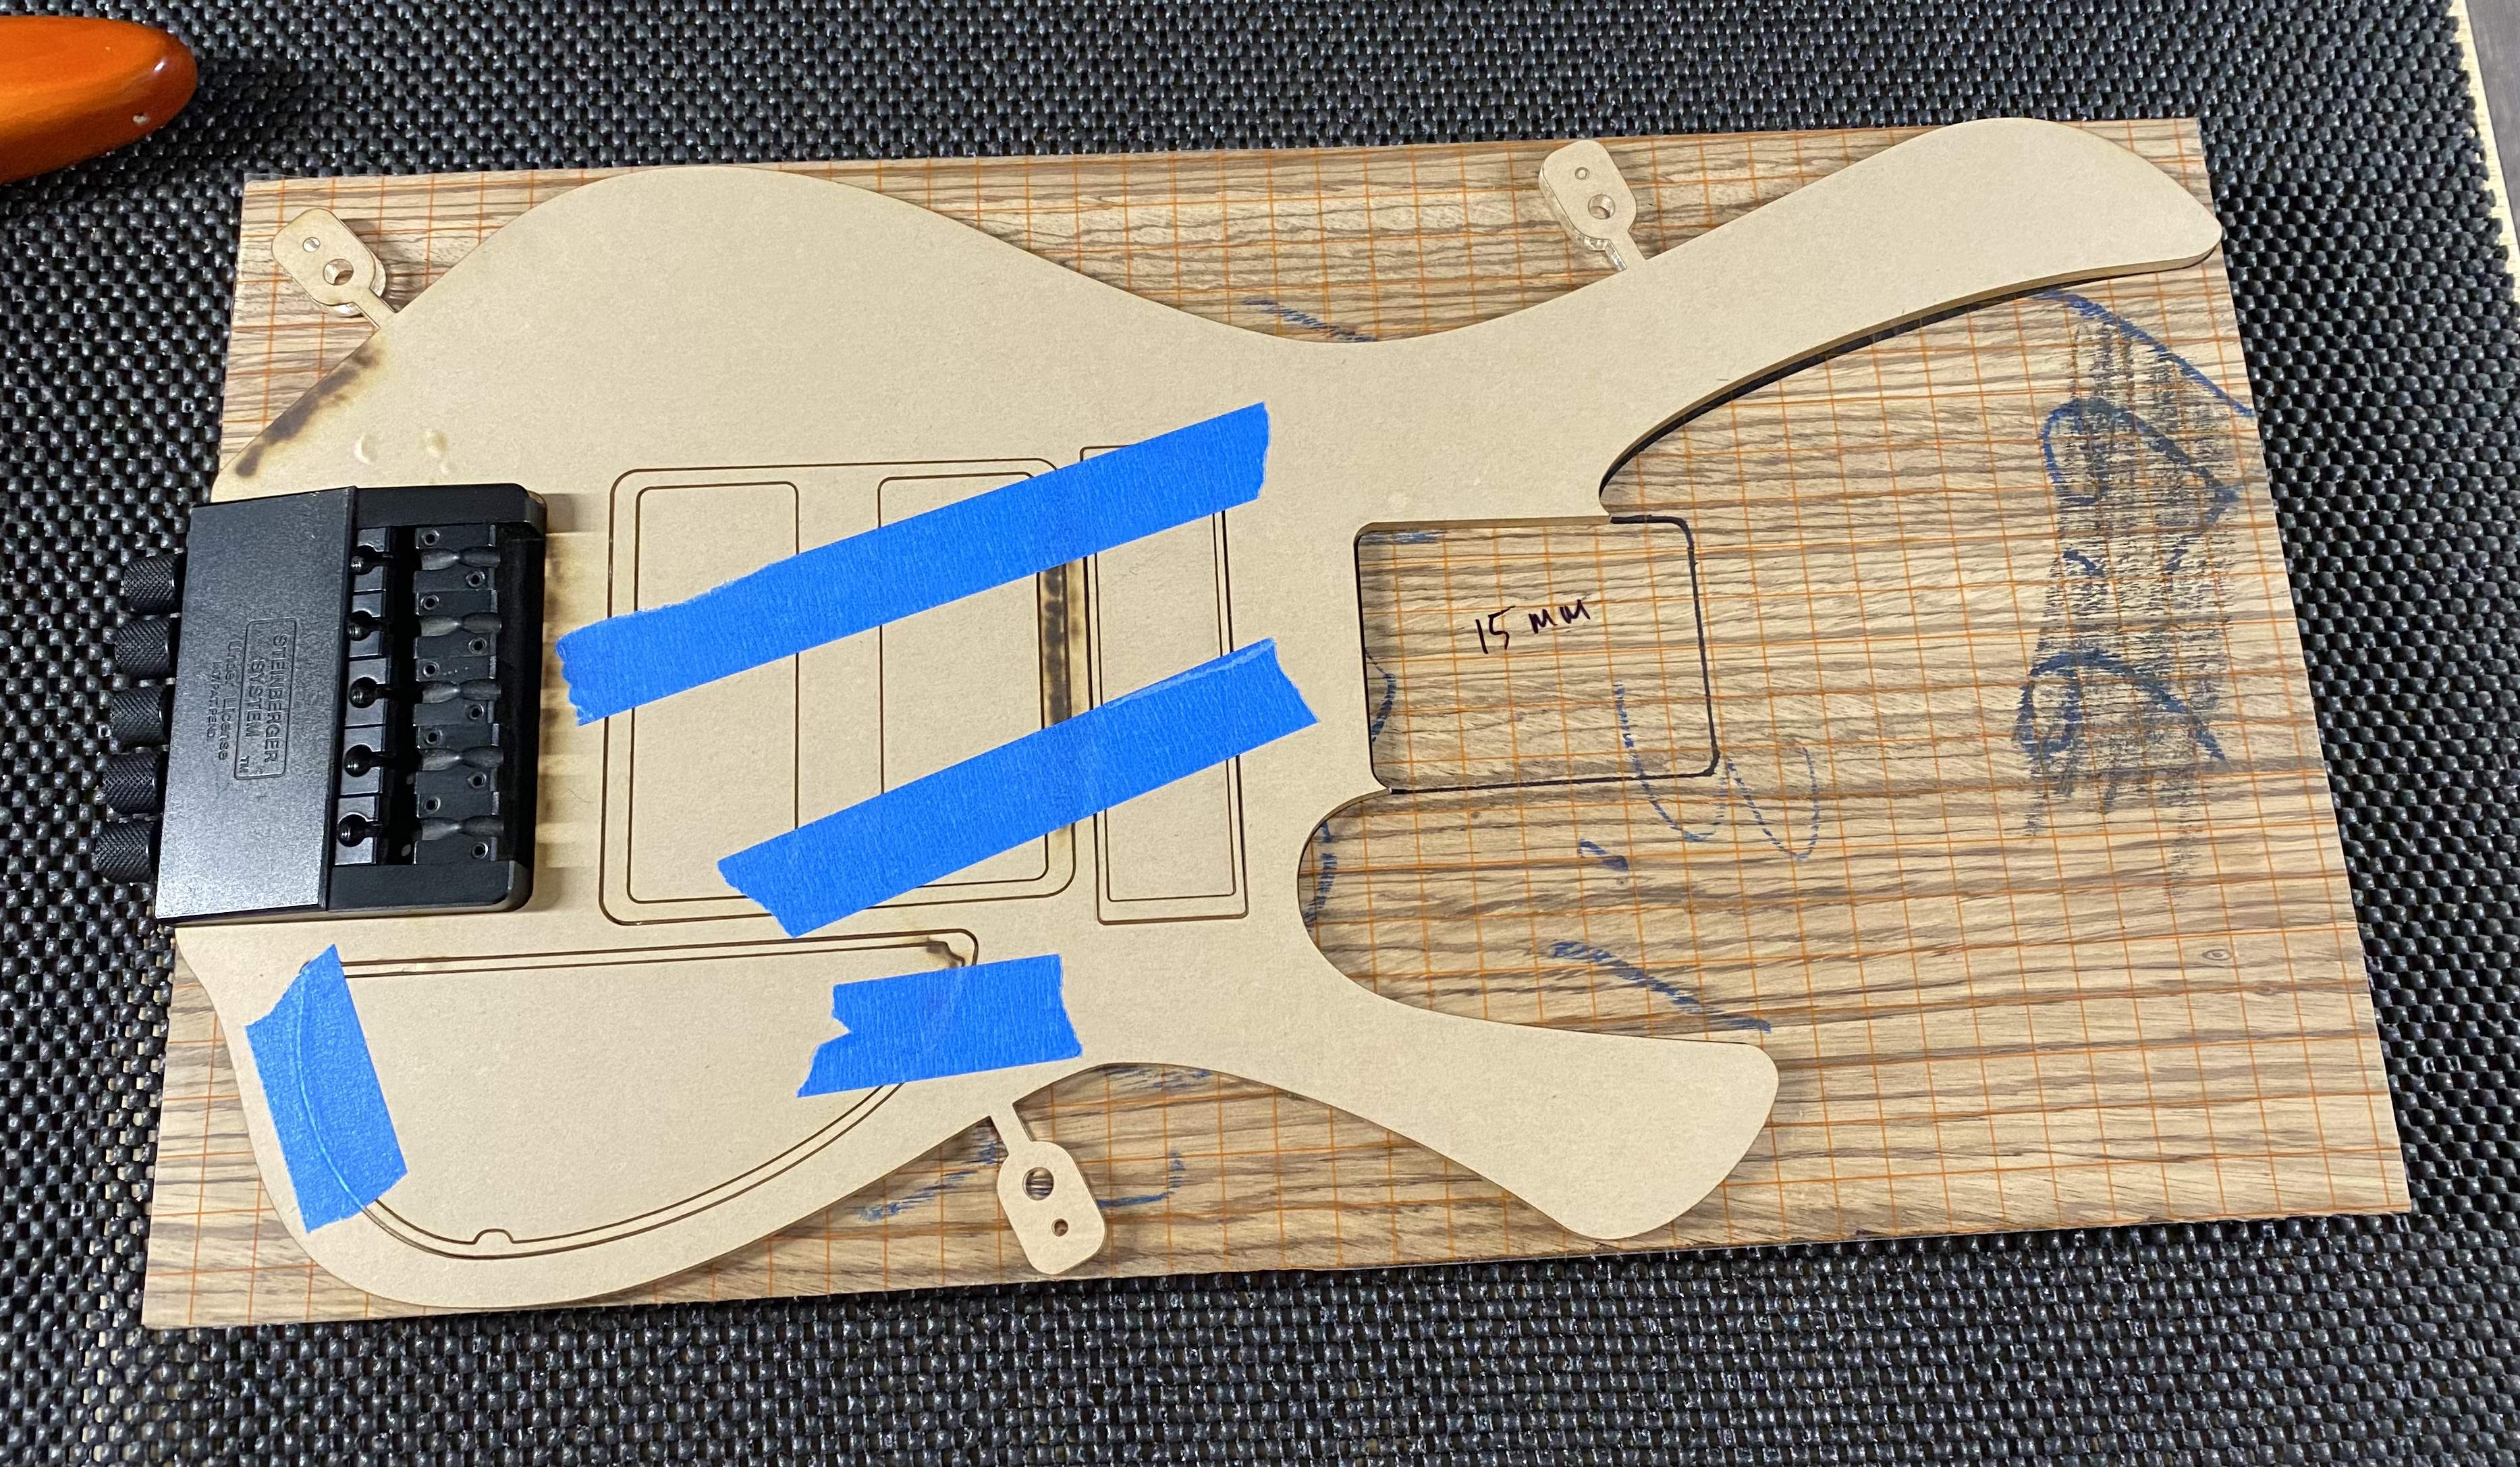
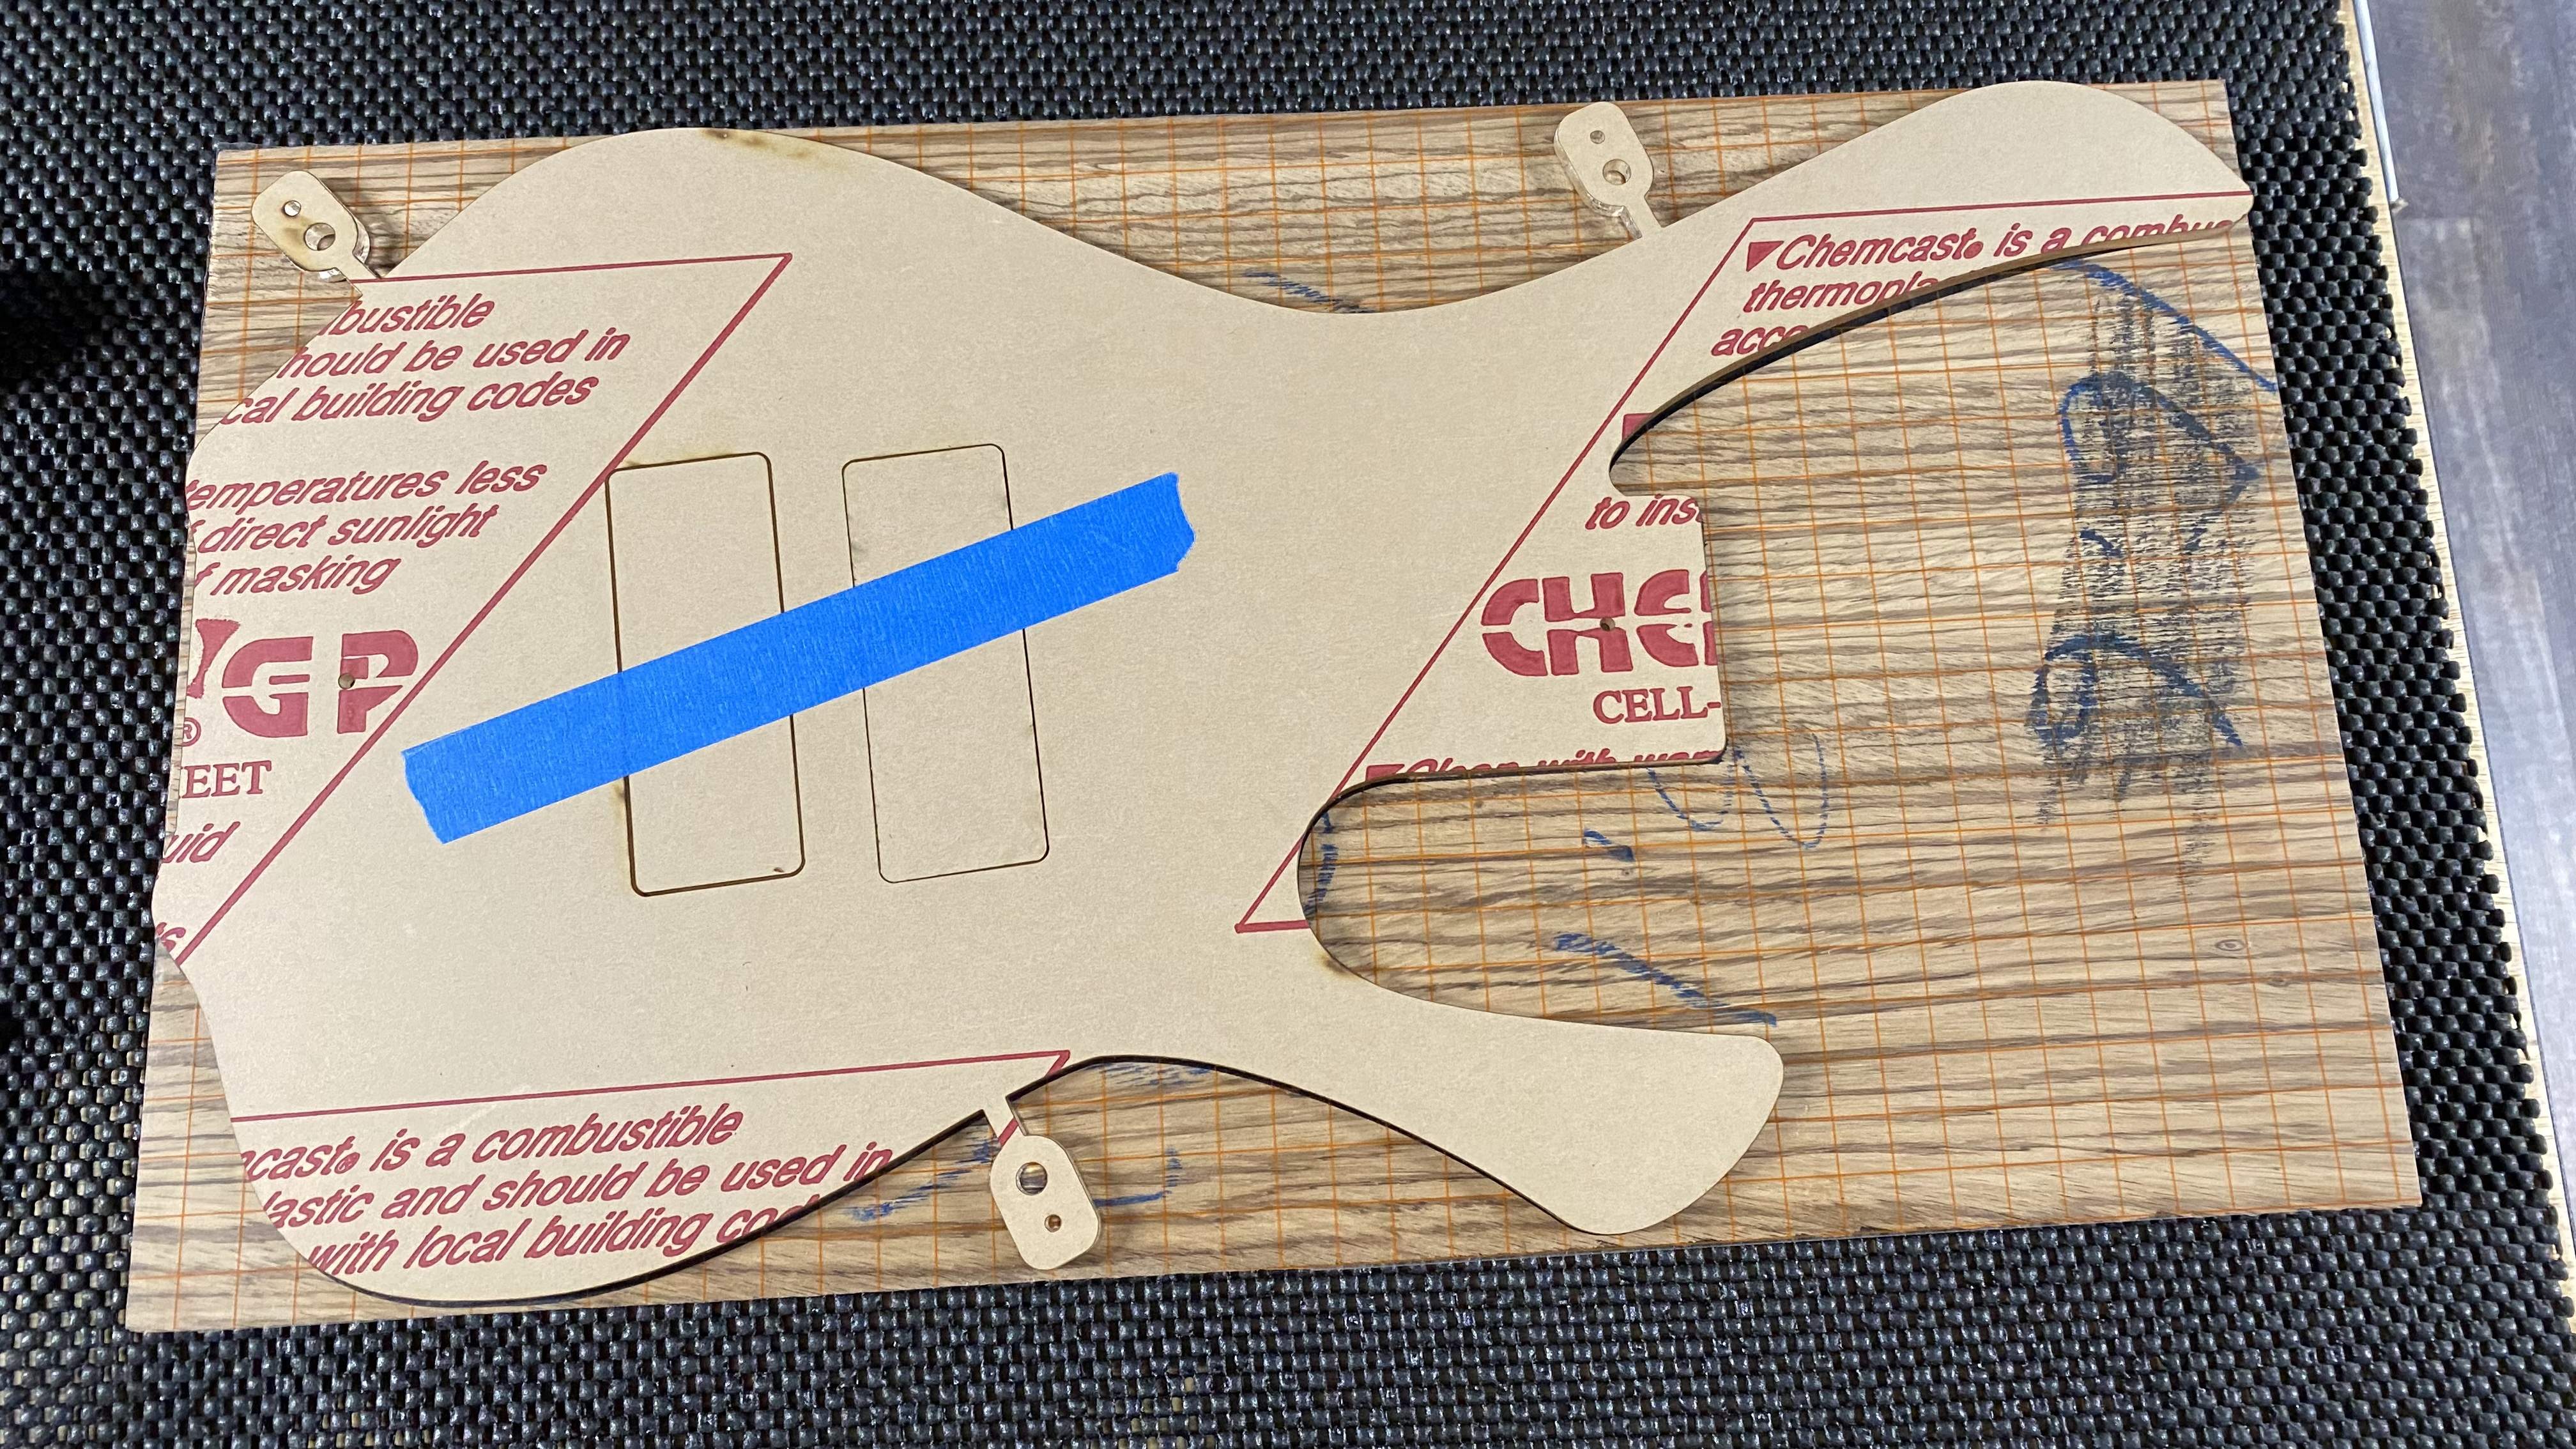
New templates built out of 1/4” acrylic by combining a second template that has the accessory bay, neck pocket, bridge route and battery compartment. I cut them with an Epilogue 60 W laser and included quarter inch holes for dowel rods as registration pins for front and back.
D9BD2AEE-D741-4150-AEDC-1E55D88447BD.jpeg
5A587F1A-97A3-4C6D-B452-CDD80720B15E.jpeg
F7FAFC30-9343-4AB8-91D8-6BEC7787E555.jpeg


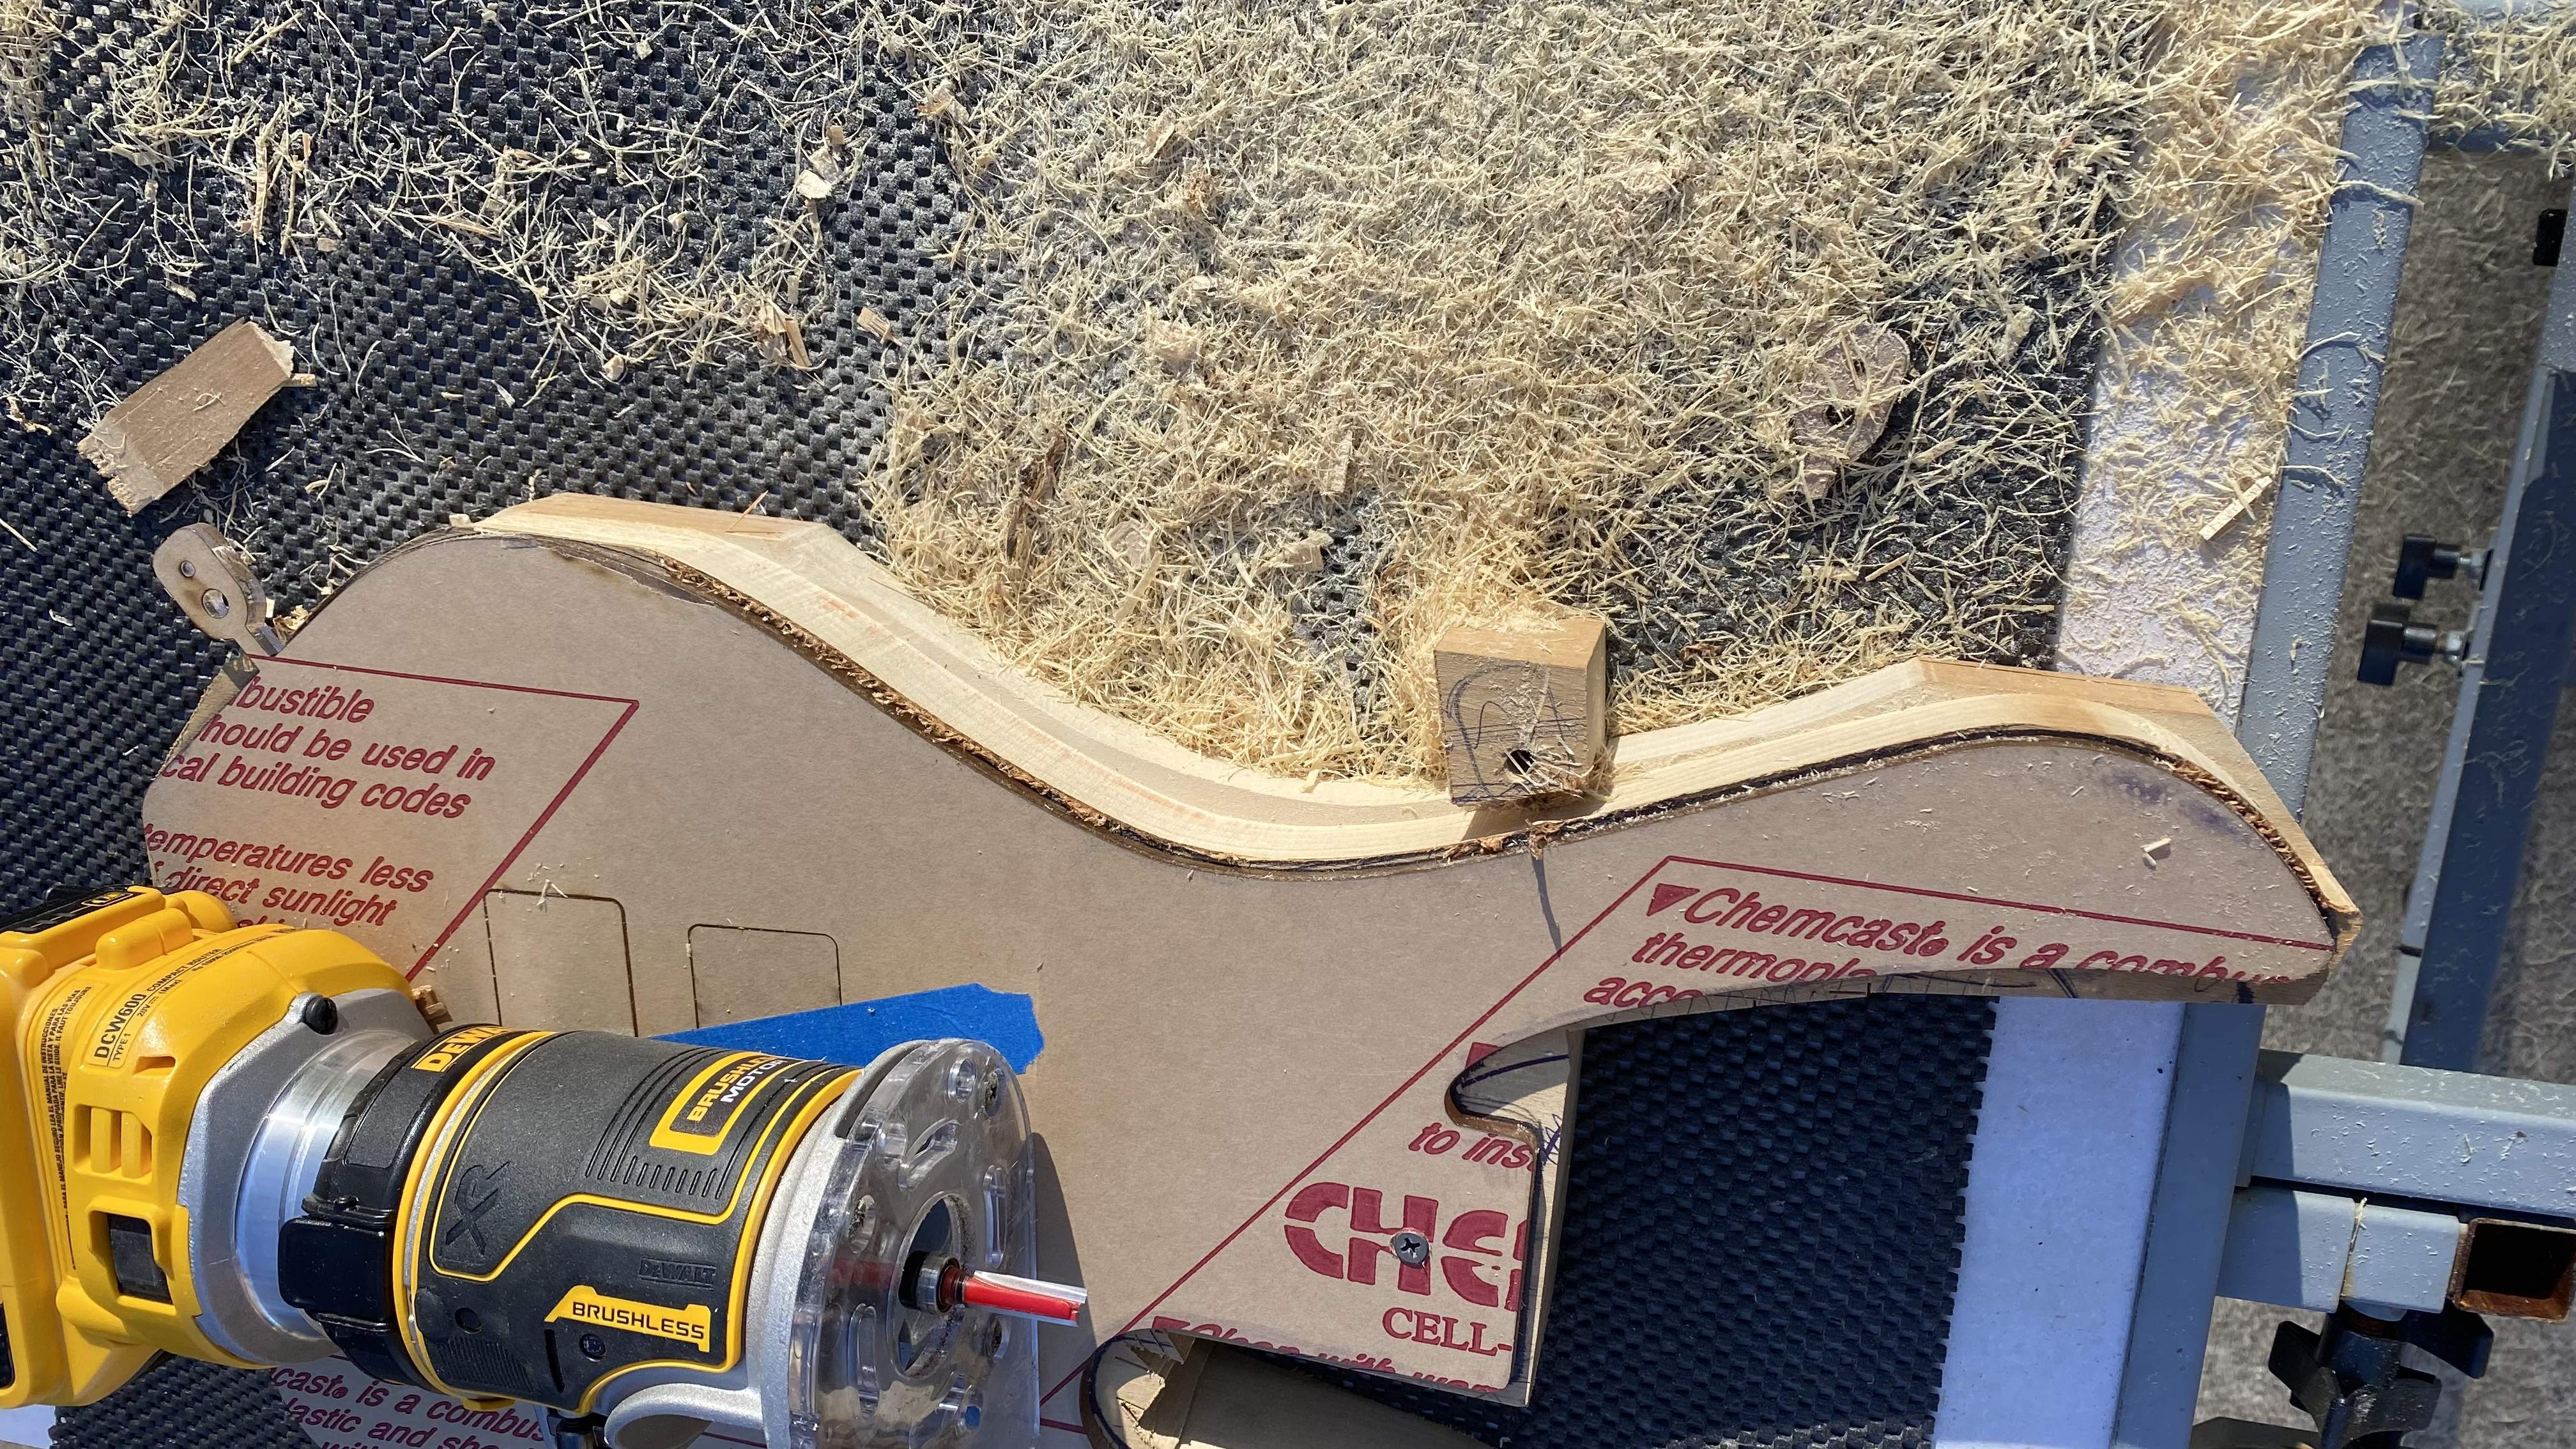
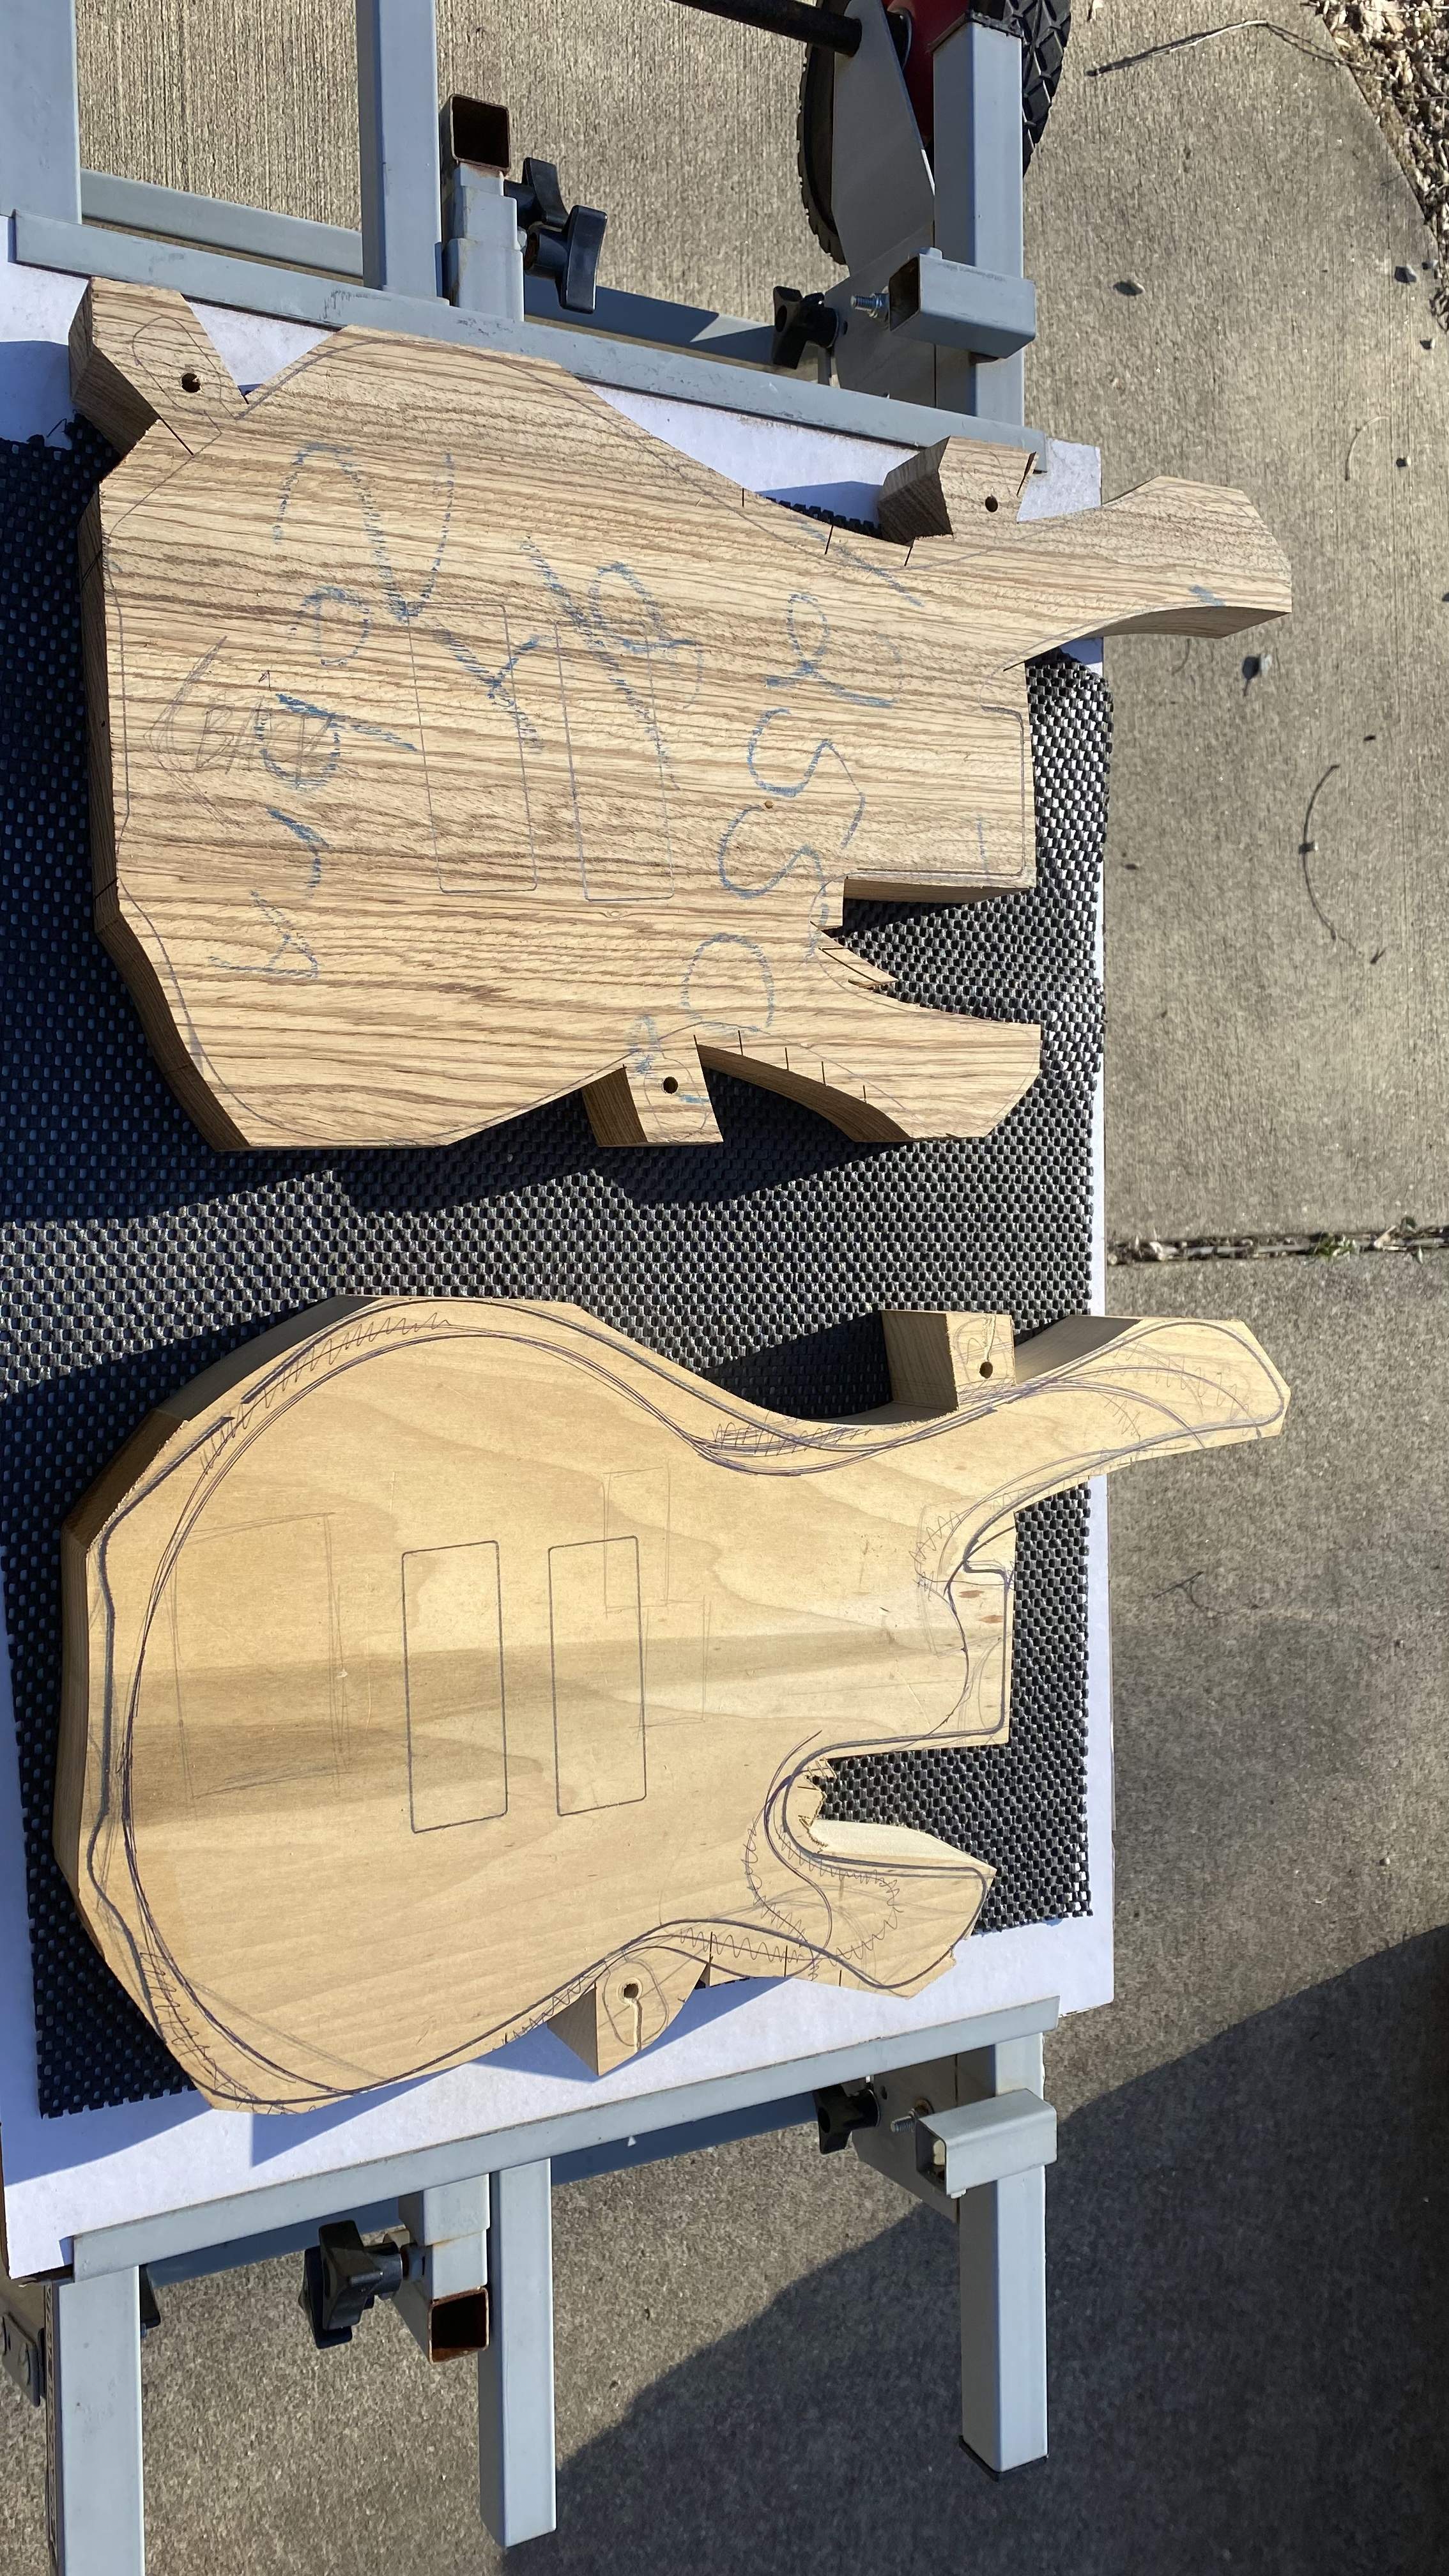
Today was the first day of decent weather we’ve had in a while, so I decided that I would first prototype with some poplar first to test out the templates and some of the new bits.
55F4B2B6-A5E7-427D-894D-475491D41479.jpeg

613B650A-B466-4FF8-B543-152B6219233D.jpeg
0D205CF5-0E53-4F6C-8512-0F266DDFB720.jpeg


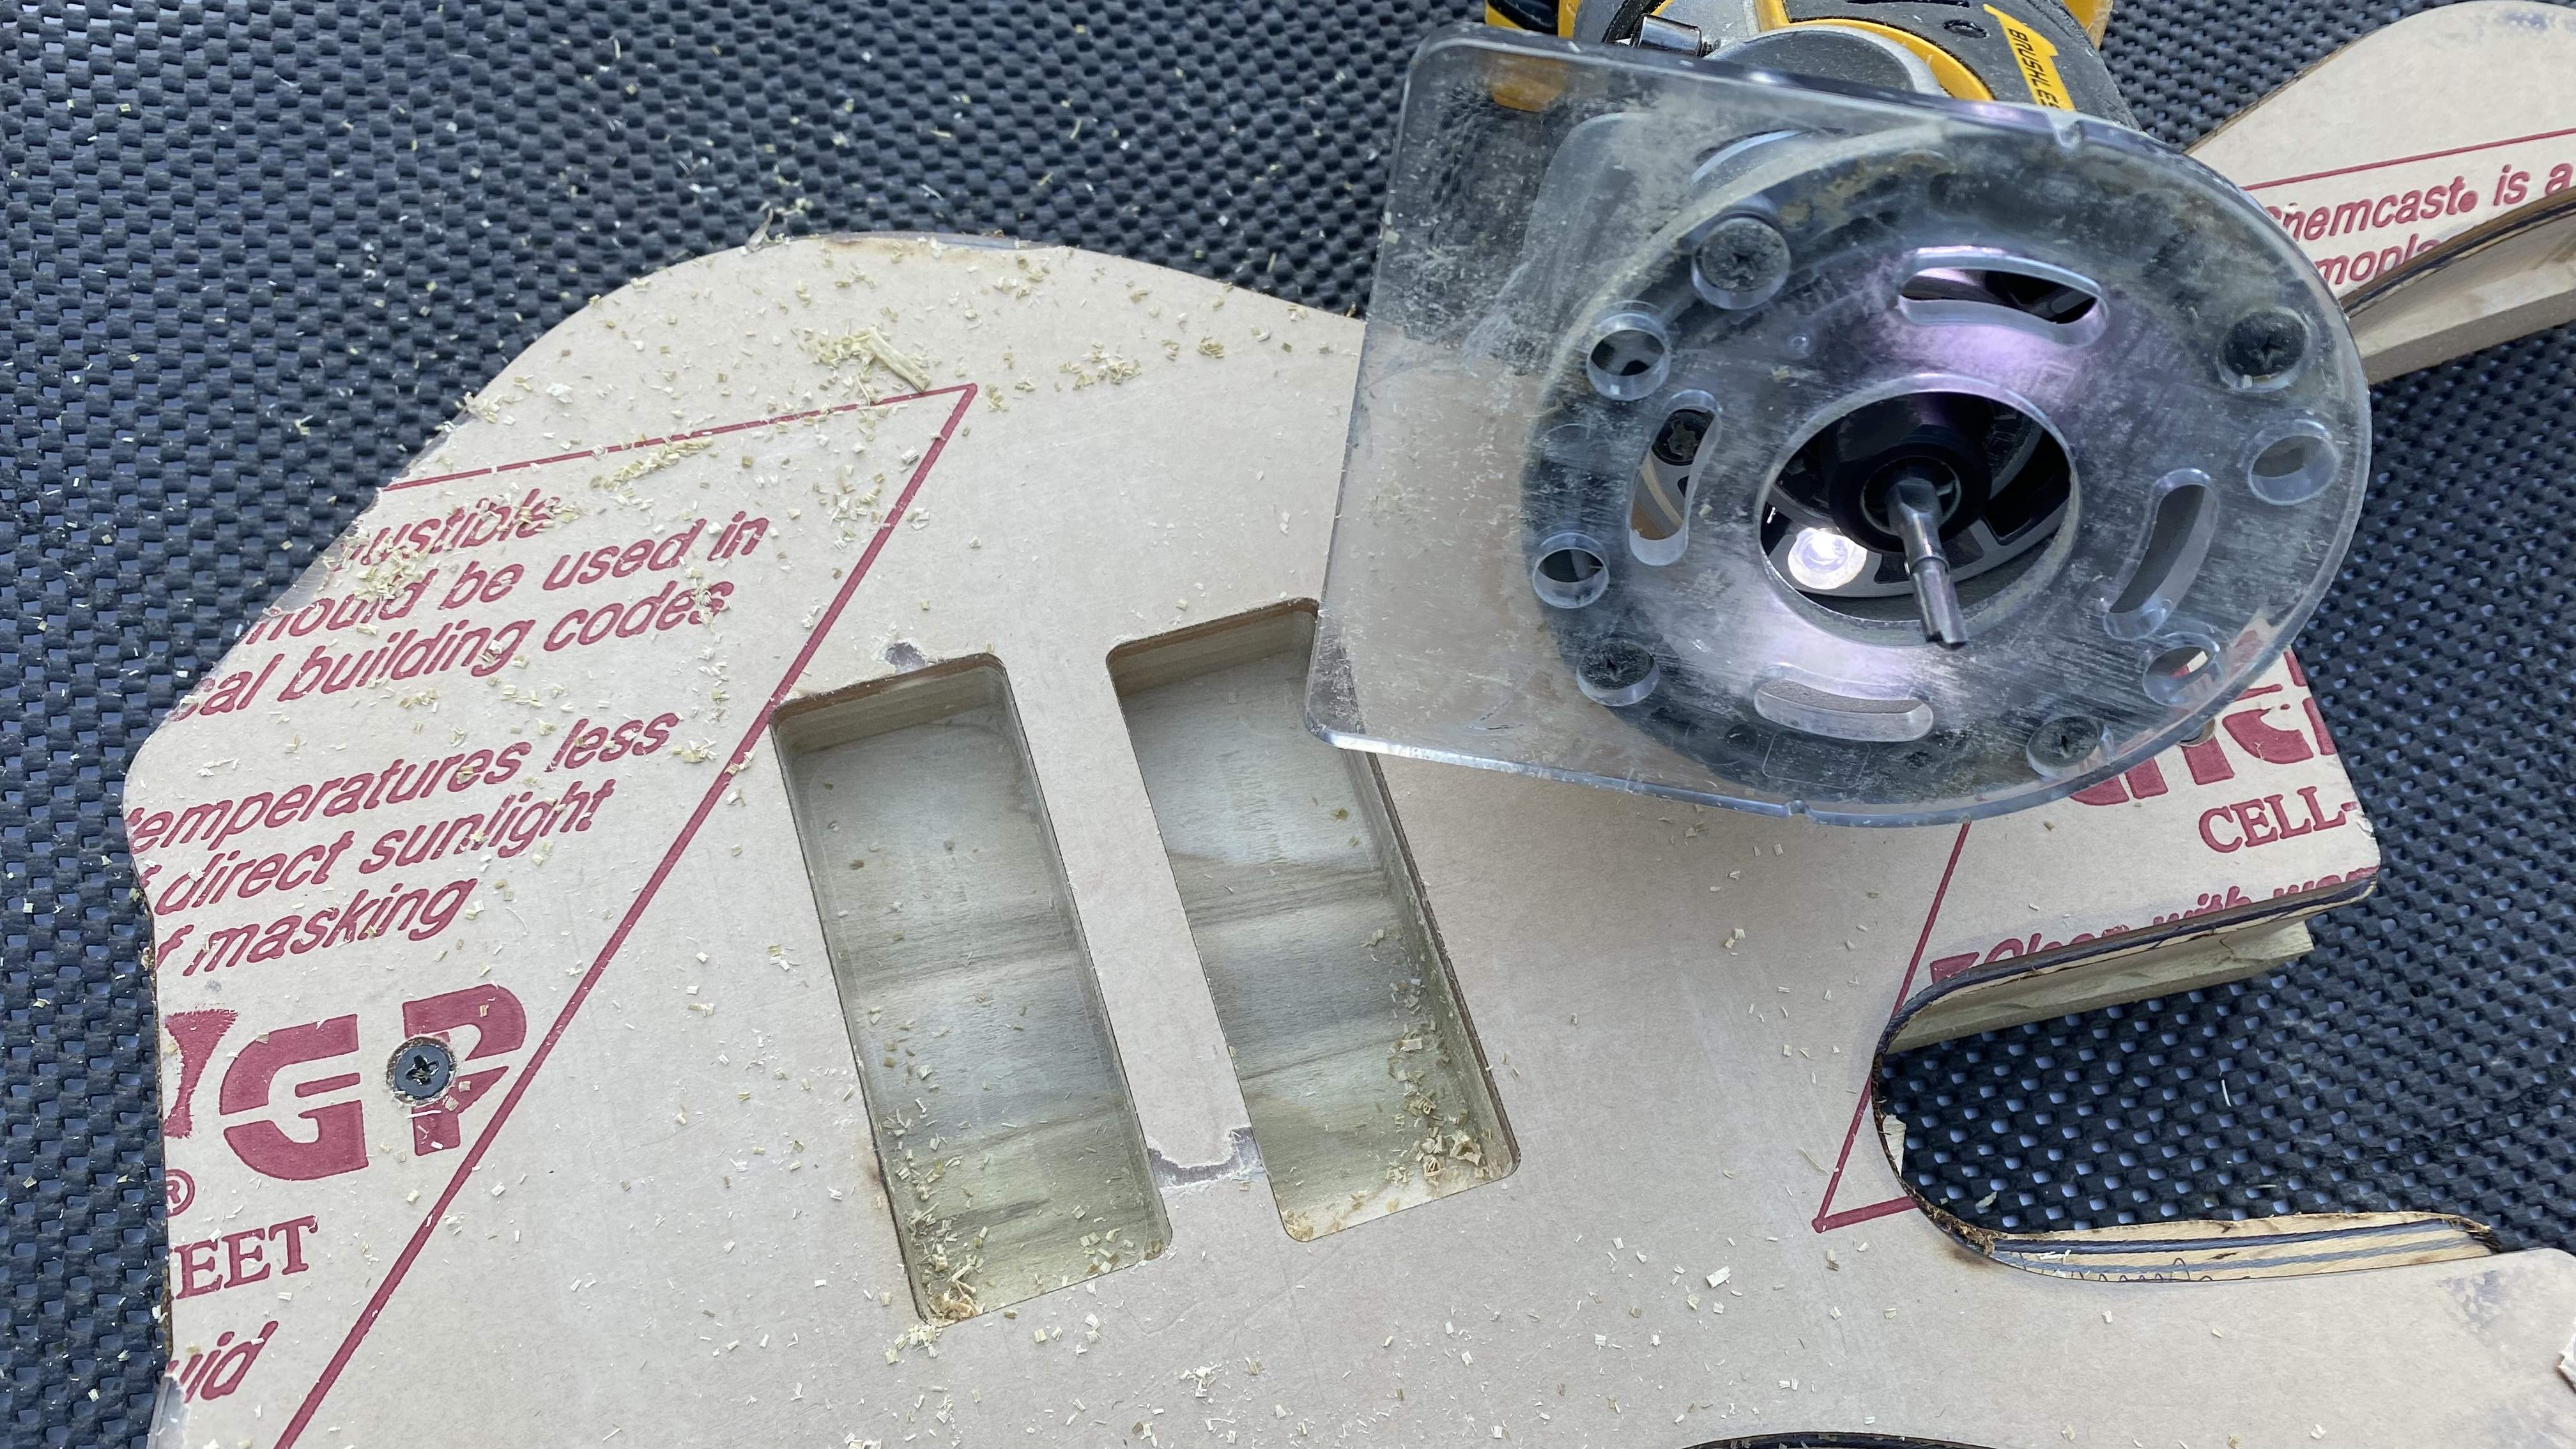
This MicroBit is pretty cool, I was able to get some really nice tight clean corners for the DC40 pickups.
418B8571-0F84-43B9-AE19-B7A8F1FD0B43.jpeg


I did some rough shaping but there’s a ton of shaping and carving:) left to do to get the angles I’m looking for.
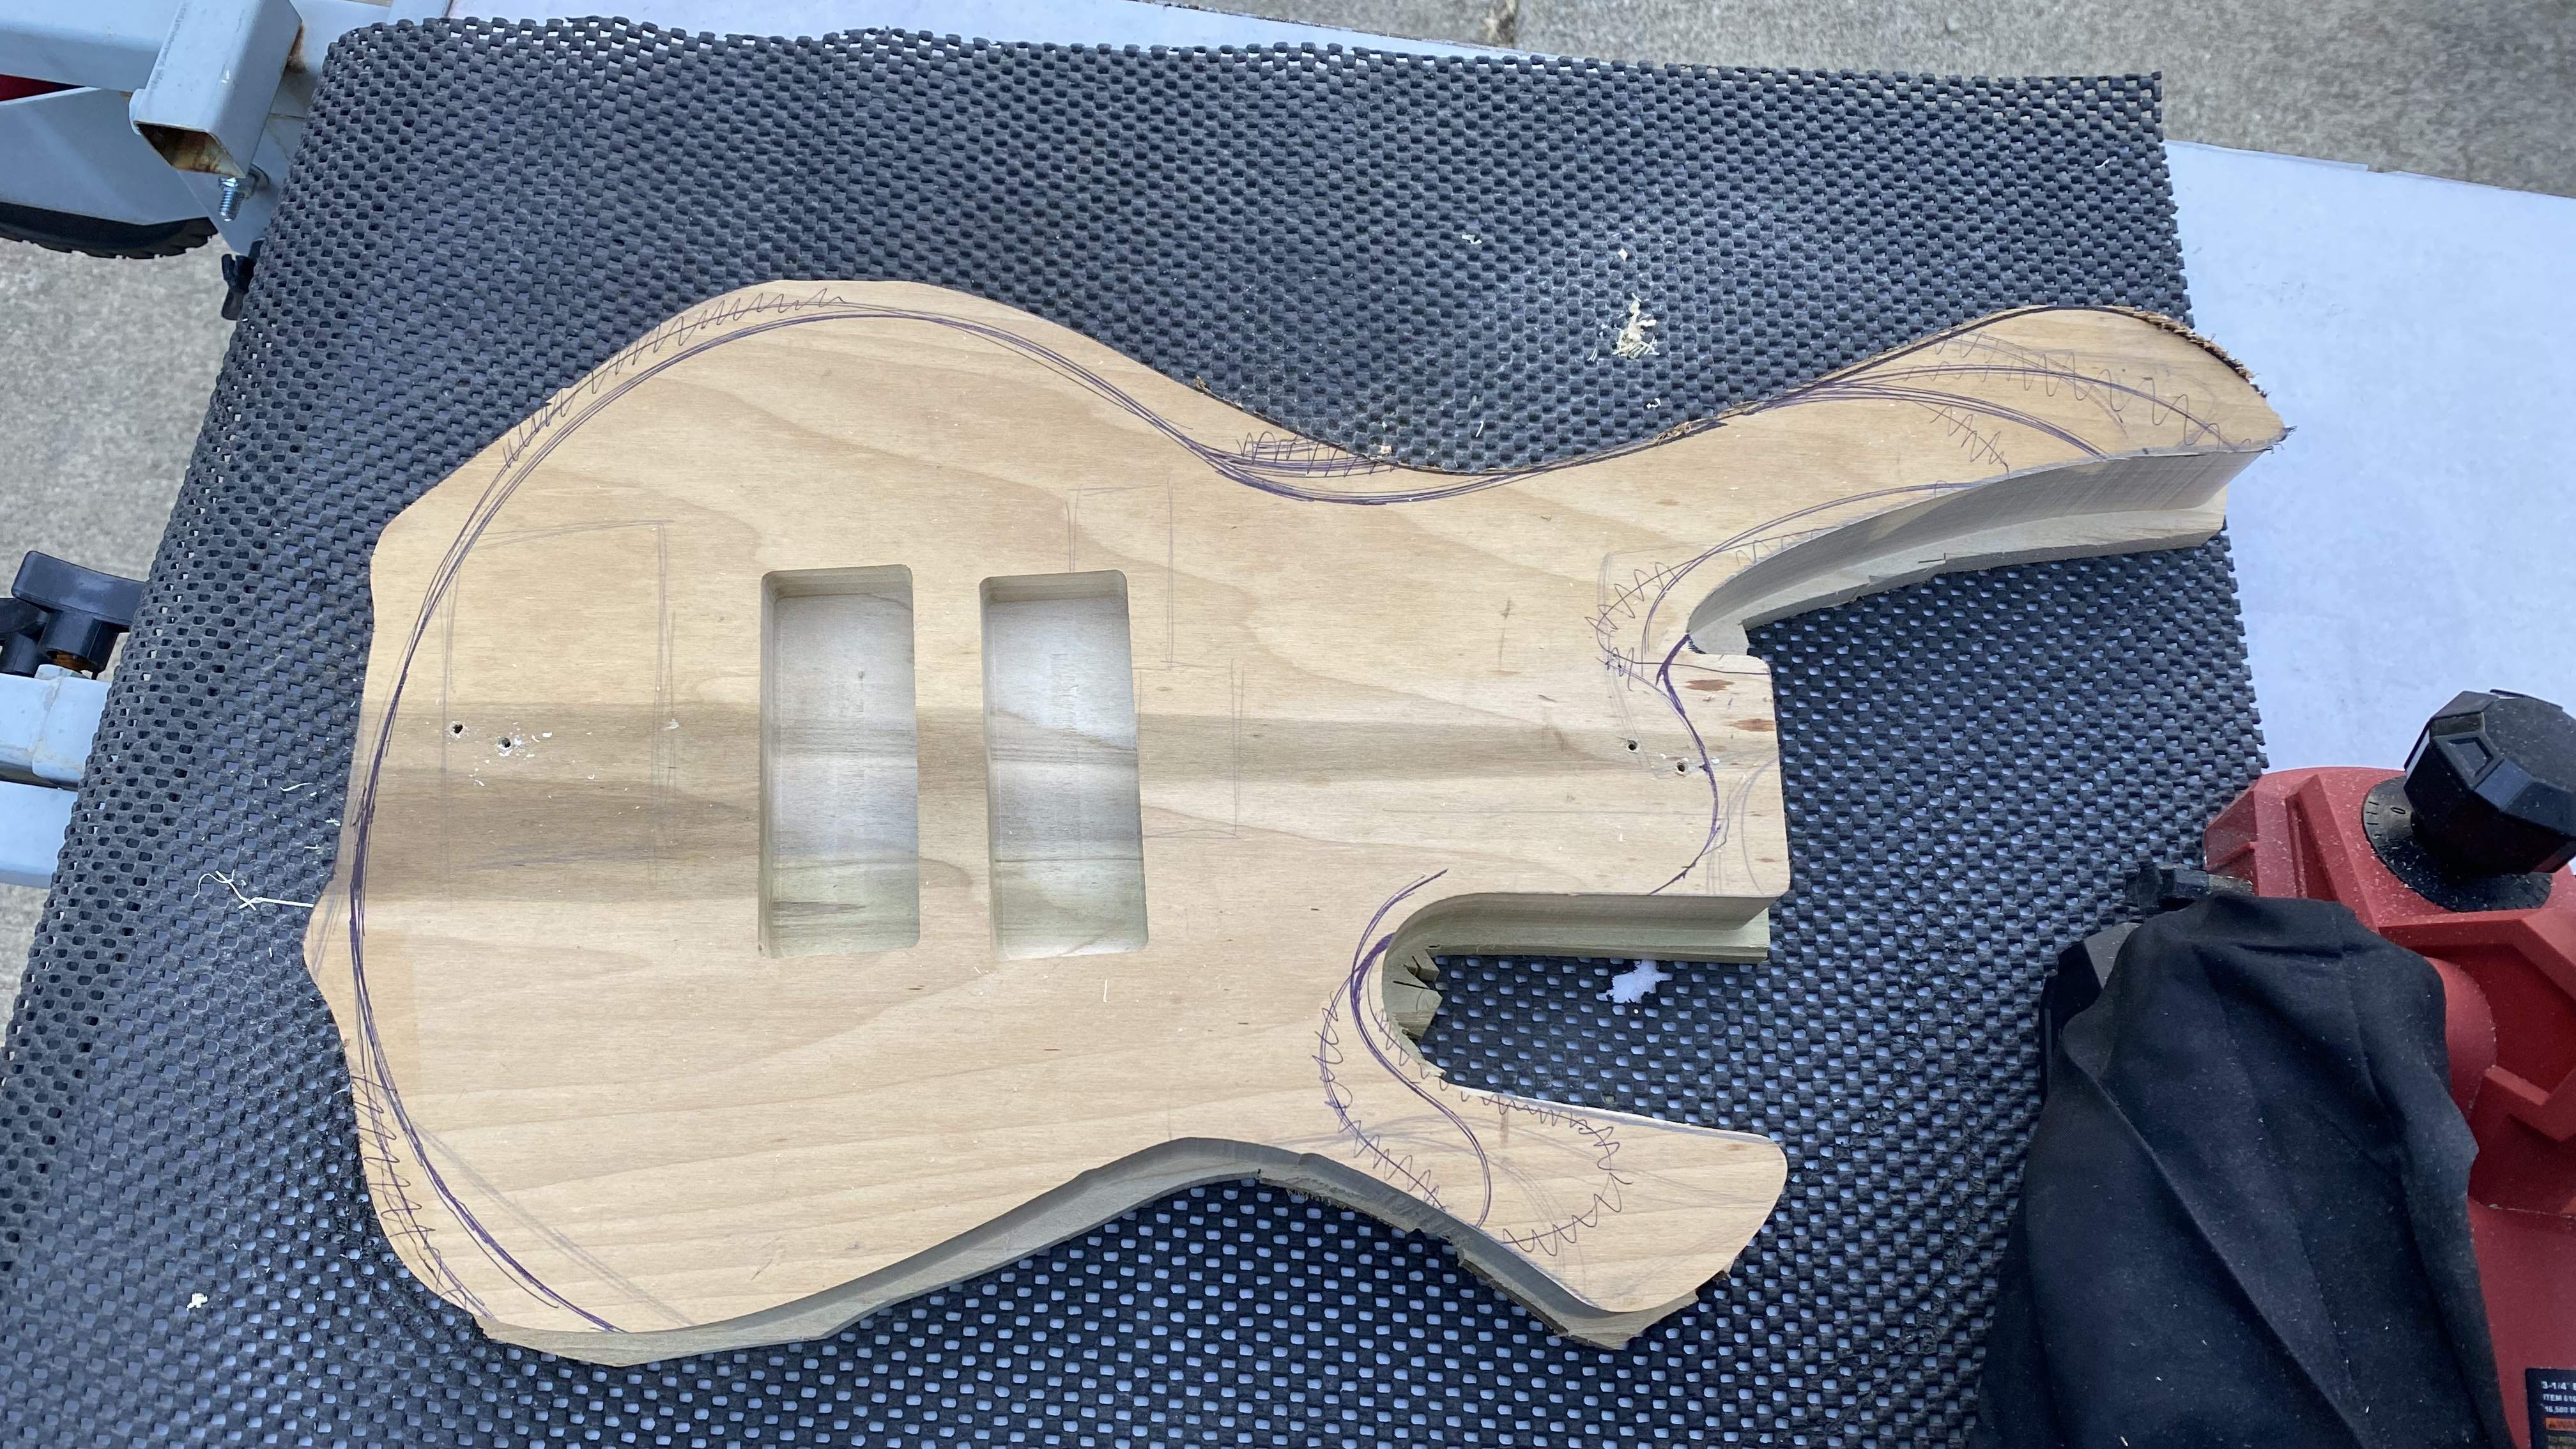
29E41D01-EA32-4504-BB9B-8251C23FC963.jpeg


I’m using this piece of poplar to test out some techniques for carving the curved back and shaping the front angles. I’ve had this piece of wood for over 35 years, and it is the second body that I’ve cut from it. The first one had such nice resonance and it turned out really well so this one should be a great body as well once finished. It’s also fairly light now that I’ve thinned it up quite a bit.
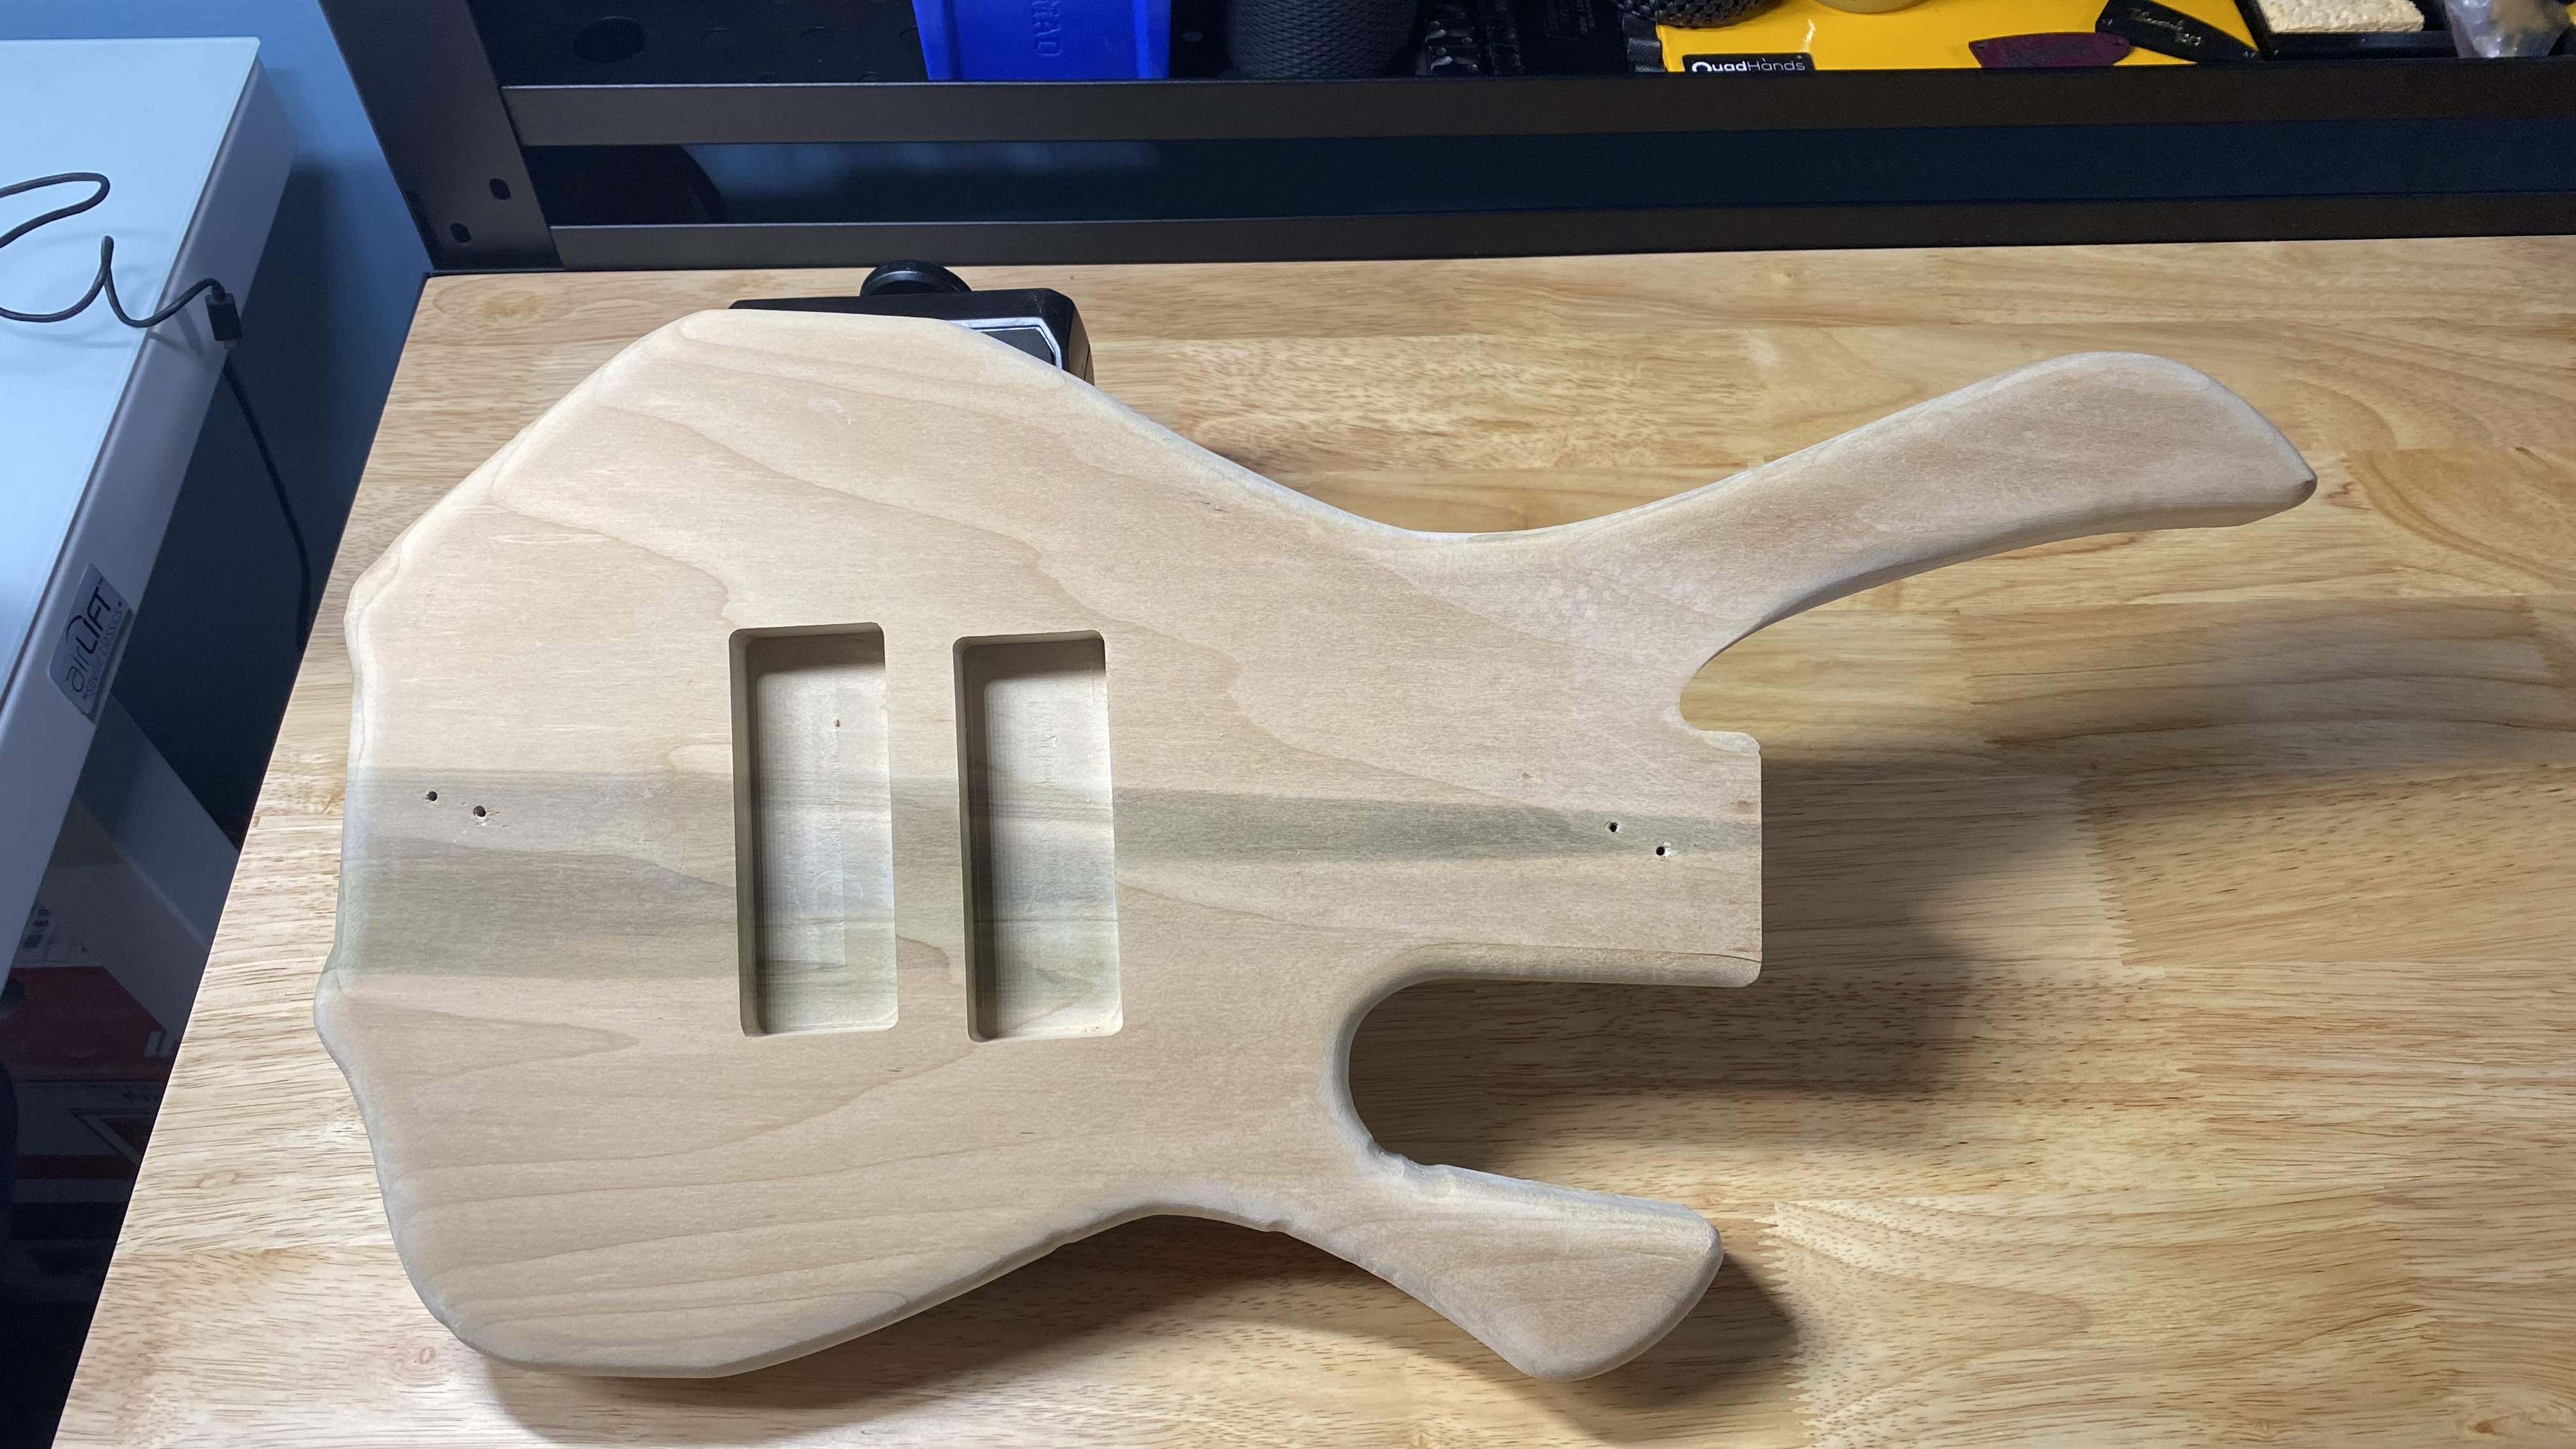
EAFC1569-1247-4723-96A8-6FD2595B9FB7.jpeg


More to come soon, as I get into cutting the zebrawood which will be the first of two final bodies.
 
Last edited:
It is a nice and sunny day today so I took an hour break from work to go out and do some more sanding/shaping today. I have a benchtop orbital/belt sander showing up tomorrow so I’ll be able to finish the bottom cut away. Once I have that done, I plan to route the neck pocket, bridge and accessory control box and then back to finish sanding.
640C735B-6283-4DE4-B957-345C6B67AE75.jpeg

996F5D5C-70A4-4221-8671-998A5C45DA4B.jpeg

13DE5165-BD0E-4FCD-9A43-F4DE6964E6FF.jpeg
 
Yeah but.......Whats a Microbit, and do I need one?
:woot::roflmao:

I guess it’s actually called miniature, but it’s what I used to get those nice tight radiuses for the corners of the pickup cavities. I’m a noob at using all of these acrylic templates I just made with the laser and I wanted to make sure I could get nice corners for the pickup routes. This is the bit that I went with and it worked amazingly well.
8C944BE6-363F-4326-A9D5-23711F0CD3B6.png
570B9437-EAB5-44CA-9038-956D27D7B5C8.jpeg
 
Last edited:
  • Like
Reactions: Snert
I don’t know how I’ve managed to live without this orbital belt sander for this long!

I have other bench-top belt, handheld belt, orbital and DA sanders but this thing made quick work of some of the tight areas and saved me a ton of time.

I did have a different bench top orbital sander years ago, but it didn’t have the belt - only the drums. I got rid of it since it was too easy to stop the sander by pressing the wood hard against it. This one has zero problems with that occurring. :thumbsup: Cheap solution and zero dust with the shop vac plugged into it.
B928014E-1A98-4DCC-8E6E-DA6887F41093.jpeg
 
So I’m feeling pretty good about the progress at this point. All of my routing is done, and I’ve spent a fair amount of time on shaping and sanding up to 600 grit so far.

Is it bad to say that I really enjoy the sanding and shaping part of it since that’s the most organic part of the process? :thumbsup:

At this point I need to make my template for the neck pocket screw holes and drill those tomorrow. Then I need to drill the holes for the pots and I’m planning on doing some nice sunken in convex holes for the pots.

I’m not sure at this point how I’m going to finish it. I was thinking I would do a translucent blue stain with a matte clear to protect it, but still considering my options.

11E5925B-EF3A-4596-AC26-E48369B342BA.jpeg

7FDFE7B5-9CC7-4610-A0CB-4602856D0860.jpeg
 
I also did some quick calculations on time spent for fabrication at this point.
  • About 2 to 3 hours for my initial designs and prototyping with the plotter
  • About 2 hours of catching up with a buddy and laser cutting my acrylic templates
  • About 2 hours to do the rough cutting and some of the initial routing for the outer shape of the body
  • Another 2 hours to do some routing and some rough shaping and sanding
  • And then another 4 hours tonight for some additional routing and finish shaping and sanding
So all in at this point I’m estimating I’m somewhere between 13-14 hours so far.

I guess I would have to ask some of the experts around here, is that pretty normal or am I under or over the amount of time I should’ve spent on this whole project thus far?
 
Next on my list, are the following activities:
  • Make the template and drill the holes for the neck pocket and countersink the metal spacers for the heads
  • Mount the bridge in position for dry placement
  • Drill the holes for the pots
  • Drill the holes for the magnets for the enclosures
  • Laser cut the accessory cover and mount magnets on the underside
  • Drill machine screw brass inserts for the pick ups
  • Drill the holes for the straplocks
  • Drill the hole for the output jack
  • Stain and finish the body
  • Mount the electronics which should be here by Saturday
Once I’m to that point, I can then do a dry fitting of everything and hopefully finish off by early next week.

I’d love to be able to take it to rehearsal next Thursday night :woot:
 
Last edited:
Final post for the day, this is just the prototype for the next two bodies I plan to build.

Body two will be essentially the same bass in Zebrawood with a finger ramp system instead of the slanted pickups.

And then the last one I’m planning to do will be as a neck through design with a purple heart body and some super special wood :woot: for the neck… you’ll have to stay tuned to see what that is, I think it’ll be pretty unique. :thumbsup: I can only think of one builder that’s ever used it.
 
I've heard that poplar doesn't take stain well. I've tried staining some scraps and it turned out true. Both with water and oil base.
Maybe a tinted clear?
This one is actually an old build that I did with the same piece of wood. I stained the poplar with transtint.

This time I may dilute it and spray it really thin so it’s soaks in a little bit better and leaves a lot more of the wood showing through before I put a matte clear on it.

I’m OK with the look of it.

8B37970B-B342-46D8-A9C3-BC69822DDB56.png
 

Latest posts