

I have designed and built a bass that allows me to replace the entire top of the body at-will. This way I can explore many colors, woods, and other aesthetic options without having to create a new bass each time.
This thread holds the highlights.
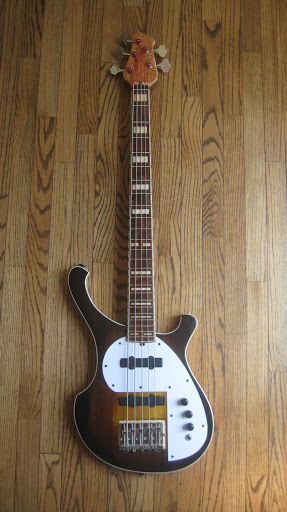
Here is the finished instrument with it's original, tobacco sunburst/white pick guard top.
The next top is almost finished and is a classic sunburst (amber, red, black) over figured maple. No pick guard.
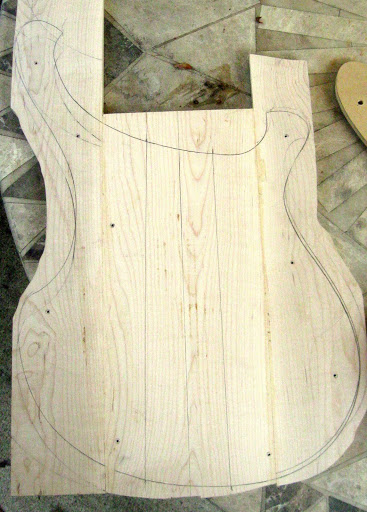
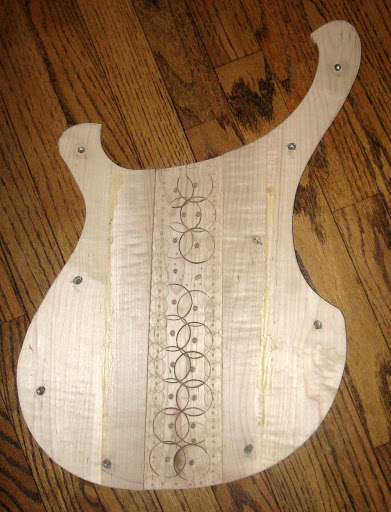
Here is the hard maple 'under-top' with the shape scribed ready for the saber saw:
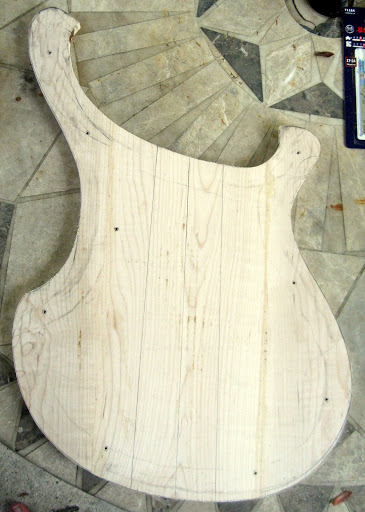
All cut out:
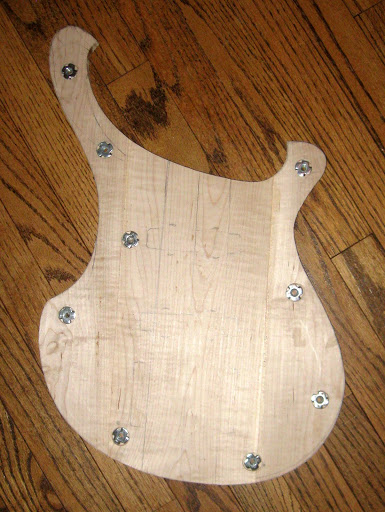
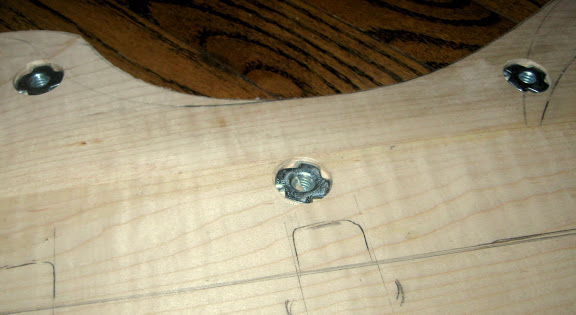
T-Nuts installed:
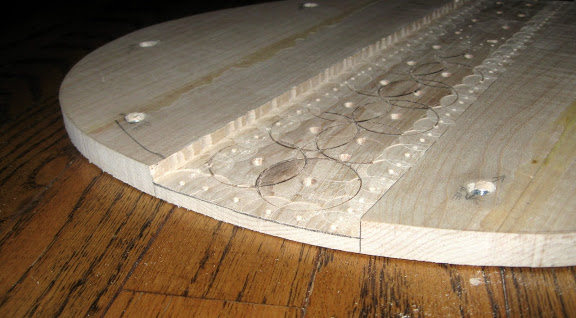
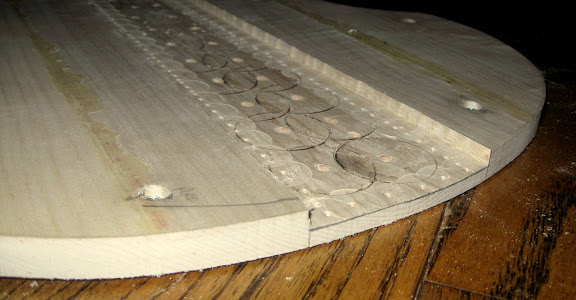
Neck channel hogged out with forstner bits:
Amber and red applied using rags and Trans Tint Dyes:
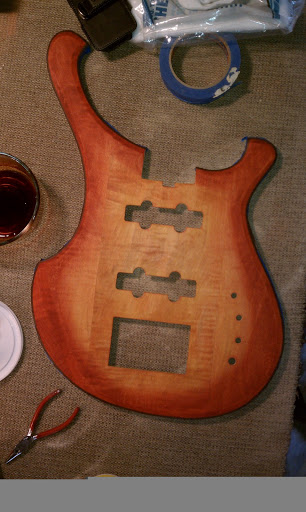
Finally easing in the black around the outer edge. It bled through to the binding but that's no problem:
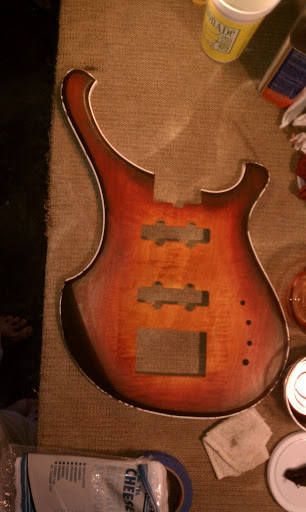
Here's the finished dye job (my SmartPhone cuts off the images when it uploads for some reason...).
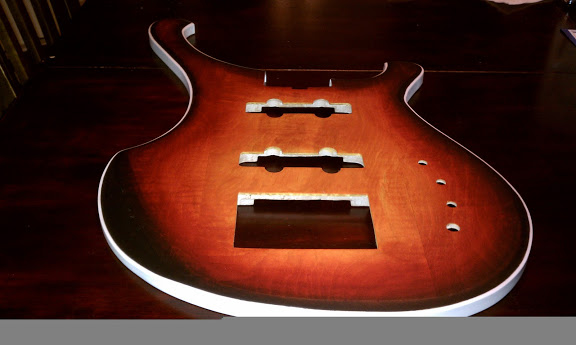
Next step - lacquer! I have been using Behlen's Stringed Instrument Lacquer - rattle can.
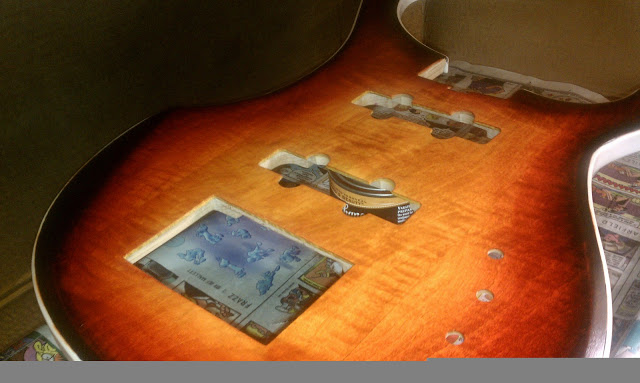
This pic is shot in my cardboard box 'spray booth' and doesn't do it justice. The next few pics have been color corrected and look much closer to the actual luster and sheen.
Here is the middle area where the amber just sings! There's some pretty cool "tiger's eye" effect in the grain too.
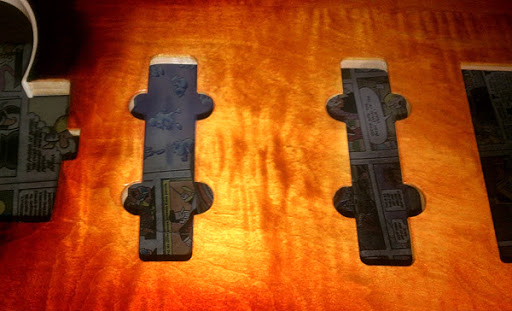
The whole top with about 6 coats of lacquer:
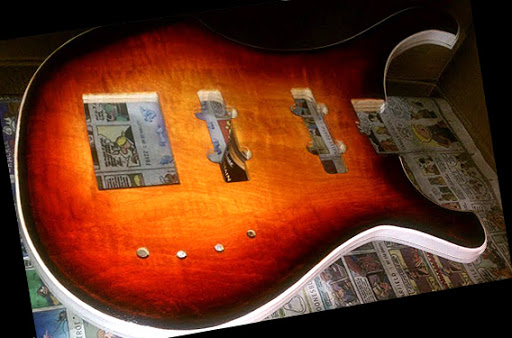
I've already put down about 12 coats and plan to do at least another 6 before I let it sit and cure. Even if I do say so myself, this top is luscious! Looking at those colors up close is really cool! They are so vivid and they blend into each other very nicely! In about a month this top will be ready to install. I'll post pics then.
This thread holds the highlights.
Here is the finished instrument with it's original, tobacco sunburst/white pick guard top.
The next top is almost finished and is a classic sunburst (amber, red, black) over figured maple. No pick guard.
Here is the hard maple 'under-top' with the shape scribed ready for the saber saw:
All cut out:
T-Nuts installed:
Neck channel hogged out with forstner bits:
Amber and red applied using rags and Trans Tint Dyes:
Finally easing in the black around the outer edge. It bled through to the binding but that's no problem:
Here's the finished dye job (my SmartPhone cuts off the images when it uploads for some reason...).
Next step - lacquer! I have been using Behlen's Stringed Instrument Lacquer - rattle can.
This pic is shot in my cardboard box 'spray booth' and doesn't do it justice. The next few pics have been color corrected and look much closer to the actual luster and sheen.
Here is the middle area where the amber just sings! There's some pretty cool "tiger's eye" effect in the grain too.
The whole top with about 6 coats of lacquer:
I've already put down about 12 coats and plan to do at least another 6 before I let it sit and cure. Even if I do say so myself, this top is luscious! Looking at those colors up close is really cool! They are so vivid and they blend into each other very nicely! In about a month this top will be ready to install. I'll post pics then.









 whenever I change my strings.


