• TalkBass has been independent since 1998. Add your voice.
    Create a free account to reply to discussions, view embedded media, and browse with fewer display ads.
    Join freeLog in
    Want zero display ads or expanded classifieds tools? Compare plans.

Newest Template Routing Bits. Opinions?

Jun 23, 2014
22,476
40,811
65
Cape Cod MA
I've been working with some fairly figured lumber recently, particularly flame maple for neck blanks. I had all but given up on template routing figured wood with any kind of straight or even shear-cut router bits due to tearout, and settled on using a Robosander. It's mind-bendingly slow and tedious, but....no tearout.
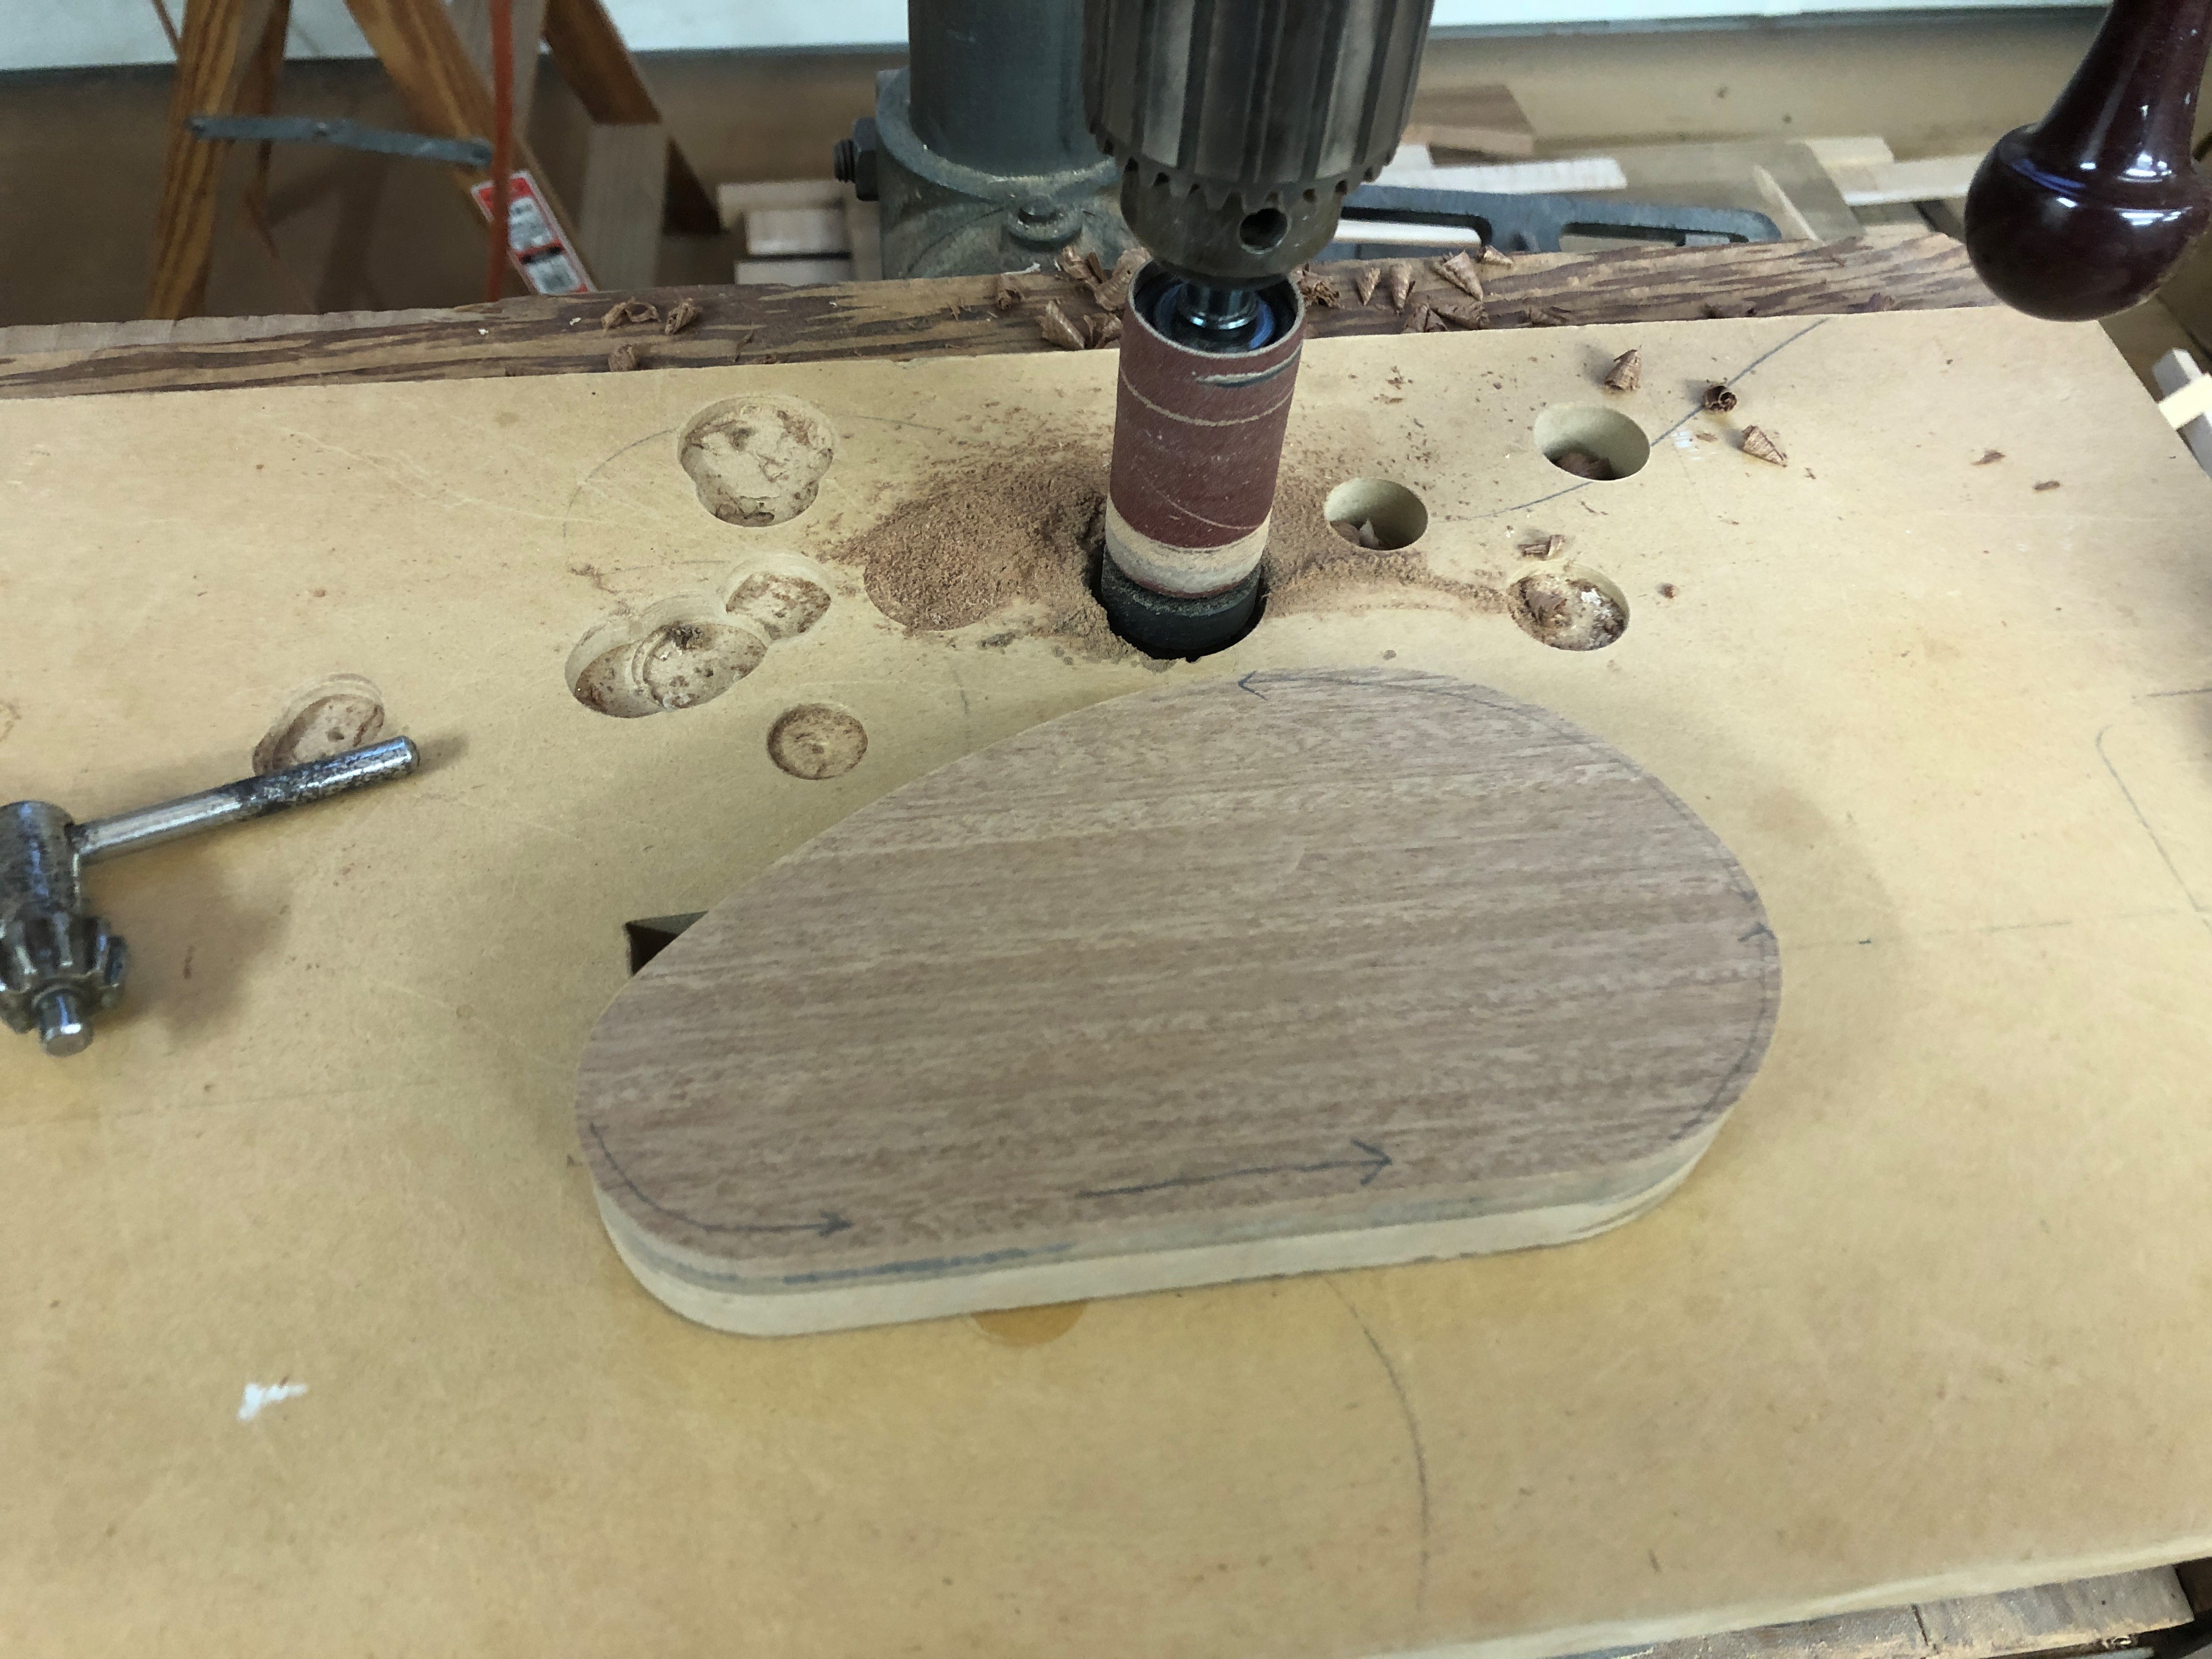
LYxFRXA.jpg


I had been using this monster CMT shear-cut bit, but again.. tearout. It also developed, after only a few neck template jobs, a vibration that scares me a little, and it leaves a slightly "wavy" cut that has to be sanded flat afterwards. I feel like I wasted my money on this bit, it really only worked for a couple jobs, and then only on straight grain.
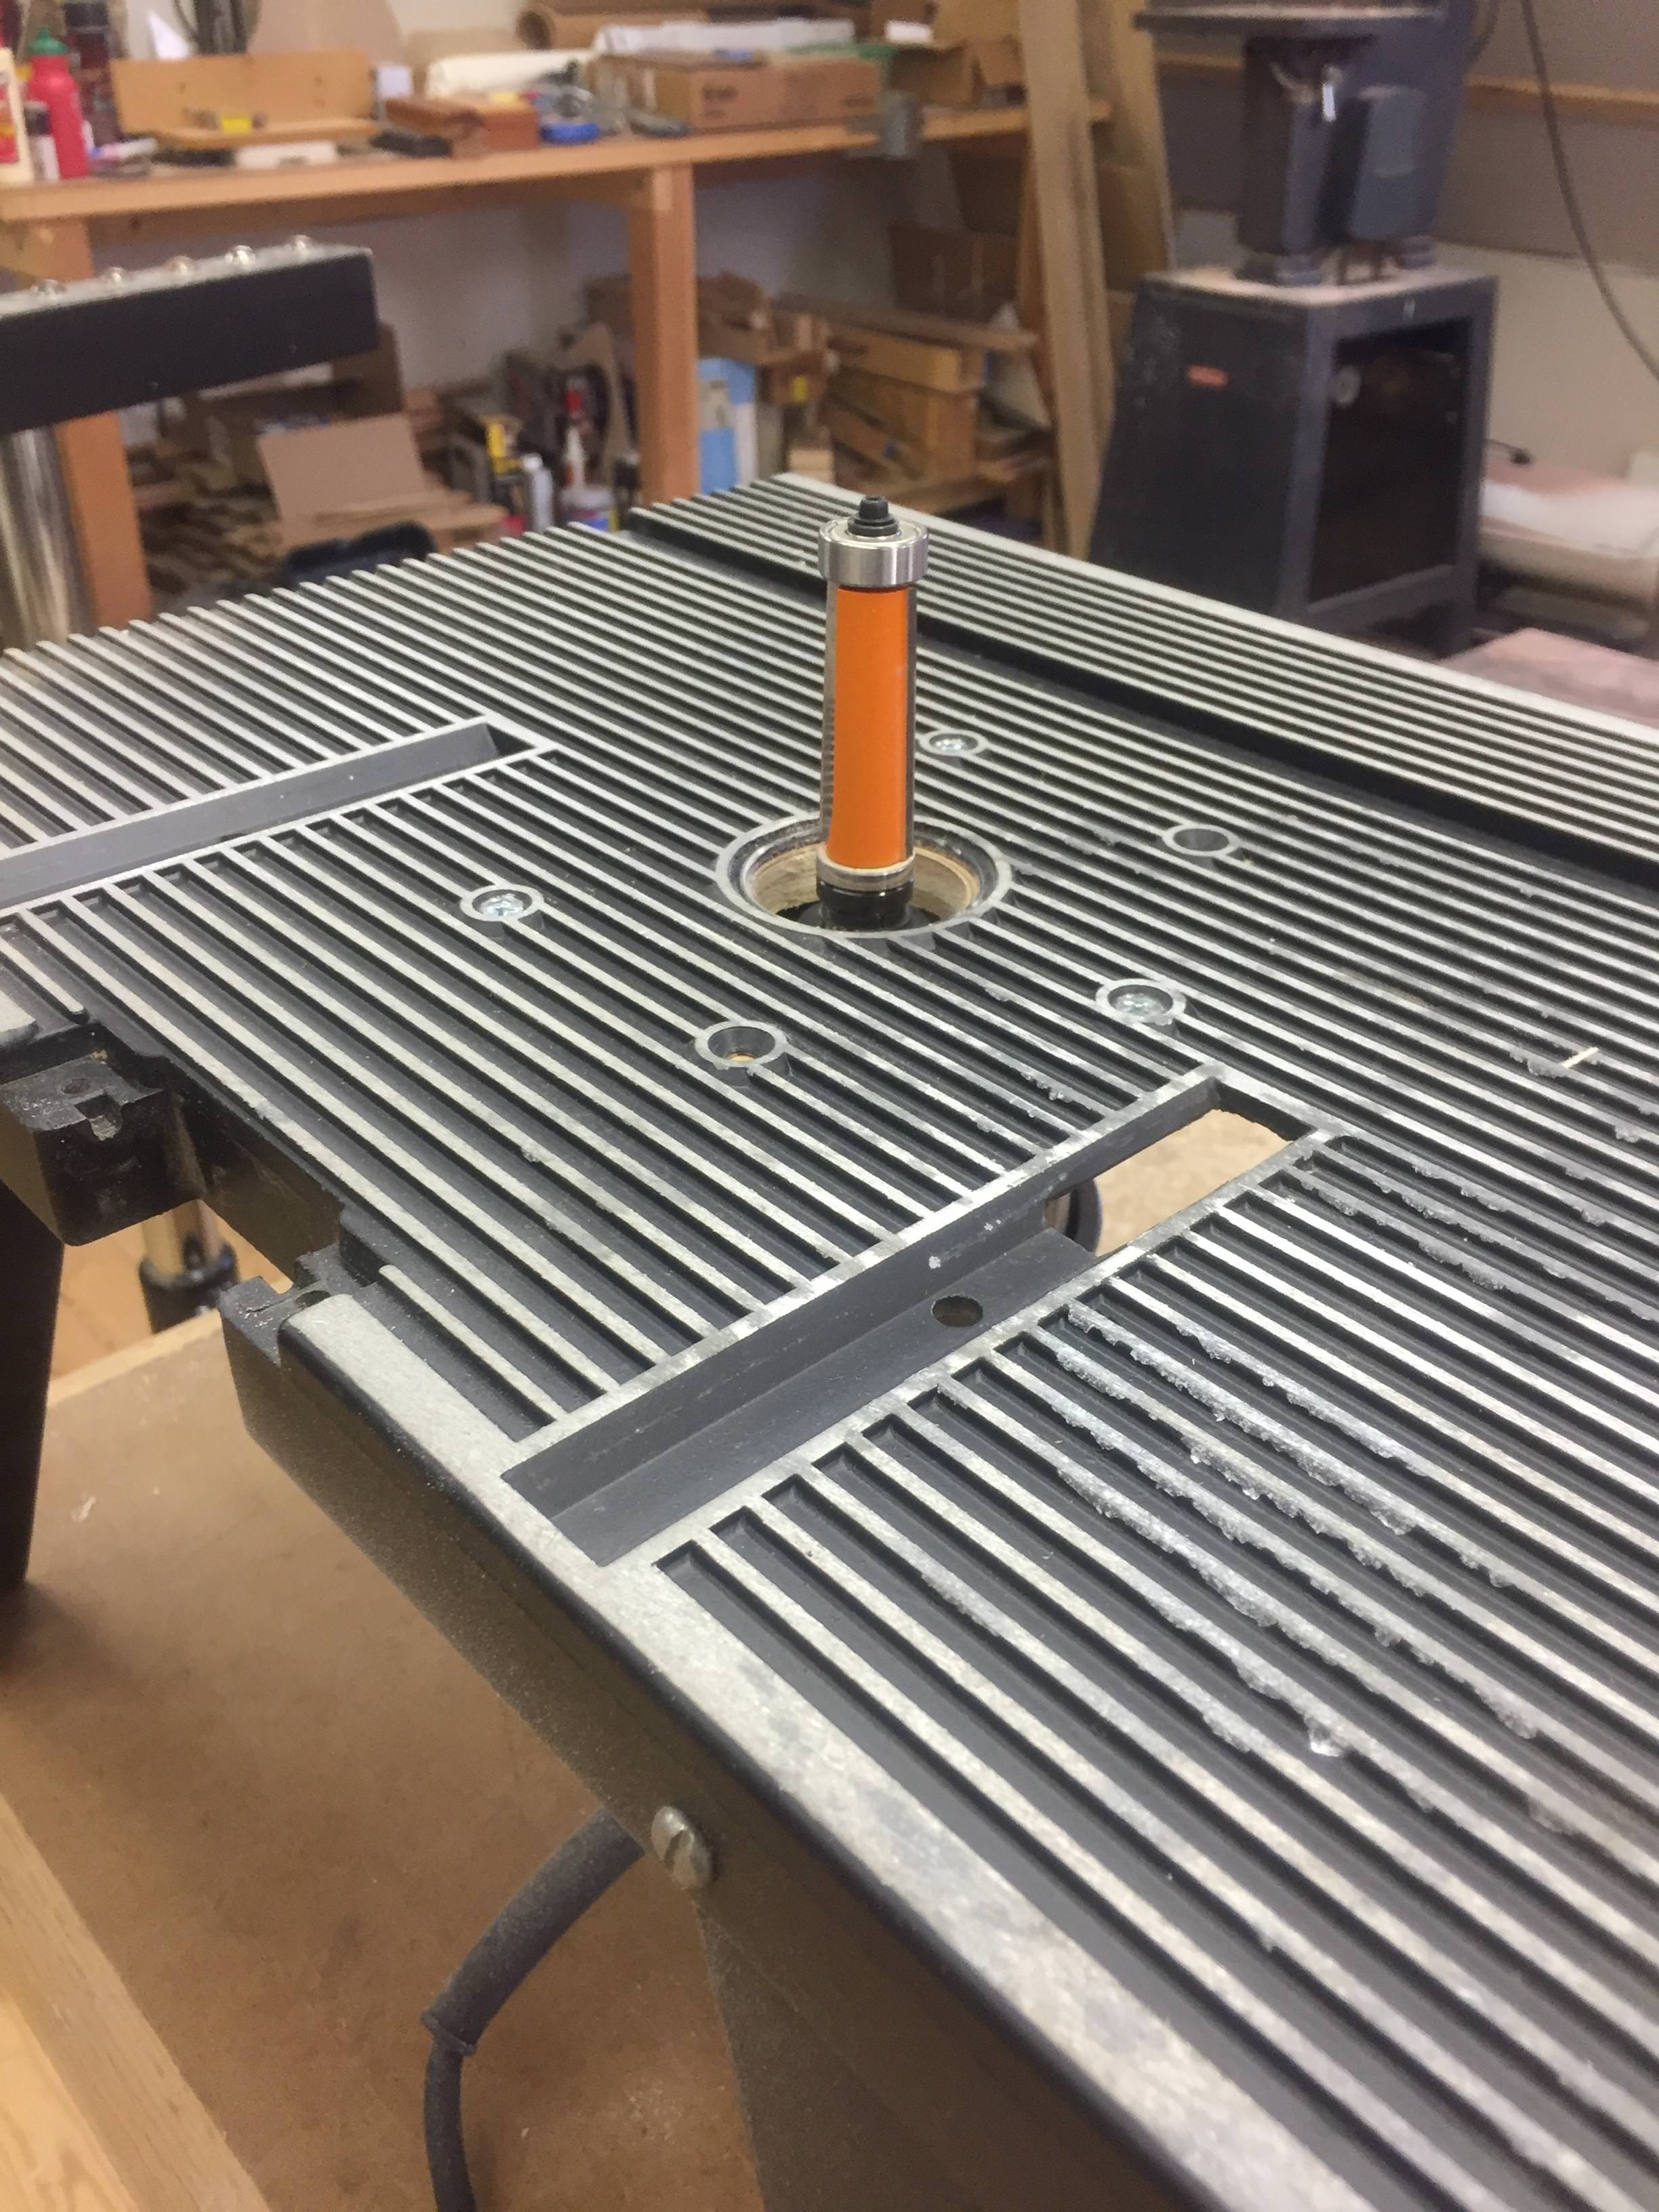
erlqnk2.jpg


The "Compression" bits by Whiteside and others are intriguing, but I've been put off by the price
https://www.amazon.com/Whiteside-Model-UDC9112-Spiral-Combination/dp/B009102BMK/ref=sr_1_25_sspa?crid=1QBN4AHC3HU3E&keywords=compression+flush+cut+but+top+and+bottom+bearing&qid=1690214601&sprefix=compression+flush+cut+but+top+and+bottom+bearing,aps,87&sr=8-25-spons&sp_csd=d2lkZ2V0TmFtZT1zcF9tdGY&psc=1&smid=A1WO0LWTFI0BL8

There are a few similar bits on Amazon for considerably less money, presumably Chinese manufacture. I bought one Yonico bit years ago, and it was a complete POS.
https://www.amazon.com/Yonico-33202-Bearing-Ultra-Performance-Compression/dp/B07RT6W9SQ/ref=sxin_16_pa_sp_search_thematic_sspa?content-id=amzn1.sym.1c86ab1a-a73c-4131-85f1-15bd92ae152d:amzn1.sym.1c86ab1a-a73c-4131-85f1-15bd92ae152d&crid=1QBN4AHC3HU3E&cv_ct_cx=compression+flush+cut+but+top+and+bottom+bearing&keywords=compression+flush+cut+but+top+and+bottom+bearing&pd_rd_i=B07RT6W9SQ&pd_rd_r=ba95d0f9-57fd-4ebb-8f58-244ed543bd85&pd_rd_w=PDWrG&pd_rd_wg=vzSnL&pf_rd_p=1c86ab1a-a73c-4131-85f1-15bd92ae152d&pf_rd_r=70RRFKASXVYB05TEDXDX&qid=1690214784&sbo=RZvfv//HxDF+O5021pAnSA==&sprefix=compression+flush+cut+but+top+and+bottom+bearing,aps,87&sr=1-4-364cf978-ce2a-480a-9bb0-bdb96faa0f61-spons&ufe=app_do:amzn1.fos.006c50ae-5d4c-4777-9bc0-4513d670b6bc&sp_csd=d2lkZ2V0TmFtZT1zcF9zZWFyY2hfdGhlbWF0aWM&psc=1

And then there are the Spiral Bits, either continuous spiral or Spiral Compression
https://www.amazon.com/SpeTool-Cutting-Carbide-Compression-Woodwork/dp/B0BDDVFJ8M/ref=sr_1_10?crid=1QBN4AHC3HU3E&keywords=compression+flush+cut+but+top+and+bottom+bearing&qid=1690214784&sprefix=compression+flush+cut+but+top+and+bottom+bearing,aps,87&sr=8-10

I'll admit. I'm confused by all the different options, types, and the distinction (if any) between "flush cut" and "template" bits.

I rarely use my router as hand-held from above, so I typically get "Upcut" bits that tend to pull the work down towards the table.

The necessity (or not) and usefulness of both top and bottom bearing eludes me too. I suppose bottom bearing only makes sense in that it exposes the entire cutting length above the table, and in theory you could plunge cut with it.

How important is cutting length? I'm typically template routing 1-1/4" to 1-1/2" thick stock max, so it seems like I'd want 1-1/2" cutting length, which is hard to find on most of these bits. The altenative is shorter top-bearing bits, and then having the bearing ride on the section of work that's already been routed flush.

In a word: Confusion. Please school me on what people are using for template routing, and how. I don't own a pin router, so that's pretty much off the table.
 
As an Amazon Associate, TalkBass may receive commissions from qualifying purchases made via links on this site.

I’m with you completely on using a robo sander, it’s been on my list to look at trying.

Since I’ve invested in a hobby CNC I’ve thought the perimeter of my bodies would come out better than band sawed then table routed, but I’m not there yet (still exploring).

I do have experience with these Infinity bits, but still intimidating (attached image)

I’ve formed a tendency to cut bodies with the absolute least amount of routing.

Thanks for starting this thread!
 

Attachments

  • IMG_1372.jpeg
    IMG_1372.jpeg
    1.5 MB · Views: 74
A quick answer about routing: The way to prevent tearout is to take multiple shallow cuts, with the final cut going in the climb-cut direction. There's no magic router bit that stops tearout if you cut deep in the Normal-Cut direction.

This is true for hand routers with templates, table routers with templates, pin routers, and CNC routers. Multiple passes around the perimeter, a little bit at a time. The final pass ideally cuts off about 0.010", going in the climb direction. It's all about reducing the size of the chunk of wood that each tooth takes.

On a CNC router, this is done in the programming. You set it to go around the perimeter about 1/16" outside the line, hogging out most of the wood in several passes, increasing the depth. Then move it in to about 0.010" outside the line and go around at full depth. Finally bring it in right to the line, and go around in the reverse climb-cut direction.

On the pin router, I could do that same process, spacing the cutter out by putting thin metal sleeves over the pin. But, I've found that I can rout perimeters with no tearout running right around the line, but making multiple passes of shallow depth. Like, 1/16" deep for the first and last passes, and 1/8" deep for the ones in between. Climb-cutting all of them. That works for me, routing the perimeters of walnut bodies.

With hand routers and table routers and bearing bits, you need to figure out some other way to make shallower depth of cuts. One way is to buy a kit of bearings for your pattern-cutting router bit, including ones that are 0.010", 1/16" and 1/8" oversize. Swap the bearings to make your multiple passes. You can also put layers of thick tape around the outside of your template. Or, make several templates which are +1/16", +0.010" and Final Size.

That's how you stop tearout with routing. I've got to get out to the shop now, but I'll talk more about template sanding. Which is another thing, with its pros and cons.
 
I looked at those "double shear cut" bite, sort of hybrid bits. It's just opposing shear-cut blades, so they do act kind of like compression bits. Is that three flute for each end of the blade? I think I've realized that traditional tw0-flute bits just can't help but tear out in wild grain.

Another question:
Some of the bits have carbide blades brazed onto a steel body, the more expensive spiral bits are solid carbide, which in theory is "better"?
 
By the way, if your CMT router bit is vibrating, it probably needs to be cleaned. It's got a small buildup of dried varnish on the outboard faces of the carbide teeth. That small buildup will make the bit vibrate out of balance, and cut poorly as if it's dull. It doesn't need to be resharpened, it just needs to be cleaned. Somewhere back in the archives is a long page I wrote about cleaning your router bits.
 
I think I've realized that traditional tw0-flute bits just can't help but tear out in wild grain.

I'm using two flute straight "standard" router bits for all my body perimeter cutting. Using the shallow passes I described above, I have no problems with tearout. Fancy, expensive router bits won't solve the problem, if you are cutting too deep per pass.
 
Another thing that can be the cause of your bit vibration is if the pilot bearing is starting to go south. The first thing I'd do is replace the bearing and check it again.

This goes almost without saying, but it's NOT a good idea to try and do anything substantial with a router that is using a 1/4" collet. Friends don't let friends use 1/4" collets for anything beyond roundovers! ;)

As far as the Robo-sander, I quit using any sanding drum that doesn't oscillate. A drum that doesn't oscillate tends to quickly develop clogged portions of the drum that renders it useless, bearing guided or not.

As Bruce says, light cuts are the number one way of preventing tear-out. I use light cuts, but even more important to me is being able to accurately read the grain direction of the work. If you do normal cuts going against the grain you WILL get tear out. Use normal cuts where possible and use climb cuts (LIGHT and CAREFULLY!) when you are going against the grain direction.

I found that I also greatly reduced any tendency to tear out grain when I went to solid carbide spiral cut bits, either up or down cut.

Another great tactic is to use shallow passes or plunge cuts, also as Bruce stated. My number one favorite router technique is to use pattern routing, but use shallow plunge routing cuts and guide the router by its base. A circular base helps with that, of course. I keep a Bosch plunge router set up with a 3/8" spiral solid carbide bit for doing a bunch of this type of "pattern routing".

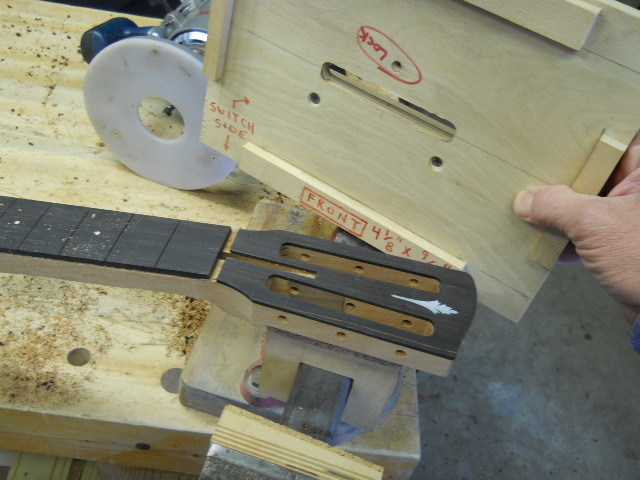
Here's an example, showing a template for plunge routing head stock slots using the router base.

BDRFDvI.jpg
 
Last edited:
Some good advice has already been given, but I'll give you my 2 cents. :)

I had a couple of larger bits that seemed to vibrate quite a lot. At first I thought it was the guide bearing, but as soon as I went to a larger router in my table, the problem vanished. I don't know if it was the bearings in the router, maybe more mass... not sure, but that solved it for me. I'm using the Triton TRA001 in the table.

For perimeter routing on bodies, I've pretty much abandoned using super tall bits that can route the entire height at once. While they can and do work, I found that I had to trim so close to the template that it was more work than it was worth. I've since switched to shorter top-bearing bits. Yes, I still trim fairly close to the template first, but only to about 1/16" or so. Then I run multiple passes raising the height each time.

I still route some neck blanks full height, depending on the situation. I use double-bearing bits on Fender style necks. This way, I can plan for and route downhill without the need to move the template, just changing the orientation of the router bit. Note that I said route downhill, this is not the same as climb cutting. I've said this many times here on TB; I would never advise anyone to climb-cut with a router under any circumstances. It's a ruined workpiece or a hospital visit waiting to happen.
 
  • Like
Reactions: Gilmourisgod
The blade architecture definitely has some effect on the cut, I noticed far less tearout on the shear-cut bits than straight cut, but I get the point about depth of cut. It stands to reason that a greater number of blades results in each one taking less of a bite. I try to leave as little extra wood as possible, I cut my body and neck blanks out no more than 1/16" or so outside my line, which still takes forever to grind away with a Robosander. I'd like to try the incremental bearing approach on the CMT bit, who sells bearings in tiny increments to limit depth of cut? I have the Stewmac binding cutters in a couple increments for cutting .040", .060" and .120" offsets, but this would be more like .010" increments?
 
BTW, the CMT bit I showed appear to be quite clean, so I don't think that's the source of the vibration. I'm running it in a Porter Cable 1.75 HP 690 with a 1/2" collet. Could it just be a bad bearing? it ran smooth and true the first few times I used it, now it audibly vibrates, and leaves a slightly "scalloped" surface. Maybe I just got a bad bit?
 
Last edited:
  • Like
Reactions: eddybuzzard
A quick answer about routing: The way to prevent tearout is to take multiple shallow cuts, with the final cut going in the climb-cut direction. There's no magic router bit that stops tearout if you cut deep in the Normal-Cut direction.

This is true for hand routers with templates, table routers with templates, pin routers, and CNC routers. Multiple passes around the perimeter, a little bit at a time. The final pass ideally cuts off about 0.010", going in the climb direction. It's all about reducing the size of the chunk of wood that each tooth takes.

On a CNC router, this is done in the programming. You set it to go around the perimeter about 1/16" outside the line, hogging out most of the wood in several passes, increasing the depth. Then move it in to about 0.010" outside the line and go around at full depth. Finally bring it in right to the line, and go around in the reverse climb-cut direction.

On the pin router, I could do that same process, spacing the cutter out by putting thin metal sleeves over the pin. But, I've found that I can rout perimeters with no tearout running right around the line, but making multiple passes of shallow depth. Like, 1/16" deep for the first and last passes, and 1/8" deep for the ones in between. Climb-cutting all of them. That works for me, routing the perimeters of walnut bodies.

With hand routers and table routers and bearing bits, you need to figure out some other way to make shallower depth of cuts. One way is to buy a kit of bearings for your pattern-cutting router bit, including ones that are 0.010", 1/16" and 1/8" oversize. Swap the bearings to make your multiple passes. You can also put layers of thick tape around the outside of your template. Or, make several templates which are +1/16", +0.010" and Final Size.

That's how you stop tearout with routing. I've got to get out to the shop now, but I'll talk more about template sanding. Which is another thing, with its pros and cons.

I like to "bury" a compression bit, with only about 1/16" exposed and the majority of the bit behind the fence when I'm making straight cuts in figured wood.

I always use freshly cleaned (or new) bits with a 1/2" diameter shank, and I deliberately climb-cut on the last few passes; if the second-to-last pass exhibits tear-out, I may opt to make the final pass with hand tools, like a spokeshave, scraper, scratch stock, or profiled sanding block.
 
Last edited:
  • Like
Reactions: Gilmourisgod
The solid carbide spiral flute bits are mostly being sold to cabinet makers, to use cutting plywood. Like expensive veneer-faced plywood. To them, "tearout" is mostly about the splintering of the edges of the top and bottom faces and the veneers. That's a real problem. And spiral downcut bits are very good at eliminating that splintering. They aren't as concerned with tearout around the edge, like we see on our bass bodies.

I have a good collection of solid carbide spiral flute router bits. I have several very nice 1/2" ones that came with my Big Green Pin Router. They are expensive. And I have some 1/4" ones that I bought many years ago. And I have to say that I've never found any real advantage to using them vs standard straight flute router bits. I don't think they make cuts any smoother or faster or with less vibration. At least for the work that I do.

I tried one of the 1/2" carbide spiral bits in the BGPR when I was doing the shakedown runs on cutting AMB-2M body halves. I thought that the spiral bit might help pull the chips up out of the chambers easier. But then I switched to a straight Freud bit, and there wasn't any difference.
 
  • Like
Reactions: AudioTaper
I used a template and router bit exactly once to shape a body. Never again. Because of the tear out. Since then, I use a band saw (or a jig saw in the old pre-bandsaw days) to cut the wood as close as I can get it, and I sand the rest to the line with my oscillating sander. No tear out, it's fairly quick, and it's actually my favorite part of building, seeing that body take shape. I highly recommend it. Additionally, with any good vac, a lot of the dust is captured.
 
  • Like
Reactions: Beej and HardNHeavy
Climb direction?
Climb cut?

Climb cutting is cutting in the direction that the bit wants to "climb" the wood.
Like using a table saw, from the other side, which should not be done.
Climb cutting can be extremely dangerous.
The operator must have complete control;
of the workpiece on a stationary router table,
or the hand router on top of a firmly anchored workpiece,
(depending on method used),

at all times,

no exceptions.

Cutting in smaller increments and/or more steps, is the key to success.

Yes, life can change in the blink of an eye,
and it's true, it's not for everyone :)

(BTW, I've been doing it for 40 years now)
 
Last edited:
BTW, the CMT bit I showed appear to be quite clean, so I don't think that's the source of the vibration. I'm running it in a Porter Cable 1.75 HP 690 with a 1/2" collet. Could it just be a bad bearing? it ran smooth and true the first few times I used it, now it audibly vibrates, and leaves a slightly "scalloped" surface. Maybe I just got a bad bit?

If the bit or the bearing appear even slightly blurry while at speed, it means something is wrong.
Bad or loose bearing? Bent bit shaft? Worn out collet?
Personally, I prefer larger shaft bits when possible, templates with more mass to add to the workpiece mass,
and big heavy two handled routers.
 
The problem is not your router bit; it's that little bandsaw in the background photos.

Get the biggest ancient old one you can find and the extra mass will dampen the whole shop and your router will work magic foreverafter....:thumbsup:

View attachment 5136105


I’ll PM you my address. I’ll take the bandsaw and the aluminum upright. :D