• TalkBass has been independent since 1998. Add your voice.
    Create a free account to reply to discussions, view embedded media, and browse with fewer display ads.
    Join freeLog in
    Want zero display ads or expanded classifieds tools? Compare plans.

NOTO Narwhal 6

Edit: I wanted to be didactic but too many photos make loading this post on a mobile a nightmare so I´m pruning everything that´s redundant or not fundamental.

I finally find the time and have progressed enough to start this post.
This is going to be mostly pictographic but I´ll include more text on things I think can be of use for others.

Disclaimer 1: Picture quality is not the best, specially the first part. They were mostly taken with my mobile, some others with an actual camera. I added some contrast and sharpness to the phone ones. But in general I think they are decent.

Specs
Single cut 34“ 6 strings fretted set neck
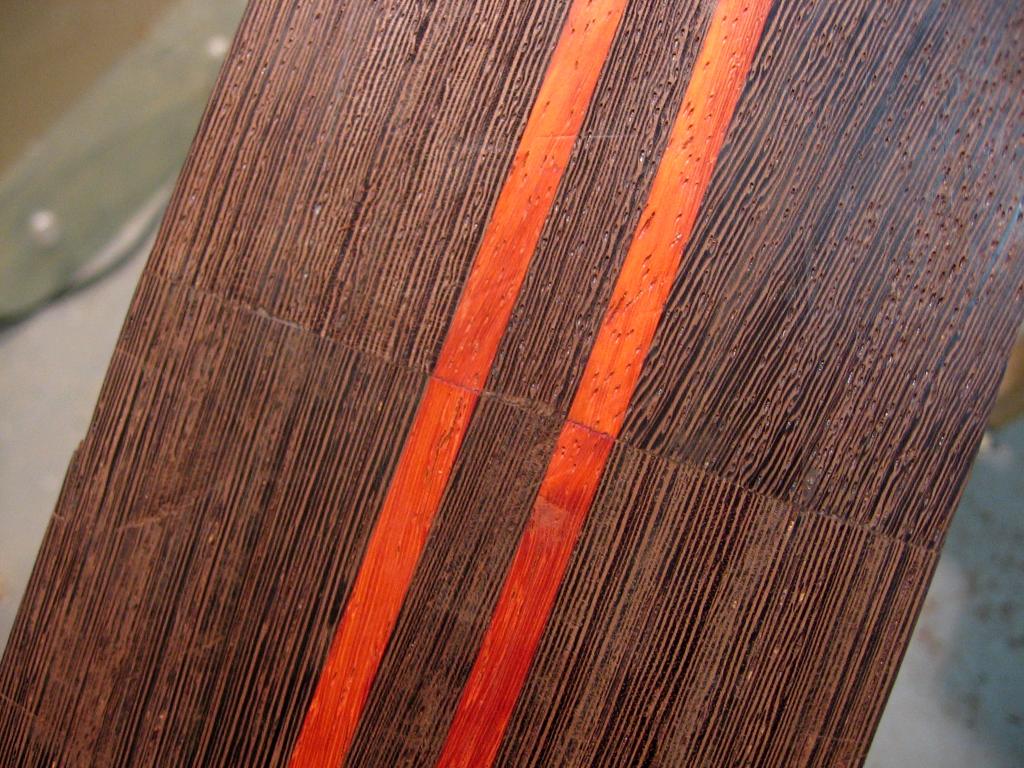
Neck: Multilaminated Wengue-Padauk, graphite reinforced. Double action Truss Rod
Fretboard: Pao Ferro, infinite radius, slotted Black-Tusq Nut.
Body: Sapele – Zebrano Top
Pickups: Delano SBC6 HE/S-4 Quadcoil Humbuckers
Preamp: Audere 3ZB
Bridge: Hipshot Style A
Tuners: Hipshot Ultralites


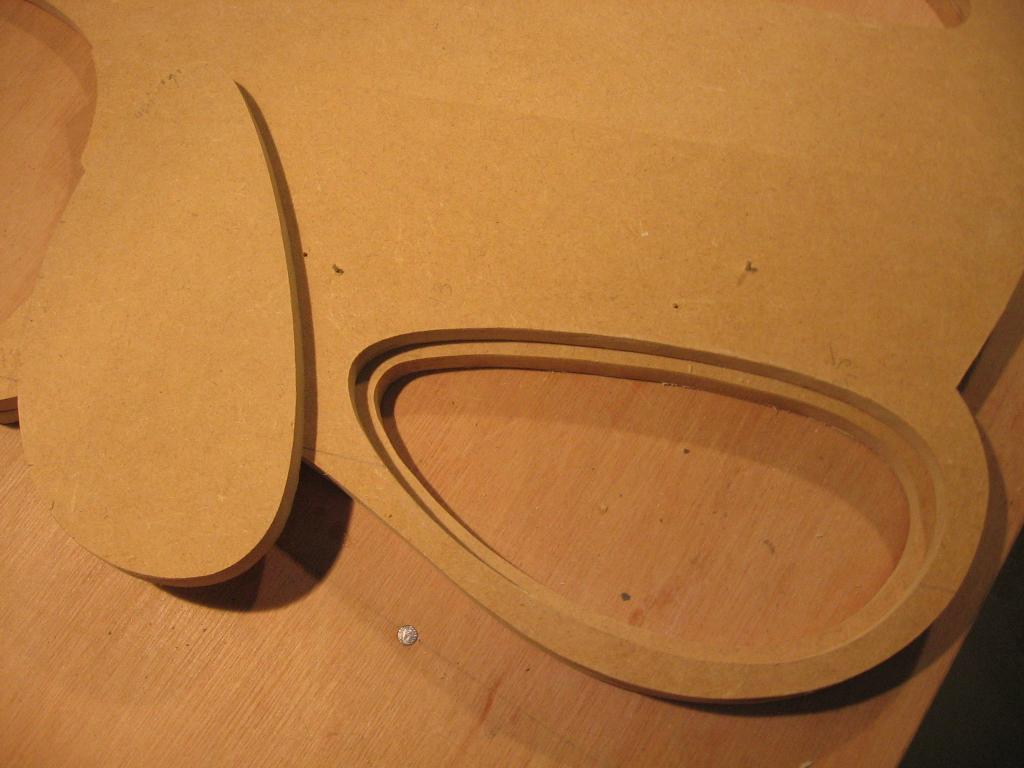
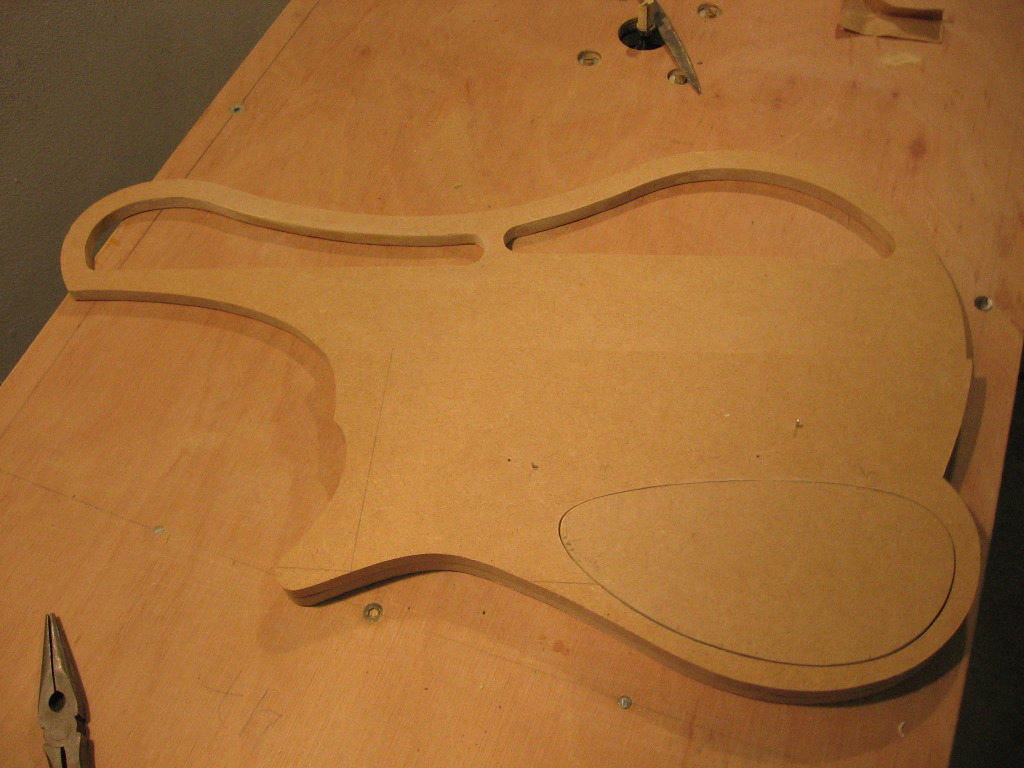
During the first couple of months I was only conditioning the workshop, building workbenches, shelves and jigs. The closest I got to actual bass building was when making the templates. The first set of them just showed me that the design I created didn´t convince me. So back to the computer. By then I was kind of getting a bit hopeless, I needed some real action (having -20ºC while working didn´t exactly helped with motivation)…
IMG_7483.jpg

IMG_7481.jpg


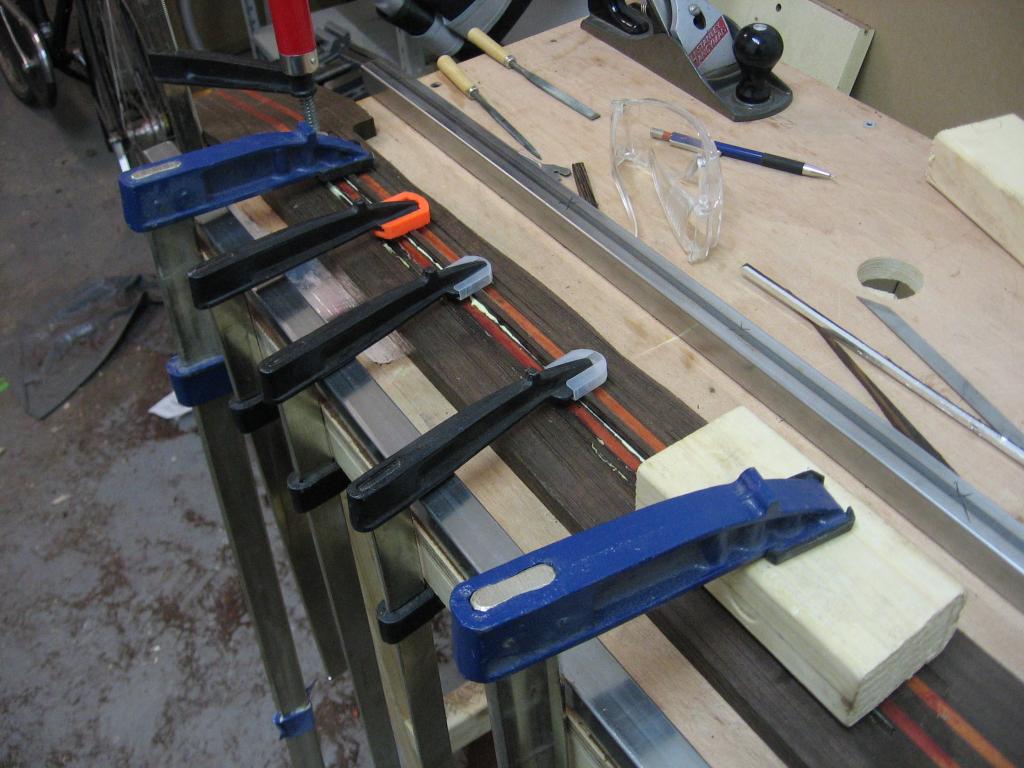
Cutting the neck blank and rectifying the angle with the router jig:

IMG_7494.jpg


I then thinned the headstock piece to 14 mm (the jig used it´s going to show up plenty later)
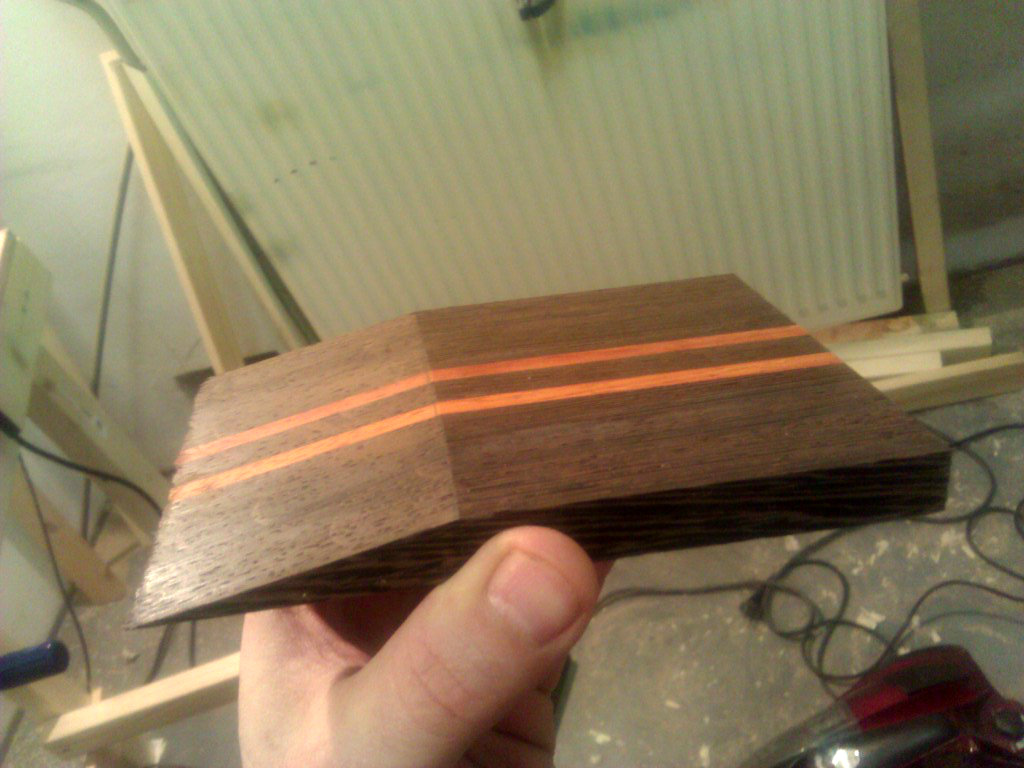
temporary-4-1.jpg


Now gluing it up

temporary-7-1.jpg


I´m very satisfied with the results. Back, front and side views:
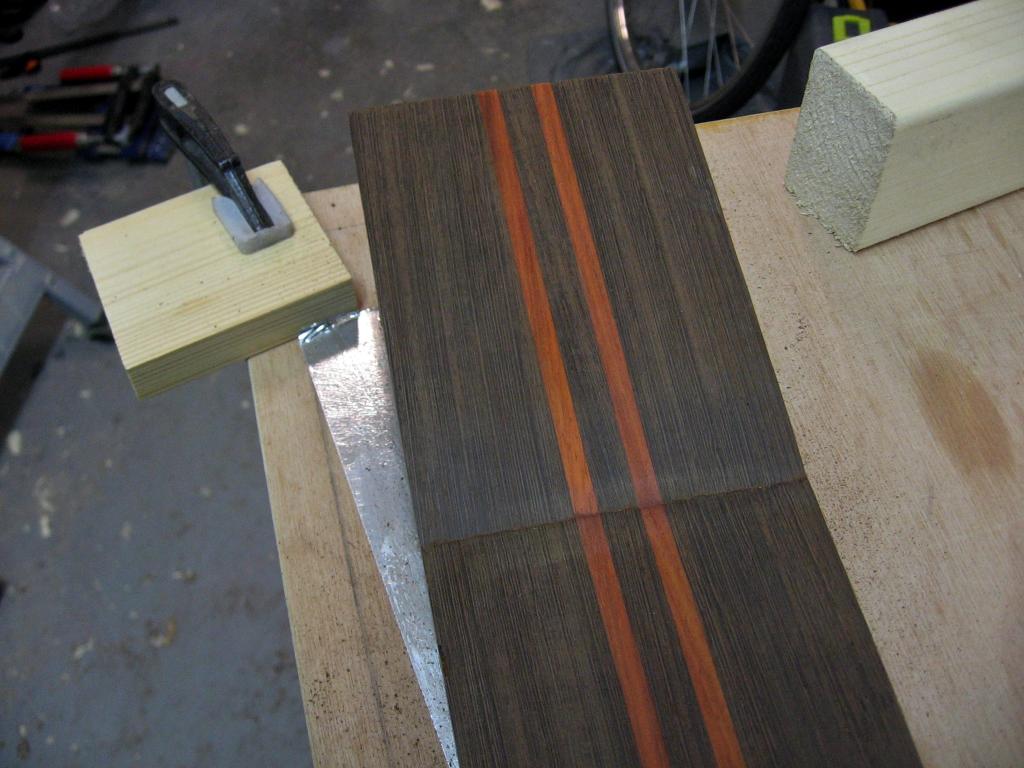
IMG_7504.jpg

[
IMG_7511.jpg

IMG_7506.jpg


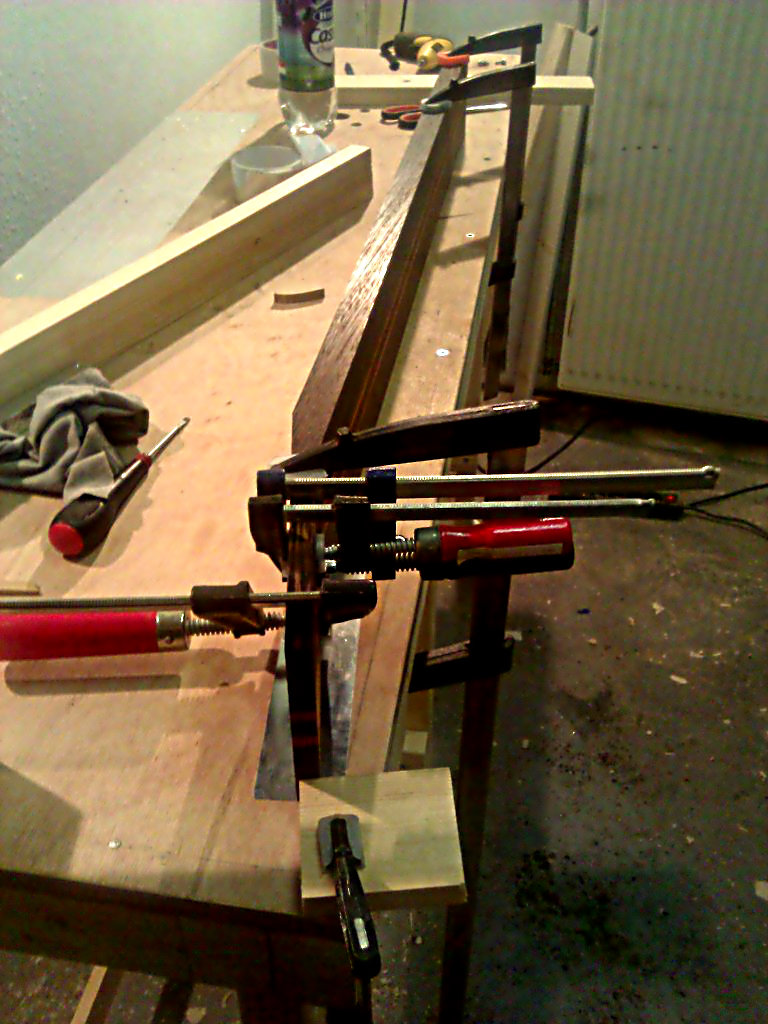
I went ahead with routing the TR cavity using the parallel guide of the router (brand new at that time). The method I used was: I drilled a 6 mm diameter/ 9mm depth hole marking both ends of the channel. Then I introduced the bit in the hole and locked the plunge mechanism. Then adjusted both, the parallel guide and the depth stop. Once everything was set I started making 3mm passes. It went decently well, so I got over confident. Without pause I attempted the CF rods channels with the same method.
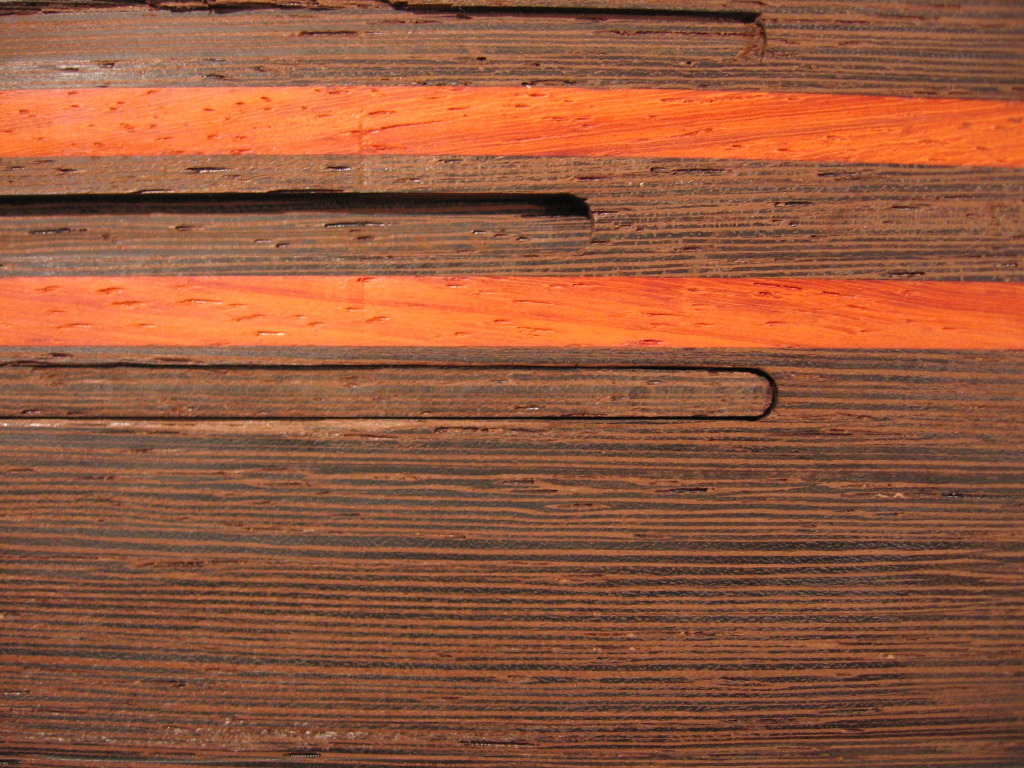
I routed the first channel without issue except that I didn´t double check the depth that I needed to rout, ending up 3 mm deeper :hiding:. If that was not enough, shortly after starting routing the 2nd channel I started feeling the router funny, it was harder to move and it sounded like it was under more effort. Instead stopping immediately I went all the way and routed the whole thing. When vacuumed the sawdust from the channel I realized that the depth stop had moved leaving me with an irregular channel depth that went down as much as 17mm!!
At that point I had the rope on my neck and I was ready to jump off of my highest workbench.
This is when buying everything oversized paid off. My neck blank was 26 mm thick so I still got healthy 9 mm at the bottom. I went back to the design to evaluate my chances. The original plan involved a variation of Neck Through. I then decided to go for a set neck, which under the circumstances was an easier path (I´m by no means saying that set neck it´s an easy technique).
After some consultations with the usual suspects here I took a slab from the neck blank itself (that I will have to remove afterwards anyway) and made some strips to fill in the channels, including the TR one, so that I can route them again to the appropriate height. Basically I needed to route them all again because after thinning, the neck-headstock transition ended up like an inch away towards the headstock, if you understand what I mean. Again having an oversized headstock saved me because it got reduced in length considerably after the thinning.
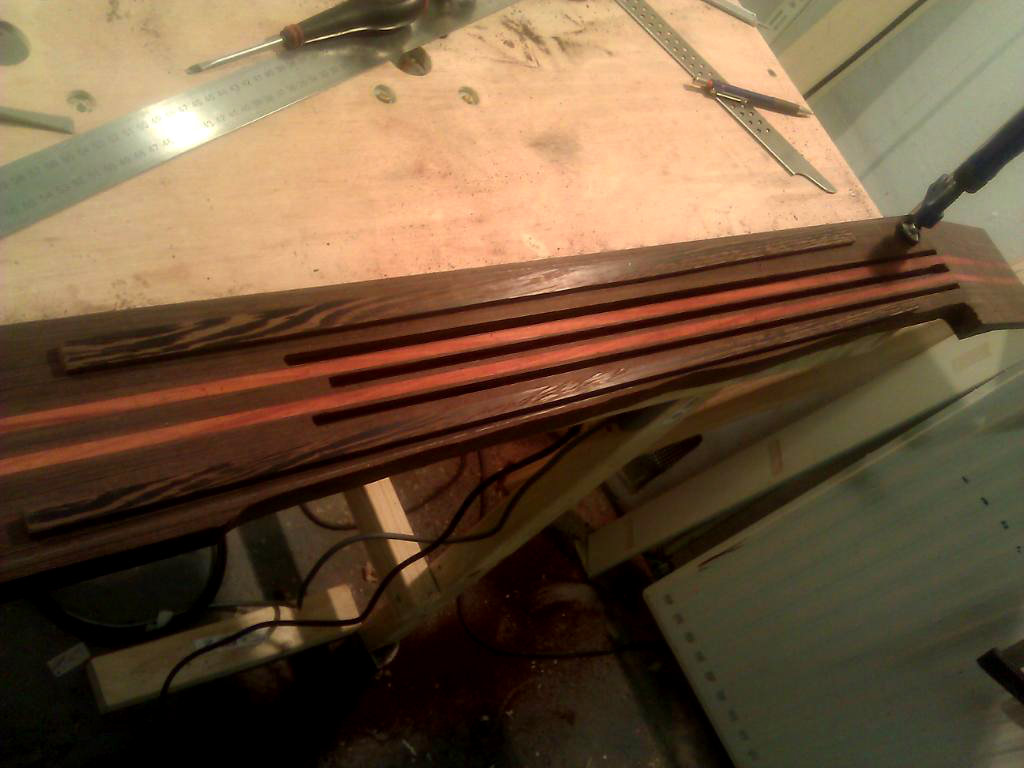
WP_000012.jpg


I thinned the neck down to 15 mm thick:
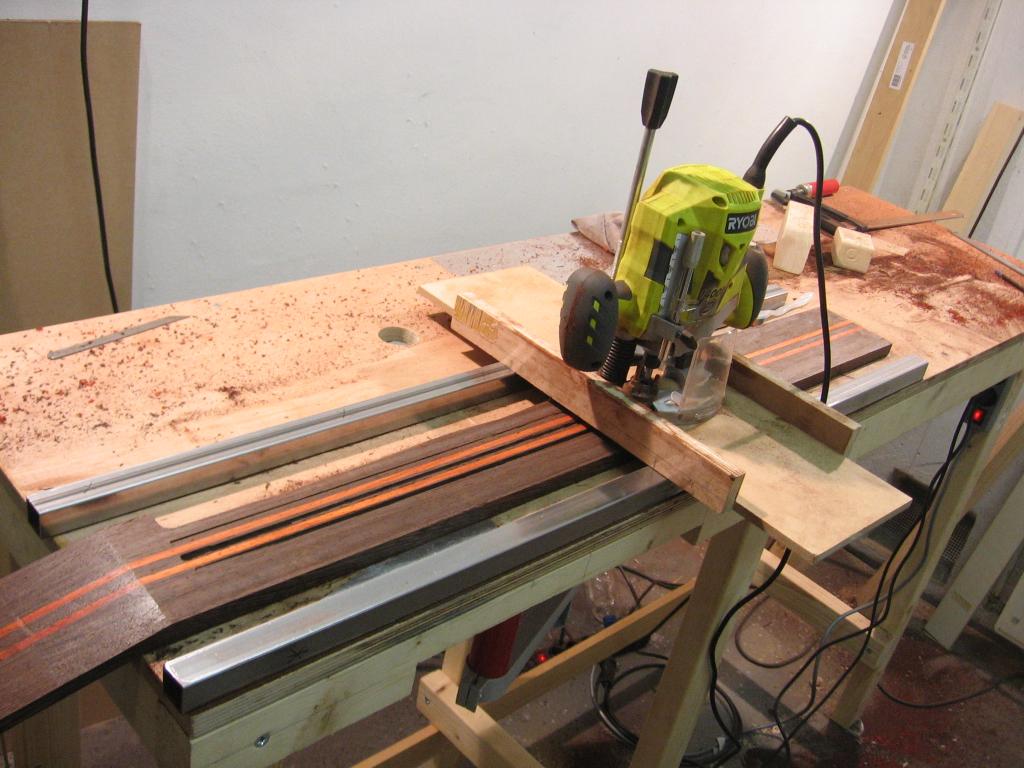
IMG_7523.jpg


Prepared the strips and glued them:

IMG_7524.jpg

IMG_7530.jpg


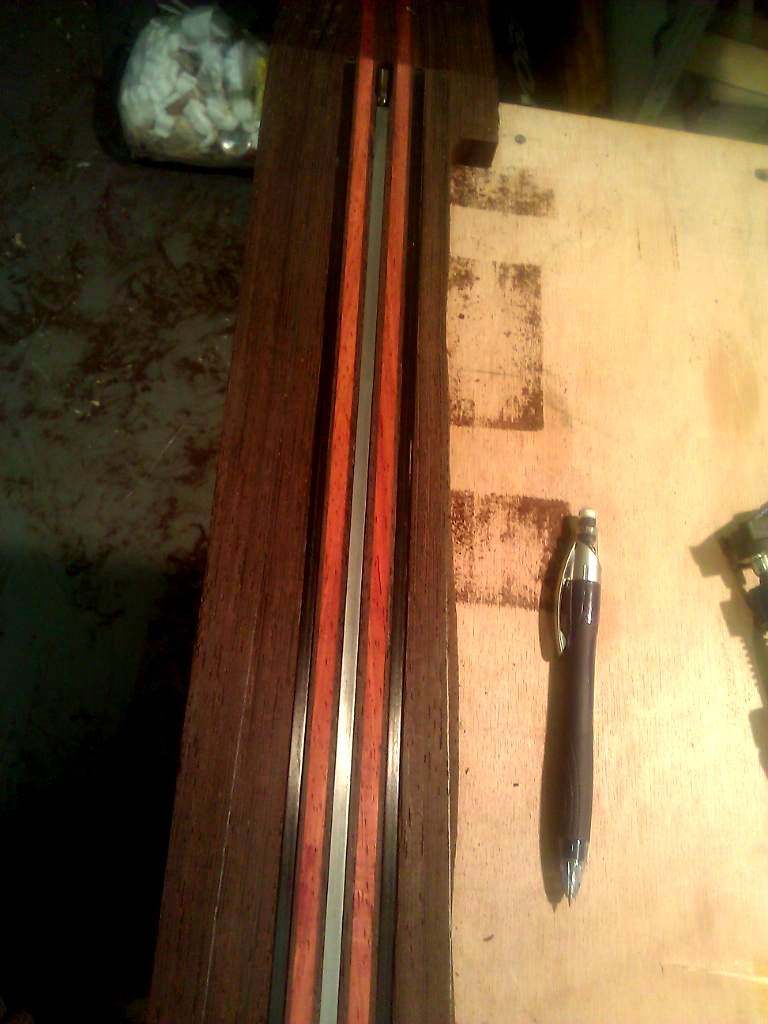
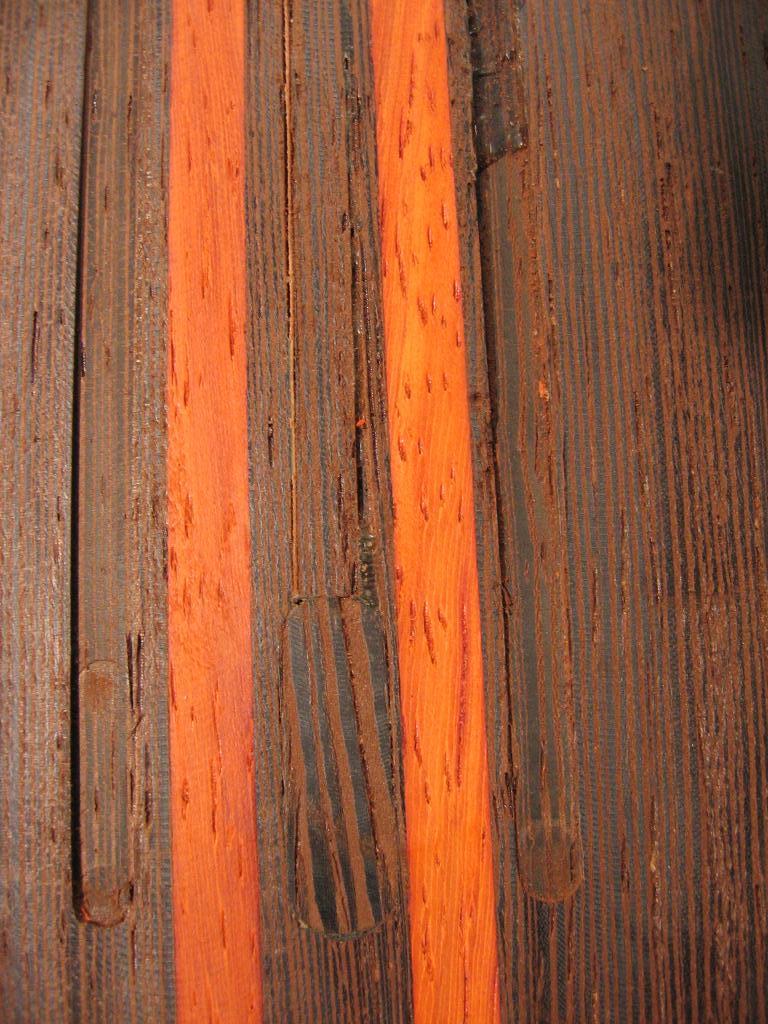
With the strips in place I trimmed them flush with the surface of the neck using the router, the results were excellent. I was back in business.

IMG_7533.jpg


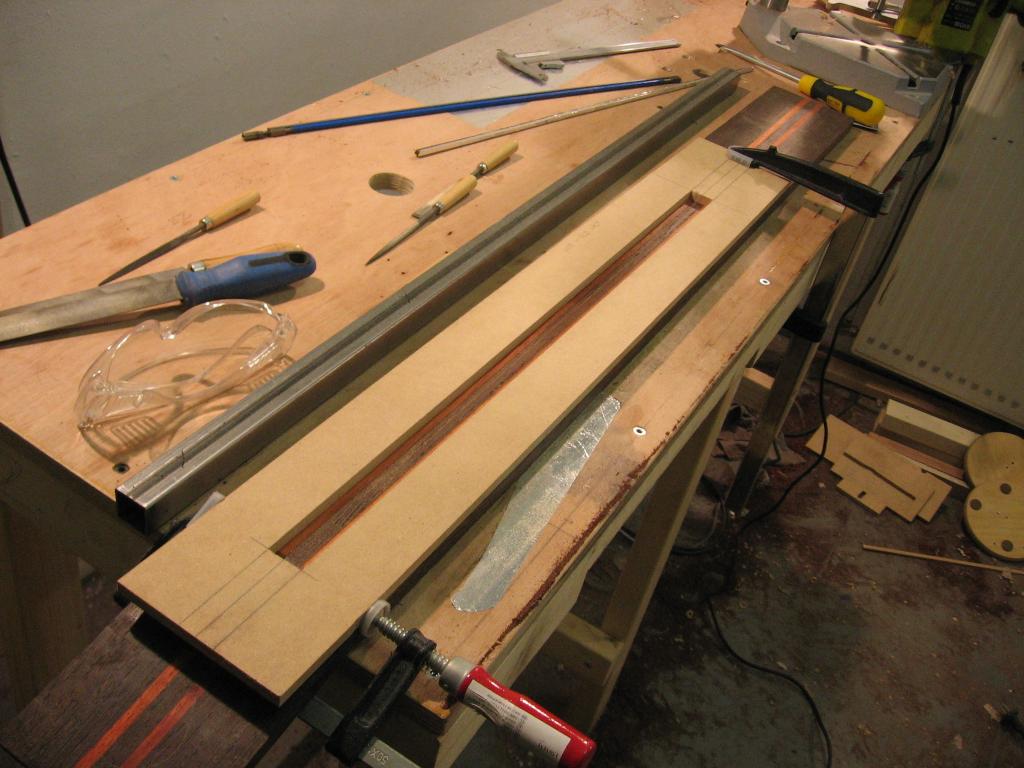
I found that using the parallel guide was not precise enough for me, and plunging the router gives me less control of the movement. I rather use jigs or templates with a fixed depth (using the micro adjustment)
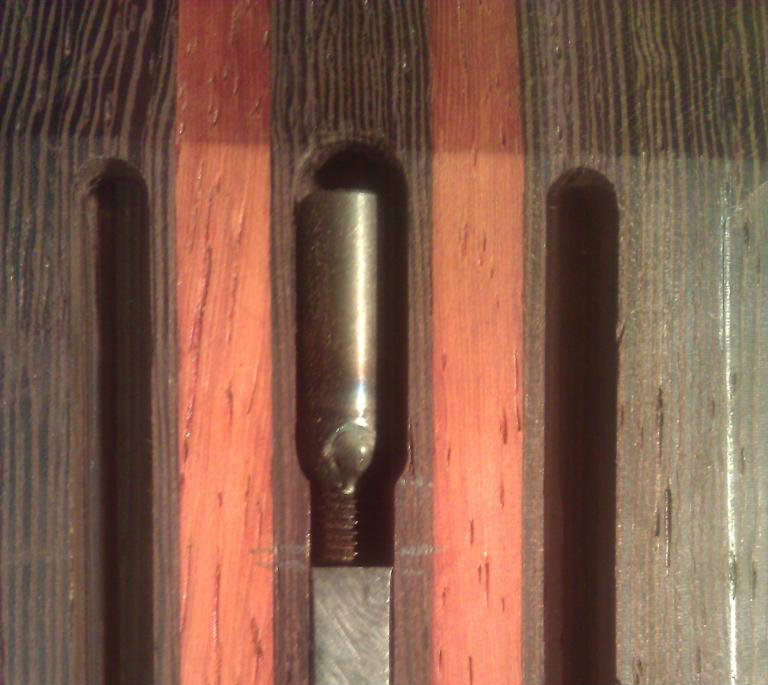
So I hacked Rob´s template and made the channels in a breeze, very precise. I could even move the template and align it perfectly to do the TR nut widening and the access part
IMG_7536.jpg

WP_0000233.jpg

WP_0000694.jpg

WP_0000214.jpg


After that I CAed the CF rods
 
Started to work on the fretboard.
First I thinned it down to 6 mm and glued it an accent veneer.

IMG_7552.jpg


Then I modified the Stewmac mitre that I bought long time ago because it´s way too narrow. I really don´t understand how still now days, where seeing a 6 stringer is no longer unusual, they haven´t updated the product. It can´t even handle a 5er. Fortunately its walls are bolted to the base, so I could replace it.

WP_000226.jpg

WP_000225.jpg


Since my fretboard blank was not squared, I had to be very careful aligning it to the scale template in order to have the slots perfectly perpendicular to the center line. First I tested it with a template:
WP_0000524.jpg


and then the real thing:

WP_0000573.jpg

WP_000063.jpg


Lastly I did the nut slot and beveled the edge:

WP_0000614.jpg

WP_0000833.jpg


More after the break...
 
In the meantime the top wood started to bend. I have no way to control the humidity. I just kept it inside the house at 20-23 ºC.

IMG_7468.jpg


Again I asked for advice. As I expected I received back many different opinions. I decided to take Benavente´s advice, that is to wet the concave side of the plank and then put it under pressure using transversal sticks to allow proper evaporation:

WP_0000563.jpg


The results were good, the bending was reduced considerably. To plain them completely I used my router jig again. I put double sided tape on the sides of the concave face of the plank, aiming to fix it against the jig but avoiding to unbend it. Once I planned that face, I repeat the procedure on the convex face but this time the ds tape goes in the center area. The results were very satisfactory:

IMG_7539.jpg

IMG_7540.jpg


Using Titlebond while veneering also contributes to bending. What have worked for me is to keep the clamping several days, long enough to allow the humidity induced by the glue to dry completely. I started using a roll to apply the glue which leaves a very homogenous application but ends up sucking too much glue. I returned to the credit card method that proved to be faithful:

IMG_7545.jpg


After having my top wood veneered and planned to the right thickness was time for gluing:

WP_0000714.jpg


The outcome exceeded largely my expectations. I could not see the glue joint at plain day light:

WP_0000794.jpg


Now back to the workshop. I´ll continue posting during the weekend.

On the next episode:
Putting together the neck
 
Thanks Mike, that´s what I also believe ;).

I cut the piece for the headstock´s front laminate and thinned it down to 4 mm. I rectified it to be perfectly rectangular and also to have the right angle at the side that joints the fretboard. Then I manually cut the truss rod access cap:

WP_0000913.jpg

WP_0000923.jpg


Preparing the cap:

WP_0000963.jpg

WP_0000972.jpg

WP_0001012.jpg


Checking the fit:

WP_0000992.jpg


Now drilling the antislide sticks (sponsored by Drake Customs ;) )

WP_0001023.jpg


Once the exact position was defined I drilled the magnet holes:

WP_0001042.jpg

WP_0001073.jpg


And glued the top:

WP_0001083.jpg


Cheking the results with the fretboard

WP_000109.jpg


Now it´s time to glue the fretboard but first I covered the truss rod with an aluminium strip that will remain there:

WP_0001122.jpg

WP_0001132.jpg


In the meantime I built a multipurpose jig to shape the Headstock´s back laminate:

WP_0000883.jpg


Once ready came the gluing:

WP_0001003.jpg


Gave a rough shaping with the band saw:

WP_0001142.jpg


Now I´m heading to the beach, there´s not many days like the ones we have been having this long weekend so I´m profiting as much as possible :D

Next episode:
Neck Shaping
 
Nice to see you really made some good progress Gonzalo, I was wondering how you were doing, since your other thread looked departed.. I LOVE that truss rod access cap you've made and I think you did great with recovering from the routing mishap. Building is a roller coaster with ups and downs as I see it, along the way you can get very depressed, but in the end it feels great when you've overwon the difficulties you encountered. I think you now must know what I mean ;)

Your jigs look good and sturdy, your results very tidy. I am curious what your final design is, since you said you changed it along the way.

Keep up the good work and keep us posted :smug:
 
Thanks Rob, Matteo and jmorbita.
Yeah, I started a new post because the design changed considerably, including the name :)


So I went ahead with shaping the headstock and tapering the neck. I put the neck clamped in an angle so that the headstock lied completely leveled. I started with the plunge router. The machine is too big and my HS design is very small and sinuous. Changed to my trimmer but it is underpowered for this thickness and wood combination. So went back to the router and finished the task. I ended up with a couple of chip outs, one of them being very challenging because of the position and because it’s just where the laminates are visible. I have a plan on how to fix it but please jump in with suggestions.

WP_0001183.jpg


The results in general are ok

WP_0001233.jpg

WP_0001293.jpg


Now the chip outs:
This one, despite being at the front doesn’t worry me as the contour is going to be rounded, so it’ll go away:

WP_0001223.jpg


Now this was bigger but not that difficult to address:

WP_0001203.jpg

WP_0001373.jpg

WP_0001403.jpg


Now this is a real bastard:

WP_0001243.jpg


It’s located on top of the headstock so even the clamping is going to be difficult. I’m thinking, for that reason, that I’m going to use epoxy and rubber bands.


Tapering was straight forward and the results were encouraging:

WP_0001273.jpg


Now this is the part that raised my morale. The back plate bending - gluing and also the front plate-fretboard fit came out perfect :D

WP_0001283.jpg

WP_0001312.jpg

WP_0001322.jpg


Next episode:
Body building + extras

Stay tunned
 
Nice looking wood sandwich and transition around the nut!

Sad to see you've changed your design; I can't find your previous designs, seems you've removed them, but the current headstock design looks a bit funny to me.

In the first picture, if that's what you've started routing with, I see you took way, way, way too much wood away with the router. I know, it's not helpful anymore in this case, but for future applications, don't remove more than 3 mm of wood around your template. And I know, because I've acquired the experience myself, despite several good tips from others ;).

The bad chipout doesn't look like a one-piece-chipout but rather a shatter of small wood chips. I had both in the past. The one-piece-chipout usually occurs with shallow grain (shallow angle to the edge of the working piece) and can be found in the wood chips around you (I once spent an hour looking for it, but it's worth it, because you can fix it perfectly then). The shatter usually occurs when the end grain is exposed (perpendicular to the edge of the working piece), as is the case with the bad chipout you're referring too. I only succeeded fixing this kind of chipout by filling it with dust and glue. It's not ideal, because you will still see it, even more on lighter woods, but it works.

An alternative fix would be to alter the shape of the headstock with hand tools, until you're rid of the router damage.

By the way, that accent layer beneath the fingerboard looks great! And I think you've chosen pretty wood. Maybe not the easiest (wenge is much harder to route than alder for example), but it'll give you lots of experience, that's for sure :D.

Keep up the good work! (and the pace, you'll going to overtake me....)
 
Did you find the piece that chipped out at the top of the head stock? If so it shouldn't be that big of a deal to repair.

Yeah, I got a piece matching exactly the chewed out part

Sad to see you've changed your design; I can't find your previous designs, seems you've removed them, but the current headstock design looks a bit funny to me.
Remember that this is a narwhal ;)
I really like better this design, especially in terms of playability, balance, weight and general ergonomics. So don´t be sad :D
I have a plan B with the headstock but I really want to see it finished with the tuners in place. I´m pretty sure that plan B is going to work just fine but I don´t want to miss the opportunity to try this one.


Nice looking wood sandwich and transition around the nut!

In the first picture, if that's what you've started routing with, I see you took way, way, way too much wood away with the router. I know, it's not helpful anymore in this case, but for future applications, don't remove more than 3 mm of wood around your template. And I know, because I've acquired the experience myself, despite several good tips from others ;).

I took some more material previous routing it but in my opinion the hole approach was wrong. My HS has very little surface, just the minimum to host the tuners. If attempting hand routing over a normal HS is difficult, definitively doing it over a small HS like mine is a bad, bad idea. I should have route it using the table and my multipurpose jig instead. Now I see it so clear... Obviously my inexperience had a role here, but I really believe that I could have avoided most if not all of the issues doing it the other way.


An alternative fix would be to alter the shape of the headstock with hand tools, until you're rid of the router damage.

I only succeeded fixing this kind of chipout by filling it with dust and glue. It's not ideal, because you will still see it, even more on lighter woods, but it works.

The size of the HS gives me little room for modifications. In fact the only modification I contemplated (plan b) wouldn´t fix the issue.
The glue+sawdust solution in this case is not an alternative for me. I´ve reached too far to allow a failed finish, if you know what I mean.

By the way, that accent layer beneath the fingerboard looks great! And I think you've chosen pretty wood. Maybe not the easiest (wenge is much harder to route than alder for example), but it'll give you lots of experience, that's for sure :D.
You can bet on that ;)


To fix that bad chip out, I would just do a 45 or 50 degree taper on the end of the headstock, revealing all of the lams. It could look really cool.

lowsound

As said before, no room for mods. Look at the photo of the template.


As I said I have a plan for fixing that thingy. It´s ambitious but if I succeed it will be no trace of it. If not...
I will post it

I really appreciate you guys showing up here.

It´s getting too late, I´m affraid I won´t be able to post more but here are a couple of pics.

Rough shaped of the HS´s back laminate (not the definitive siluette, was just to see better how it could possibly look):

WP_000170.jpg


WP_000172.jpg


Stay Tuned!
 
Remember that this is a narwhal ;)
I really like better this design, especially in terms of playability, balance, weight and general ergonomics. So don´t be sad :D
I have a plan B with the headstock but I really want to see it finished with the tuners in place. I´m pretty sure that plan B is going to work just fine but I don´t want to miss the opportunity to try this one.

Do you have a drawing of the new design? Just being curious...

I took some more material previous routing it but in my opinion the hole approach was wrong. My HS has very little surface, just the minimum to host the tuners. If attempting hand routing over a normal HS is difficult, definitively doing it over a small HS like mine is a bad, bad idea. I should have route it using the table and my multipurpose jig instead. Now I see it so clear... Obviously my inexperience had a role here, but I really believe that I could have avoided most if not all of the issues doing it the other way.

You're right about that. I also have a small HS on my latest build, routed it with a full size plunge router and experienced both tearout and router tipping... so next time I will use my router table or do it completely by hand, as with my first bass.
 
Do you have a drawing of the new design? Just being curious...

No need, here it is...

Now working with the body:

WP_0000275.jpg


Rough cut and removed material before routing:

WP_0001582.jpg


Shaping and Chambering done. Note the freaking chipout (already prepared for fixing):

WP_000188.jpg

WP_000187.jpg


Control cavity:

WP_0001932.jpg


Now taking care of a freaking chip out on the top horn

WP_000189.jpg

WP_0001962.jpg


After a rough sanding we are ready to go:

WP_201205212.jpg


Gluing the Top:

IMG_7570.jpg


After some shaping:

IMG_7572.jpg


Carving the neck pocket and pickups cavities:

IMG_7573.jpg


Still some shaping to do but you can get the overall idea:

IMG_7579.jpg

IMG_7580.jpg


Detail of the control cover:

IMG_7581.jpg


Detail of the channel for pup´ wires:

IMG_7583.jpg


The first mock up :D:

IMG_7577.jpg


Next Episode:
Headstock Chip out: It´s personal!
 
Wow, what a great amount of progress :smug:. You're going fast!

I like your body design. And the full mockup too! Still astonished by that headstock, but I guess that's personal ;).

Your work is very clean, great fix on the chipout and a nice channel for the wiring.

One question: why do you keep putting your work on the pavement? Aren't you afraid of scratches or dings? Or at least for more work during sanding and finishing later on? I know I'm awfully careful with my bass, I do not even lay it on a table with sawdust on it, but this seems to be the other extreme :rolleyes:.
 
Thanks for the cheer up Rob.
I still got some shaping to do so I'm not that worry about lying it over the pavement for the moment. That said, it's not that I just through it :)
Anyway, your approach is healthier for sure.
As soon as the shaping ends I'll definitively get more careful. In fact I'll do a deep cleaning of my workshop once I finish removing material, hopefully fairly soon.

To fix that bad chip out, I would just do a 45 or 50 degree taper on the end of the headstock, revealing all of the lams. It could look really cool.
lowsound

I've been playing a bit with this idea. As I said there's not much room for it but definitively something can be done. I'll decide it once I have drilled the peg holes.


Now back to the chip out challenge:

IMG_7591.jpg

IMG_7592.jpg


After Sanding:

IMG_7594.jpg


Beat the crap out of it :D :bassist:

Now a detail of the pickups channels from the control cavity:

IMG_7595.jpg


That's all for now. Thanks for watching
:bassist:

Next episode:
Progressing with the Fingerboard
 
I finally find the time to show some progress with the neck. First I finished the rough shaping.
I used a gig (rails) to get 20 mm thickness at the 1st fret and 24 mm at the 22nd. After fine sanding I’ll end up with ~19.8 mm at the first fret which is just what I wanted. The shape I decided to do by testing the ergonomics across the whole extension of it (vertical and length wise), is slightly asymmetrical. I’d define it as a parenthesis “)” where the treble side has some more shoulders than the bass side (greatly worded by a fellow member here).

IMG_7608.jpg

IMG_7609.jpg


Don’t know if it’s the same for you guys but often I spend literally hours just staring at the build, thinking of ways to solve or achieve things and to triple check the next step. Not to mention that I spend great part of the day thinking about it.

Went ahead with the tuner holes. By design, all hardware will be recessed. I simply find it more organic than the classical “wood in a plane and all things just on top of it” approach. But as thay say in Spain, ..as tastes there are colors (hope the translation make sense). Anyway, I still have to round over both front and back, some more shaping on the volute and of course do all the finishing.

IMG_7610.jpg

IMG_7611.jpg


Now testing with the tuners on:

IMG_7615.jpg

IMG_7617.jpg


Originally my design contemplated abalone dot inlays and a glow in the dark side dot markers, all of which I actually bought. But after going through some old threads here and then finding a metal supplier relatively close by I decided to go for Brass inlays. Actually first I went for Aluminium but then I decided for Brass. I came up with a very simple jig for cutting both the side dots and the tubing:

IMG_7601.jpg


Side dots epoxied and sanded:

IMG_7634.jpg

IMG_7637.jpg


Fretboard inlays epoxied and yet to be sanded:

IMG_7639.jpg


Next Episode: Finishing the inlays