• TalkBass has been independent since 1998. Add your voice.
    Create a free account to reply to discussions, view embedded media, and browse with fewer display ads.
    Join freeLog in
    Want zero display ads or expanded classifieds tools? Compare plans.

Off with its head! 6-string headless conversion/parts build

Reedt2000

Supporting Member
Apr 26, 2017
9,260
22,453
49
Alright, been thinking, plotting, and deal hunting, so today I did the first actual work towards what will be a parts build with significant modifications along the way.

Through a series of lucky trades and internet deals, I've ended up with this body, a 5 string made by Geoff Gould.
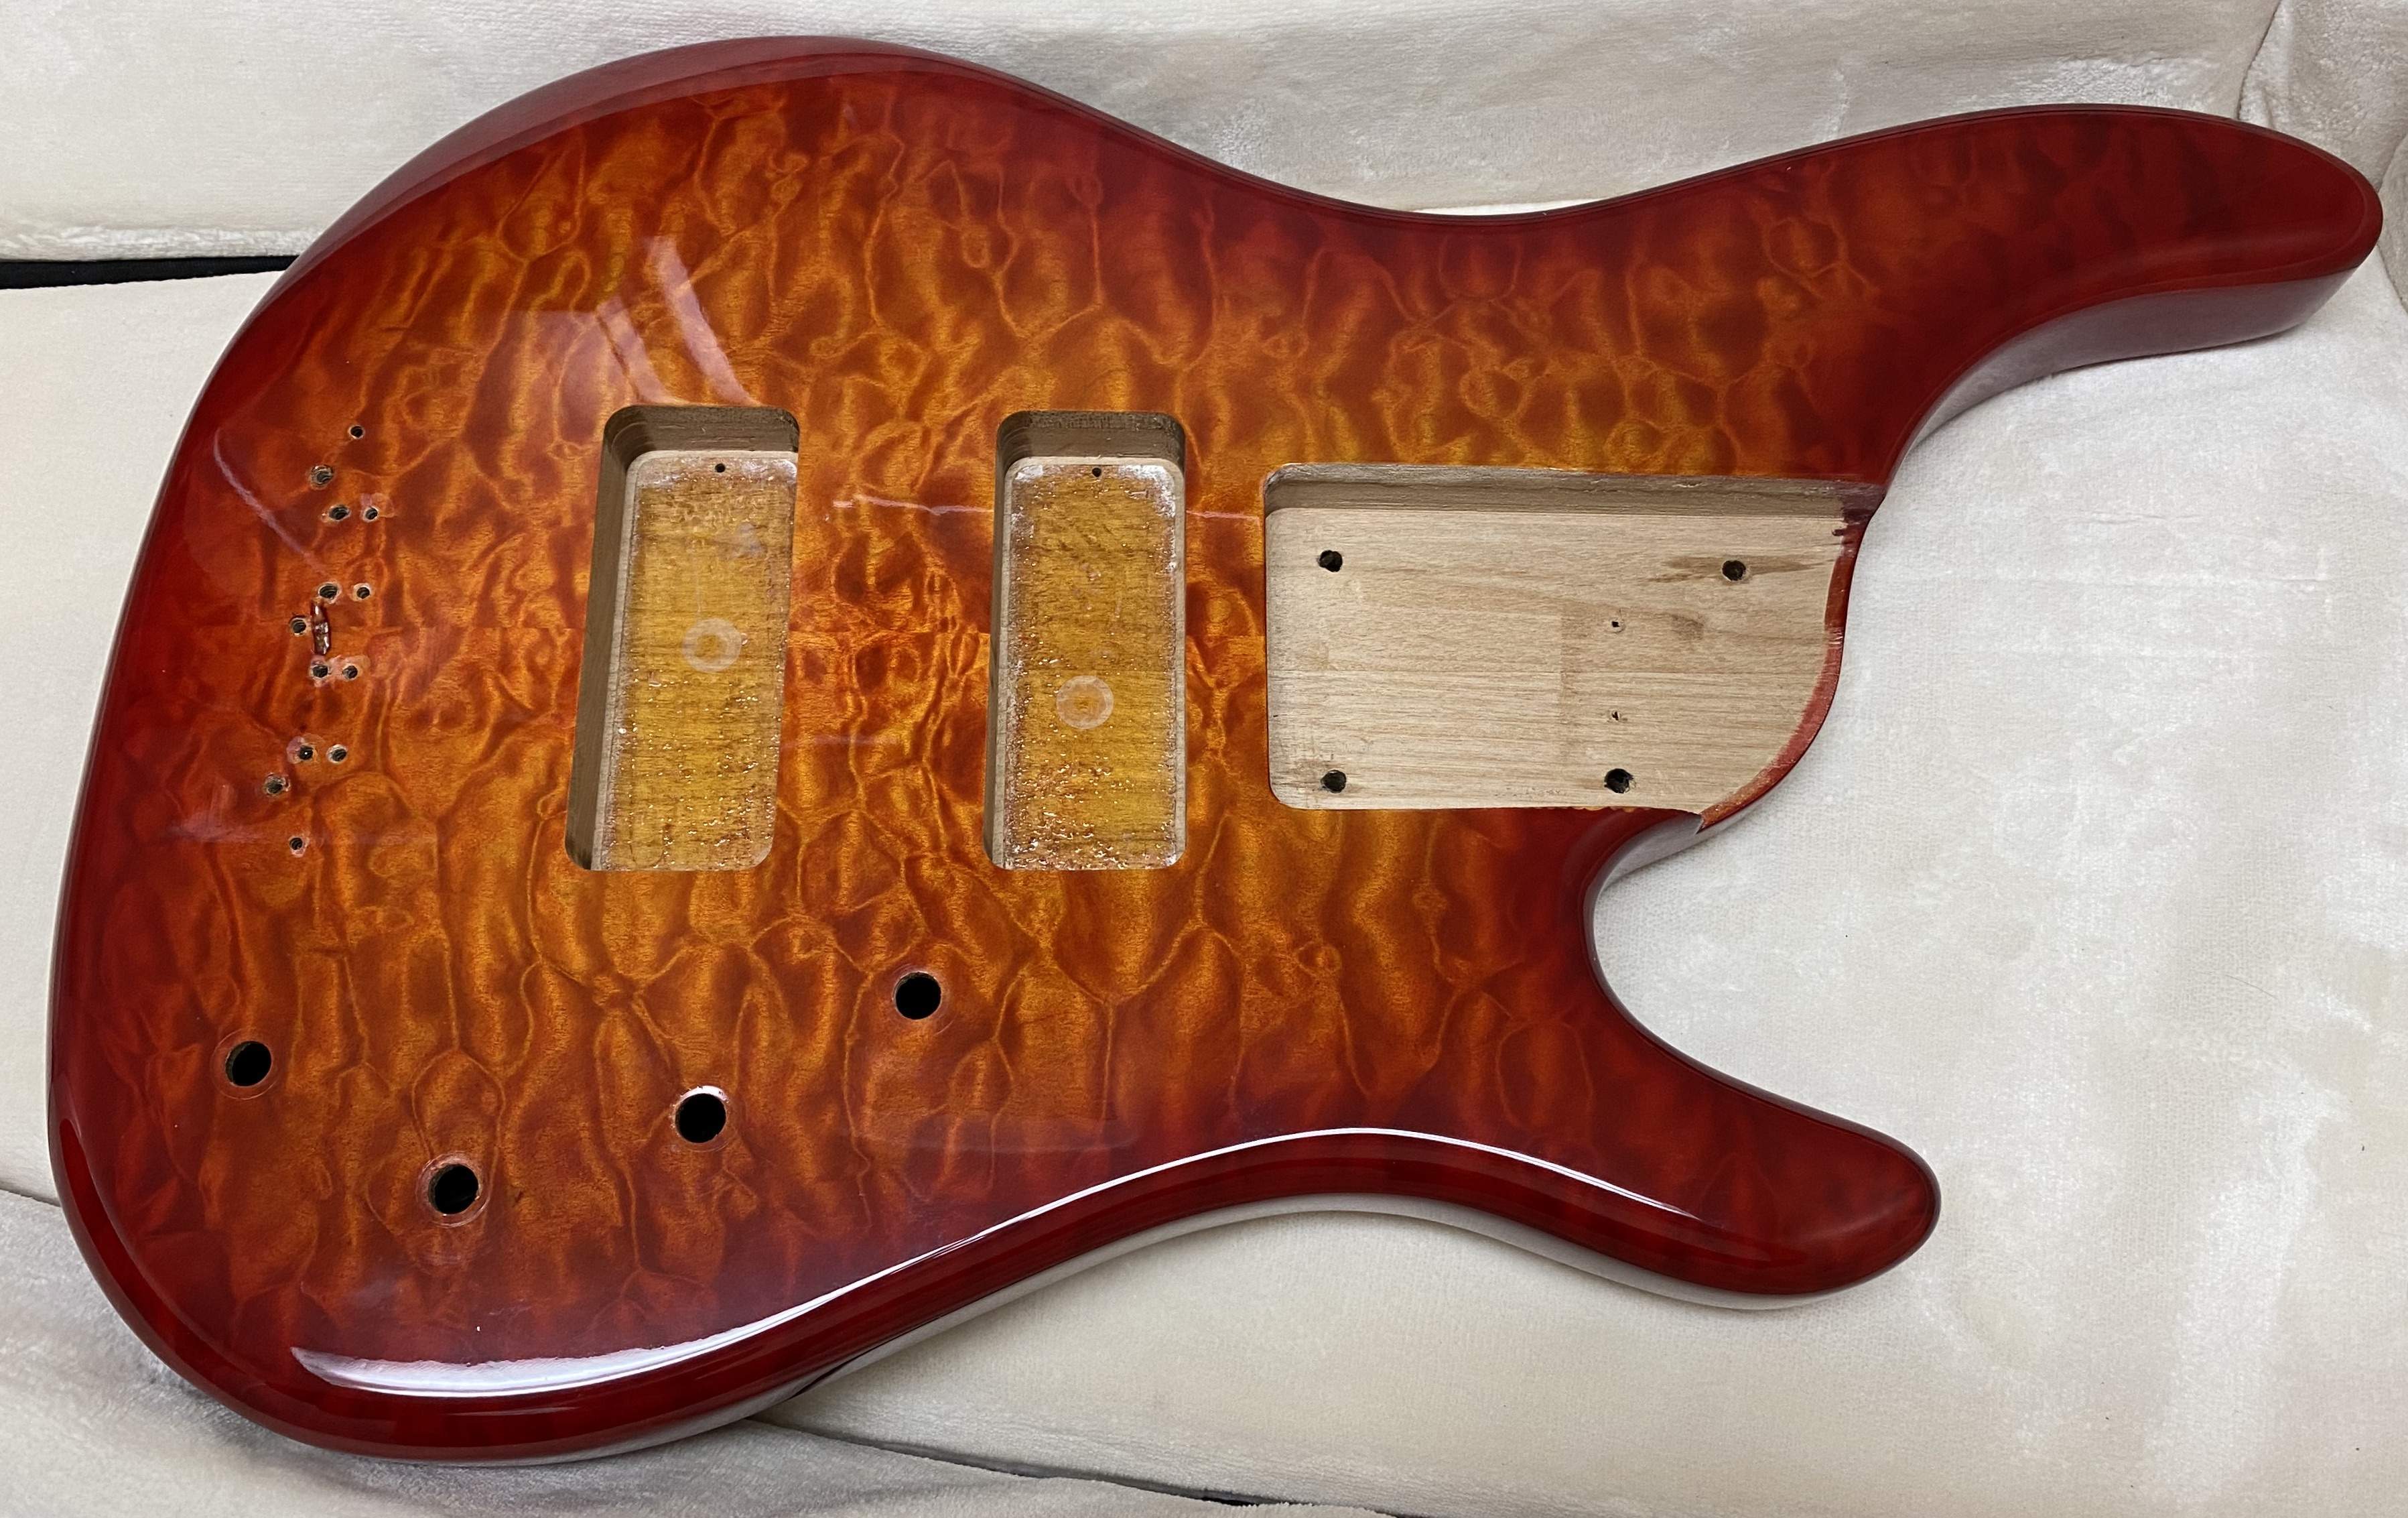
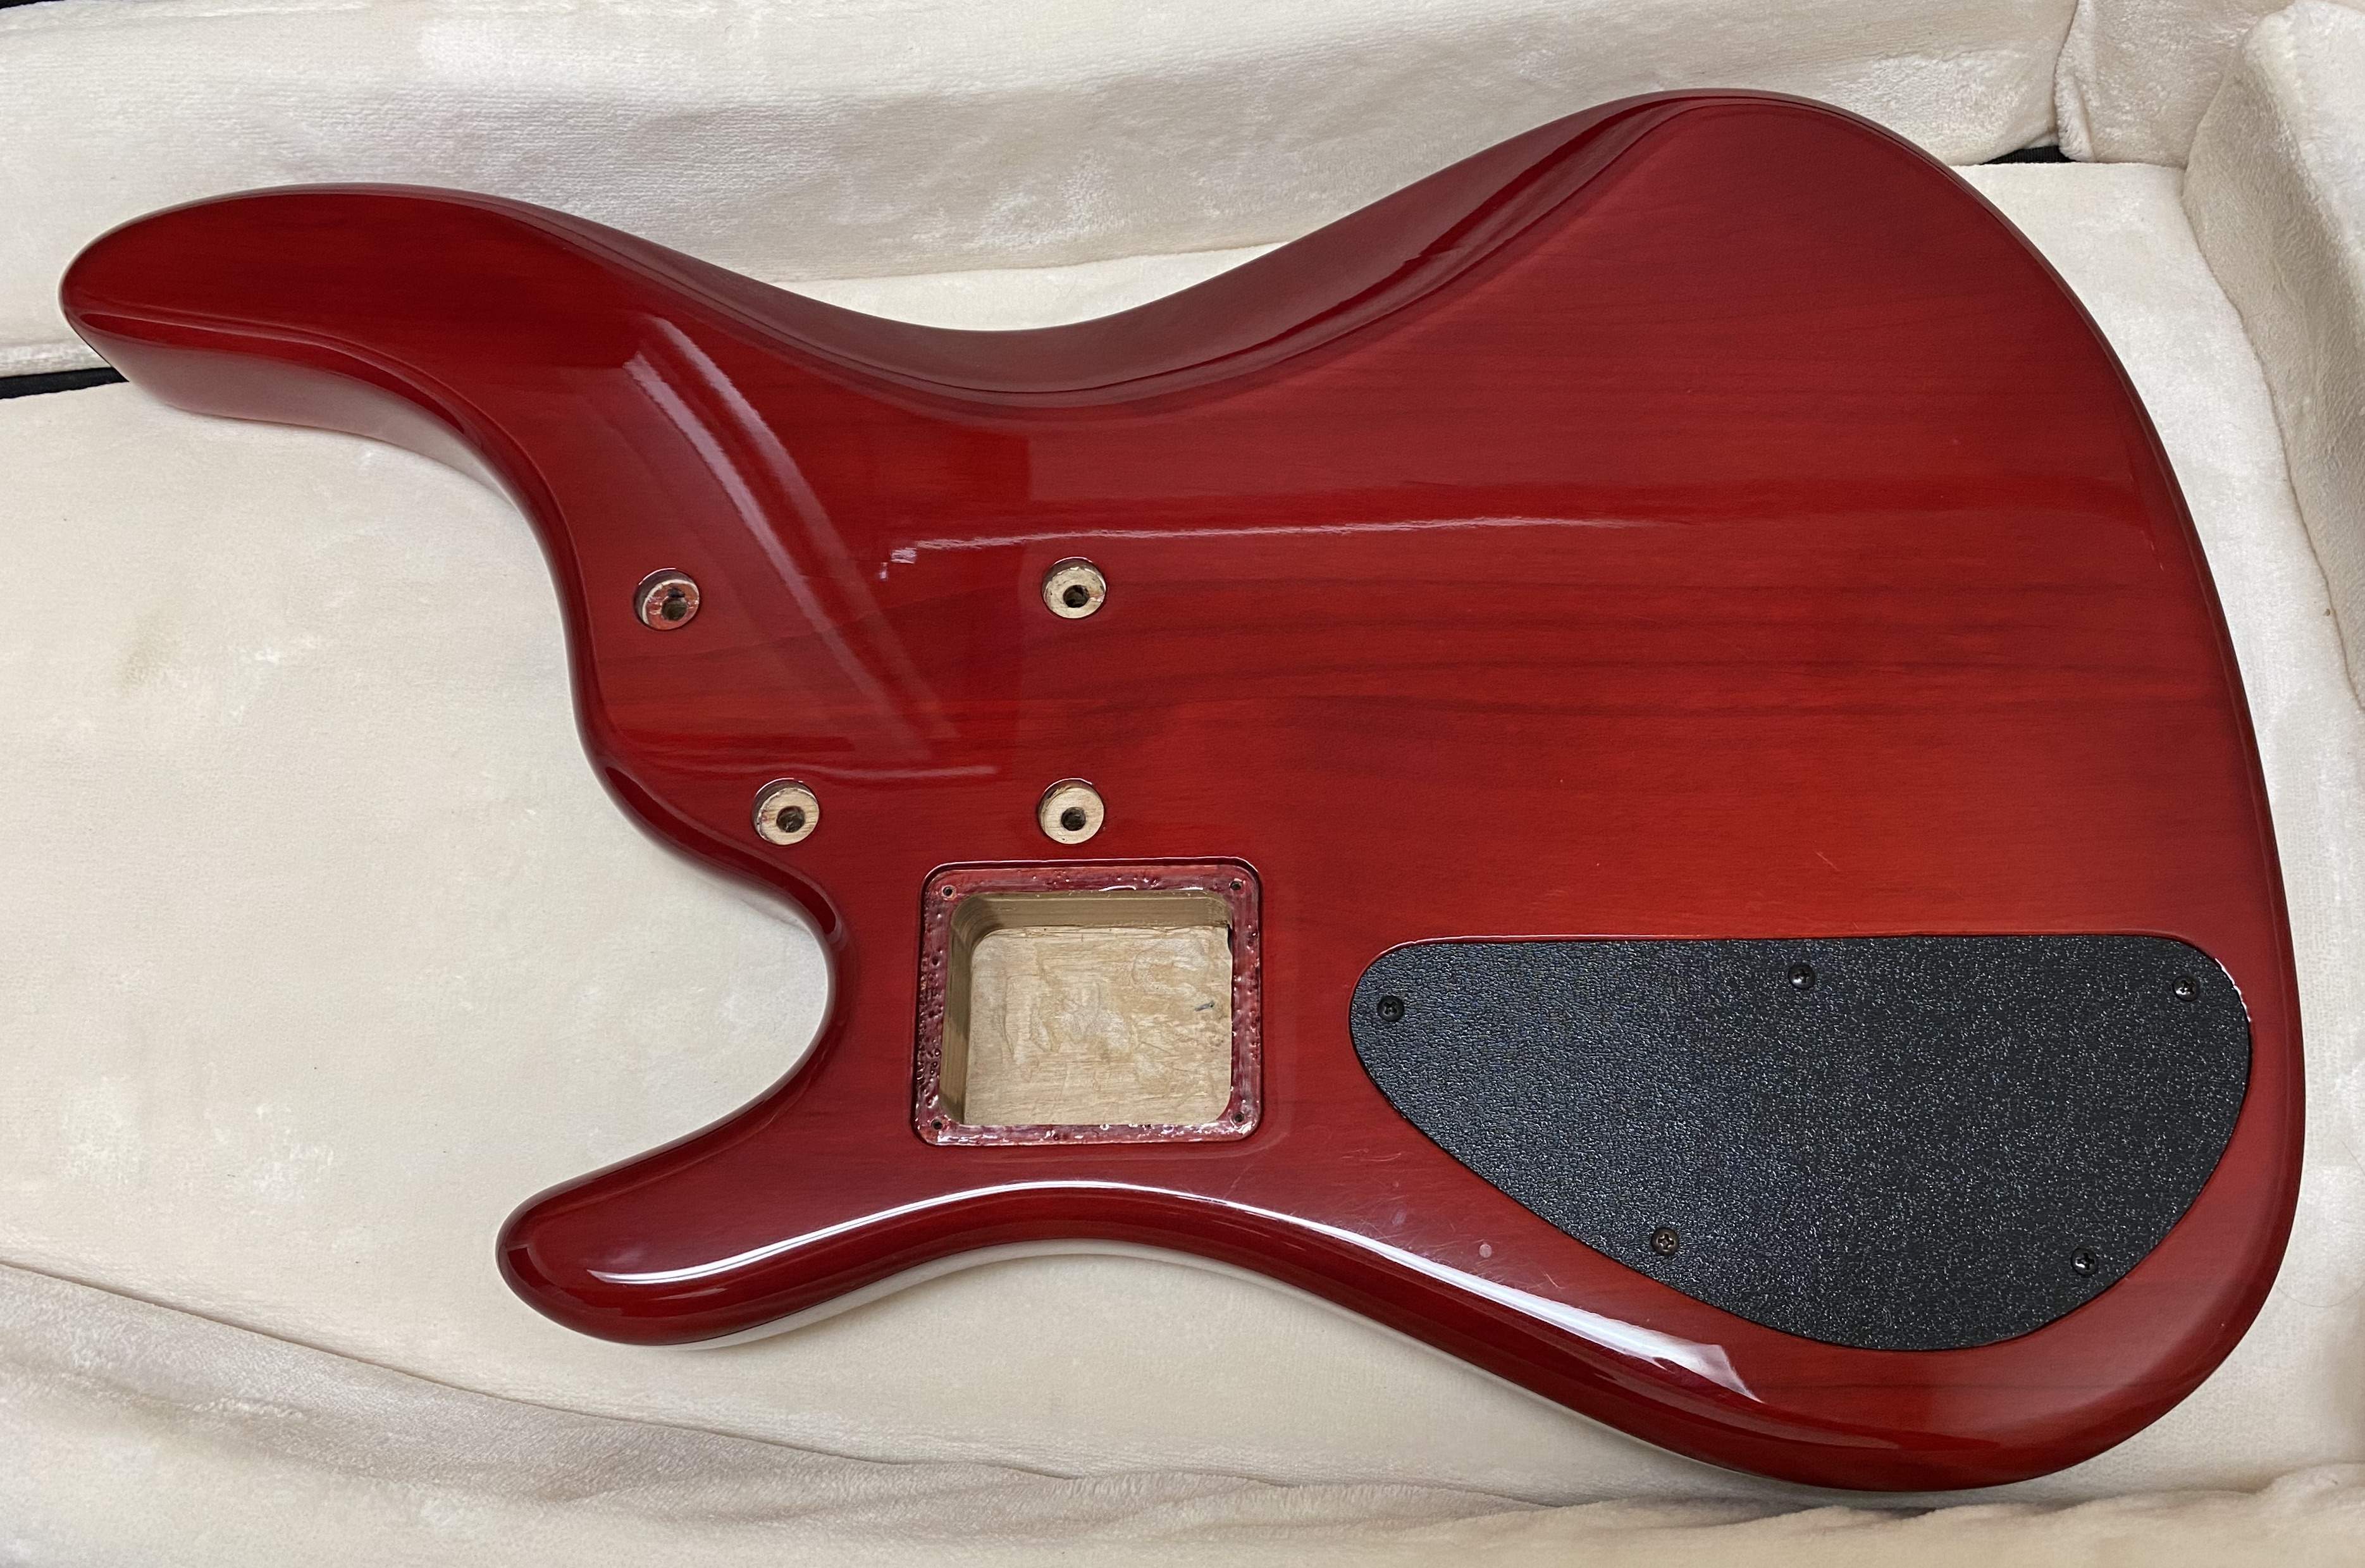
IMG_1226.jpeg

IMG_1227.jpeg


I've been gassing for a headless so I started hunting and found this Hipshot 6-string bridge for less than 50% of the normal price! I've played quite a bit of 6-string so I jumped on it.

Polish_20200620_122435572.jpg


I was thinking about trying to build a neck, when I found a 6-string Brice neck MIK on ebay so, I've got the neck (the blue one, seller wouldn't break up the pair so I bought em both and sold the fretless)

Polish_20200704_131235640.jpg


Along the way I also grabbed a set of Aguilar DCB pickups (which fit the existing routes and are wide enough to catch all 6 strings, even confirmed that with Aguilar) and a 3 band 18v pre from a USA made Fender (Reggie hamilton model), and I've got 6 individual string locks on their way as well.

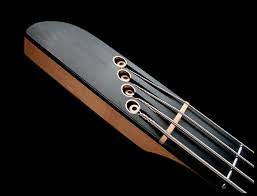
The plan is as follows, fit the neck to the body, mount the bridge including removing material from the body so the tuners clear, cut the head down to a rounded nub, inspired by a Kubicki pic I found online
images (1).jpeg


It will be that shape but not as long. Overlay the "head" nub with a dark wood (locks are gold so ebony overlay w gold locks speaks to the black and gold of the bridge) and install the locks and nut (no nut yet, might get a just-a-nut cause I like it on my Warwick), then string to make sure it's playable. Once it's at that stage, I'll disassemble, strip and refinish the body as well as finish the parts of the neck I've modified.

Today I built an extension at the heel as the body has a rectangular pocket and the neck a bias cut.

Polish_20200704_132516072.jpg


It looks a little rough but it's gonna get blended in. I fit it by hand with a demel, files, and sand paper. The joint was tight enough that I felt good about it, but had some little gaps so I made some spackle from tight bond and maple dust to fill them in. After its blended it will get a maple veneer over the top to hide the joint. I shot a screw in it (countersunk so I won't hit it when I blend the pieces together later) which will act as a clamp now, and stay in as a mechanical connection in addition to the glue. The neck pocket needs to get widened by 1/8" on either side which I also plan to do slowly by hand.

I think the end result will be really cool and unique, just got a long way to go to get there :)
 
Last edited:
Cool project. Are you adding material to the end to maintain the scale length/fill the long neck pocket?
Exactly, if I just cut the heel extension off, the bridge would be too far back and the tuners would hang off the body too much. The extension lets me have some control of the final location of the bridge/tuner assembly. With a veneer on top you shouldn't see anything out of the ordinary when its done and on the body ;)
 
The headless project took a back seat today cause I lucked into a free bass ukulele project. It needed tuning machines, bridge, and strings.

I bought some inexpensive tuners and had to make spacers cause the uke headstock is thin. I cannibalized an un-needed plastic control cavity cover which did the trick.
Polish_20200711_125051604.jpg

Polish_20200711_125032880.jpg


Not super-clean, but perfectly functional and only really noticeable if you're looking for them.

Then took a shelf made of maple and cut a bridge blank out of it.

Polish_20200711_125007561.jpg


Some shaping

Polish_20200711_124943443.jpg


Fits nice

Polish_20200711_124924877.jpg


Stick a couple strings in

Polish_20200711_124849196.jpg


Measure and cut to height

Polish_20200711_124904181.jpg


More shaping and slots for string spacing and final action tweaks (and a little oil)

Polish_20200711_124825357.jpg


A little ingenuity with the strings (never strung one of these before and had to mod the string ends to fit in the tuners), and it's done.

Polish_20200711_124801129.jpg


Should be a lot of fun. If I like it enough I'll put a little preamp and piezo in it (it's got the cutouts already).

20200711_131302.jpg
 
Last edited:
Had a little time today so I worked on the 6 string neck. First I squared the frets to the body of my miter box and cut the heel extension. Then took a small piece of stain grade trim and glued 80 grit to one side for moving material heavily and 120 on the other for finer adjustments and went to town. It measures out right (3 1/4"). If I get time tomorrow I'm gonna try to fit it in the pocket. It looks a little ugly now but it will get a maple veneer on the visible surface.

Polish_20200718_140144877.jpg Polish_20200718_140126352.jpg Polish_20200718_140053282.jpg
 
Last edited:
This morning I took a WHOLE bunch of measurements. Center line of body & pickup routes, center line of the neck & frets, width of old pocket, width of new heel, basically anything i though relevant to proper alignment. The pocket needed to be 1/4" wider, but the neck heel has a slight taper so it wasn't just 1/8" off of each side. I laid out tape on the body, marked what had to go, then cut the tape away in those spots, then did a WHOLE bunch more measuring until I felt good that I planned as best as possible. I took the dremel with the little sanding drums and got to removing material until I got close to the tape, then it was tweak by hand. After a while...

The pocket is done (and pretty clean!)

Polish_20200719_134720077.jpg


Once the heel could slide in, I finished it up by shaping the heel to the rounded corners of the pocket

Polish_20200719_134746321.jpg


And... it fits! And pretty tightly too :thumbsup:

The heel is a bit shallow, but there's veneer coming on the top, and potentially across the bottom of the heel if needed.

Polish_20200719_134818287.jpg


Bridge location is great

Polish_20200719_134849386.jpg


And the first real mockup

Polish_20200719_134917461.jpg


I got my string locks and I think I have to plug the B and C string tuner holes to do what I want to do on the headstock. Need to think and measure more.

I think the next thing I may do is strip the body. I want to plug all the holes from the 2 or 3 bridges that have been on it, and install the headless bridge.

Ive never worked on a 6 string like this. On a 4 or 5 I line up the G string saddle pushed almost all the way towards the nut, with scale length. Is it the same process but with the C string saddle?

Any insights would be appreciated :D
 
Last edited:
Oh! Post 9, pic 5, Fire & Ice. Definitely subscribed!
On a 4 or 5 I line up the G string saddle pushed almost all the way towards the nut, with scale length.
Did you get this sorted?
Ive been pondering the head of this project and did some test layouts with the string locks today. Only the first one wouldn't require filling 2 tuning machine holes, but I'm leaning towards the last one...

View attachment 3912021 View attachment 3912022 View attachment 3912023
I'd vote #3. #2 is a close 2nd. Looking good.:thumbsup:
 
  • Like
Reactions: Reedt2000
Only had a little time this weekend (went kayaking most of yesterday, it was awesome :D), so I just prepped and glued my veneer to hide the heel joint.

Started by cutting a careful slot at the end of the fretboard (originally it had a concave carve it it)

Polish_20200726_145309326.jpg


Polish_20200726_145330097.jpg


Then cut the other way and popped a piece out

Polish_20200726_145352502.jpg


Worked it flat by hand with files and sand paper (there was some final massaging after this pic)

Polish_20200726_145416088.jpg


Then found some grain lines that seemed to match the fretboard and glued on my 1/16" maple veneer

Polish_20200726_145238975.jpg


When it's dry I'll blend it in and my sins should be hidden :smug:
 
Last edited:
Compressor fried in the AC unit at work so I got to split early and I put a little time in on the heel's disguise. A little sanding with the dremel, a little by hand, and...


...what weirdness at the heel? I don't see anything? :rolleyes:

Polish_20200727_164317522.jpg


Its still recessed in the pocket but I think I'm gonna lay veneer on the back of the heel too. One of the original mounting holes in the neck gets exposed in this body and the veneer would cover it (all holes would be filled first) and raise the top to almost level (it would be a tiny bit proud but I can finesse it by hand after so its level).

None of that happening today though, got a 2nd job to get to :cool:

:D
 
I did have a little extra time so I fooled with head design a little more. I really don't want to plug the tuner holes, It means a veneer which will raise the string locks and no real way to hide it on the edges...

I also have to adapt to the width of the nut (visually I don't want any spreading after the nut, I want the converging lines of the neck to continue). The string locks are a hair too wide to stack next to one another so I have to cheat them behind each other to fit them comfortably (in case you're wondering why I don't do that, and be done with it :smug:)

Here's another crack at it without filling the tuner holes. I don't hate this one :D

Polish_20200727_182047317.jpg