• TalkBass has been independent since 1998. Add your voice.
    Create a free account to reply to discussions, view embedded media, and browse with fewer display ads.
    Join freeLog in
    Want zero display ads or expanded classifieds tools? Compare plans.

Portable Sub-Short scale; take 2

I learned a lot about building with my last attempt. It is a great little bass that I enjoy playing, but I've got a few itches that needed to be scratched.

For reference:
https://www.talkbass.com/threads/nbd-finally-3-years-in-the-making-literally.1558063/
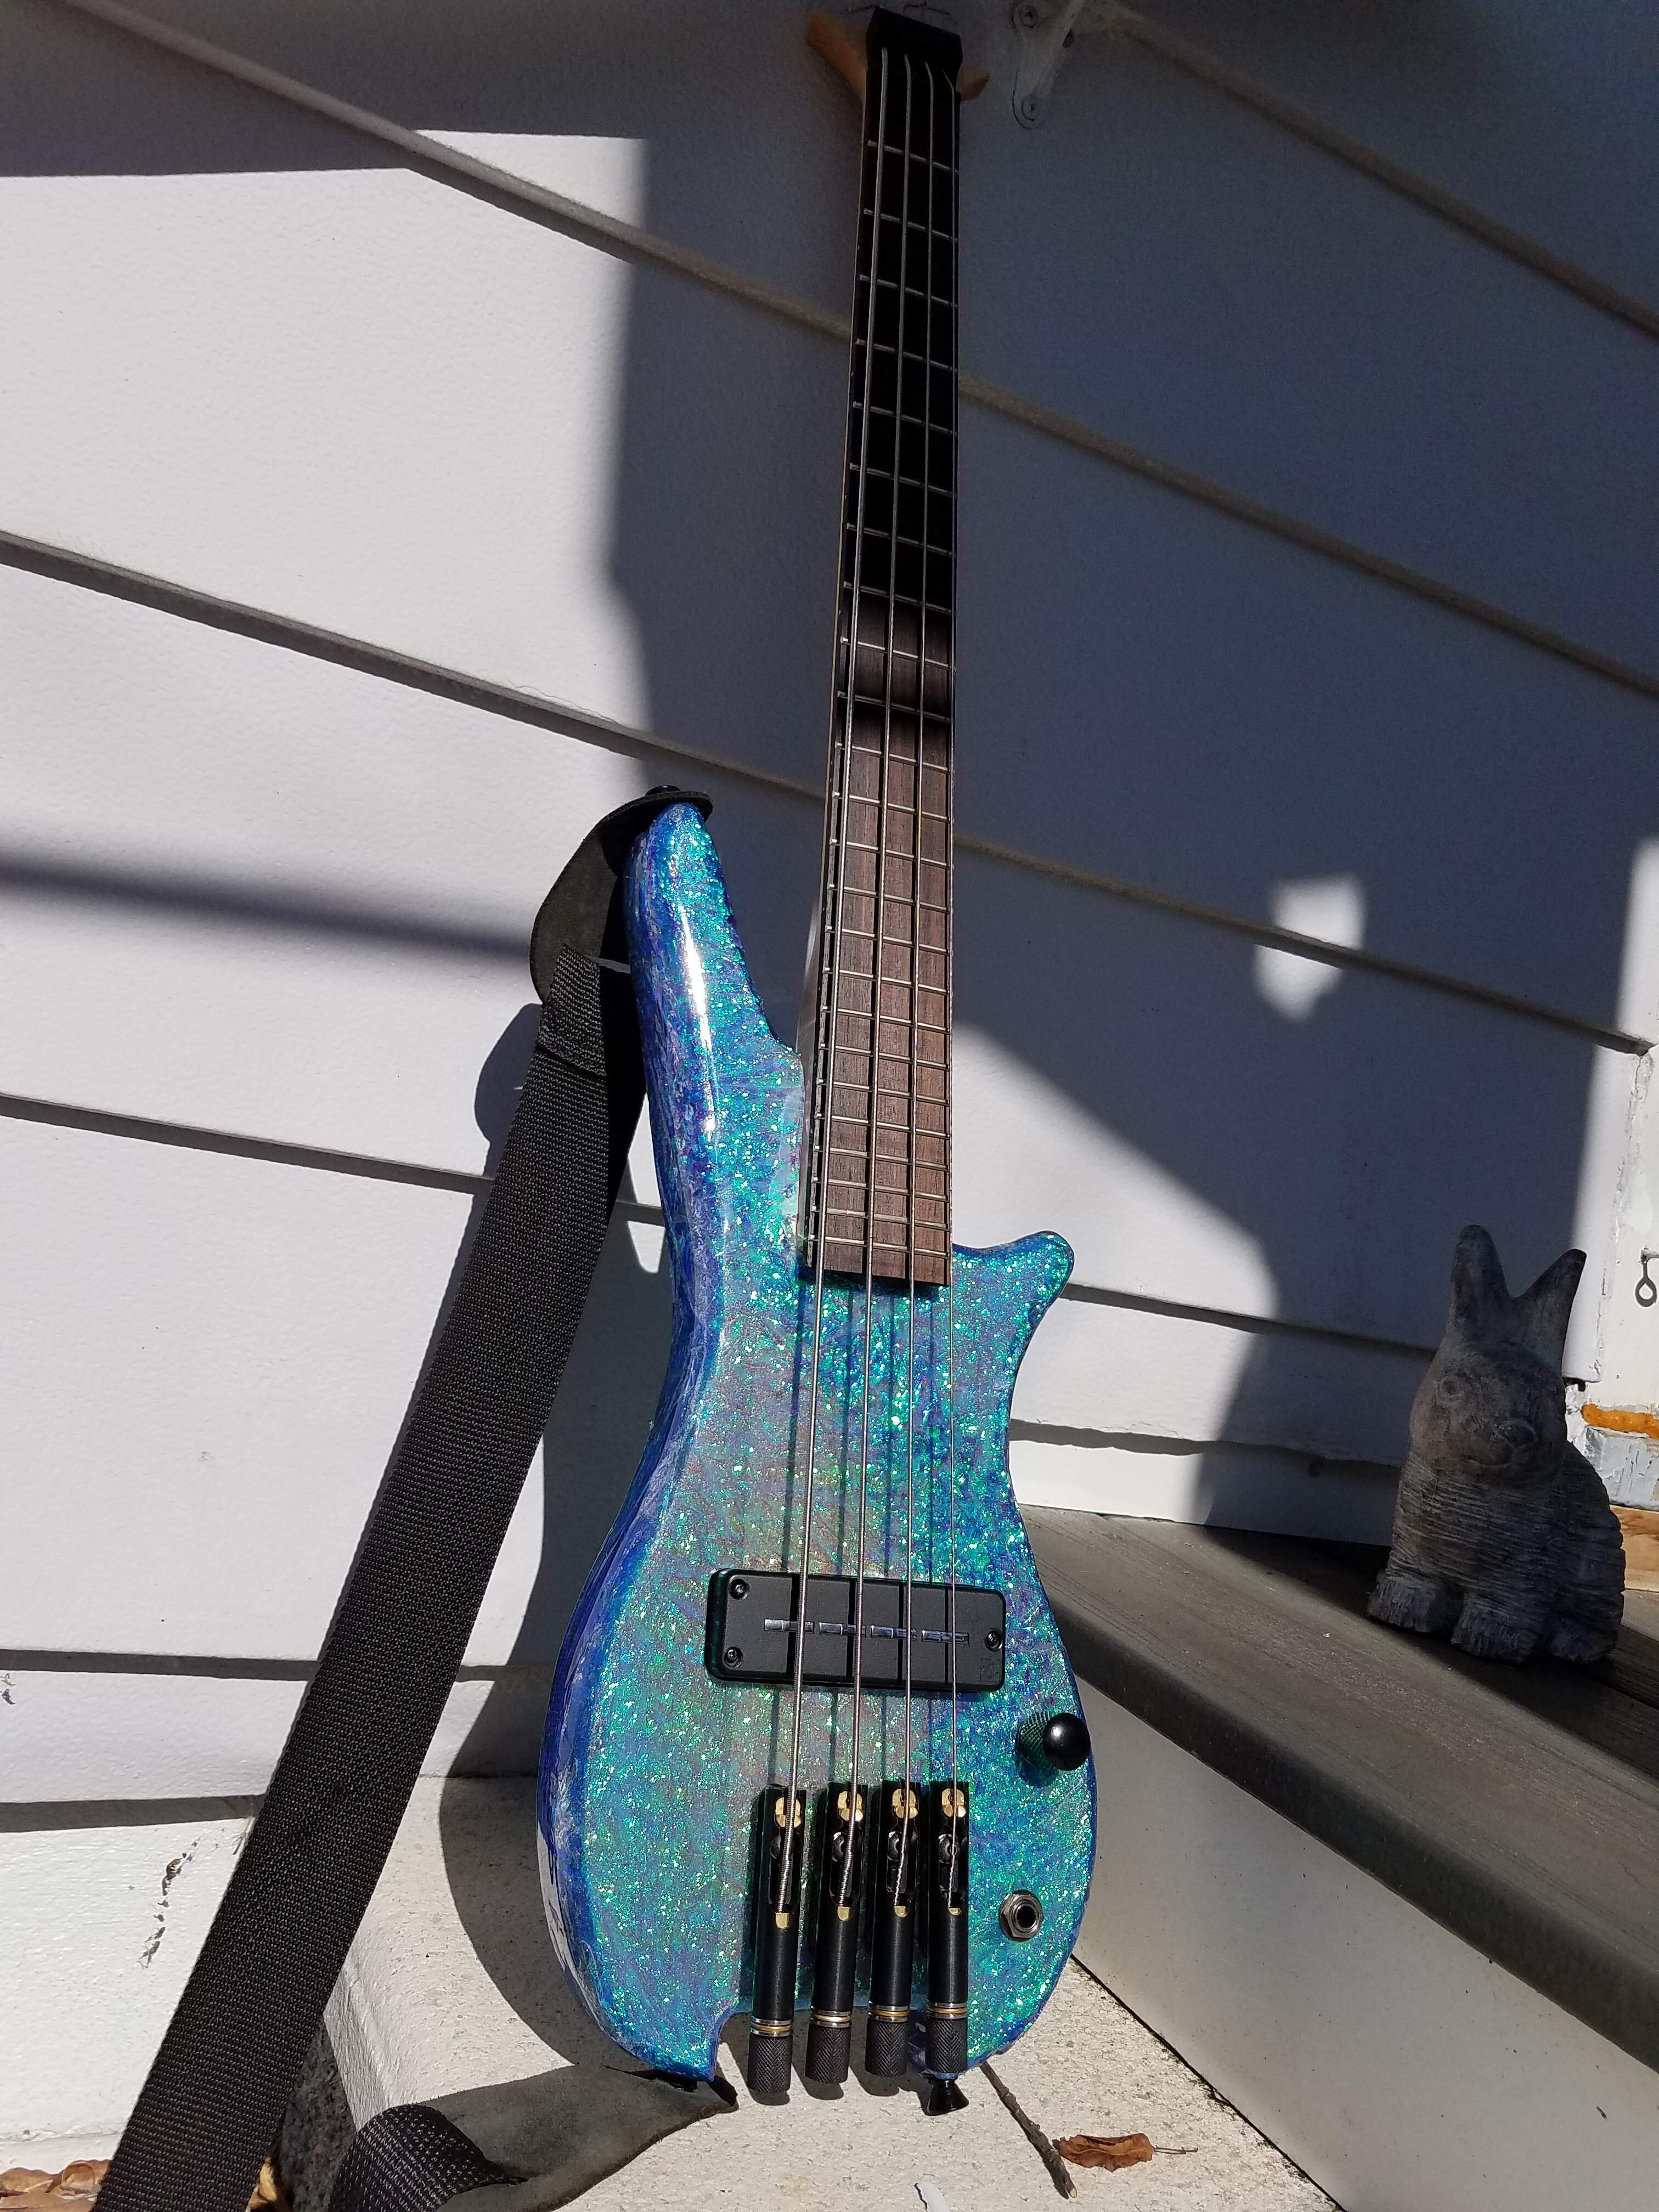
upload_2022-4-8_10-39-18.jpeg


20220413_171200.jpg


As far as minor annoyances:

- Neck is a bit narrow so the E and G strings are very close to there respective edges and the spacing is more like 18.5mm.
- The body shape, as much as I love it, just does not have a good inherent "thumb rest" as it is so slender.
- Taking the neck off/putting on and restringing is a bit of a pain for travel.
- The Nova hardware is great and holds tune for MONTHS, however, as mentioned in the previous issue, it's not designed to be restrung regularly as the ball anchors have to exit the back of the tuner barrel to get the strings out, which means detaching them at the headstock as well.


So some of this I could address OR I COULD BUILD A WHOLE NEW BASS!!!
 
The next entrant in our parts list is a neck, *almost* identical to the original; 27" scale, 24 frets... But made for a 7 string Baritone guitar instead of 6, This makes it a bit wider (resolving the spacing issues) without getting *too* wide, at 65mm at the Heel, just a smidge wider than a normal 4 string bass heel (about 62mm at heel of a 20fret Jazz clone):

1721086108952.png


New Wide electric Guitar Neck 7String #D12-1
24fret 27 inch Scale length , baritone Style
48mm nut and 65mm heel width,
Maple wood Neck with Rosewood Fretboard
Normal nut .Bolt on heel
No Inlaid
Truss Rod Adjust: at Headstock
Fit For DIY electric guitar or electric guitar replacement
 
Now the last piece all but fell in my lap (that's what I told my wife anyway!) when a fellow TBer on the Headless thread asked about these Guyker bridges:
1721086442481.png


Another Amazon buy, this was what I was looking for! The ball ends go into a claw in front of the tuner and come out when tuners loosen without full disassembly and it has more traditional set up features for saddle height and intonation that some other bridges for headless. It also has a nice low profile so it shouldn't suffer from the same "tall mounting" that some headless tuners have where you have to recess them in order to get the strings low enough for good action.
 
Last edited:
Nice. I’m interested to see how you make out with the neck joint.

The short of it will be a 6mm recess down the middle of the pocket, wide enough for the Z Clip. The pocket itself will be squared, as will the heel of the neck so it can slide into place and still be snug, unlike with the normal flair.

I'll be covering that later. I wanted to get the thread started so that I could do a proper build thread... had to catch up to where I am...
 
  • Like
Reactions: Matt Liebenau
Okay, so.... squared pocket. Not your normal neck join as there will be no flair. I've attached a PDF of of my square pocket diagram BUT SOMETHING HAPPENED and it shrank in the PDF!

I designed it in Power Point to get the shape precision, copied it to Word to get better sizing control and when it printed correctly, I converted it to PDF to attach here. But in the conversion to PDF it shrank for some reason. If anyone cares to use it, the rectangle should measure:
2.46" x 4.11" or 62.6mm x 104.5mm

This gives you the width of the squared pocket and a centerline for reference when drilling the pilot holes for the Z Clips.

With my template set, I can print it and glue it as a guide for the "Master Block" that will dictate not only cuts for the pocket but for shaving off the flaired edges of the neck:
20240715_212346.jpg
 

Attachments

Heel block shaped:

20240720_201643.jpg
20240720_201655.jpg


I marked guides before separation:

20240720_201818.jpg


And now I wait for glue to set between heel block and master block... and wonder if I'm over thinking this proces, just to shave off the tiniest wedges on either side of the heel, lol

17215222553815165822856640380800.jpg


Its about that amount of the blue you see peeking out at the bottom... on both sides... its so little!
 
Last edited:
No pics but I threw the reverse flush trim bit on the table router and squared the heel. For some reason it cut very rough on one side so I had to use the rasp to smooth it out.

I'd never used the CA glue+ painters tape trick before but it is absolutely genius for allowing temporary adhesion!

Next up if is prepping the center piece of the body. Plaining the 4x 1x2" laminates I glued together, routing the pocket with the additional slot for the zclip. May be a minute, but I'll keep ya posted! With pics next time! :D
 
Its so funny, thinking about my next steps which involved getting the body core prepped (planed, etc) and I start perusing planers, then jointers, then planer/jointers...

Then I wake up and remember I have my vacuum board and router planer jig!

20240723_131728.jpg


I chalk up the surface so I can gauge low spots... I only want to flatten the surface right now, not plane to a certain thickness...

Baby still works like a charm!

20240723_132225.jpg


Vacuum board is a bit large at 2'x4' but it handles any (of the few) jobs I've had for it so far!