A few months ago I started building a Rick-copy (walnut).
On request of a fellow TB'er I start this thread.
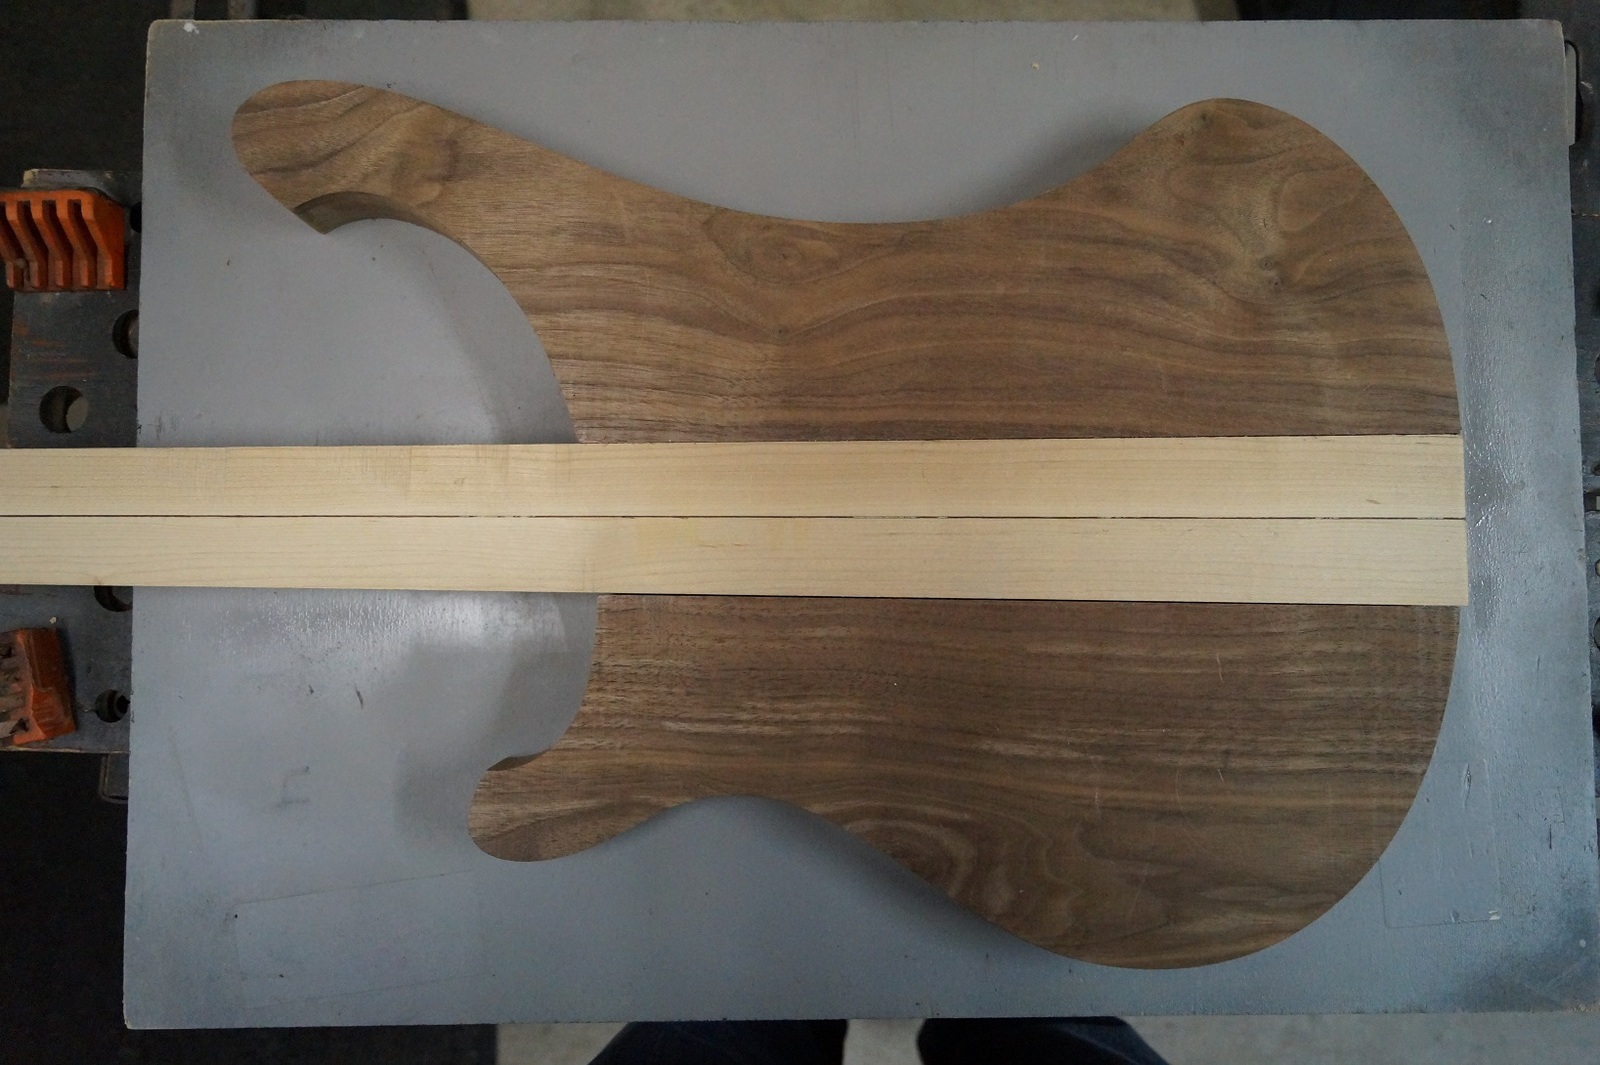
First I made a template of MDF for the body
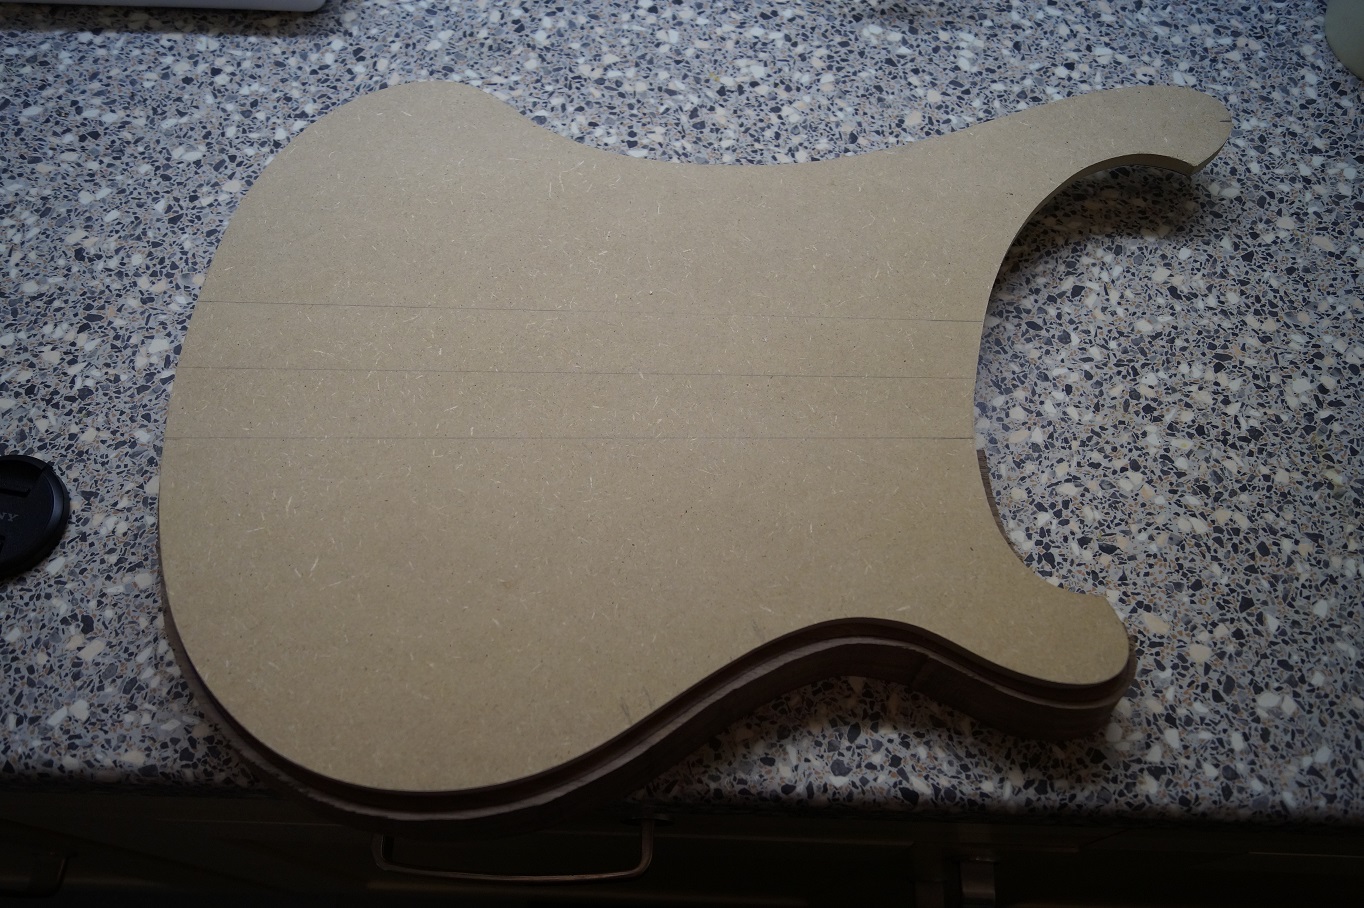
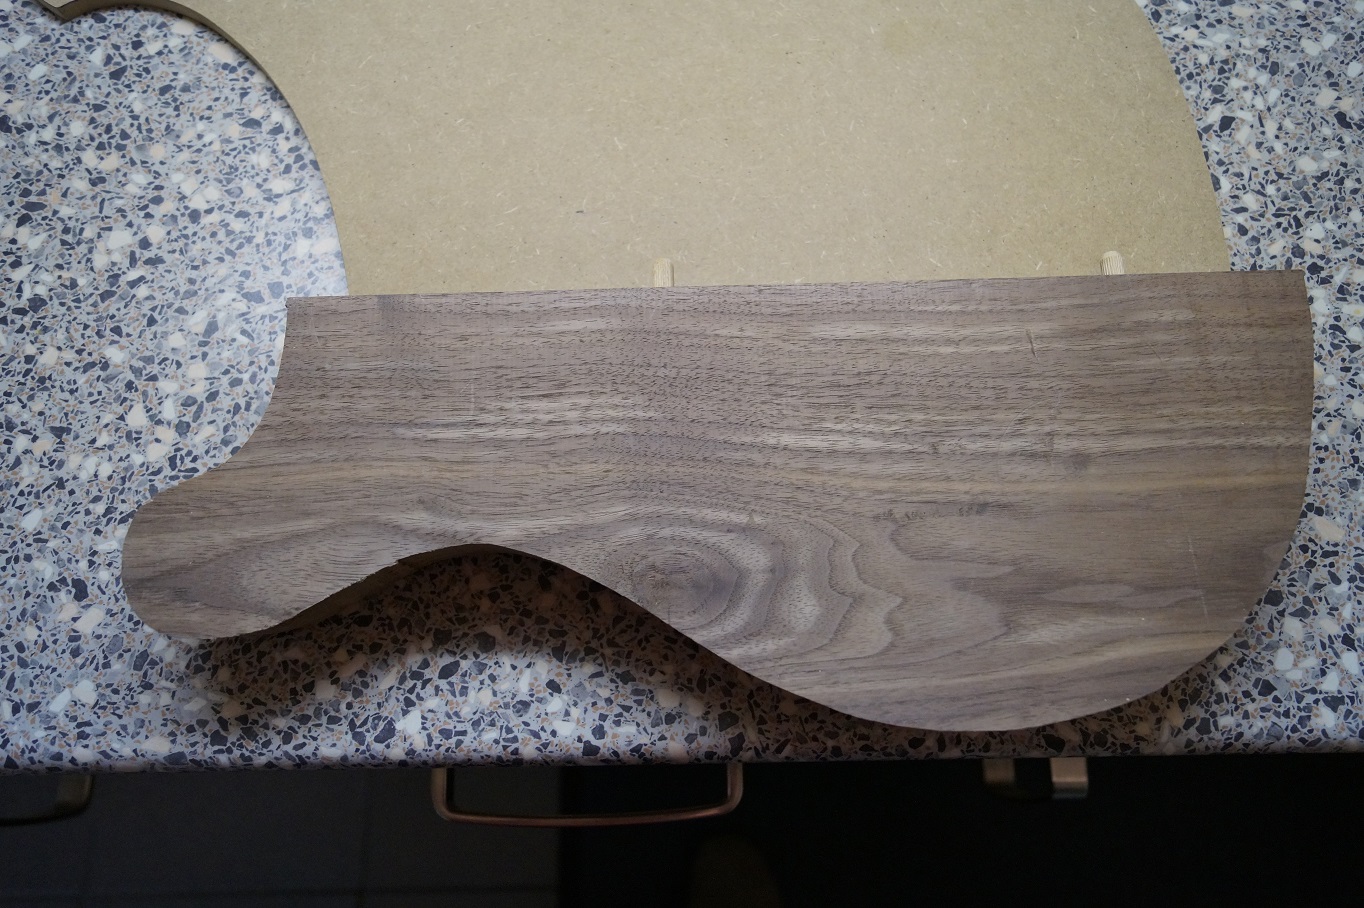
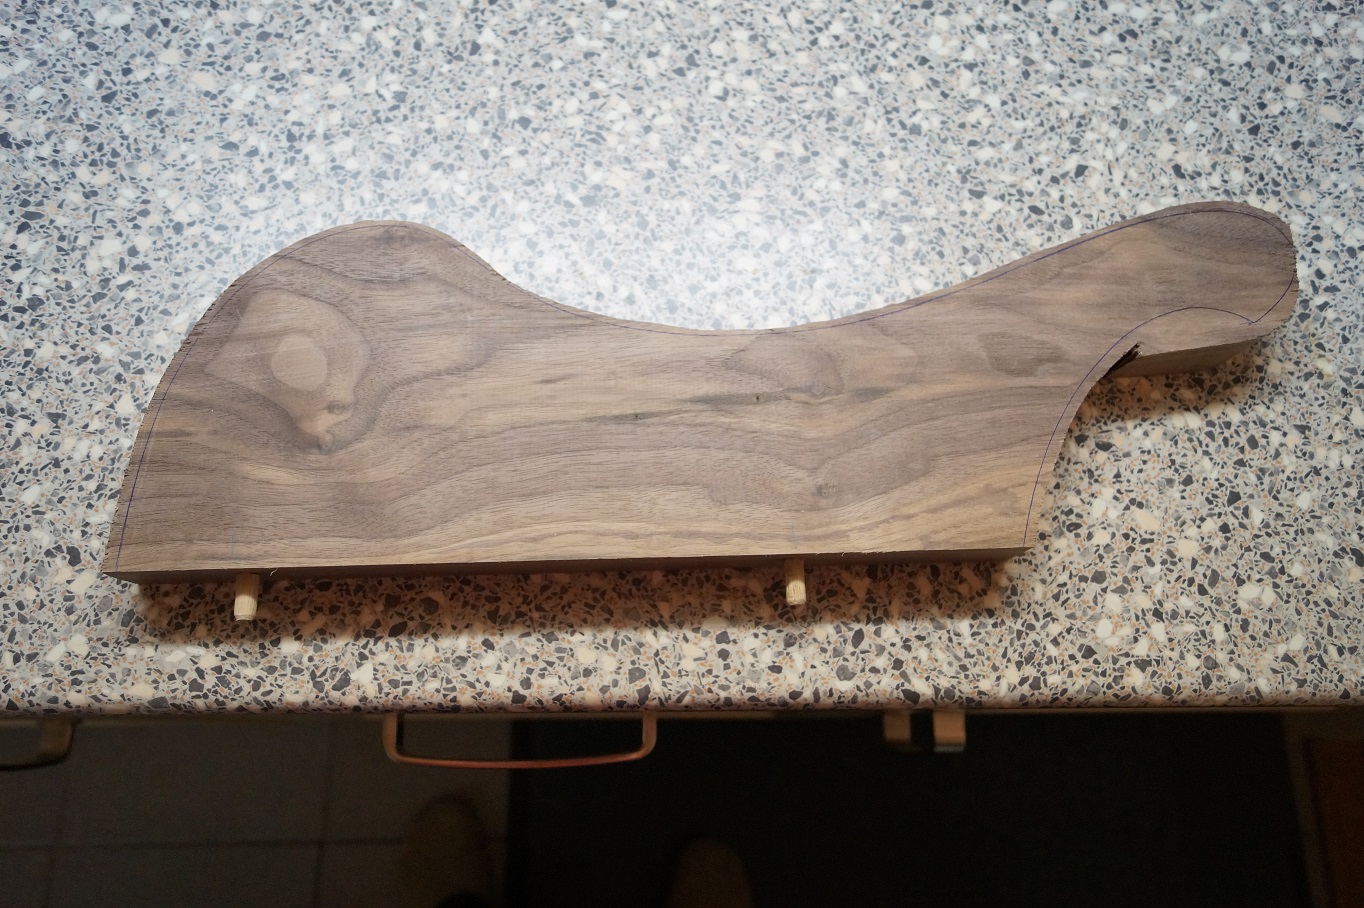
And out of 2 pieces of walnut I cut out the two wings with the jigsaw.
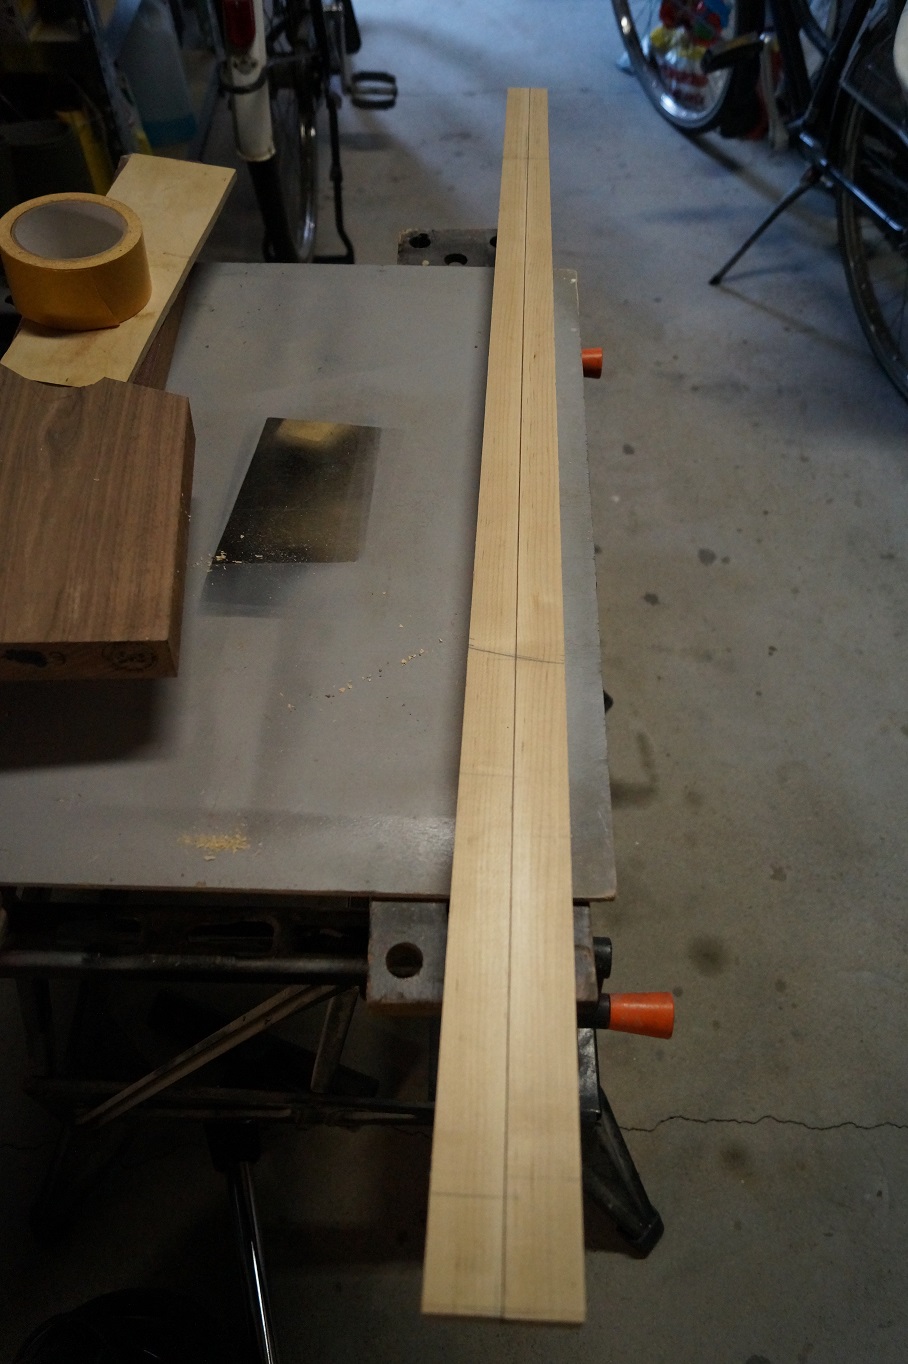
Out of 1 beam of maple I made a laminated one with a veneer pinstripe.
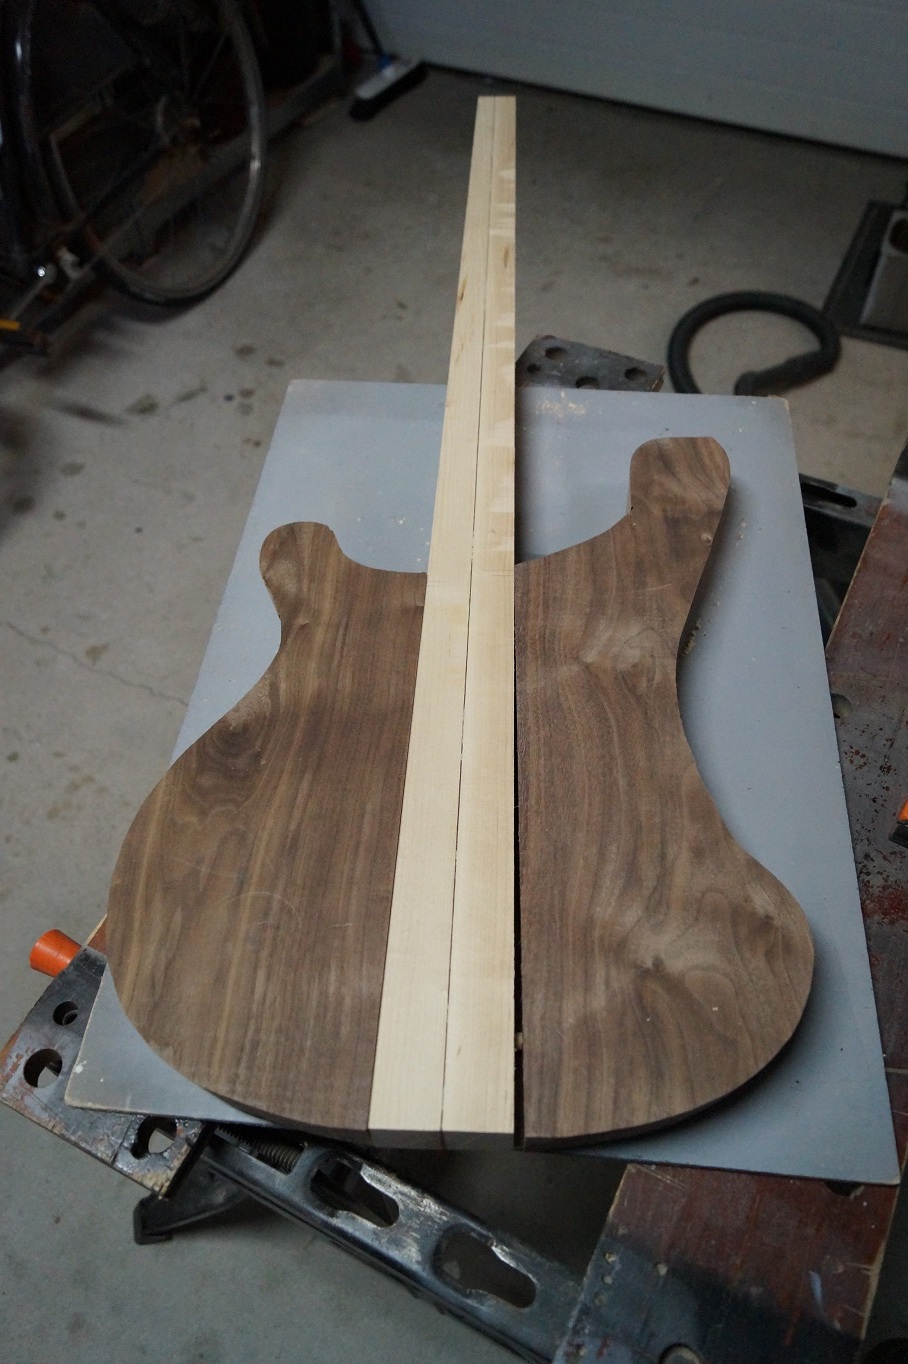
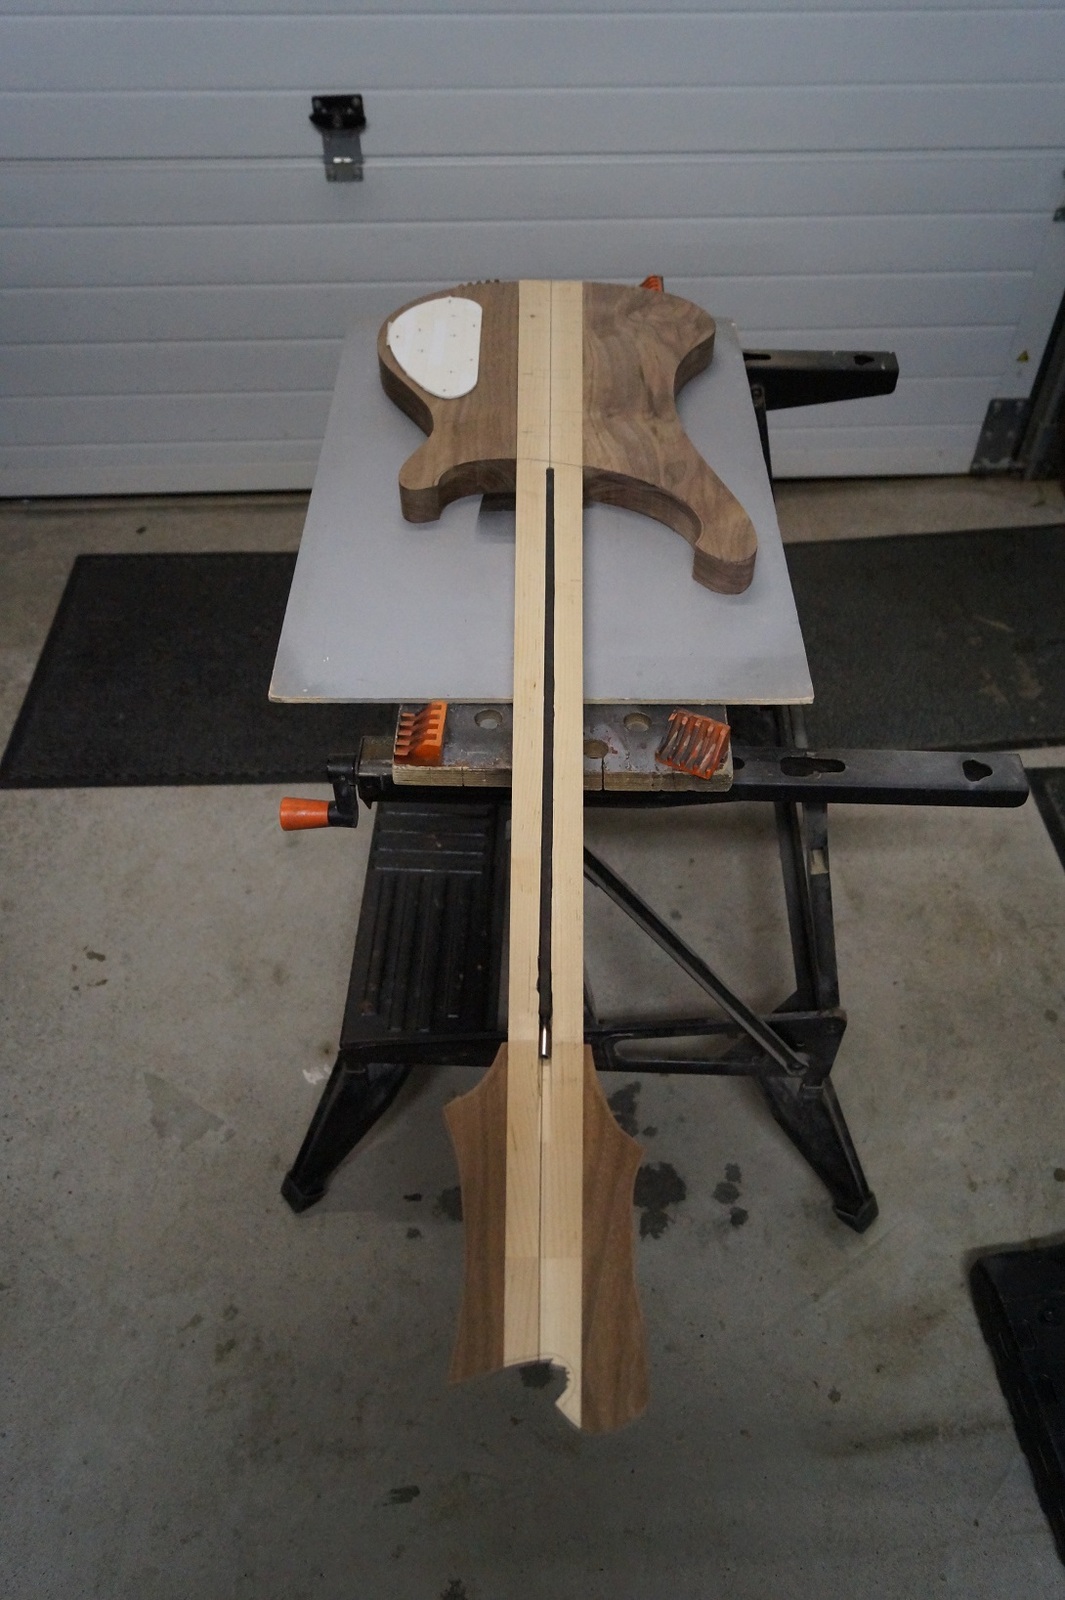
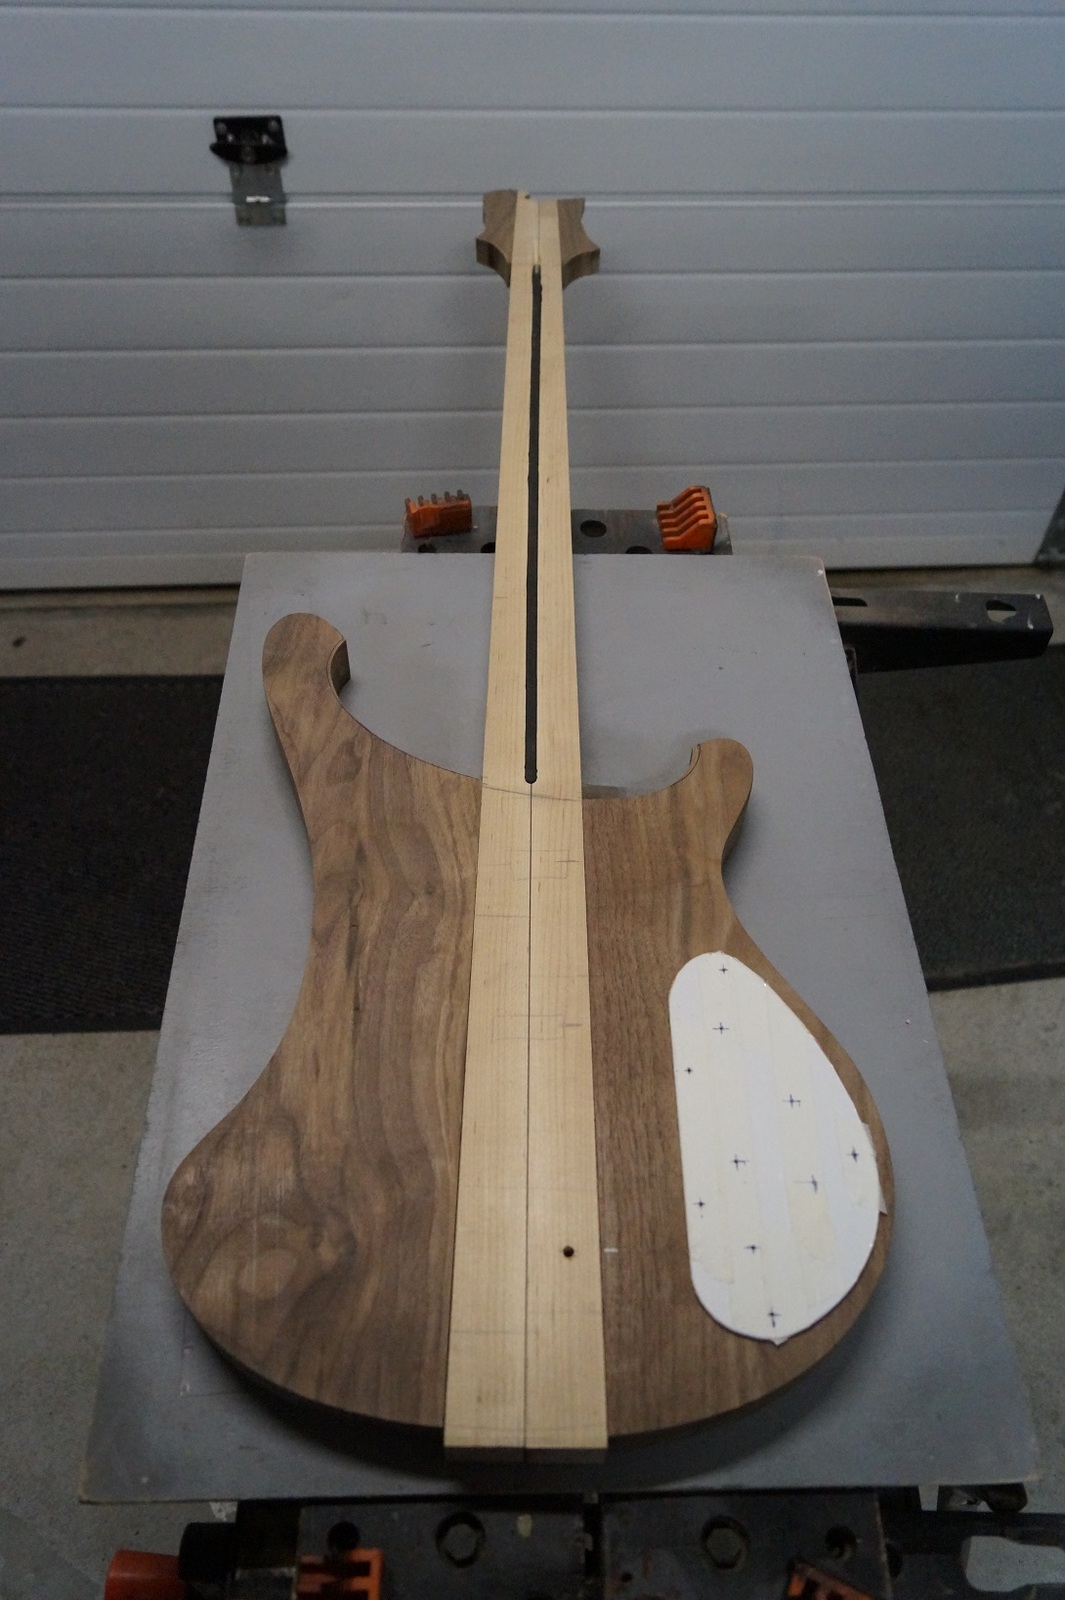
All together it looks like this:
A few weeks later, the trussrod is installed.
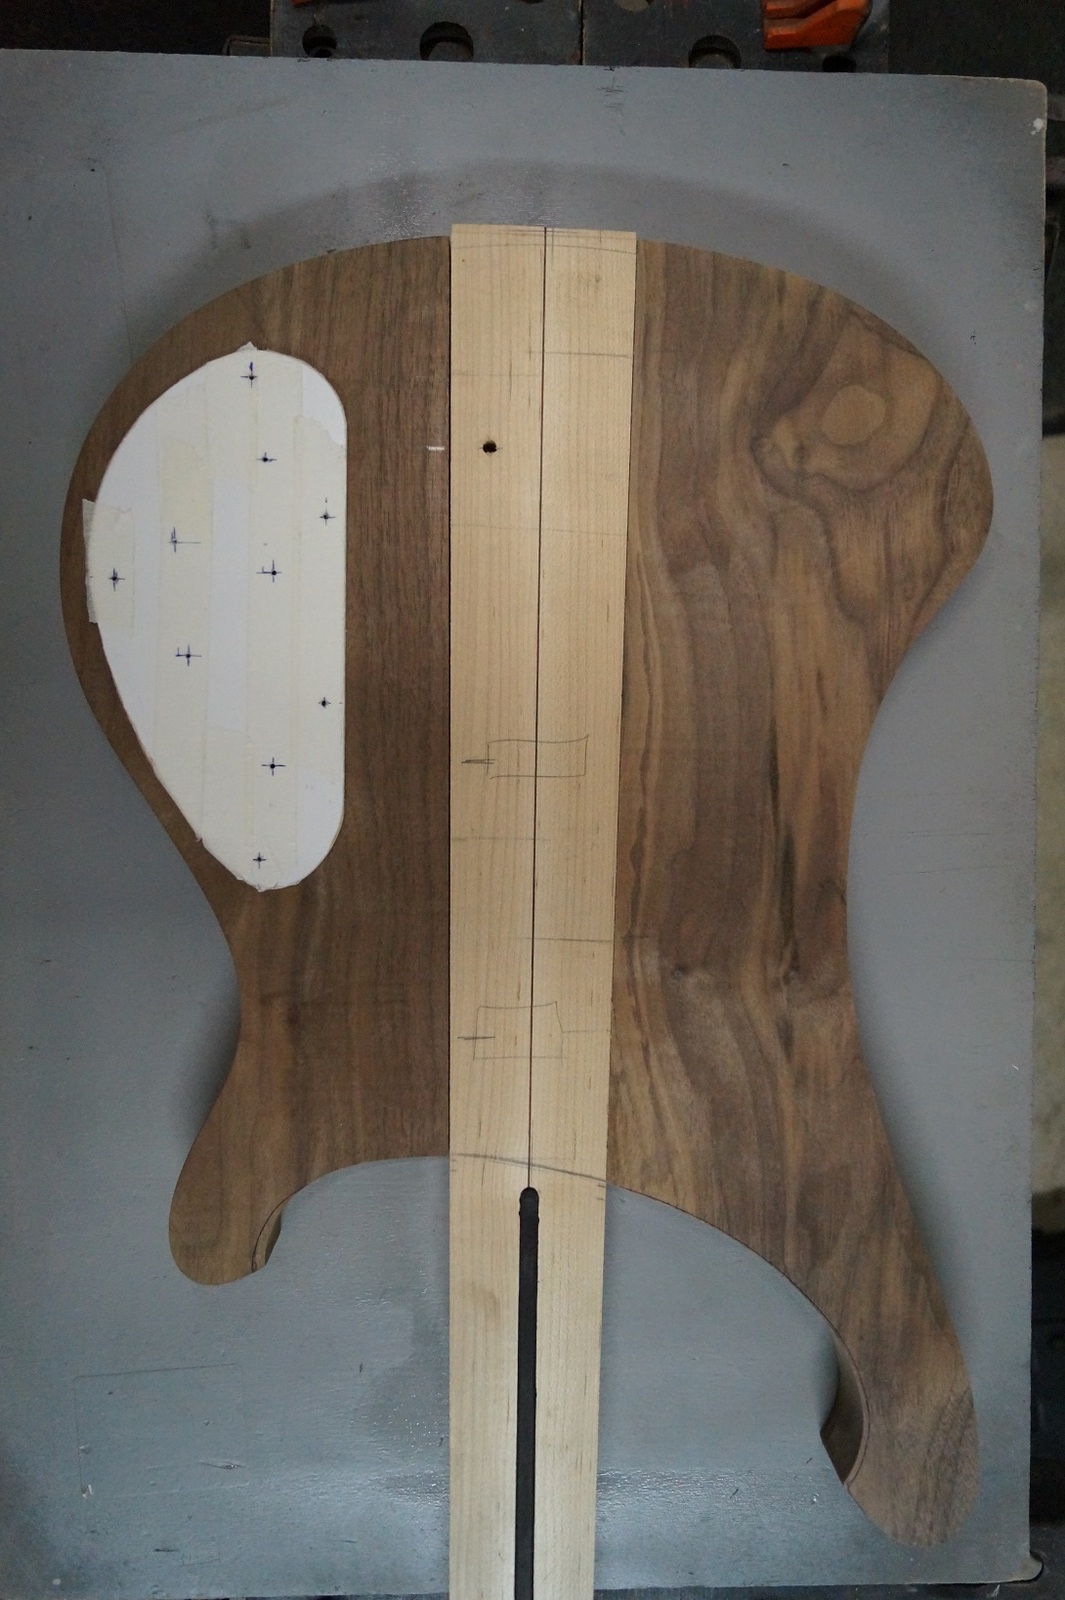
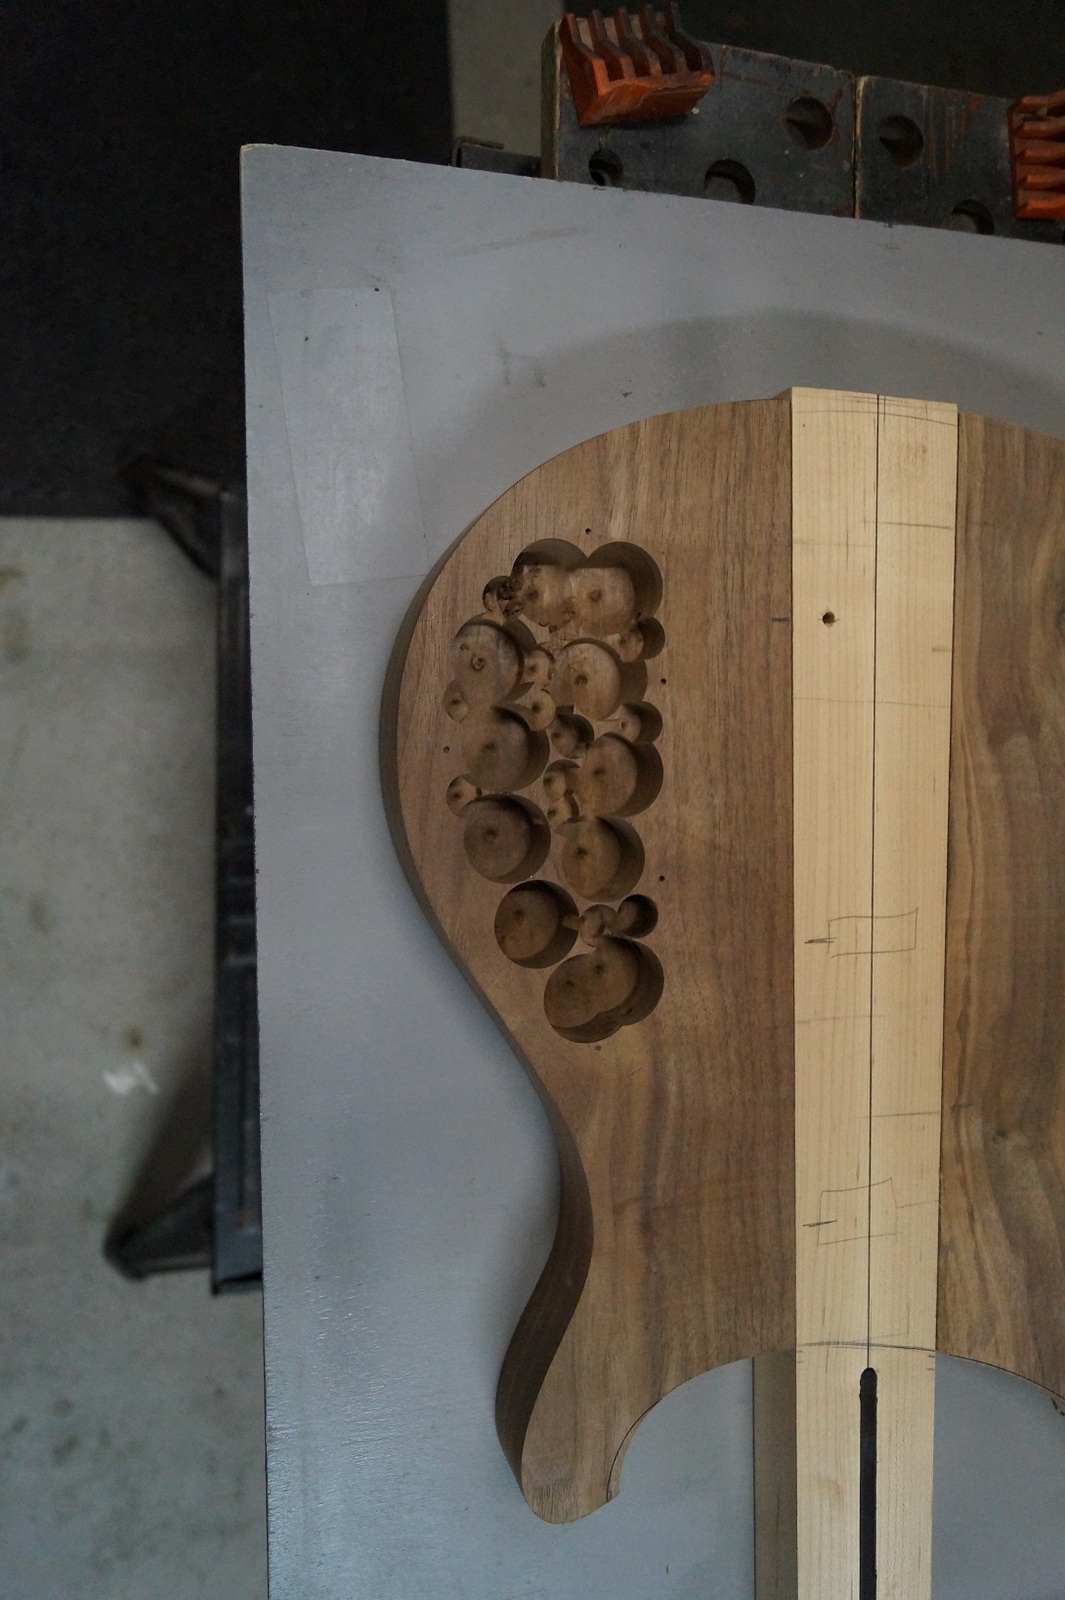
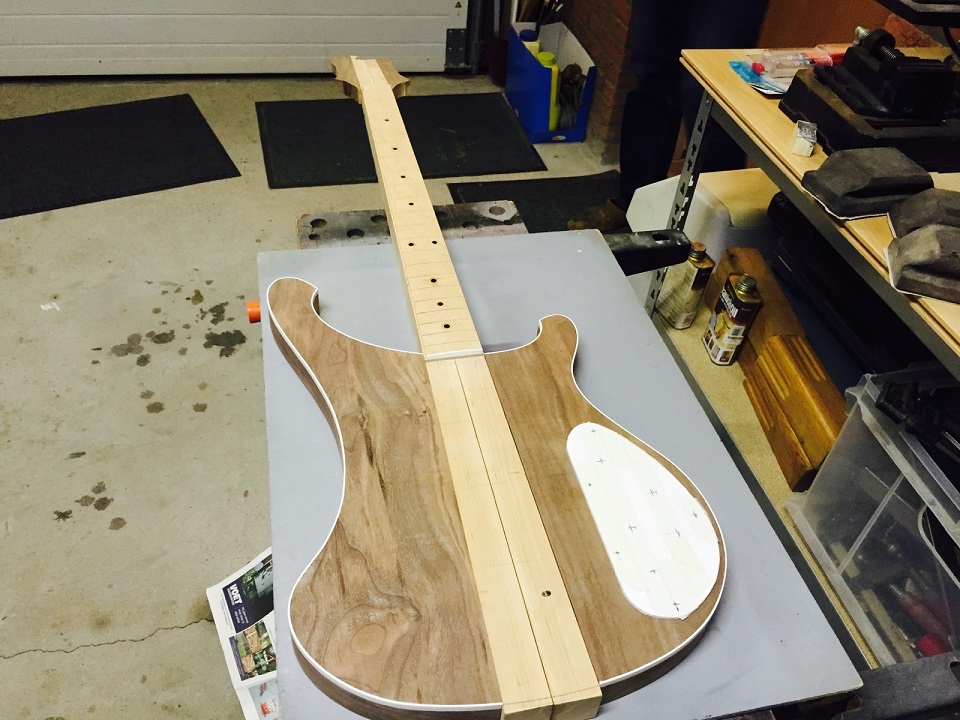
The cavity for the electronics has been made. It is covered by a pickguard.
I am not going to install a full pickguard, so you see more of the walnut ;-)
Then it was time for the binding on the body
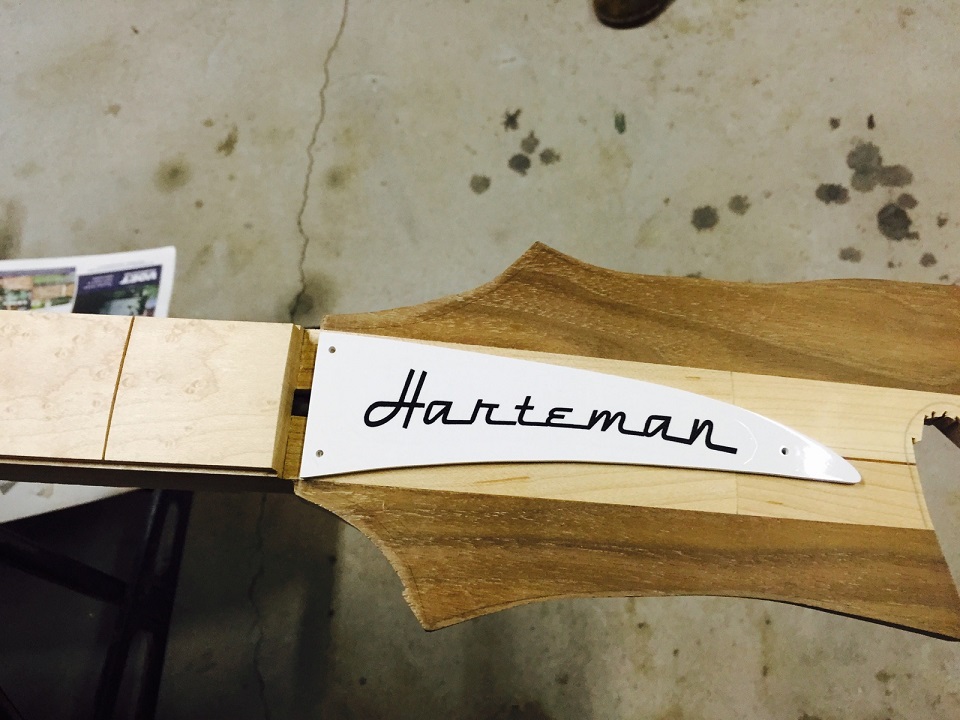
And a trussrod cover:
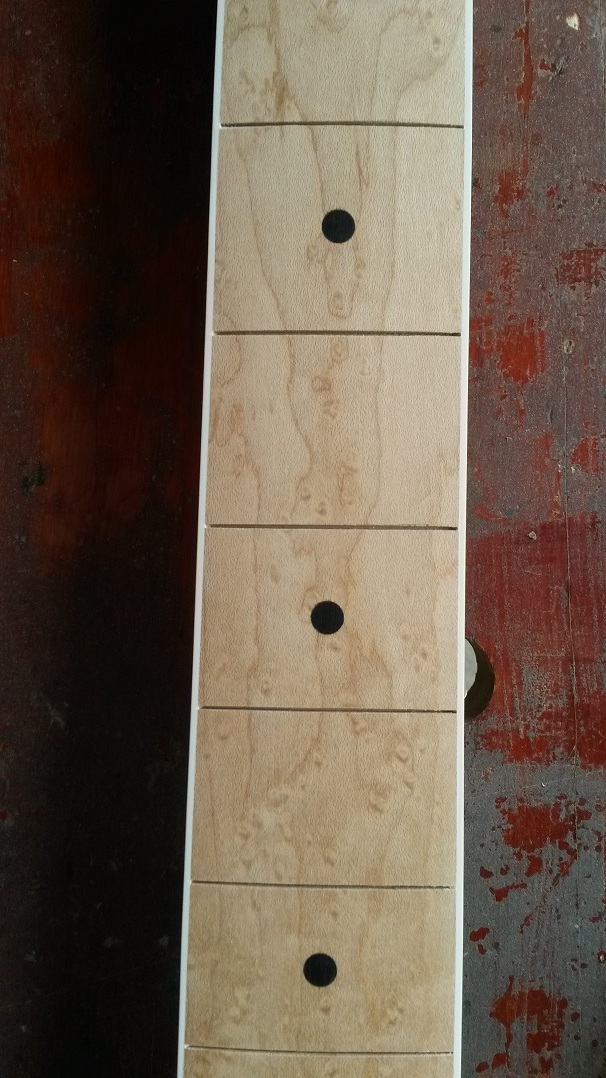
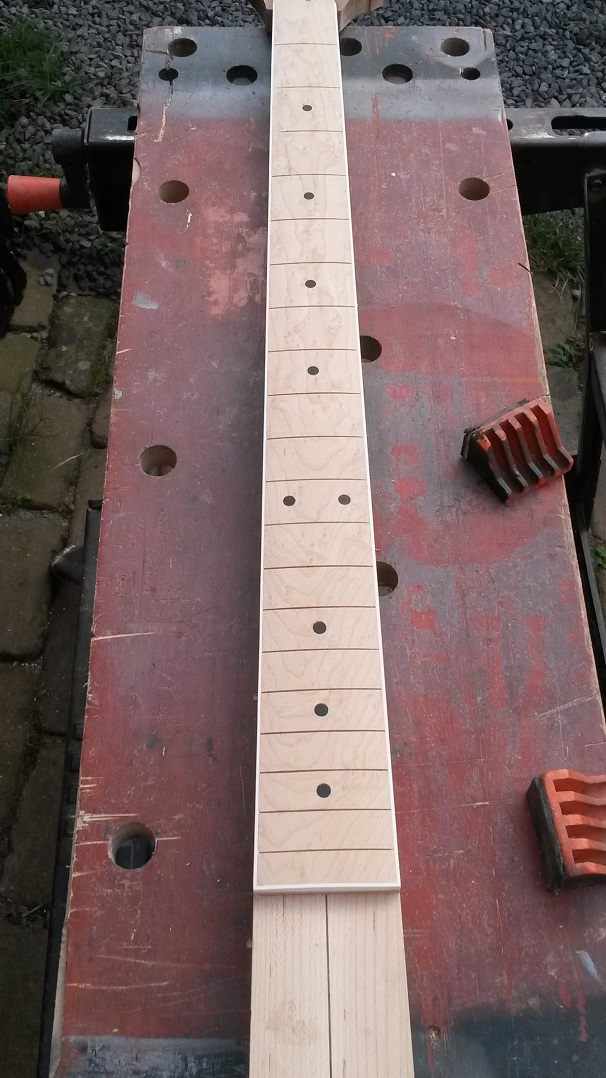
The fretboard is so beautiful (birds eye maple) that I don't want those triangle inlays.
Black dots is fine, so now it is a mix of the 4003w en 4003sw ;-)
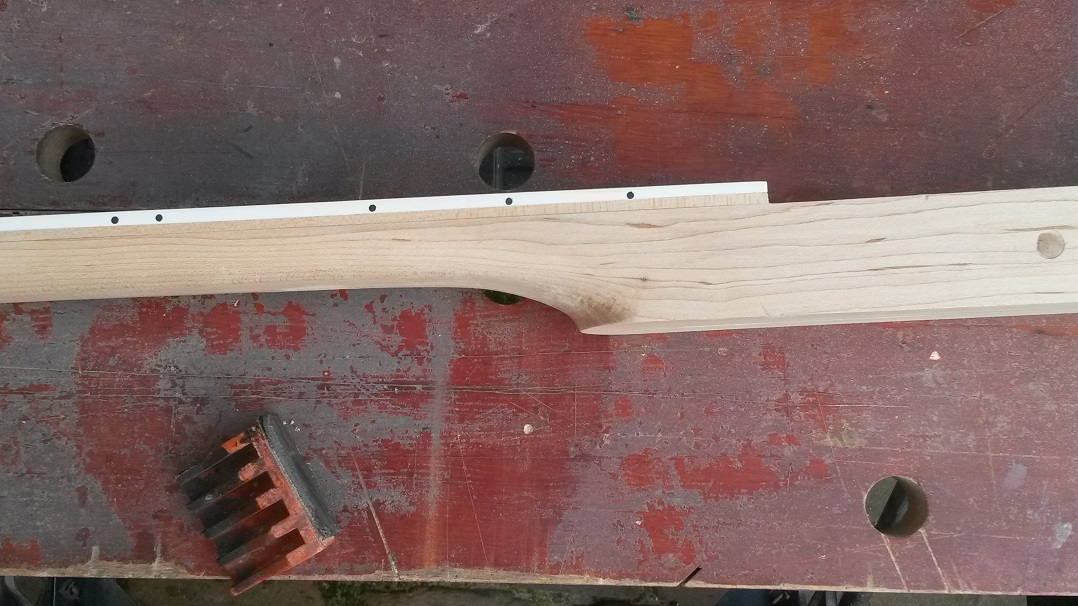
After that it was time for the profile of the neck:
More to come....
On request of a fellow TB'er I start this thread.
First I made a template of MDF for the body
And out of 2 pieces of walnut I cut out the two wings with the jigsaw.
Out of 1 beam of maple I made a laminated one with a veneer pinstripe.
All together it looks like this:
A few weeks later, the trussrod is installed.
The cavity for the electronics has been made. It is covered by a pickguard.
I am not going to install a full pickguard, so you see more of the walnut ;-)
Then it was time for the binding on the body
And a trussrod cover:
The fretboard is so beautiful (birds eye maple) that I don't want those triangle inlays.
Black dots is fine, so now it is a mix of the 4003w en 4003sw ;-)
After that it was time for the profile of the neck:
More to come....