
Enjoy the benefits of a premium membership!
Upgrade Account
-
TalkBass has been independent since 1998. Add your voice.
Create a free account to reply to discussions, view embedded media, and browse with fewer display ads.
Join free Log in
Want zero display ads or expanded classifieds tools? Compare plans.
You are using an out of date browser. It may not display this or other websites correctly.
You should upgrade or use an alternative browser.
You should upgrade or use an alternative browser.
Rickenbacker 4005 Copy
- Thread starter Betyouaint
- Start date
More options
Who Replied?
I have the problem of being left handed and wanting this bass. Obviously getting the original one is impossible (only one ever made lefty) so what should I do, make one or if not are there any good luthiers that good produce ne for a reasable price, cheers 


Sorry fellas... been off the job for over 5 years... time really does fly. I was gigging pretty hard and then I moved to the USA just over 2 years ago and sold most of my hardware on ebay. A few weeks ago, I found my body blank in some boxes in the basement and resurrected the project. I'll post some pics soon and try to find that dimension spreadsheet that a few people have requested.
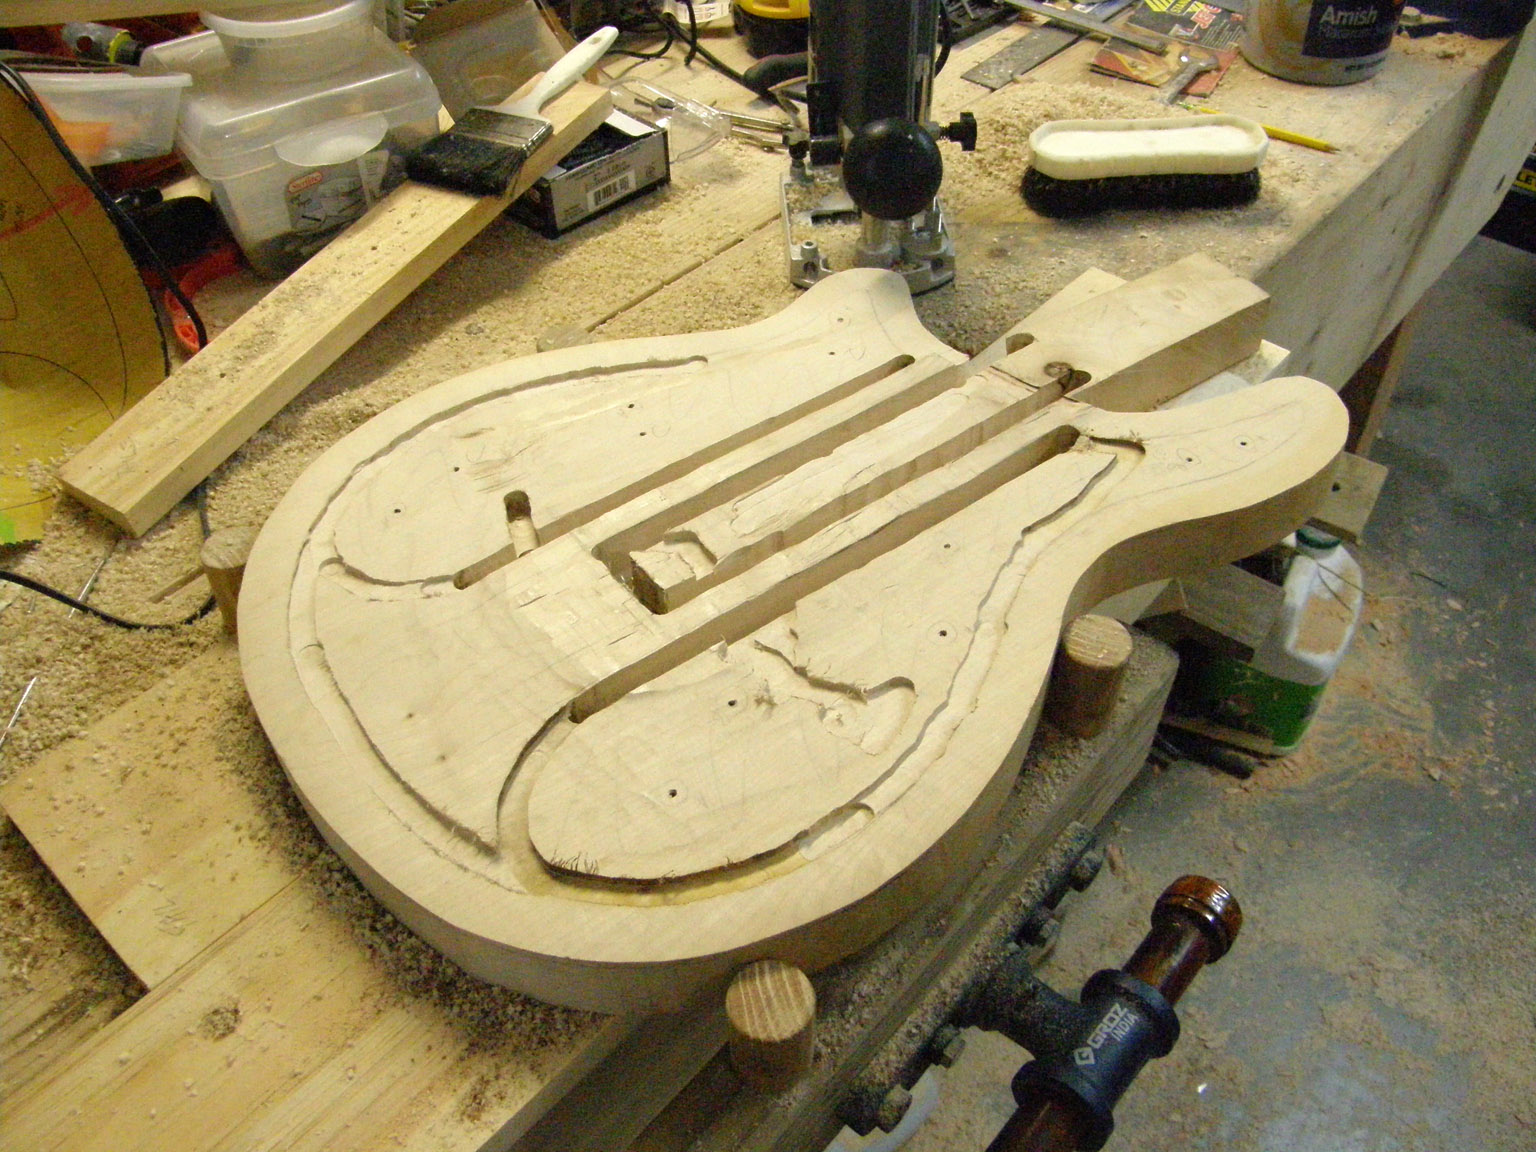
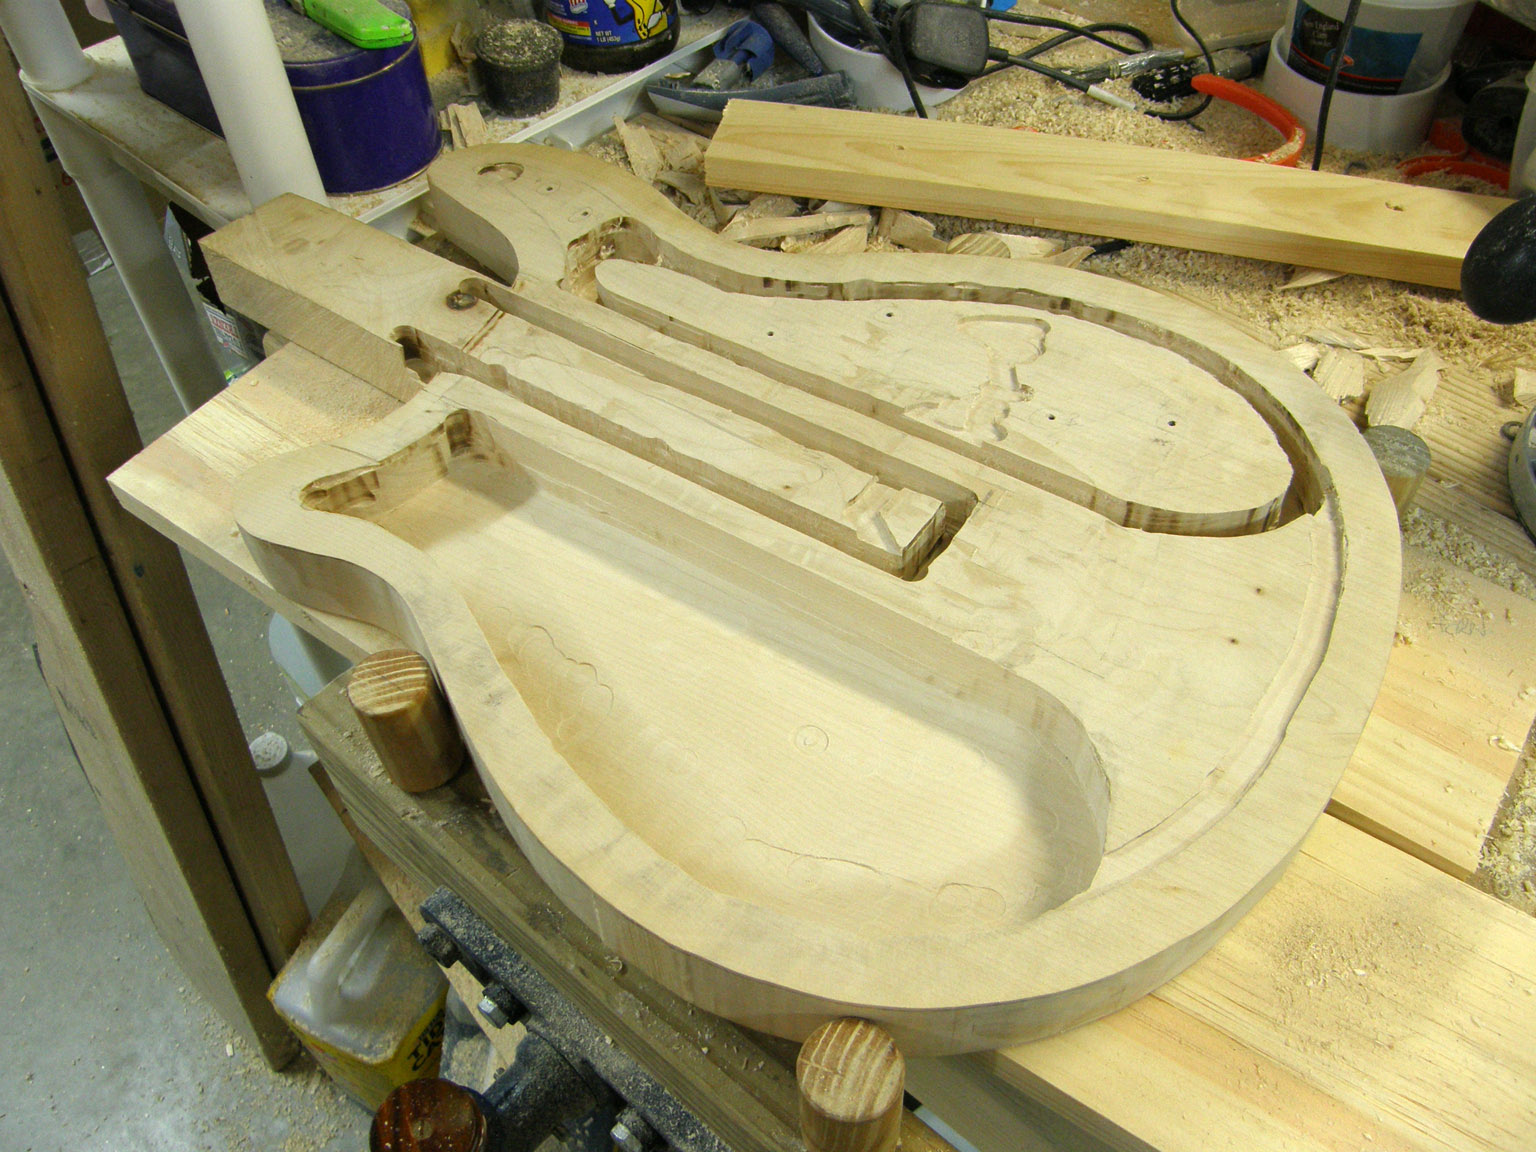
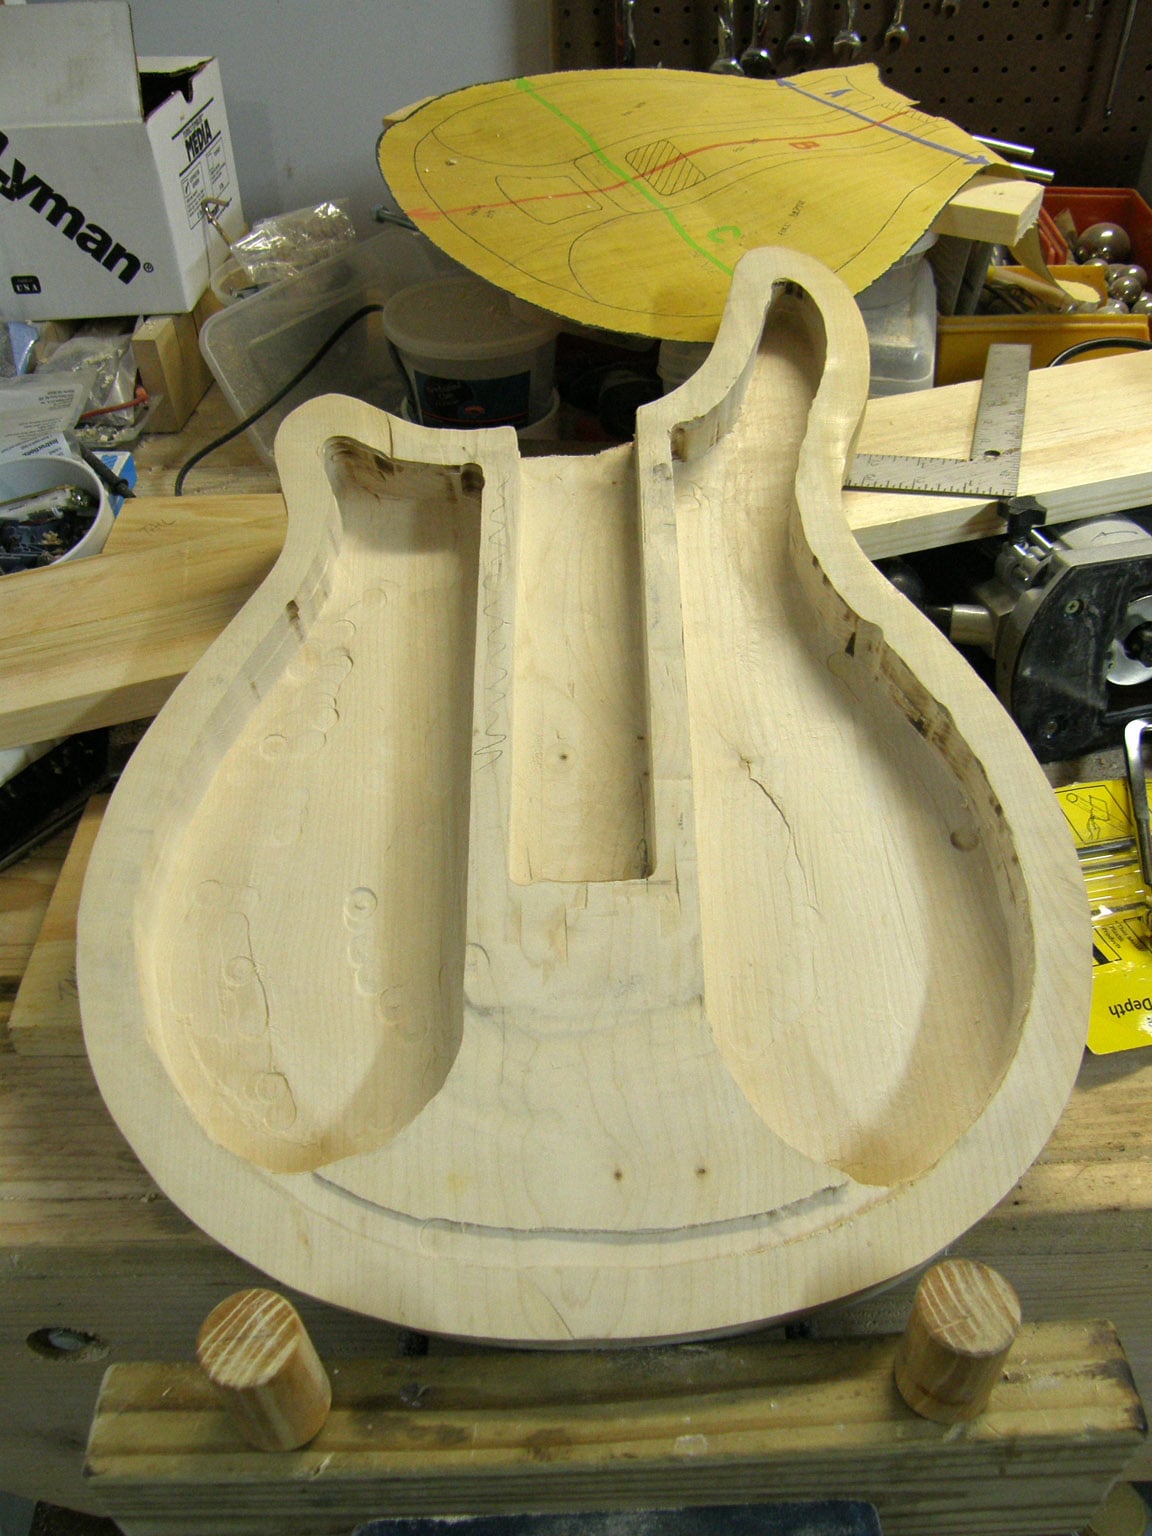
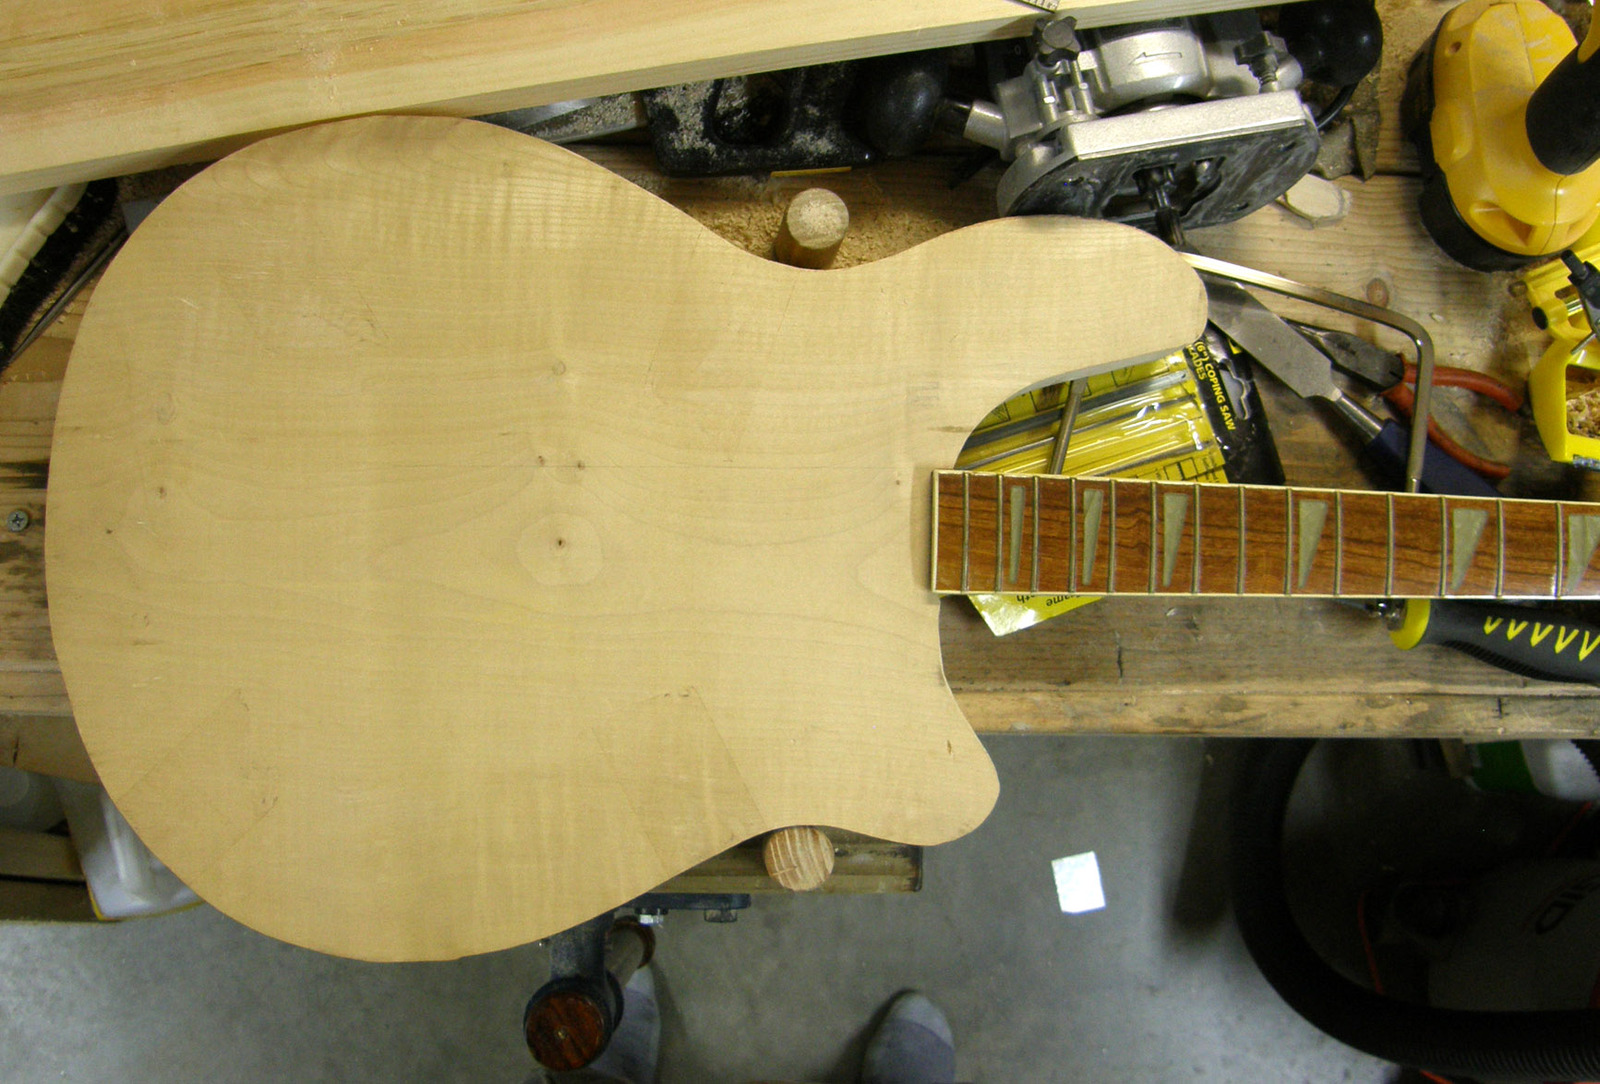
And the spreadsheet where i tried to work out the dimensions is here...
http://www.legoheads.com/mickenbacker/Dimensions.xls
There's a line of entries entitled "actual values". I think these are the "actual values" I ended up using for my body and NOT the actual values as measured from a physical 4005. If I had access to one I wouldn't have had to apply all this guesswork.
http://www.legoheads.com/mickenbacker/Dimensions.xls
There's a line of entries entitled "actual values". I think these are the "actual values" I ended up using for my body and NOT the actual values as measured from a physical 4005. If I had access to one I wouldn't have had to apply all this guesswork.
Just ordered some hard maple (rock maple) for the neck from these guys...
Invalid Link Removed
Not a luthier supply, but much cheaper. I'm fairly sure I'm going with Jet-Glo finish so figuring is not really an issue.
Invalid Link Removed
Not a luthier supply, but much cheaper. I'm fairly sure I'm going with Jet-Glo finish so figuring is not really an issue.
Pickups arrived today...
That sound hole is way too big. It will shrink down a bit when I add the binding but it's at least half an inch too long. Also did the design for the custom tail-piece
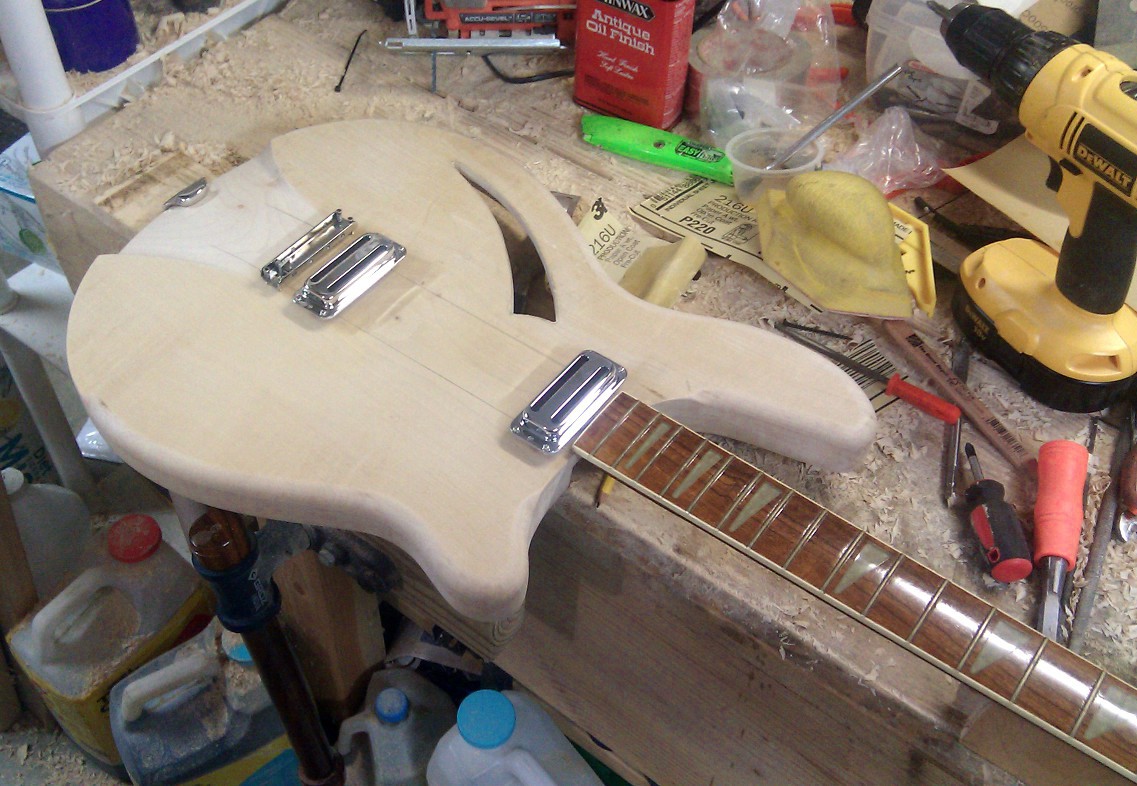
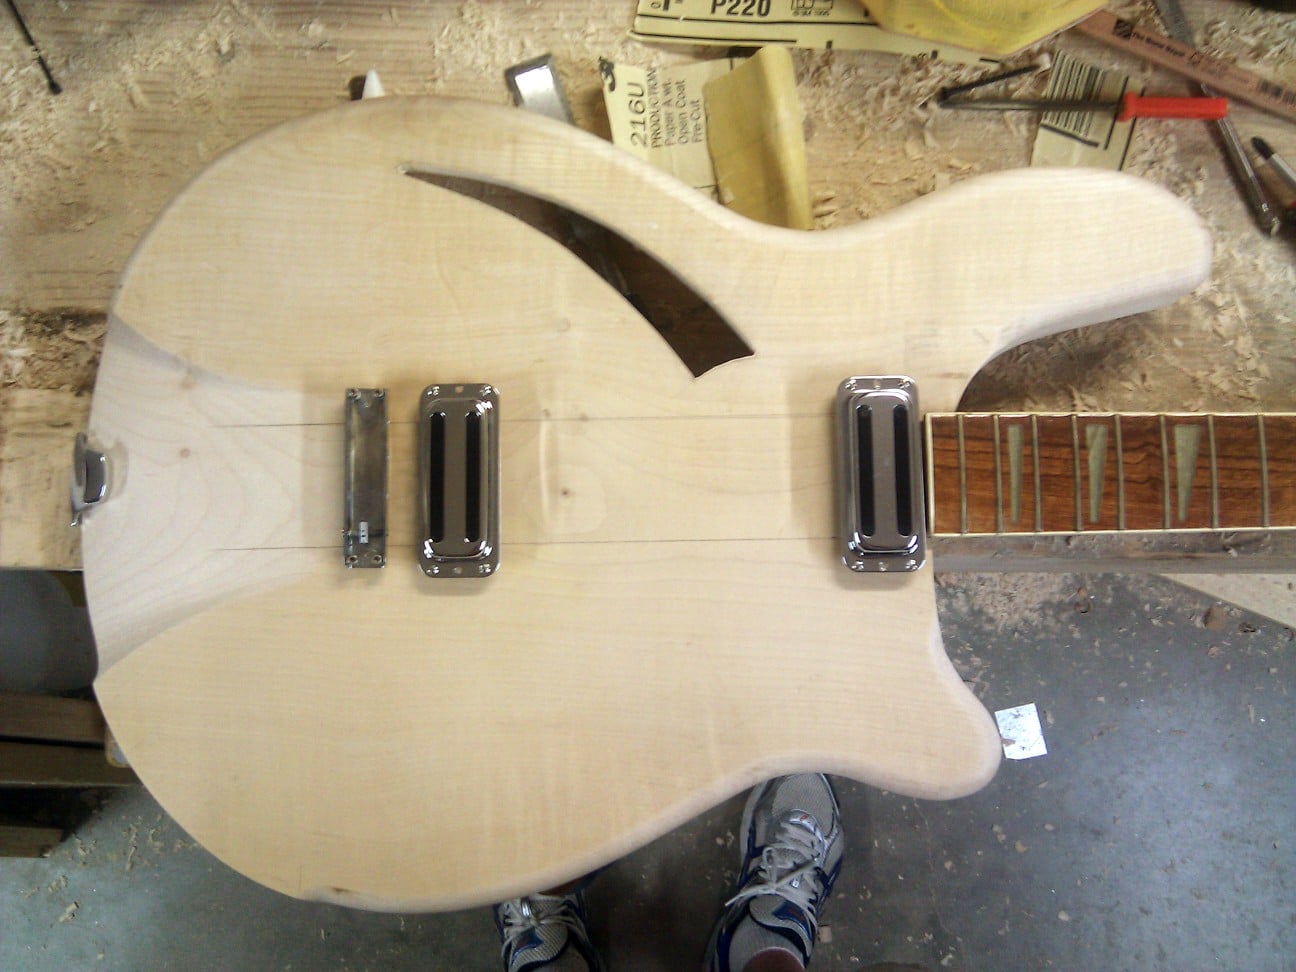
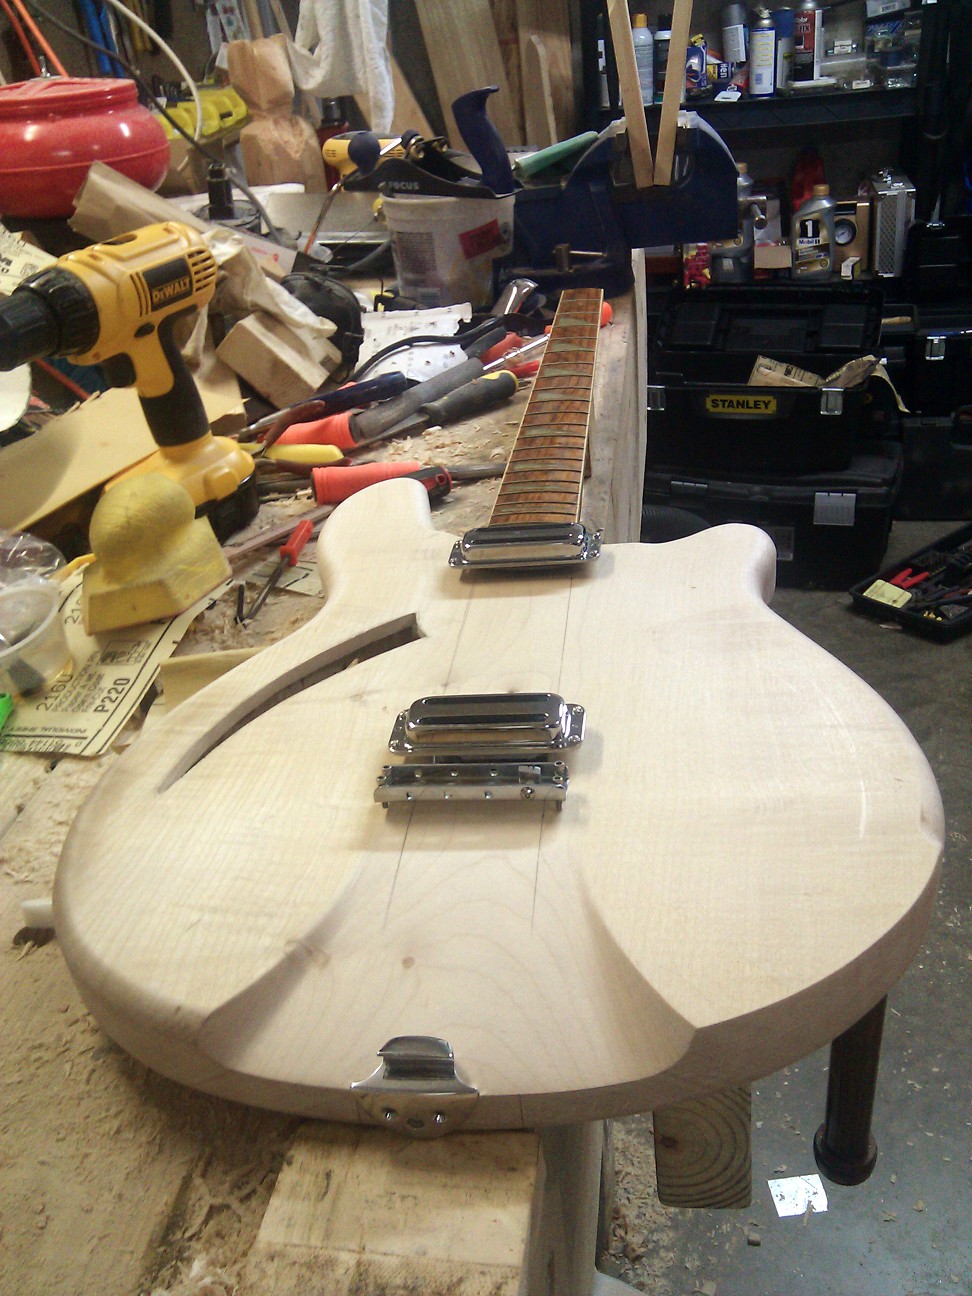
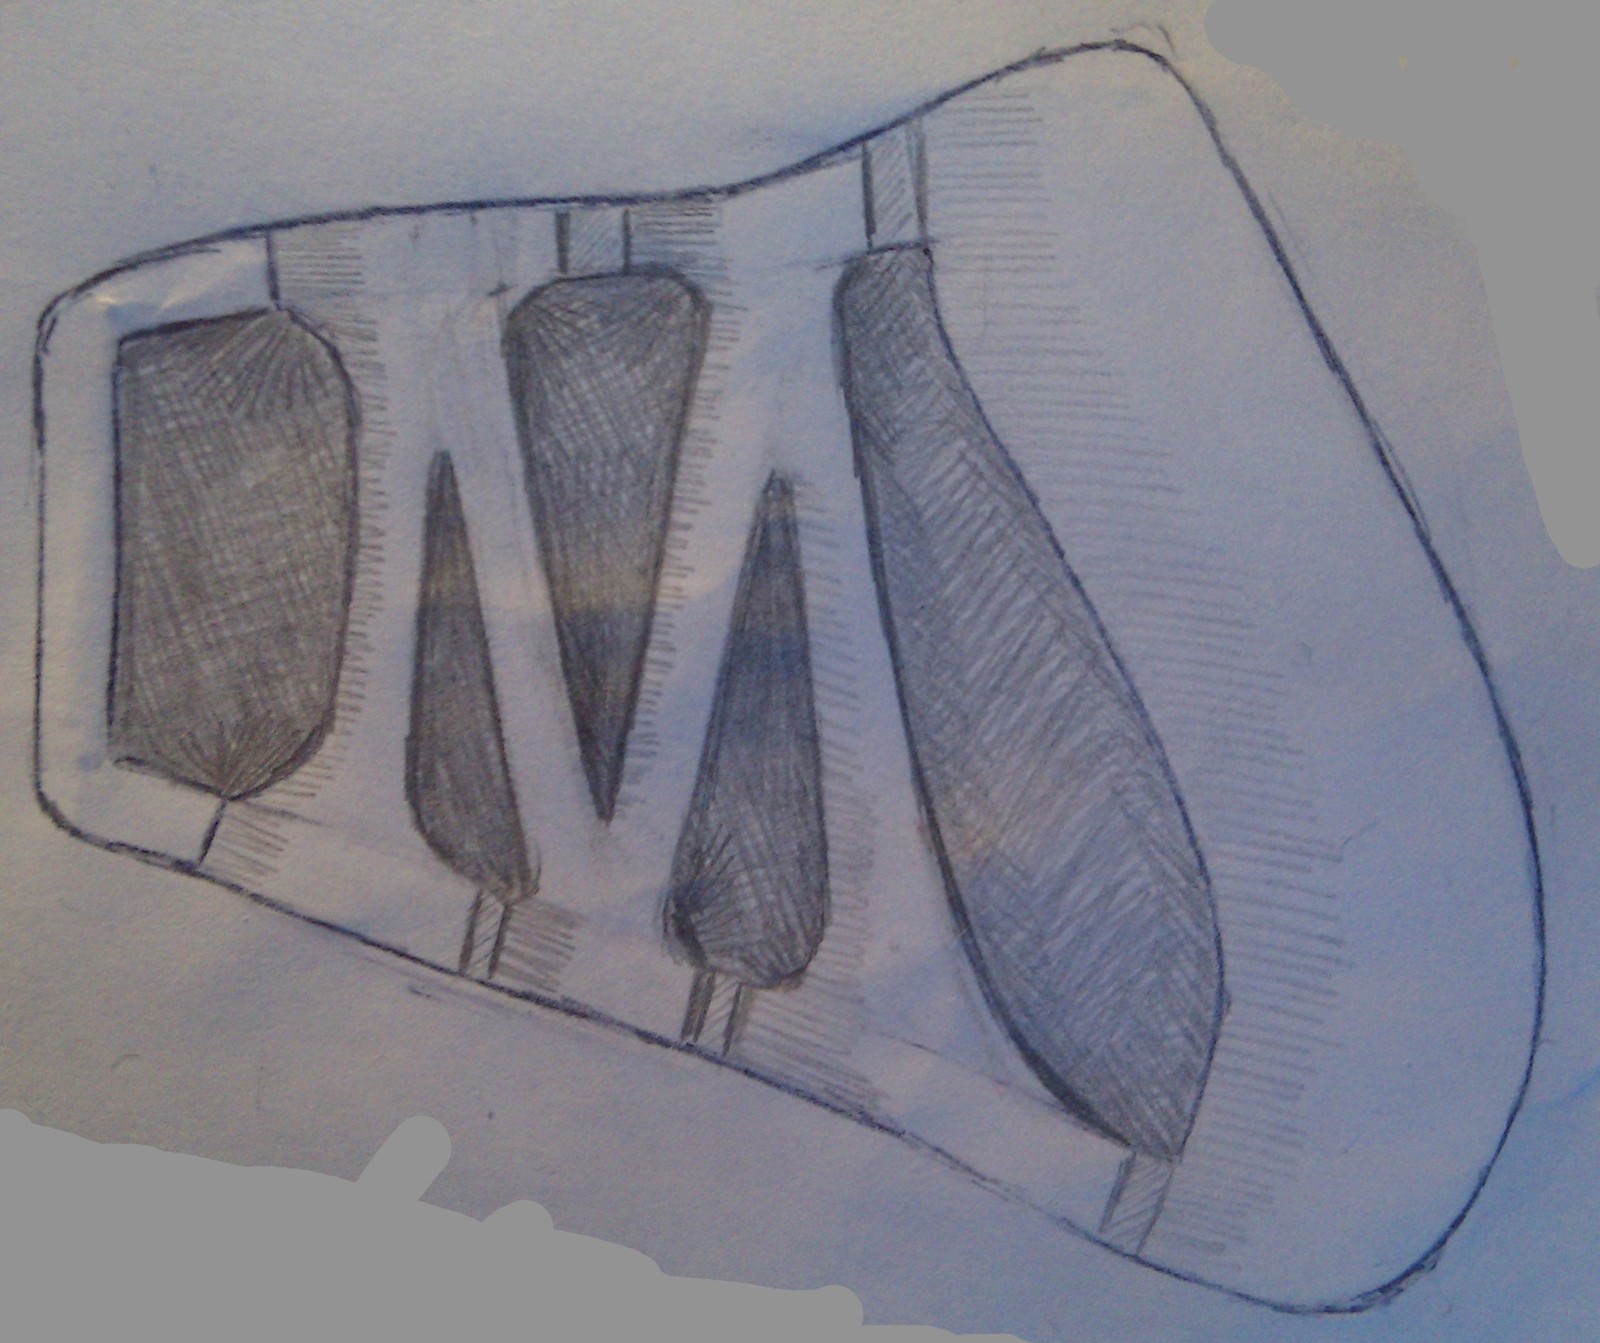
That sound hole is way too big. It will shrink down a bit when I add the binding but it's at least half an inch too long. Also did the design for the custom tail-piece



- Apr 18, 2008
- 16,011
- 1
- 31,719
- Disclosures
- I'm highly opinionated and extremely self-assured
Ordered a chunk of hard maple from woodworkerssource.com but my understanding (or lack of it - I'm originally from the UK) of "board feet" meant the piece I received was only 2ft long and not the 4ft length I required. I then found a local merchant, Northland Forest Products in Kingston, NH where I hand selected my own enormous piece of hard maple, 8' x 8" x 4". From this I plan to make at least 4 blanks as I figure I'll screw at least one or two of them up as I experiment with neck construction. I've also been doing a lot of reading on truss rods and I think I'm gonna make them myself based on the original 4005 design.
Here's some more pix...
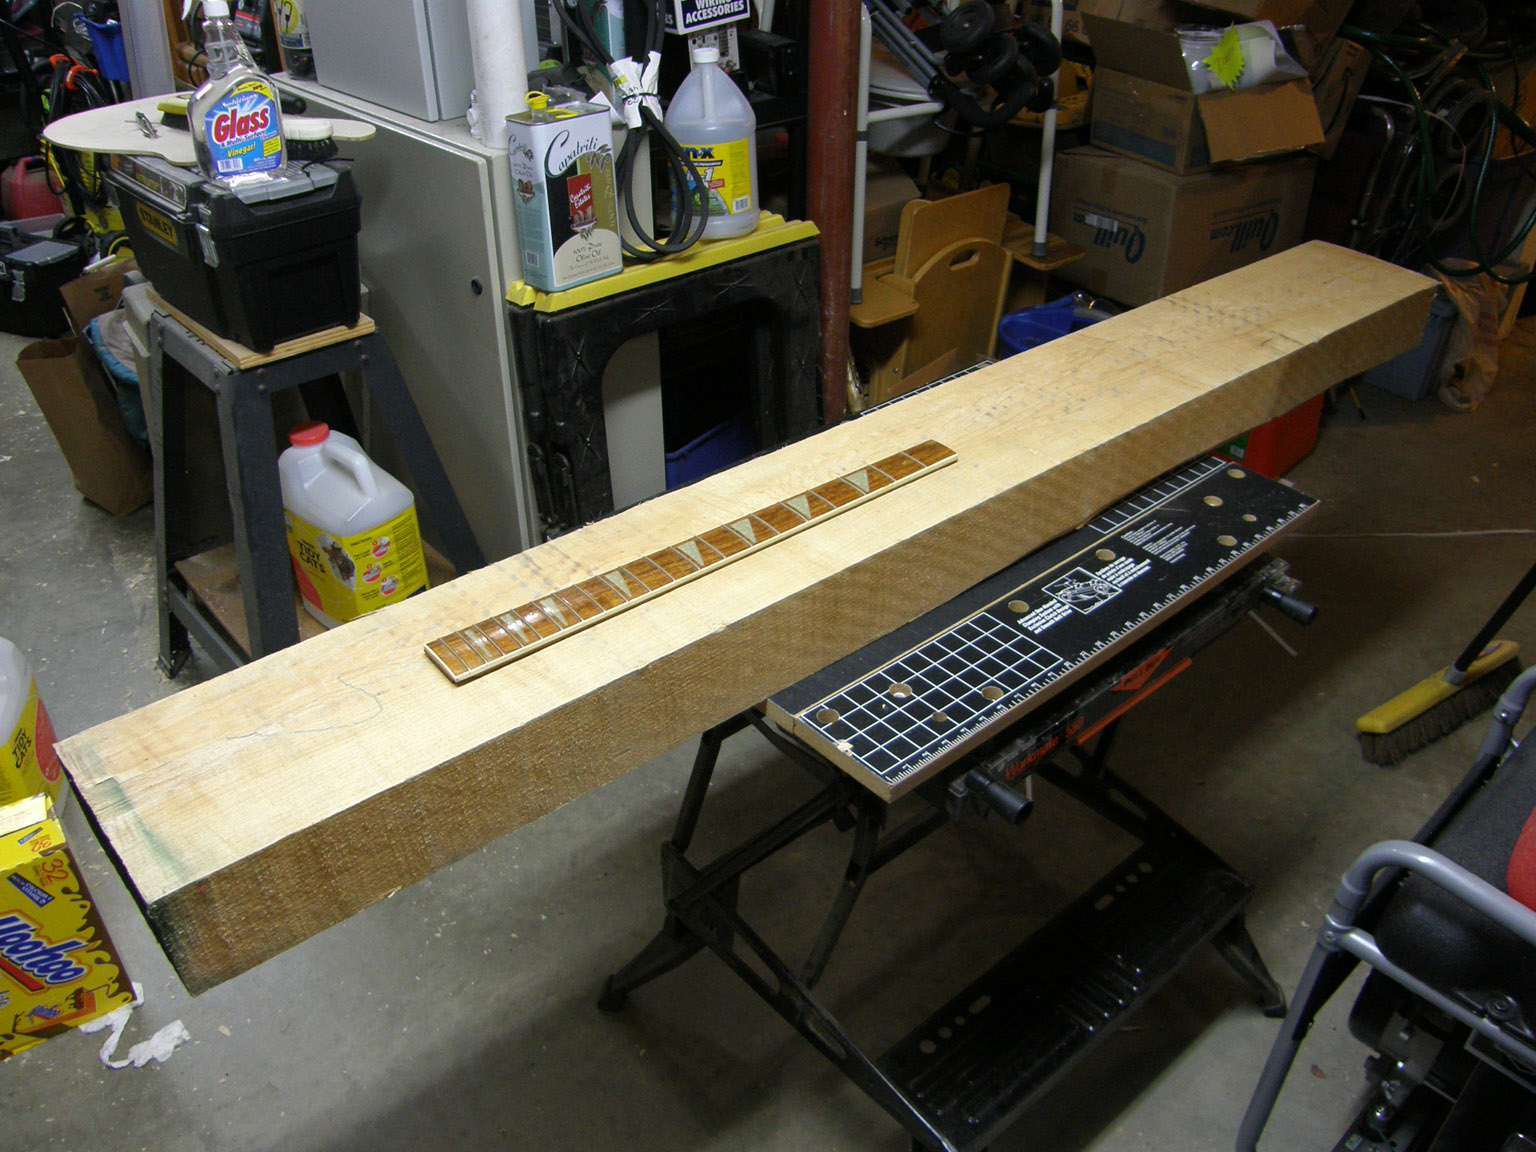
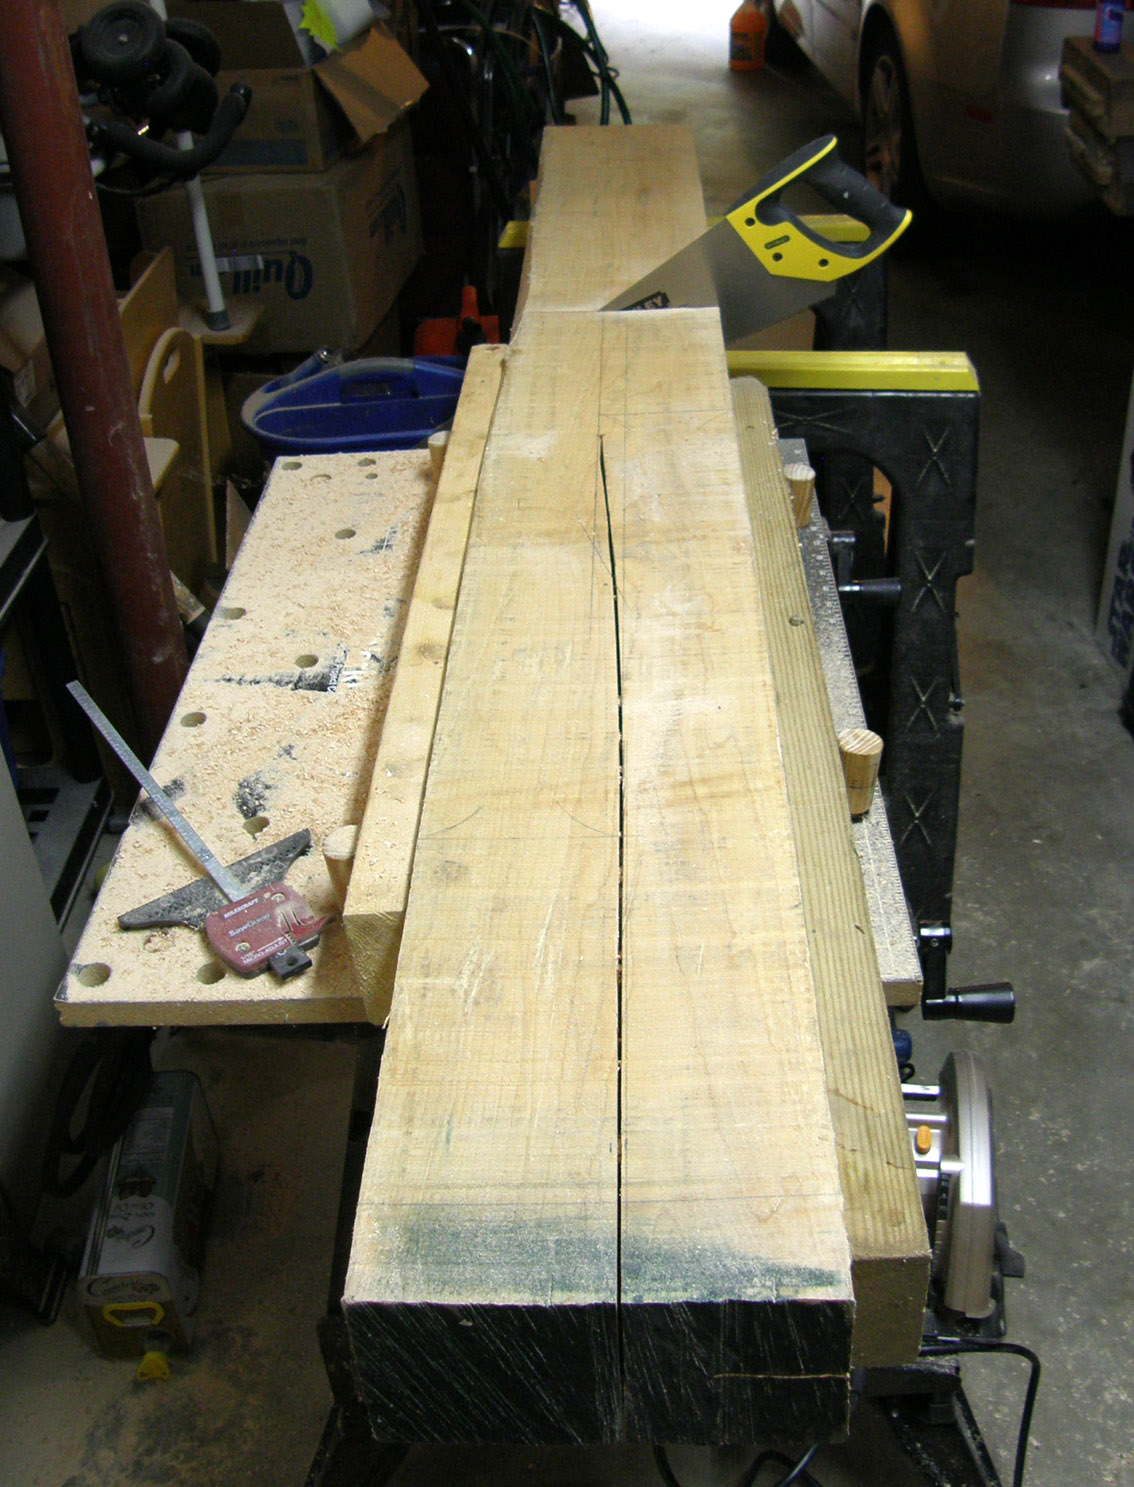
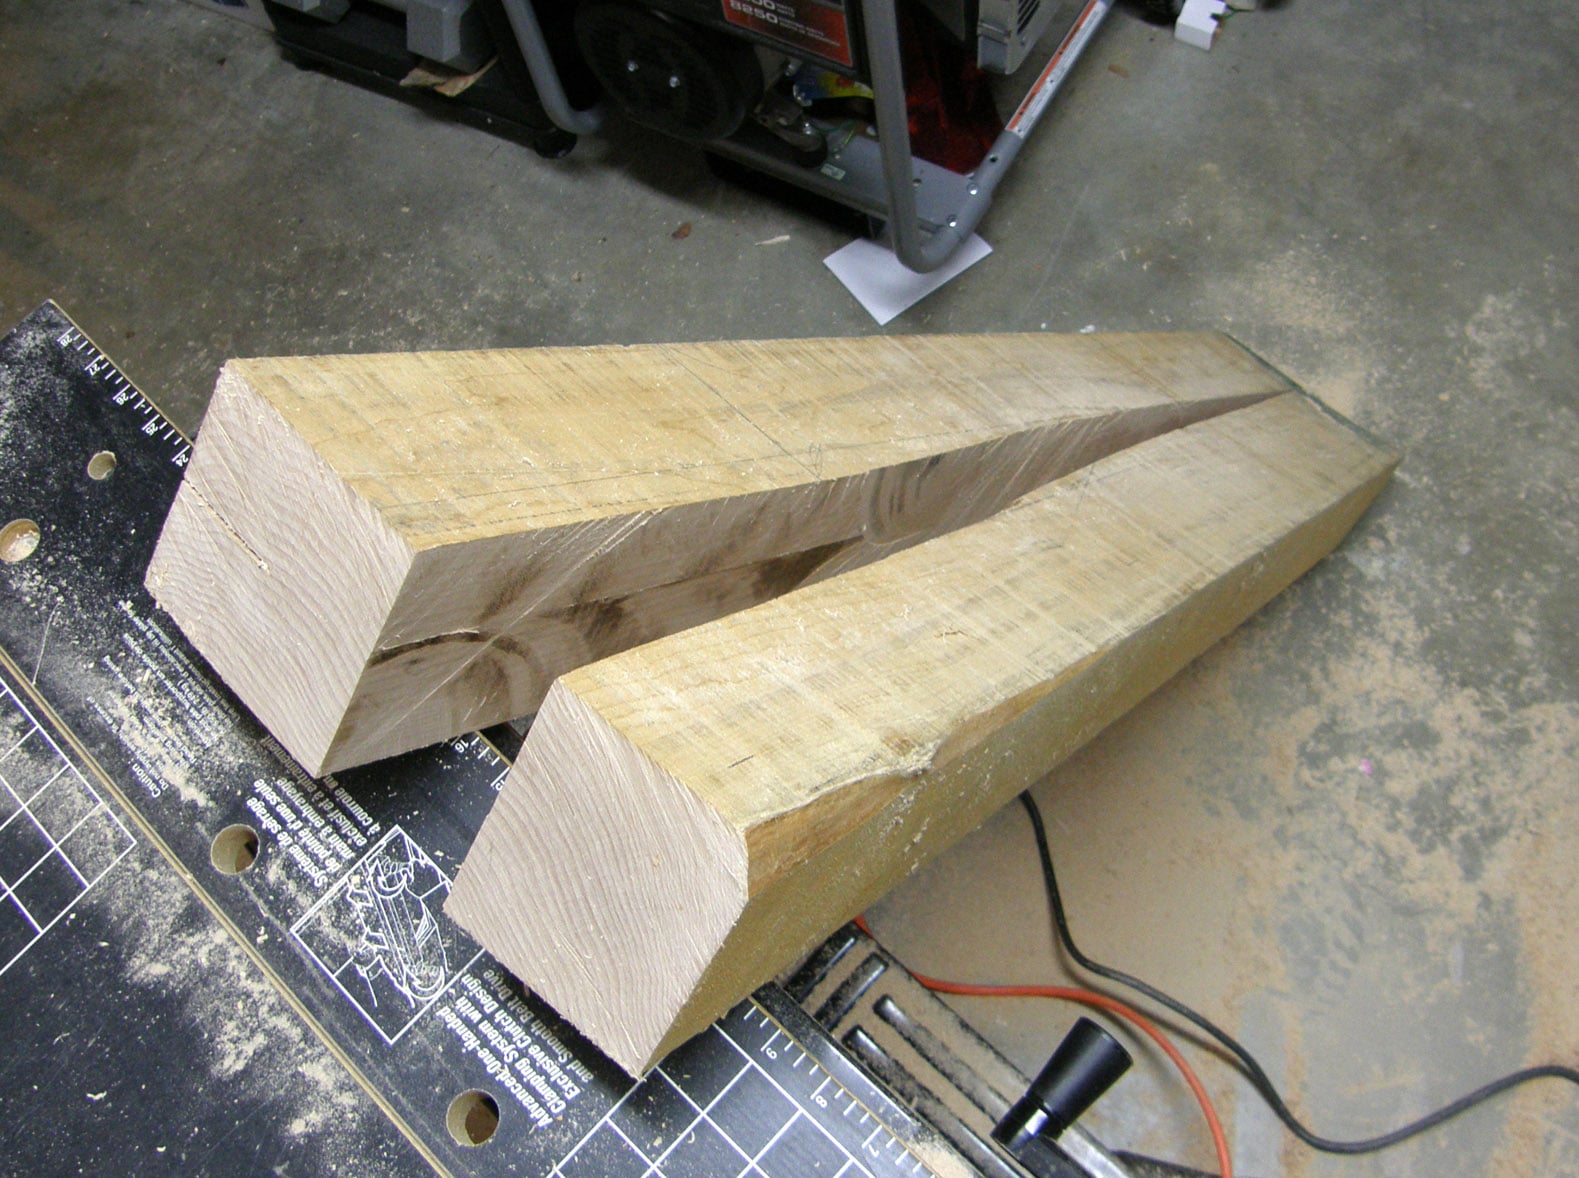
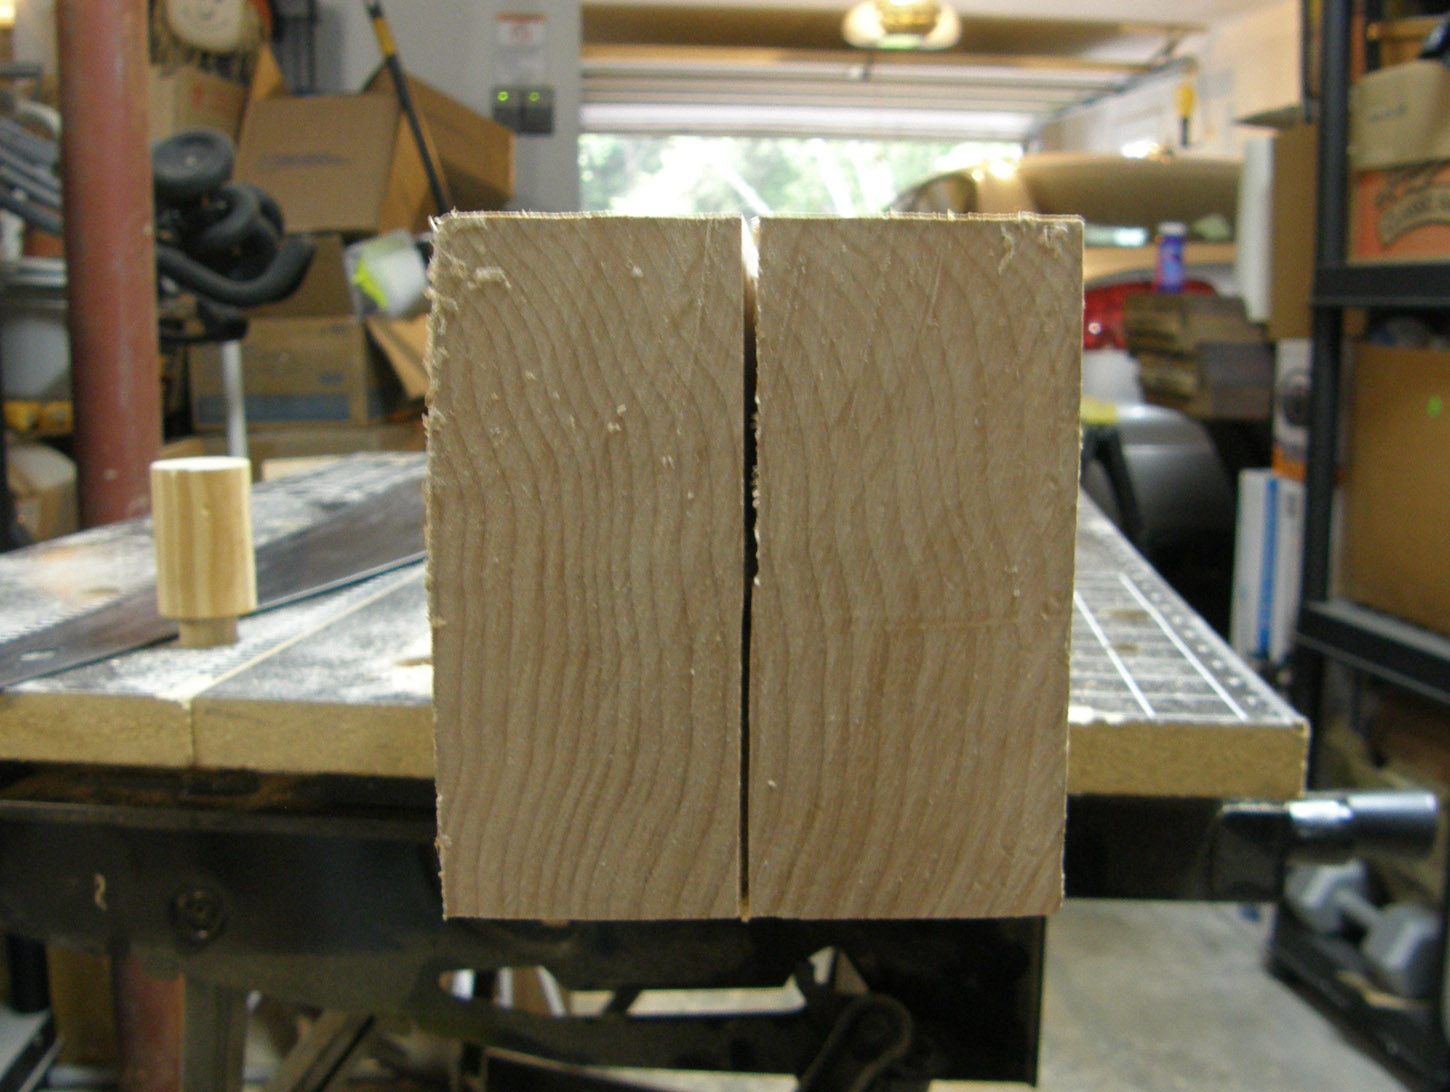
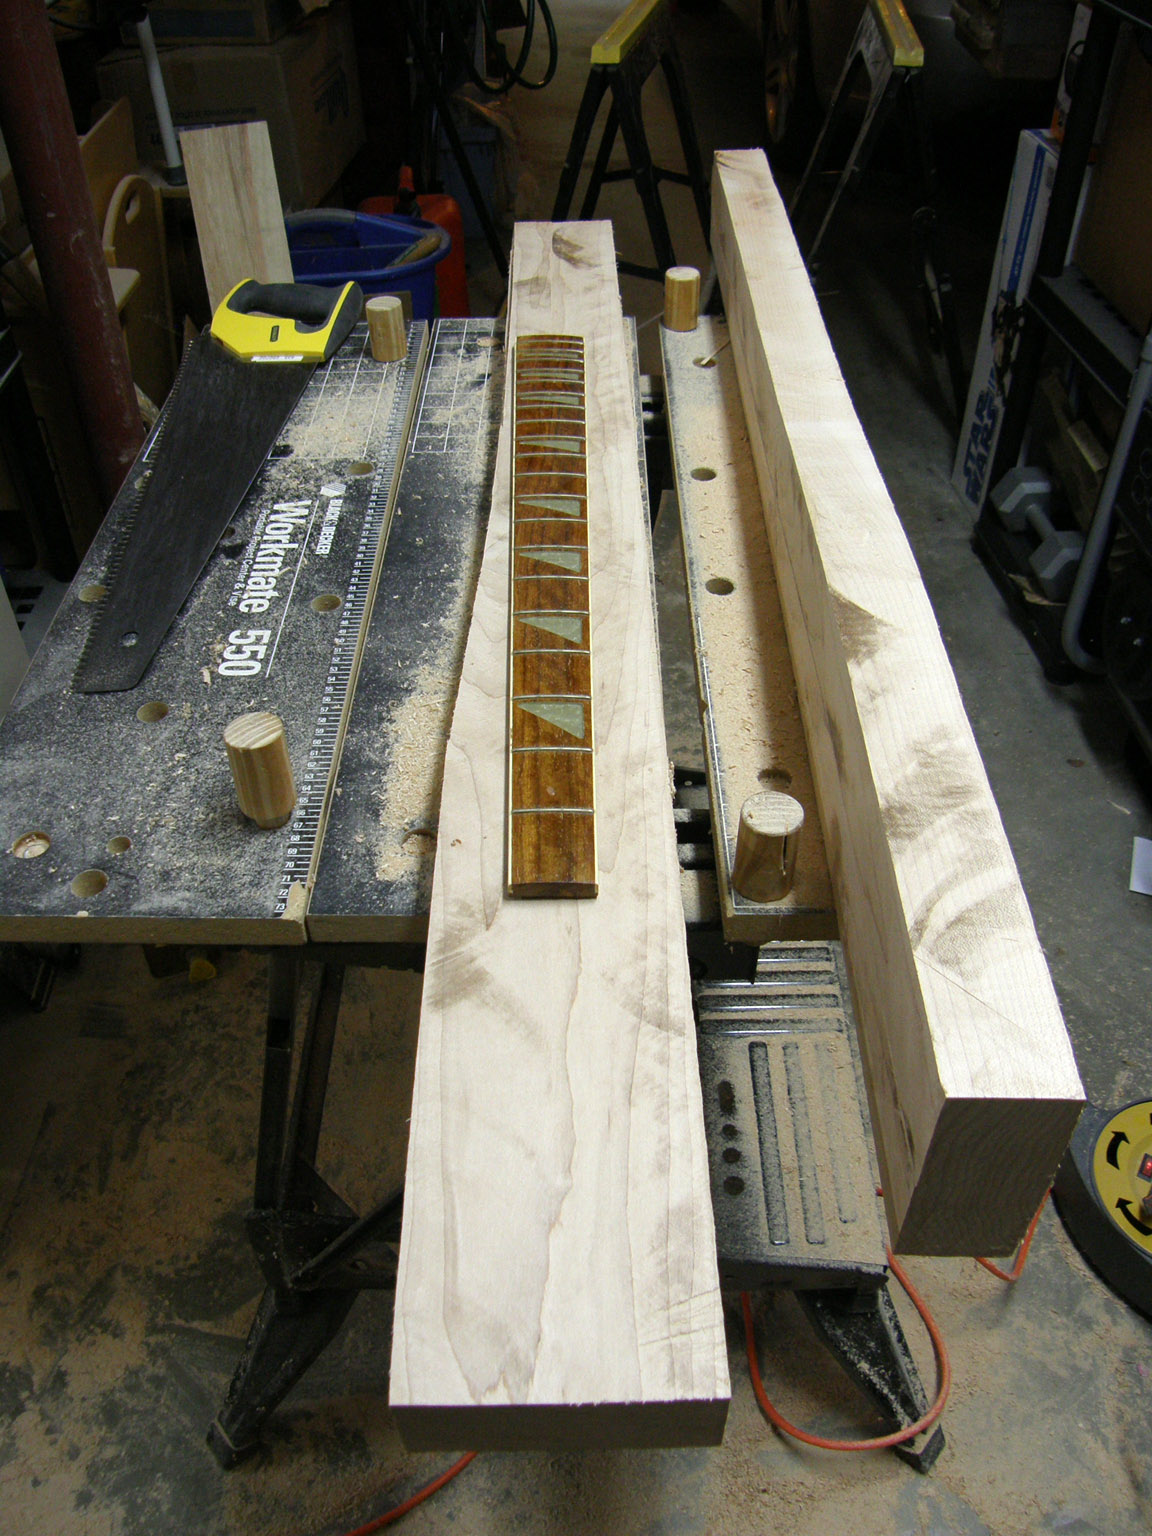
Here's some more pix...
Also, there's an AutoCAD file that I used to determine the layout of the blanks on the wood. It's scaled in millimeters.
http://www.legoheads.com/mickenbacker/mickenbackerneck01.dwg
Please note: Although the neck profile (taper) is based on my 4003 and the Rickenbacker fretboard I'll be using, the heel and neck-thru parts are custom dimensioned to fit my body. Also, the angle of the head is estimated.
http://www.legoheads.com/mickenbacker/mickenbackerneck01.dwg
Please note: Although the neck profile (taper) is based on my 4003 and the Rickenbacker fretboard I'll be using, the heel and neck-thru parts are custom dimensioned to fit my body. Also, the angle of the head is estimated.
First disaster today. I started work on the neck and routed out the part of the neck that slots into the body. On test fitting the neck into the pocket I pushed a little to hard before I had removed enough material and managed to crack the front face of the body. Nothing that can't be repaired but a lesson to be learned for future projects; interference fit works good with metal, not so well with wood...!!!
I also routed out the tail section of the body prior to cracking it...


I also routed out the tail section of the body prior to cracking it...
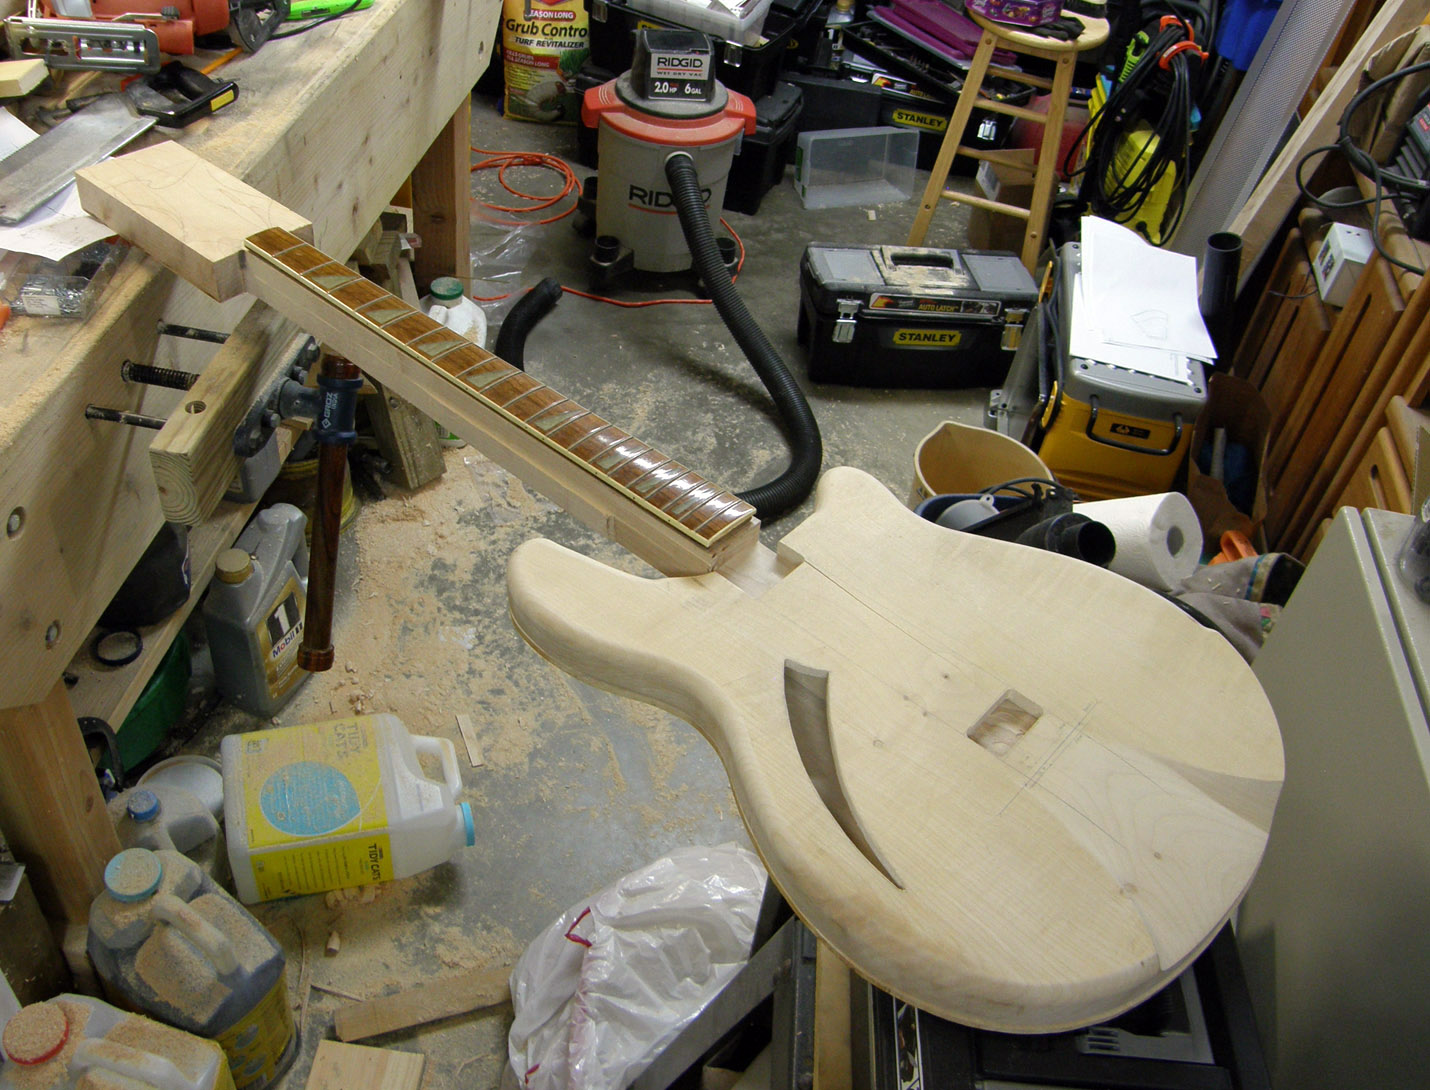
Today I did some more work on the neck, routing out the basic profile on the top face and rough cutting the rest. Unfortunately, I neglected to route the channels for the truss rods while I still had the "waste wood" to pin the guide strips to. Now I've cut away the waste, I'm gonna need a cunning plan to achieve this. On the upside, it's finally starting to look like a guitar...


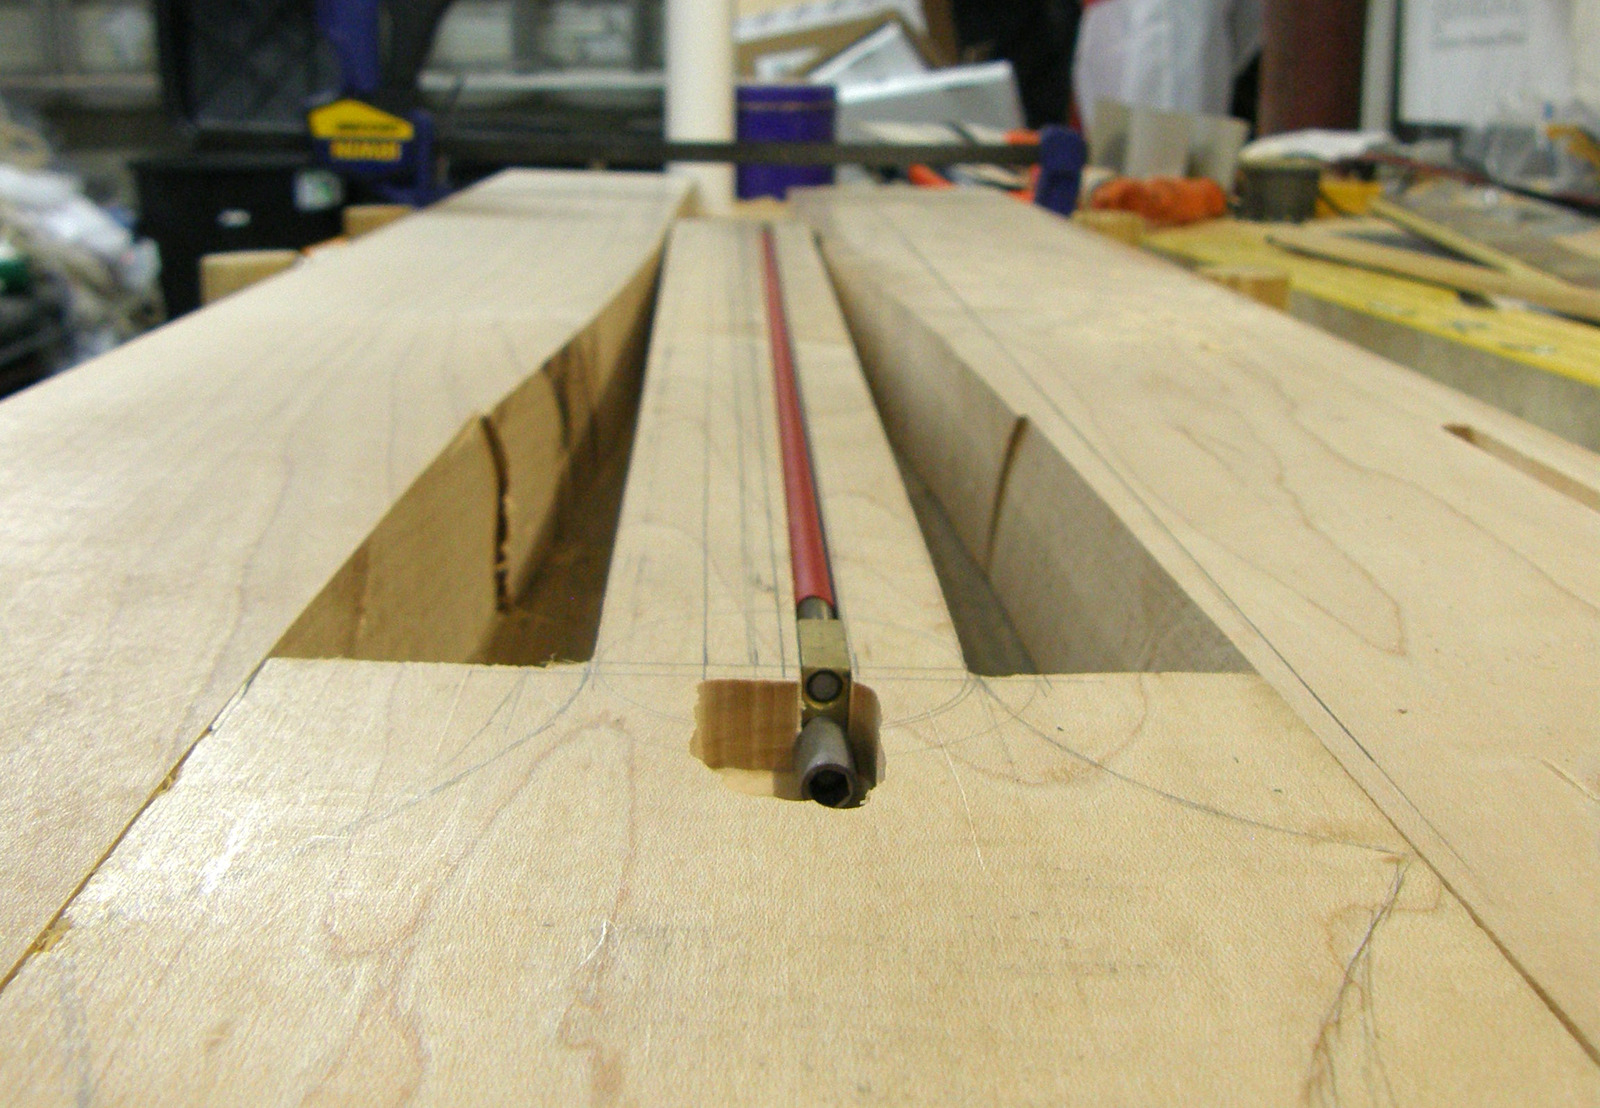
Last week, I used a friend's bandsaw to remove material from the back of the neck ready for shaping. However, before I could start on profiling the neck, I had to make a jig to route the truss rod channels. I should have done this before removing the material from either side of the neck but the plan which exists only in my head got scrambled and hence no truss rod channels. I was tempted to throw in a single rod but I've already compromised more than enough in this homage to the 4005. The least I could do was to go with the dual setup. That said, I did cheat slightly and bought a pair of HotRod dual action rods. Is this the first dual-dual action neck out there I wonder...? Anyhow... here are some photos of the rods channels being routed and the rods snugly fitted into place...

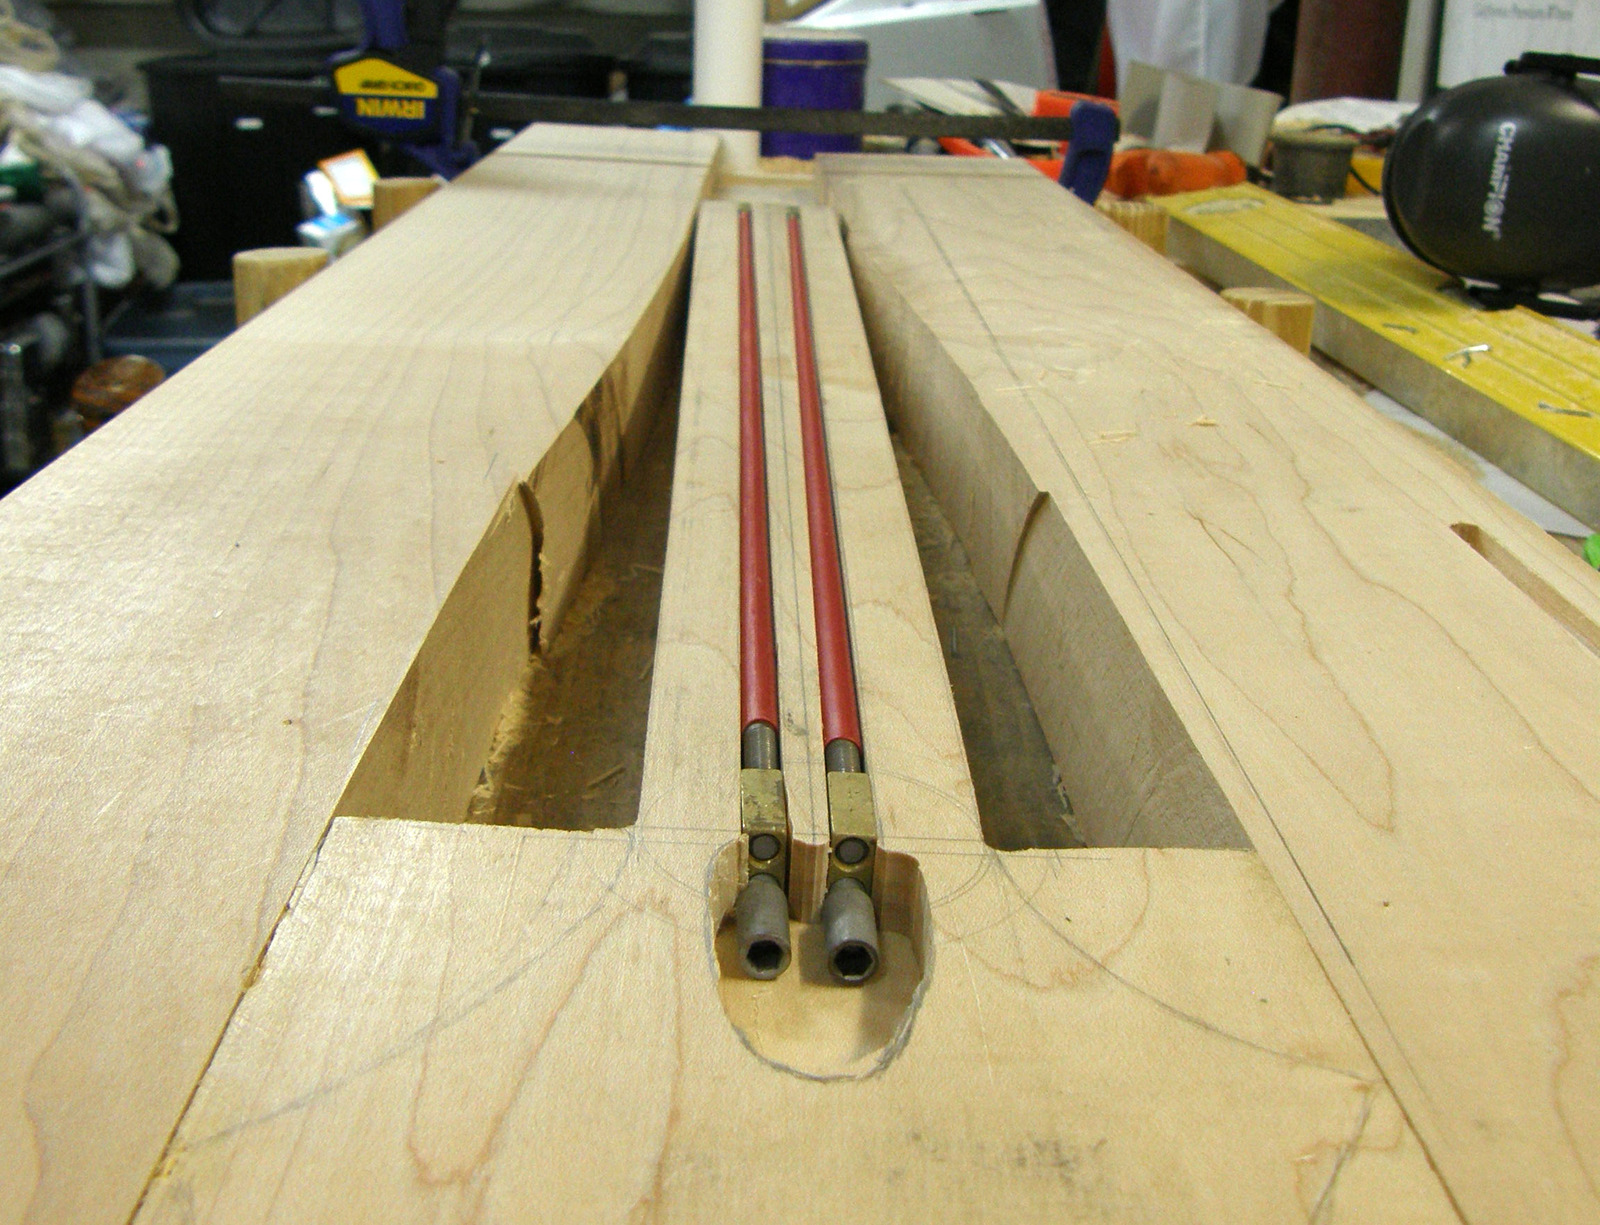
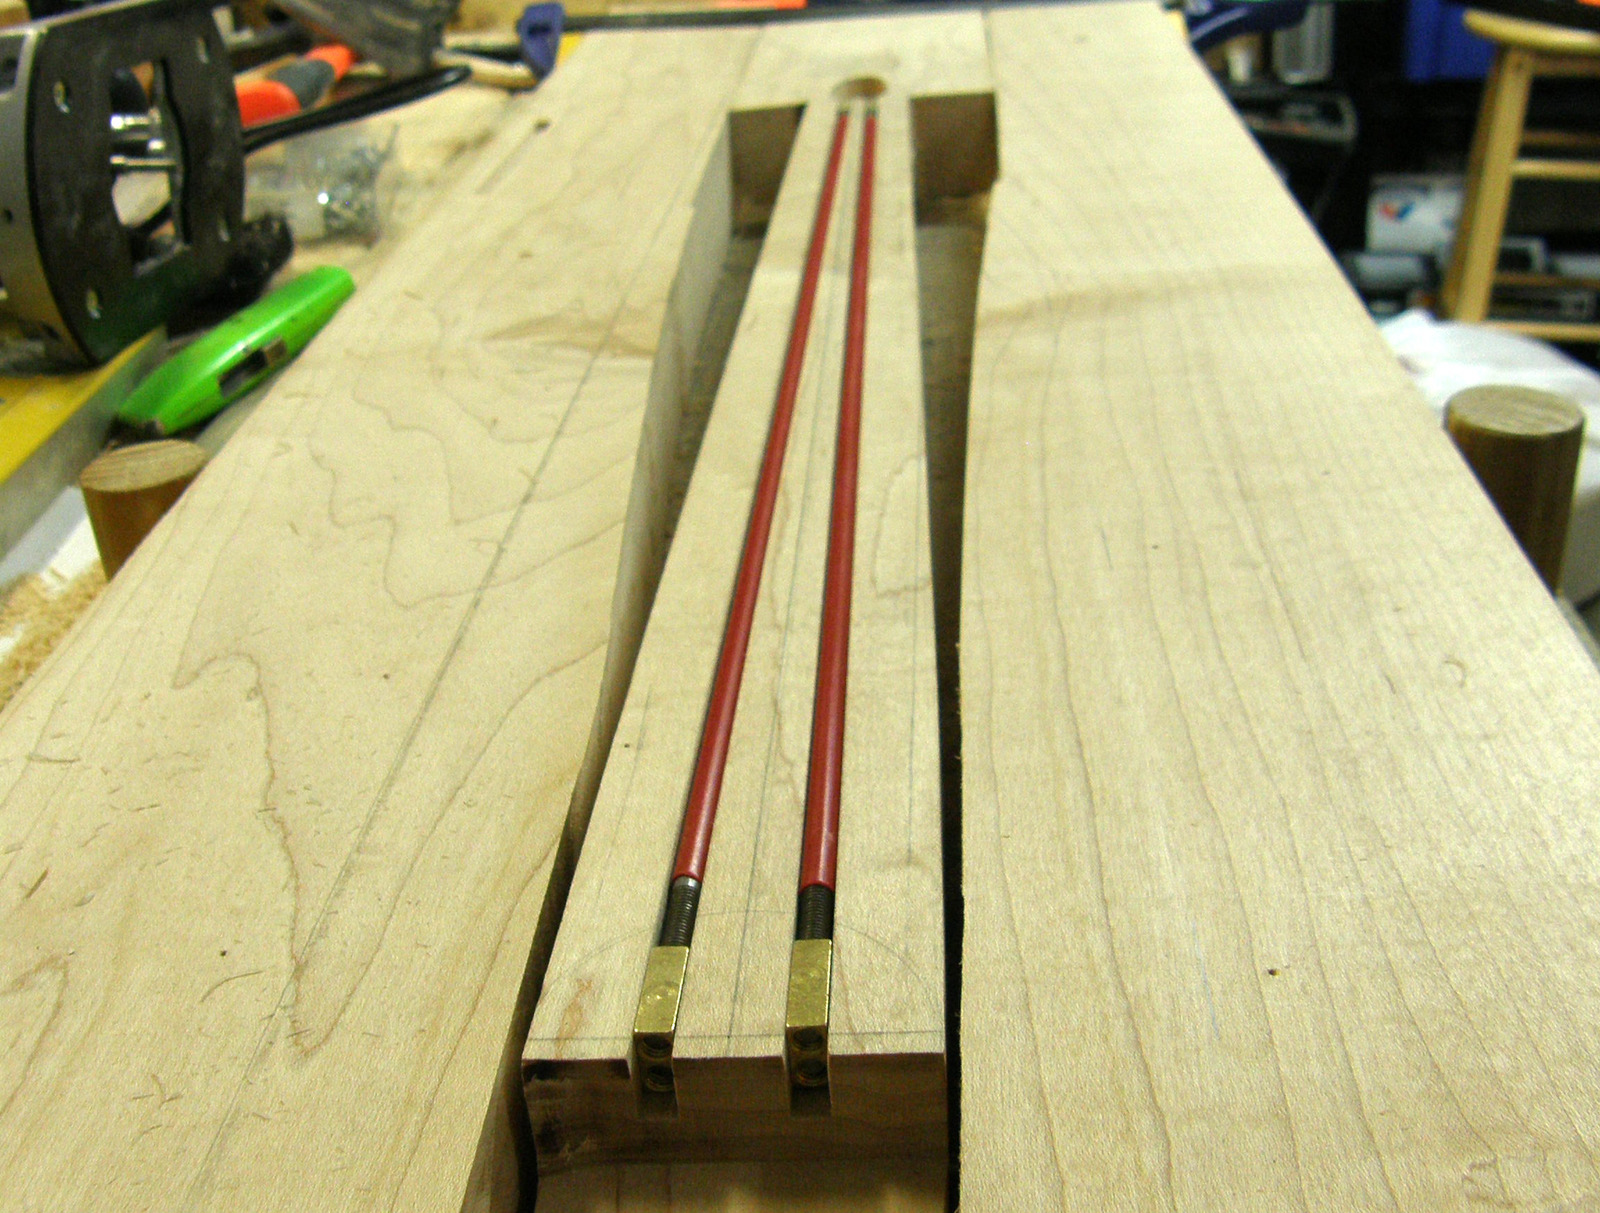
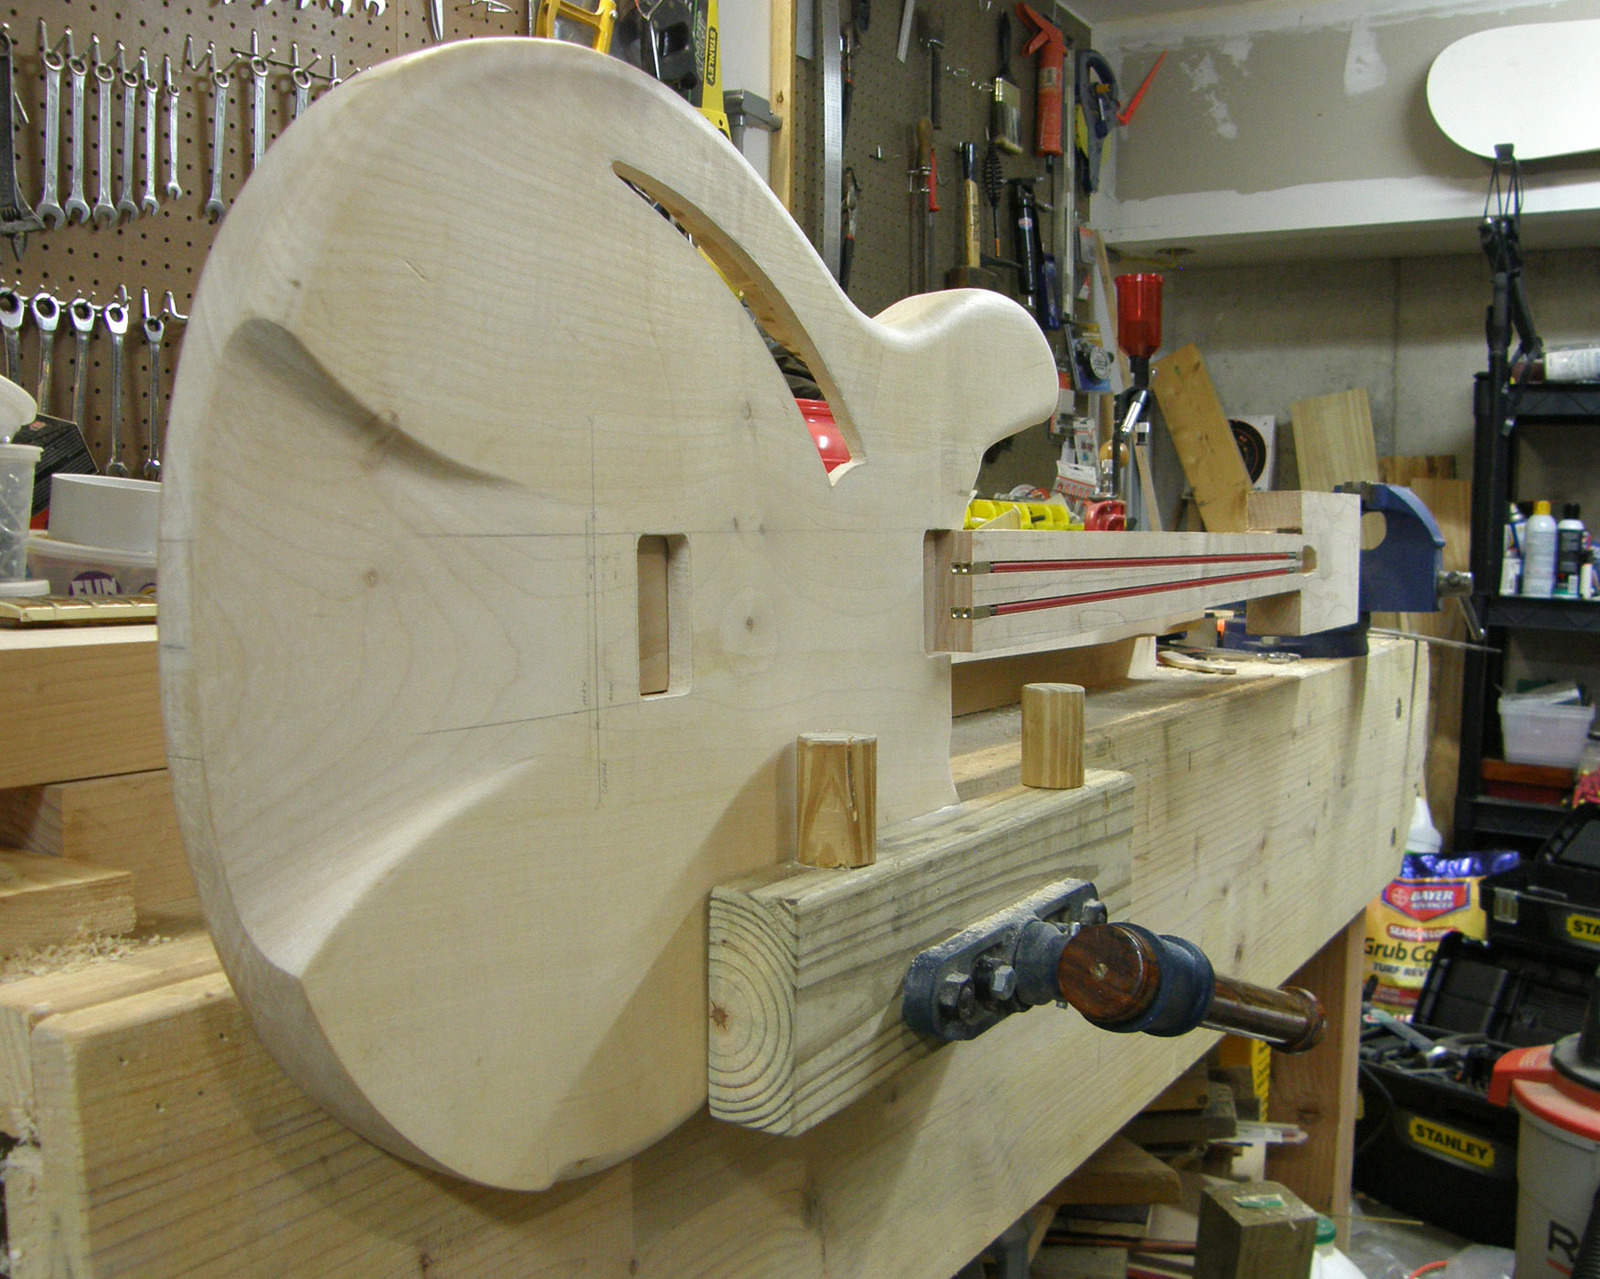


More work over the last couple of days...
I've pretty much finished the profiling of the neck and I have the basic shape for the head; it just needs cleaning up and maybe tweaking here and there. I cut an approximate angle for the layback of the head (research suggests this changed considerably throughout the years of production) and will refine later.
I've made the neck a couple of mm thicker than my standard 4003, partly to ensure I stay well clear of the truss rod channels but also to maintain a little more stiffness in the finished product. It should make little difference in playability and I hope it doesn't affect tone and resonance too much.
Finally, I routed a couple of shallow channels in the both the neck mortice and tenon to accommodate the pick-up wiring.
Pictures to follow...
I've pretty much finished the profiling of the neck and I have the basic shape for the head; it just needs cleaning up and maybe tweaking here and there. I cut an approximate angle for the layback of the head (research suggests this changed considerably throughout the years of production) and will refine later.
I've made the neck a couple of mm thicker than my standard 4003, partly to ensure I stay well clear of the truss rod channels but also to maintain a little more stiffness in the finished product. It should make little difference in playability and I hope it doesn't affect tone and resonance too much.
Finally, I routed a couple of shallow channels in the both the neck mortice and tenon to accommodate the pick-up wiring.
Pictures to follow...


