

Enjoy the benefits of a premium membership!
Upgrade Account
-
TalkBass has been independent since 1998. Add your voice.
Create a free account to reply to discussions, view embedded media, and browse with fewer display ads.
Join free Log in
Want zero display ads or expanded classifieds tools? Compare plans.
You are using an out of date browser. It may not display this or other websites correctly.
You should upgrade or use an alternative browser.
You should upgrade or use an alternative browser.
Rickenbacker 4005 Copy
- Thread starter Betyouaint
- Start date
More options
Who Replied?
Never liked the "lightshow"... then again, there was time when i didn't like the 4003 either... 
Anyhow... my next project is gonna be a Mickenbacker 360 six-string 3/4 scale for my 7 year old daughter. That should prove an interesting challenge...!!! At least I'll have a full sized version to work from for this one.
Anyhow... my next project is gonna be a Mickenbacker 360 six-string 3/4 scale for my 7 year old daughter. That should prove an interesting challenge...!!! At least I'll have a full sized version to work from for this one.
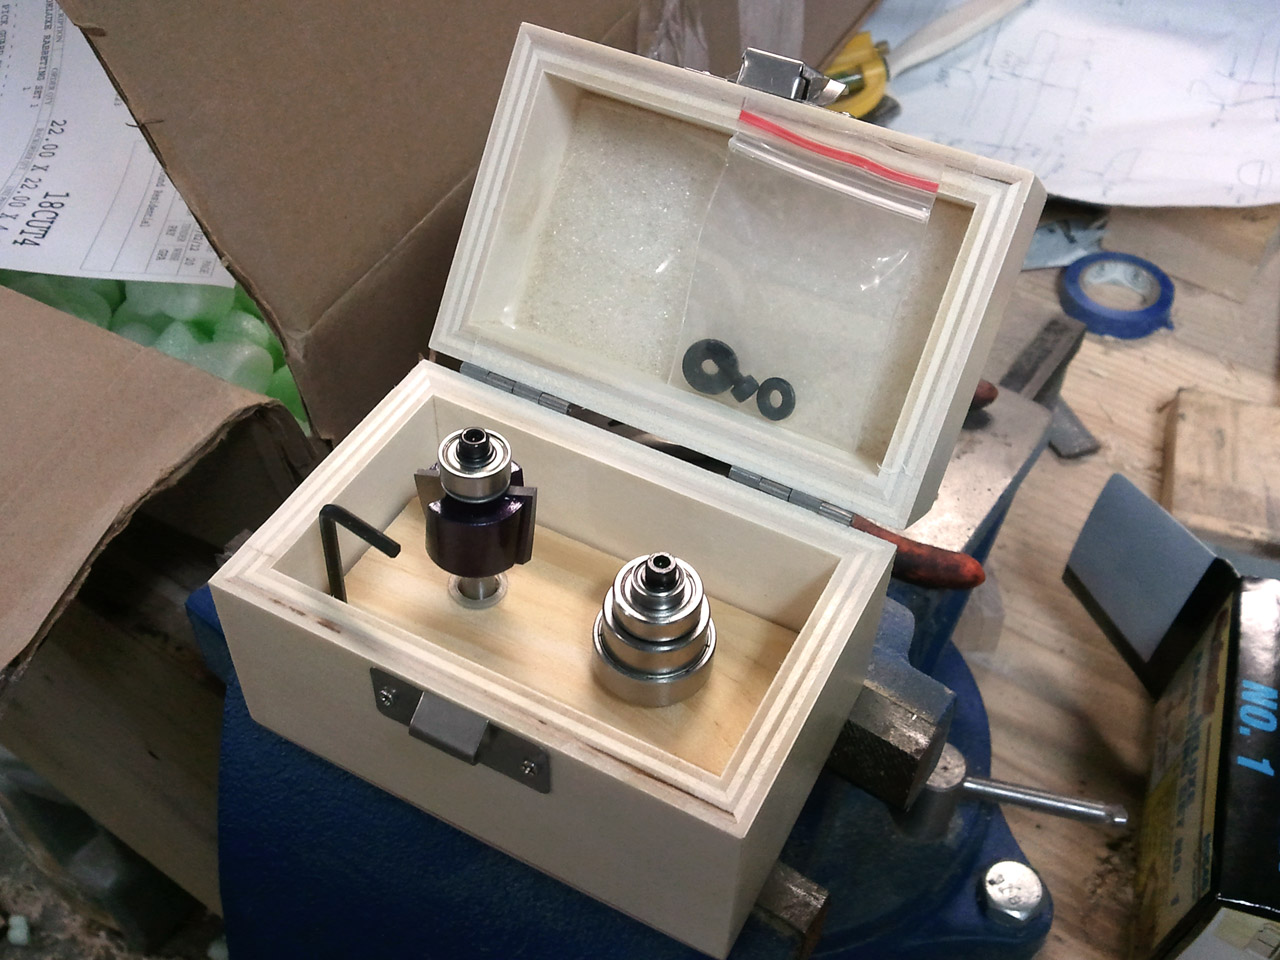
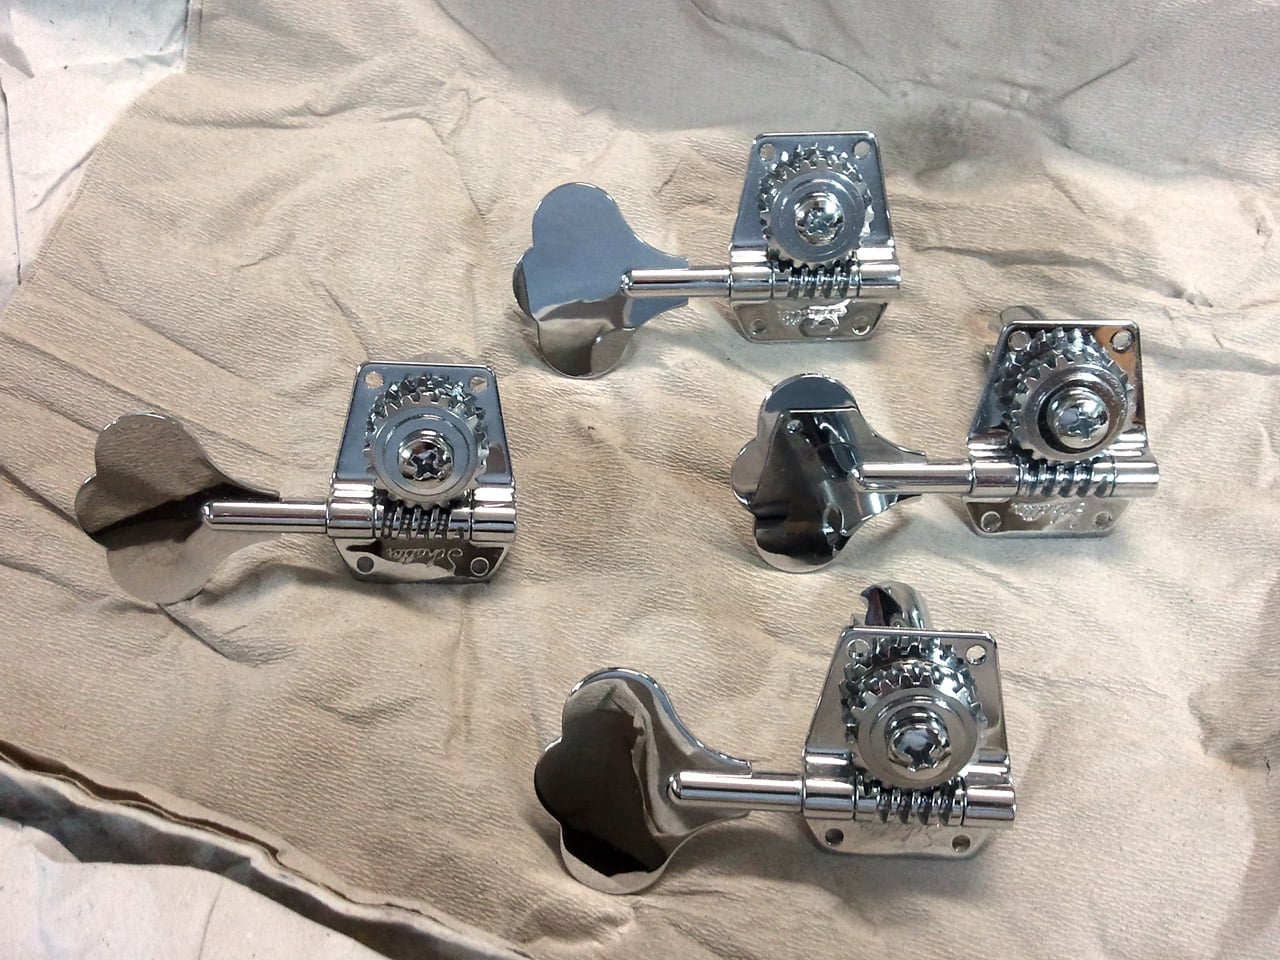
New shiney gear arrived today... rabbet bit, binding and scratchplate material courtesy of Grizzly.com and Schaller keywinds courtesy of Warmoth.com
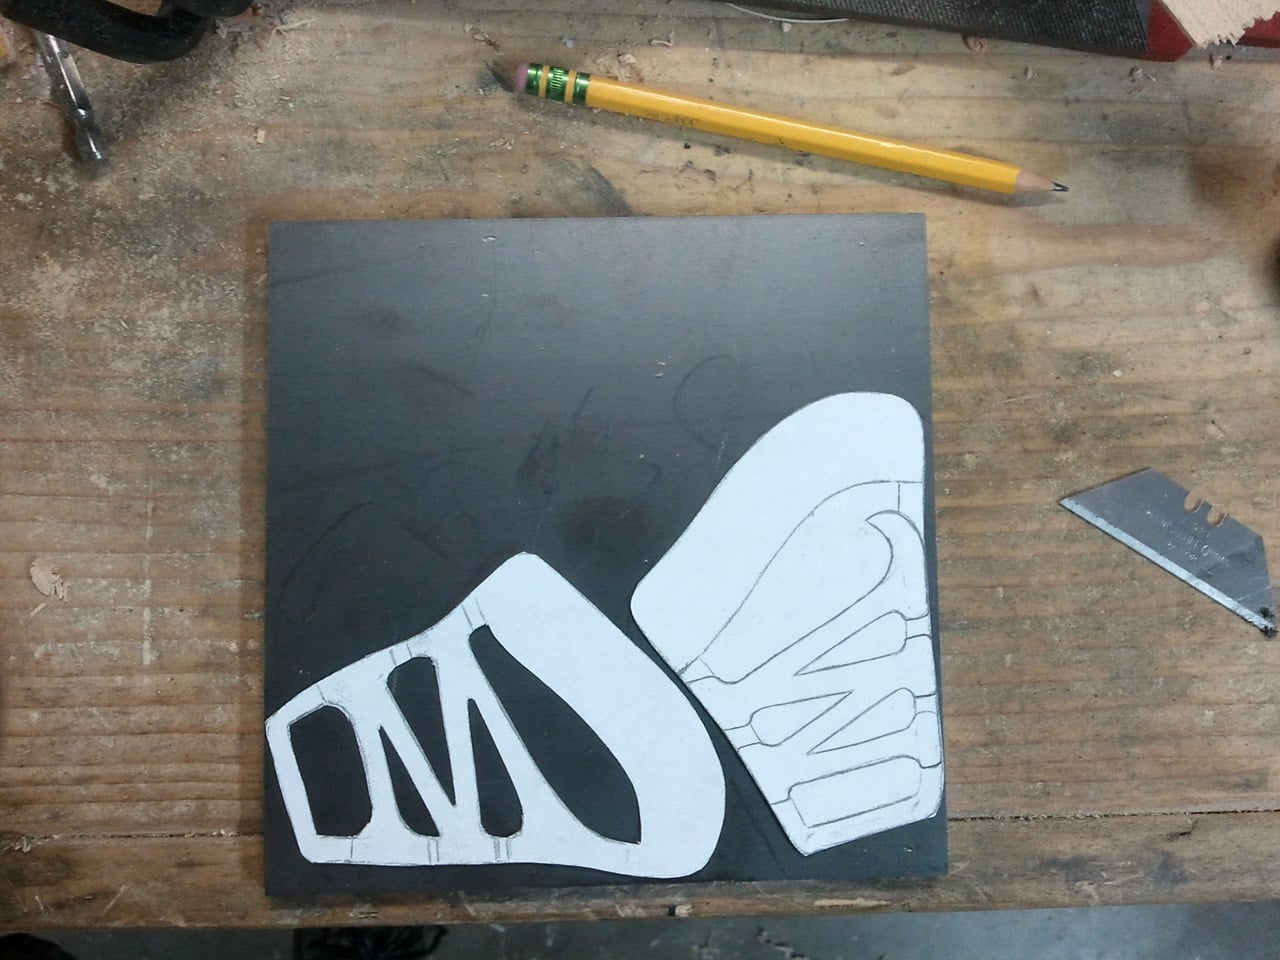
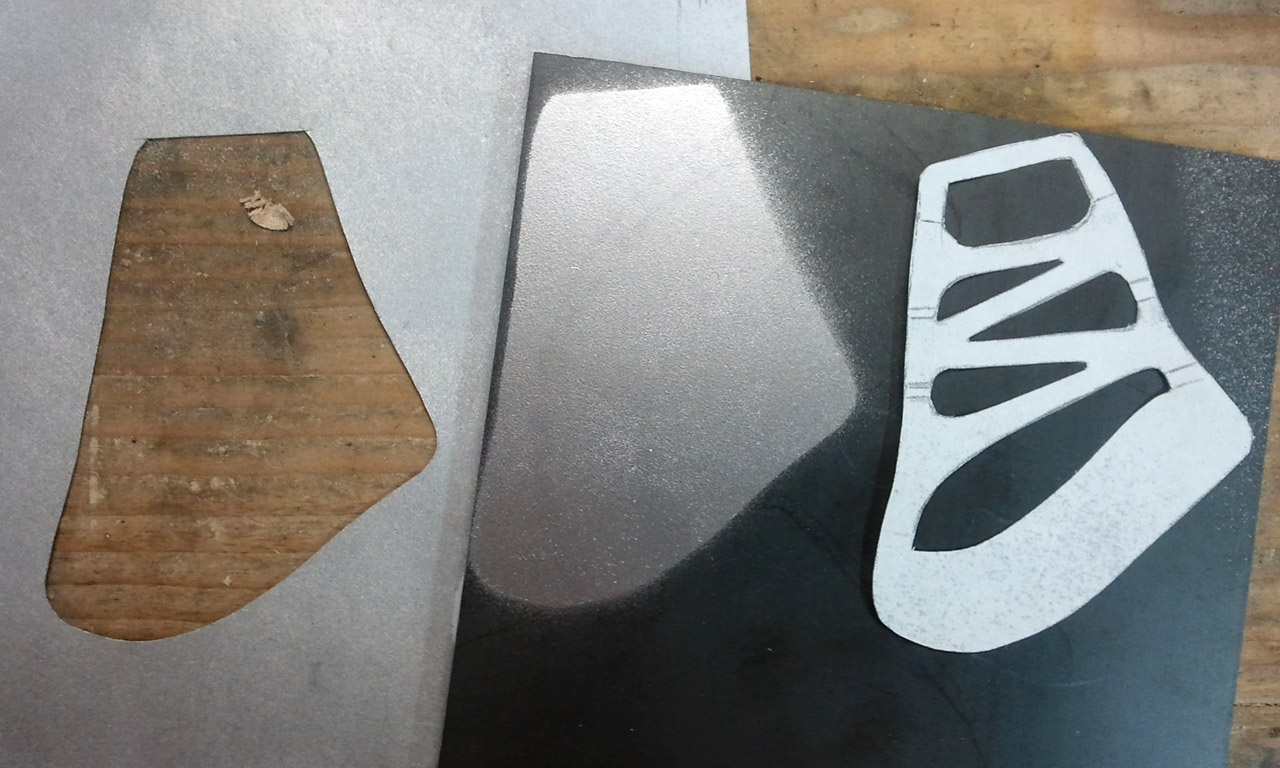
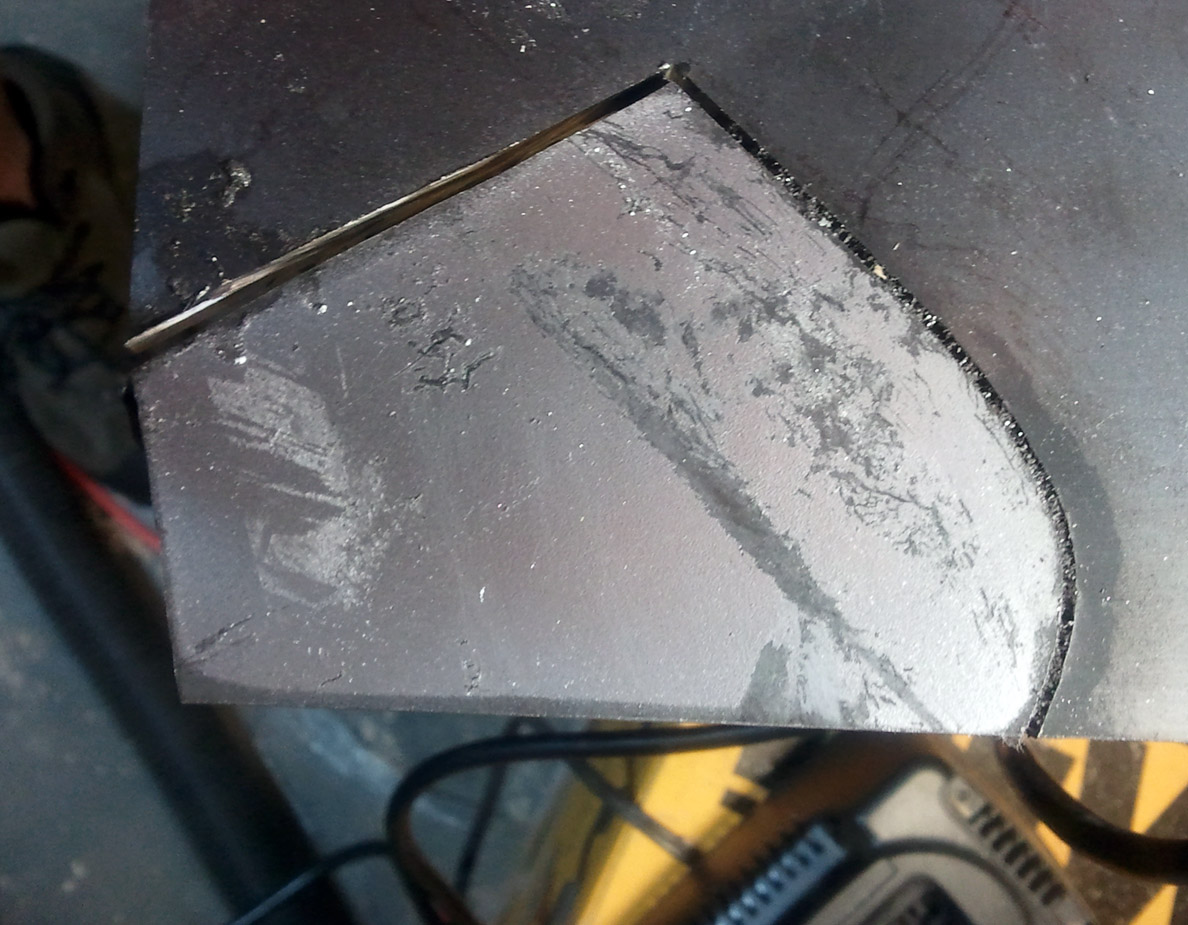
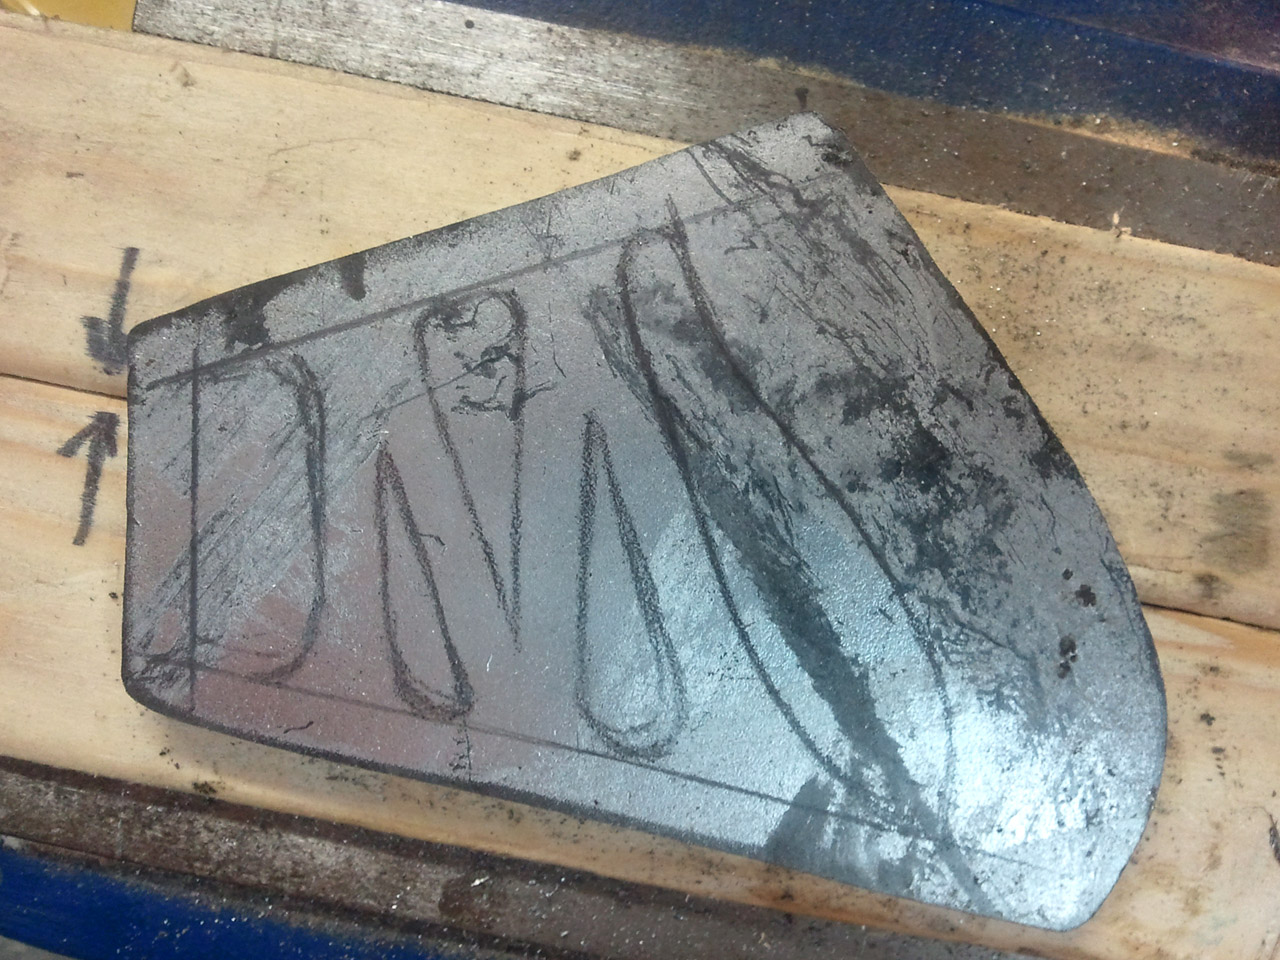
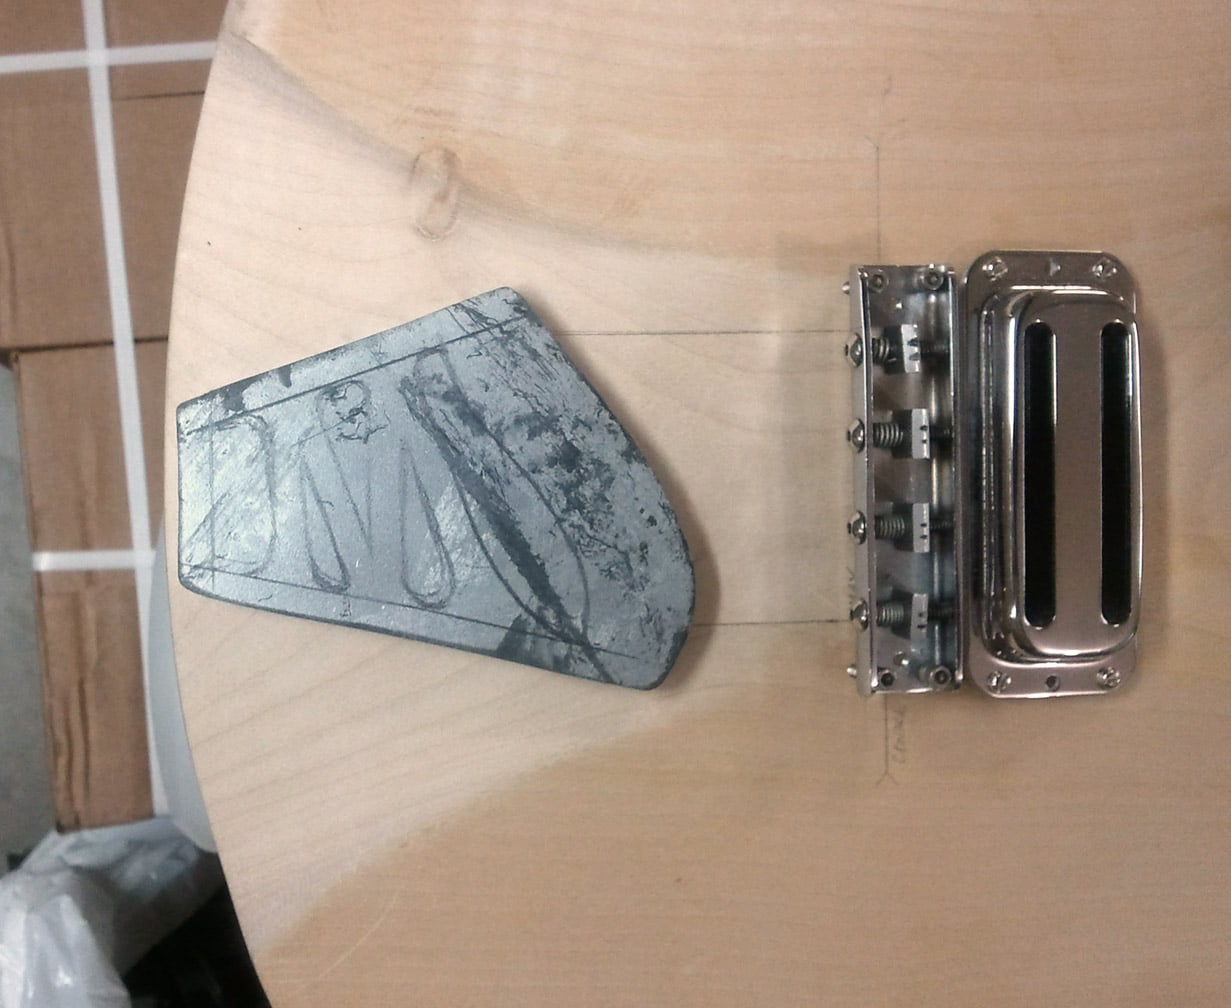
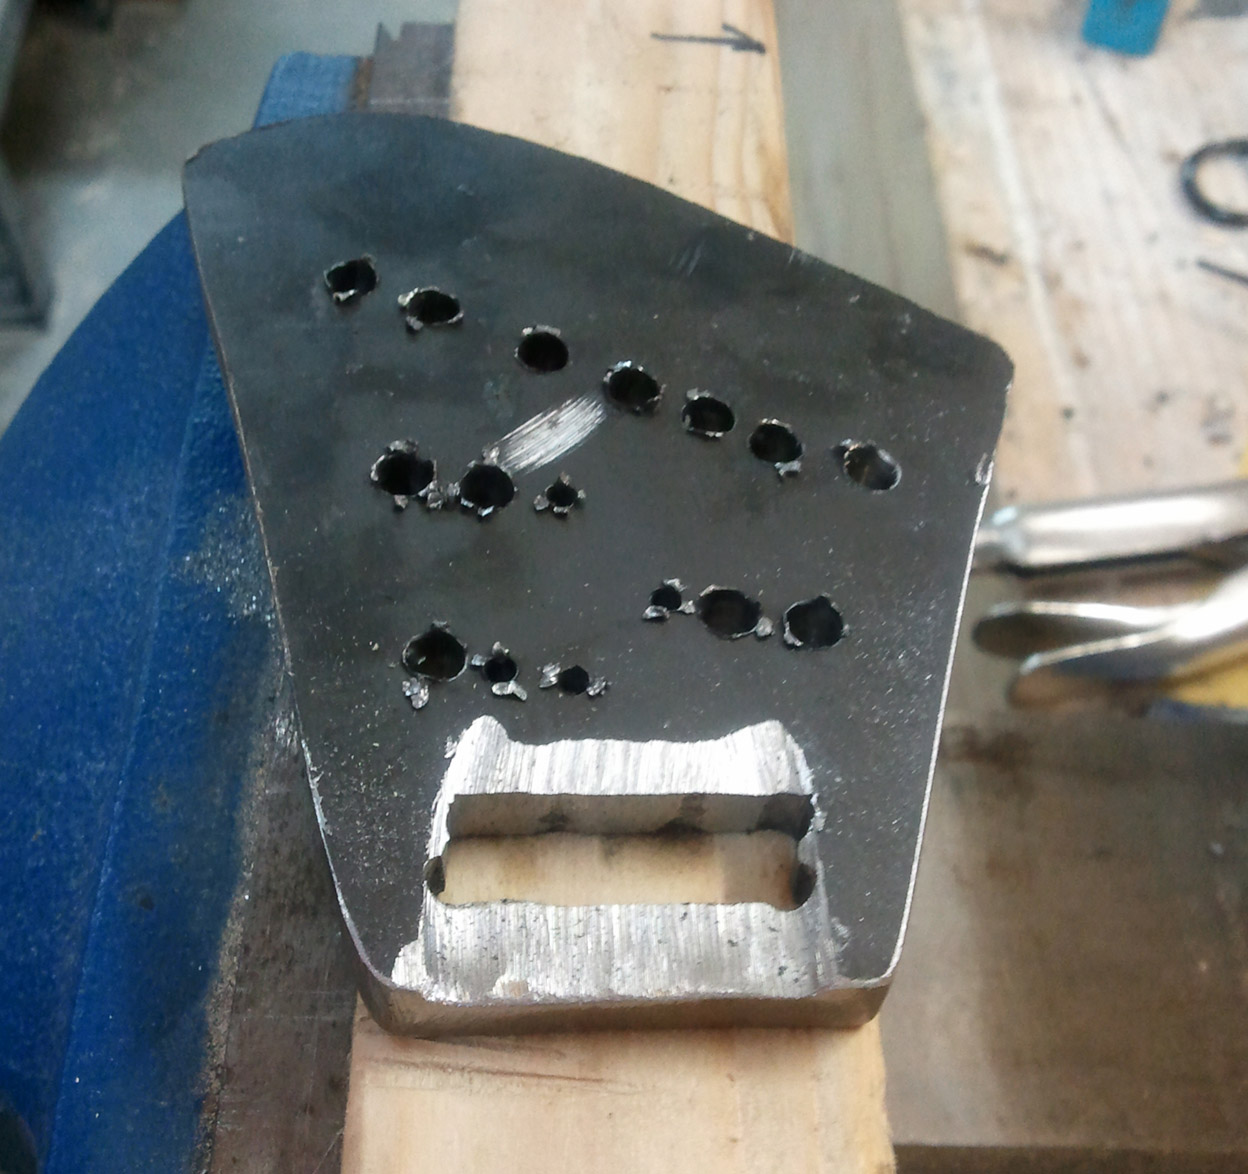
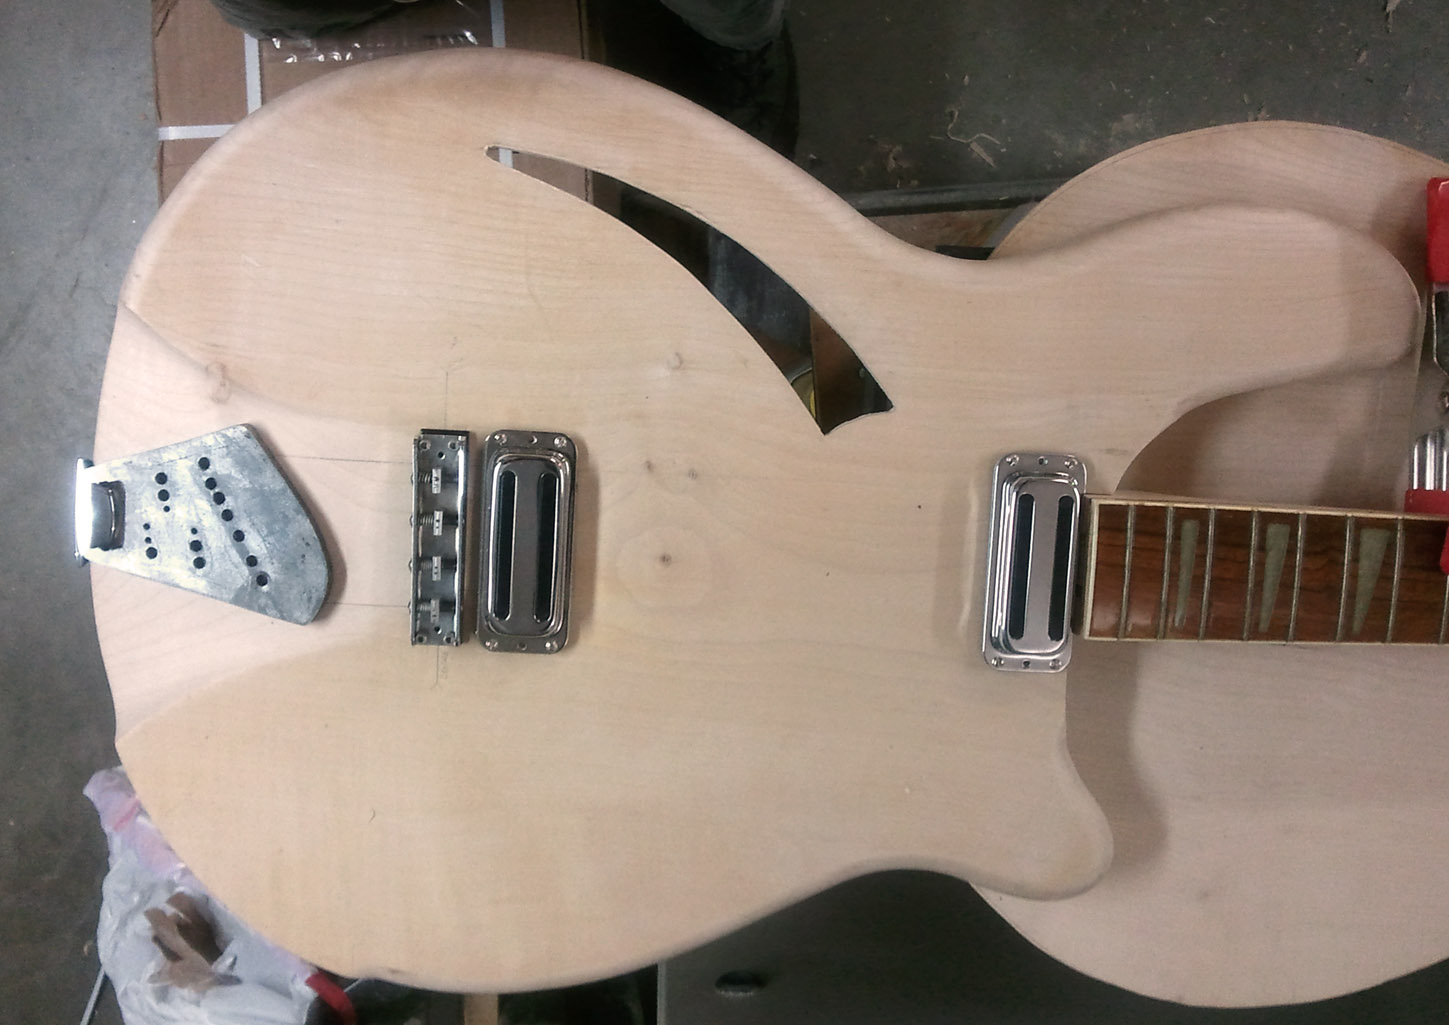
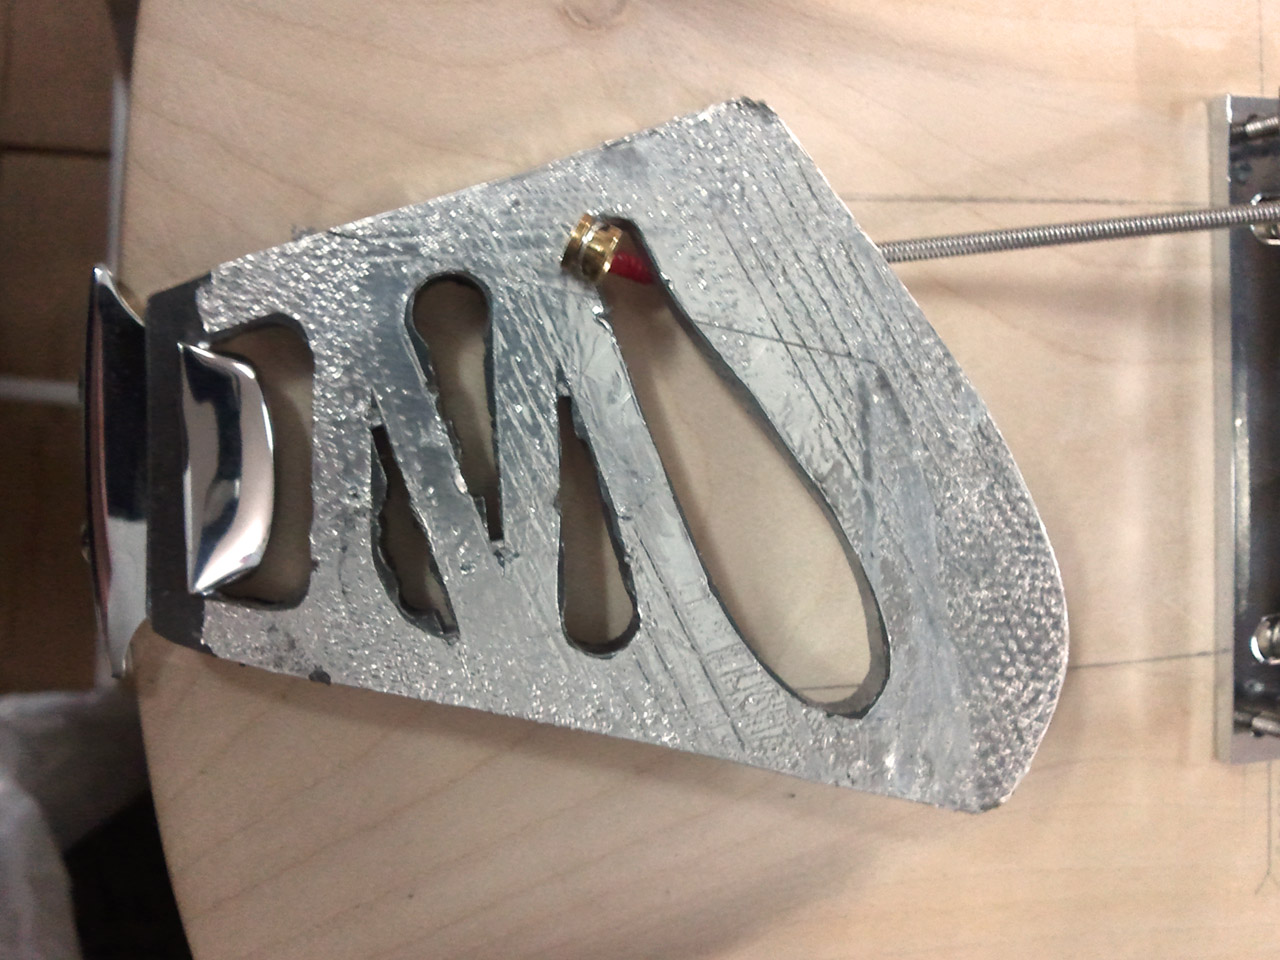
Managed to steal away a couple of hours this morning to start work on the tailpiece. I cut out the template and used the off-cut as a stencil for spray-painting the profile. Next, I jigsawed the main curve before using a cutting wheel on the grinder for the straighter edges. I then penciled in the "M" and sidebars using the template as a guide before drilling some starter holes and filing to shape.


People have been asking me what it cost to do this project. I knew it was mounting up but never thought I'd hit the grand mark. I've not included additional tooling costs in this estimate which run at about $600 for tools and equipment I didn't previously own. The biggest of these was the thickness planer at $350. I'd hate to calculate the manhours I've put into it...!!!
Body Blank $ 60.00
Neck $ 60.00
Pickups $ 300.00
Truss Rods $ 45.00
Tuners $ 75.00
Bridge $ 50.00
Fretboard $ 135.00
Binding $ 10.00
Glues $ 15.00
Scratchplate $ 15.00
Tail Anchor $ 25.00
Electronics $ 60.00
Misc Hardware #1 $ 90.00
Paniting & Finishing $ 50.00
Strings $ 20.00
Strap Bolts $ 20.00
Chroming $ 50.00
Total $ 1,080.00
Body Blank $ 60.00
Neck $ 60.00
Pickups $ 300.00
Truss Rods $ 45.00
Tuners $ 75.00
Bridge $ 50.00
Fretboard $ 135.00
Binding $ 10.00
Glues $ 15.00
Scratchplate $ 15.00
Tail Anchor $ 25.00
Electronics $ 60.00
Misc Hardware #1 $ 90.00
Paniting & Finishing $ 50.00
Strings $ 20.00
Strap Bolts $ 20.00
Chroming $ 50.00
Total $ 1,080.00
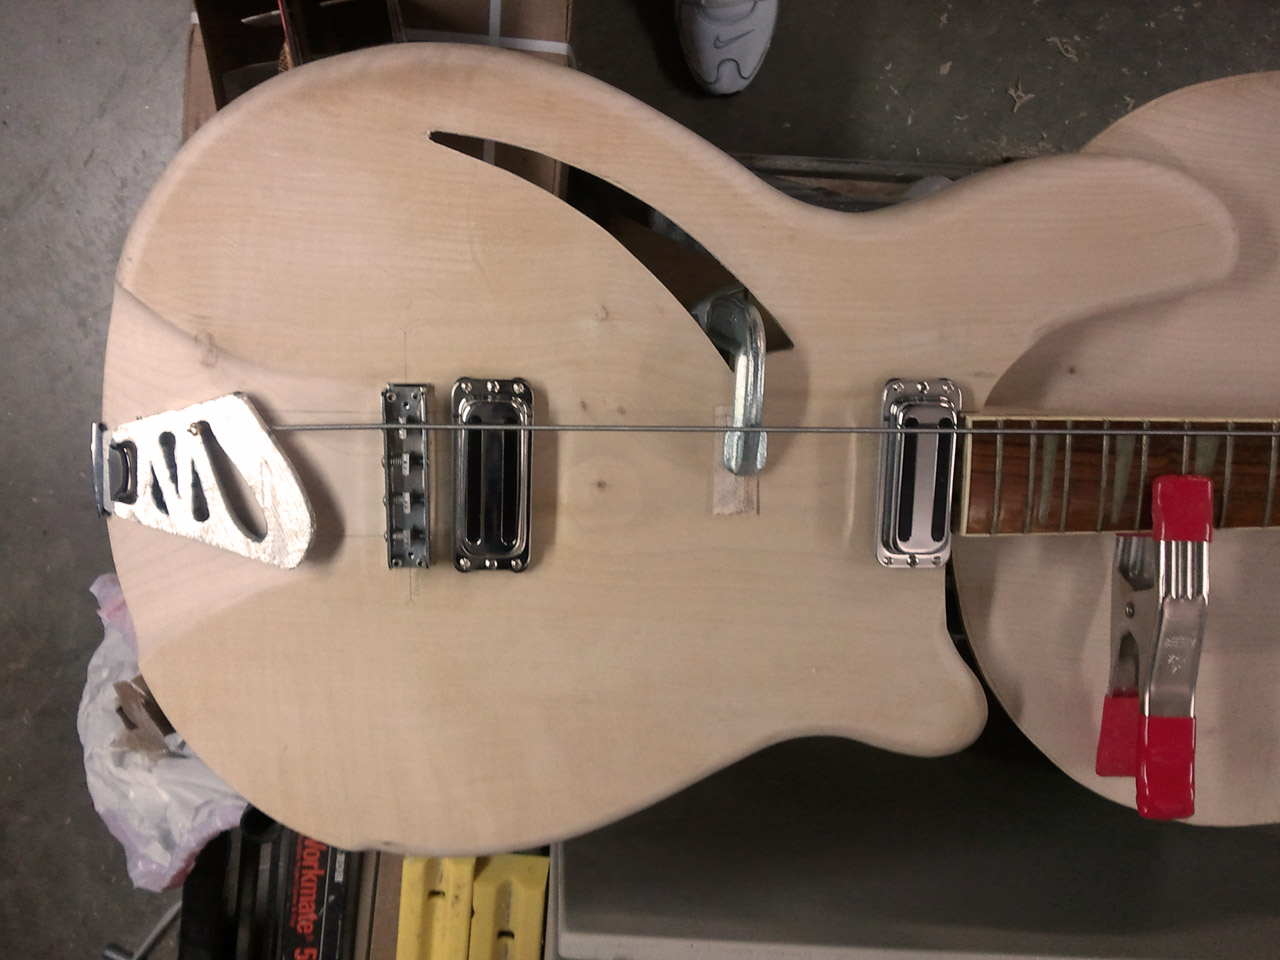
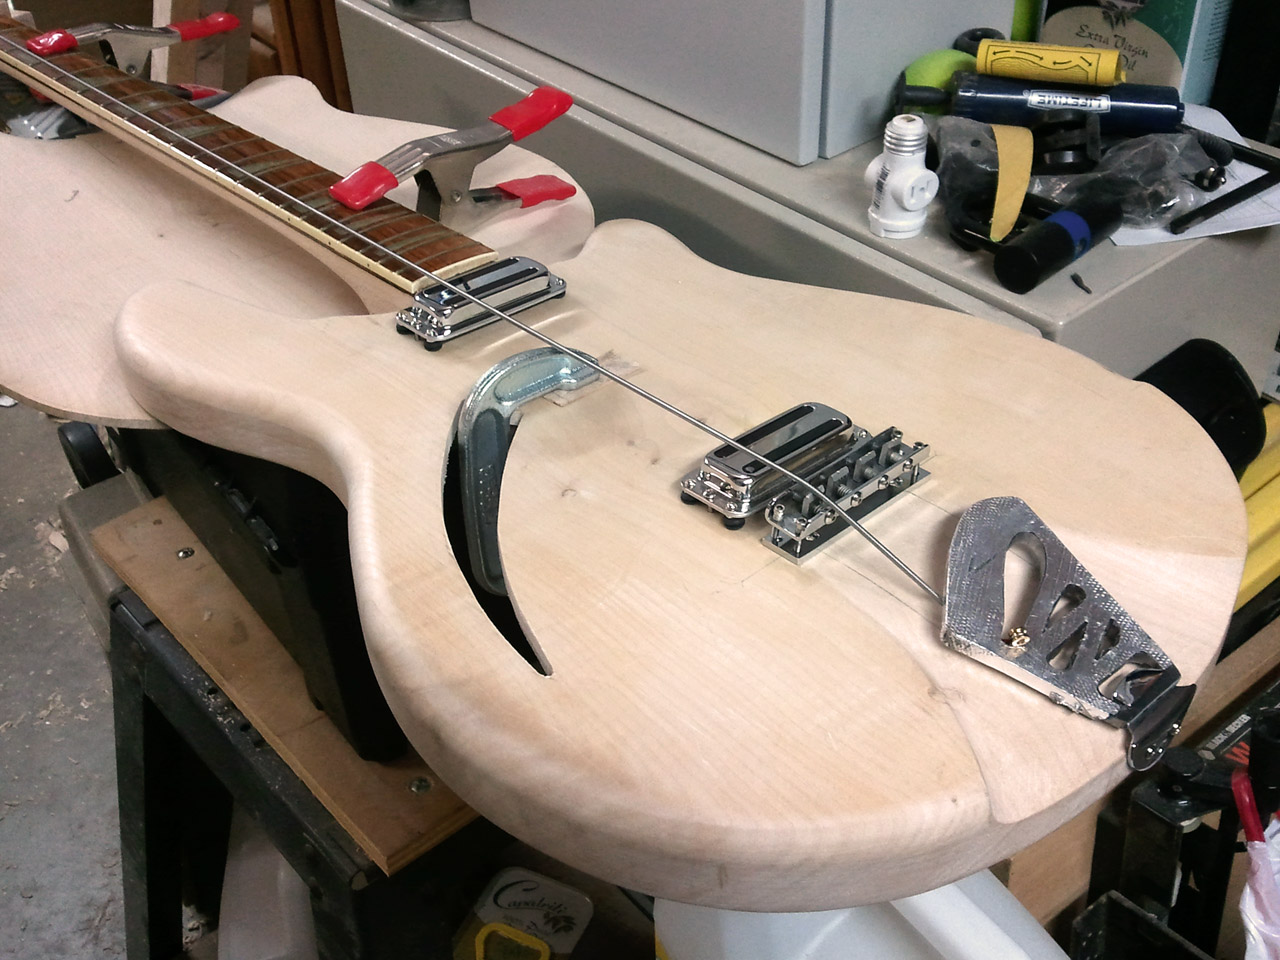
Got my final package of toys today and decided it was time to check out the neck alignment and relief so I strung her up with a single fat E string. The bridge needs pretty much the full adjustment to get the action parallel. This is with no neck relief though as the neck was dead straight so that should buy me a little more. I even recorded a quick video of the first few notes...
http://www.youtube.com/watch?v=GhL5wBEpdoY&feature=youtu.be
http://www.youtube.com/watch?v=GhL5wBEpdoY&feature=youtu.be

That tail piece is awesome! Can't wait to see it chromed!
I was thinking maybe I'll save a few bucks on the chroming and just use some more of that silver tape...

Not much of an update right now; I'm just prepping for the final push which involves the finishing. A friend of mine has convinced me to give the Fire-Glo (Cherry Sunburst) finish a try. If it turns out to be a disaster then at least I can go over it with the originally planned Jet-Glo (Gloss Black) finish.
I'm intending to use waterbased acrylic with ColorTone stains as sold by StewMac here in the US
[Invalid or Expired Link Removed]
Invalid Link Removed
I figure I should be laying down 2-3 clear base coats before I start to introduce the liquid stain into the mix? But then as I build up the deeper red around the edges and no red in the centre, there will be more layers of paint around the outside. I believe that burn in between layers is pretty good with this stuff so the difference in layering between edge and center may not be too much of a problem...? Finally, once the desired "burst" has been achieved, another round of clearcoats to protect...?
Any advice on achieving the finish I want with these products would be greatly appreciated even if it's just pointing me in the right direction of an appropriate post, website or article.
I'm intending to use waterbased acrylic with ColorTone stains as sold by StewMac here in the US
[Invalid or Expired Link Removed]
Invalid Link Removed
I figure I should be laying down 2-3 clear base coats before I start to introduce the liquid stain into the mix? But then as I build up the deeper red around the edges and no red in the centre, there will be more layers of paint around the outside. I believe that burn in between layers is pretty good with this stuff so the difference in layering between edge and center may not be too much of a problem...? Finally, once the desired "burst" has been achieved, another round of clearcoats to protect...?
Any advice on achieving the finish I want with these products would be greatly appreciated even if it's just pointing me in the right direction of an appropriate post, website or article.
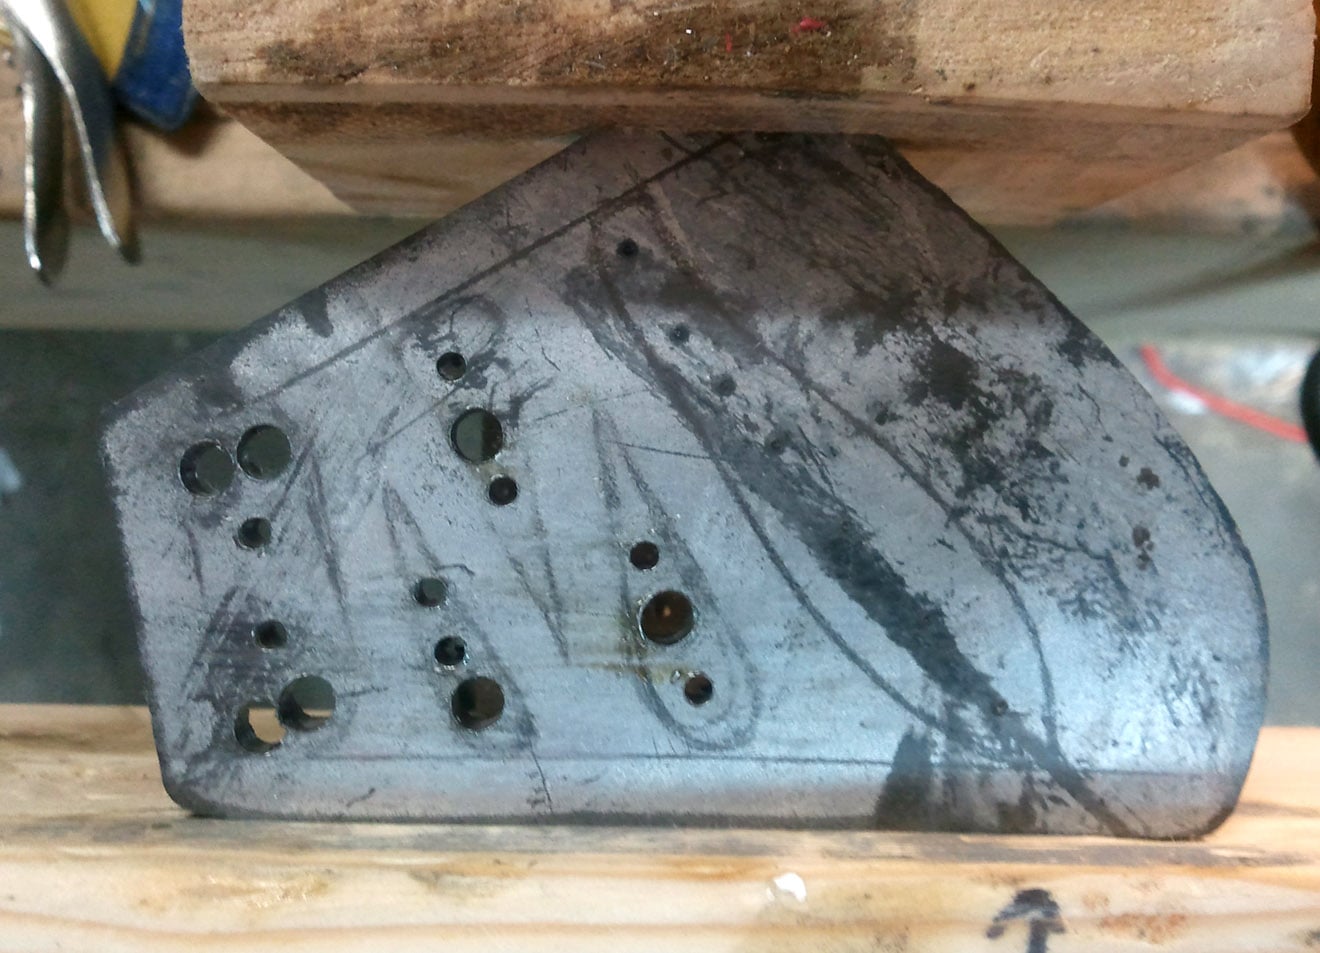
Spent a couple more hours grinding and filing this morning. There are some really tight areas that will take a lot of time and patience with needle files to clear the material. I also attempted to rough out the string guides. As you can see, the back of the tailpiece isn't very pretty but it's functioning as required. After drilling a regular hole I fashioned a makeshift bottom reamer by cutting down a regular 1/4 " bit and flattened the bottom of the hole. I then cut the string channels with a hacksaw and widened them out with a cutting wheel on the grinder.
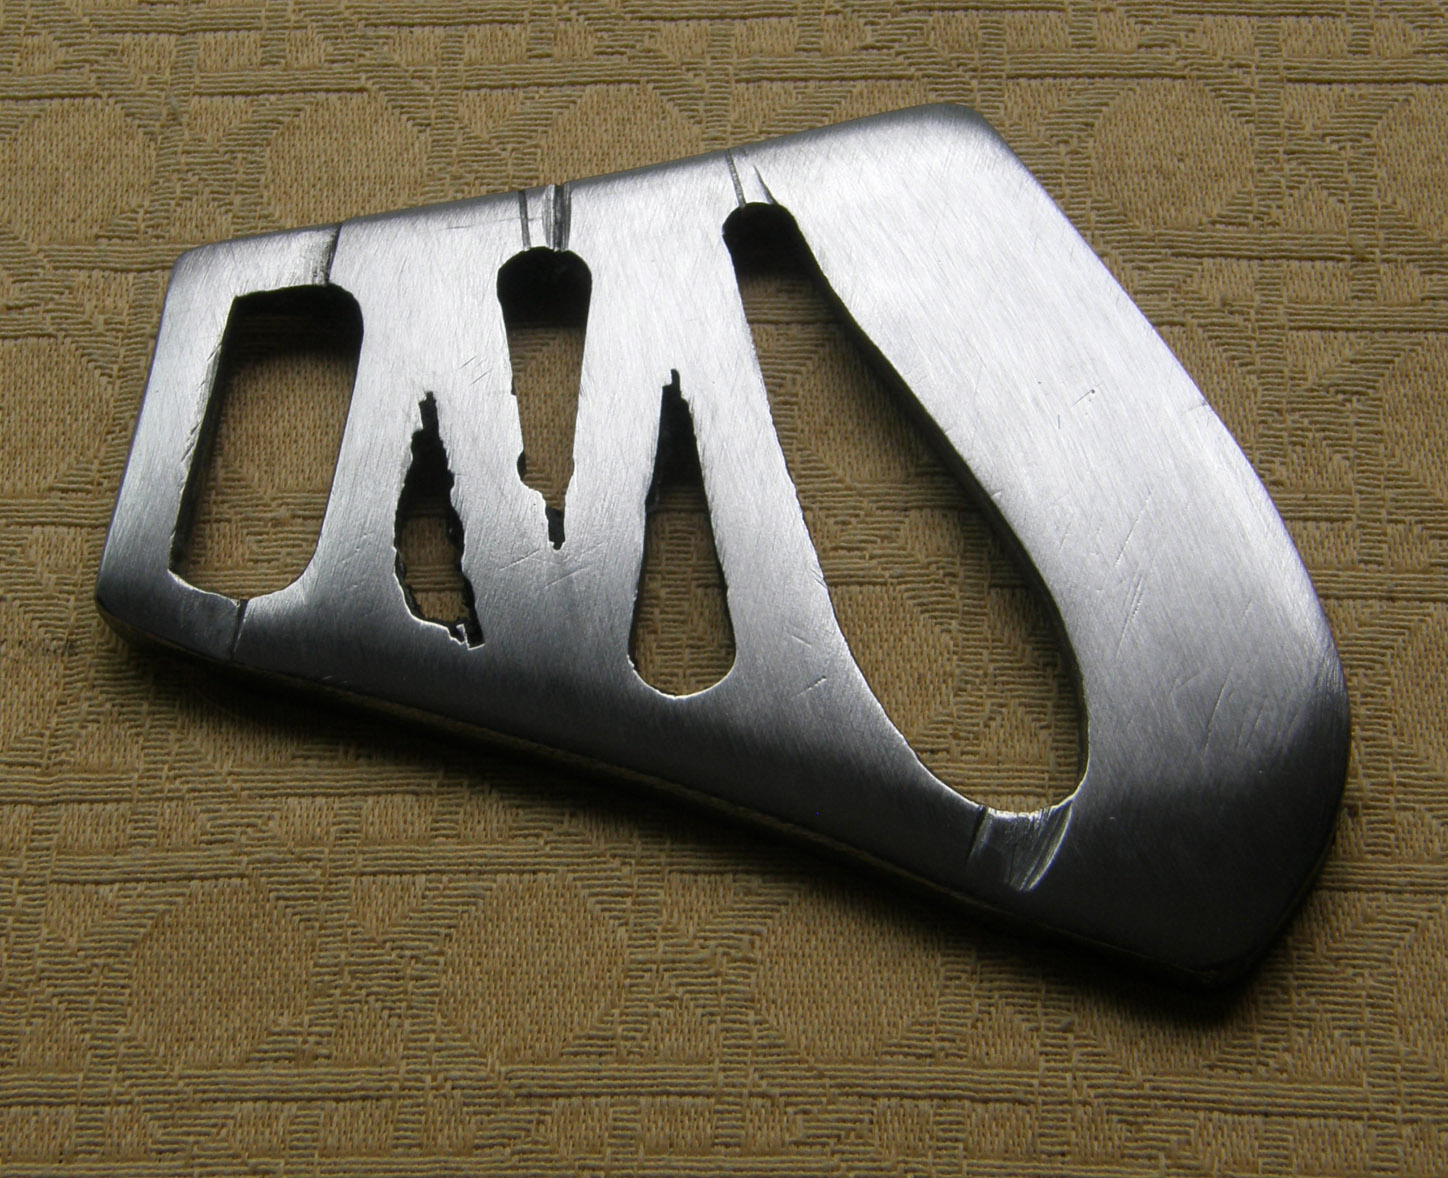
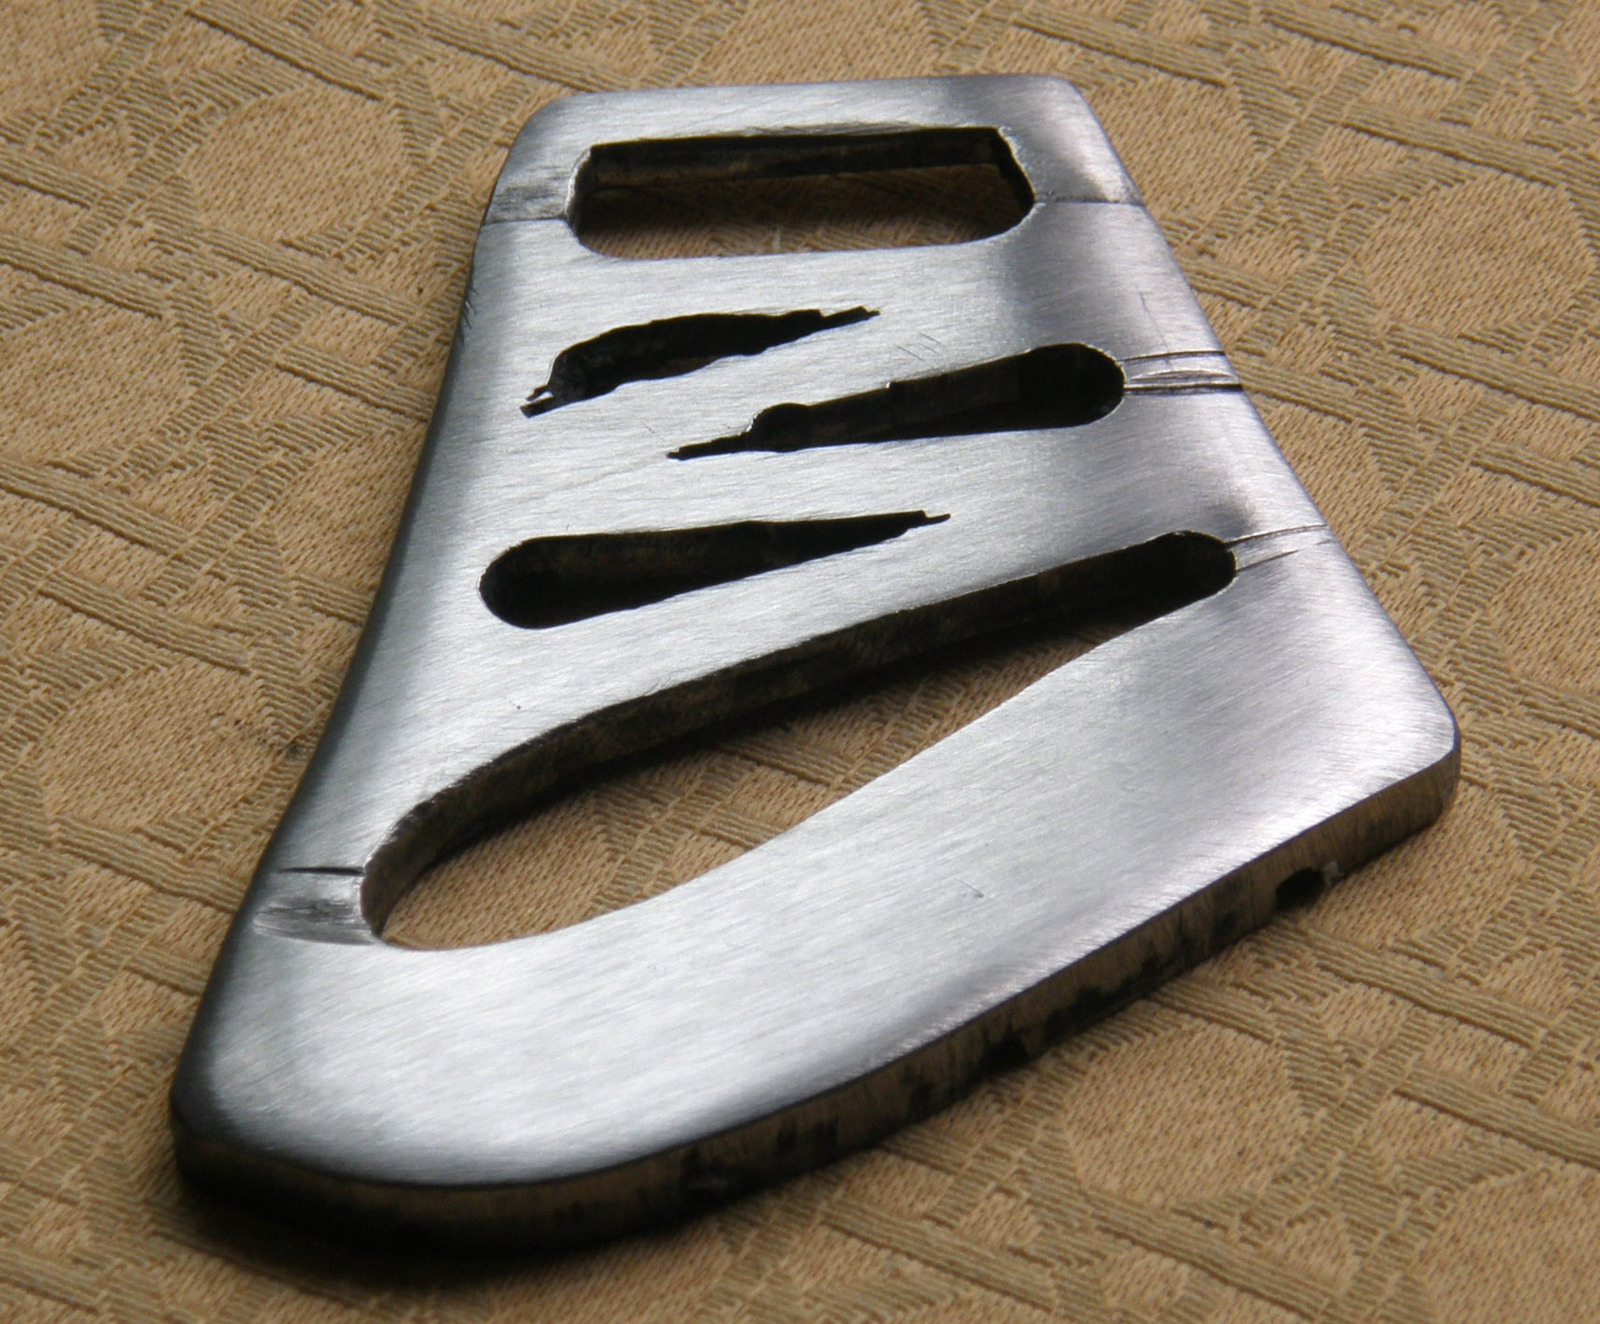
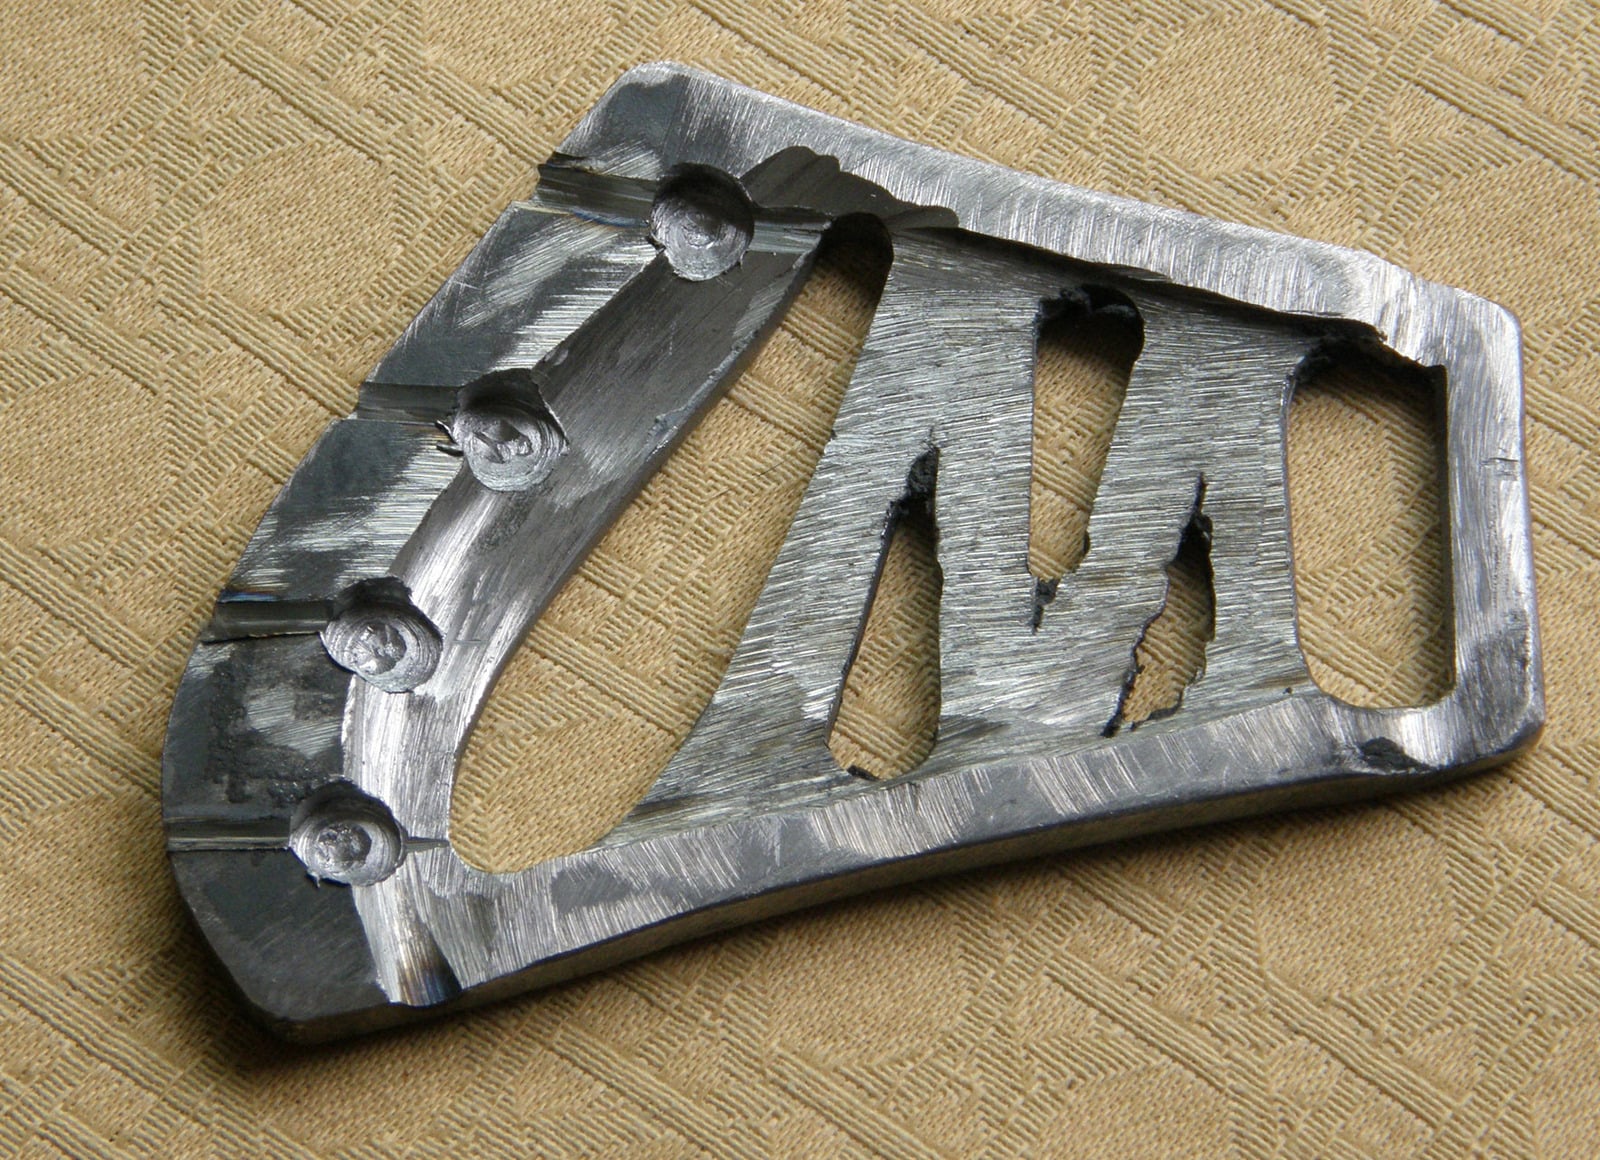
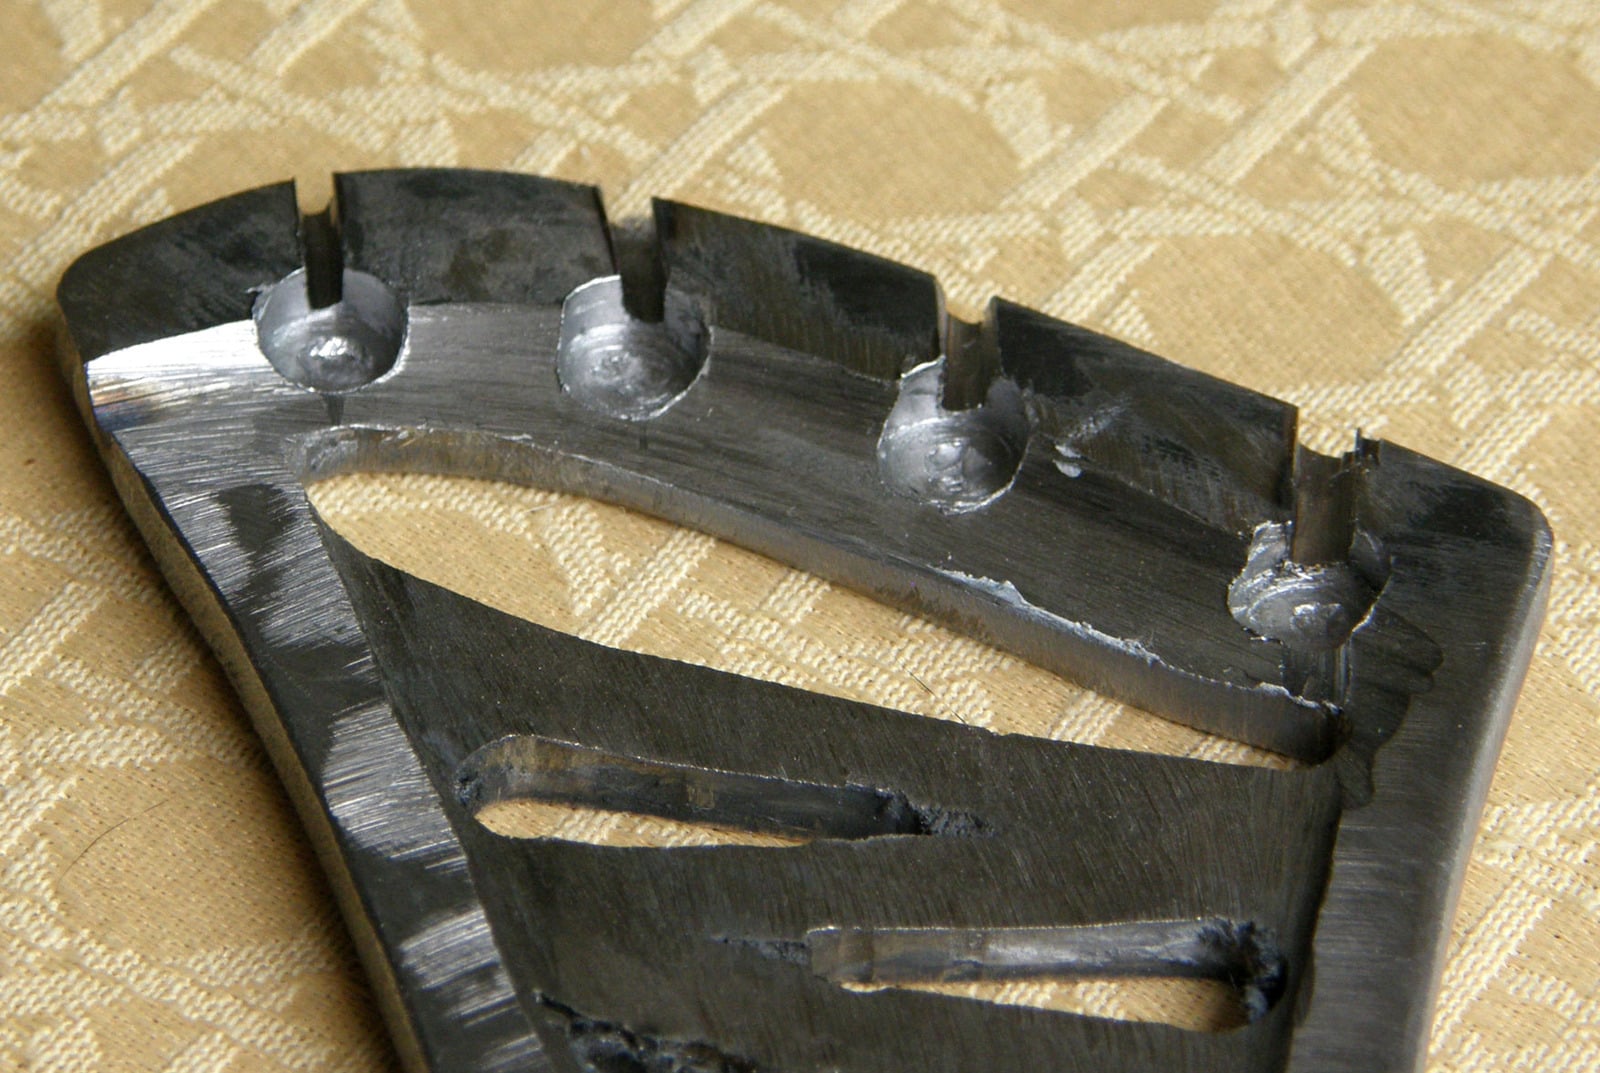

I'll be going with a full polish with Autosol and buffing wheel. I read somewhere that the chrome/nickel plate is only as good as the finish on the metal. I think that ideally it should look like chrome before it goes of to be chromed.
Last night I glued the fretboard and then I spent this morning blending the seam. I also took a little more material from the neck to get a better profile. I then did a mock build with the tailpiece and all strings tuned. I had to shim the nut but apart from that the action was pretty spot-on from the get go. Intonation is way off but that's not an issue at this stage, although maybe I should be checking it's achievable before I set and glue the neck in place.
I knocked out a few riffs and though I always intended that the first tune be Rose's "Resurrection", I always play "Sunshine of Your Love" to tune up. Acoustically, I was very happy with the tone, resonance and sustain even without all the parts being properly glued and with the addition of several G-clamps...
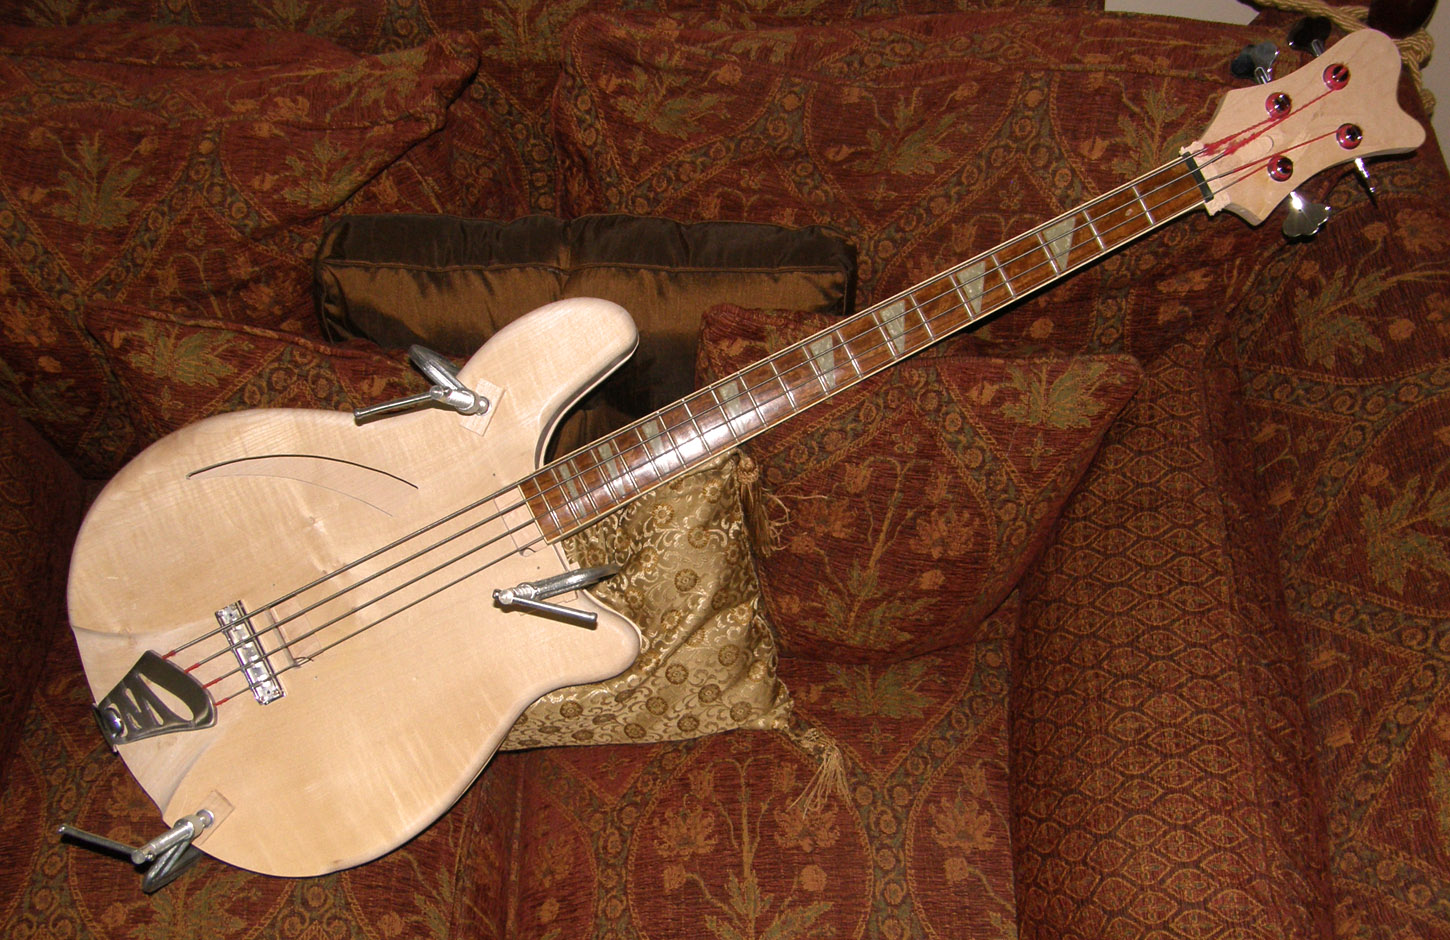
I knocked out a few riffs and though I always intended that the first tune be Rose's "Resurrection", I always play "Sunshine of Your Love" to tune up. Acoustically, I was very happy with the tone, resonance and sustain even without all the parts being properly glued and with the addition of several G-clamps...
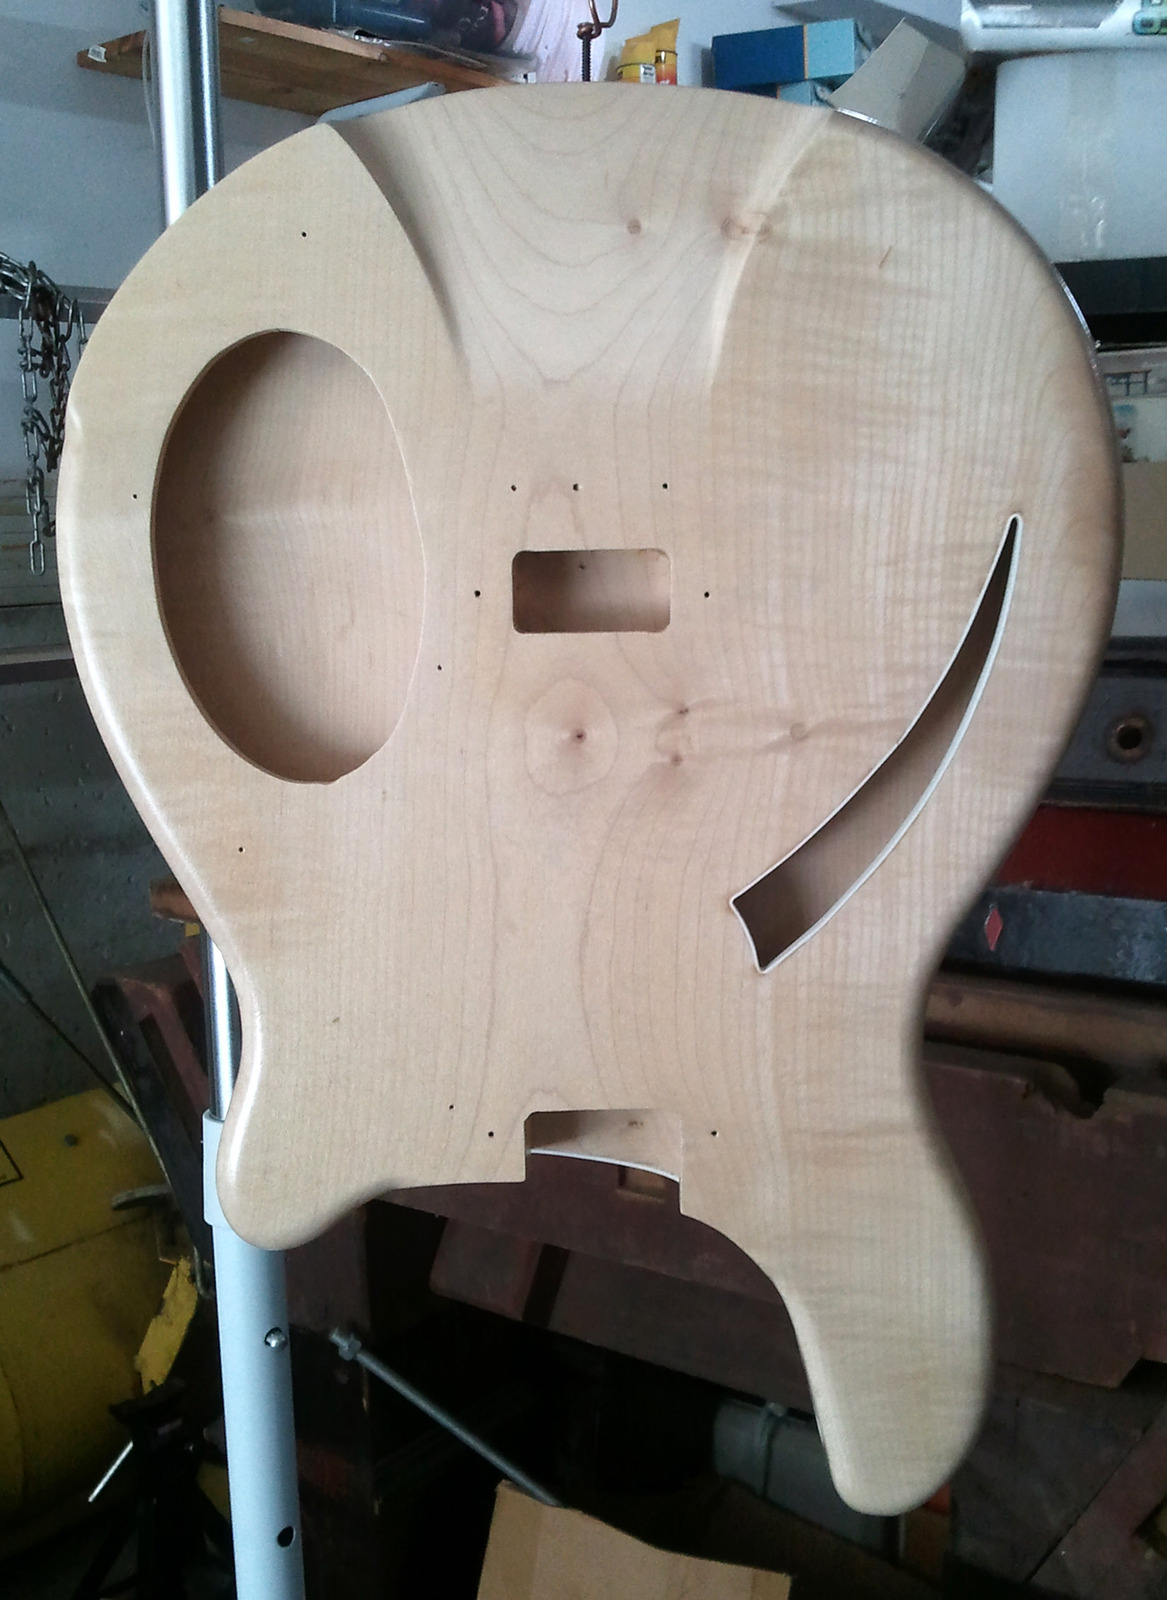
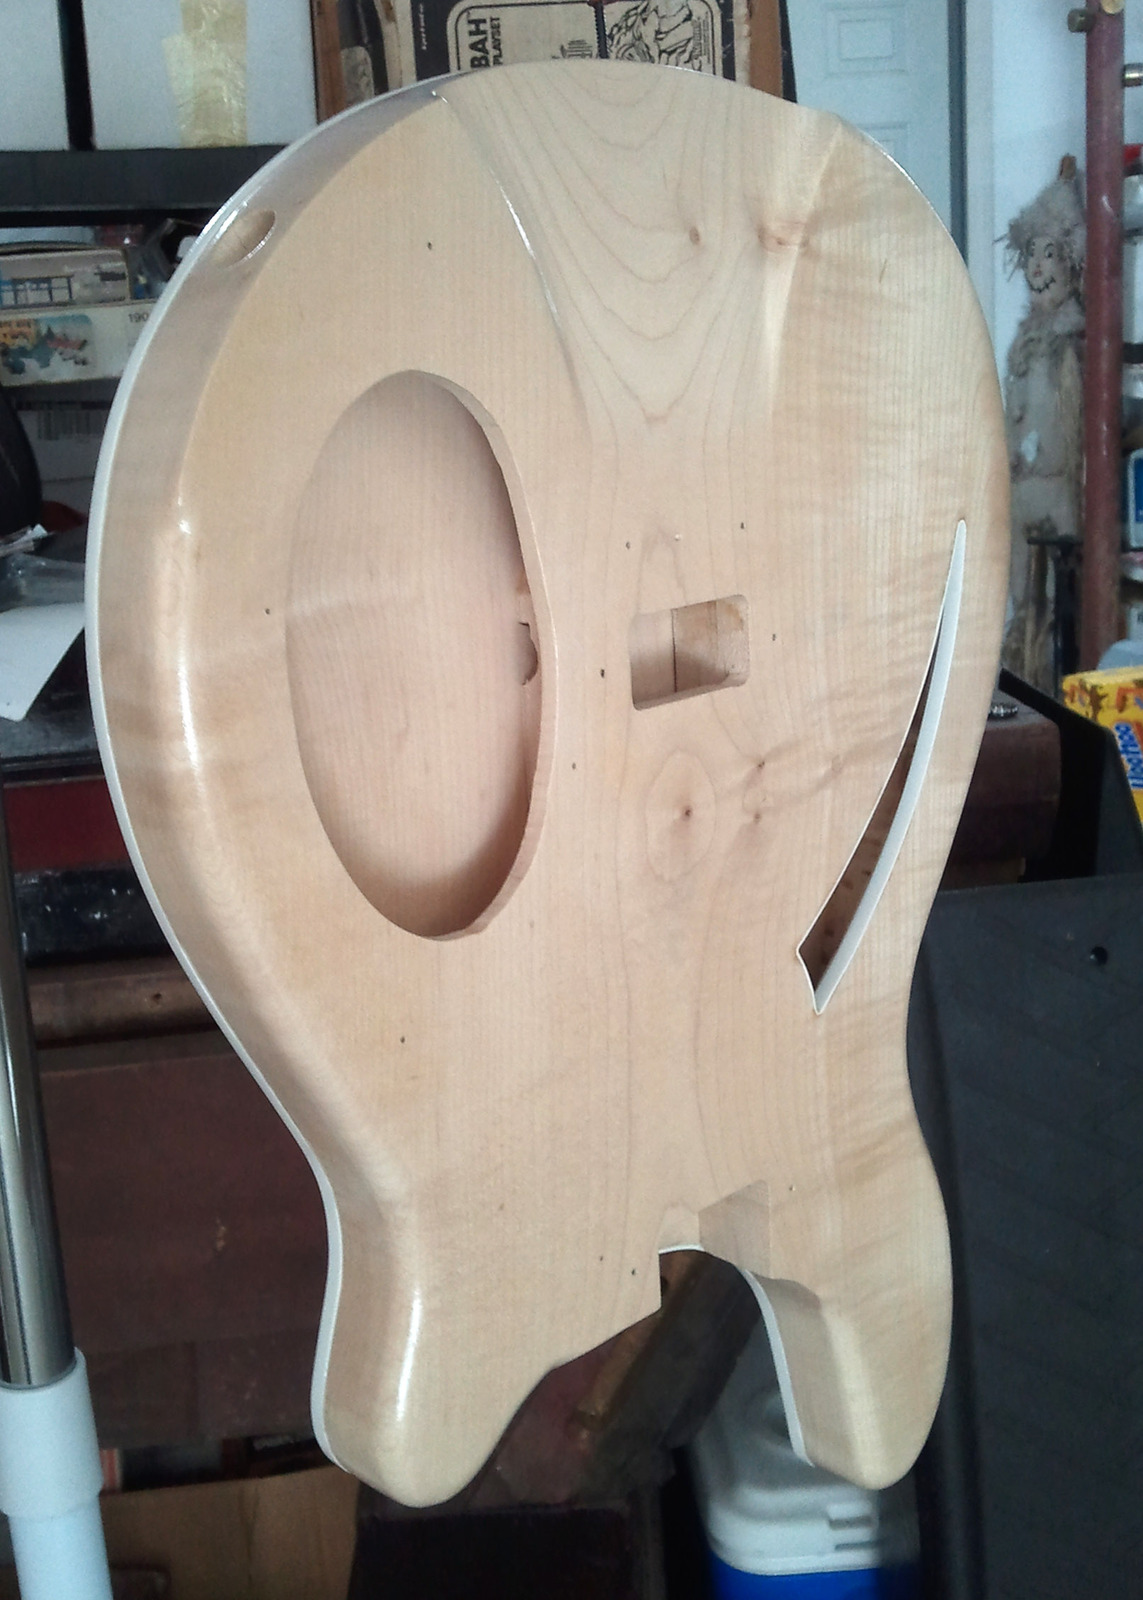
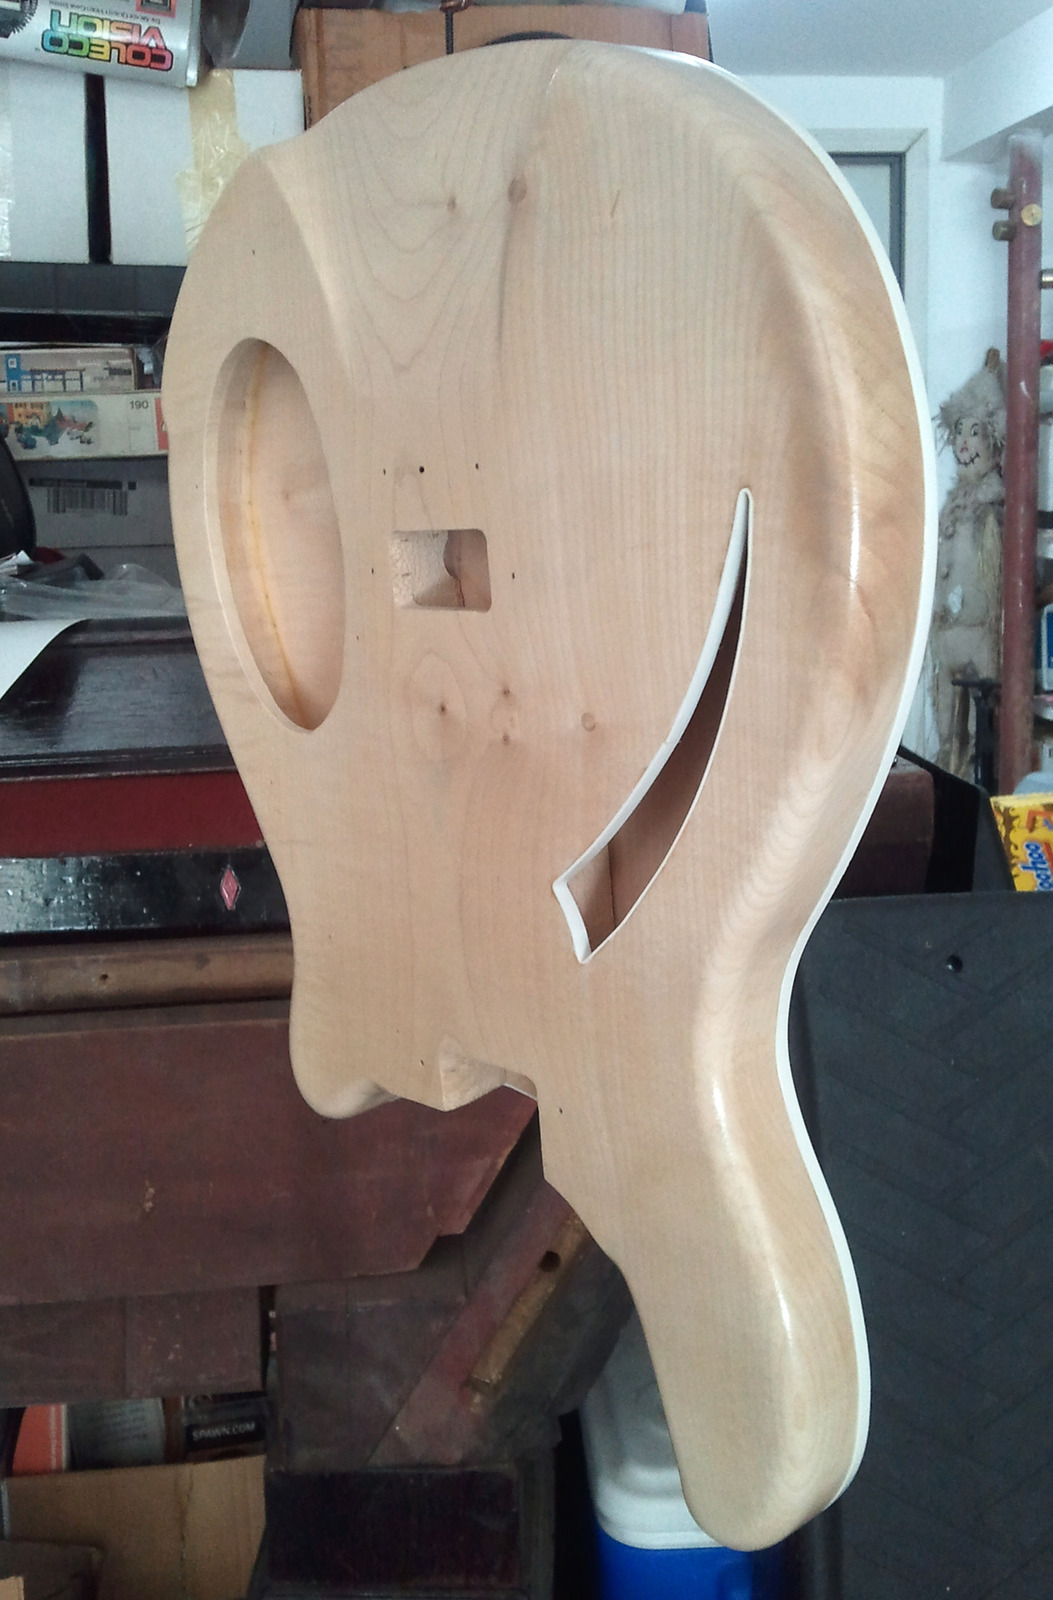
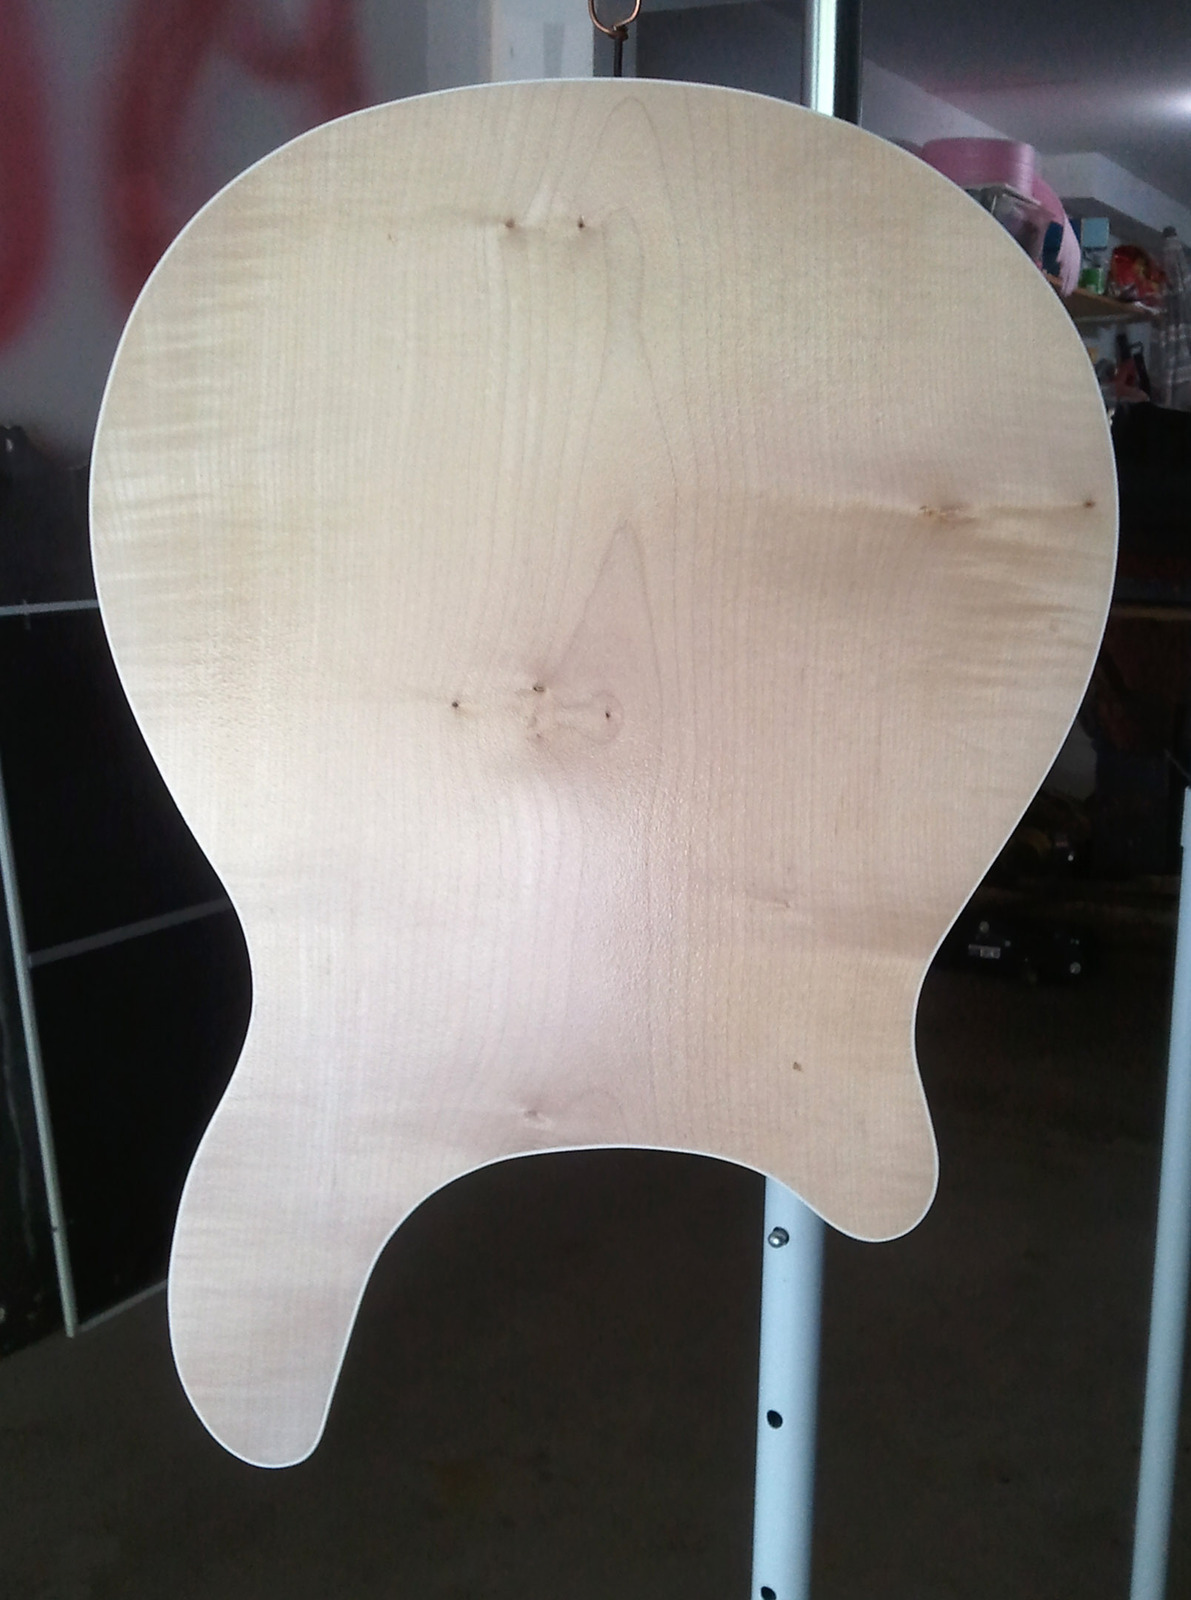
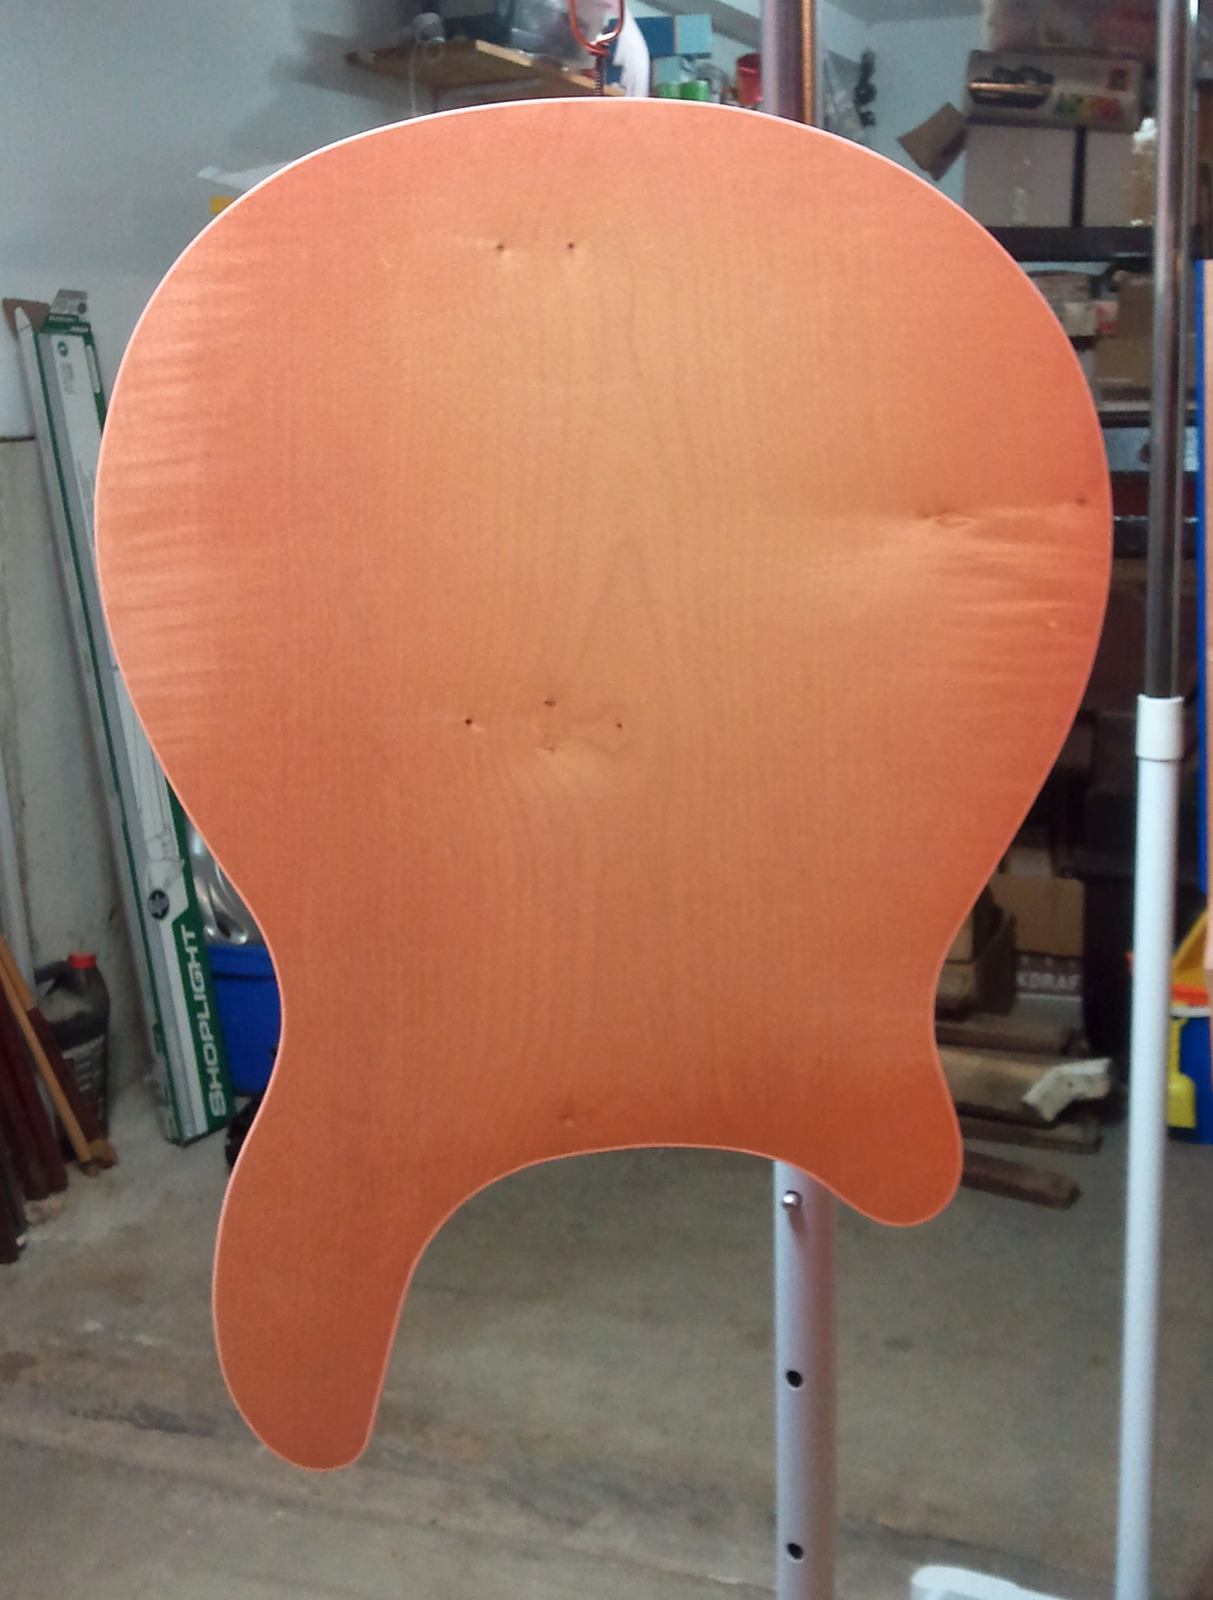
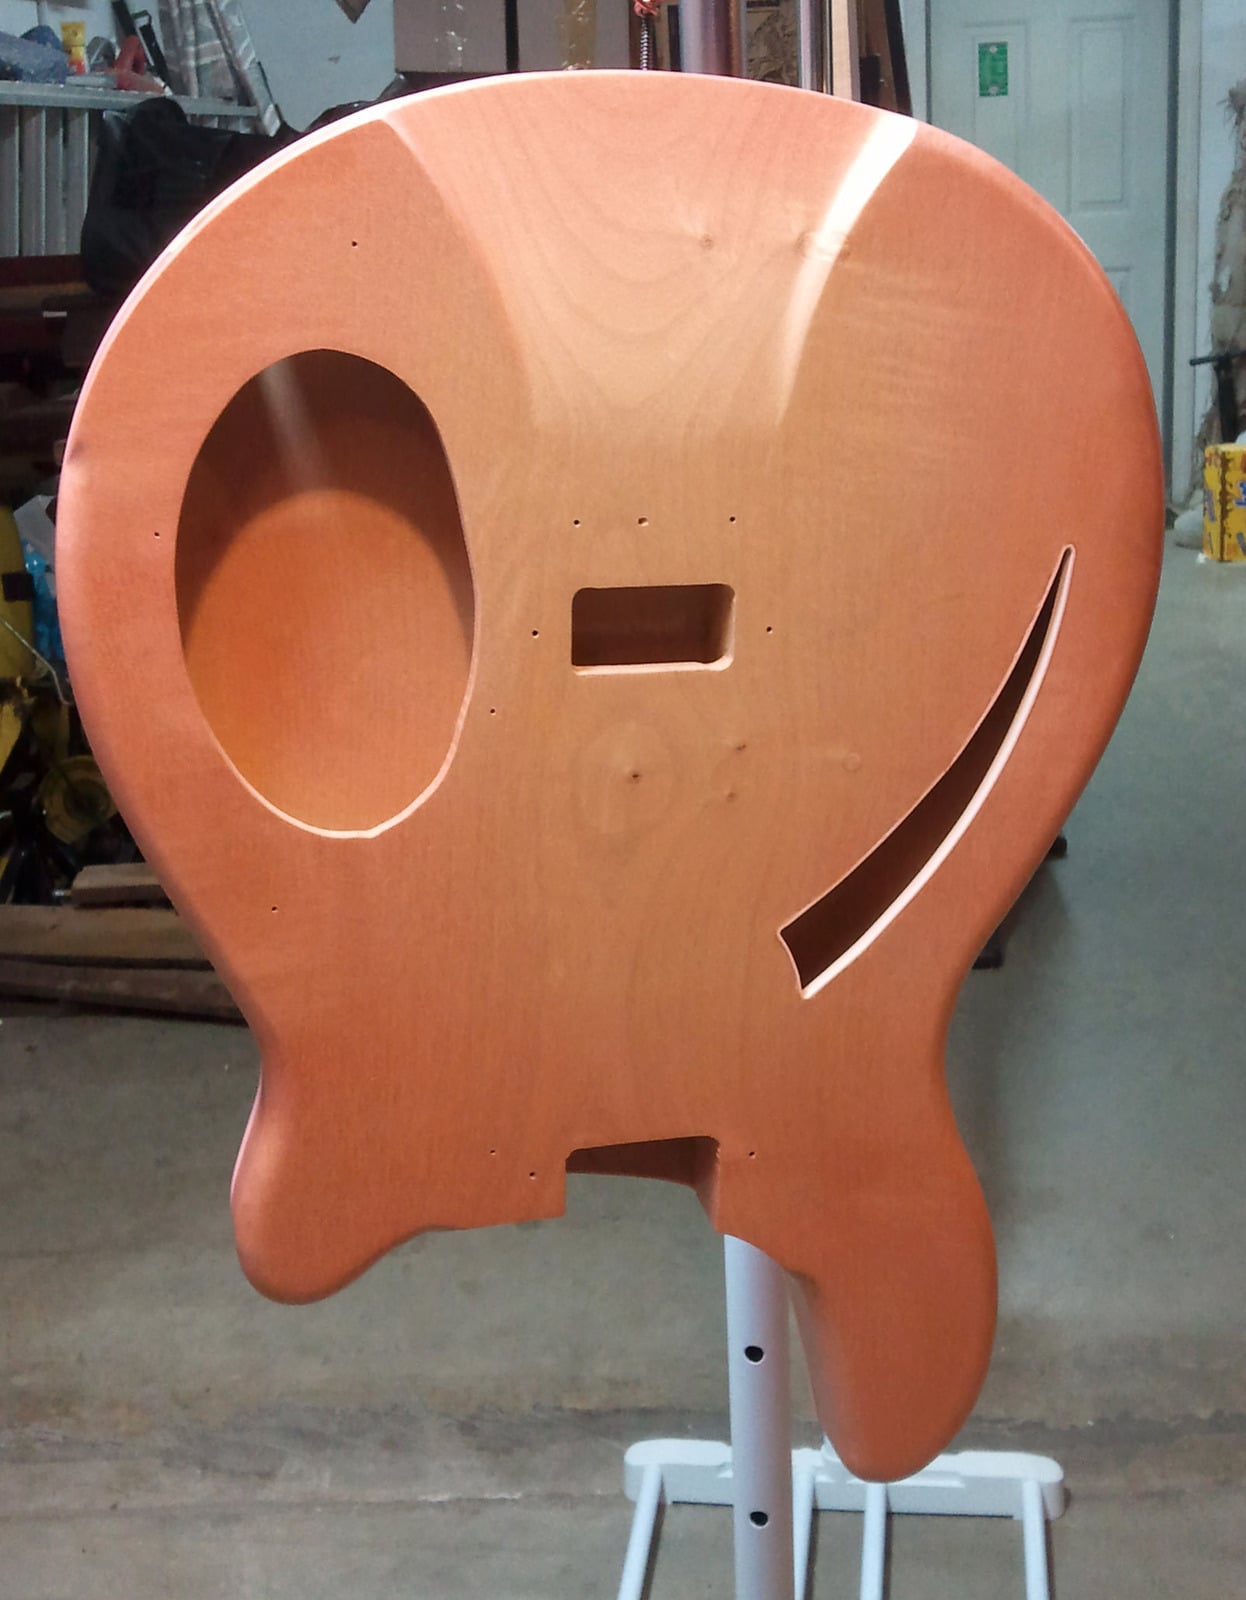
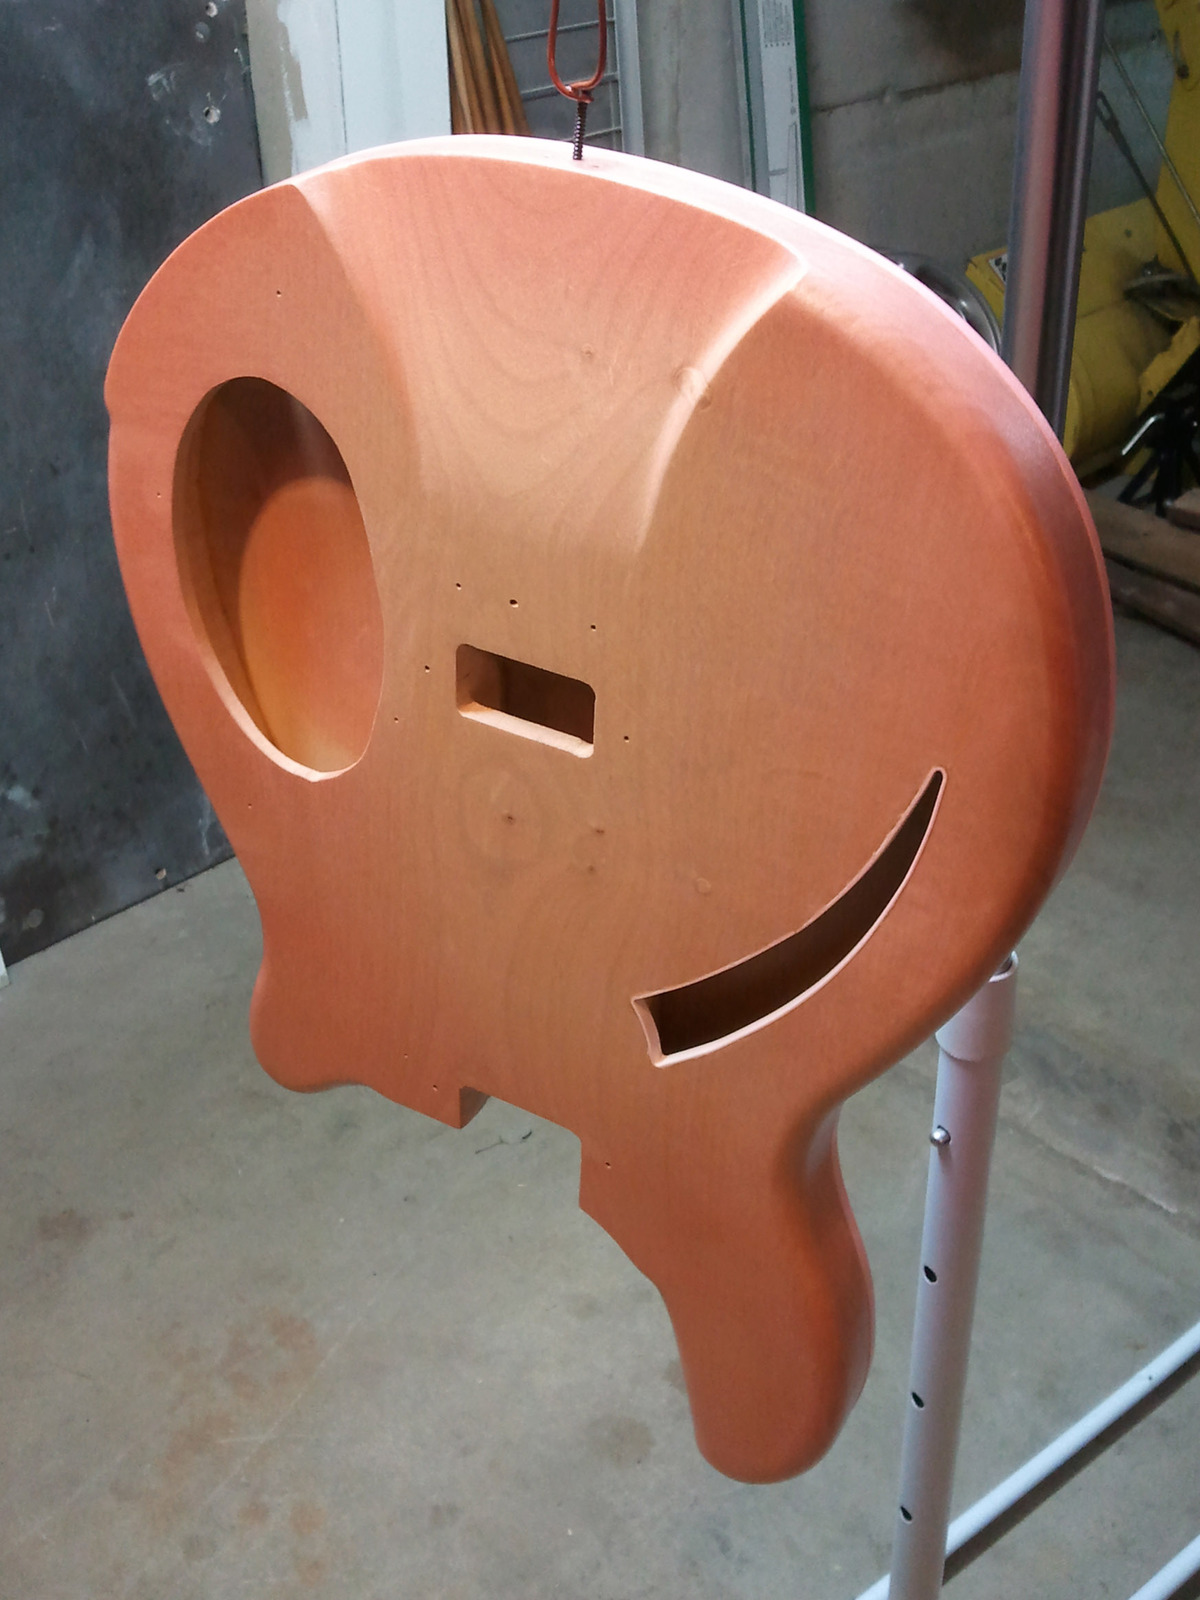
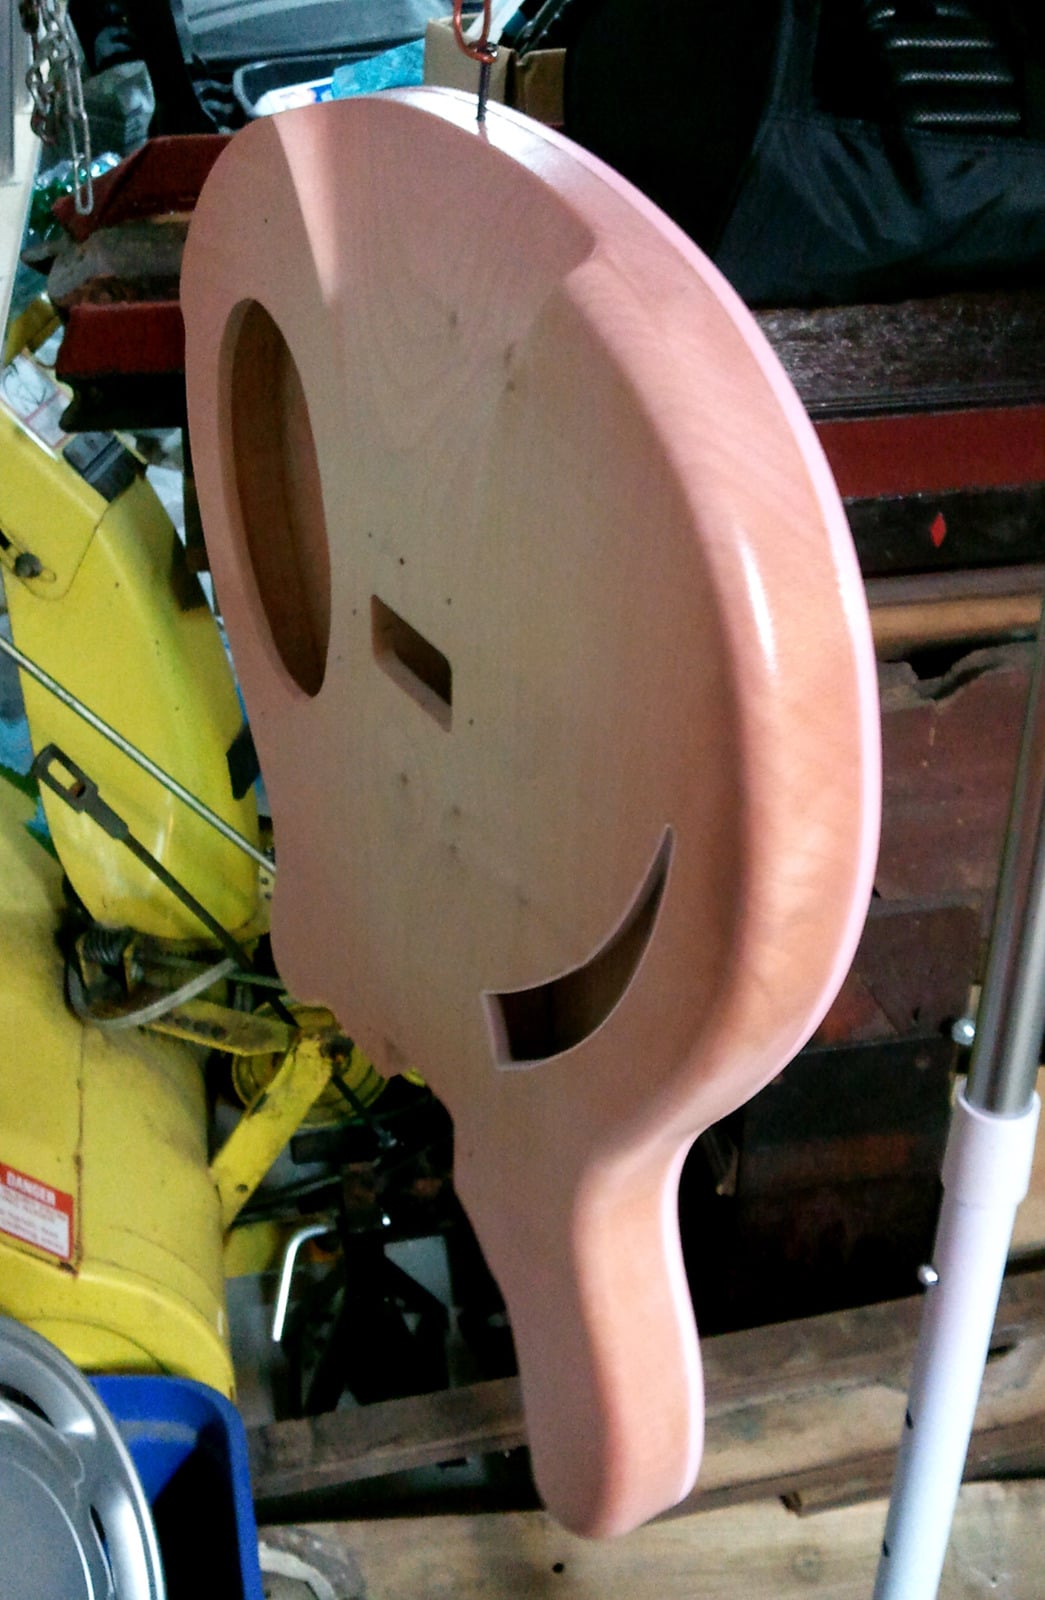
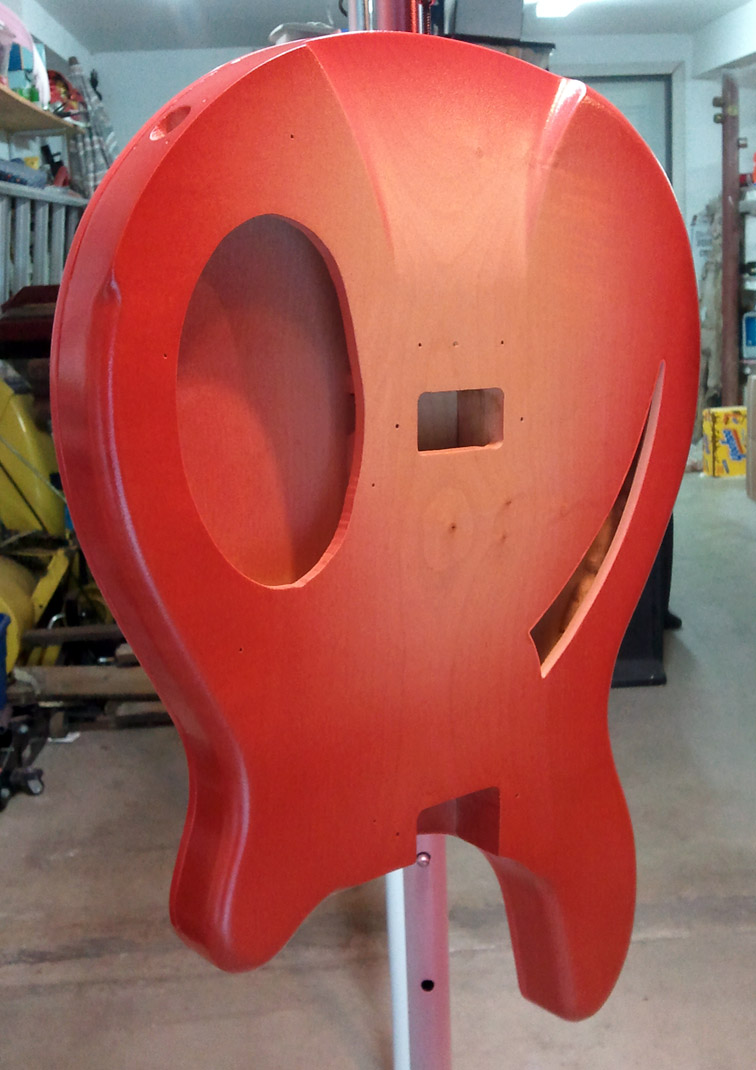
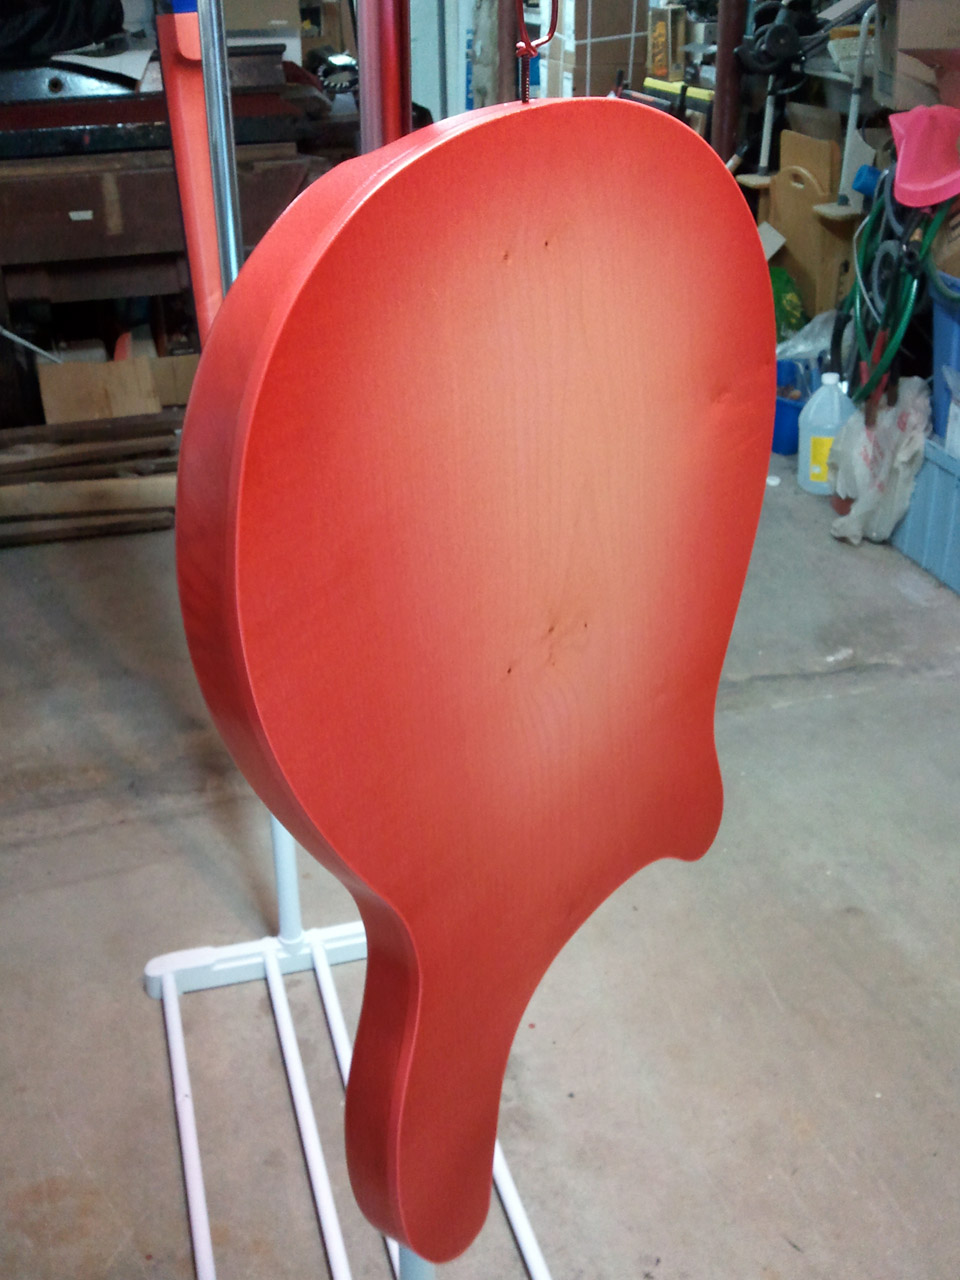
Finally laid in the binding last week and then started spraying over the weekend. I've done 7 clear base coats and then 2 color coats, 3 coats per day and lightly sanding before the start of each day . Doesn't seem to be going too badly so far. The pics make the "burst" look less of a graduated finish than it is, although there is one that shows the fade better than the others. It's hard to guess the final color without spraying endless test coats on some scrap. I'm using Target water-based acrylic with stains (approx 10 parts cherry, 2 parts mid brown) and am just gonna keep building up until I get the depth of color I require. Hopefully, it won't take 20 coats to do that...

- Aug 21, 2008
- 10,386
- 252
- 68
- Disclosures
- Owner, SGD Music Products

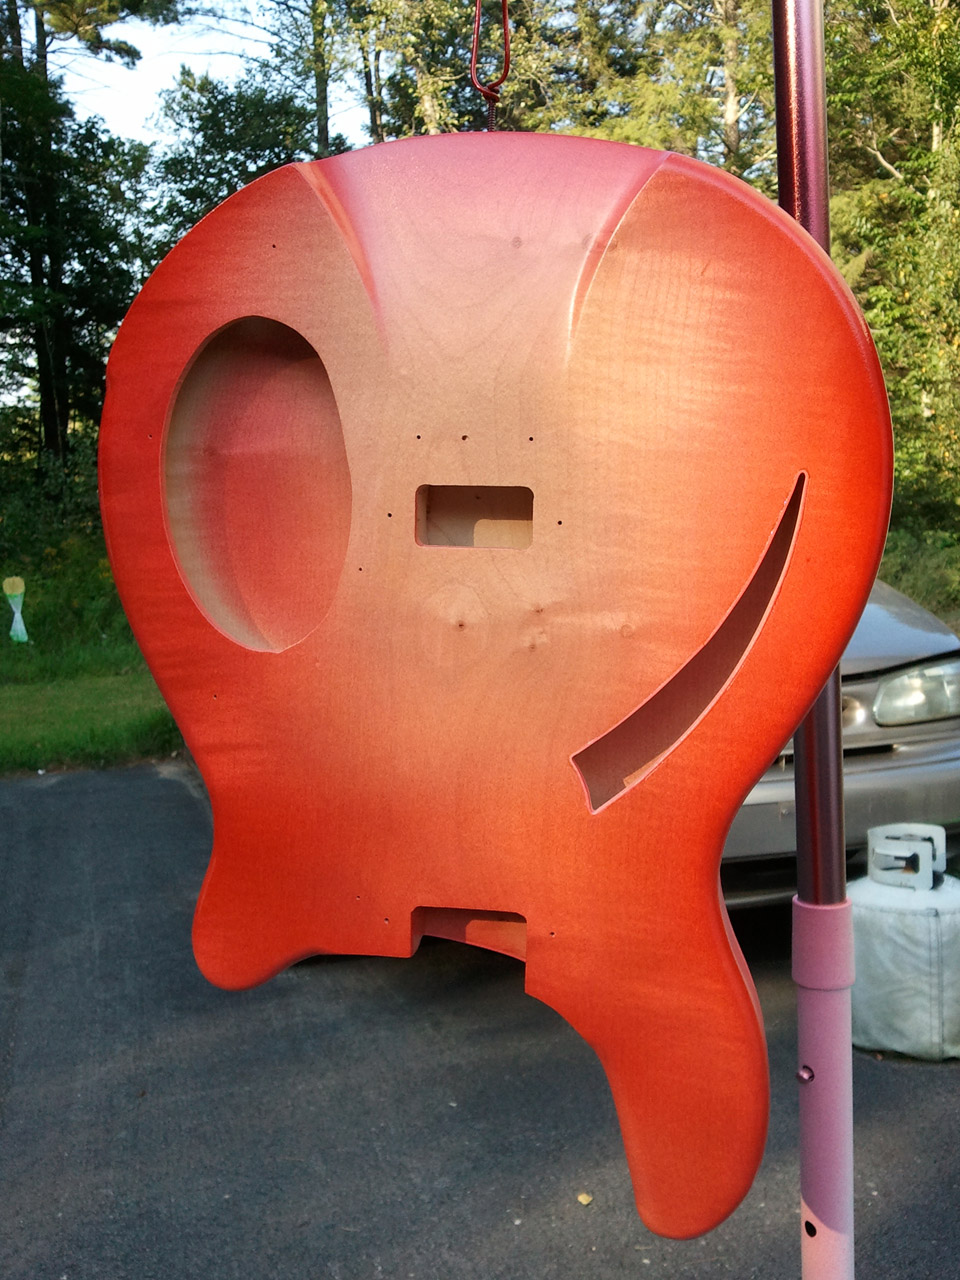
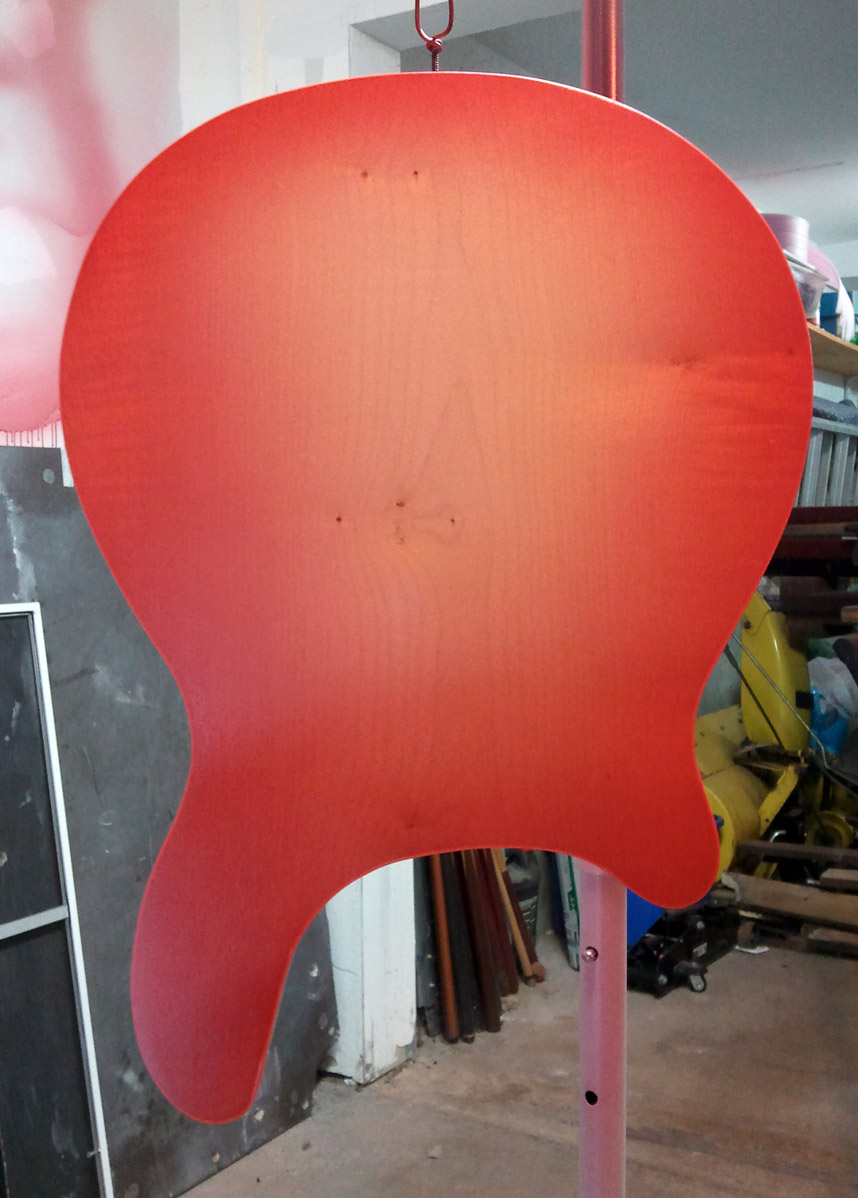
10 coats in and ever increasing amounts of stain in the ever decreasing stock batch #1... Looks like we're finally getting somewhere. My 360 has a real deep cherry red but the vintage fire-glo finishes I've looked at don't seem so vivid. I guess I'll just find something that I like and then move on to clear coats. I figure once the color is done I'll assemble neck to body so that the joint has a lacquer "seal". I'll also pull the tape from the side of the fretboard and allow the clear coat onto the fretboard binding though I have a feeling I'm going to have to blend the masking line with all those color layers. Here are the latest photos...

- Apr 18, 2008
- 16,011
- 1
- 31,720
- Disclosures
- I'm highly opinionated and extremely self-assured
Wow, that looks completely fantastic!! You're very close to completing an instrument that will inspire envy and awe in all who encounter it. I'm looking forward to seeing (and hearing) the completed bass!
So, um, how are you going to glue the neck in?
So, um, how are you going to glue the neck in?



