• TalkBass has been independent since 1998. Add your voice.
    Create a free account to reply to discussions, view embedded media, and browse with fewer display ads.
    Join freeLog in
    Want zero display ads or expanded classifieds tools? Compare plans.

Rubio Monocoat for bass bodies

My intention was that this thread serve as a resource, and it seems to be doing just fine in that respect. ;)

Understanding that I have no experience in "off label" use of RMC, so I have no opinions on what may or may not work. The part B accelerator is a type of catalyst that is used in other solvent-based paints, so I imagine that's what's at play in making a multiple coat application stick to something other than raw cellulose.

I can say that the colored RMC I applied stuck reasonably well to those stainless lag screws, so there's that. :D
 
Last edited:
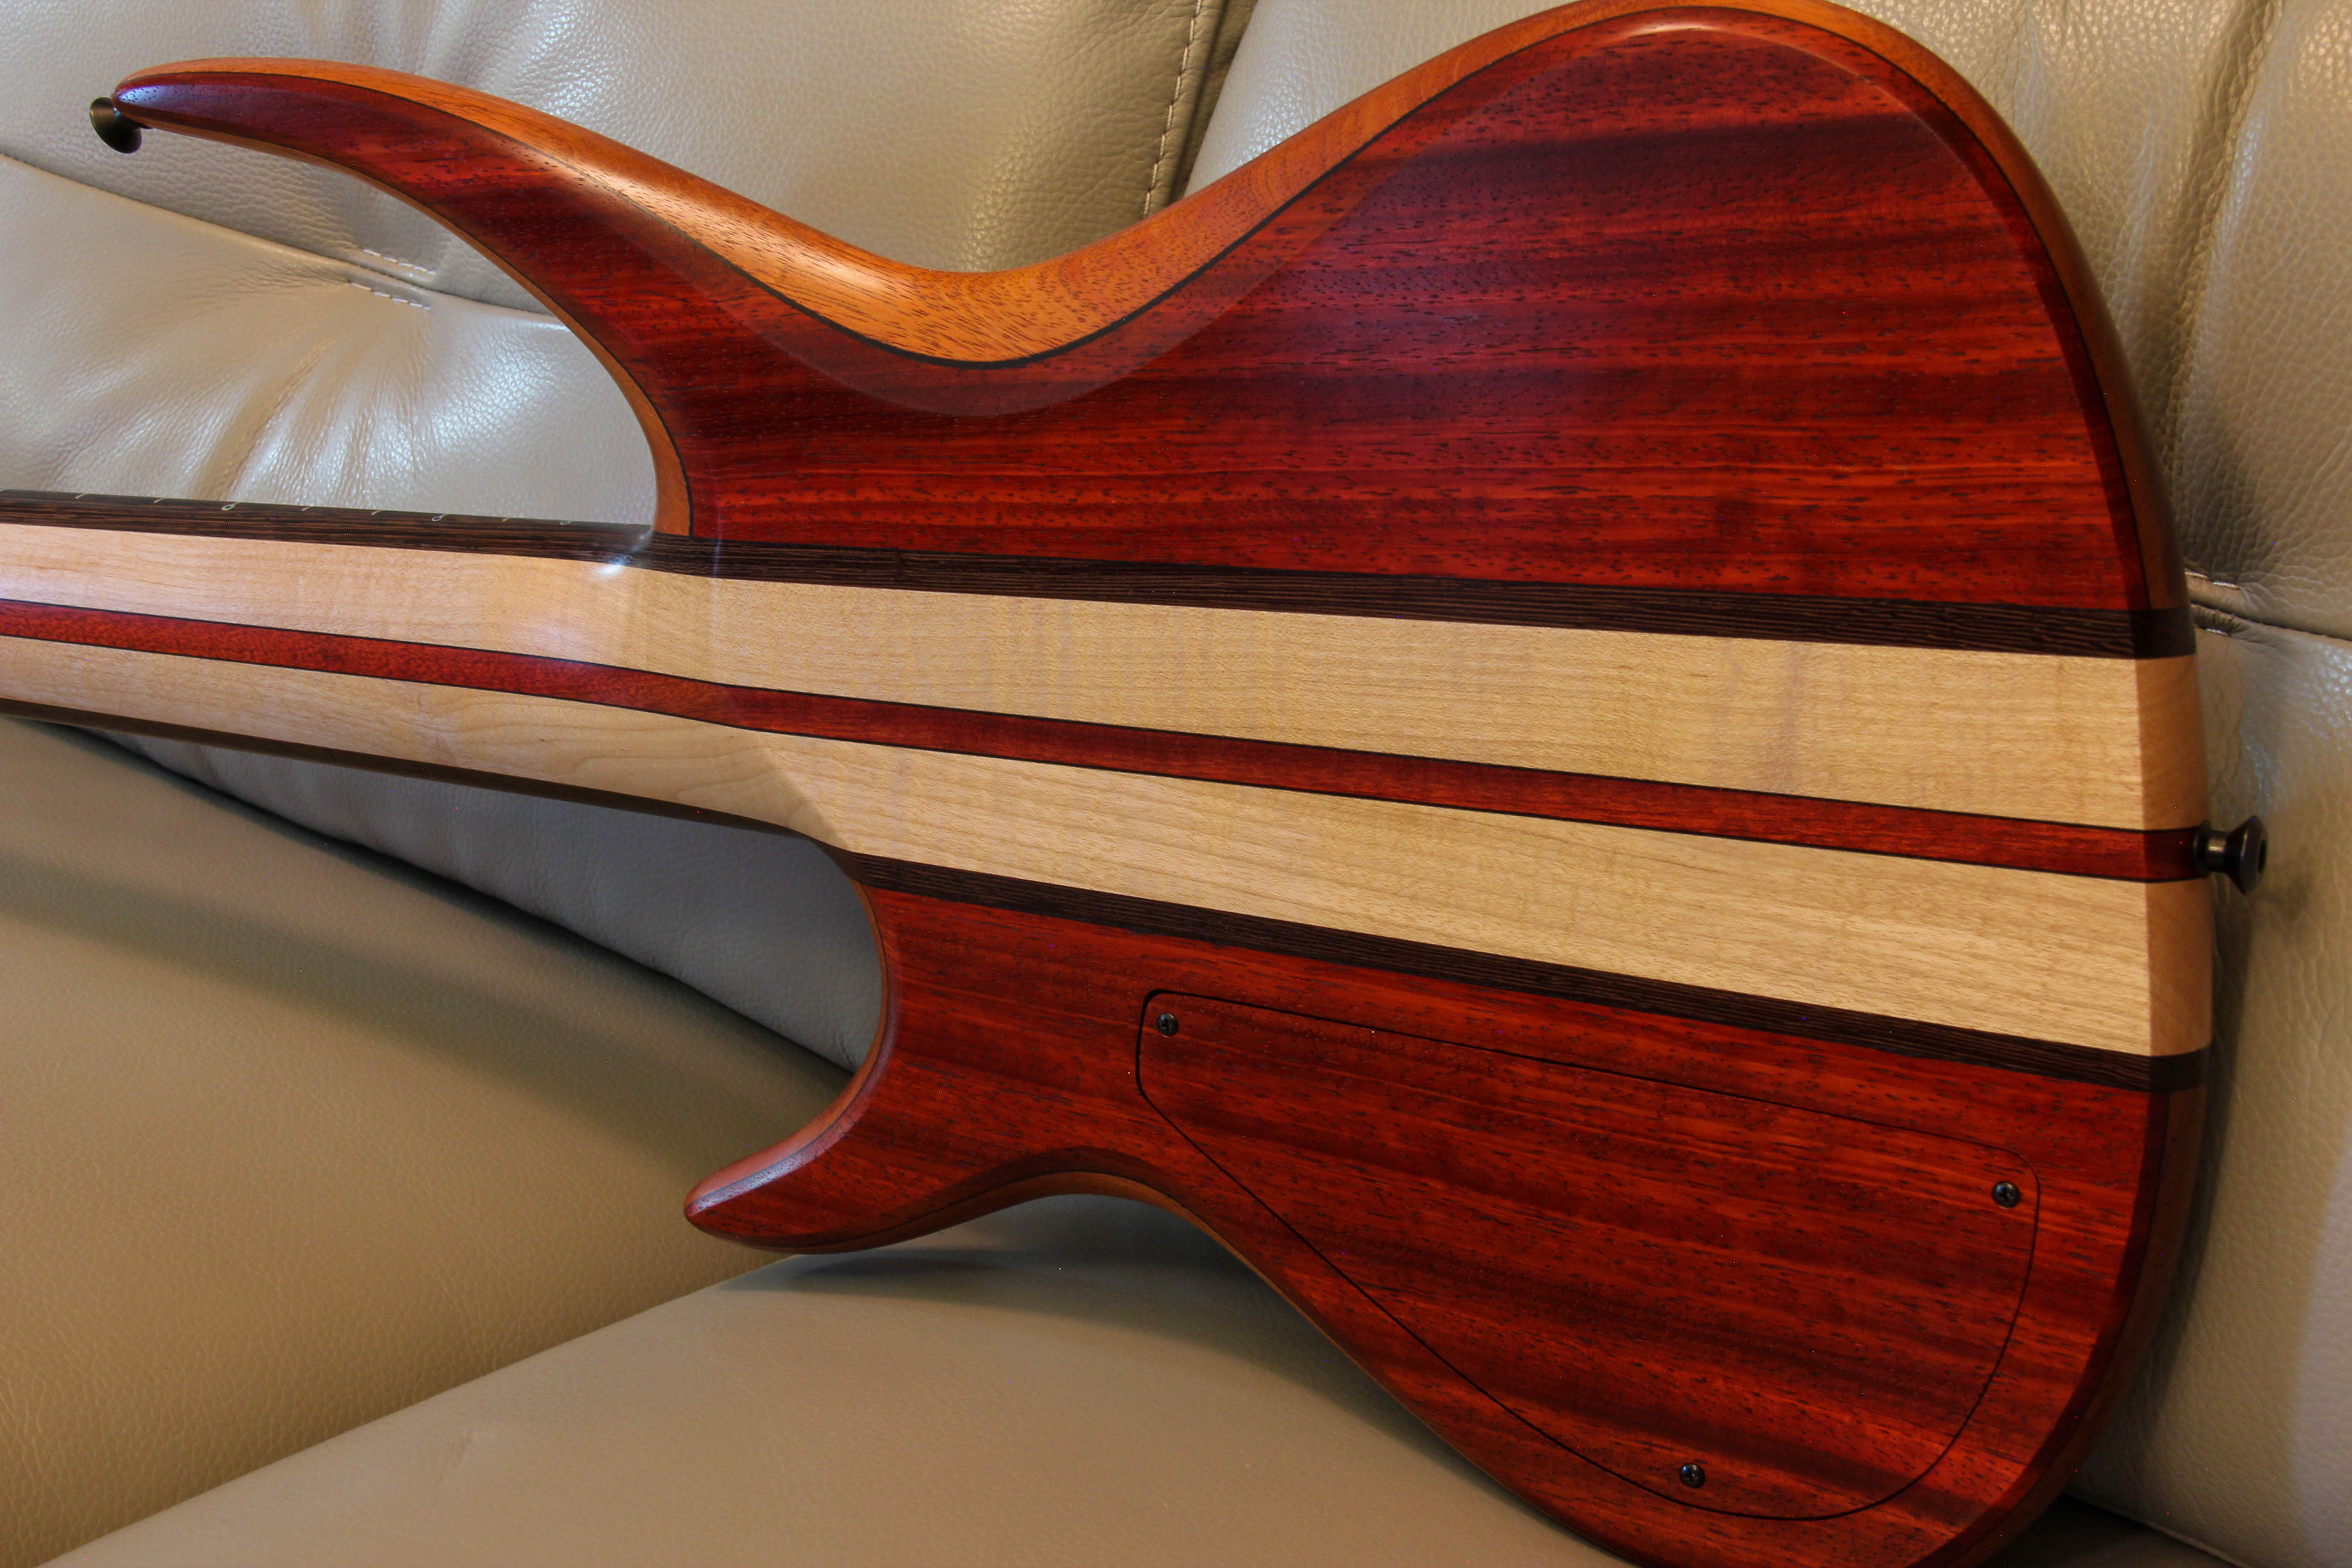
Hey, I just wanted to chime in here to share my experience and methodology for applying RMC. I finished my most recent build with it and I'm very happy with the result. If you're looking for a very even, lower-luster sheen that has that "close to the wood" look, then this is your finish. :thumbsup:

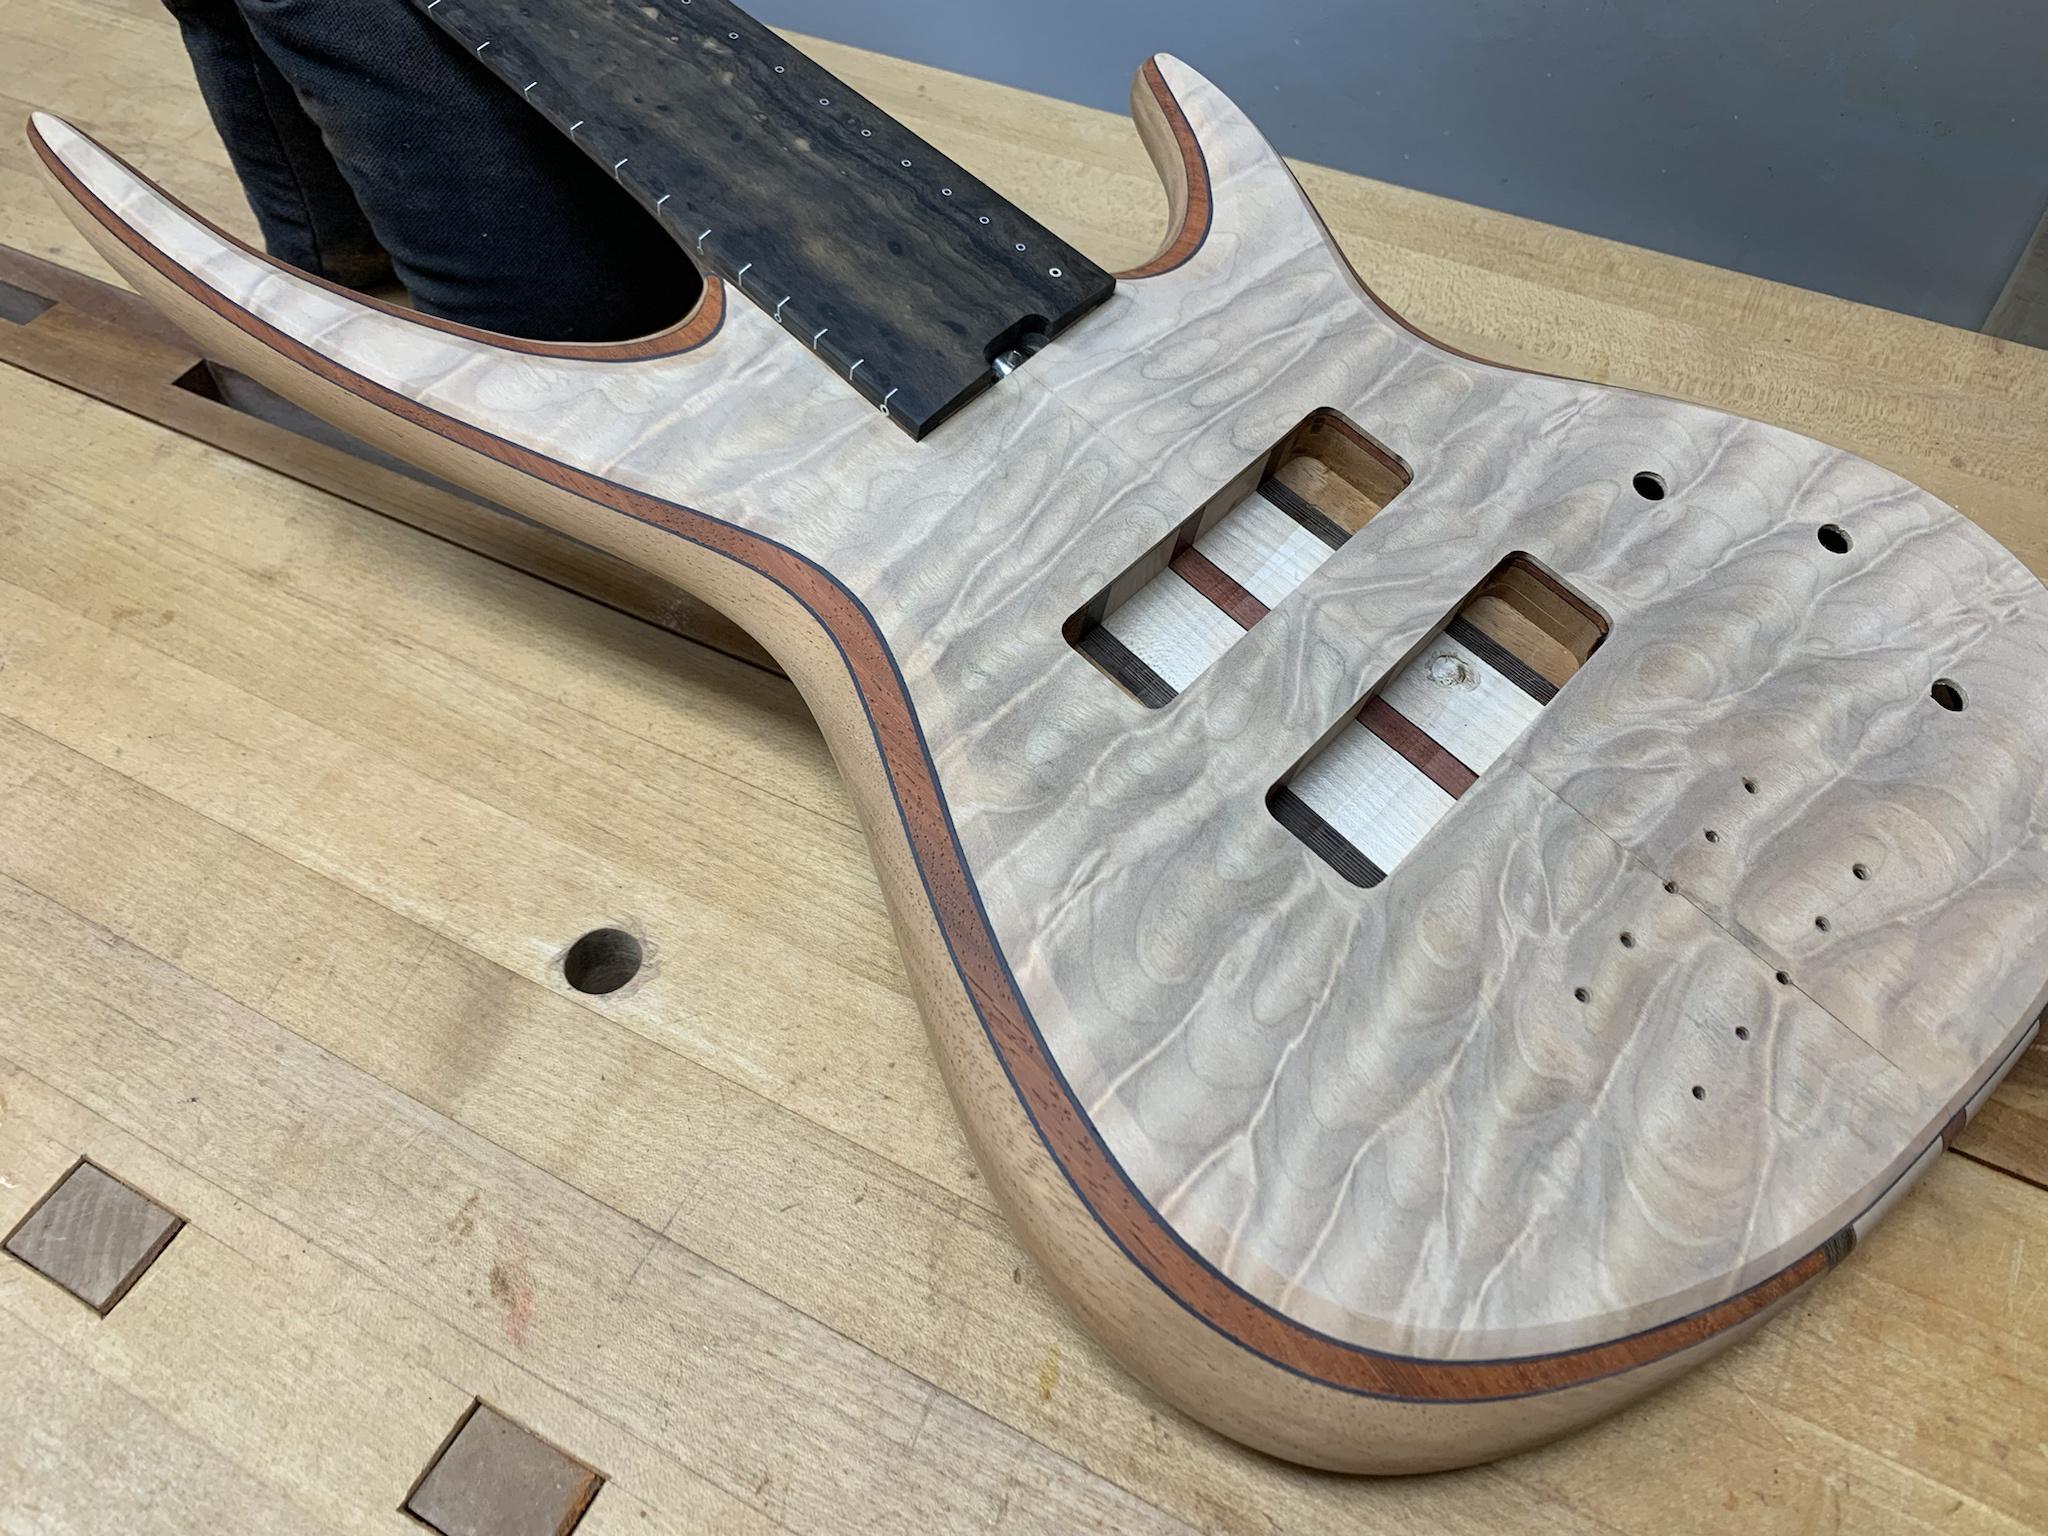
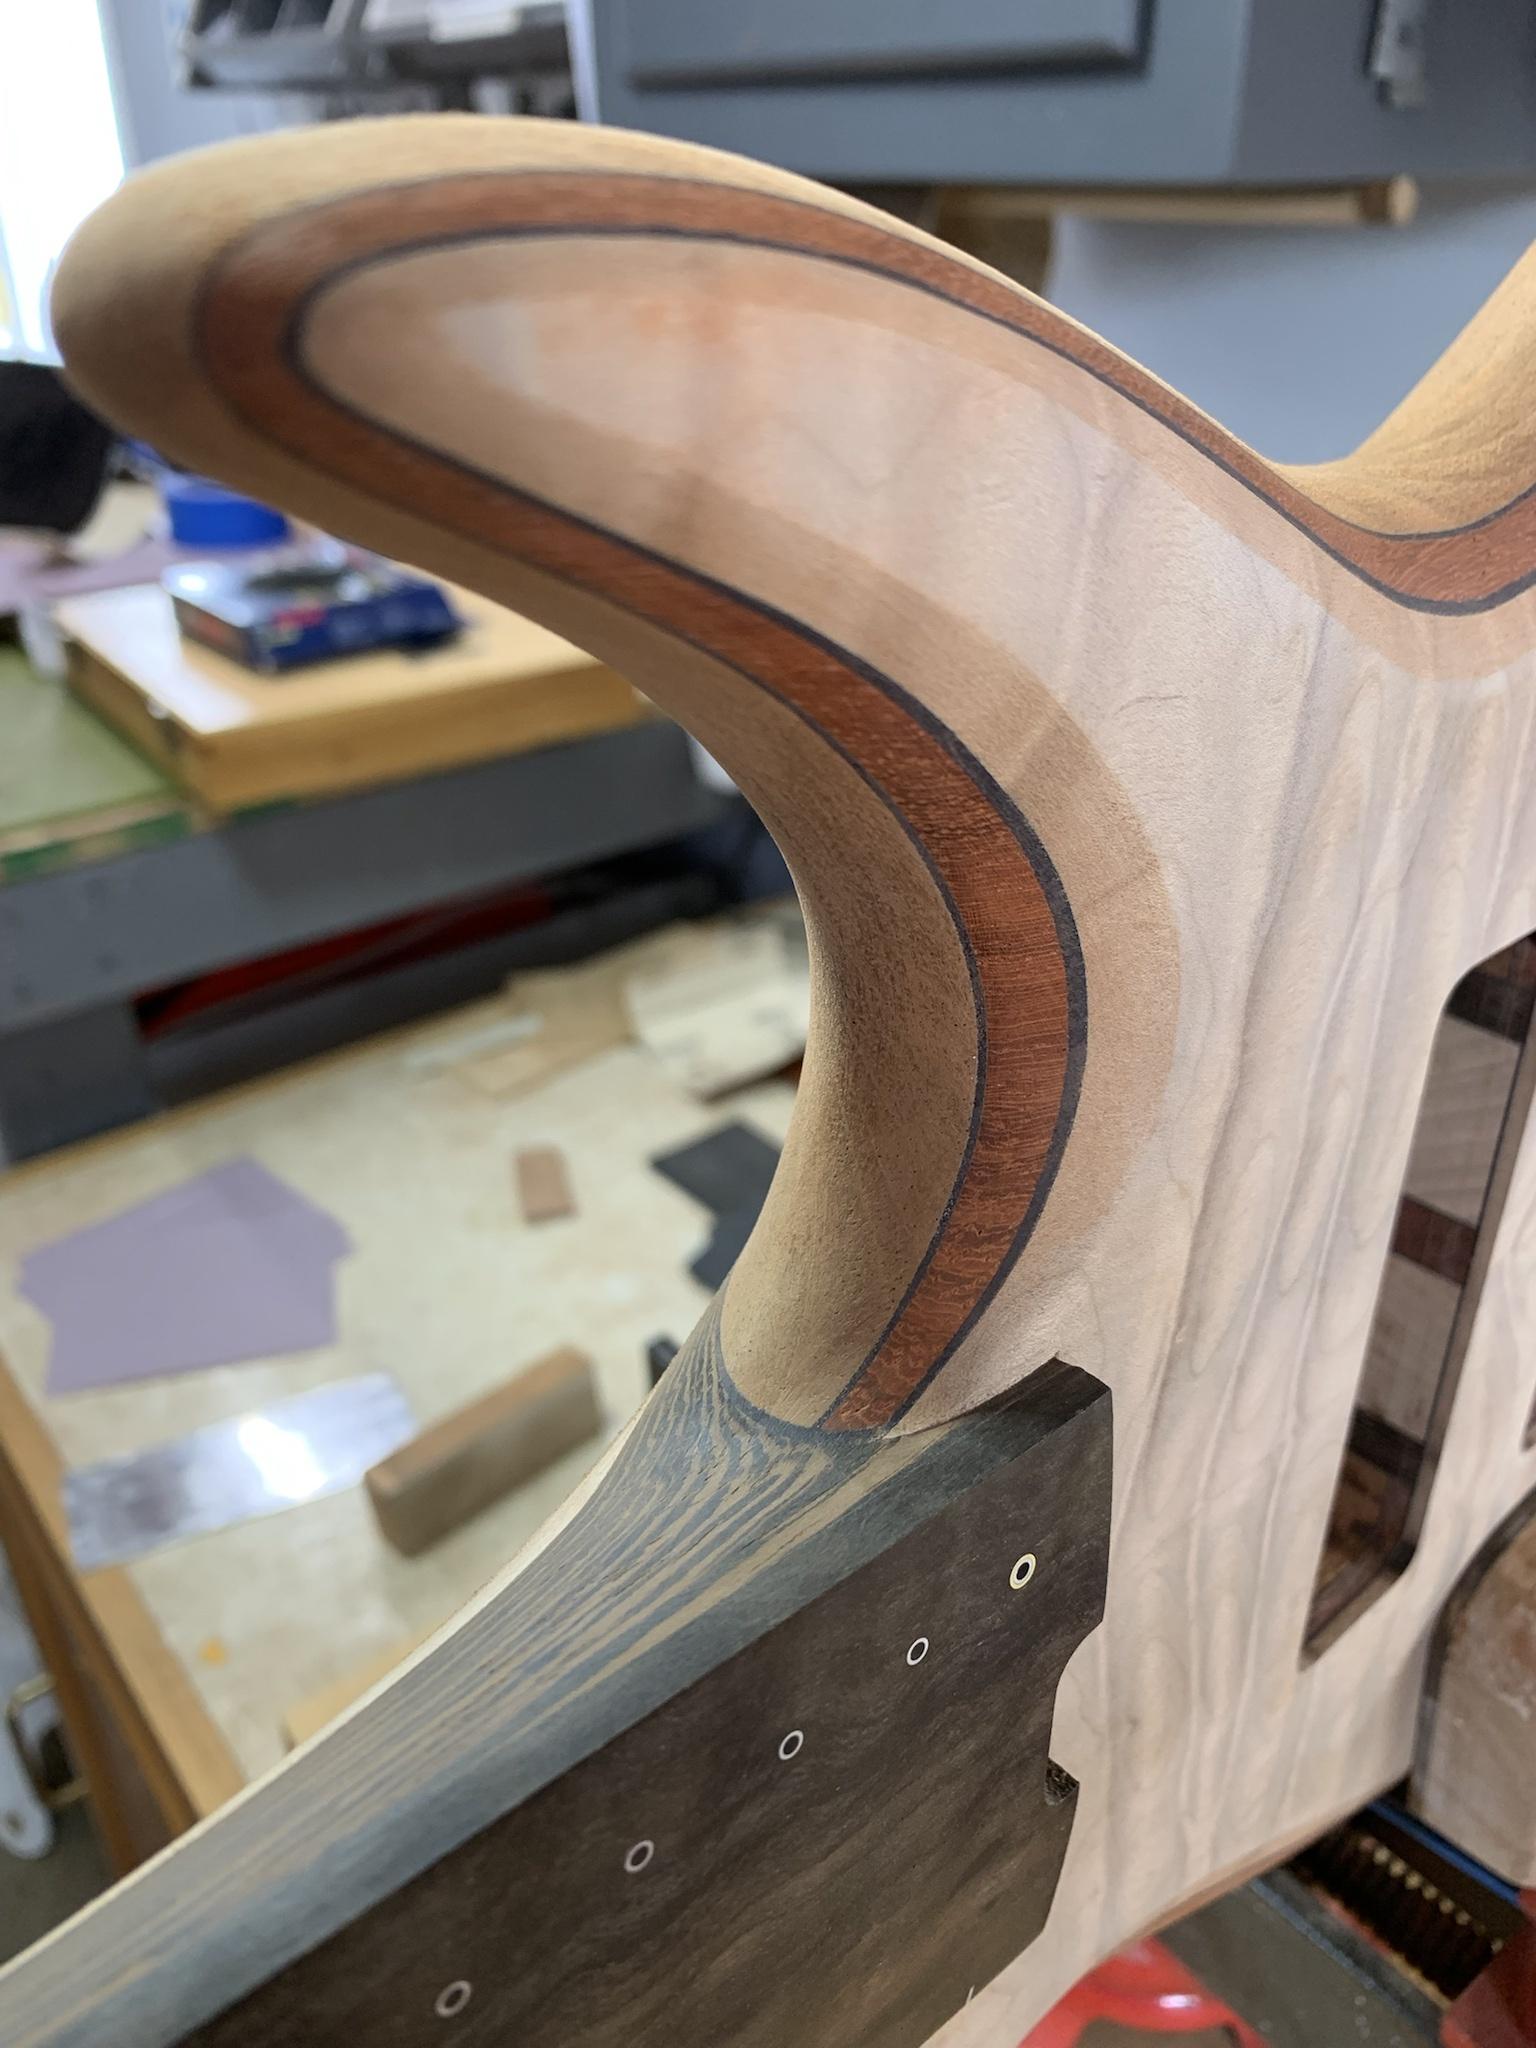
So, right up front, I'll tell everyone that I did not explicitly follow the manufacturer's instructions. Rather, it was a hybrid approach of techniques. I spent a lot of time perfecting the surface... there's no hiding anything under a film here, it's gonna be about as exposed as it gets. Blend every curve, remove every scratch mark. I use a single light source and look over every area at a raking angle to find imperfections. I believe I sanded up to 320. Yep, higher than Rubio recommends. :D

Surfaces prepped thoroughly, all curves faired, bevels refined, then wiped down with naphtha.
JygvXmA.jpg


latY1kK.jpg


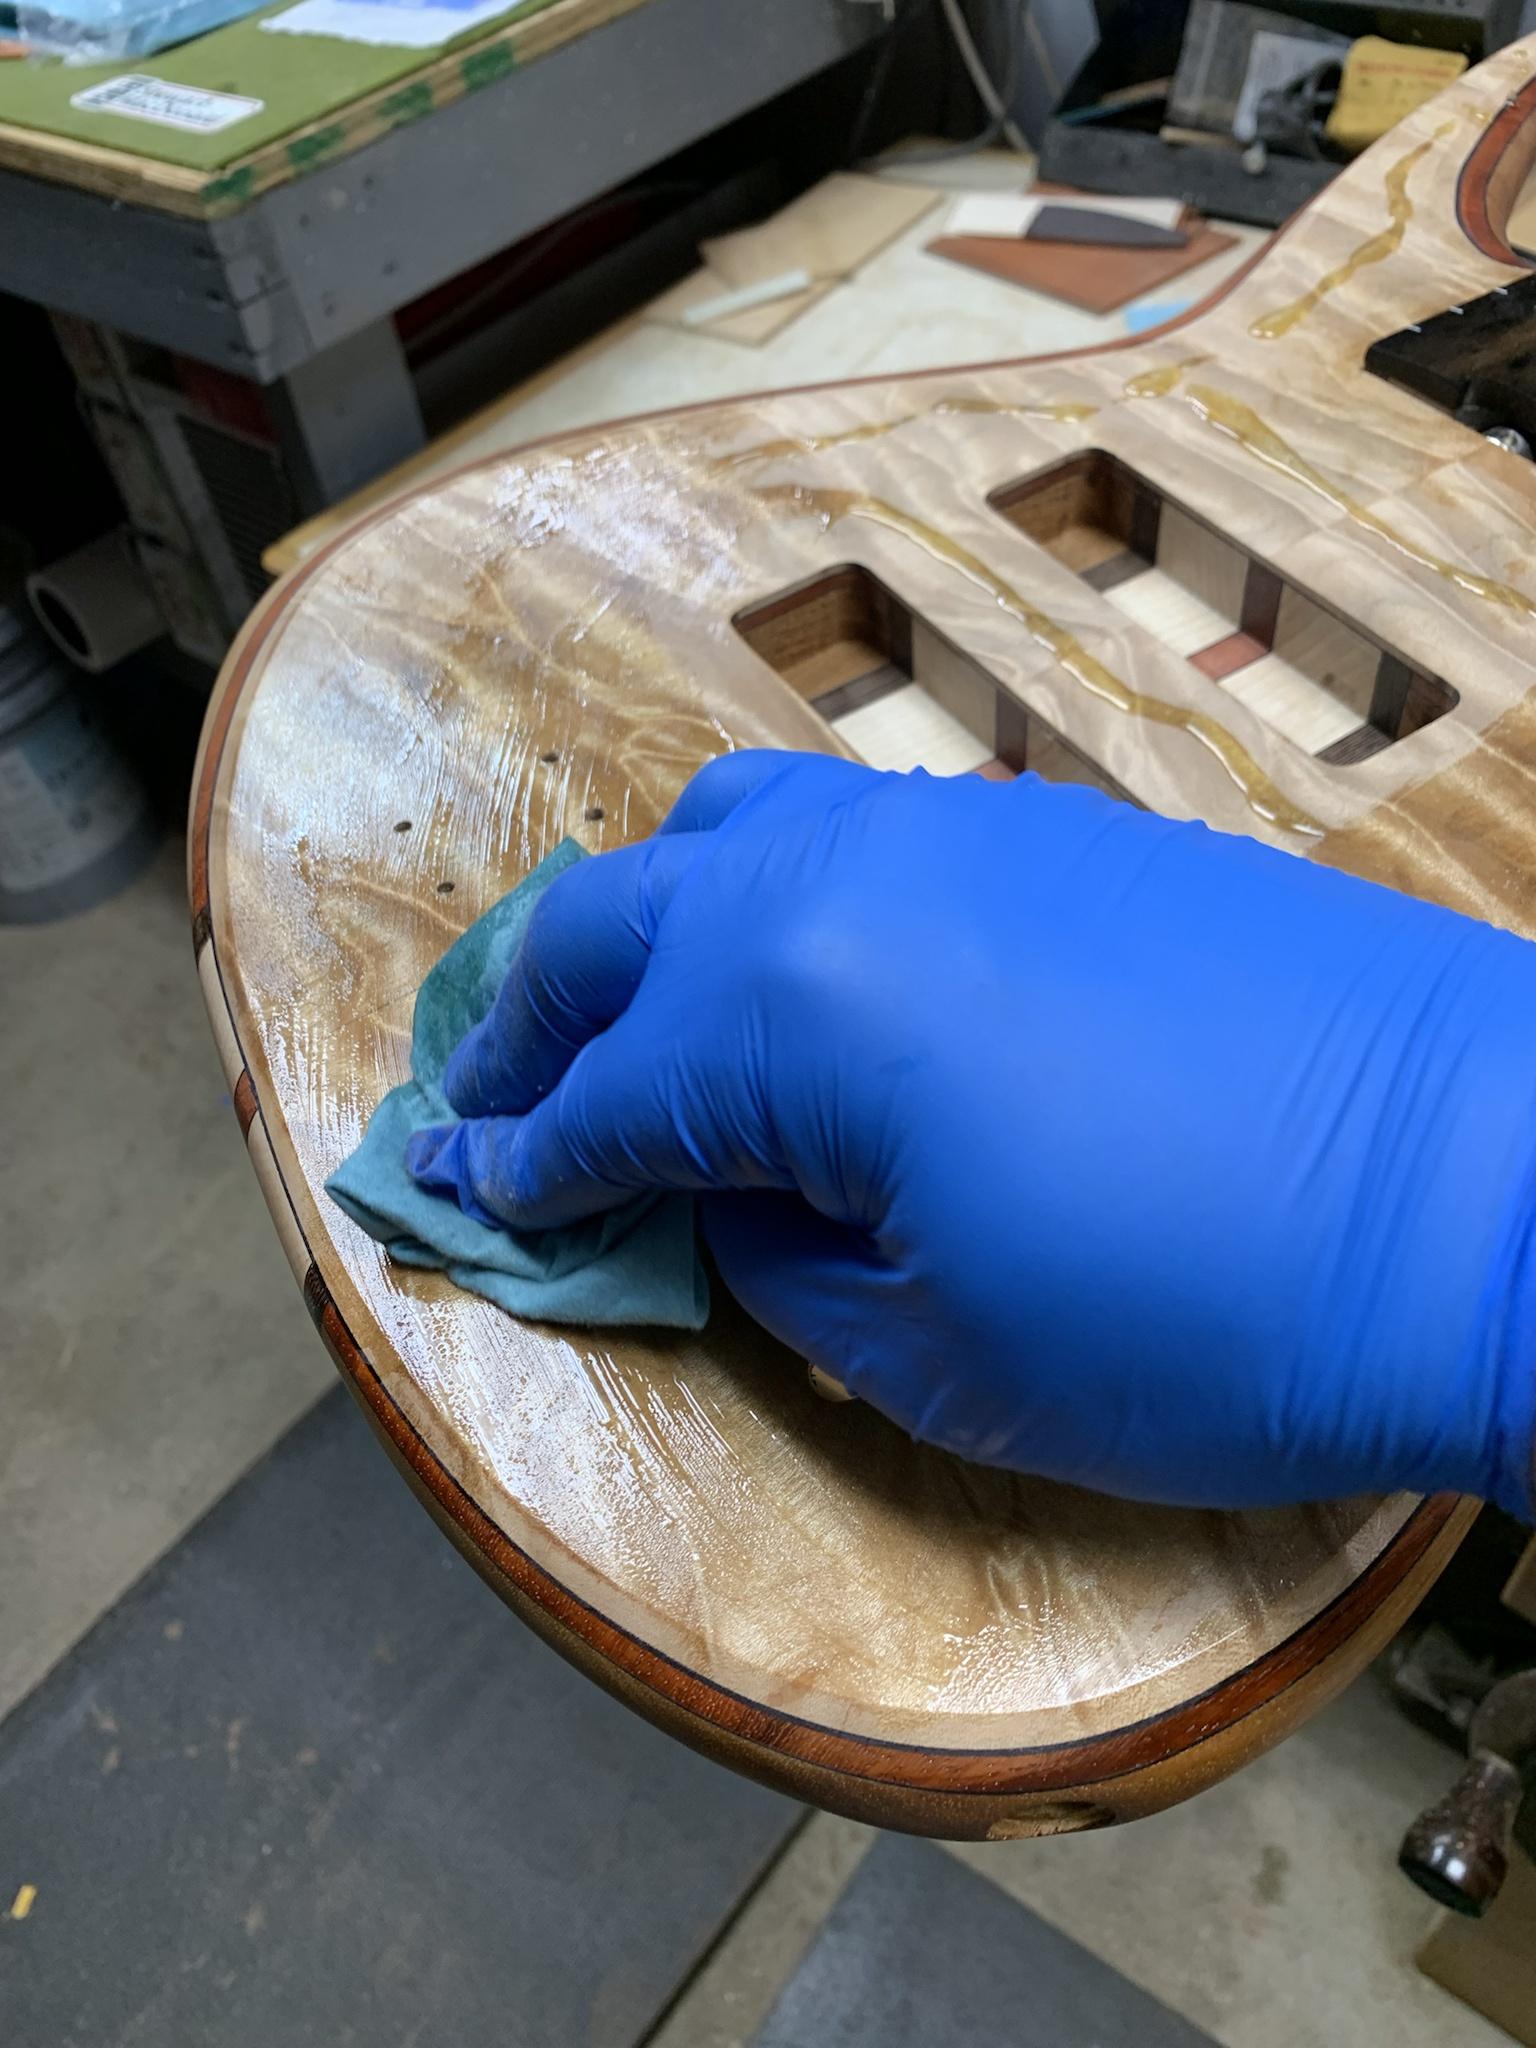
My next step was to seal everything with a coat of epoxy. This does a couple of things. First, it partially fills the open pores, which is something that I wanted to achieve visually. A single coat doesn't fill them all the way, it just lessens them a bit. Secondly, the epoxy coat imparts a lovely amber tone that is very much like an ambered lacquer color.

I applied the epoxy (Z-Poxy) in a few sessions using small batches. the trick is to get it applied evenly while buffing it into the surface using a shop towel. After it sits for a few minutes, I buff off every speck of it that I can possibly remove. The surface feels vaguely waxy or oily when done, but it does not feel wet... you can't even leave a fingerprint at that point. Essentially, all that remains is what has soaked into the surface. This is a technique that Ken Parker uses and I happily borrowed it from him. :)
VVkaOdQ.jpg


After the epoxy cures for 24 hours, I wipe everything down with warm water and a rag to remove any of the residue that epoxy can leave... I forget the term for it at the moment. Next, I hit all surfaces with a gray 3m Scotch Brite pad. Everything should have a uniform "frosted" look. That gets blown off, then wiped with naphtha.

I use RMC with the accelerator and apply it with a white Scotch Brite 3m pad buffing it in using a circular pattern. Again, wipe all of it off. Every little bit that can be removed, is removed. No pictures for some reason.

After drying overnight, I hit it with a maroon Scotch Brite pad. Clean with naphtha, and repeat the RMC application again with a white pad. This brings the sheen up considerably. No pictures again.

After drying overnight, I hit it with a white pad, then use the RMC Renew for a final little kick of extra sheen. This is applied the same way, white pad, wipe it all off. And no pictures again.... IDK, I plead insanity. :bored:

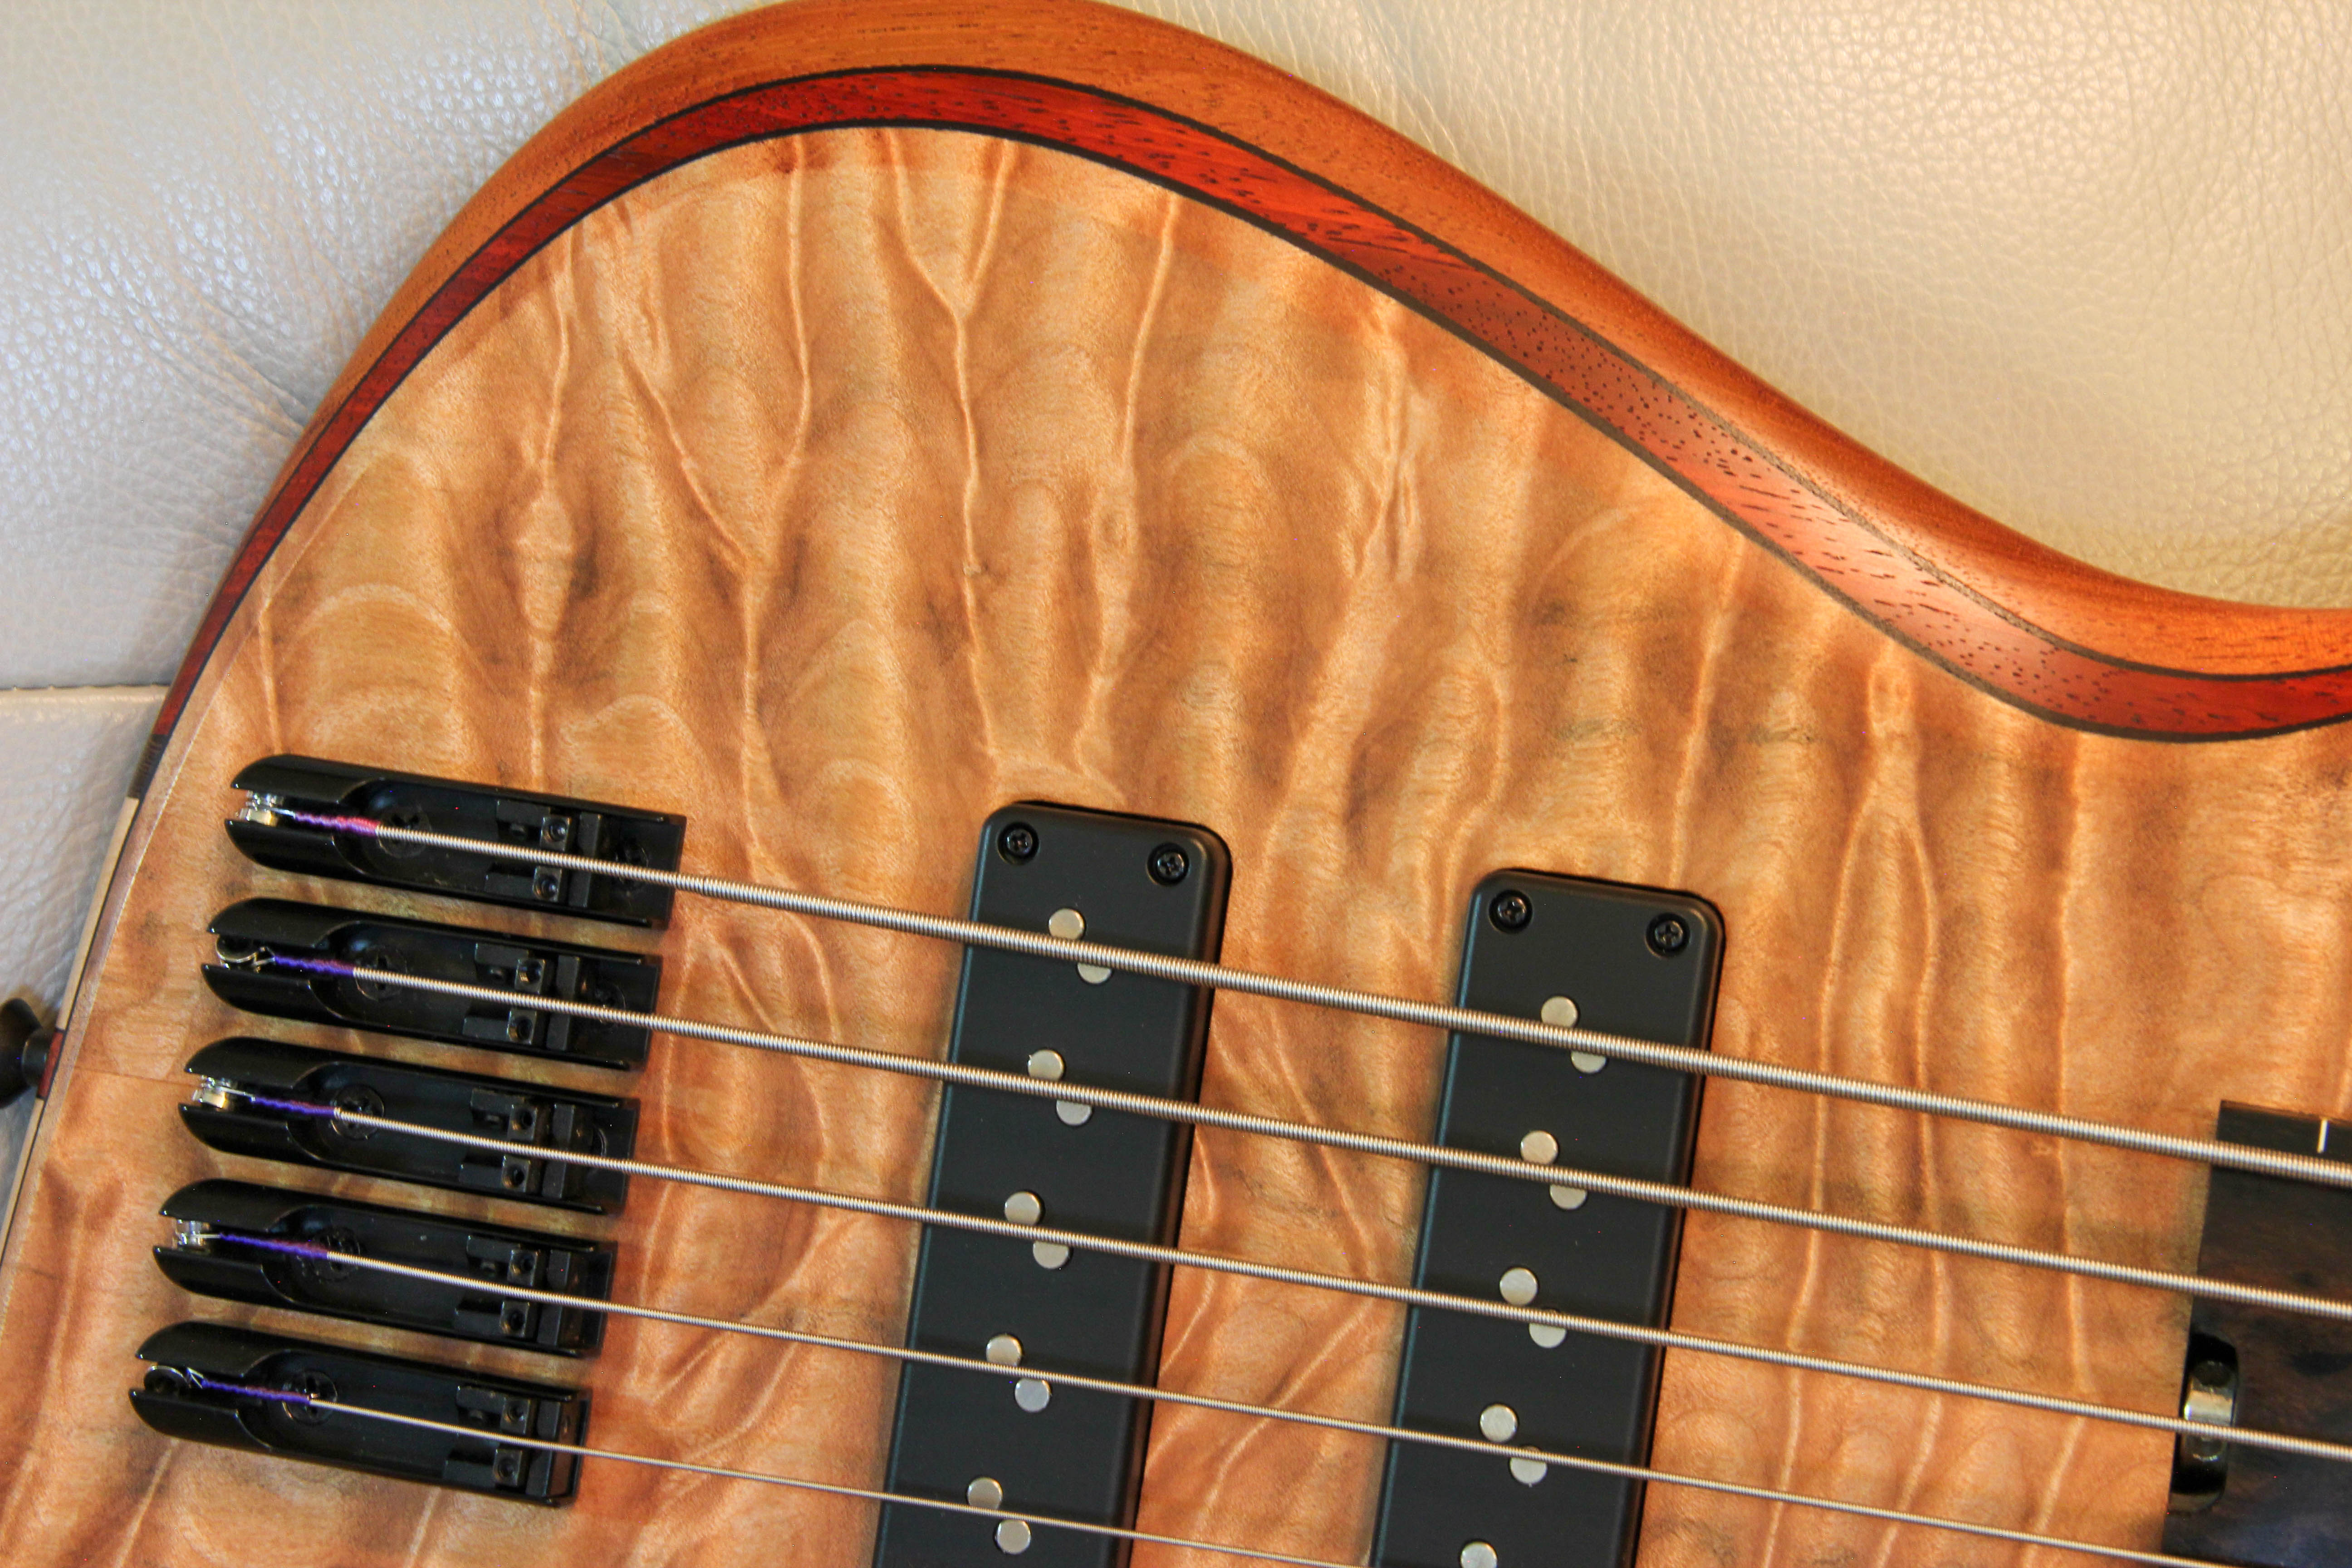
Dry overnight again, buff with a towel if you like, then assemble. It has a very organic look to it and feels buttery to the touch. It's just awesome, in my opinion.

vtuzfon.jpg


9M9RAiV.jpg


2xhDJ7T.jpg


So, I'm not saying that the manufacturer is full of bunk, but it IS possible to use an undercoat, as well as to apply a second coat of RMC over itself. Just make sure that you have roughed the surface appropriately. Like @TerribleTim68 mentioned, Cam at BlackTail Studios outlines how to apply more than one coat in several of his videos.

Is RMC durable? Well, I think it's reasonably durable, given how thin it is. I think the epoxy may add a little protection as well. But assuming that the instrument is owned and handled by an adult human and not a rabid wolverine, it should hang in there pretty well. And if it needs a little rejuvenation after a few years, lightly sand it and reapply more RMC. There will be zero witness lines.

If you're looking for a nearly foolproof finish and don't want to worry about difficult application (runs, fumes, spray equipment etc.) give it a try. It's a little expensive, but I'm fairly certain I could finish 20 guitars with the smallest can of this stuff. You use very little in an application.

Anyway, that's my 2 cents, and probably worth every penny. :D


Interesting. Does Ken cover the epoxy application in one of his videos? I started watching them but haven’t watched any for a while. I need to catch up.
 
@BeeTL

Sorry to resurrect an old thread, but I've got a project coming up and you're the only person on TB that I know of using Rubio Monocoat.

What's your technique for applying to a body with contours (like a Jazz bass)?

I see tons of folks use it on tables or furniture where it can easily be applied to one plane at a time, but a body has roundovers and contours that I'm not entirely sure how to go about getting even coverage over.

I'm mostly concerned about getting good coverage along the edges of the body without it being splotchy.

If you would like to see how Osmo PolyX oil is applied, the process I used is documented HERE. There are several different companies that manufacture the European hard oils, and Osmo is one of those companies.
 
  • Like
Reactions: Beej
I agree @Gary_M , clearly you can use an undercoat. But keep in mind that you are basically doing the same thing Cam is doing with his resin river tables. But instead of pouring a giant river of resin down the center, you coated your whole guitar with it. But, in the end, you're both applying RMC over epoxy resin. It does work, clearly.
I do find your results pretty stunning and it has me wondering some things. Mostly about durability. I know, I know, I read your comments. My concern is, is this a finish you'd sell to a customer for a guitar that will see a reasonable amount of use? I don't want to gain a reputation as a builder who sells guitars that need refinished in 5 years.
 
I agree @Gary_M , clearly you can use an undercoat. But keep in mind that you are basically doing the same thing Cam is doing with his resin river tables. But instead of pouring a giant river of resin down the center, you coated your whole guitar with it. But, in the end, you're both applying RMC over epoxy resin. It does work, clearly.
I do find your results pretty stunning and it has me wondering some things. Mostly about durability. I know, I know, I read your comments. My concern is, is this a finish you'd sell to a customer for a guitar that will see a reasonable amount of use? I don't want to gain a reputation as a builder who sells guitars that need refinished in 5 years.

Yep, I agree. But, if I'm not mistaken, the standard finish on a Warwick is similar to a hard wax finish, isn't it?
 
I know this thread has been asleep for a little while, but I wanted to add my experience to it, seeing as I adopted the techniques outlined by Gary_M!

I started with a coat of West Systems Epoxy, then two coats of the 2C Oil, and finished with SheenPlus, which adds that little bit extra silkiness to the look and feel that I was chasing. It also takes the accelerant, meaning it's ready to handle in about 24 hours.

I didn't apply epoxy to the top, because I was worried it would mess with the stain (like another brand I've used in the past) but I wish I had. The difference in how the oil sits on the top vs the back is noticeable. I'll do some more testing.

Overall I'm pretty happy with the process and the result, much more than other oils I've used, but time will tell how it stands up to use.
PANA8011.jpg
PANA8051.jpg
PANA8054.jpg