• TalkBass has been independent since 1998. Add your voice.
    Create a free account to reply to discussions, view embedded media, and browse with fewer display ads.
    Join freeLog in
    Want zero display ads or expanded classifieds tools? Compare plans.

Rubio Monocoat for bass bodies

I updated the original post to reflect the correct product names.

Finish: Oil Plus 2C - A (color)
Catalyst: Oil Plus 2C - B Accelerator

@delid I would be very surprised if your local supplier did not carry both components of the system. I apply with a red pad, remove with a white pad, then do a final wipe with a paper towel. I have come to feel that the Universal Maintenance Oil adds no value in the process for guitar applications.

@Beej I have not tried top-coating over a logo yet.
 
Last edited:
  • Like
Reactions: delid and Beej
I updated the original post to reflect the correct product names.

Finish: Oil Plus 2C - A (color)
Catalyst: Oil Plus 2C - B Accelerator

@delid I would be very surprised if your local supplier did not carry both components of the system. I apply with a red pad, remove with a white pad, then do a final wipe with a paper towel. I have come to feel that the Universal Maintenance Oil adds no value in the process for guitar applications.

@Beej I have not tried top-coating over a logo yet.

you're right, my bad.. they are selling both components together.
 
  • Like
Reactions: BeeTL
Anyone tried buffing at all? Does that bring up a bit more of a gloss?

And @BeeTL I take yours have been open grained rather than filled? From what the finish sounds like I'm presuming it needs the grain to adhere properly.

Sorry, lots of assuming going on on my part. Always a recipe for disaster...
 
  • Like
Reactions: BeeTL
Well, my local distributor has all of the colours of the Plus 2C in tester sized bottles, but they don't carry the Plus 2C Accelerator in small sizes. The Accelerator only comes packaged with the larger full size colour cans, but those are $280 CDN each, and of course, only one colour. The sales guy said they aren't available separately, or in smaller sizes. I showed him this thread, but he was clear that he's spoken to the rep about this very issue before and he can't get the Accelerator separately. He's pointed out to them that they'd sell more if they could provide him the Accelerator separately, but no dice. I'm next going to call them directly and see if I can learn more... :(
 
@honza992 This is a matte-only finish and buffing is of no benefit.

@Beej I ordered from Link Removed over the telephone. Perhaps they will ship to you as well.

The Link Removed is now listed as well.
 
  • Like
Reactions: Beej
Anyone tried buffing at all? Does that bring up a bit more of a gloss?

Here's the "a little extra protection and sheen" part of the system:

RMC Universal maintenance Oil

Rubio Monocoat opened a warehouse an training center outside of Austin, TX, where I live, so they came across my radar for a bedroom project involving reclaimed longleaf shiplap and some custom built-ins. In this case, the walls are treated with Rubio Monocoat 2C in Cotton White:

42653373394_be7cb0e314_k.jpg


28525062567_ad542ac742_k.jpg


Having worked with a bunch of different wood finish materials at home, I am big fan of the RMC product. It's quick and easy to apply—virtually foolproof, really, because of the one-and-done nature of the application. It's easy to refresh overtime as needed, as it only sticks to the wood grain and not to itself. It even smells reasonably good. You definitely want the accelerator as part of the mix to reduce drying time.

In any case, I bought a bunch of RMC product for a dime on every dollar when a "green Home Depot" business in Central Texas went under. Glad to see that there is some precedence for using this as an instrument finish. That's my plan for a 5-string bass reclamation project that fell into my lap. I'll post photos as the project progresses.
 
I've posted in other topics about the hard wax finishes, but just to update my own experience I'll note that I tried a different product line from one of Rubio's several competitors. I've done a couple of instruments in Osmo Poly-X oil and have to say I'm very pleased with the results. The Osmo Poly-X is applied in two coats and does not use an accelerator to speed the cure. It still takes about a week to fully cure, but I think it smells better.
The end result appears to be much the same as Monocoat but the shorter drying time, pleasant smell, and lack of need for a two part mix makes it generally more favorable to me.
The last instrument I did with Osmo is a all-mahogany acoustic guitar and the finish feels more substantial than the Monocoat finish.

Note, these finishes are much more suitable as "natural" but more robust alternatives to simpler oil or wax finishes. If you want to use them as a base coat under something else then you're missing the point of what they are best used for. Top-coating a hard wax finish would most likely be a recipe for a failed finish.
 
I've posted in other topics about the hard wax finishes, but just to update my own experience I'll note that I tried a different product line from one of Rubio's several competitors. I've done a couple of instruments in Osmo Poly-X oil and have to say I'm very pleased with the results. The Osmo Poly-X is applied in two coats and does not use an accelerator to speed the cure. It still takes about a week to fully cure, but I think it smells better.
The end result appears to be much the same as Monocoat but the shorter drying time, pleasant smell, and lack of need for a two part mix makes it generally more favorable to me.
The last instrument I did with Osmo is a all-mahogany acoustic guitar and the finish feels more substantial than the Monocoat finish.

Note, these finishes are much more suitable as "natural" but more robust alternatives to simpler oil or wax finishes. If you want to use them as a base coat under something else then you're missing the point of what they are best used for. Top-coating a hard wax finish would most likely be a recipe for a failed finish.

Rubio smells like a dessert topping to me. And it dries to the touch overnight—basically within an hour or two—with the accelerator. So my experience is that it dries quickly and has an innocuous smell, much nicer than most finishes.

It’s a system of products, with indoor and outdoor variants. I’ve never topped RMC, personally. I was simply pointing out that there is a product in their system for that purpose should others prefer a higher sheen.

I’ve been to their training lab and had the tour. My feeling is that a finish that is robust enough for flooring will hold up fine on a bass.

I’ve also built some simple pieces of furniture and gravitate towards easy-to-achieve matte finishes:

2CD03776-8223-47CC-9DC0-6CF343E742D9.jpeg

Slat-table top in longleaf pine, before the steel base (locally salvaged wood)

C7491029-02D3-4EAE-8DB6-0897D7DB9827.jpeg

Spalted pecan live-edge table (local wood)
 

Attachments

  • CAA17B97-D0FC-4B9B-9277-635A4B0498C4.jpeg
    CAA17B97-D0FC-4B9B-9277-635A4B0498C4.jpeg
    378 KB · Views: 76
Last edited:
  • Like
Reactions: Dec1975 and BeeTL
So ~1.5ish years down the line, how does Rubio hold up as an instrument finish? I have a swamp ash body coming in, and I've been looking for a low VOC way to finish it, and I quite like the matte look of this finish.

If my body comes sanded to 220, will I need to bring it down to 150 for proper adhesion?
 
  • Like
Reactions: BeeTL
Invalid Link Removed

Based on my experience, 220 is perfect. If you use the Oil Plus 2C - A (color) and Oil Plus 2C - B Accelerator, it will adhere to and protect the surface layer just fine.
 
Last edited:
@BeeTL

Sorry to resurrect an old thread, but I've got a project coming up and you're the only person on TB that I know of using Rubio Monocoat.

What's your technique for applying to a body with contours (like a Jazz bass)?

I see tons of folks use it on tables or furniture where it can easily be applied to one plane at a time, but a body has roundovers and contours that I'm not entirely sure how to go about getting even coverage over.

I'm mostly concerned about getting good coverage along the edges of the body without it being splotchy.
 
  • Like
Reactions: BeeTL
@BeeTL

Sorry to resurrect an old thread, but I've got a project coming up and you're the only person on TB that I know of using Rubio Monocoat.

What's your technique for applying to a body with contours (like a Jazz bass)?

I see tons of folks use it on tables or furniture where it can easily be applied to one plane at a time, but a body has roundovers and contours that I'm not entirely sure how to go about getting even coverage over.

I'm mostly concerned about getting good coverage along the edges of the body without it being splotchy.
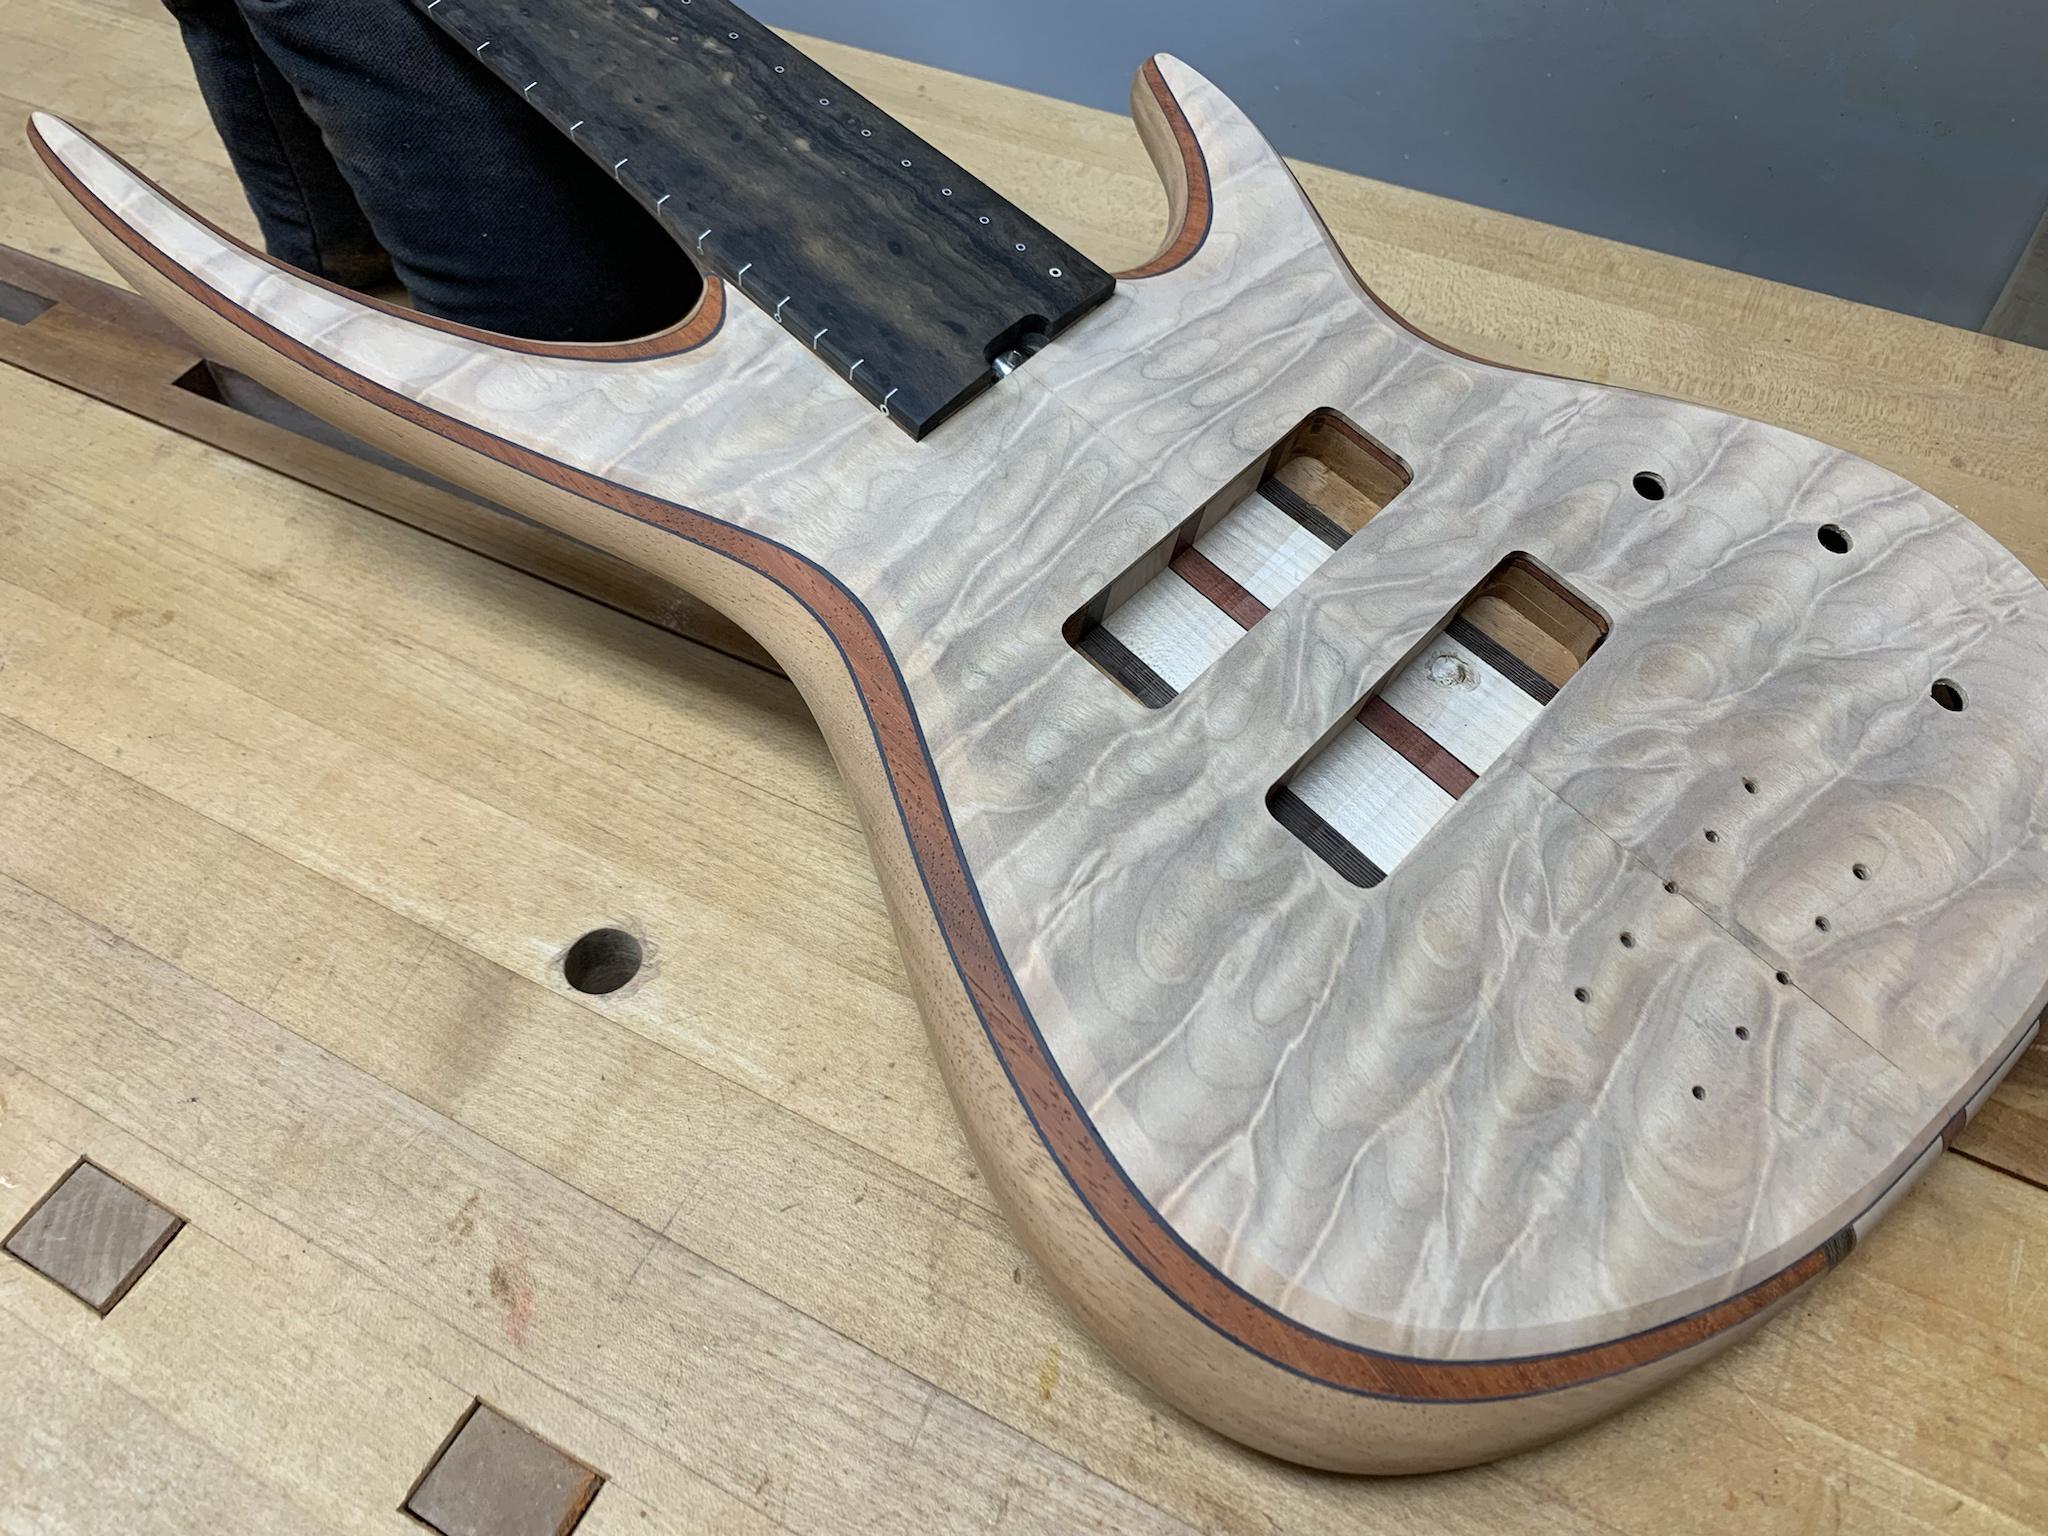
Take a good, close look at the photo collages in post #1, #12, & #18. There is a lazy Susan covered in cardboard and there are heavy duty wood screws in the face of the bass body (neck pocket and bridge holes).

My technique is to apply the RMC to the front using the lazy Susan getting the sides as well, then flip the body over so it stands on the screws and do the back...just like Leo's crew did back in the day. It takes 10 minutes, tops.
 
Last edited:
Take a good, close look at the second photo collage in post #1 and the next set in post #18. There is a lazy Susan covered in cardboard and there are heavy duty wood screws in the face of the bass body (neck pocket and bridge holes).

My technique is to apply the RMC to the front using the lazy Susan getting the sides as well, then flip the body over so it stands on the screws and do the back...just like Leo's crew did back in the day. It takes 10 minutes, tops.
Thanks, I got that much from the photos, but I should have been more specific - how do you spread the RMC on the sides? Just push it around with your fingers? Or with the application pad?
 
  • Like
Reactions: BeeTL
Thanks, I got that much from the photos, but I should have been more specific - how do you spread the RMC on the sides? Just push it around with your fingers? Or with the application pad?

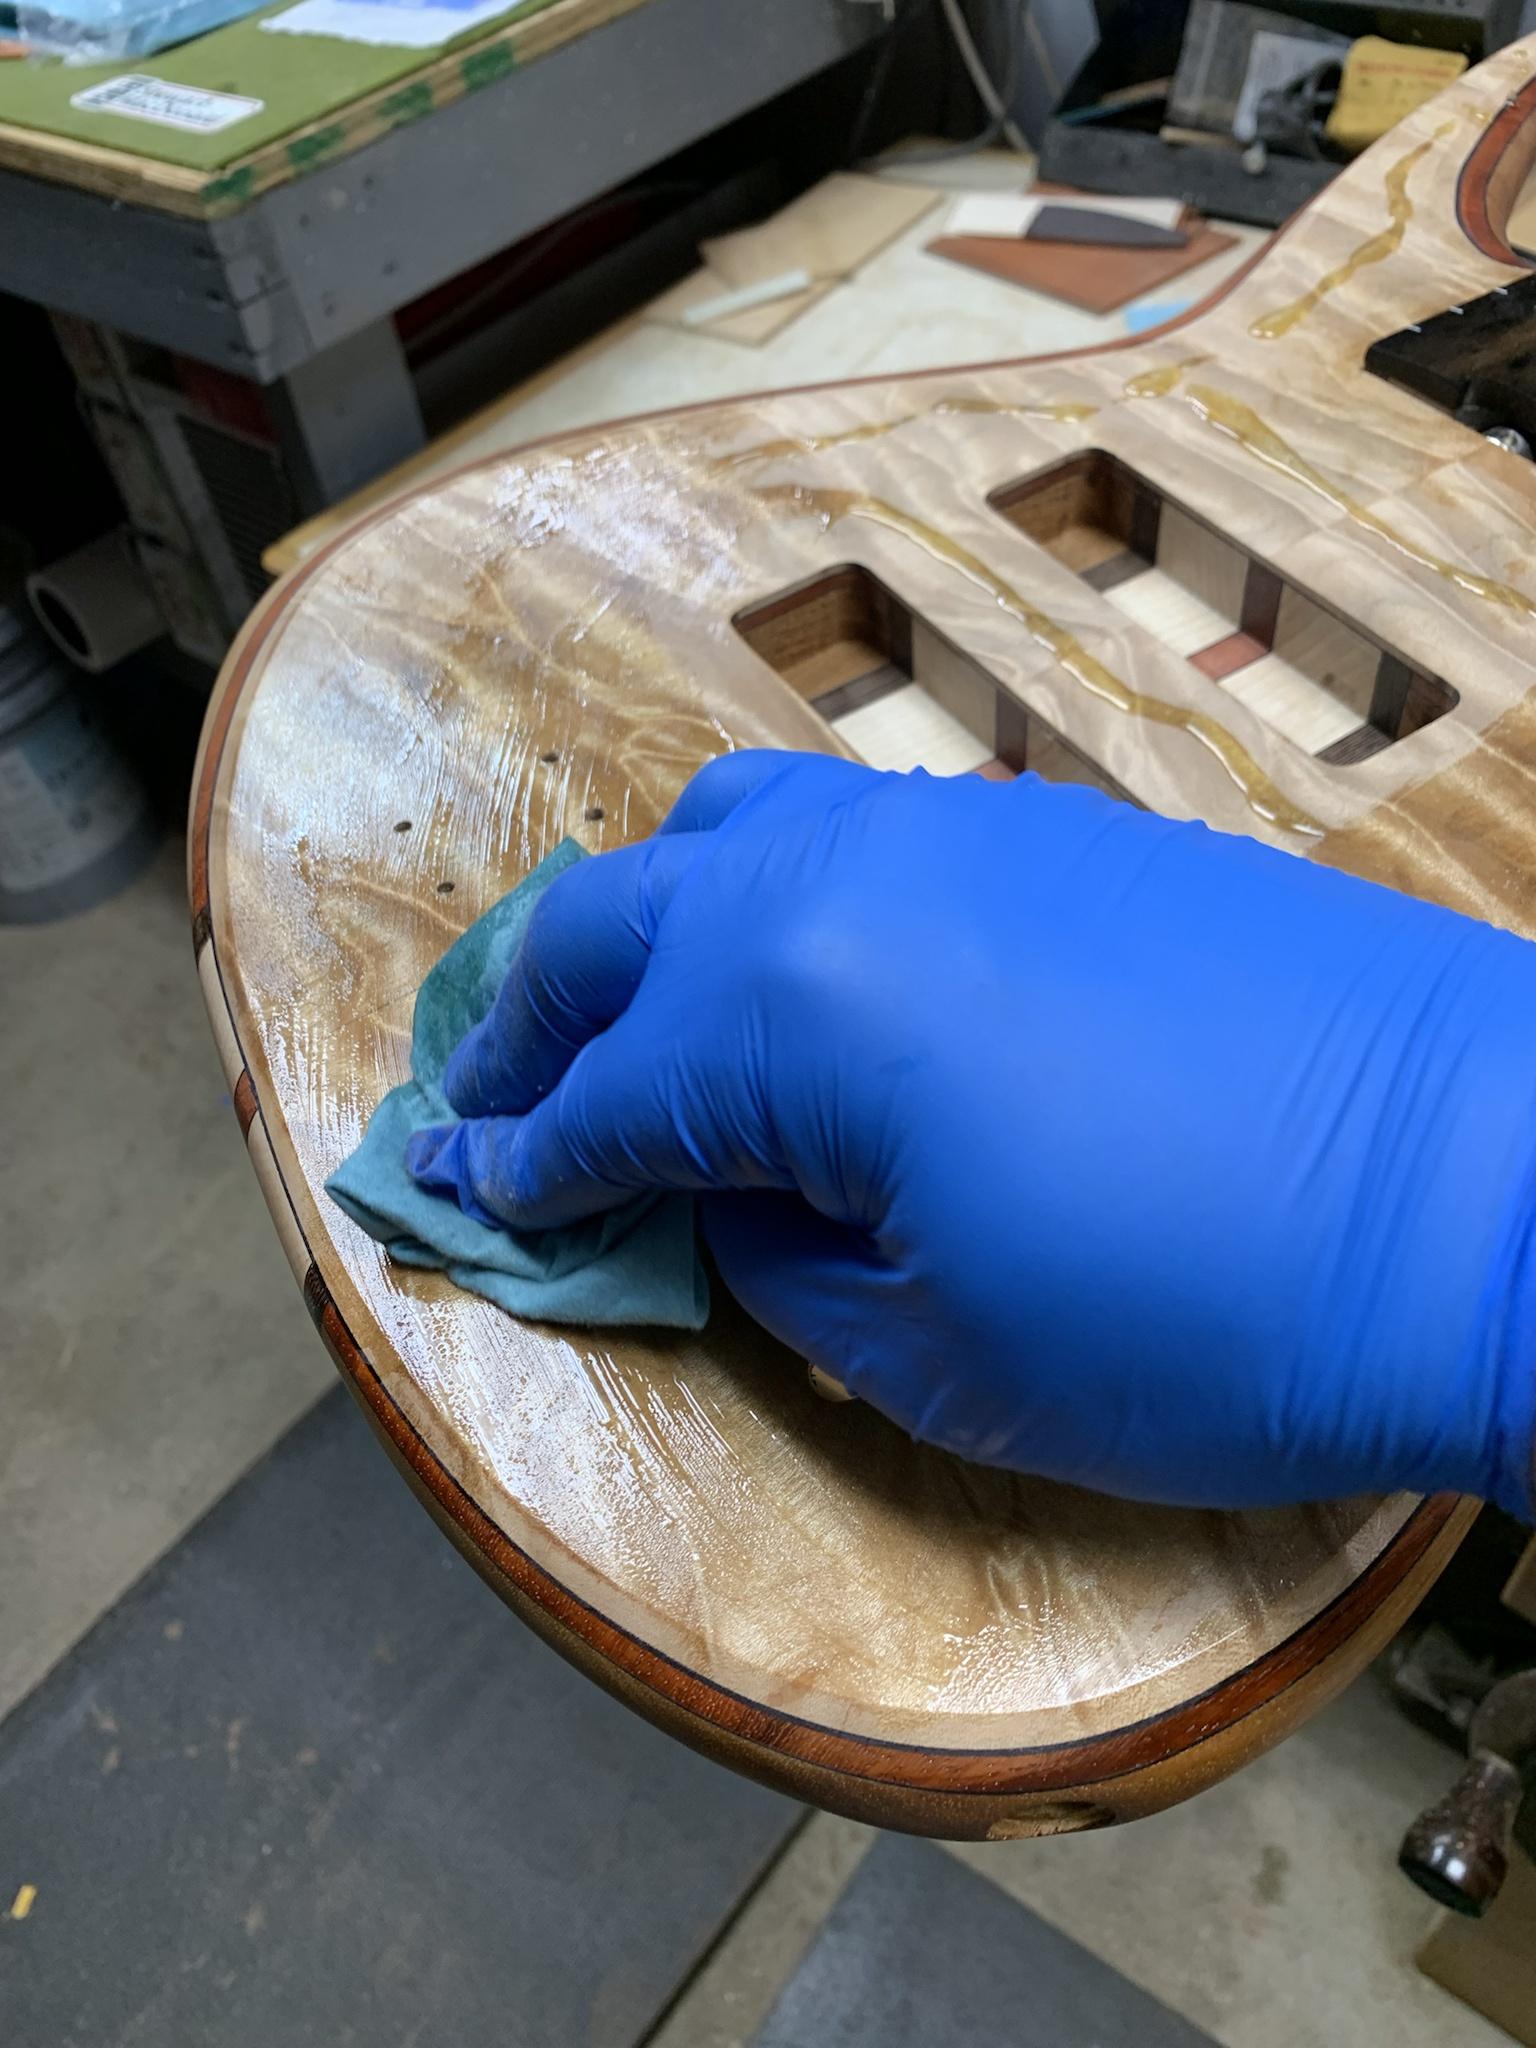
Sorry...I used the paintbrush for the pickup routs and applicator pads everywhere else, but you could use a small scrap of rag, maybe 2" square. Definitely wear gloves. Pigments and accelerators are not great for your system.
 
Not to jump in on a zombie'd thread or anything, but hey, why not?

Cam over at Blacktail Studio (look him up on YT, lots of good info there) has been using RMC on his resin river tables for a long time now. Reading through this tread I see so much talk of "only do one coat" but Cam is doing two coats on ALL of his tables AND he recently started using Black Forest Wood Company's "Ceramic Coating" over the top of RMC with quite a lot of success. So clearly you CAN two coat it, AND you can apply at the very least, the ceramic coating over it.

I've never used it, but I've watched Cam do it many, many times. He has a video on how he applies it to his table projects, and how he buffs it too. You guys might want to look up his channel. That's all I got to add.
 
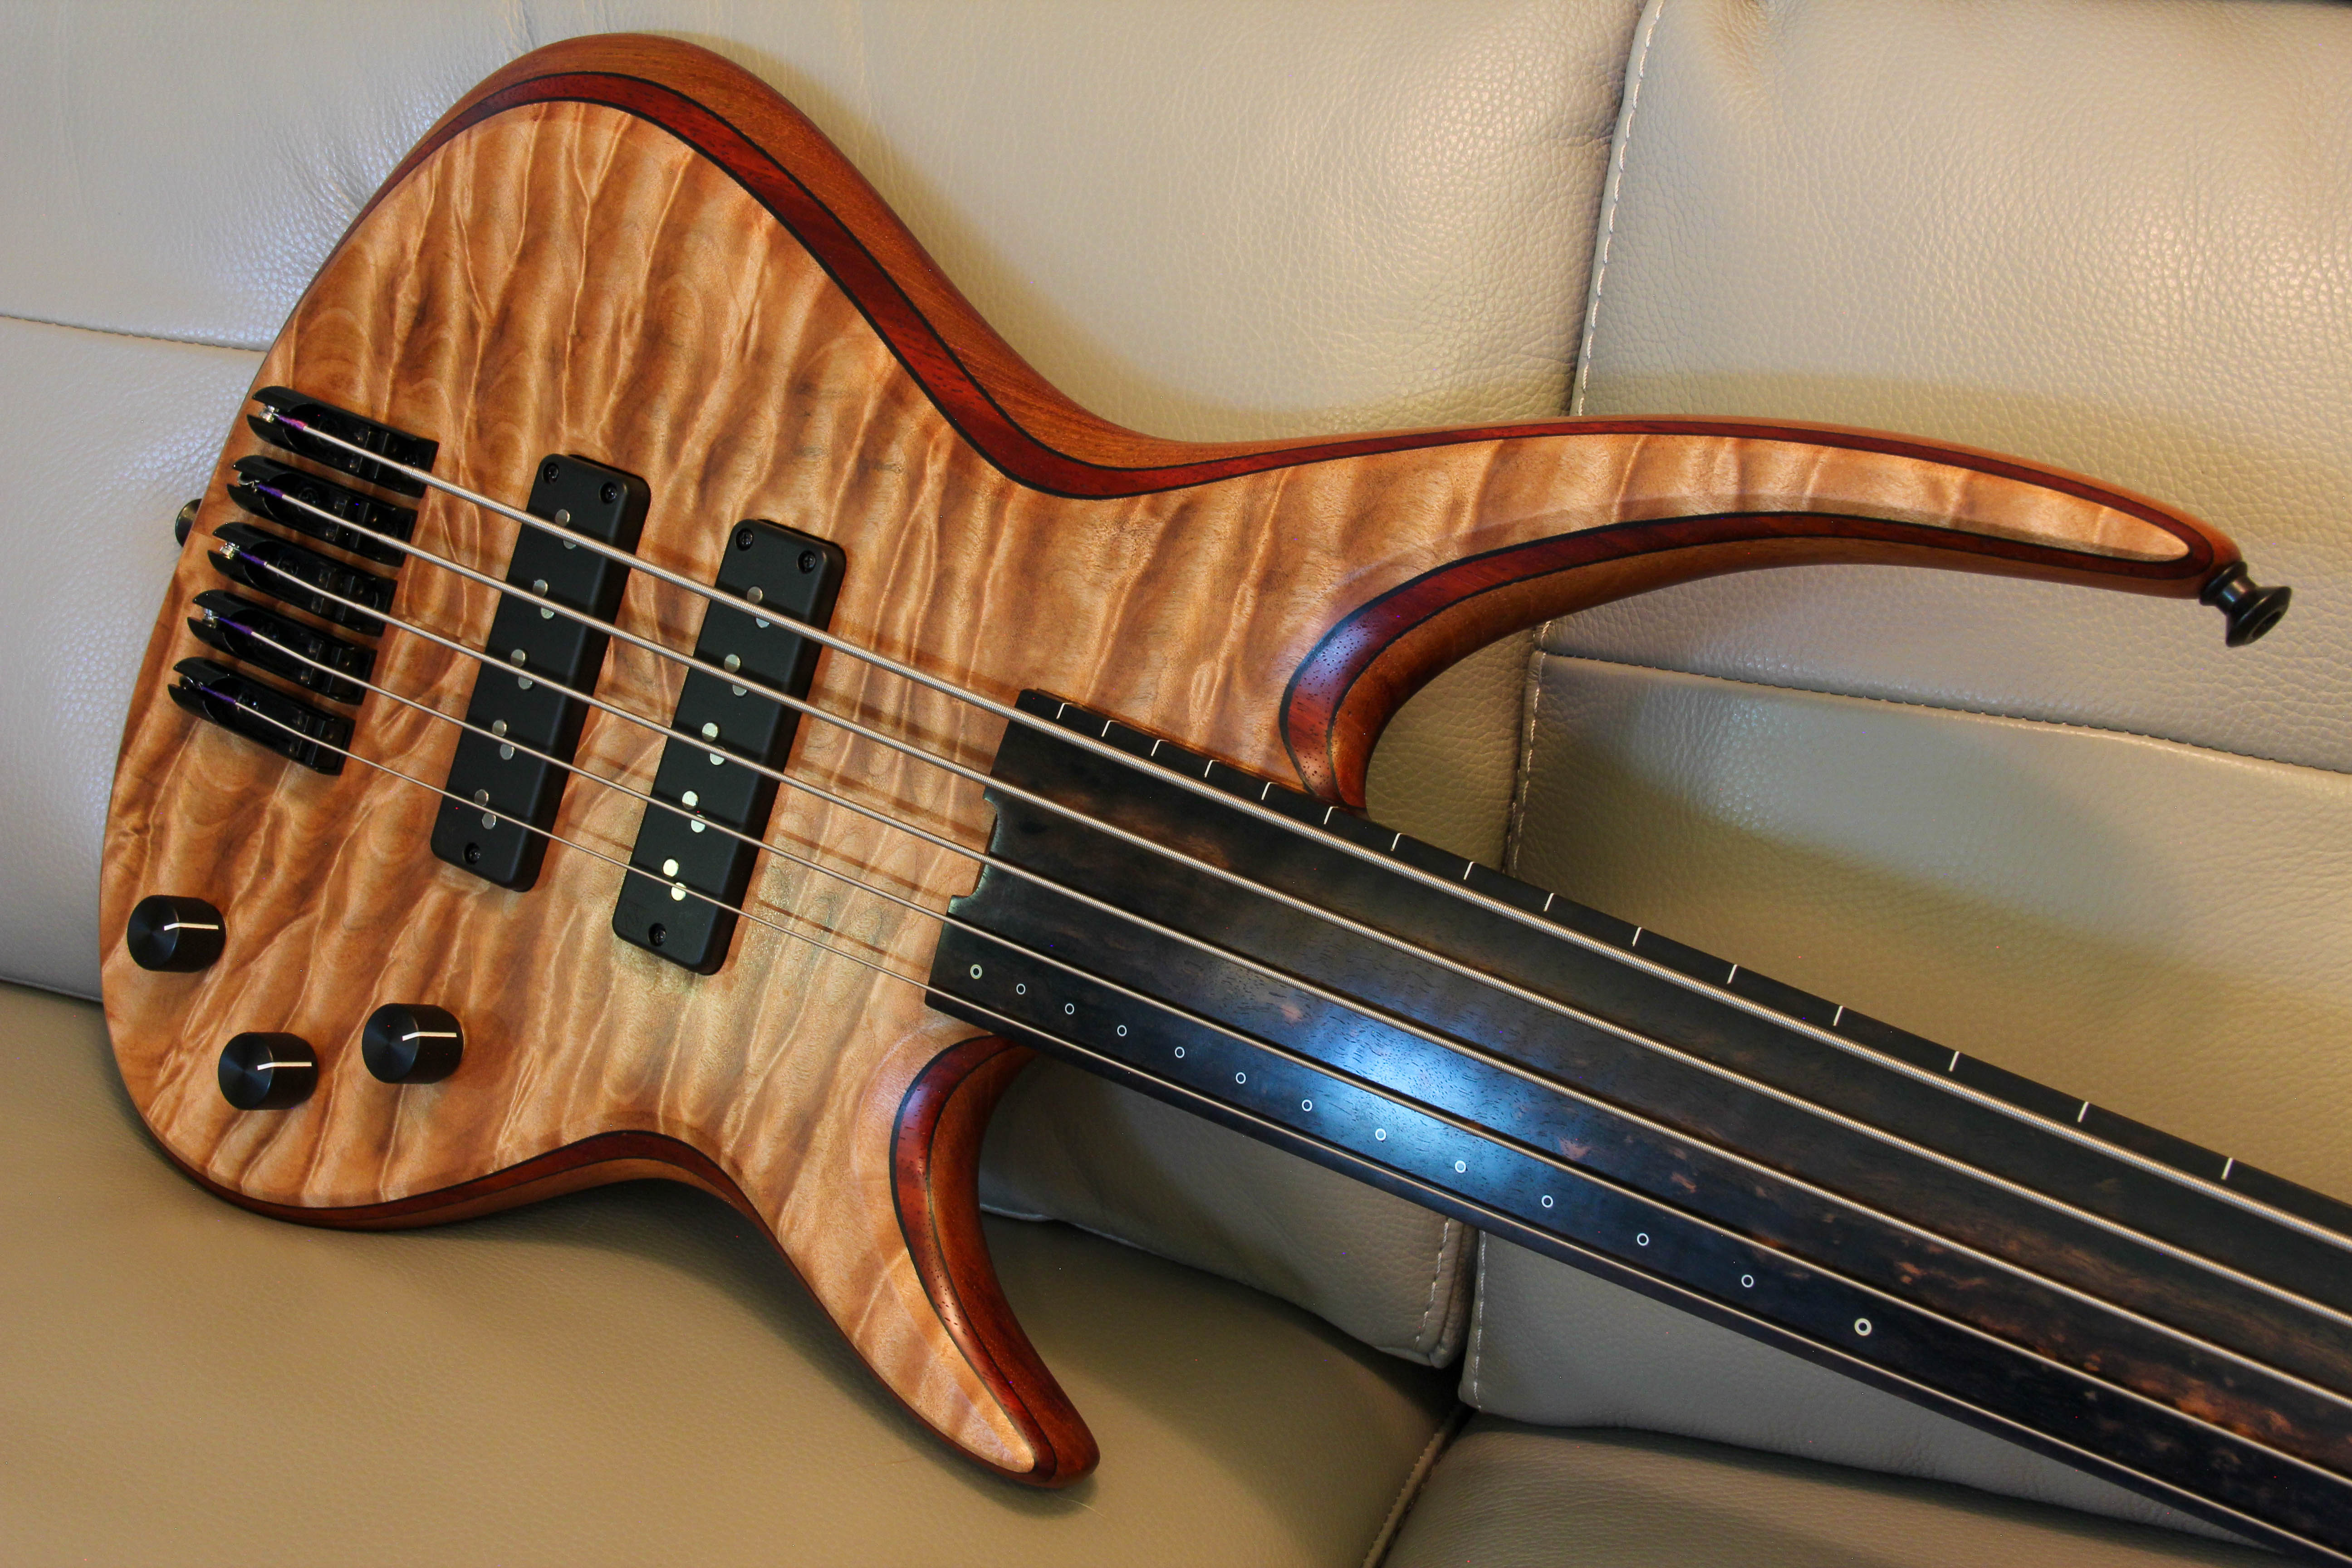
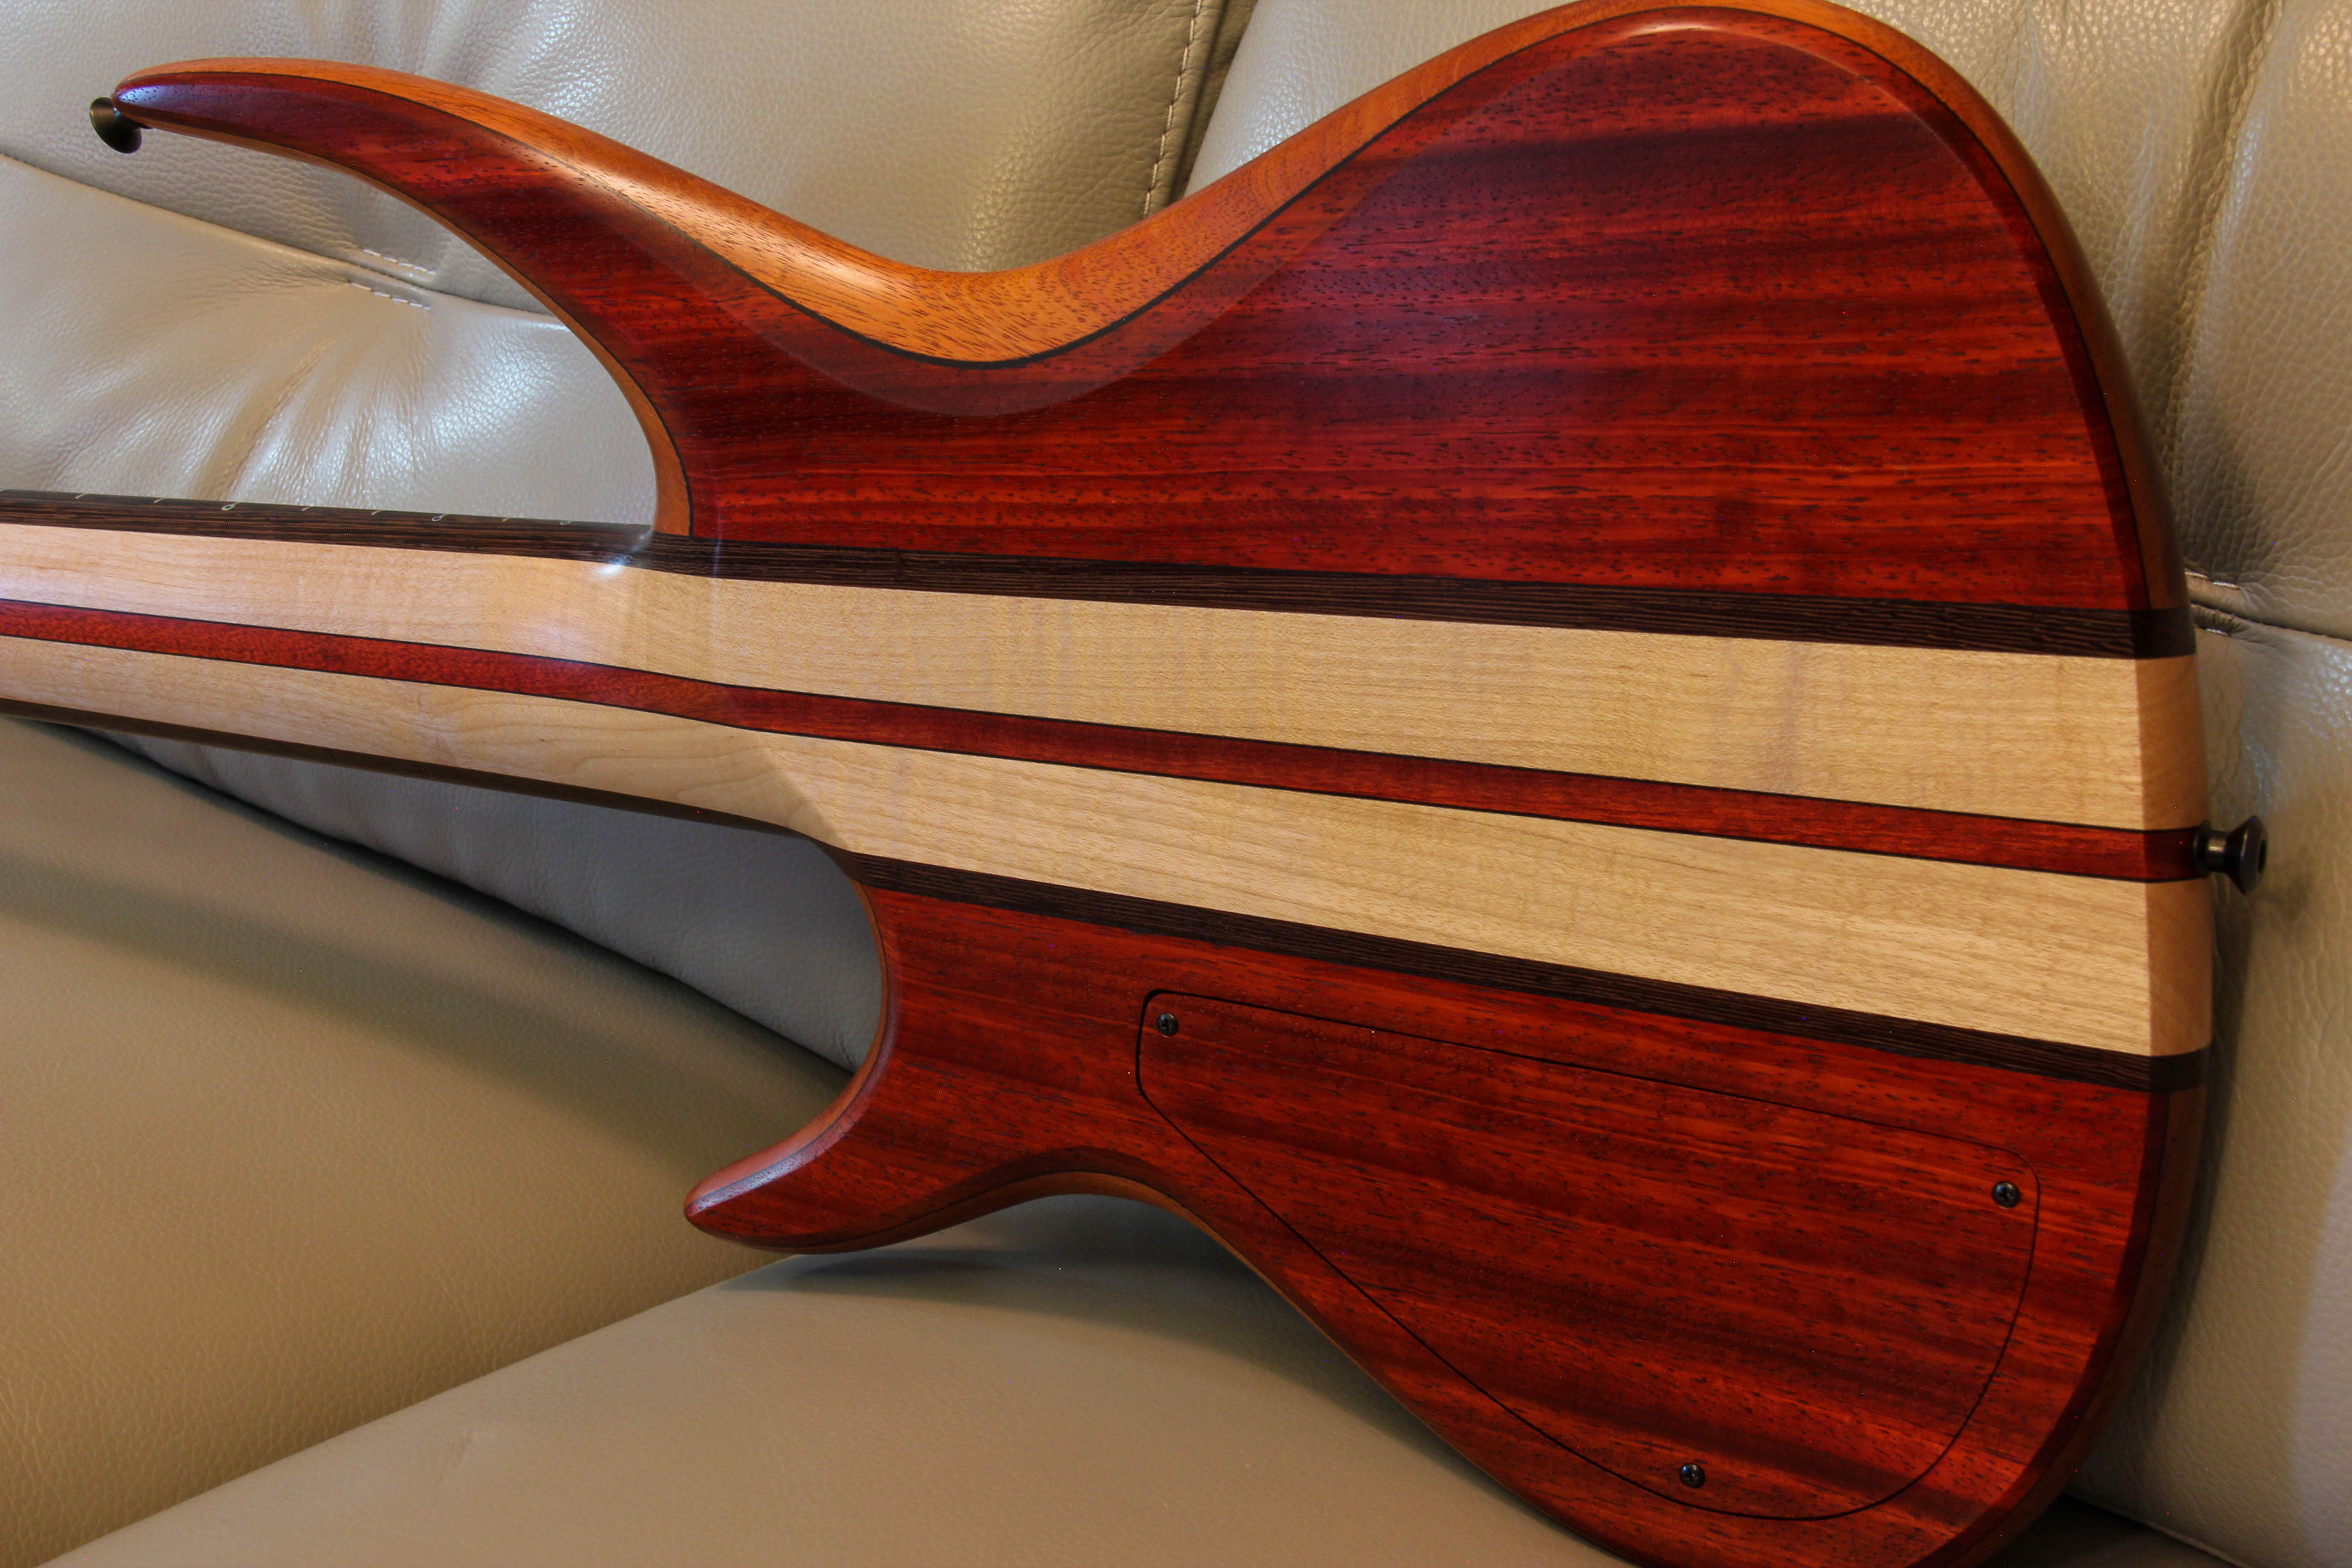
Hey, I just wanted to chime in here to share my experience and methodology for applying RMC. I finished my most recent build with it and I'm very happy with the result. If you're looking for a very even, lower-luster sheen that has that "close to the wood" look, then this is your finish. :thumbsup:

So, right up front, I'll tell everyone that I did not explicitly follow the manufacturer's instructions. Rather, it was a hybrid approach of techniques. I spent a lot of time perfecting the surface... there's no hiding anything under a film here, it's gonna be about as exposed as it gets. Blend every curve, remove every scratch mark. I use a single light source and look over every area at a raking angle to find imperfections. I believe I sanded up to 320. Yep, higher than Rubio recommends. :D

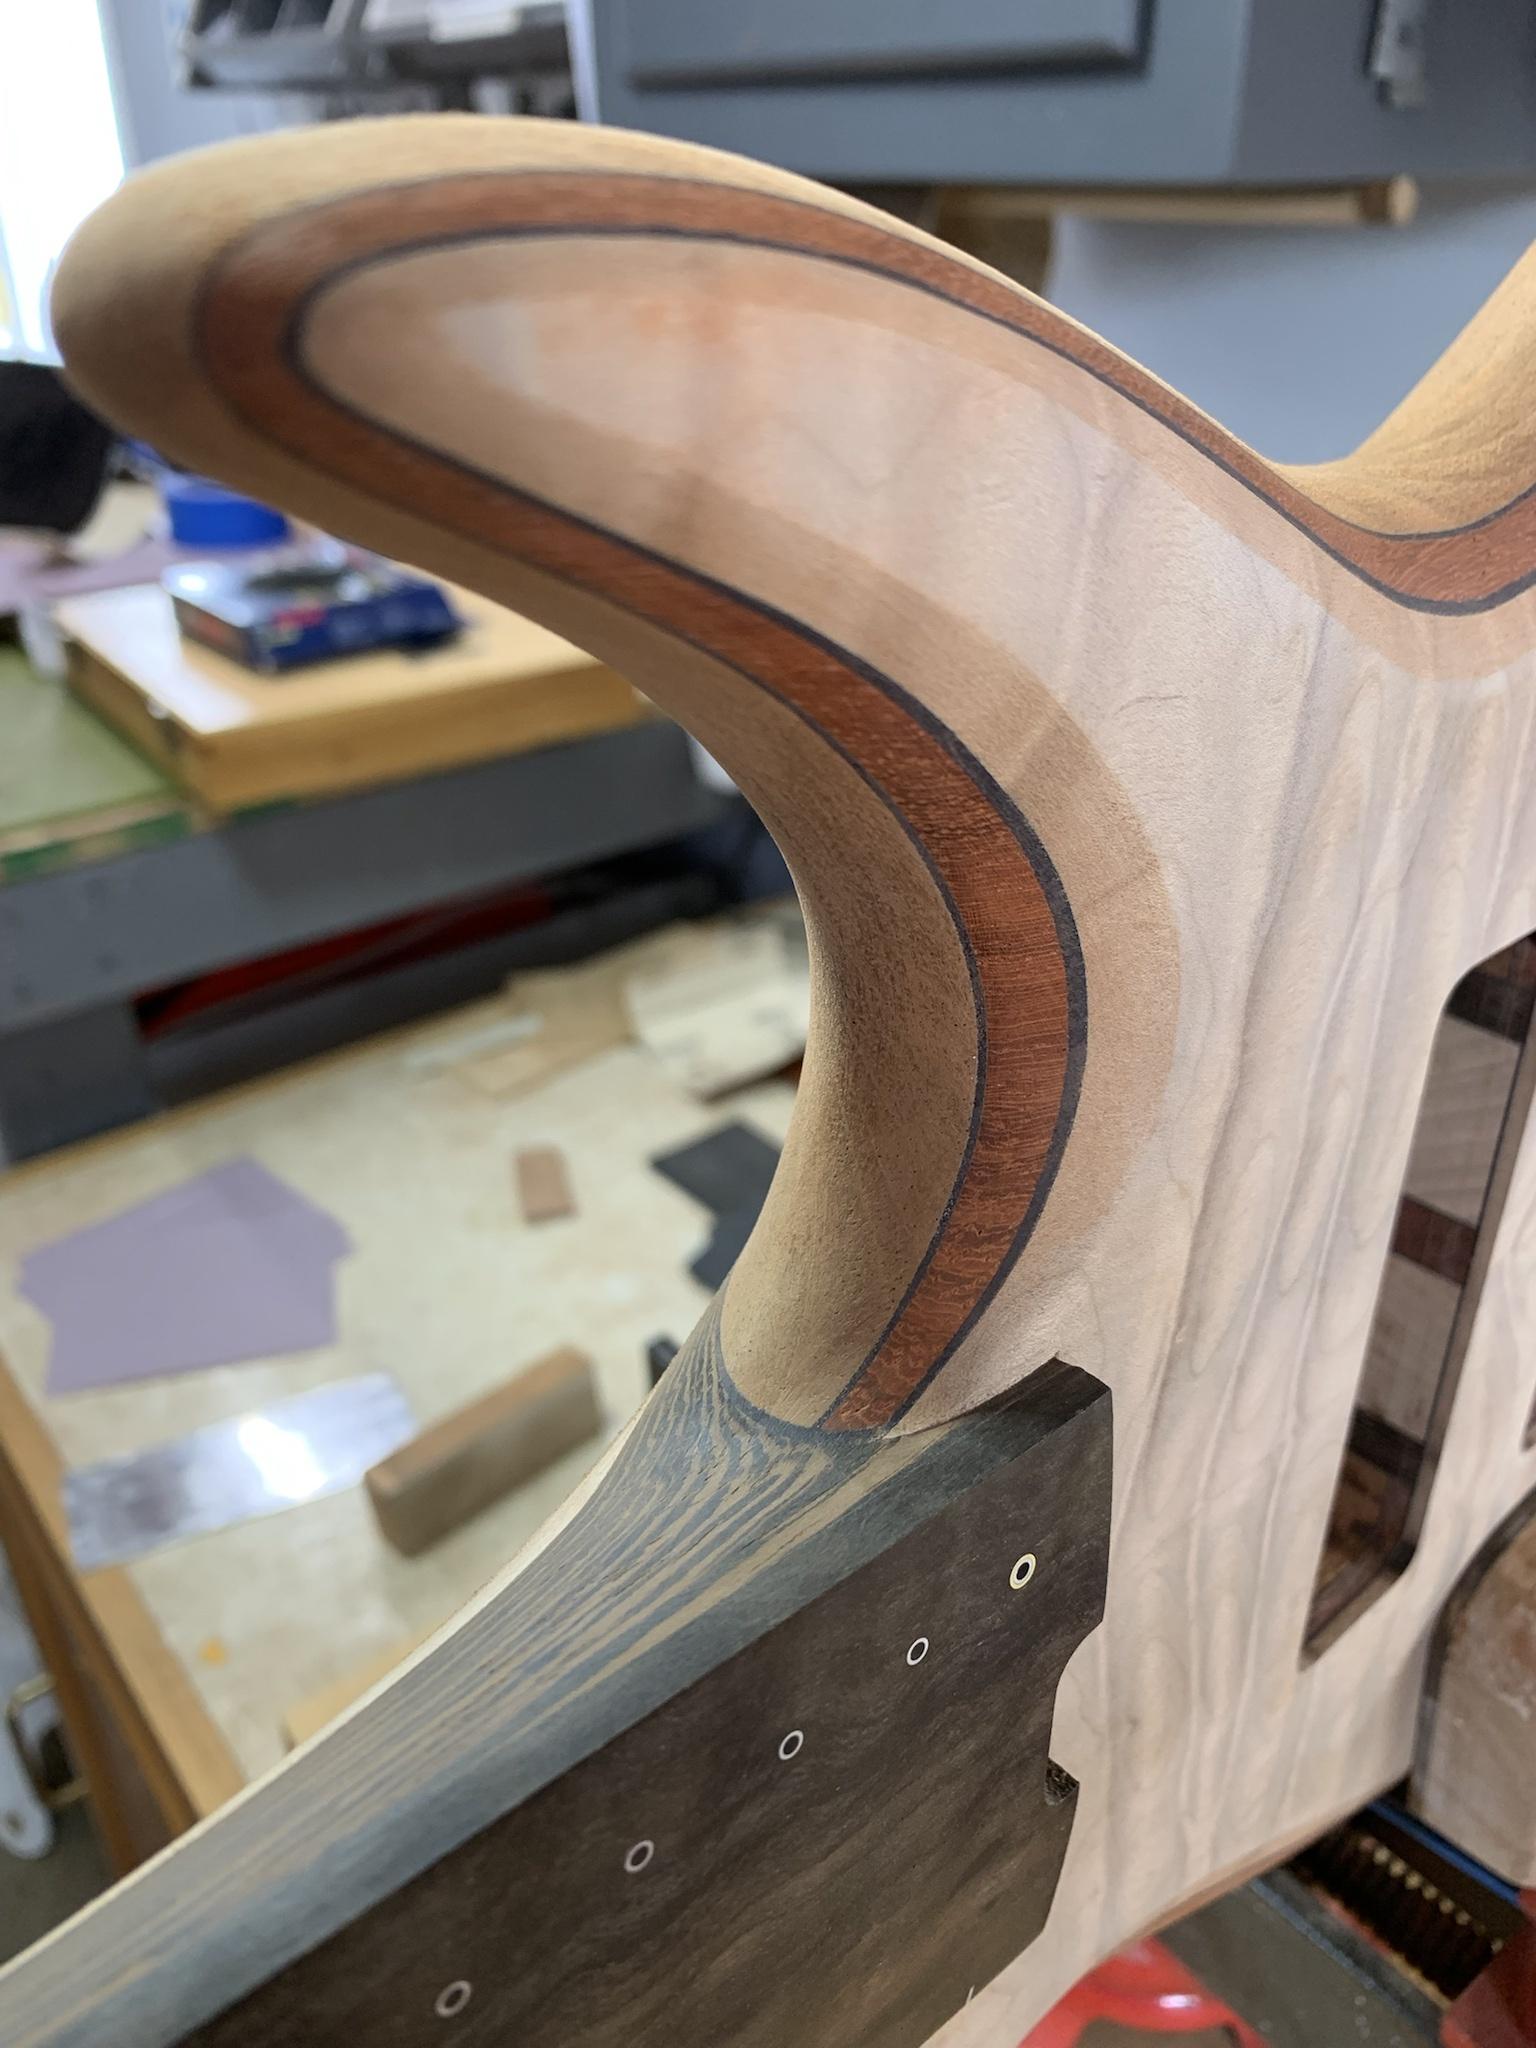
Surfaces prepped thoroughly, all curves faired, bevels refined, then wiped down with naphtha.
JygvXmA.jpg


latY1kK.jpg


My next step was to seal everything with a coat of epoxy. This does a couple of things. First, it partially fills the open pores, which is something that I wanted to achieve visually. A single coat doesn't fill them all the way, it just lessens them a bit. Secondly, the epoxy coat imparts a lovely amber tone that is very much like an ambered lacquer color.

I applied the epoxy (Z-Poxy) in a few sessions using small batches. the trick is to get it applied evenly while buffing it into the surface using a shop towel. After it sits for a few minutes, I buff off every speck of it that I can possibly remove. The surface feels vaguely waxy or oily when done, but it does not feel wet... you can't even leave a fingerprint at that point. Essentially, all that remains is what has soaked into the surface. This is a technique that Ken Parker uses and I happily borrowed it from him. :)
VVkaOdQ.jpg


After the epoxy cures for 24 hours, I wipe everything down with warm water and a rag to remove any of the residue that epoxy can leave... I forget the term for it at the moment. Next, I hit all surfaces with a gray 3m Scotch Brite pad. Everything should have a uniform "frosted" look. That gets blown off, then wiped with naphtha.

I use RMC with the accelerator and apply it with a white Scotch Brite 3m pad buffing it in using a circular pattern. Again, wipe all of it off. Every little bit that can be removed, is removed. No pictures for some reason.

After drying overnight, I hit it with a maroon Scotch Brite pad. Clean with naphtha, and repeat the RMC application again with a white pad. This brings the sheen up considerably. No pictures again.

After drying overnight, I hit it with a white pad, then use the RMC Renew for a final little kick of extra sheen. This is applied the same way, white pad, wipe it all off. And no pictures again.... IDK, I plead insanity. :bored:

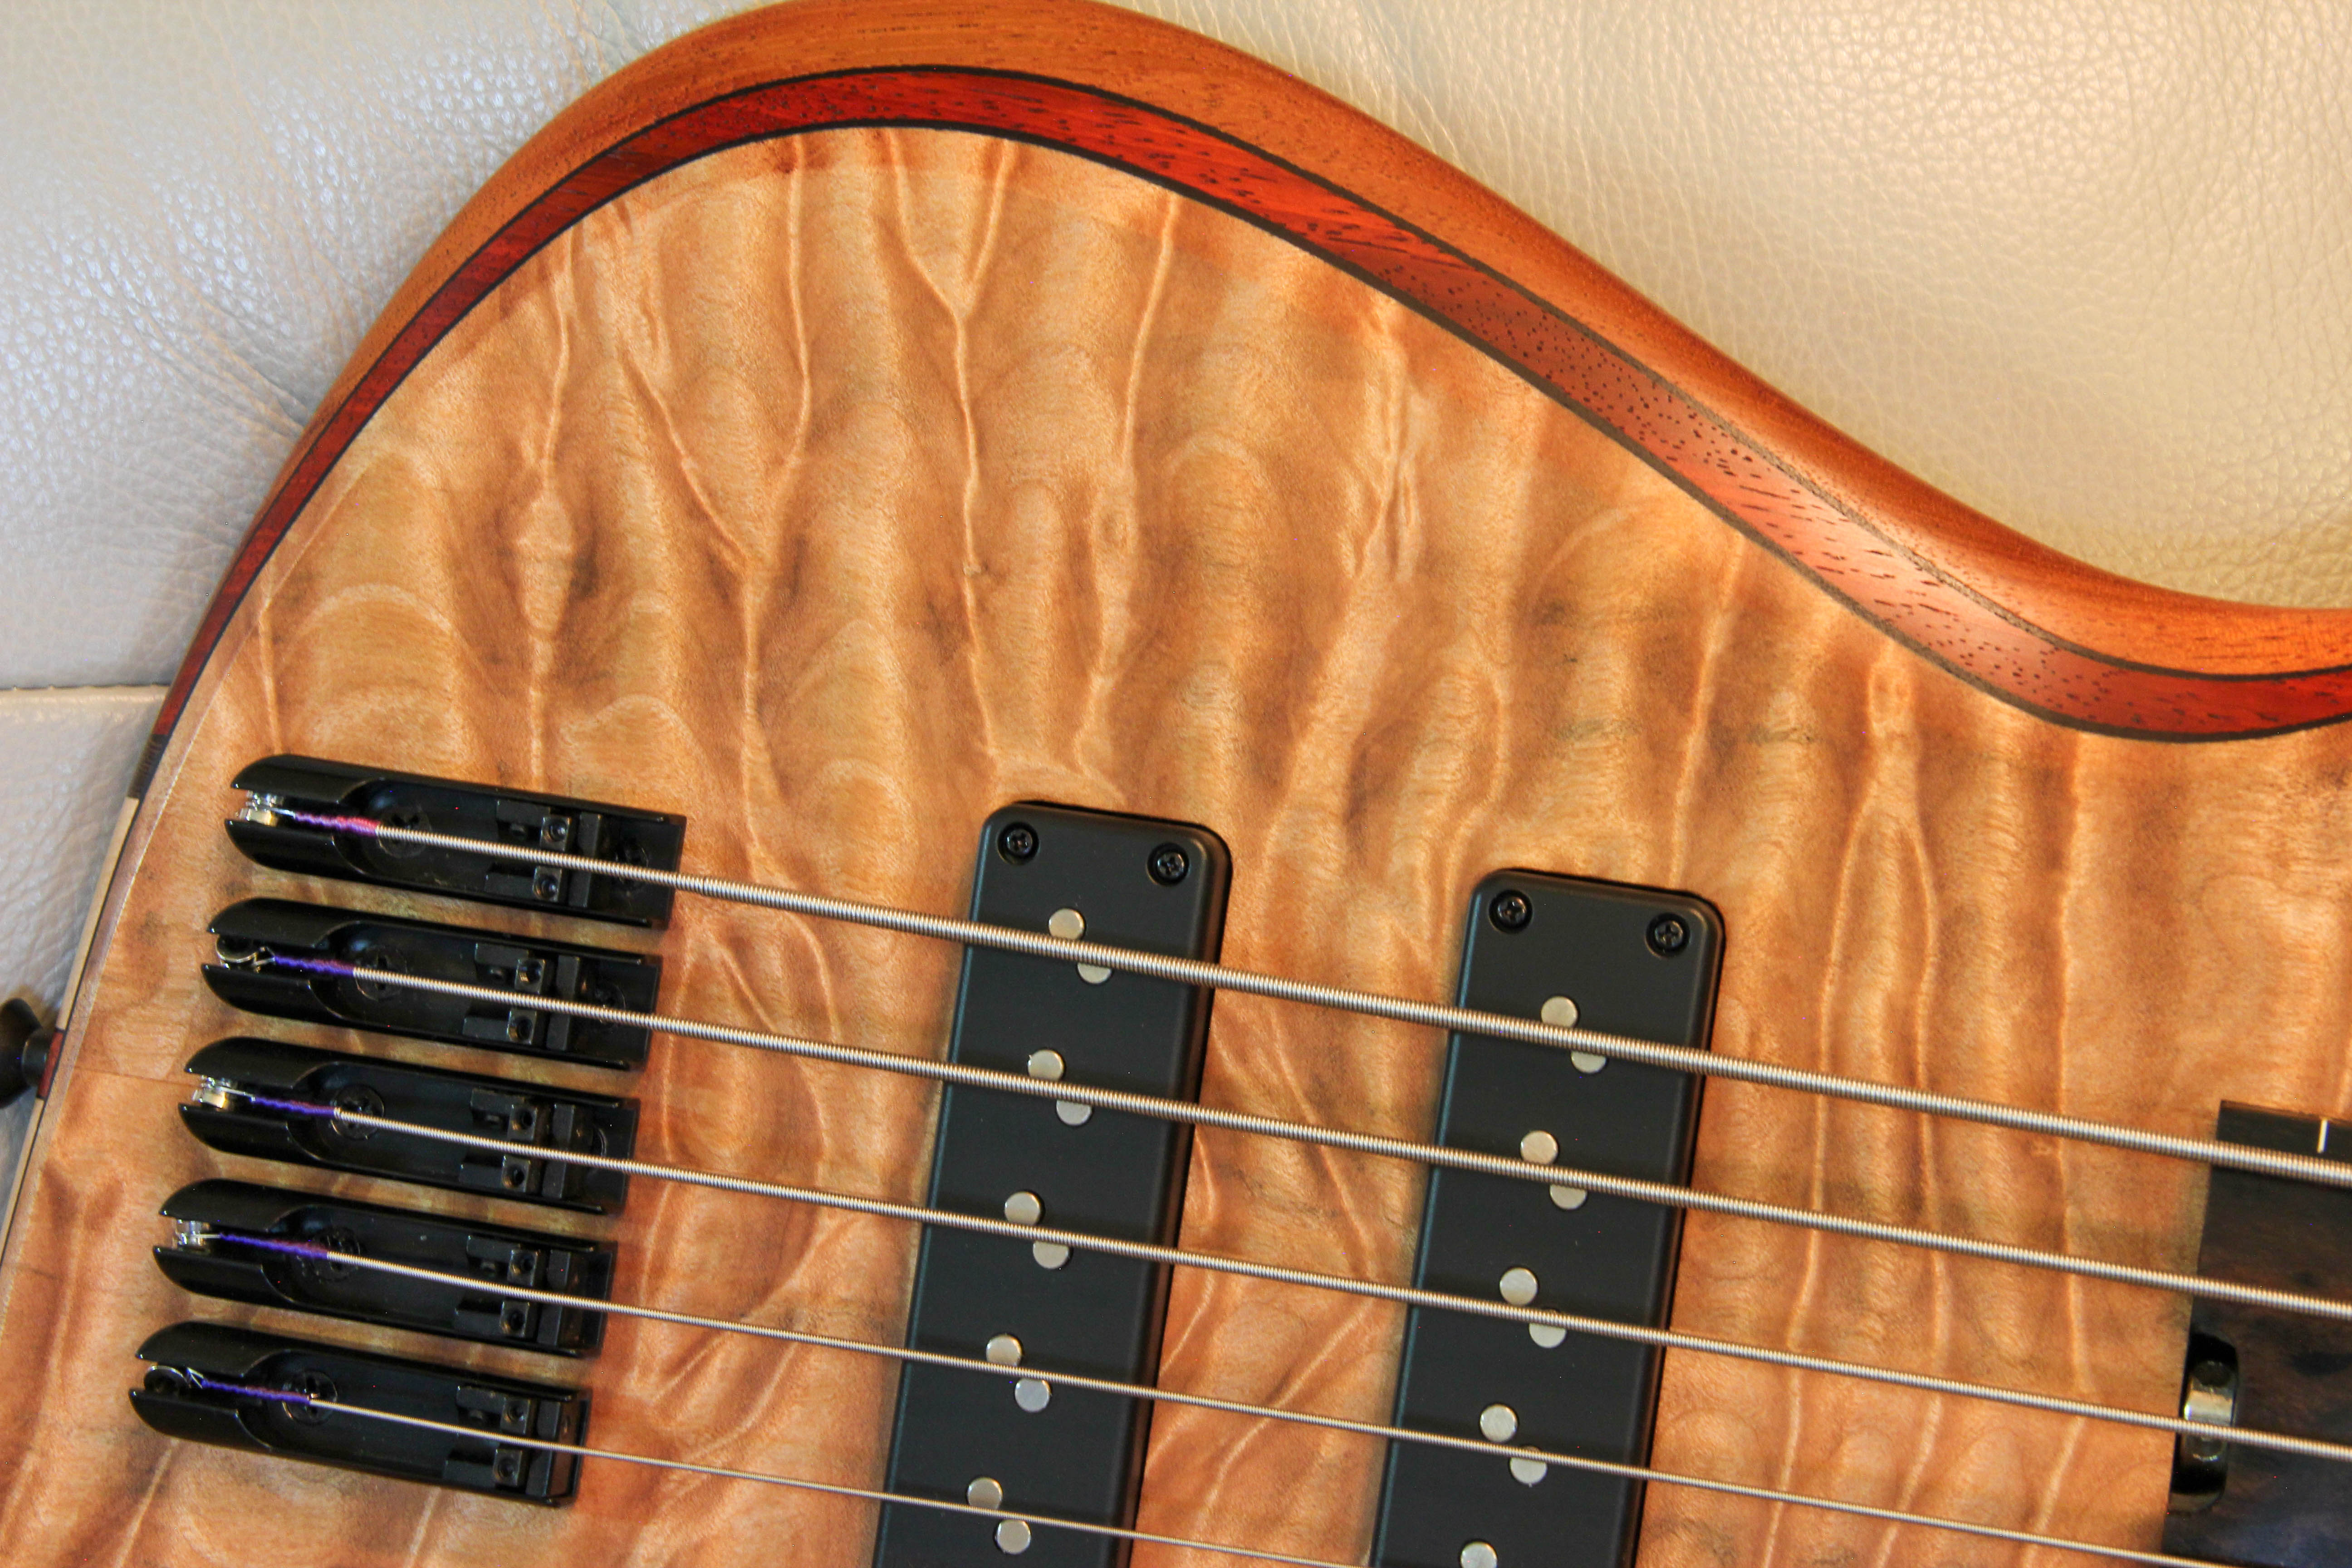
Dry overnight again, buff with a towel if you like, then assemble. It has a very organic look to it and feels buttery to the touch. It's just awesome, in my opinion.

vtuzfon.jpg


9M9RAiV.jpg


2xhDJ7T.jpg


So, I'm not saying that the manufacturer is full of bunk, but it IS possible to use an undercoat, as well as to apply a second coat of RMC over itself. Just make sure that you have roughed the surface appropriately. Like @TerribleTim68 mentioned, Cam at BlackTail Studios outlines how to apply more than one coat in several of his videos.

Is RMC durable? Well, I think it's reasonably durable, given how thin it is. I think the epoxy may add a little protection as well. But assuming that the instrument is owned and handled by an adult human and not a rabid wolverine, it should hang in there pretty well. And if it needs a little rejuvenation after a few years, lightly sand it and reapply more RMC. There will be zero witness lines.

If you're looking for a nearly foolproof finish and don't want to worry about difficult application (runs, fumes, spray equipment etc.) give it a try. It's a little expensive, but I'm fairly certain I could finish 20 guitars with the smallest can of this stuff. You use very little in an application.

Anyway, that's my 2 cents, and probably worth every penny. :D
 

Latest posts