• TalkBass has been independent since 1998. Add your voice.
    Create a free account to reply to discussions, view embedded media, and browse with fewer display ads.
    Join freeLog in
    Want zero display ads or expanded classifieds tools? Compare plans.

SBO 2022 - Cheaper by the Dozen - 12 String Bass

Gary_M

Chronically over-encumbered
Gold Supporting Member
Oct 19, 2013
2,228
9,737
Northern Indiana
This is my official build thread for the Summer Build Off 2022, Cheaper by the Dozen.
Or...

Qüïmsgëfääërdën XÏÏ (rë-rëvïsïtëd)

:laugh:

This will be a scratch-built 12 string multi-course bass. Here are the planned specs, subject to change, yada yada yada. :D
  • 34" 24 stainless frets, dual truss rods
  • Neck through construction with 3-5 laminates (Maple, Padauk, black poplar)
  • My usual body shape
  • Walnut burl top, alder core, katalox back, black poplar pinstripes
  • Sap and heart cocobolo fretboard
  • Assorted Gotoh tuners
  • Sung-Il bridge and tail piece
  • 2 Lace 3.5" Bass Bar pickups
  • OBP-3 preamp (maybe... this is up in the air depending on final wiring decisions)
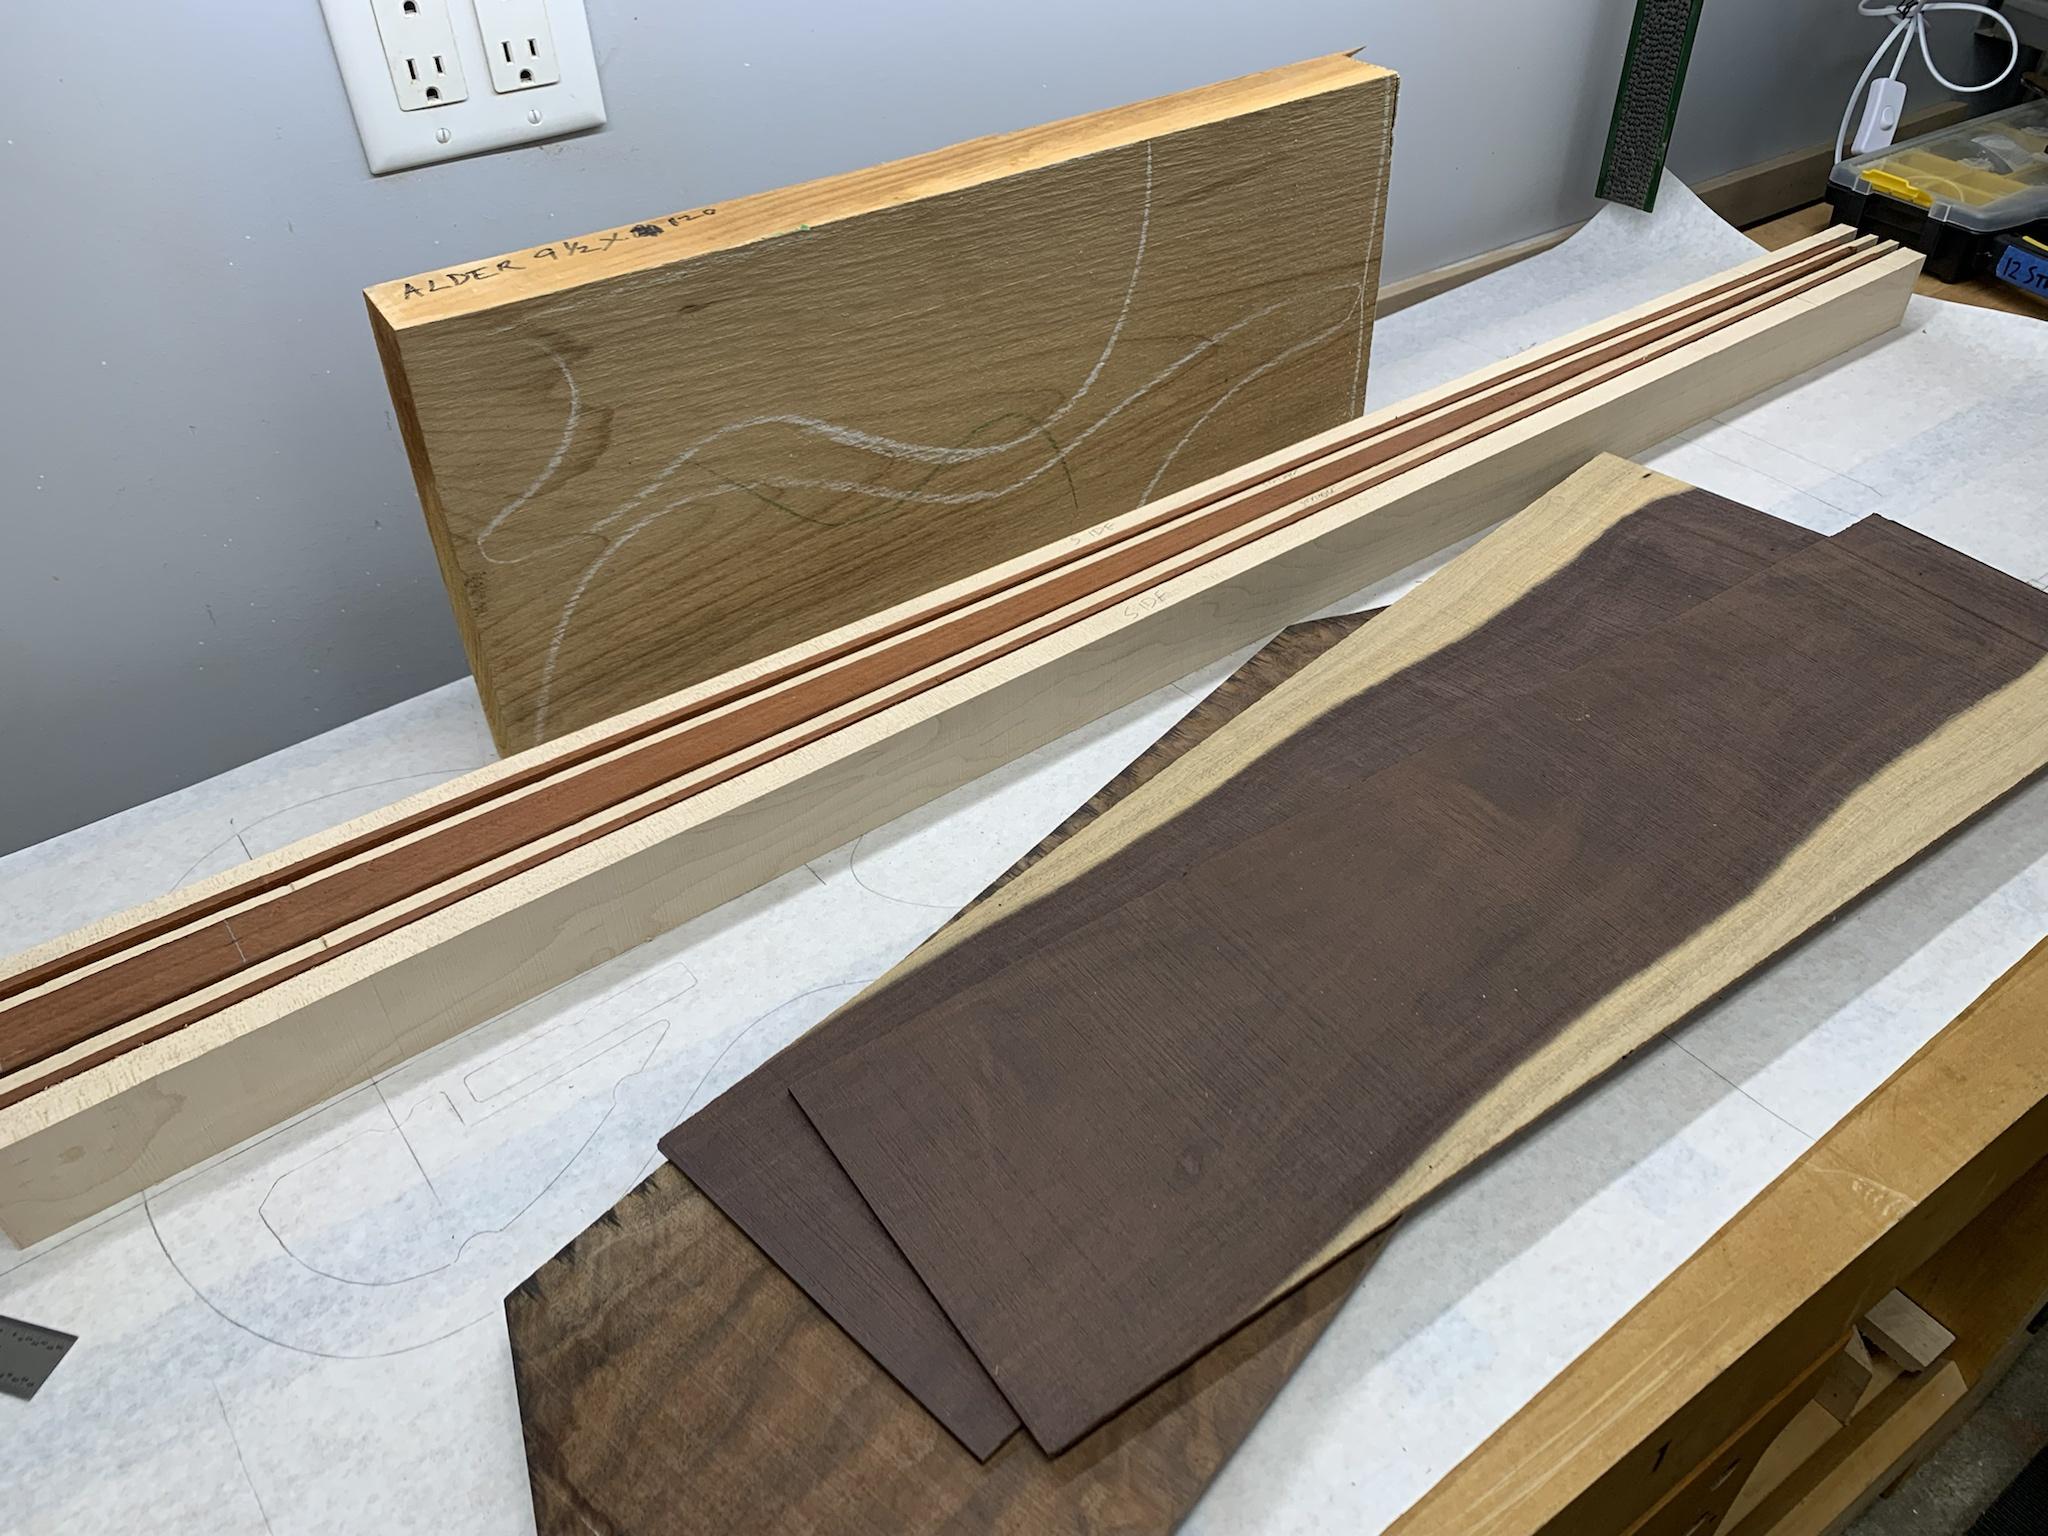
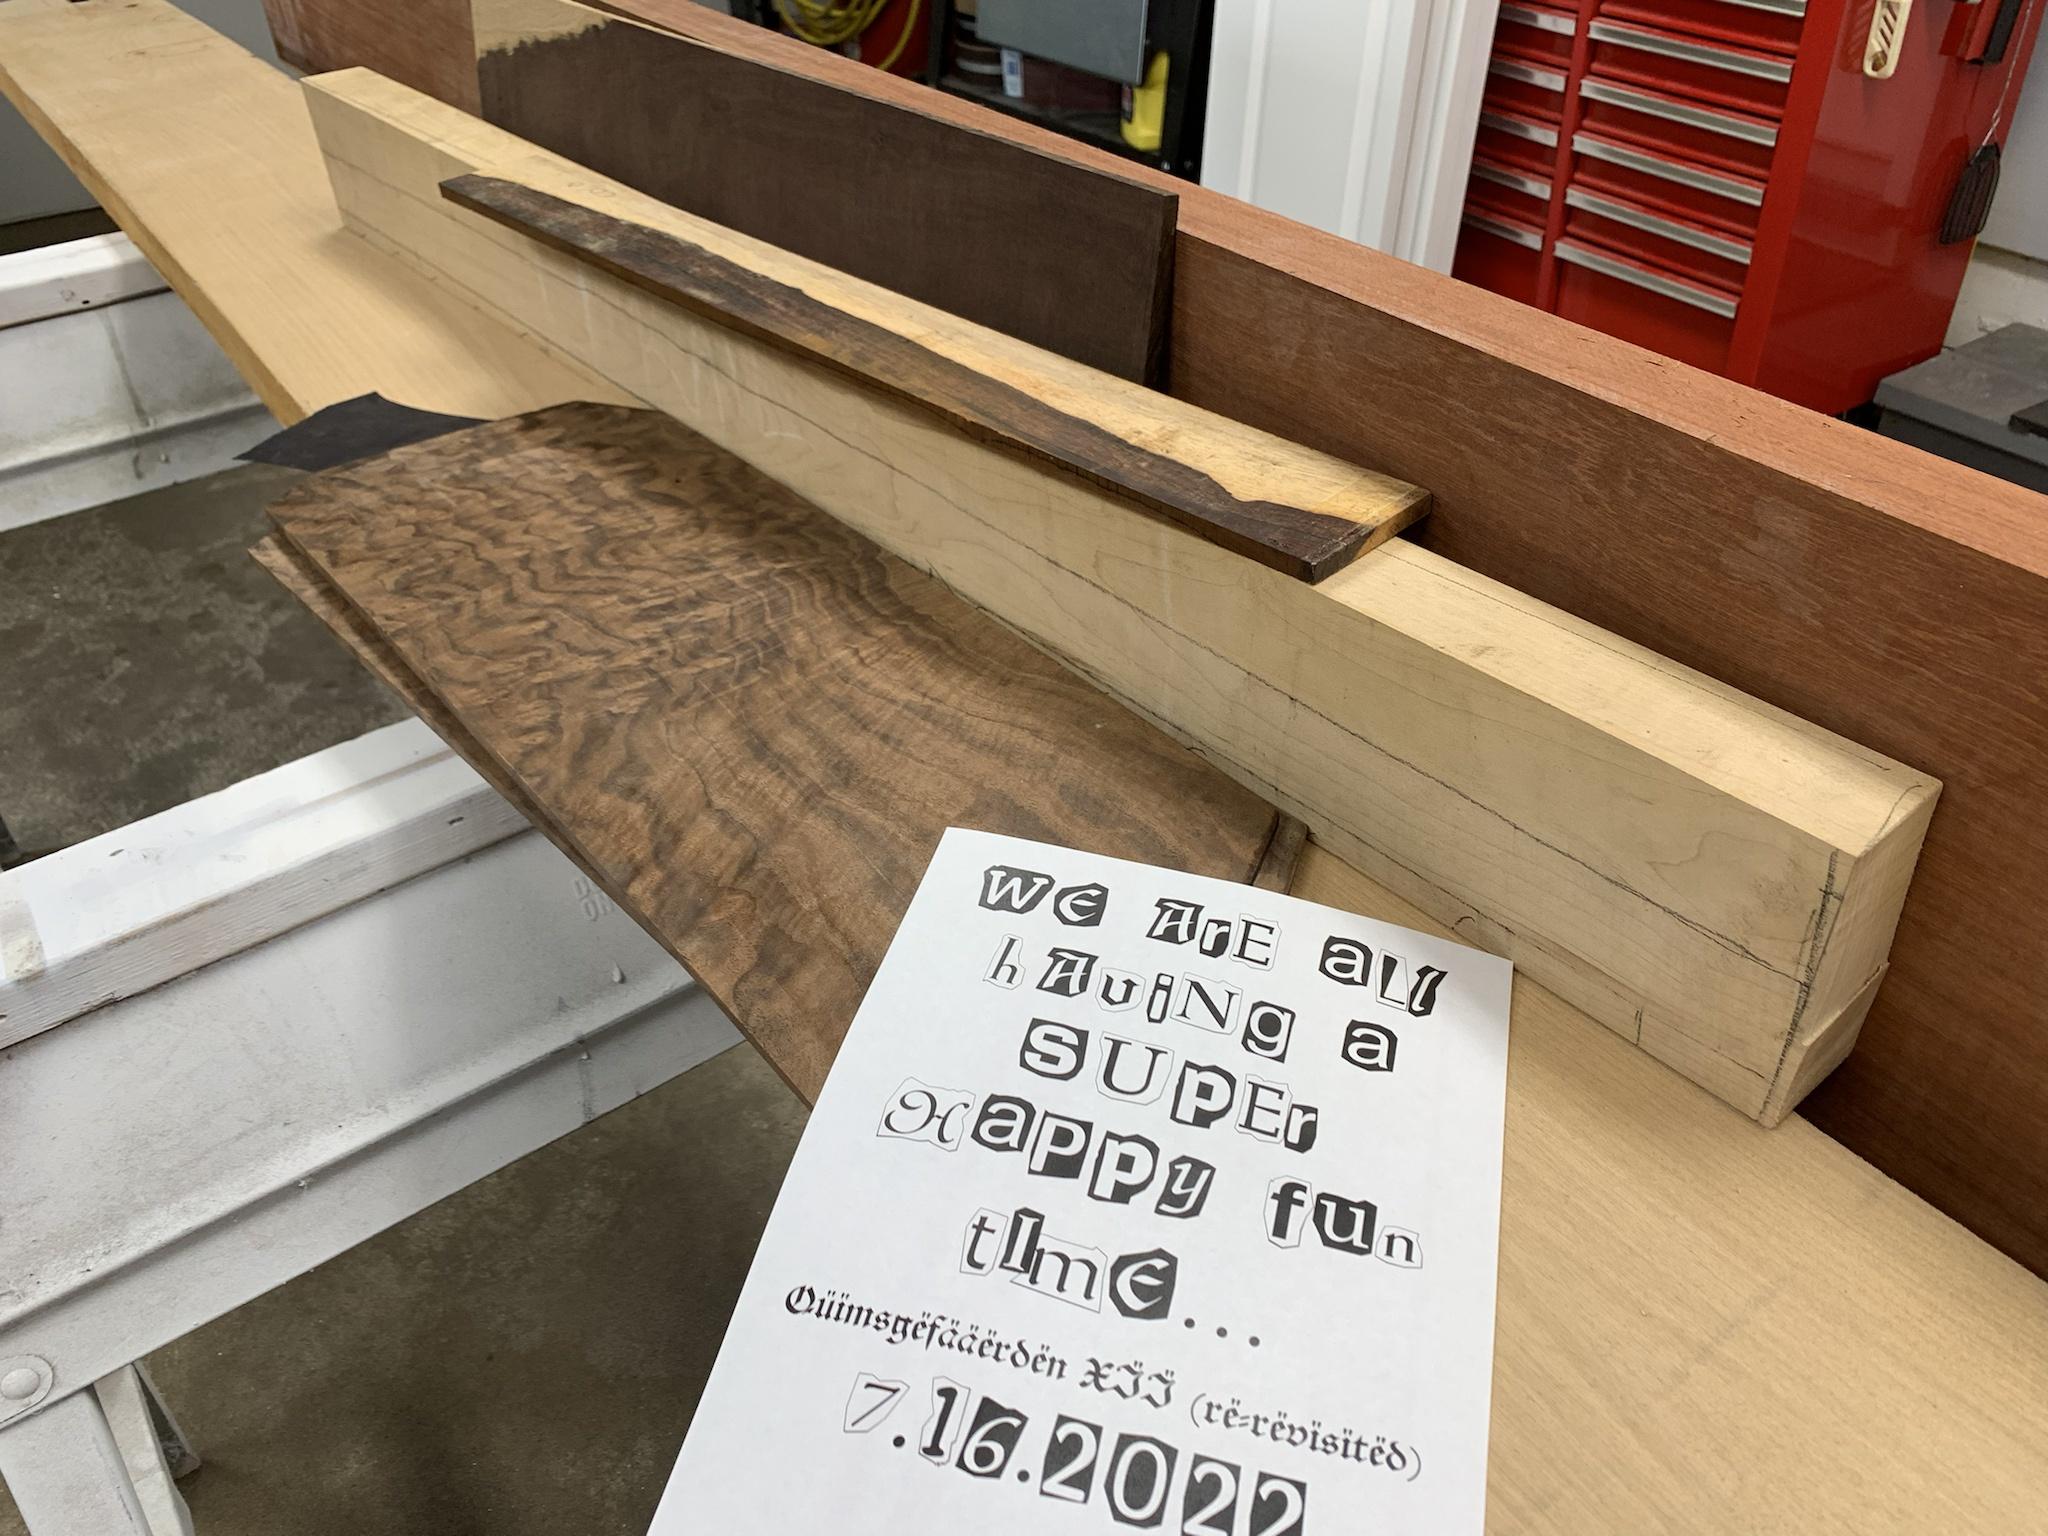
And the obligatory pile o' wood shot.
lWT7iHr.jpg


Some of these boards are a bit oversized. :D
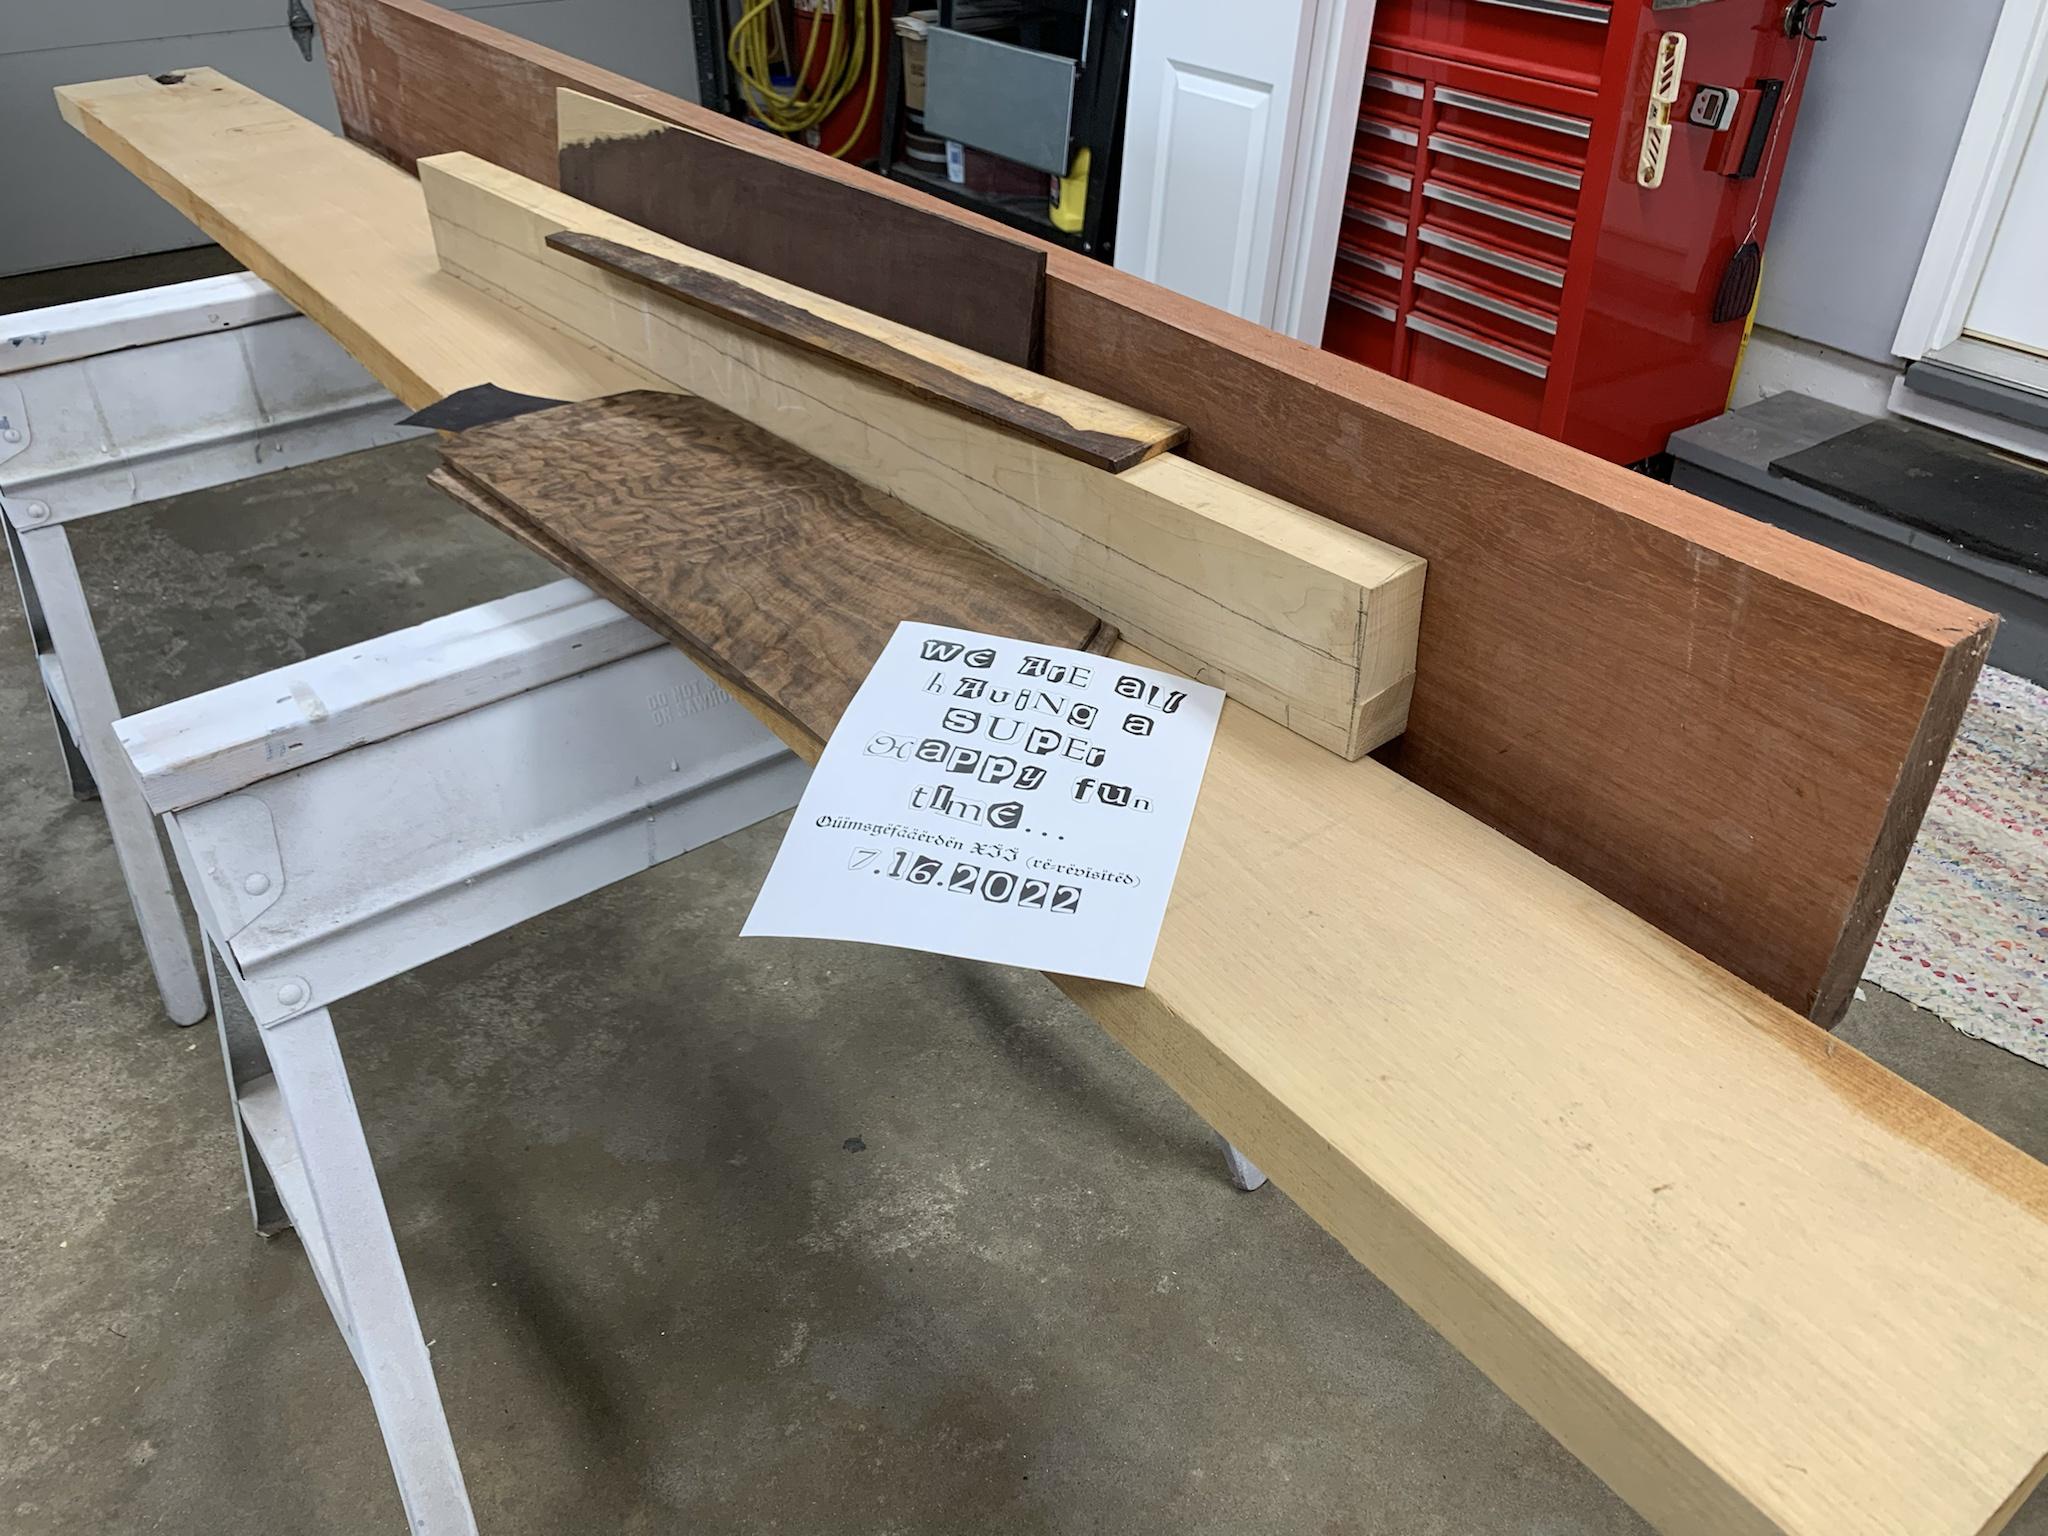
HXSvgQt.jpg


I've been "planning" a 12 string build for years now, and I've literally had the bridge, pickups and preamp since 2017. I know that there is some dislike for this particular bridge, but it's what I have... and frankly, there aren't a whole lot of other options out there aside from some custom pieces which would cost too much $$ for me right now. Yes, I know about ETS, but they have been less than helpful in their communications.

So anyway, I spent a lot of time this spring scouring various threads and gleaning lots of information from @Bruce Johnson and @Dadagoboi... so I think that I have a lot of the technical details worked out. I mean let's face it, I still have no idea what I'm doing, but at least I have a starting point. :D

I have no idea if I'll finish by the deadline, but I'm going to give it a shot. I have my drum sander cleaned up from the "great shellac spill of 2022", so I can get to work at this point... no more excuses! :thumbsup:
 
The Harmonic Umlauts could be a band name.....

Octave basses are a challenge. They require careful engineering, attention to details.

Yeah, no doubt, Bruce. I've noted many of your observations and guidelines pertaining to string spacing, height, etc.; and that will be my compass through this process. :thumbsup:
 
  • Like
Reactions: Reedt2000
Yay! Huge fan of multi-course. And ümläüts!

Can I talk you into 33” or 32” scale? Helps with tension and ease of fretting.

The original plan was to flesh out a new body design that I have rolling around in my noggin, and make this bass a 32" scale with that new body. Well, the body design hasn't worked out yet... and I couldn't get a shorter neck to play well with my current body shape for some reason. Another factor is that I have roughly half a billion long truss rods in inventory and none that are short enough to work with a short or medium scale bass, plus no dough to buy some shorter rods last minute.

But yeah, I totally agree, shorter scale would probably be the way to go for playability. Next time for sure. :)
 
  • Like
Reactions: Beej and ctmullins
But yeah, I totally agree, shorter scale would probably be the way to go for playability.

I don't think I agree with that. From my experience with the 10-strings, you want fairly high tension strings and a perfect low-action setup. It's all about hearing all the strings clearly when plucking them fairly lightly. Going with softer strings or a shorter scale length to reduce string tension makes a mushy roar that you bang away on.

The beauty of octave basses is when they play....bass lines. Groove lines where individual notes are doubled or tripled. Leave the jingly mush chords to the 12 string guitar.
 
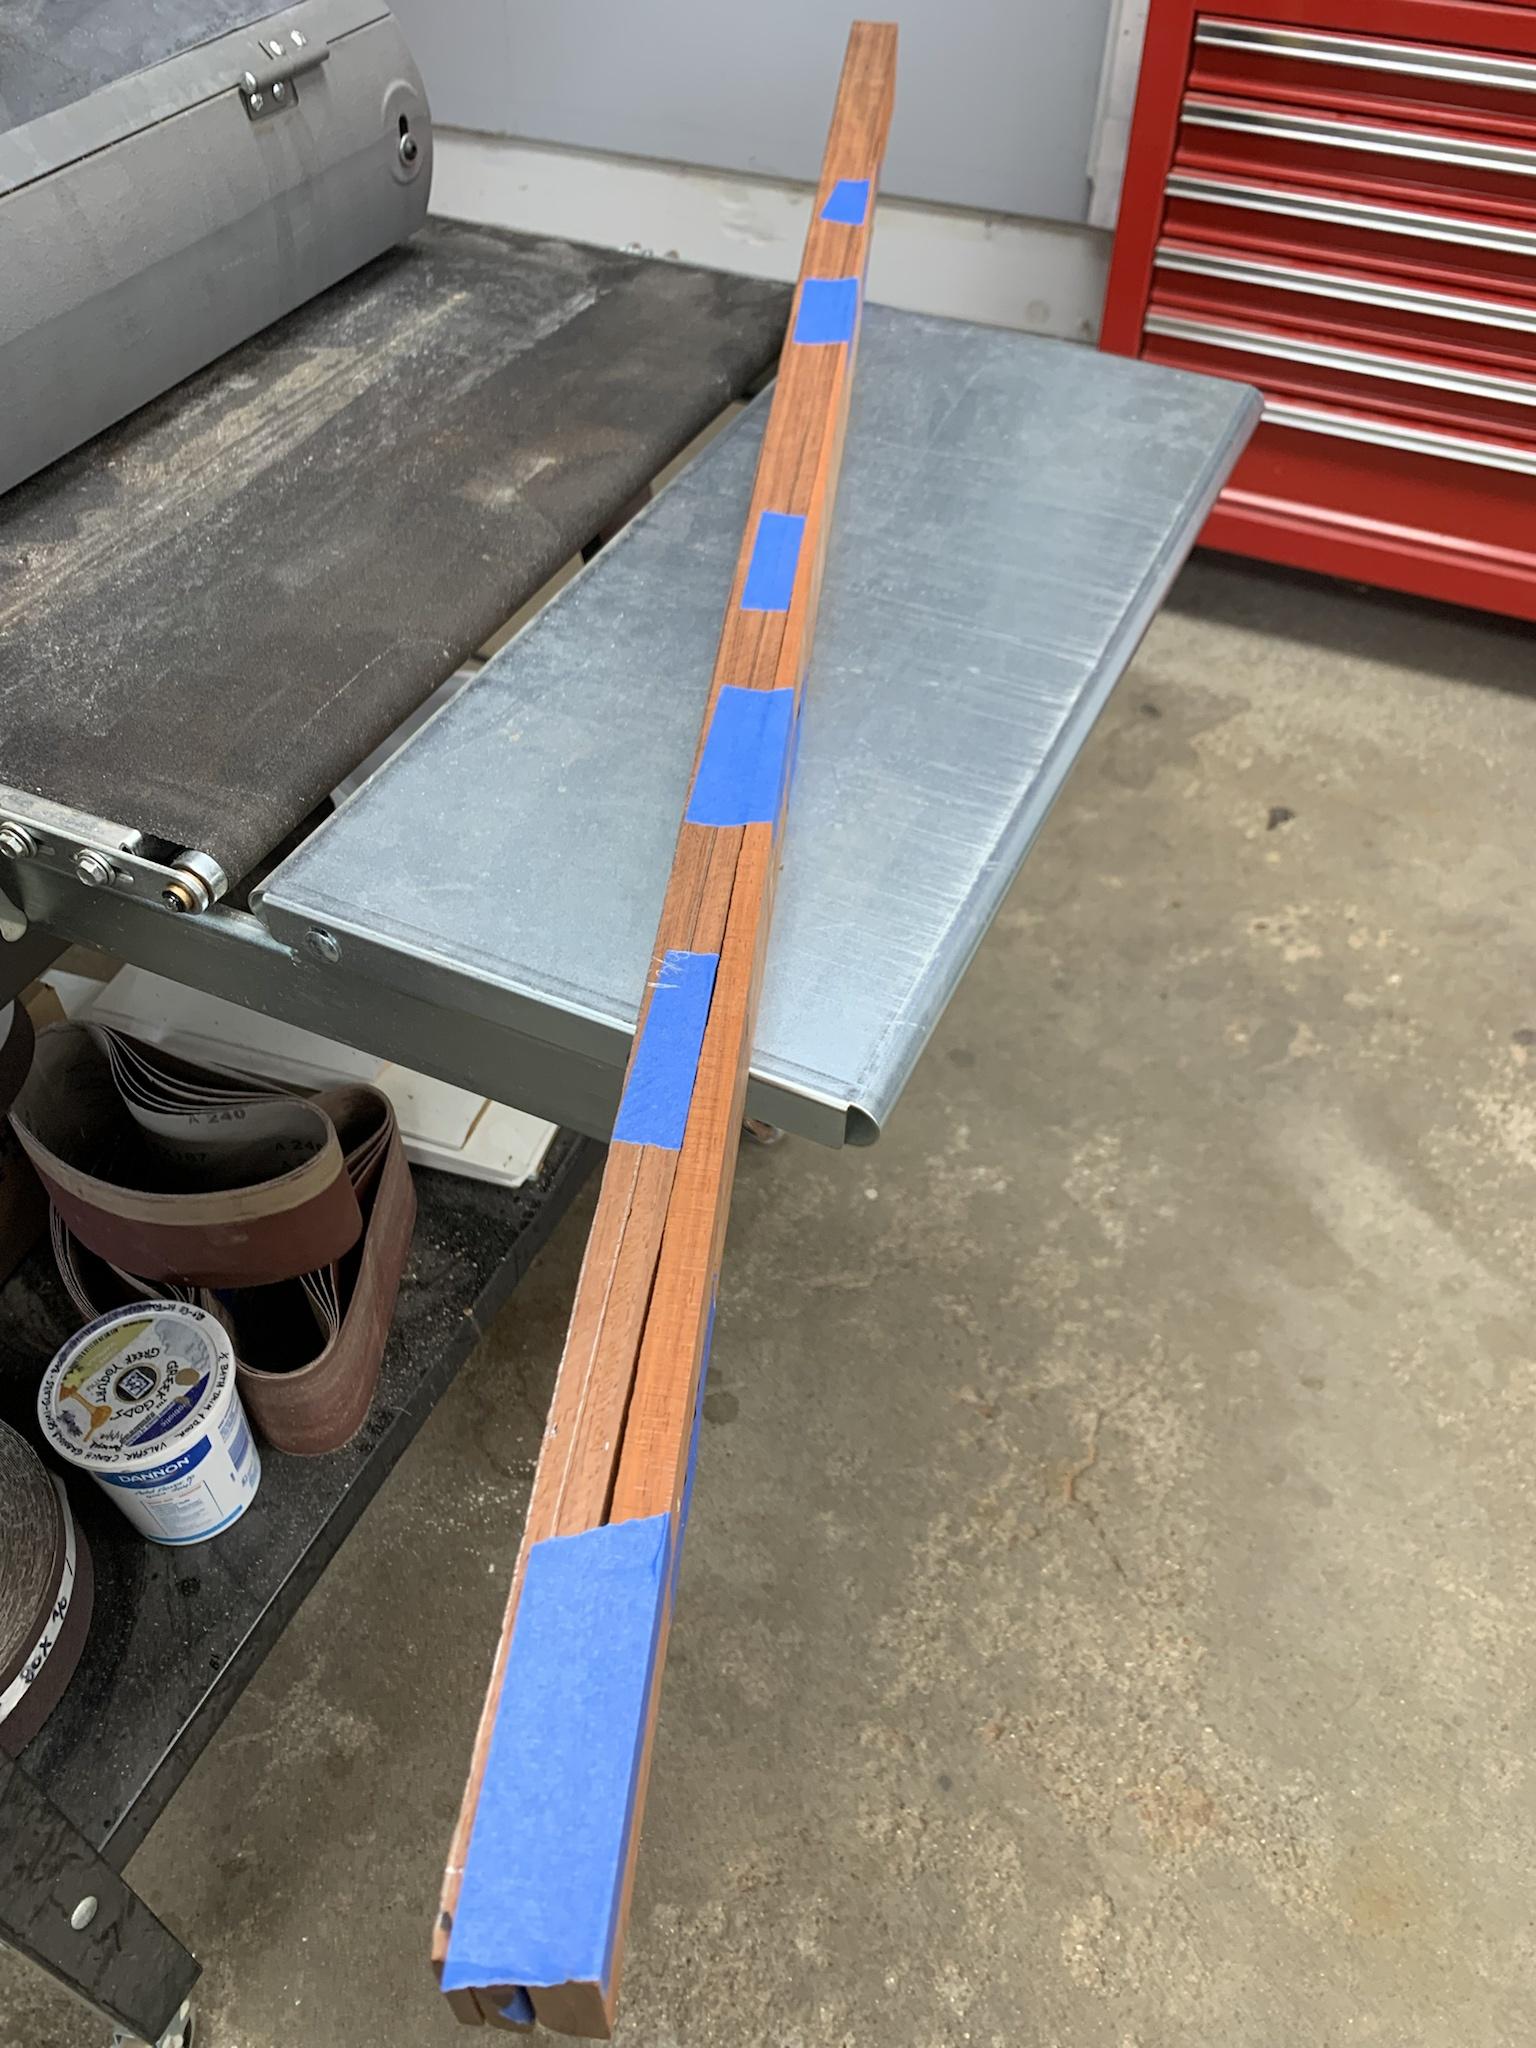
Well, I did end up making a little progress today. Nothing too sexy, mostly just making large boards smaller. I also roughly ripped down the laminates for the neck. These are waaay oversized right now. Tomorrow I'll get these thinned down and I hope to start gluing up the neck beam.
52KaCAe.jpg


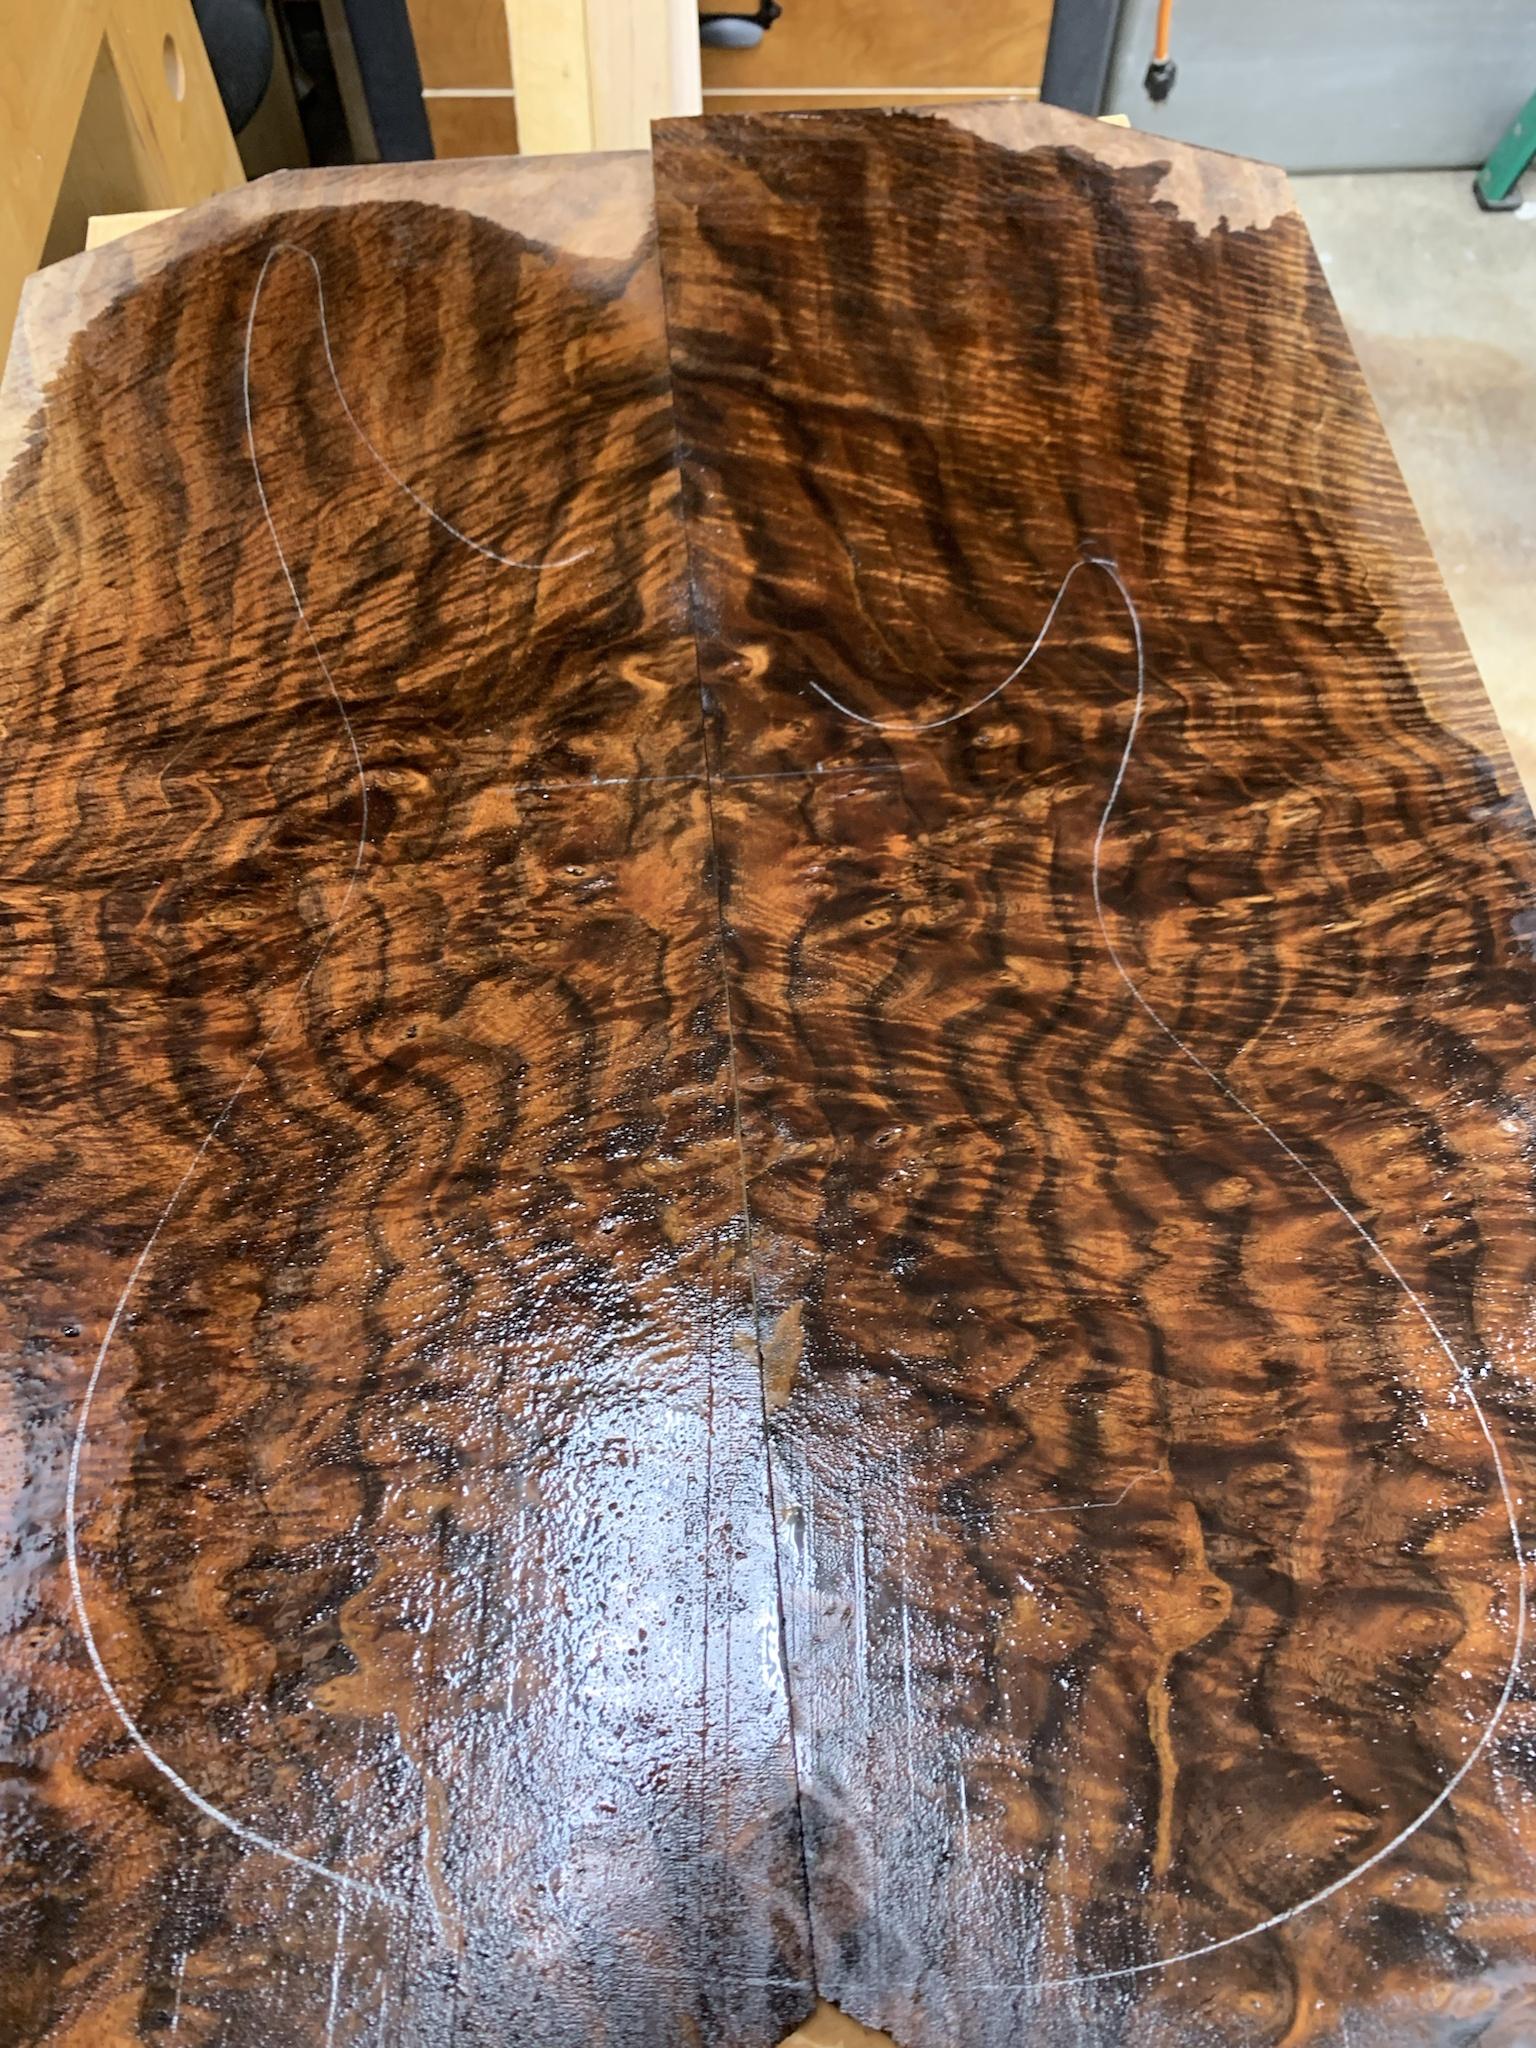
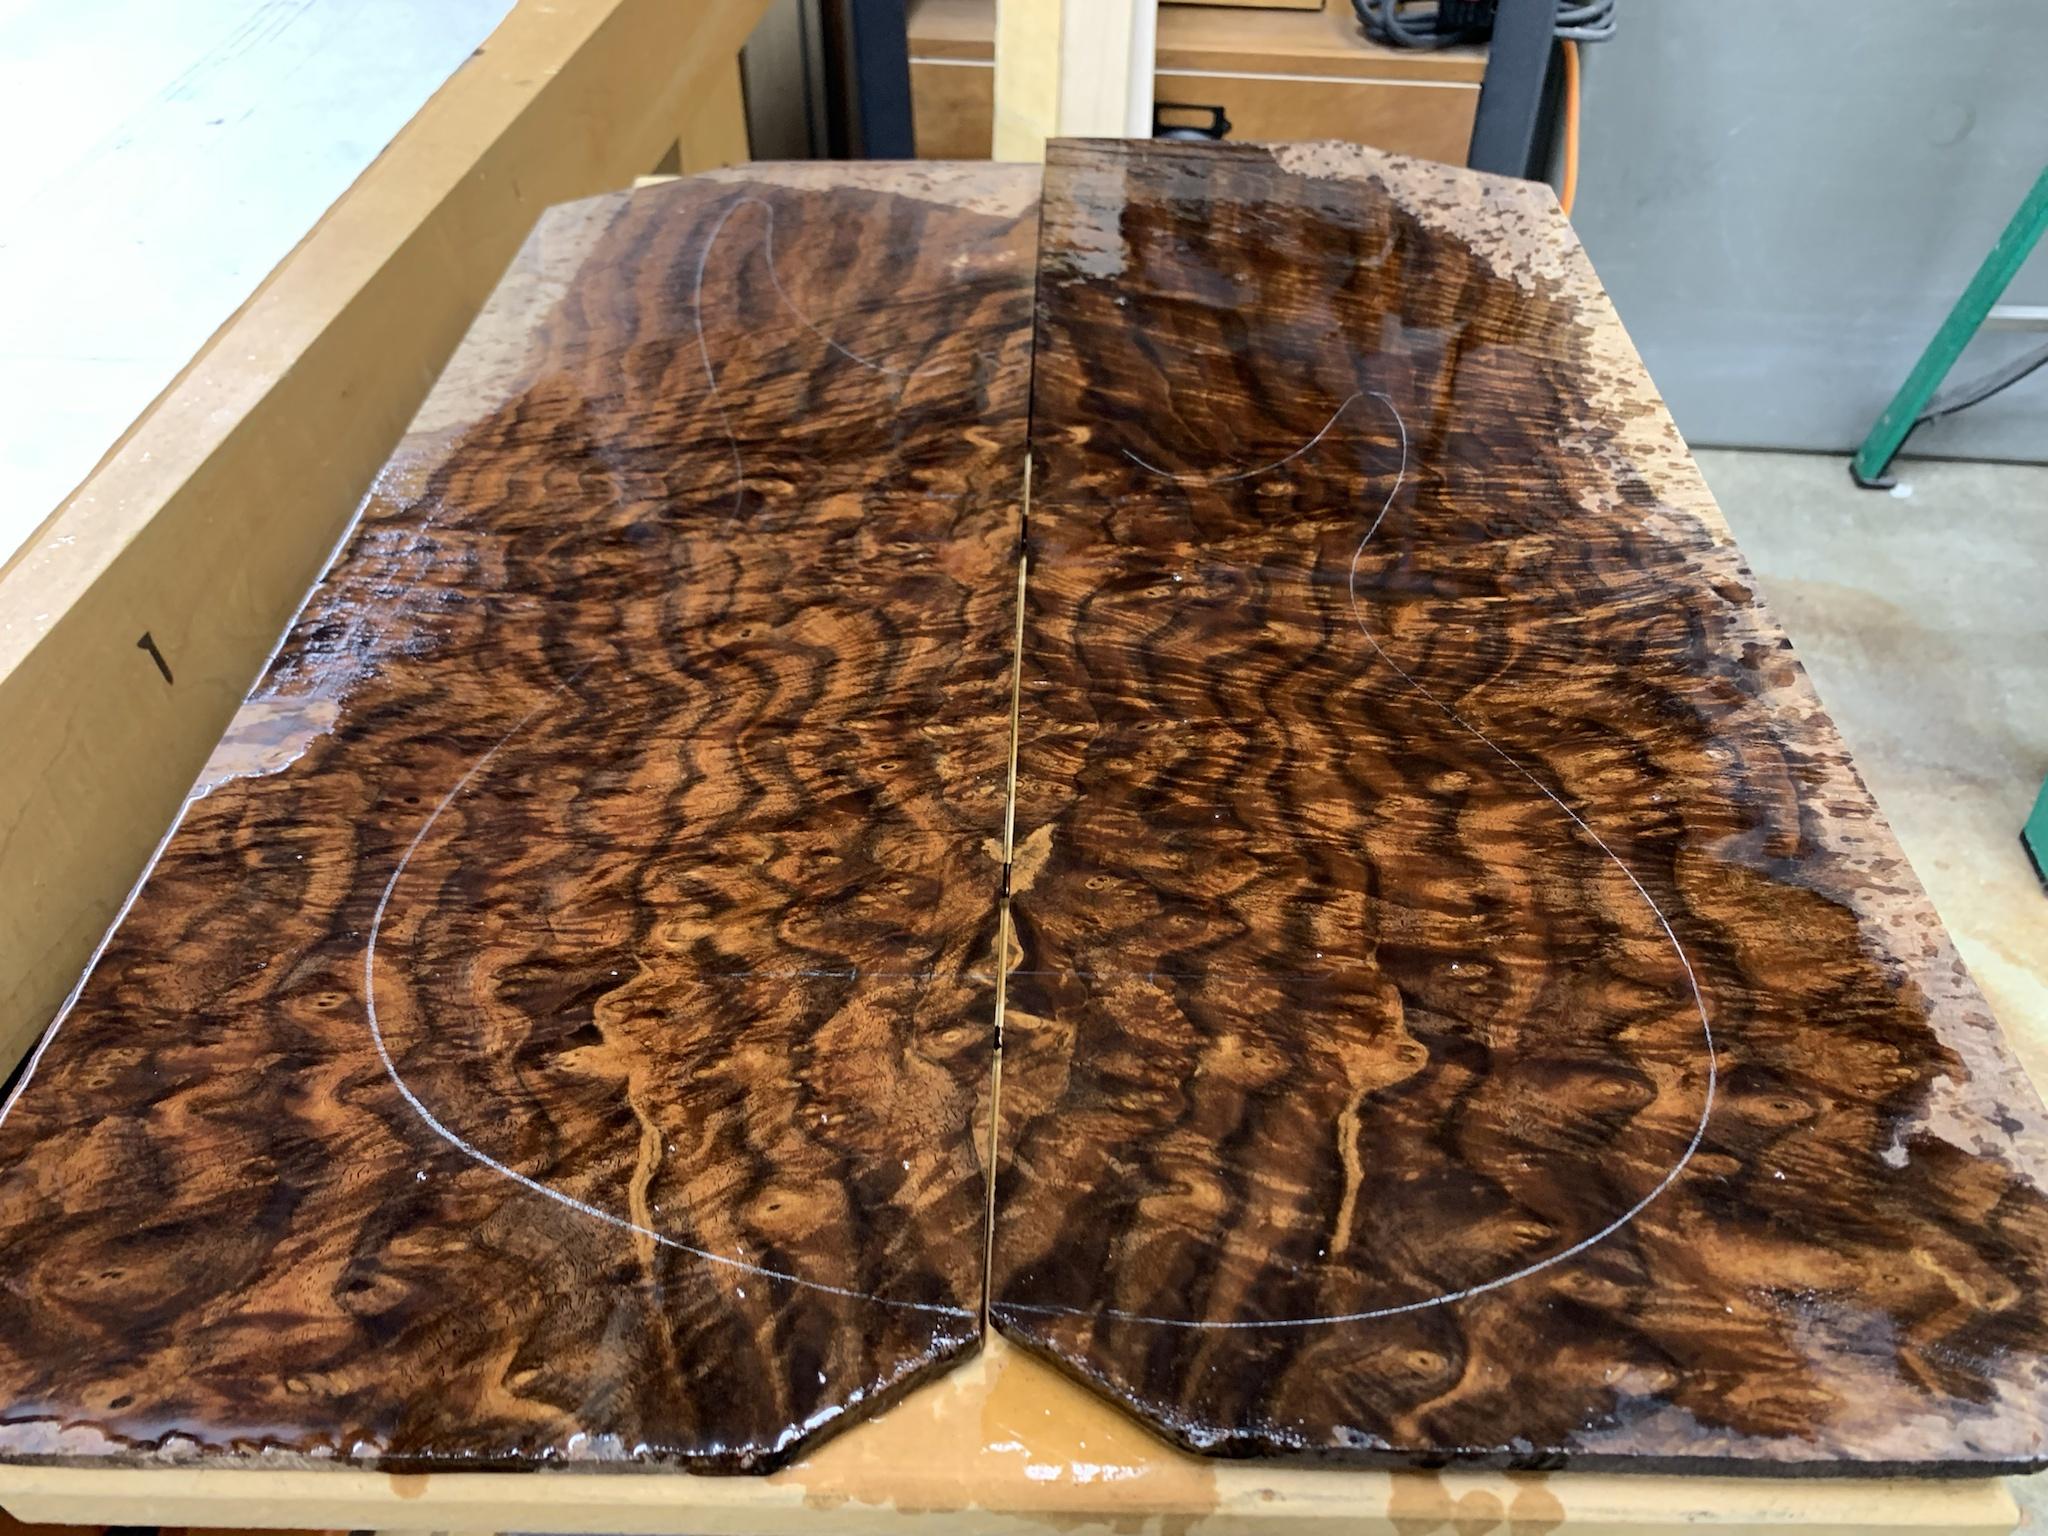
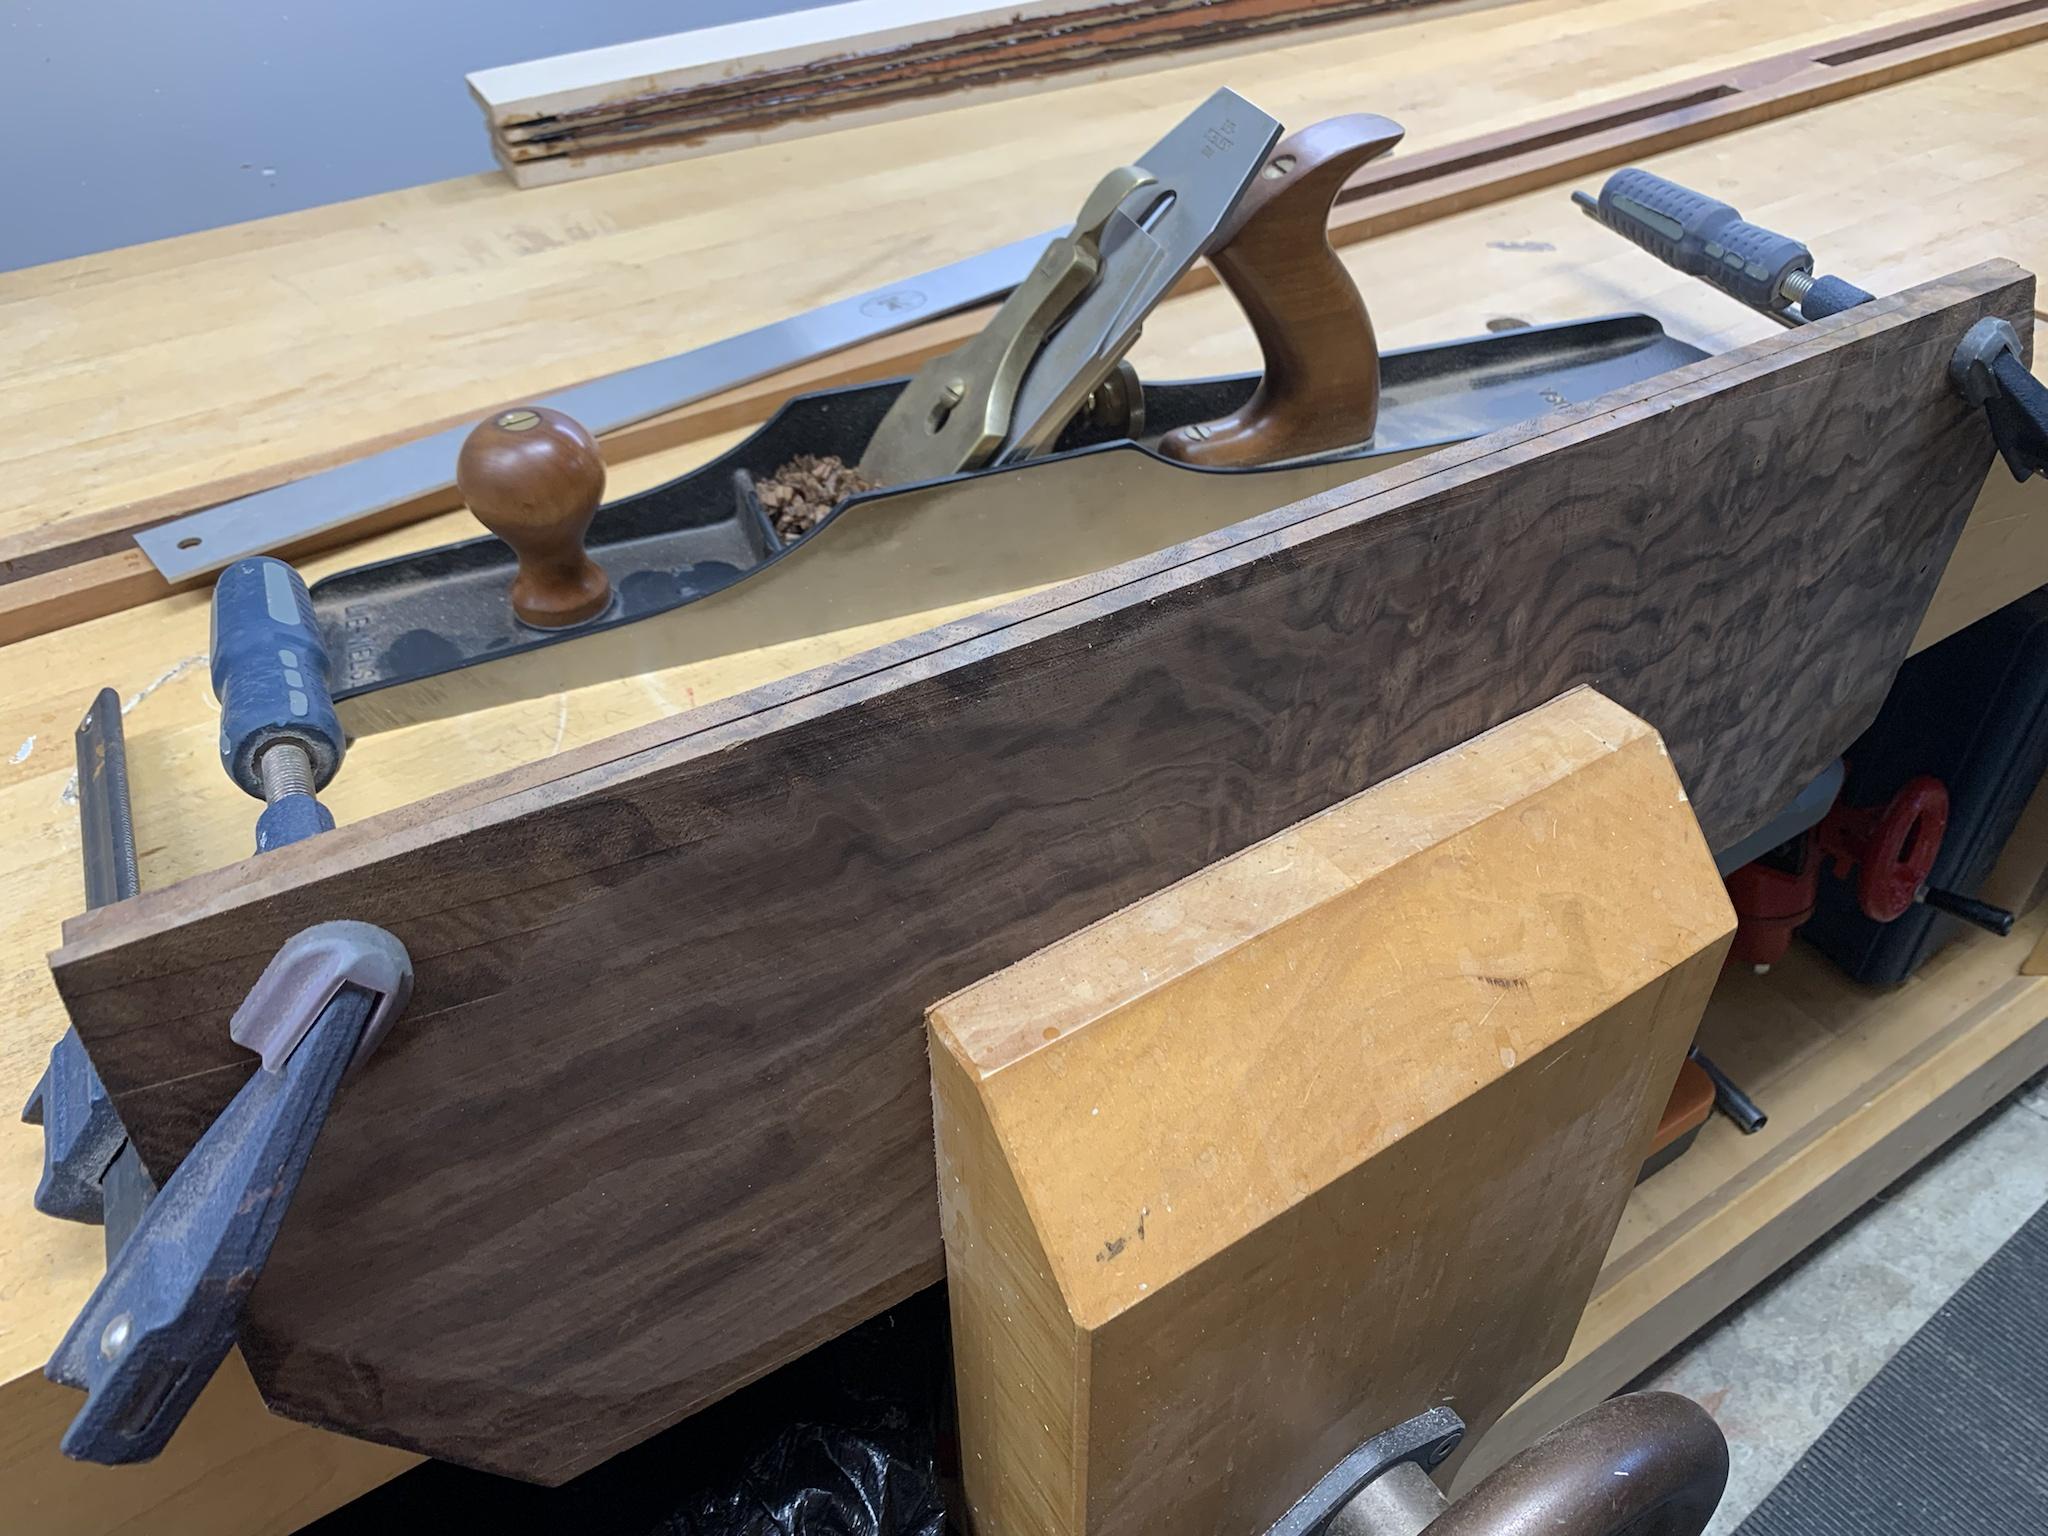
This, on the other hand, is very sexy. :D I figured I'd throw a little DNA on the claro walnut burl to show it off a bit.
cGAv2hv.jpg


Hard to get a good picture without a lot of glare. Should be a cool looking top!
FRpxjnh.jpg
 
Today I've been working to bring my neck laminates closer to final thickness in preparation for the glue up. I'm still debating whether or not I'm going to use black poplar veneer in between all the neck lams... That's a lot of gluing and a lot of veneer!

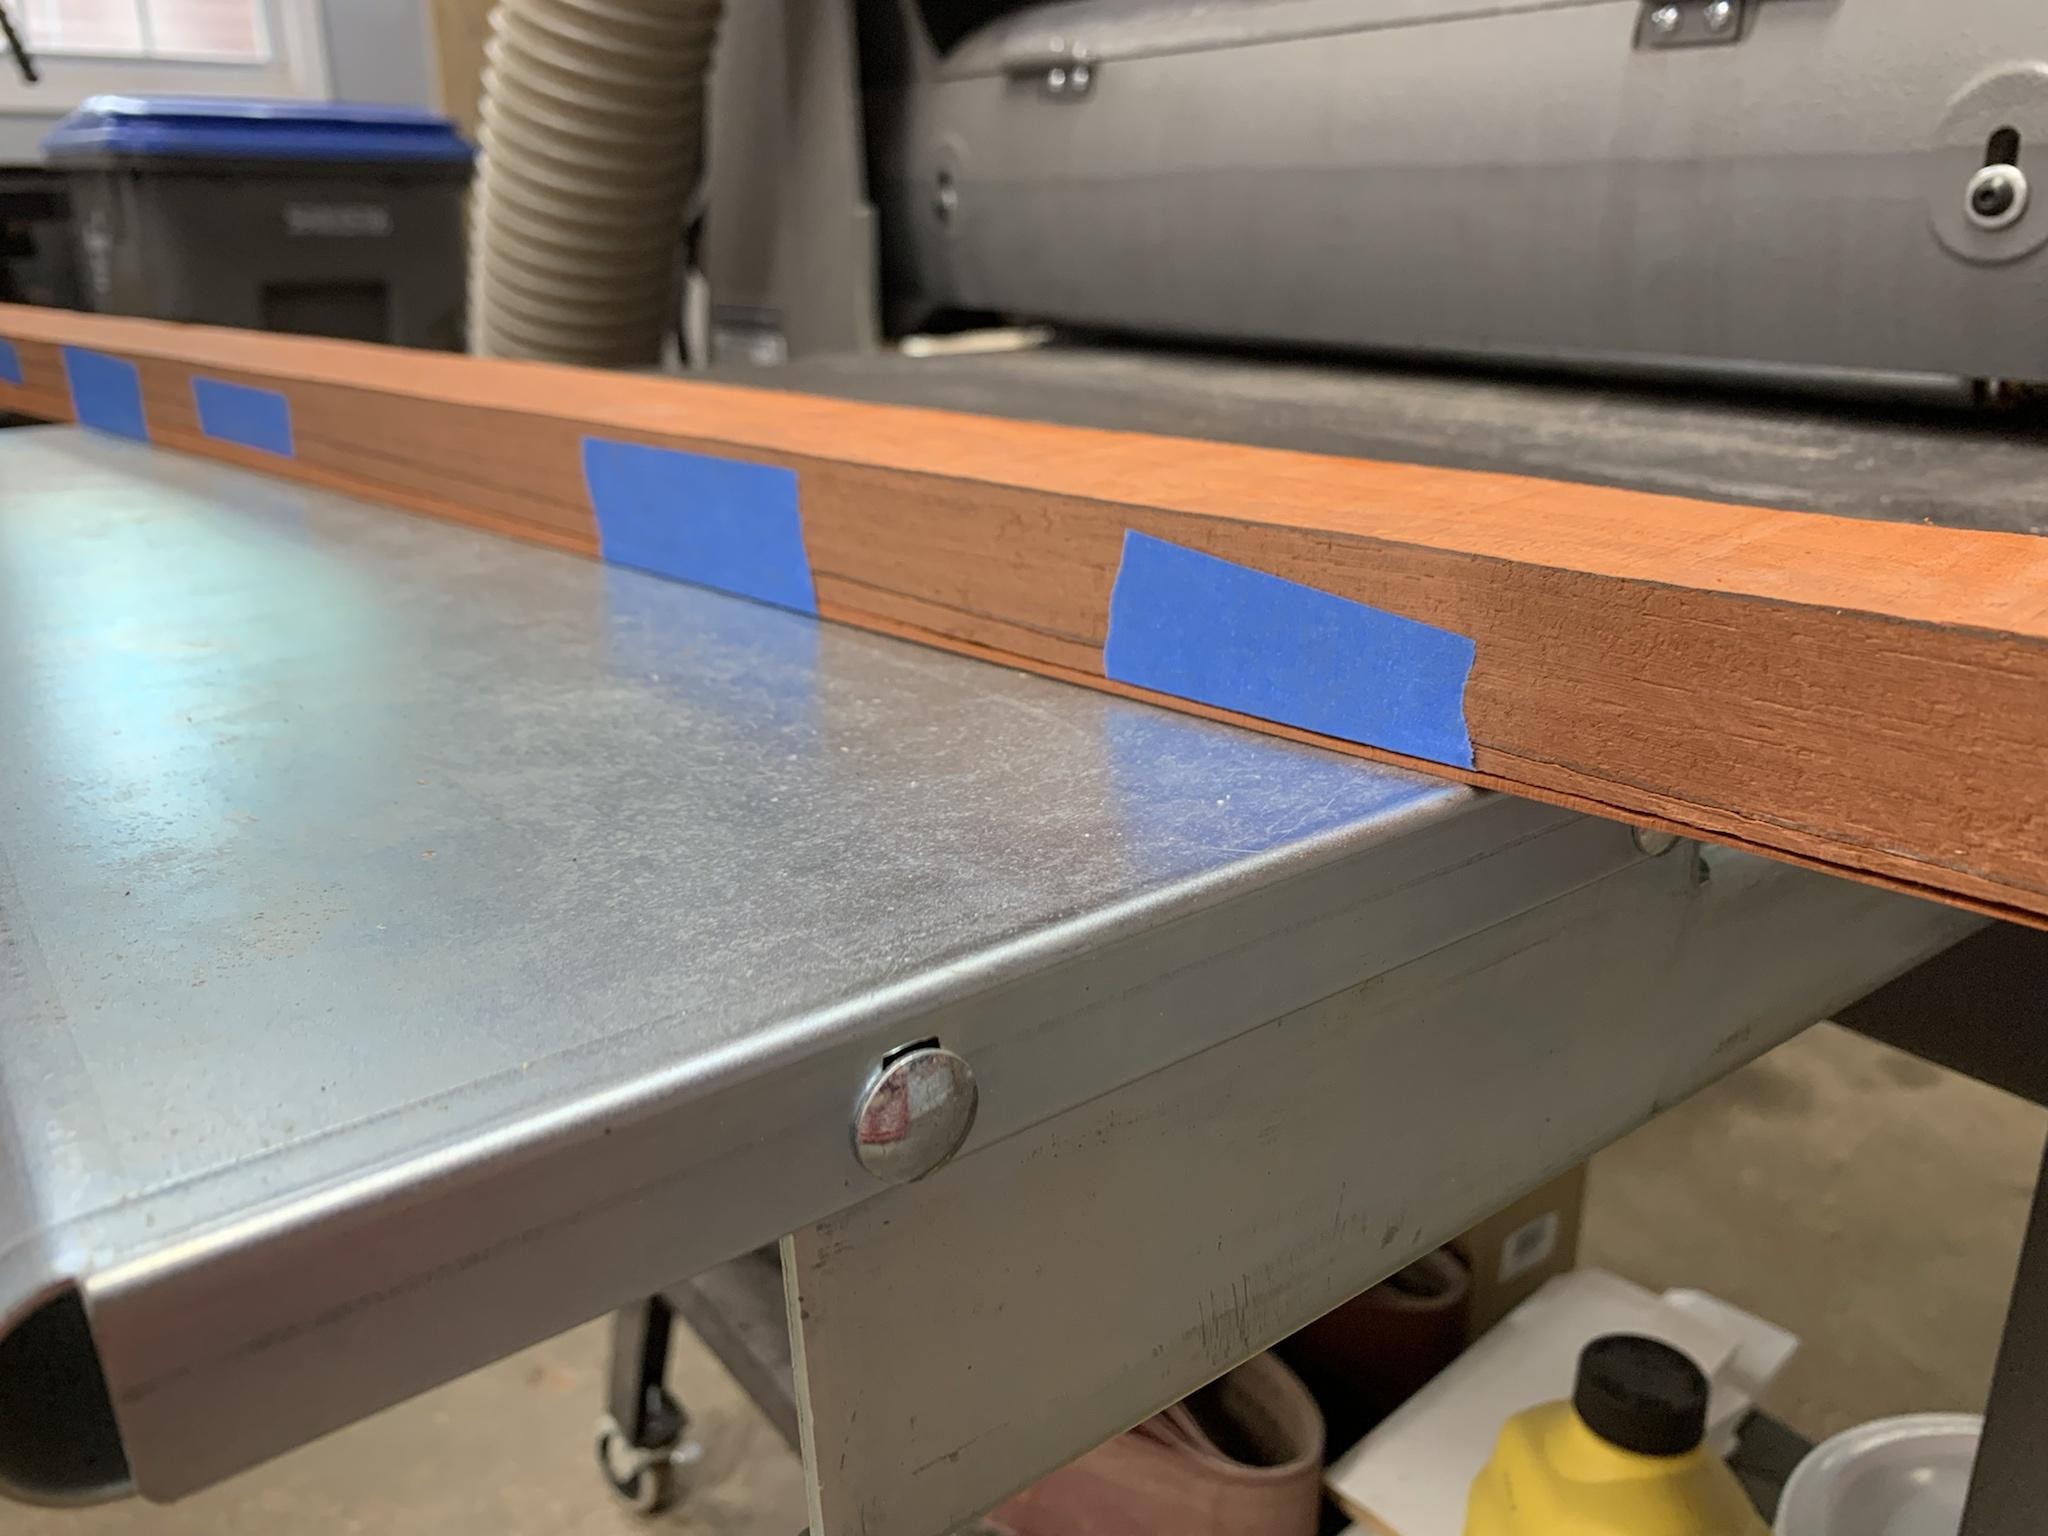
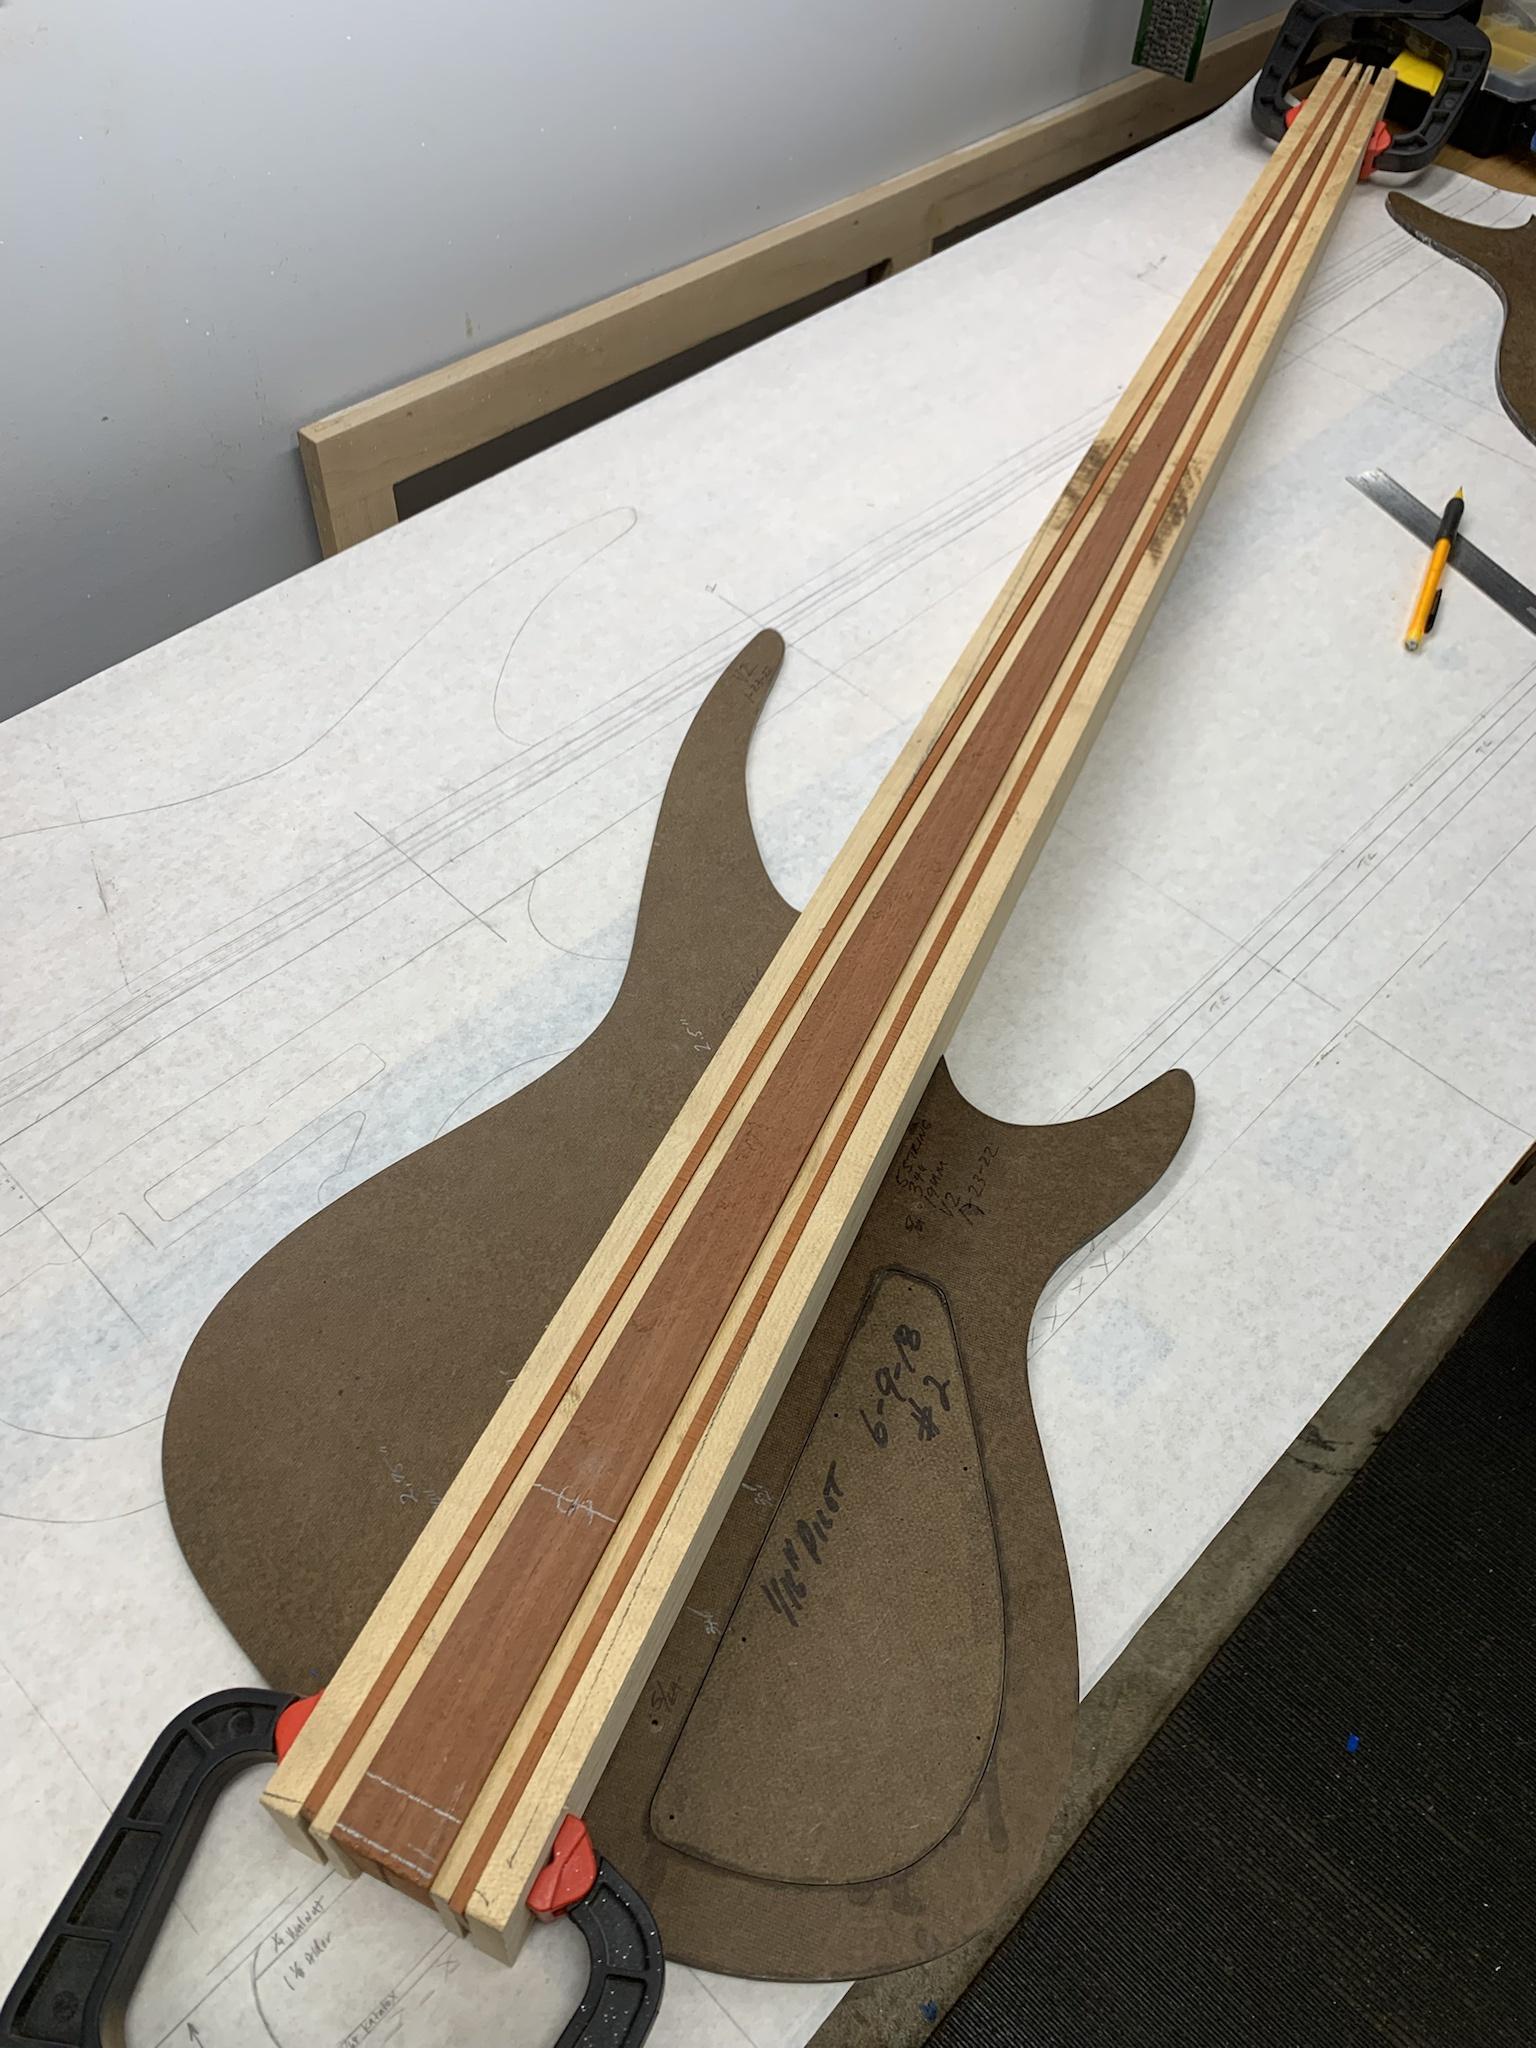
The center laminate in my neck is going to be tapered. I started the process by carefully marking out the taper, then cutting very accurately on the band saw. To sand to final dimension, I attached my cut offs to one side of the taper to make a rectangle.
iWJG9qi.jpg


This shot shows a little better perspective. I run this through the drum sander to true up one edge, then disassemble the stack, flip the taper over and run the other side. Works great! :D
WUUpwhN.jpg


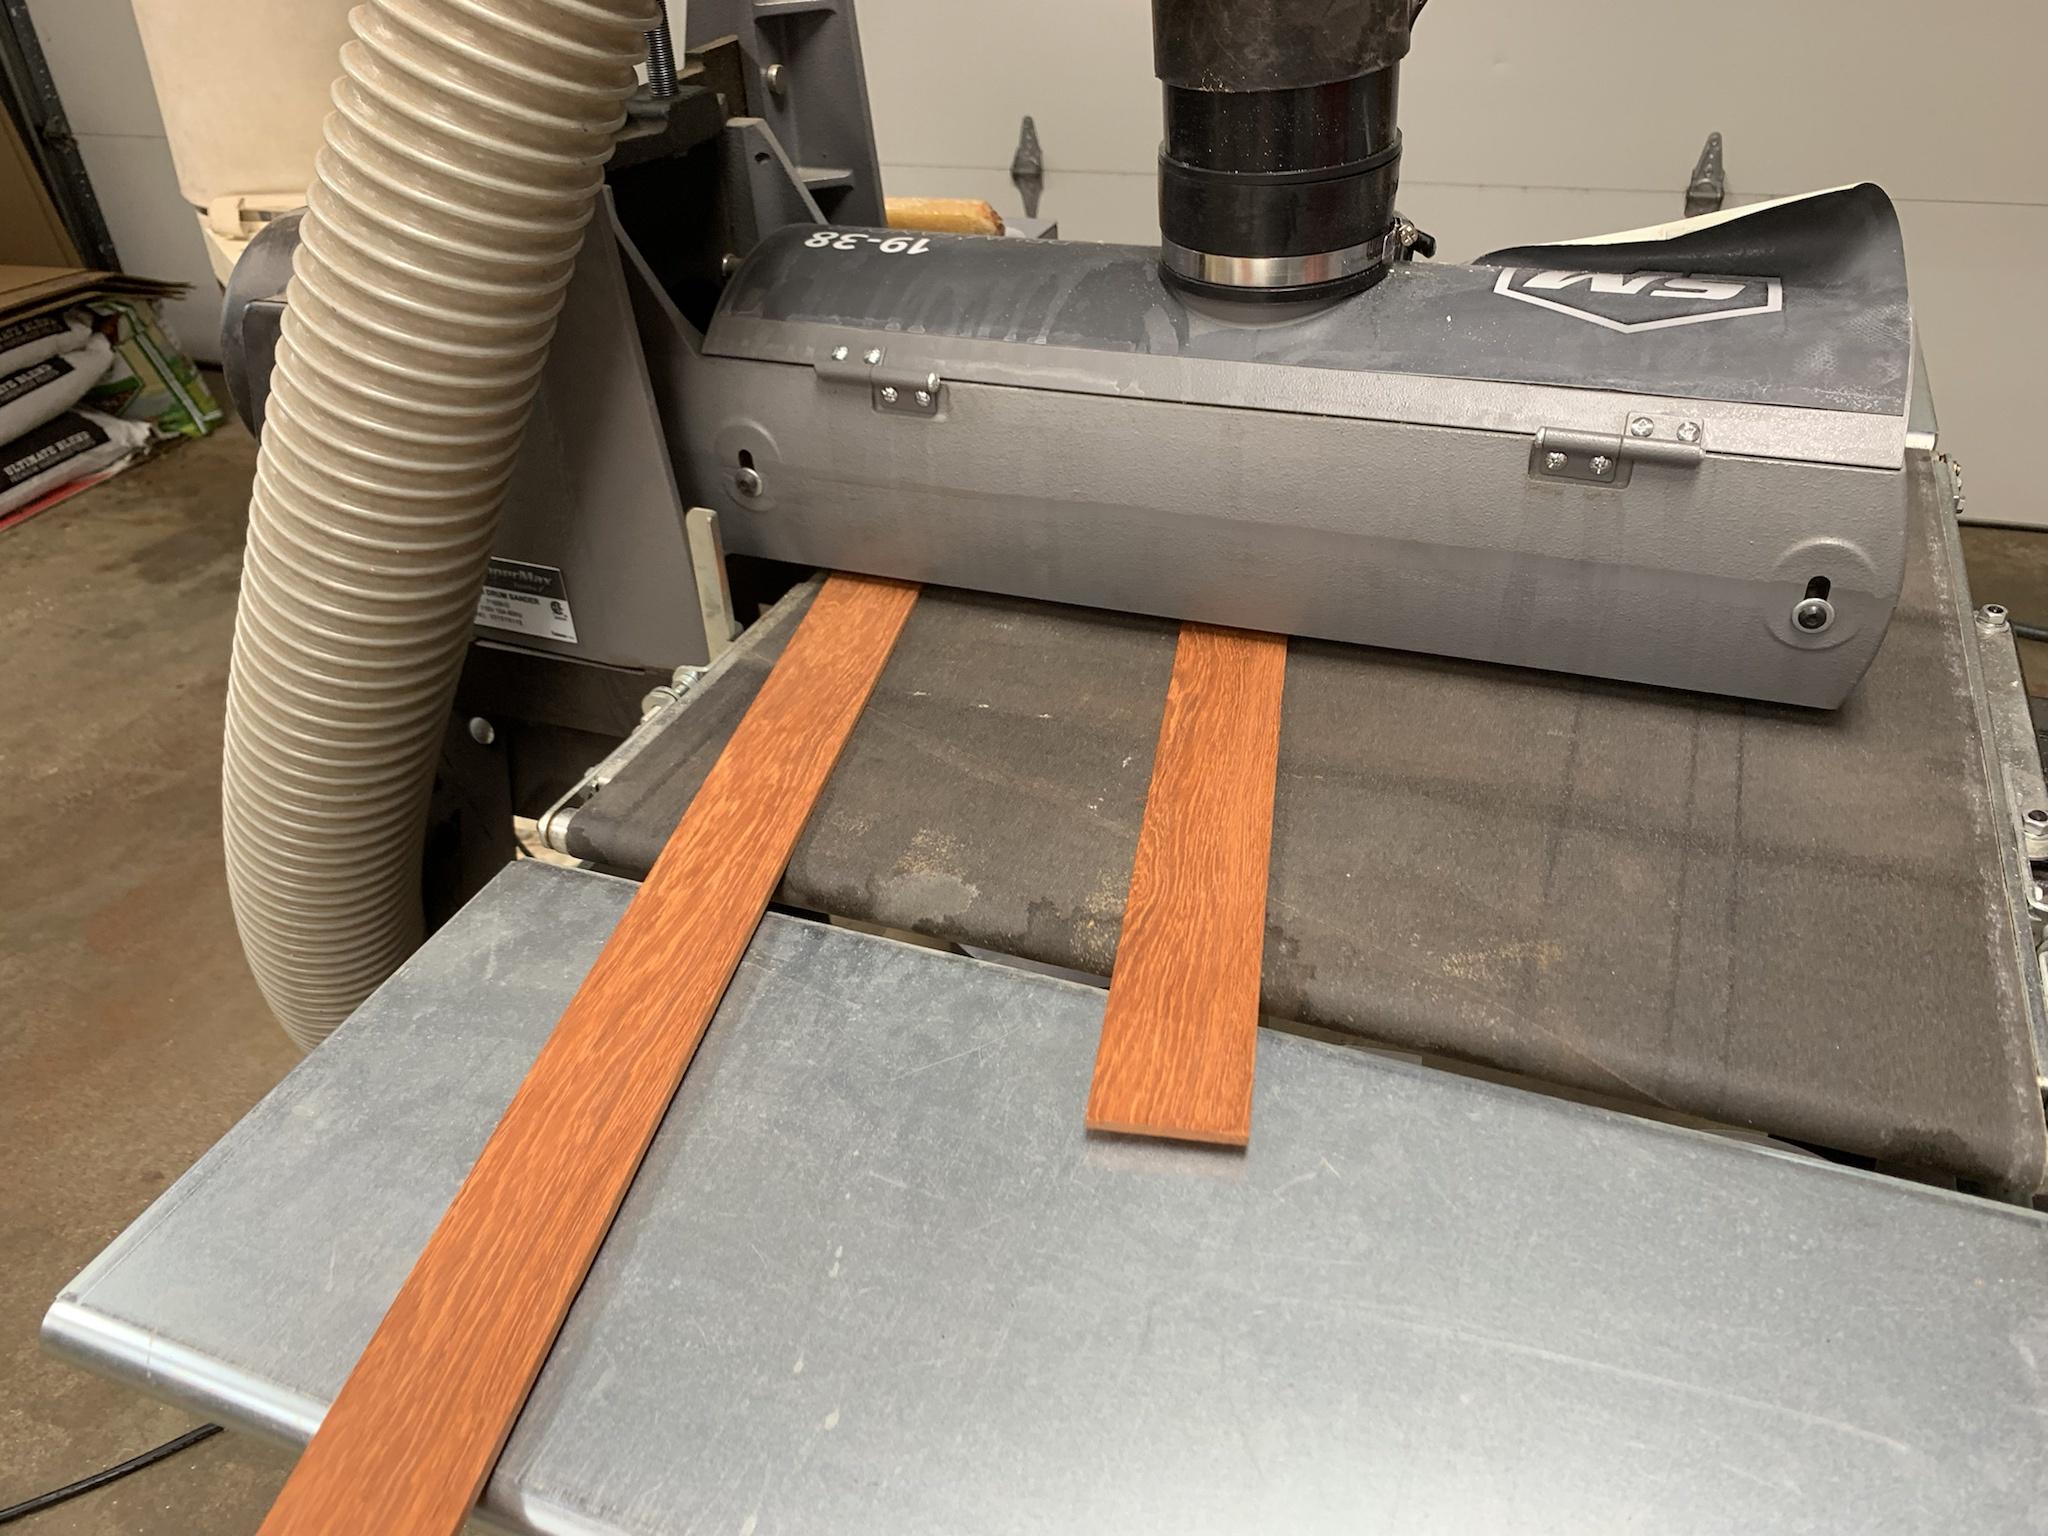
Sanding laminates to thickness. Note that nice peeling label on my sander... a casualty of the shellac spill earlier. :rollno:
eWKTTtD.jpg


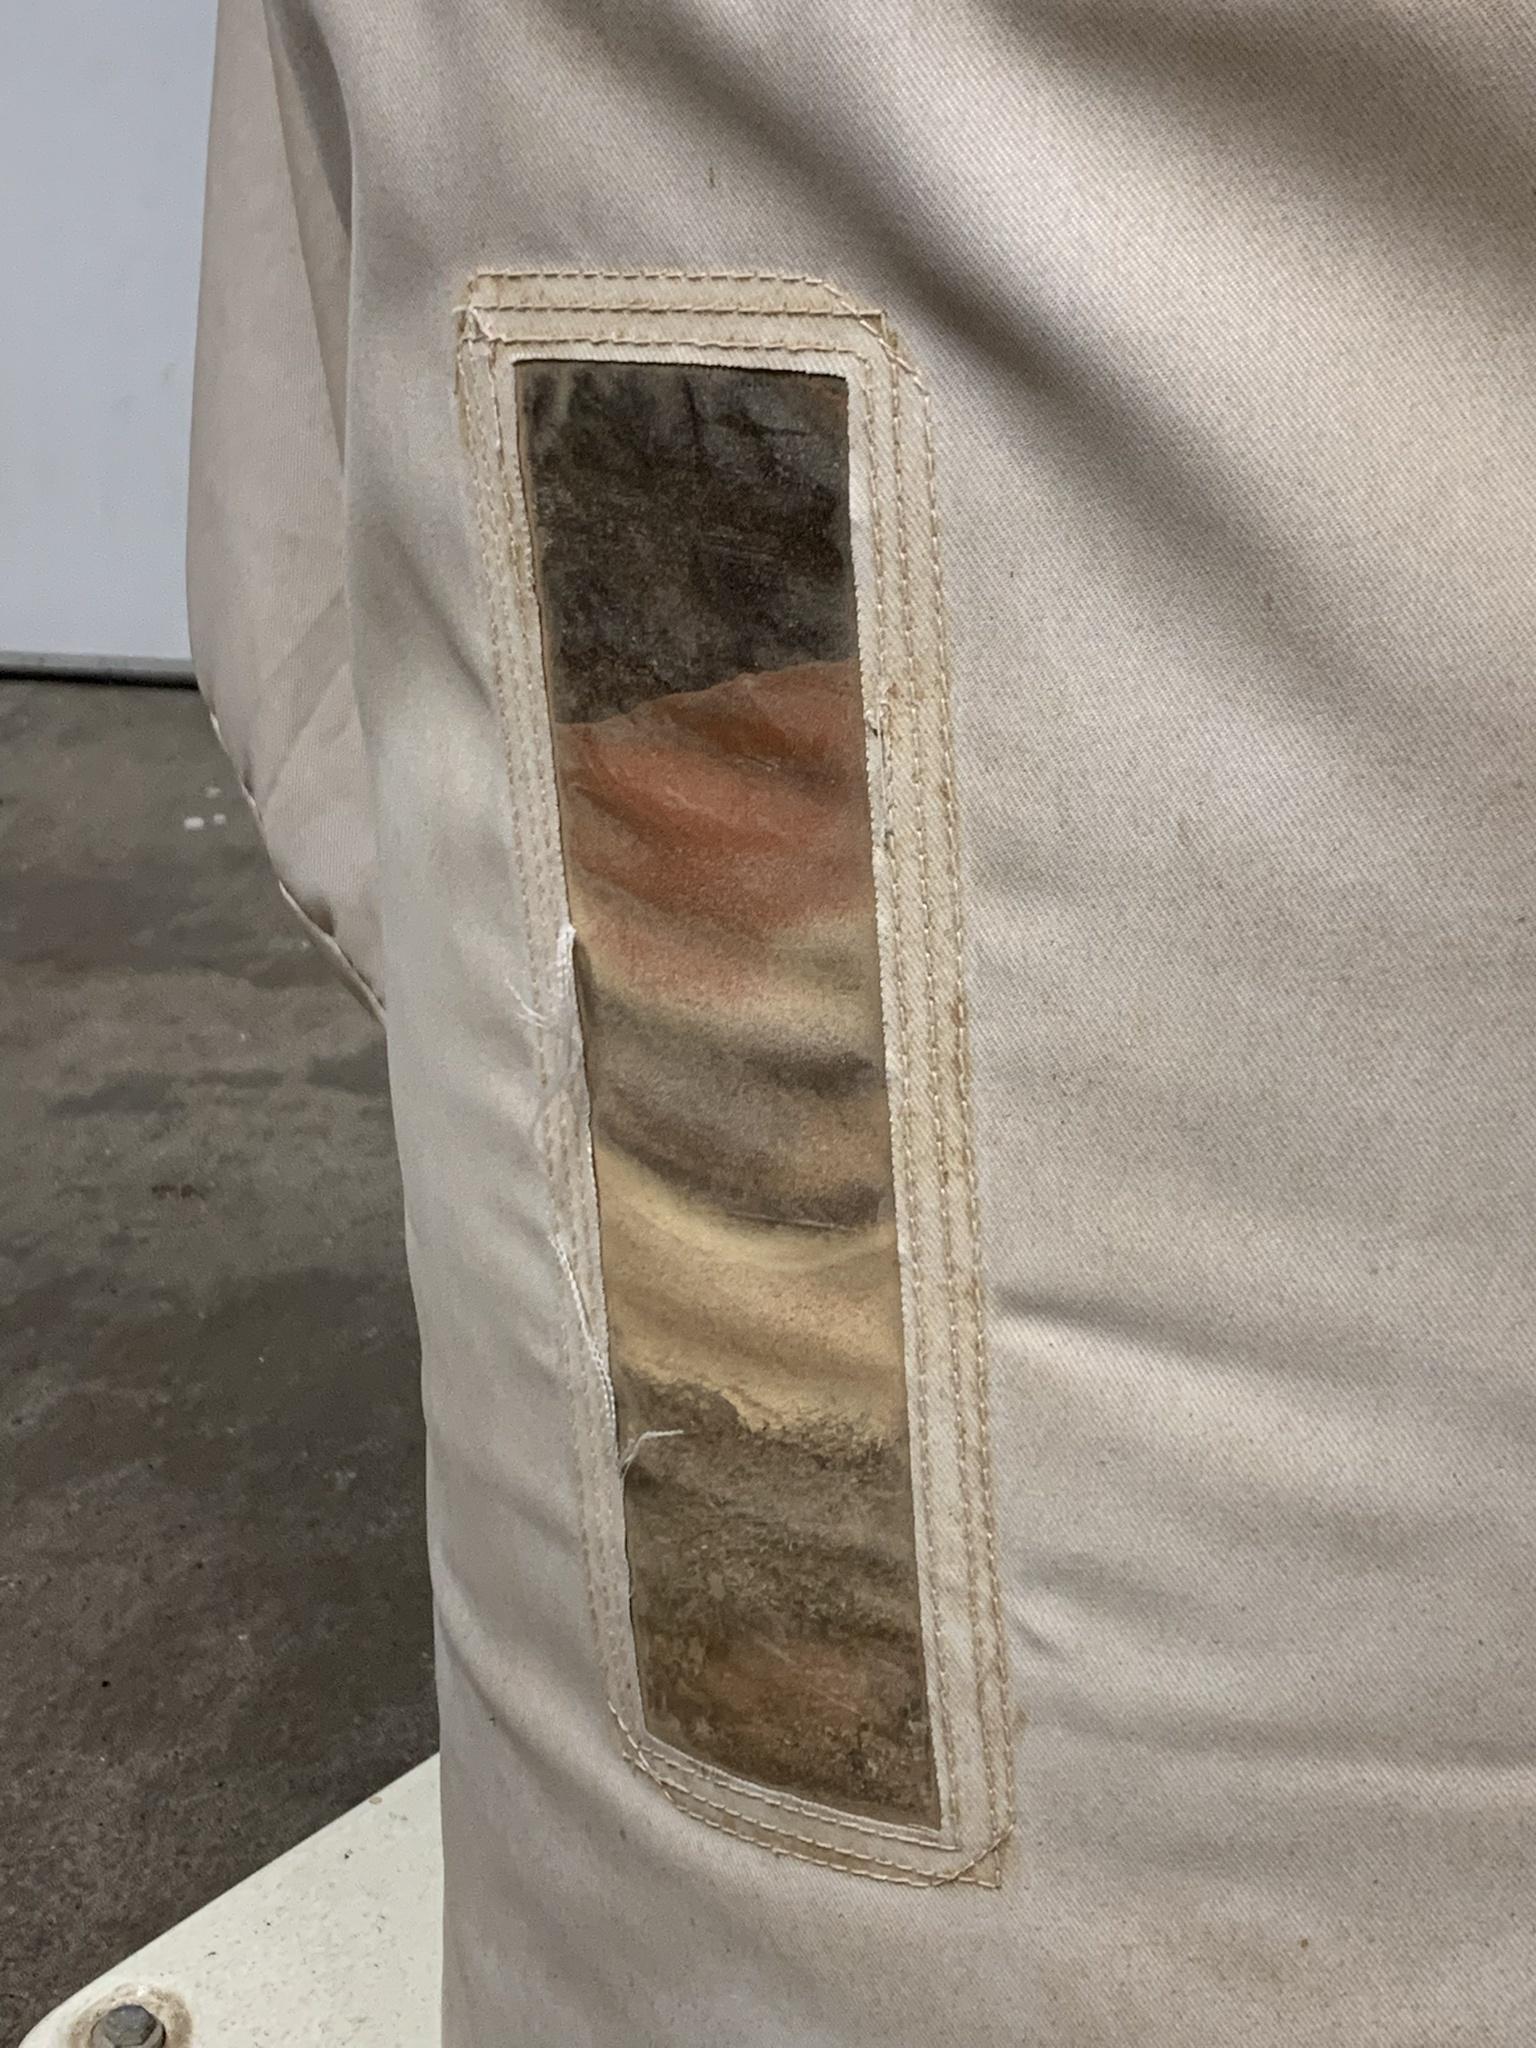
Some cool layering going on in the dust collector.
4vUTQHB.jpg


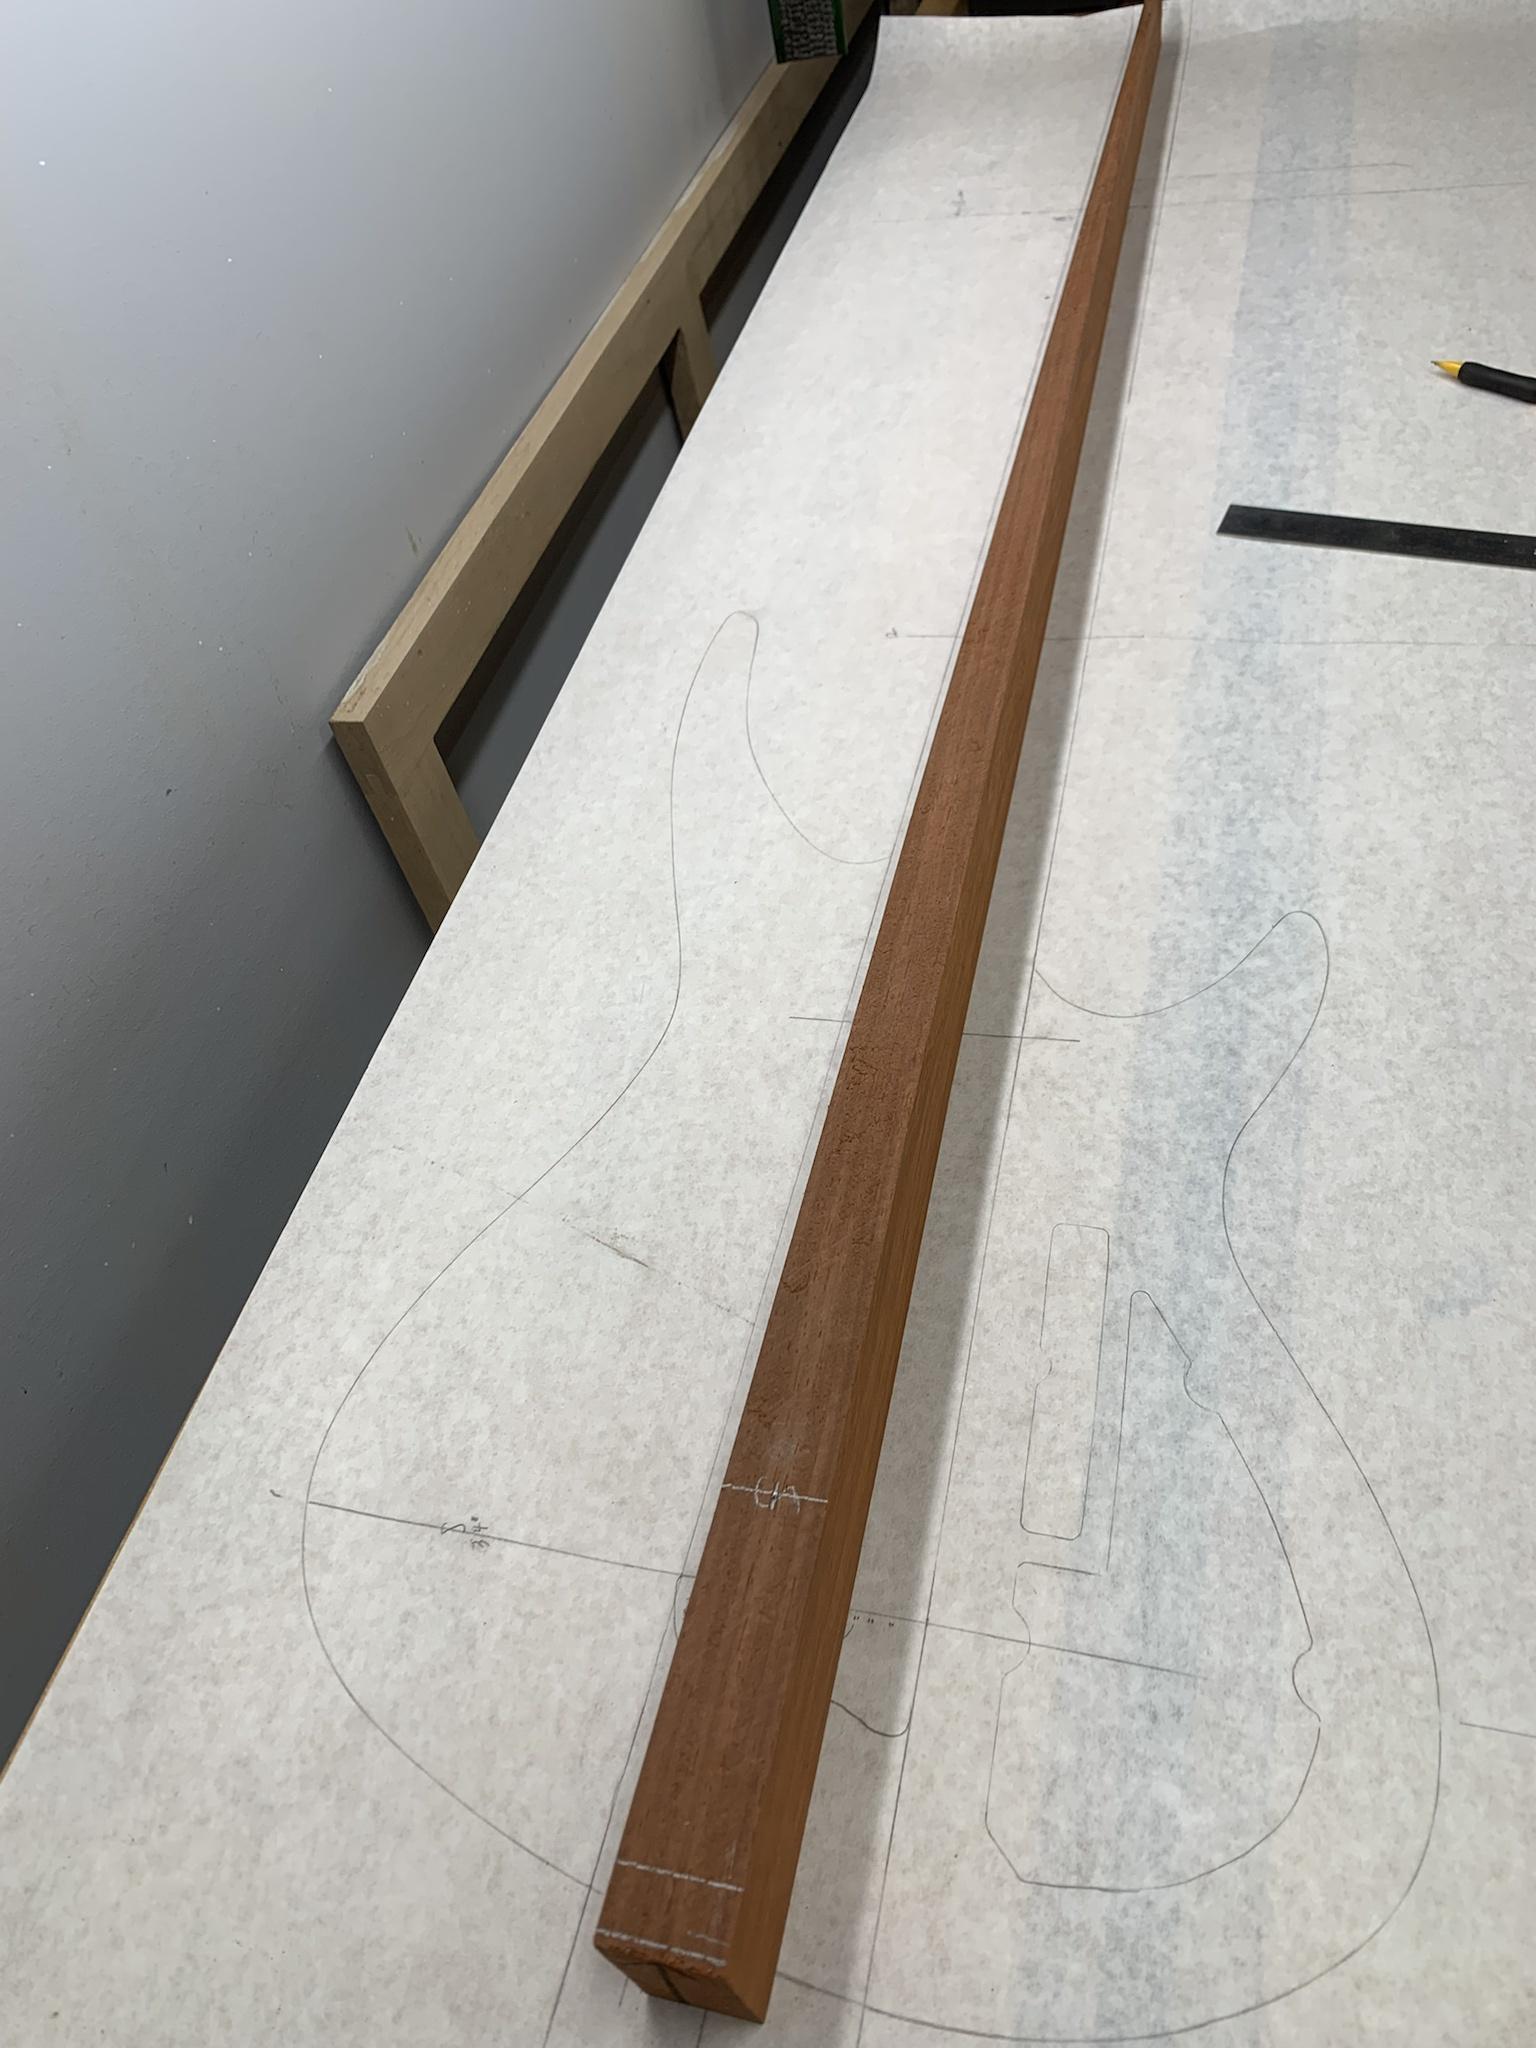
Laying the taper over the drawing to confirm the dimensions. It's pretty close to perfect.
Ja0G7NL.jpg


Neck laminates loosely clamped up for a mock-up.
XfQFzJd.jpg


Hoping to get the neck beam glued up today. More soon!
 
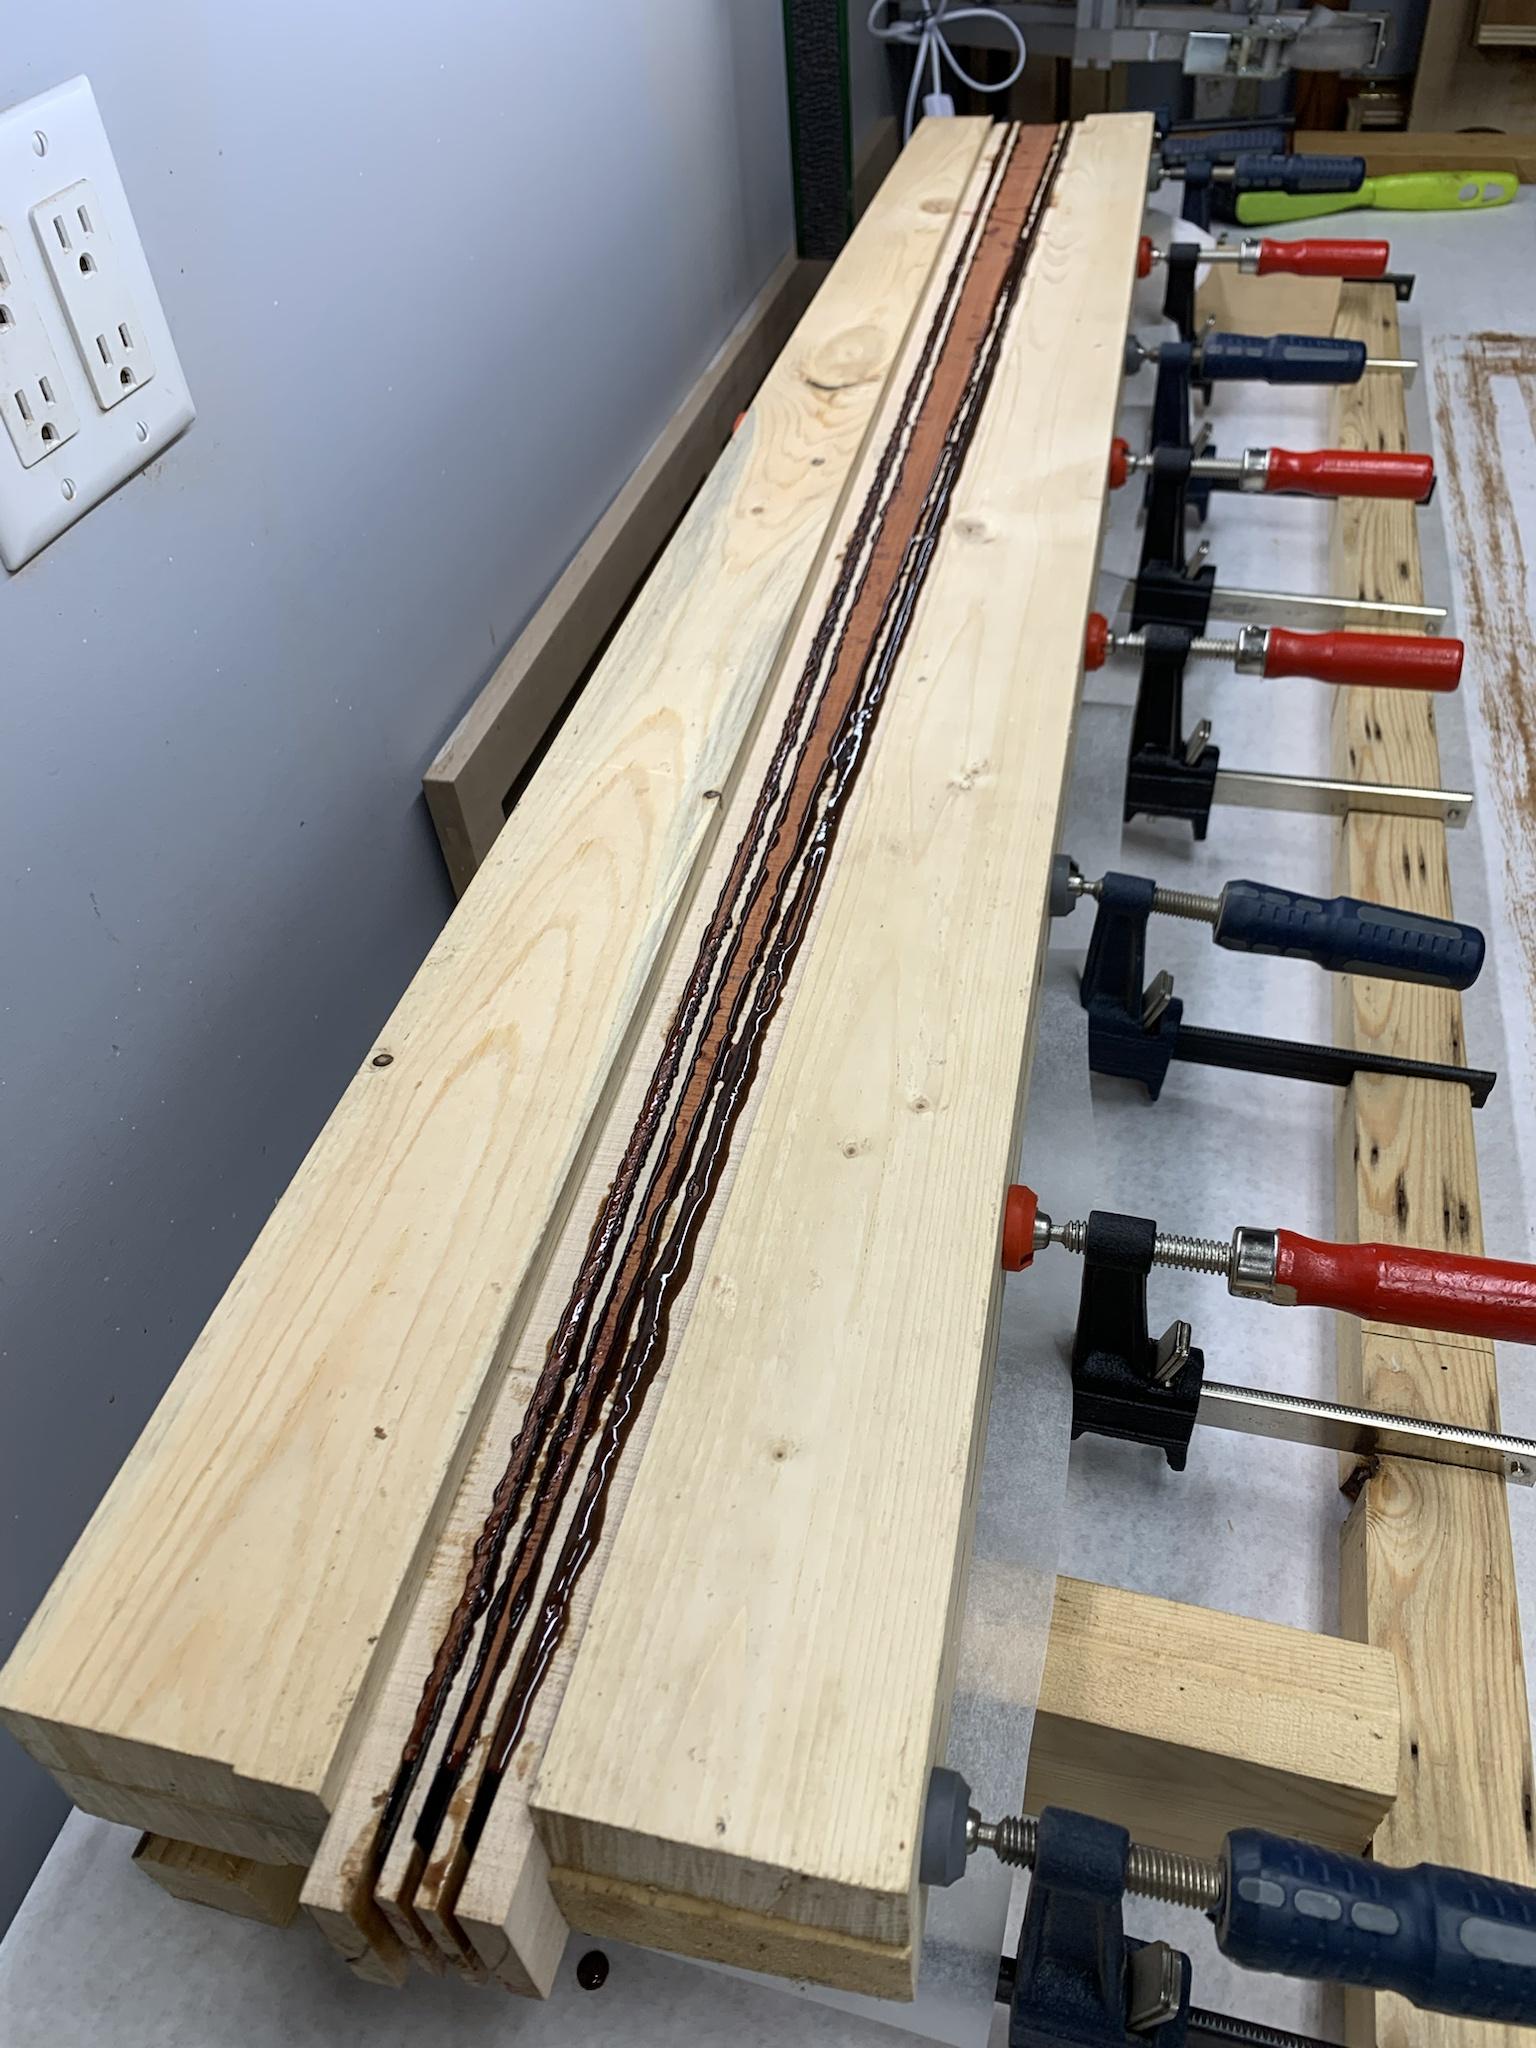
This evening, I tackled the glue-up of the neck beam. I opted to put in the poplar veneer pieces. So that brings the number of neck laminates to 13. Let me tell you, that's a LOT of gluing and a real challenge to not panic half way through. :D

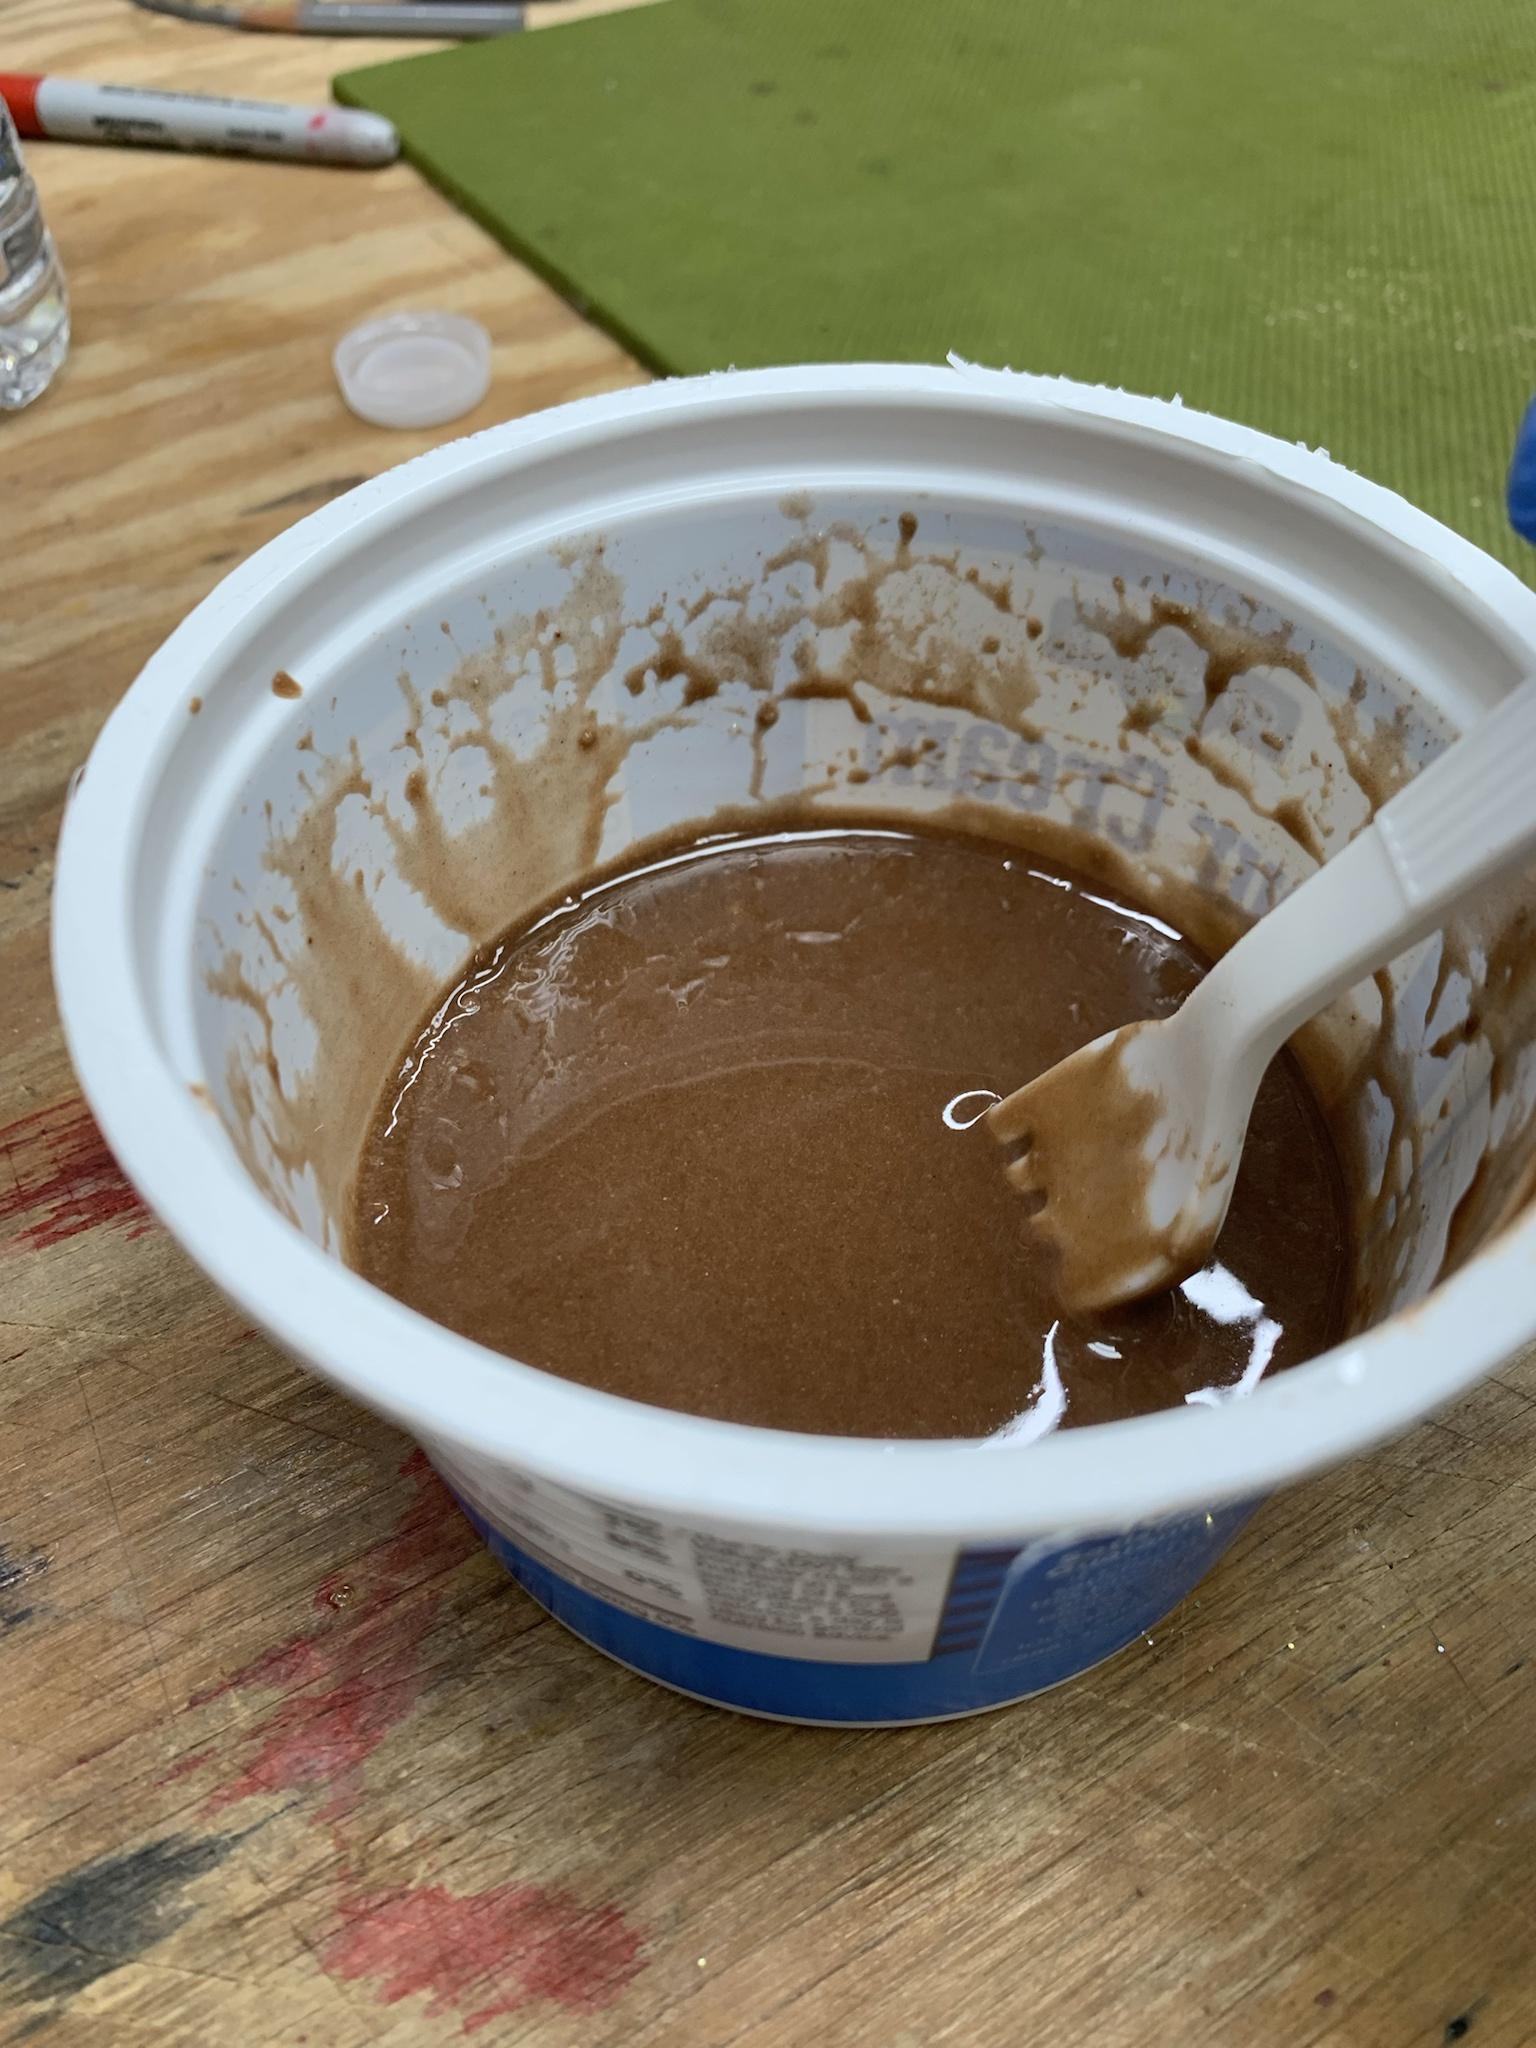
I like to use urea formaldehyde (plastic resin) glues for complex glue-ups like this. They have a very long pot life and working time, not to mention zero creep over time. Plus, they dry to an extremely hard, glass-like state, which is perfect for instruments. It's easy to prepare, just mix the powder into some water, mix well, let it stand 10 minutes, add a touch more water and mix again and it's ready.

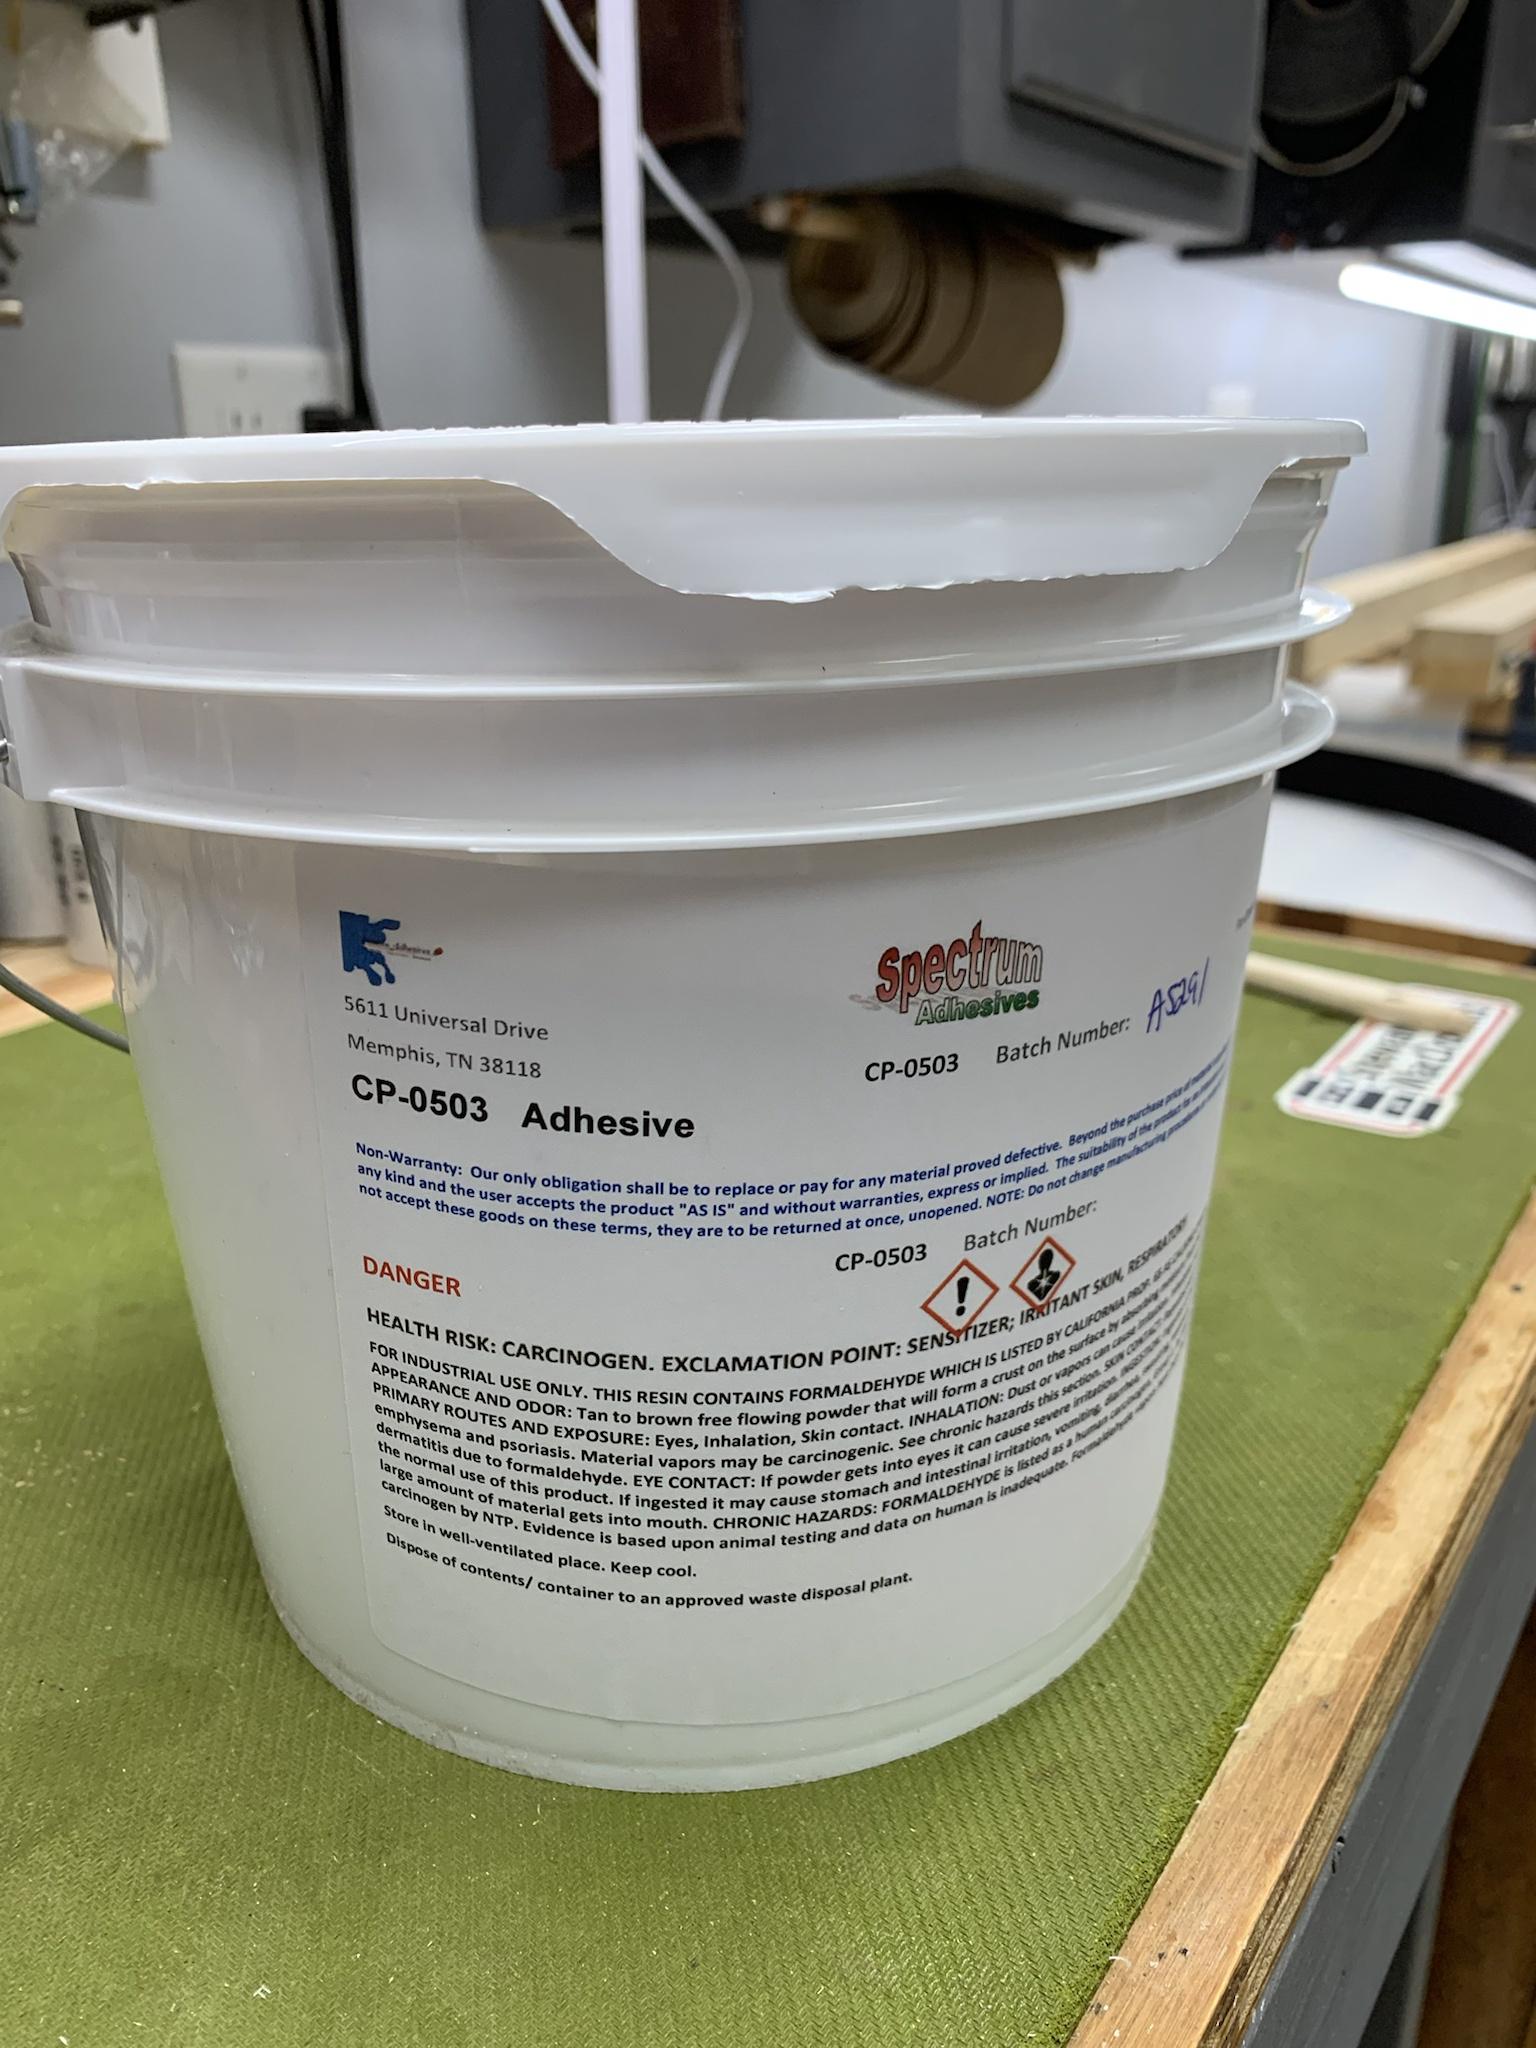
I used to use DAP UF glue, but they stopped producing it. I switched to Cascamite glue, which works well, but tends to be a little harder to work with, insanely expensive and a little lumpy. I finally found a product which is nearly identical to the DAP product made by CP Adhesives. The price is good for a 5lb pail, but the shipping is a little hard to swallow. :D

bq841cS.jpg


Looks yummy.
4KwrV7A.jpg


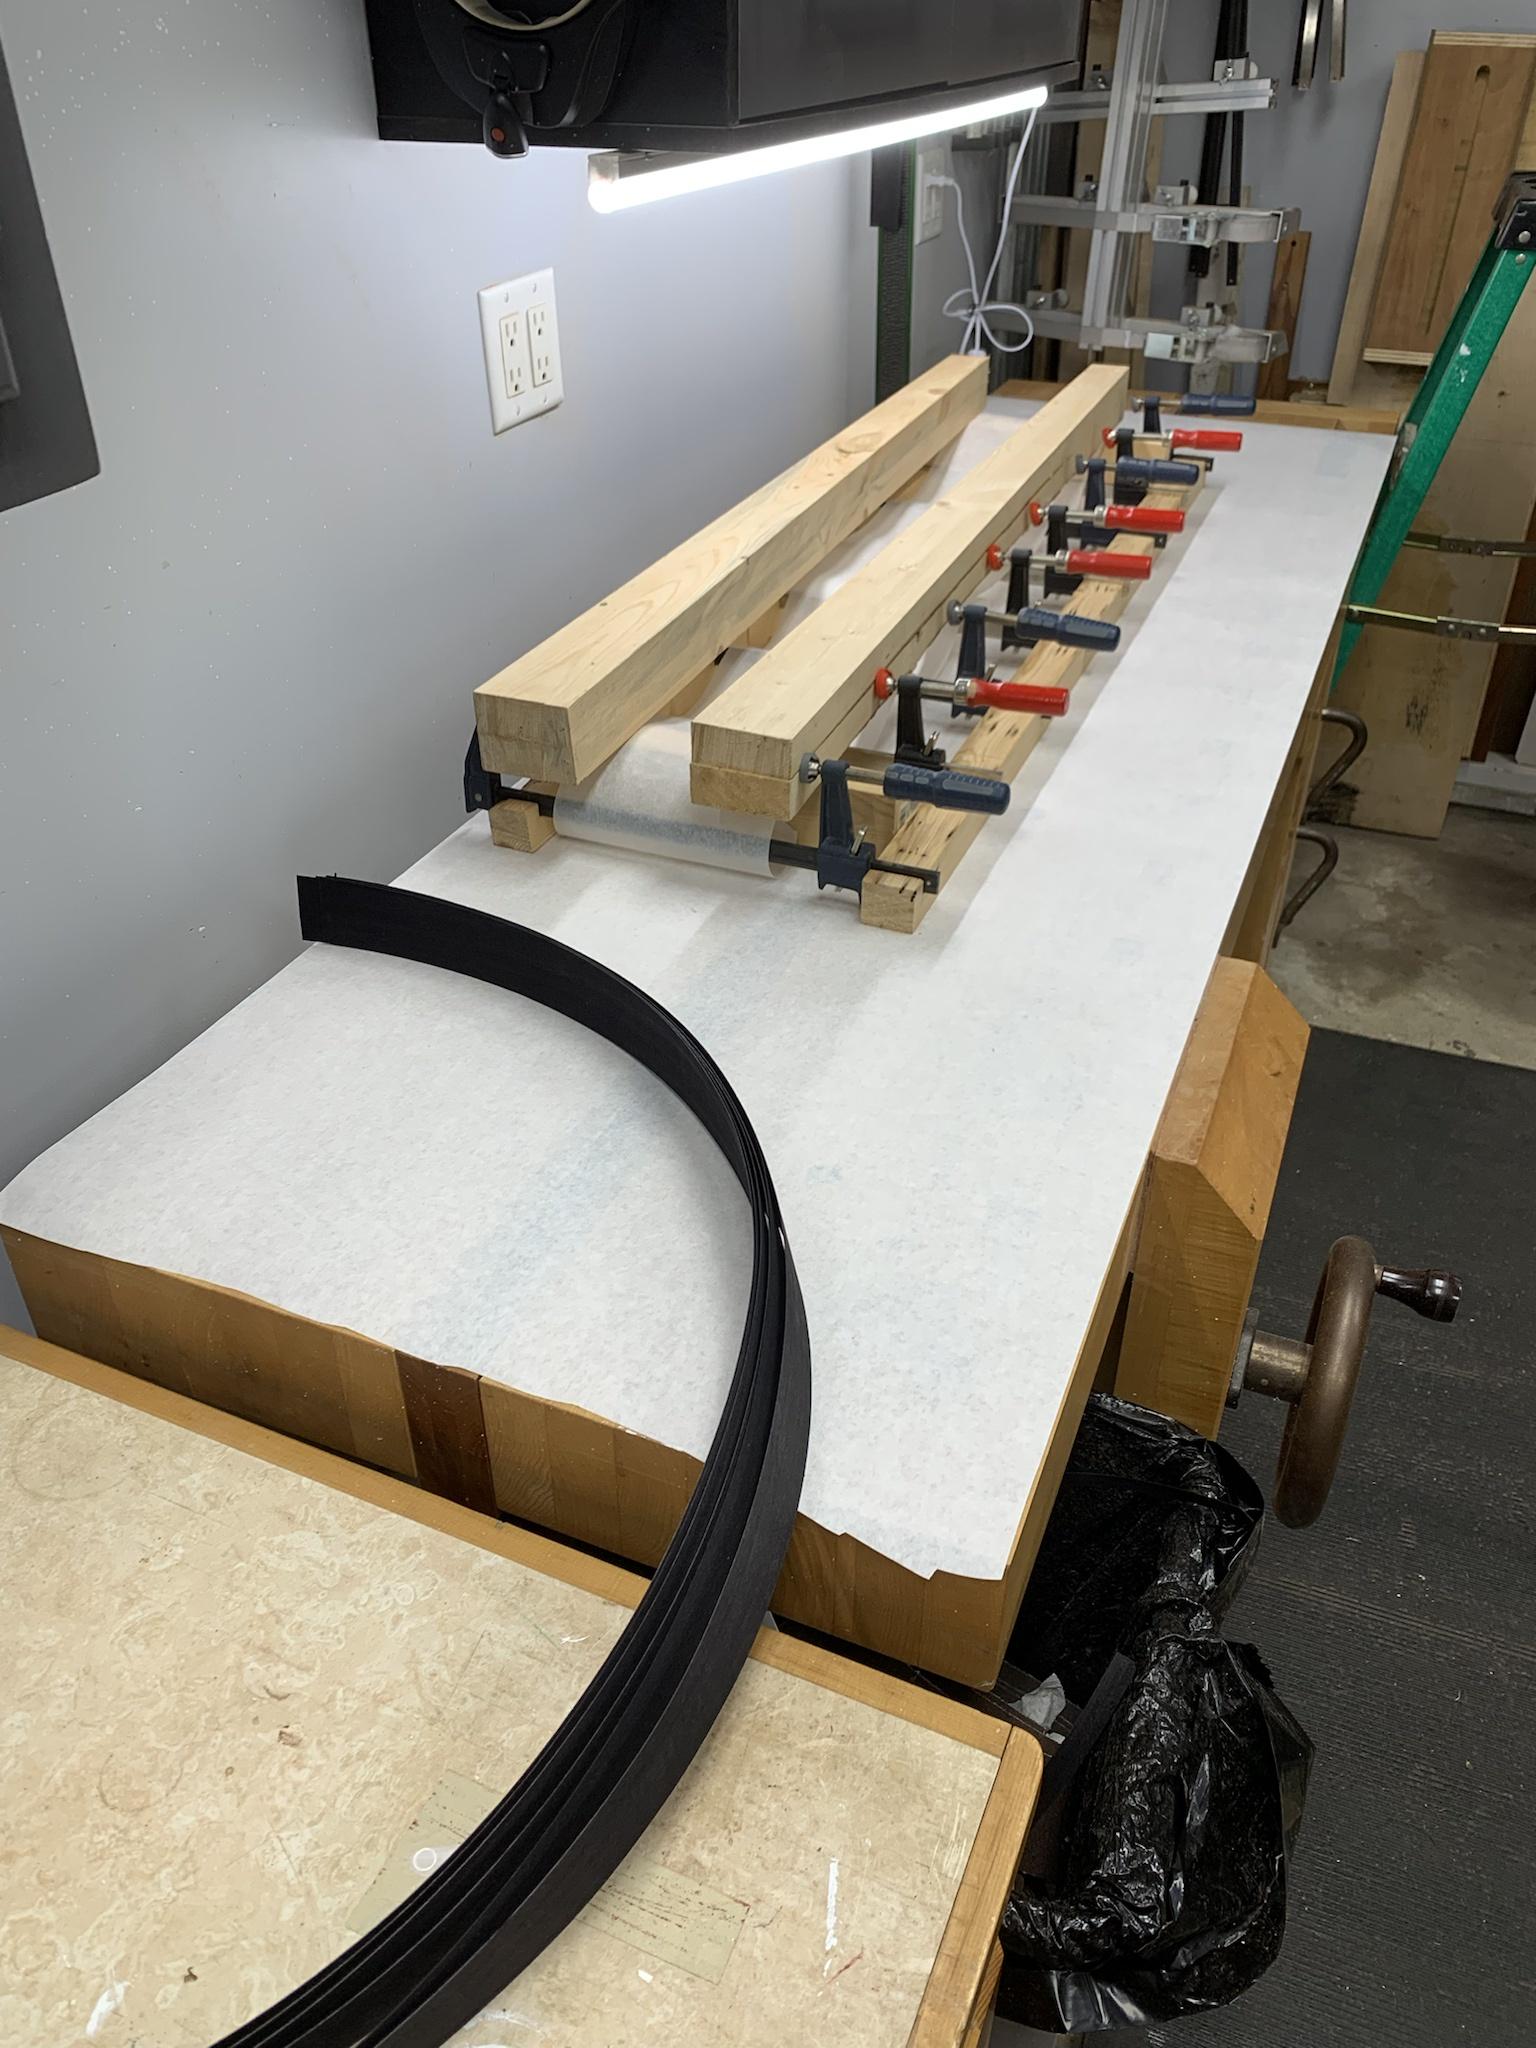
Here is my setup for clamping up tapered neck beams. I have the clamps supported in spacer blocks with a riser block at each end. The riser block supports a pair of tapered cauls. The cauls are heavily waxed on and near the glue surfaces to prevent sticking.

Since the cauls are tapered, it keeps all the clamping pressure parallel and you can really crank those suckers down. This works great, you just have to be sure to start tightening the clamps at the wide end of the beam to prevent things from slipping out. I completely stole this arrangement from Randall Wyn. It's simple and effective.
l0kEqzh.jpg


Here we are after glue-up. The process of gluing this up took nearly 40 minutes.
haRwZh0.jpg


I'll let this assembly dry for a few days before I true it up to allow all the moisture to escape. In the meantime, I'll get started on the wings.

More soon. :)
 
Let me tell you, that's a LOT of gluing and a real challenge to not panic half way through.
Yeah those glue-ups can be brutal. The neck blank for my Ziricote dream was 14-piece, so I know the panic very well. Your setup with tapered cauls looks very good, though:thumbsup:. Did you use any pins for alignment at either end or did you just align it by hand and clamped it? I don't know how slippery the CP Adhesives stuff is.
 
  • Like
Reactions: Gary_M
Yeah those glue-ups can be brutal. The neck blank for my Ziricote dream was 14-piece, so I know the panic very well. Your setup with tapered cauls looks very good, though:thumbsup:. Did you use any pins for alignment at either end or did you just align it by hand and clamped it? I don't know how slippery the CP Adhesives stuff is.

I didn't use any pins, although there is room at each end to do so. One thing that I did a little differently this time was to stack the pieces together on their side while applying glue (instead of applying glue and moving each piece directly to the risers).

Once the whole pile was stacked together, I just flipped it upright and transferred it onto the risers. From there I was able to slip things around a bit for final positioning before tightening the clamps.

UF glue has a nice tack and isn't too slippery if it's mixed properly, plus if your pieces are machined well, they tend to want to stick together on their own... so less sliding around than you would expect, I guess. :D
 
Today I removed the neck beam assembly from the clamps. It looks good, but needs to sit for a few days before I process it further.

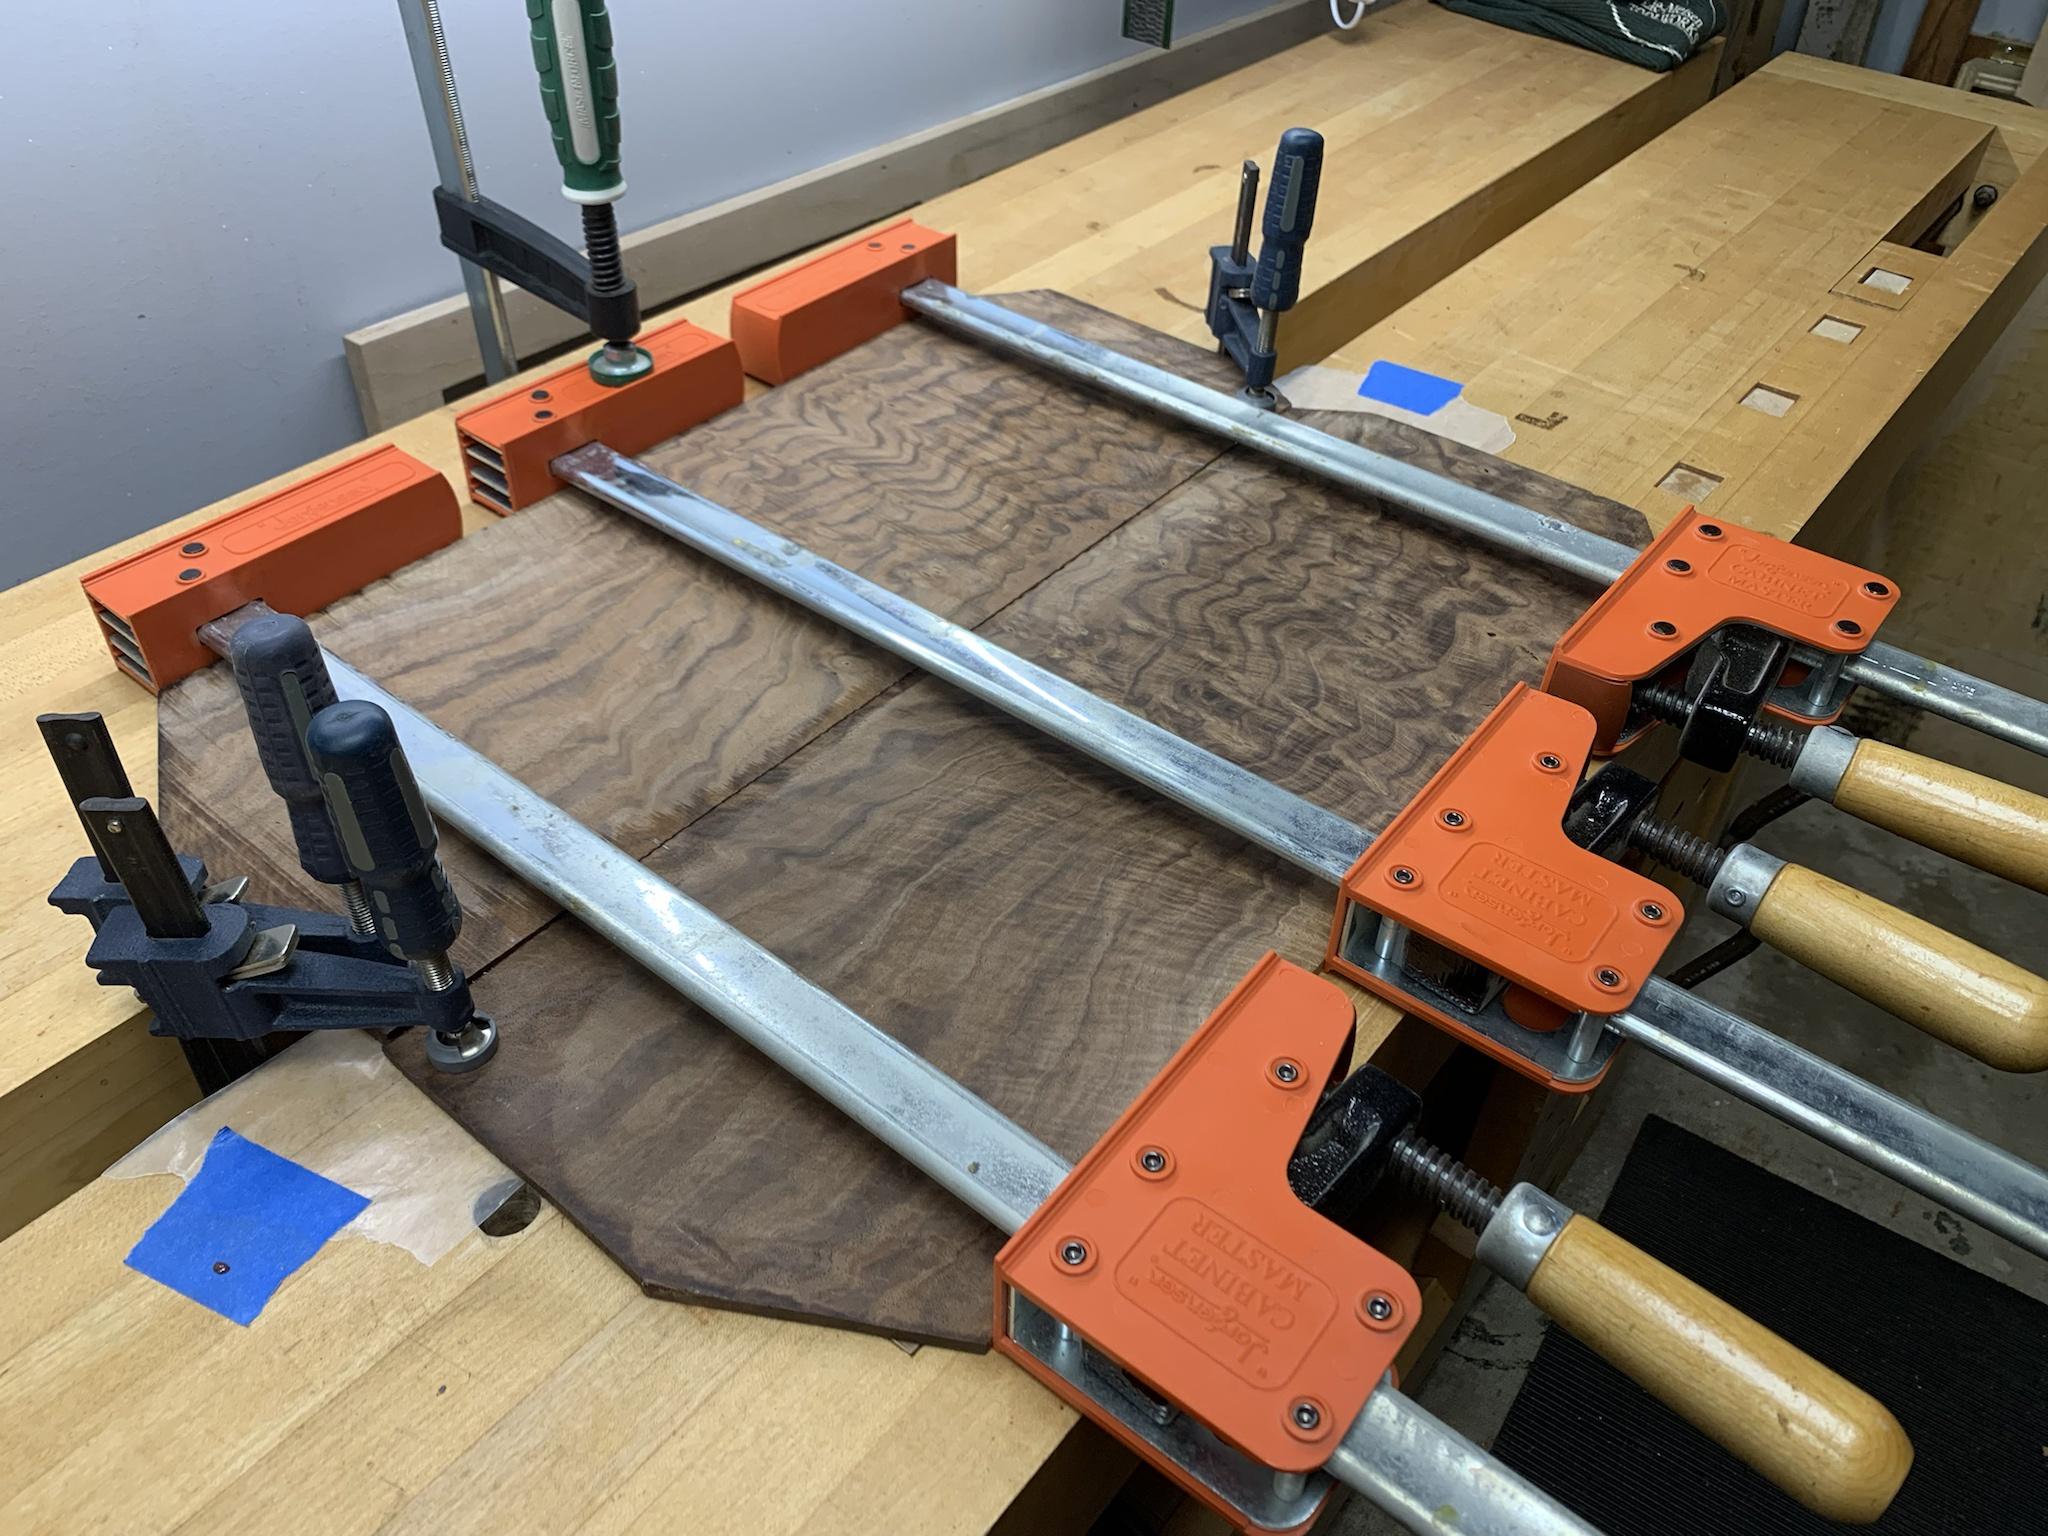
In the meantime, I got started on the top. I jointed the center seam and got it glued up.

pA5jB9h.jpg


Yeah, those are big parallel clamps, but I don't use much pressure at all. Just finger tight. They are great at keeping very even pressure across the glue-up.
GiE3dNo.jpg