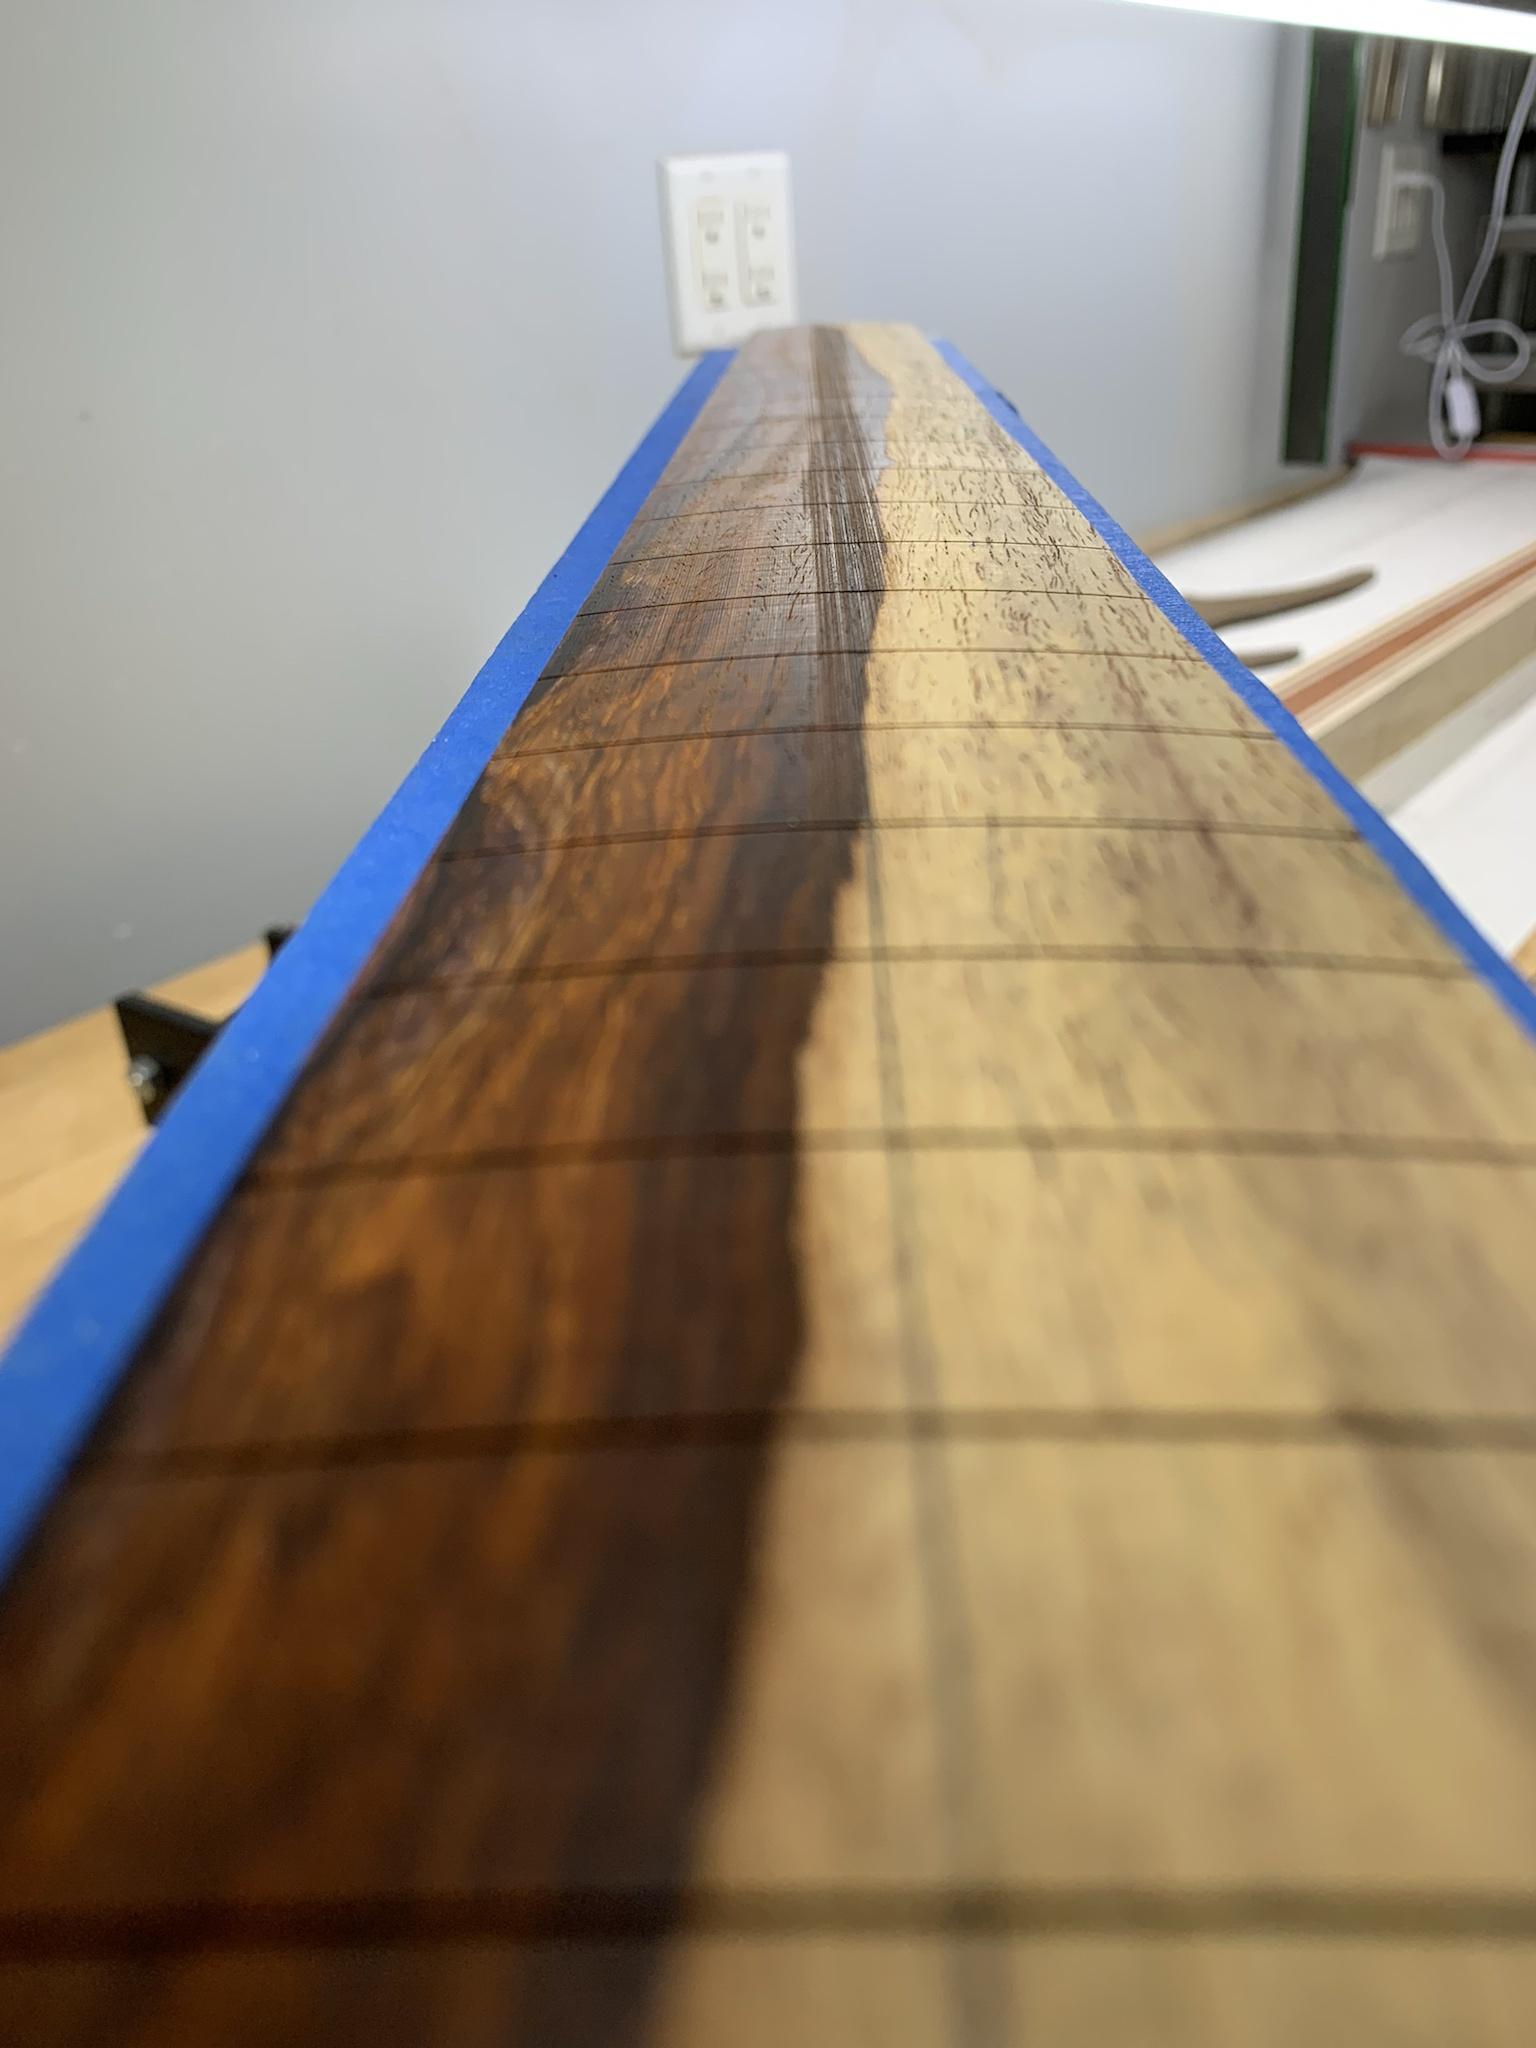
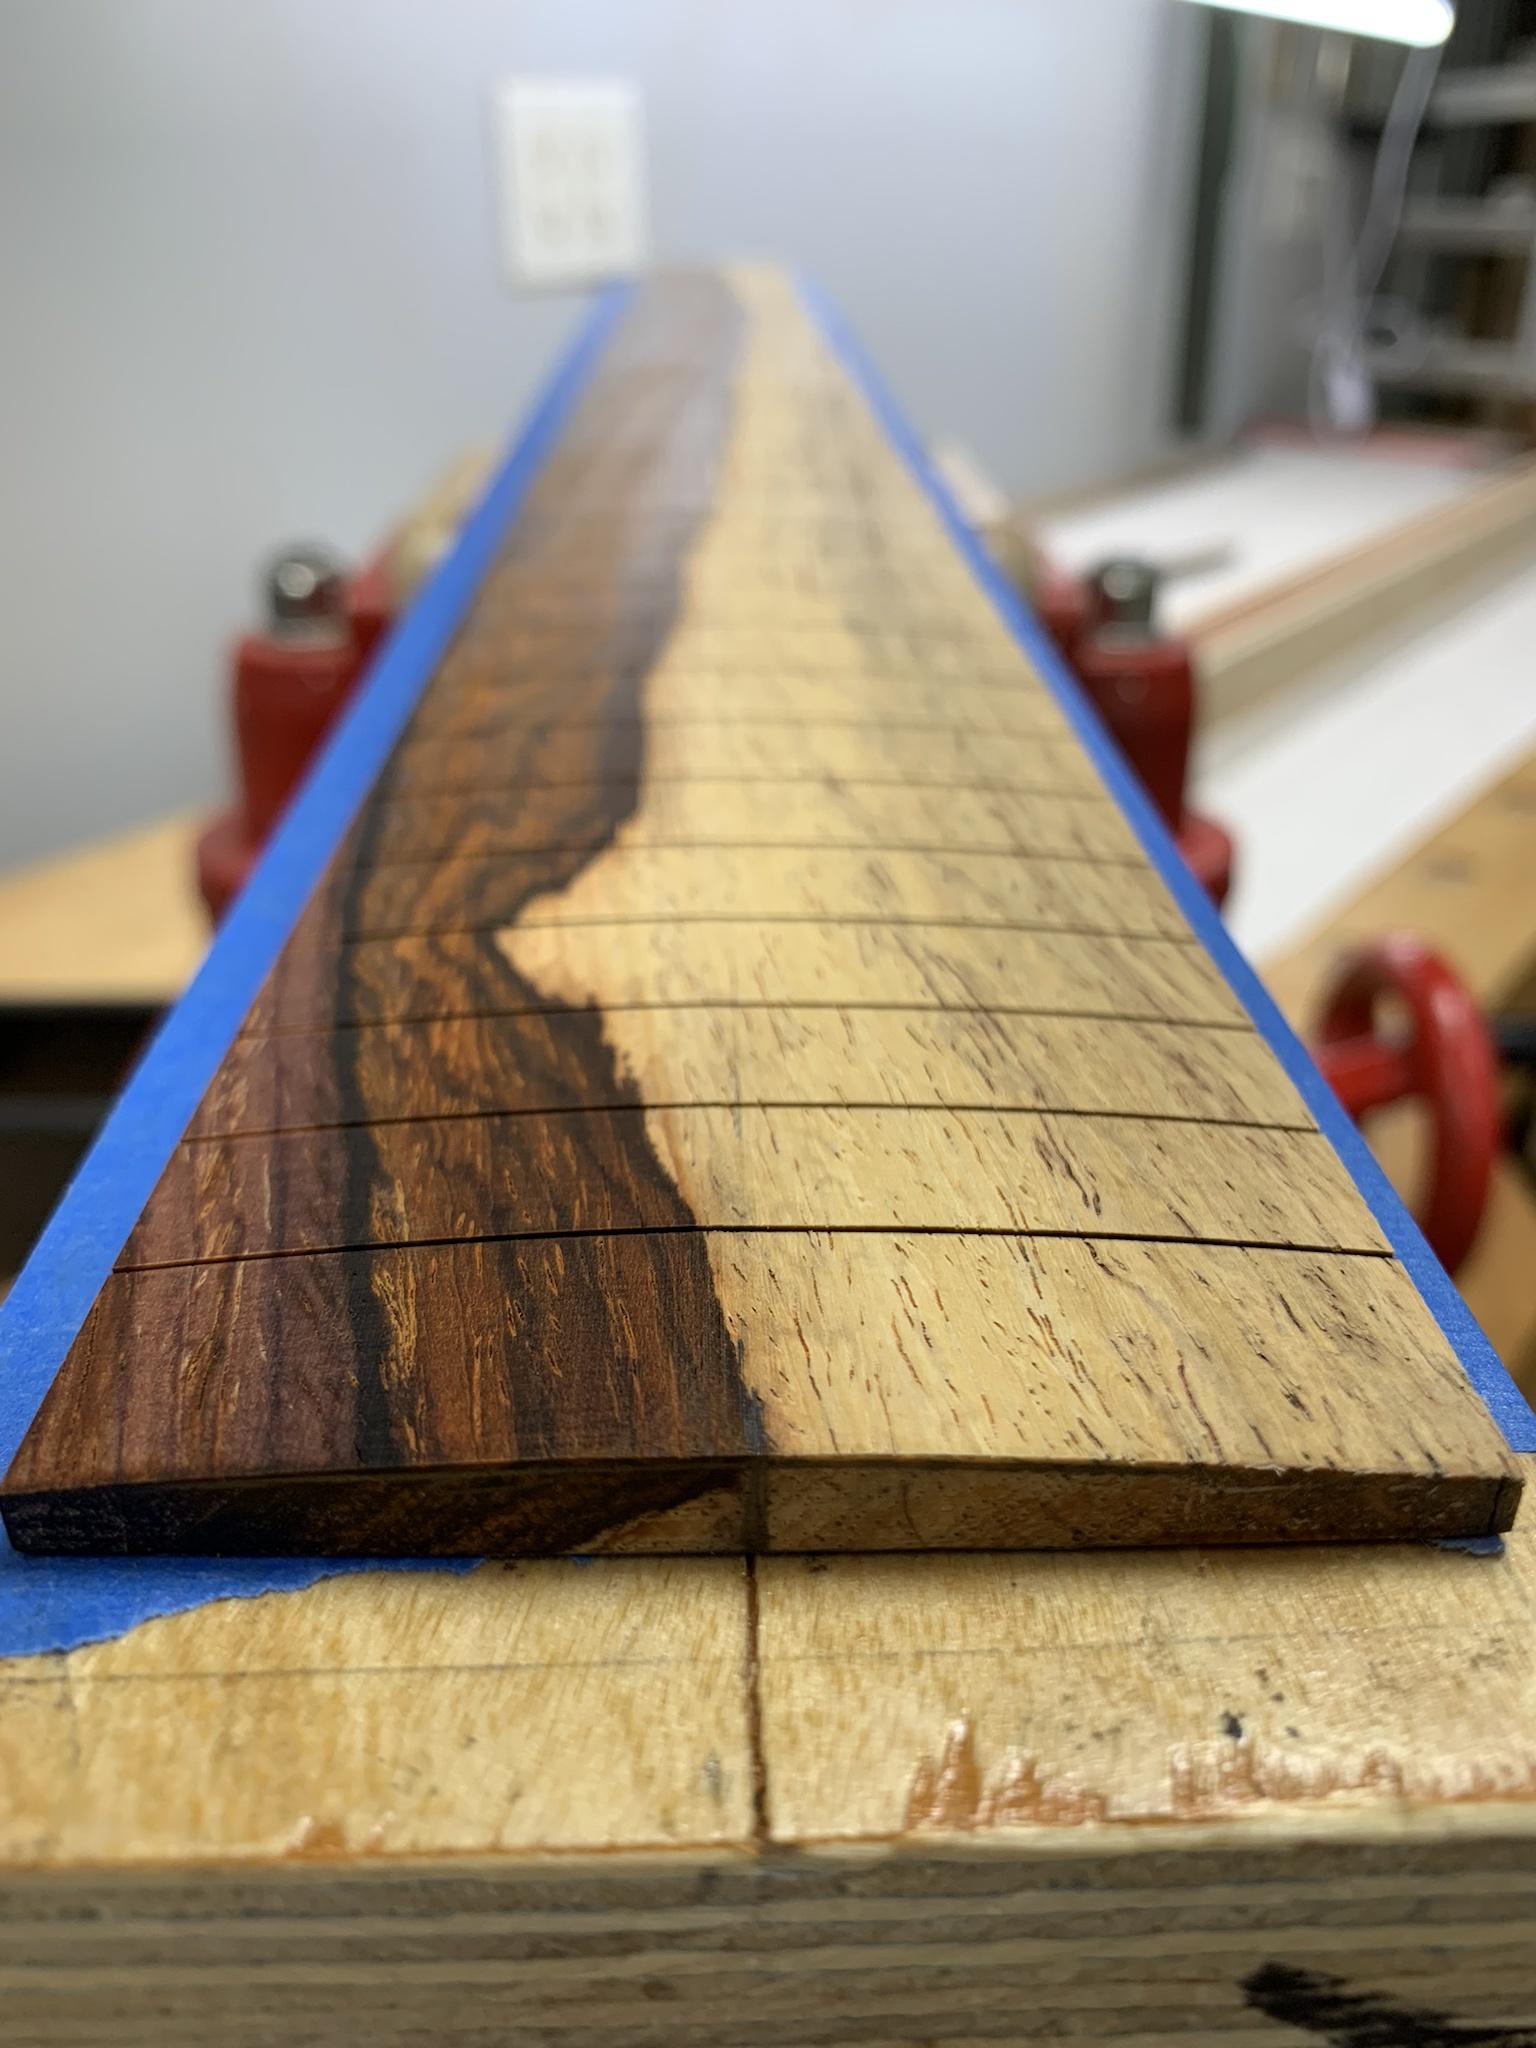
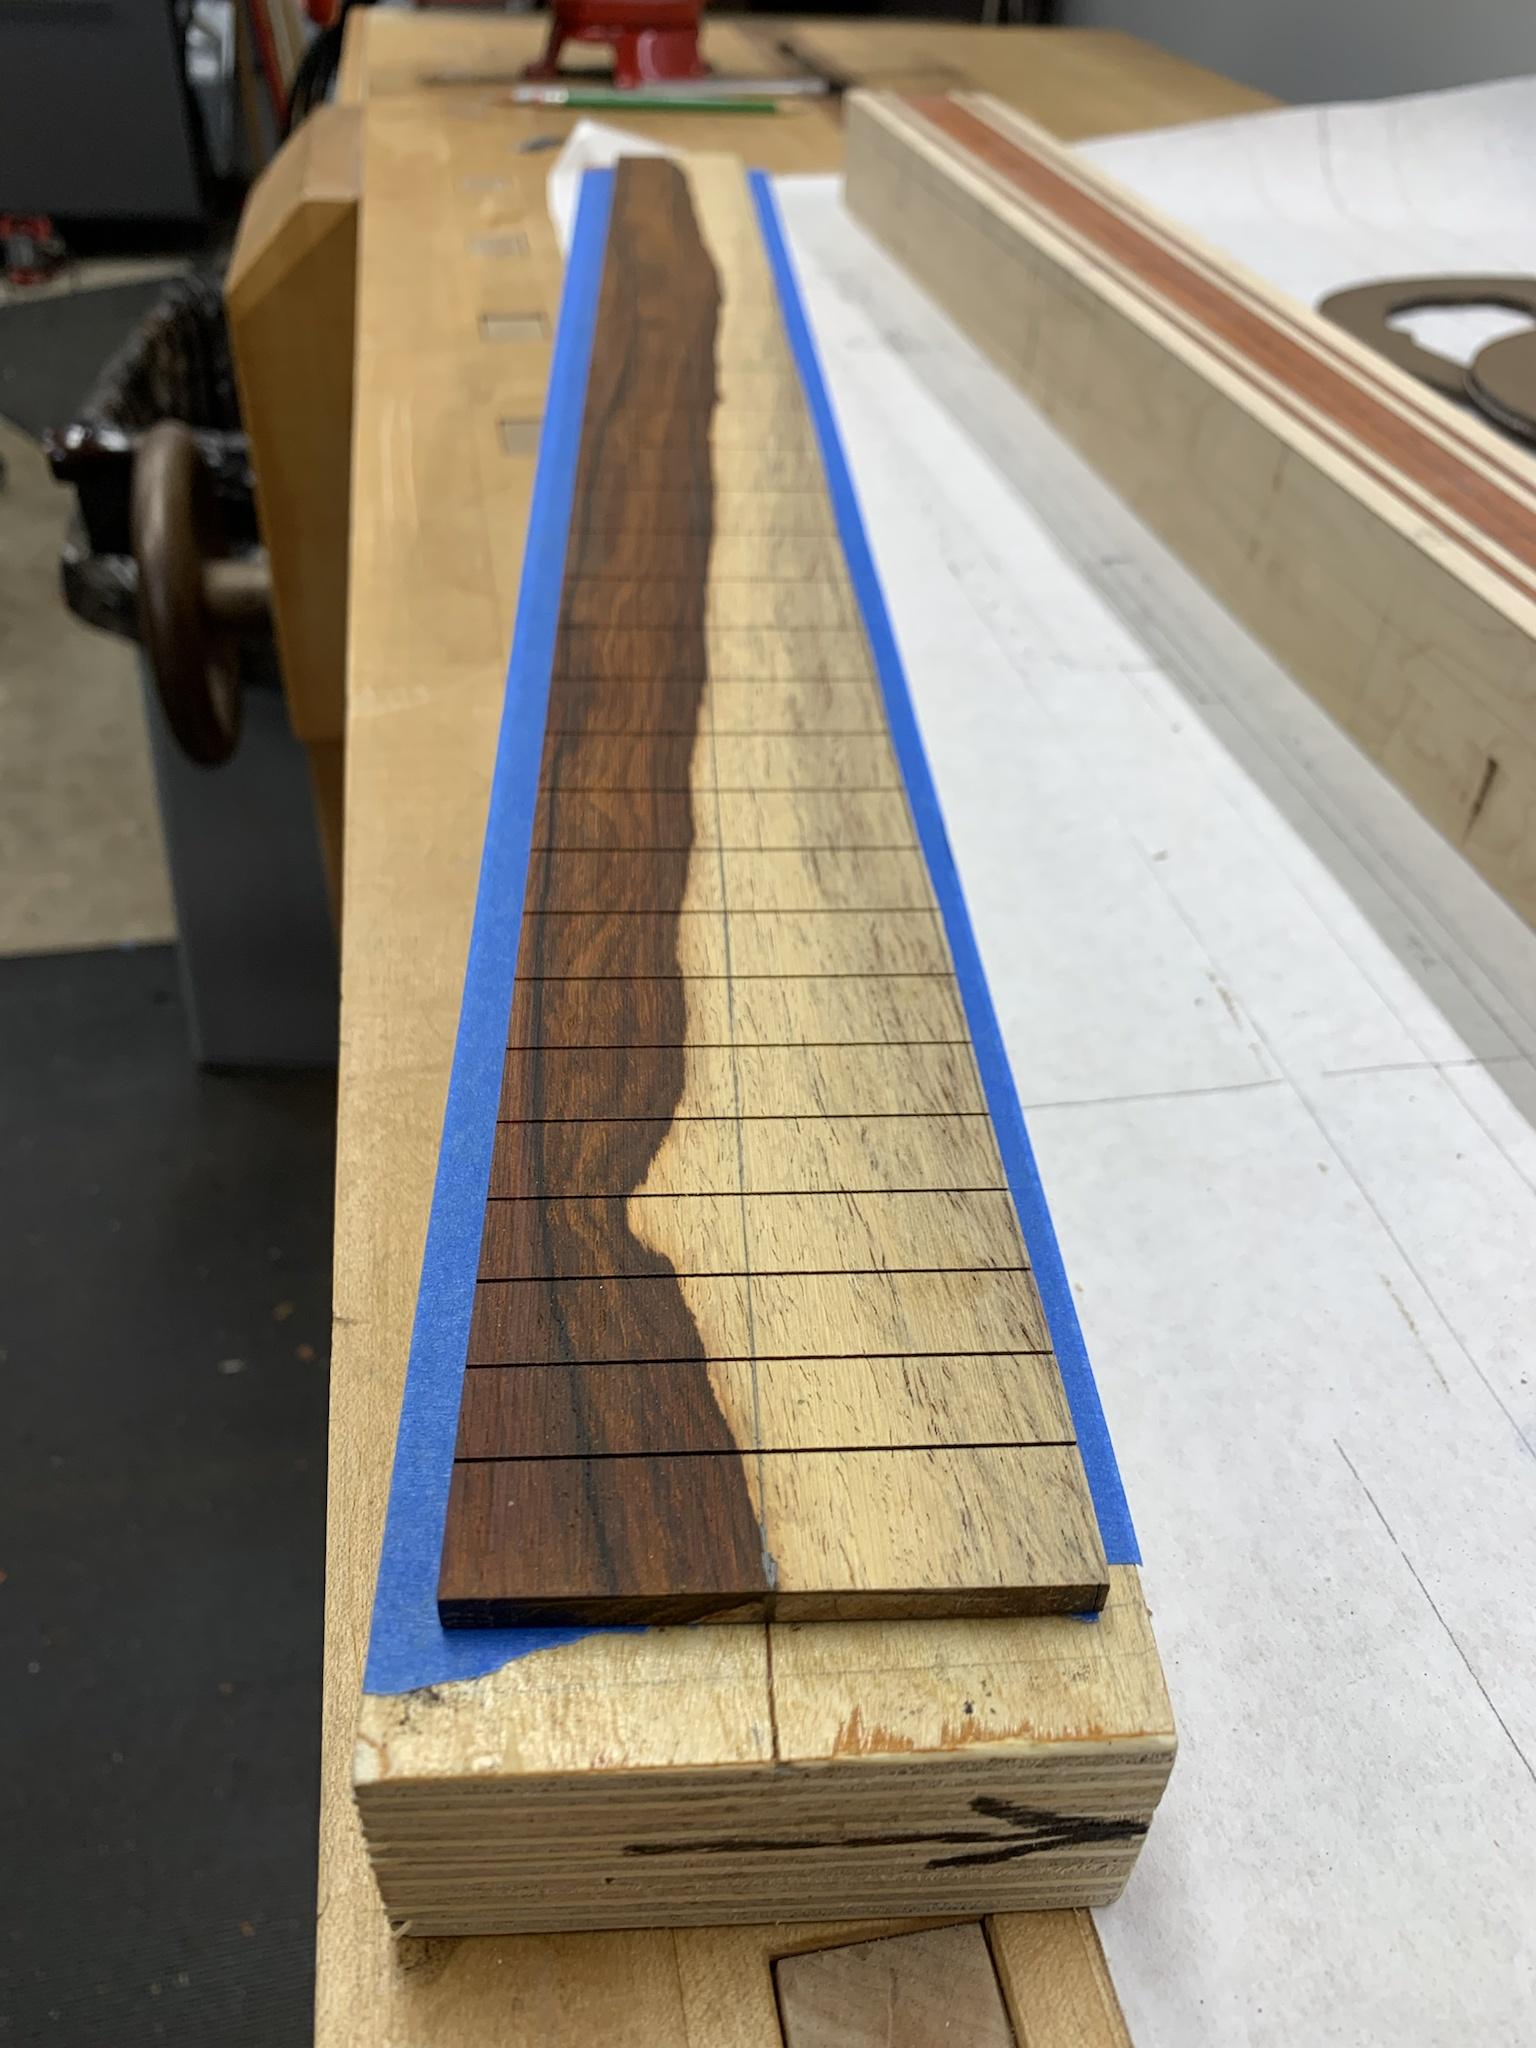
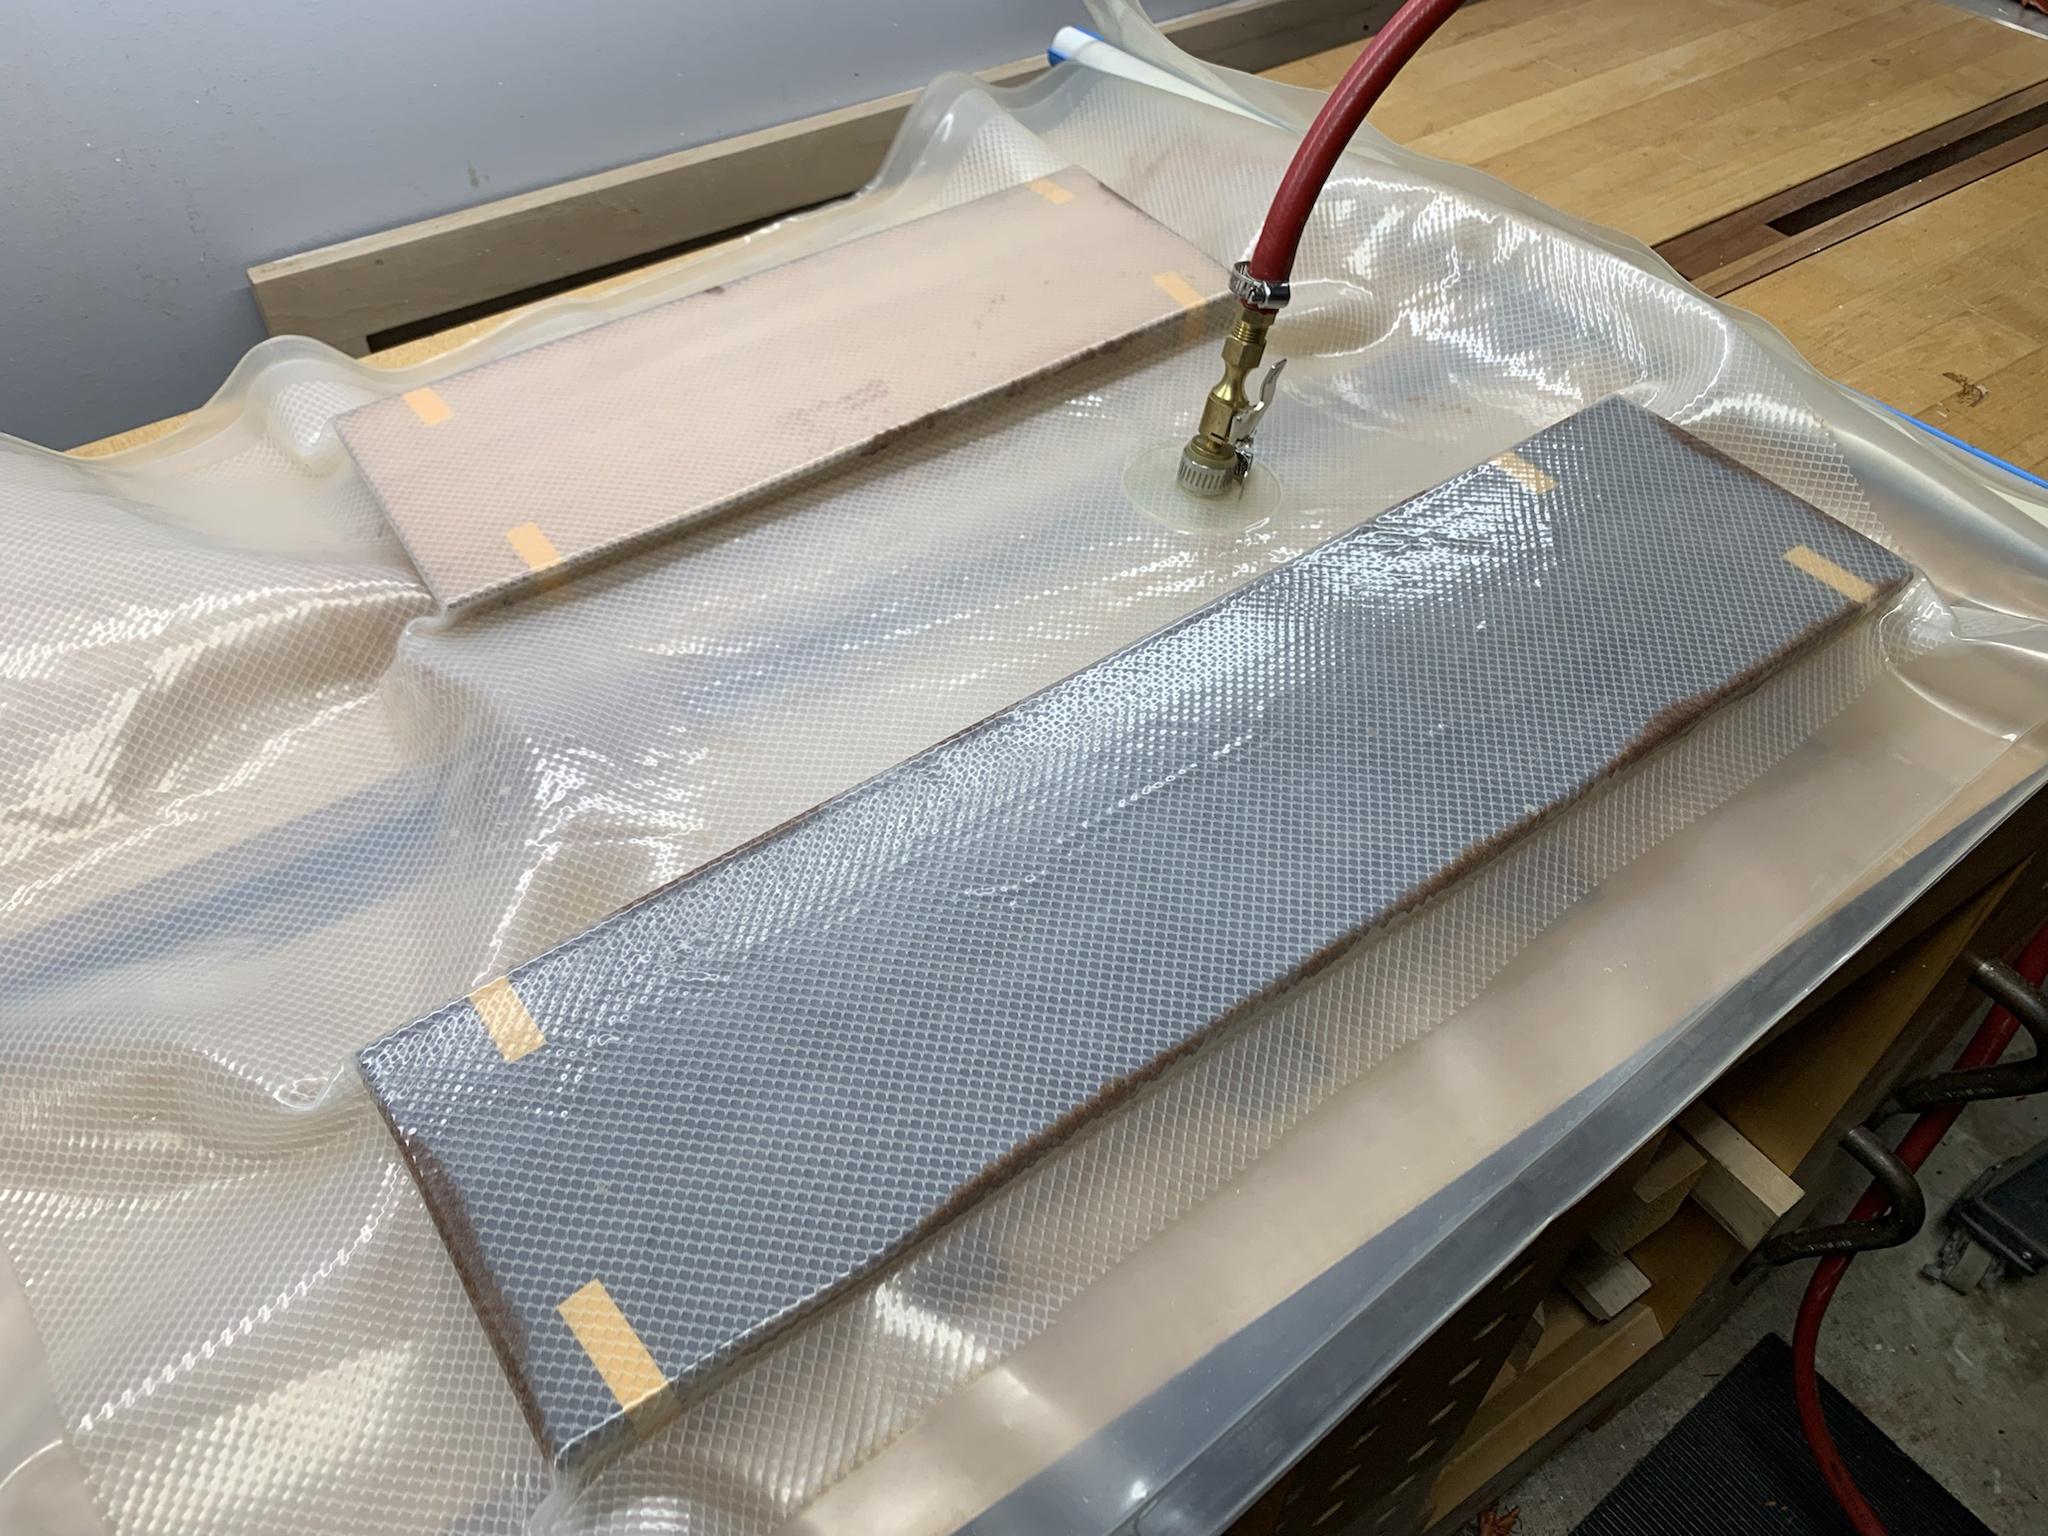
A little more progress to report.
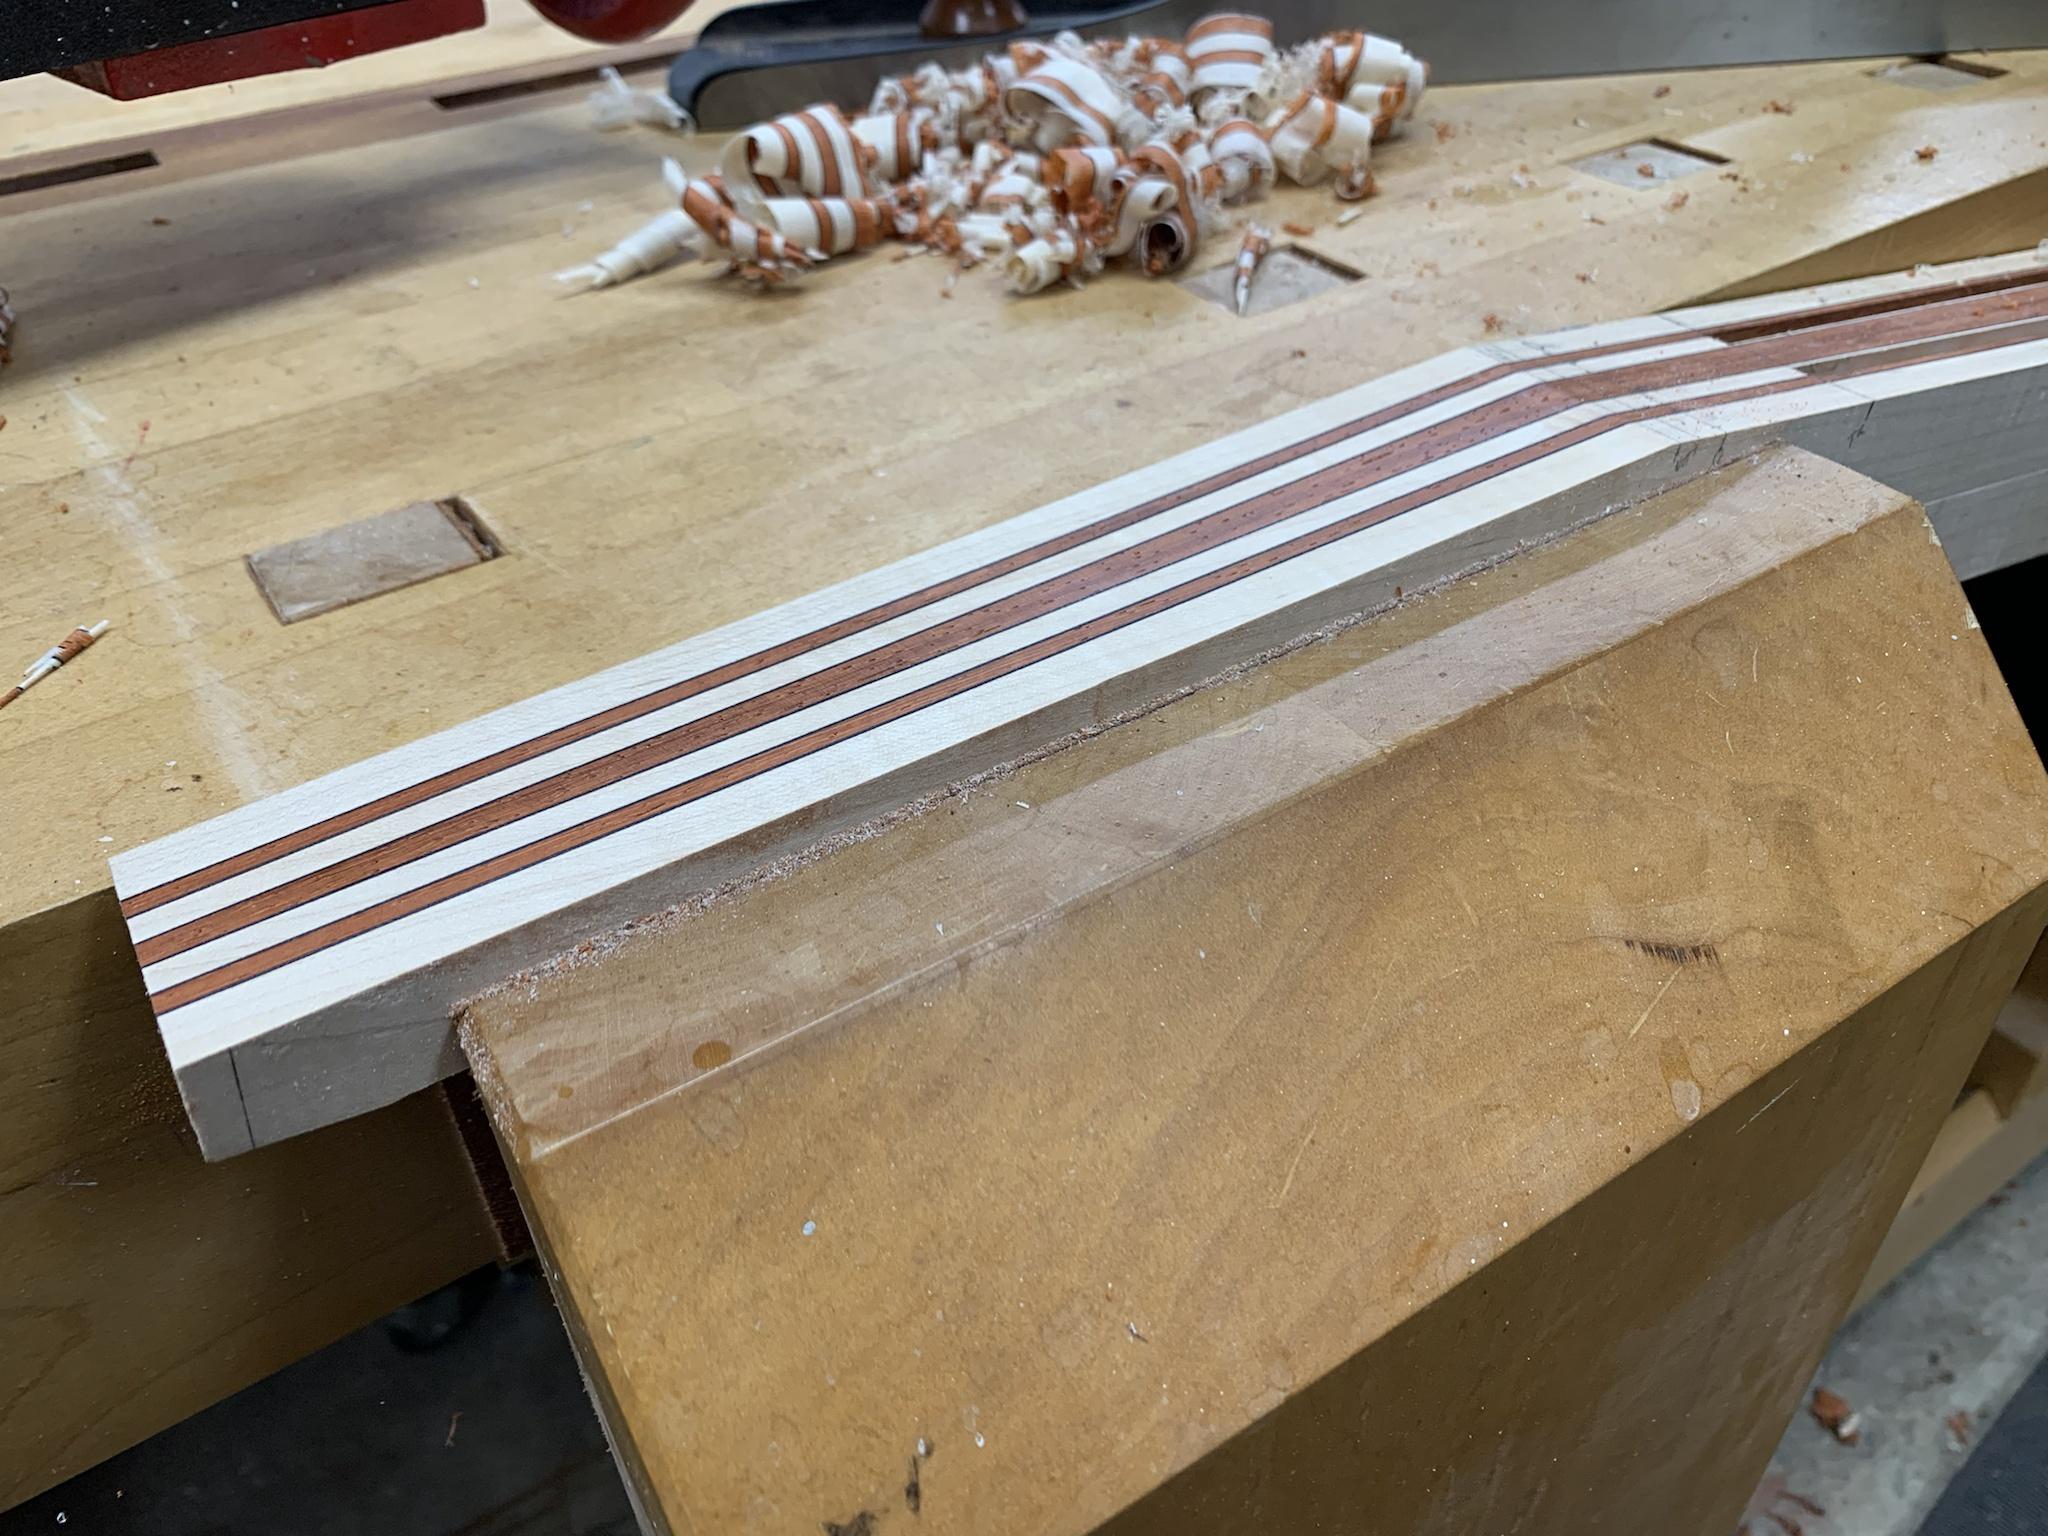
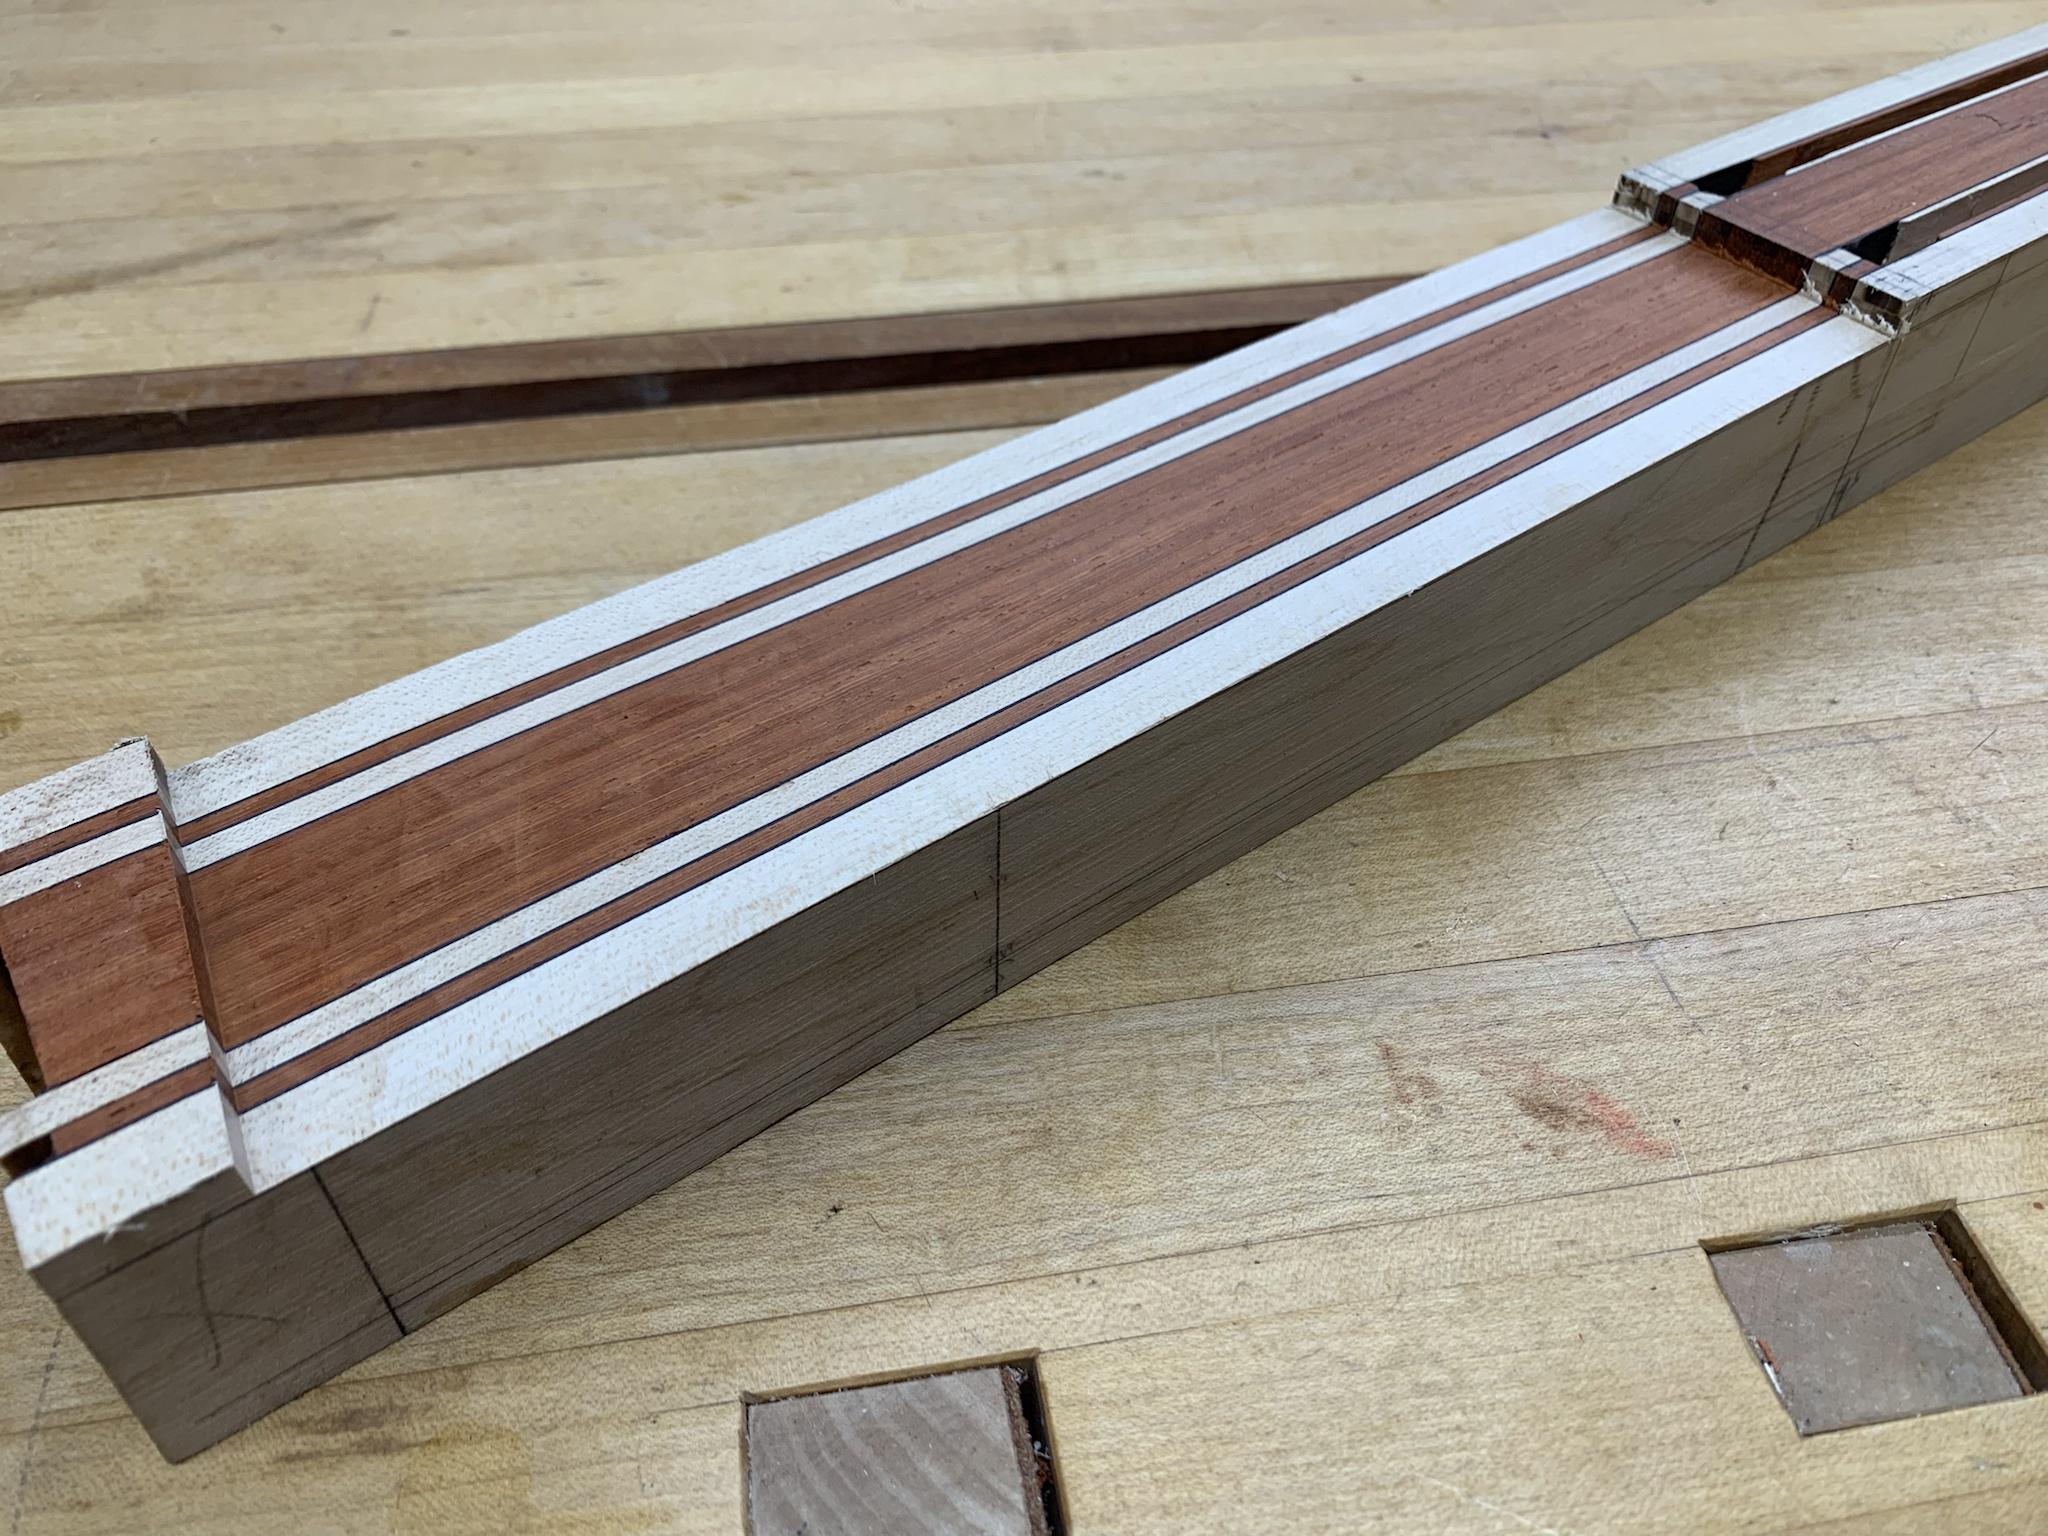
I cut the headstock angle from the blank and cleaned up the top face. Of course this will still need some wings attached. I'm still finalizing the headstock shape... having that many tuners limits the options a bit.

This is the step that is always a little scary for me. Calculating the amount to route away to allow for the drop top, the neck angle, as well as a little extra "wing" angle. The wing angle accounts for the point (closest to the nut) at which the longest body wing meets the neck (usually on the bass side of the neck). This allows for a small angle that falls away toward the end of the fretboard. If you forget this, your drop top can end up covering part of the edge of the fretboard and you will need to do some creative carving to correct this. Ask me how I know.

I should make a good drawing of this at some point, but let's just say this is all pretty fiddly for me and I often find that I've miscalculated only to correct myself at the last moment.

Normally, I can calculate the additional amount of "drop" needed at the scale line to accommodate the bridge height. (By the way, by "drop" I mean how much lower from the original "top" of the neck beam) But in this case, I'm
not going to allow the full amount. The bridge is a full 19mm tall. I'd have a ridiculous amount of neck angle and the strings would be a mile off the body. So, this one will be a compromise. I'll account for a normal neck angle and then recess the bridge into the top of the body to arrive at what I hope is a happy medium.
If anyone was able to follow that narrative, you deserve an award. OK, on with more pictures; which, in the end, are fairly boring.
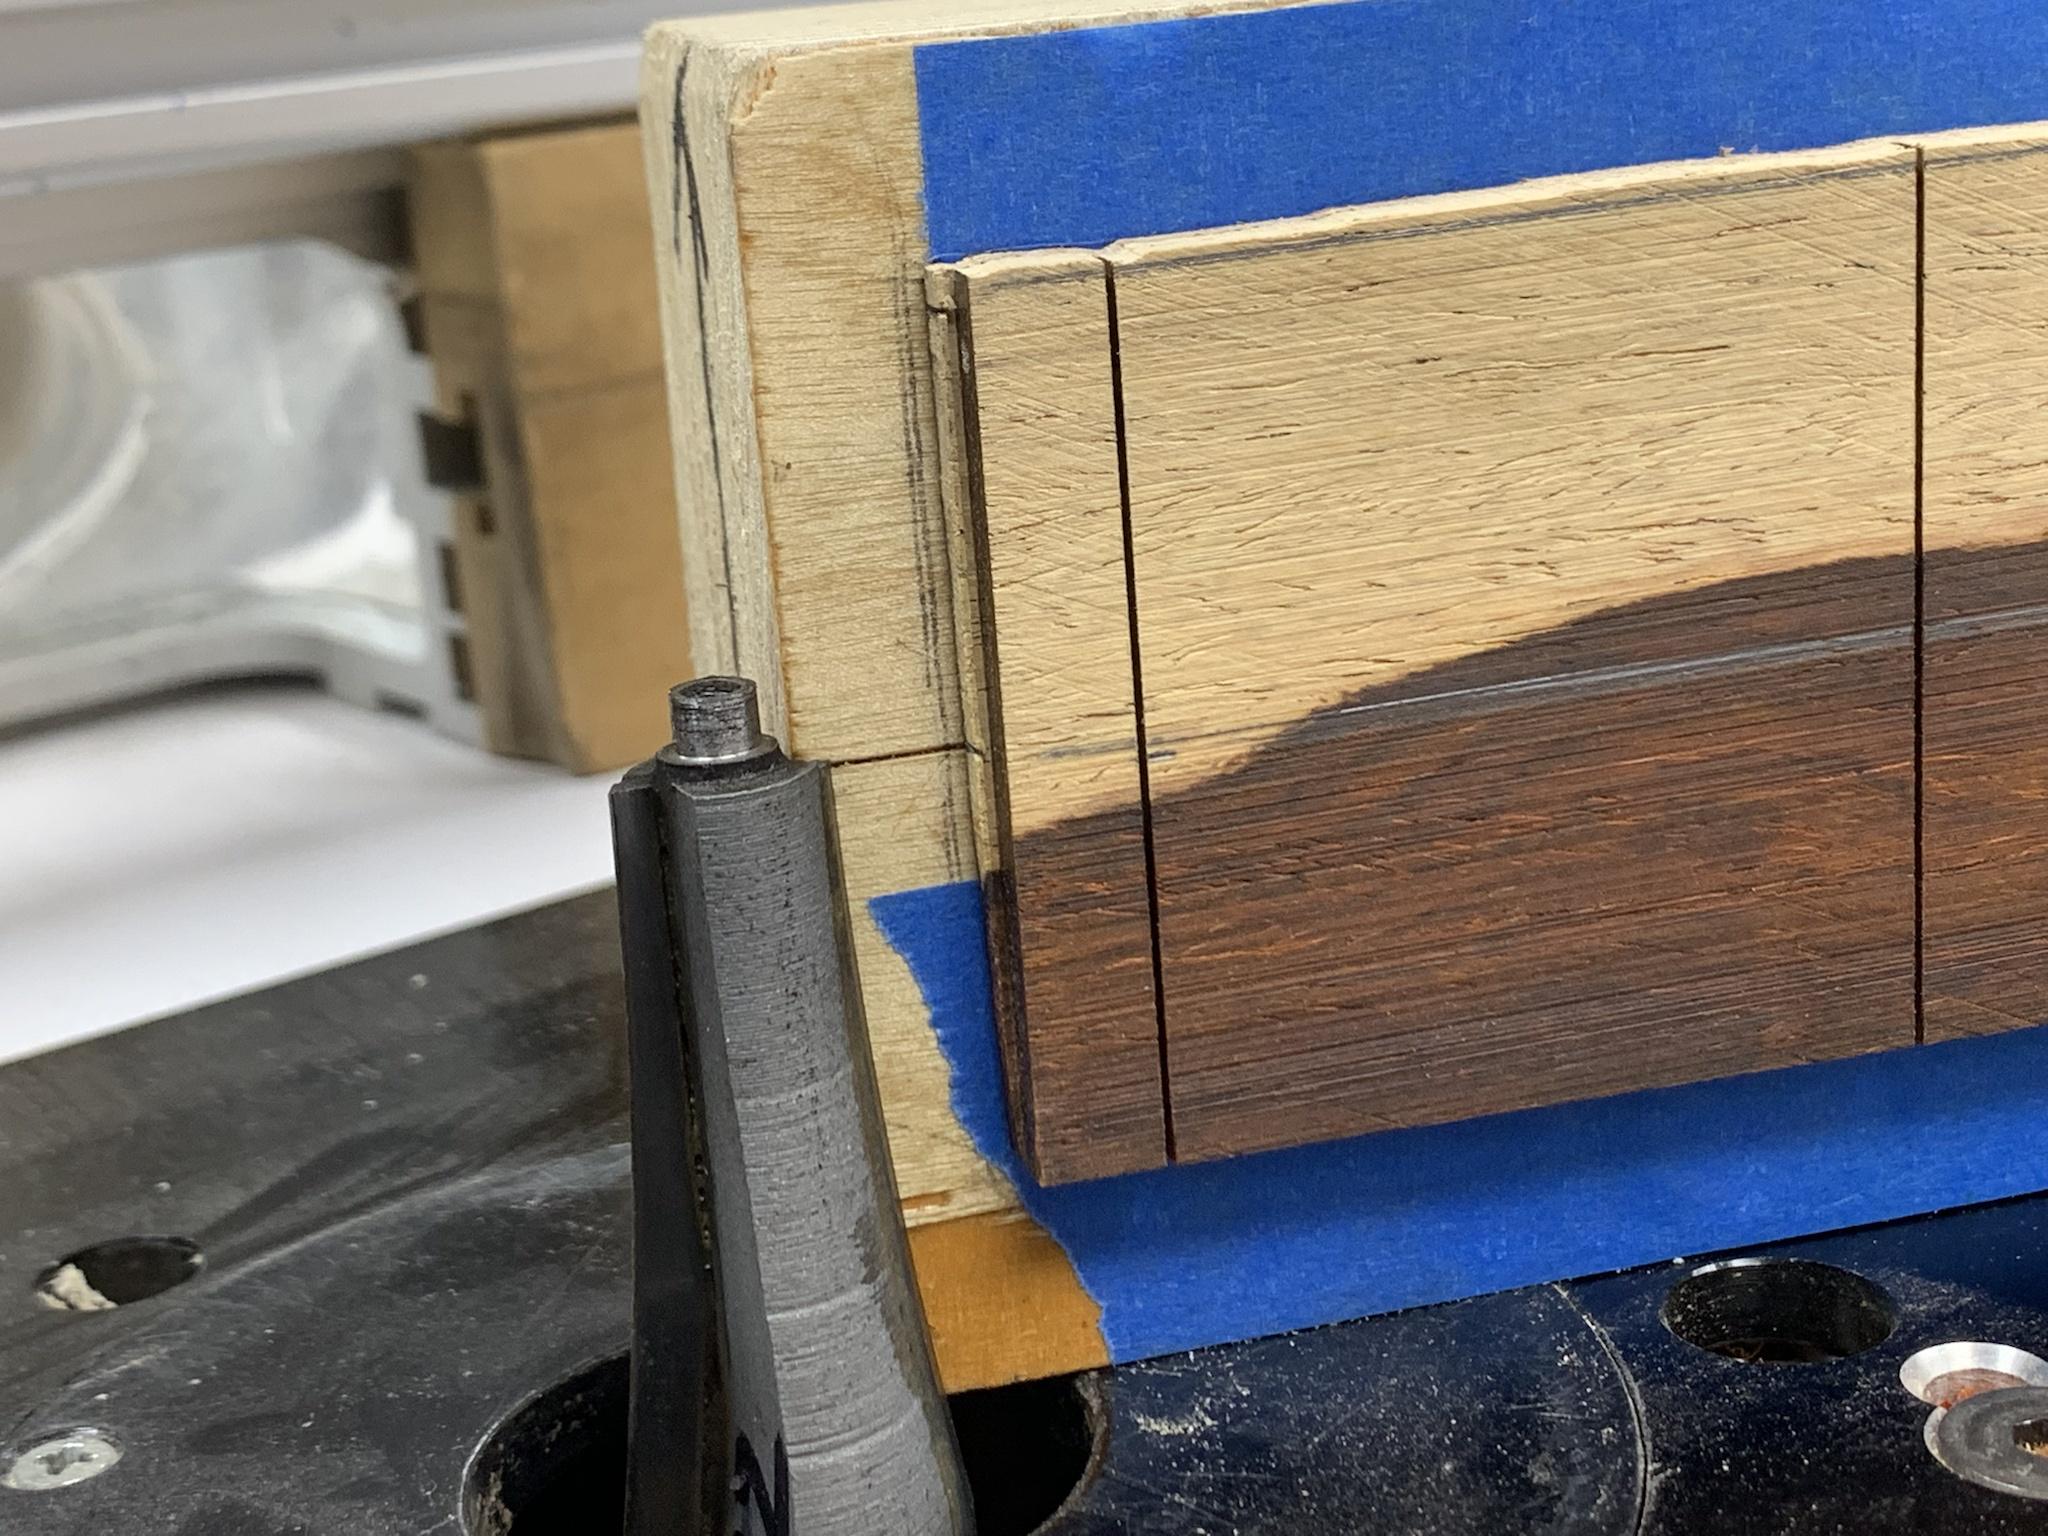
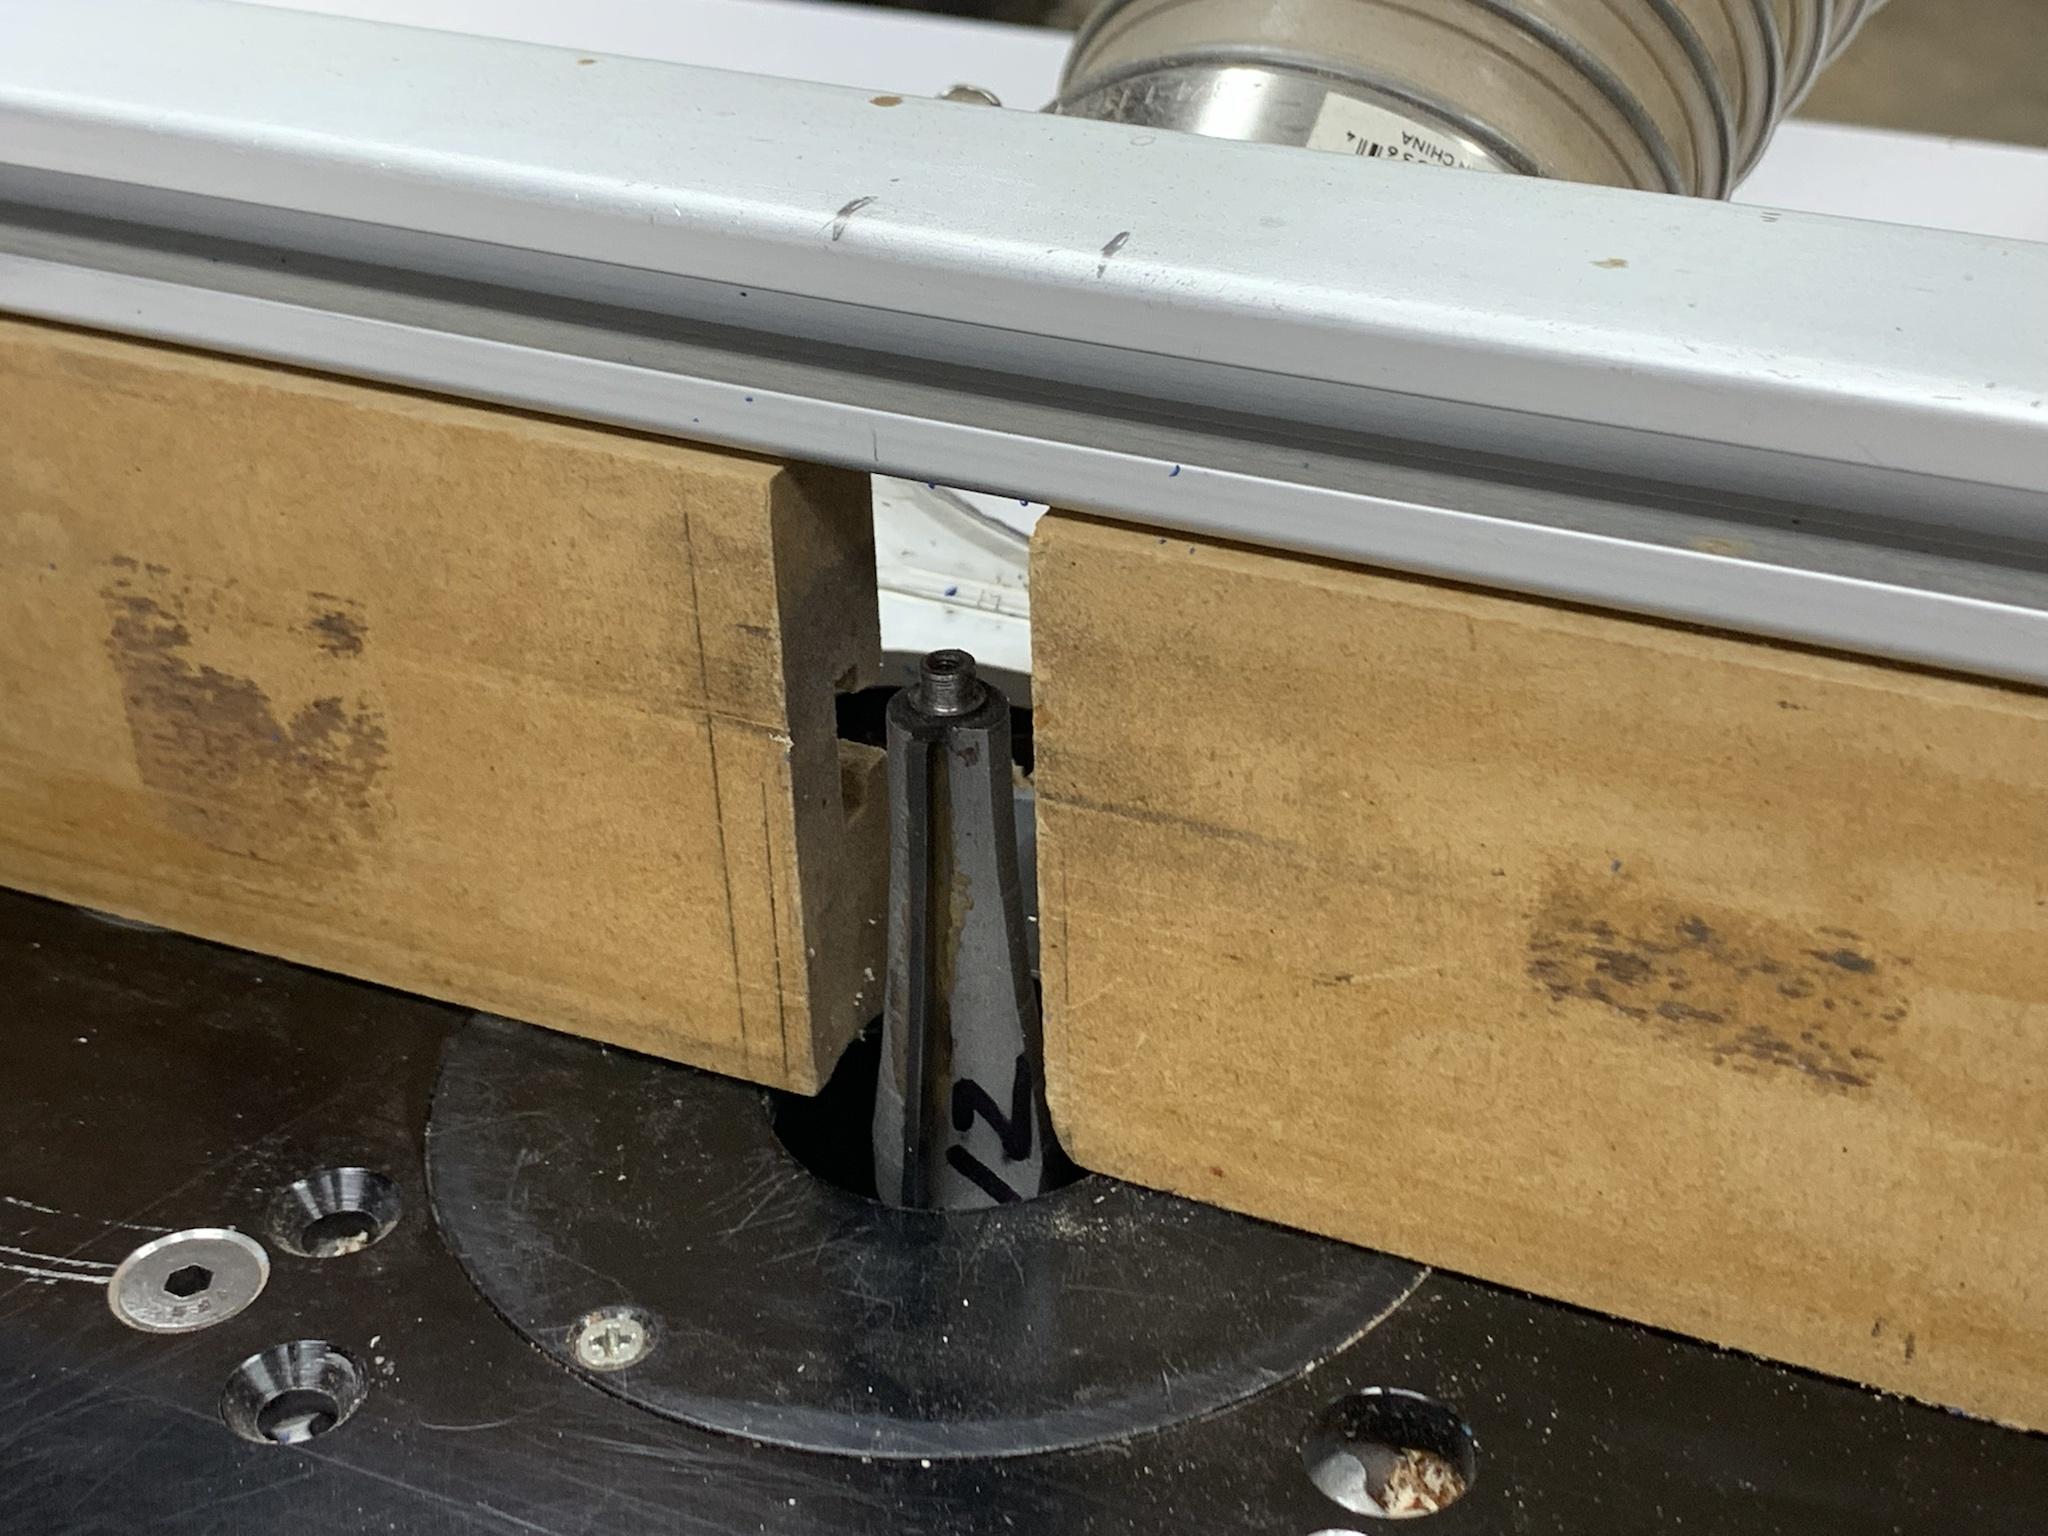
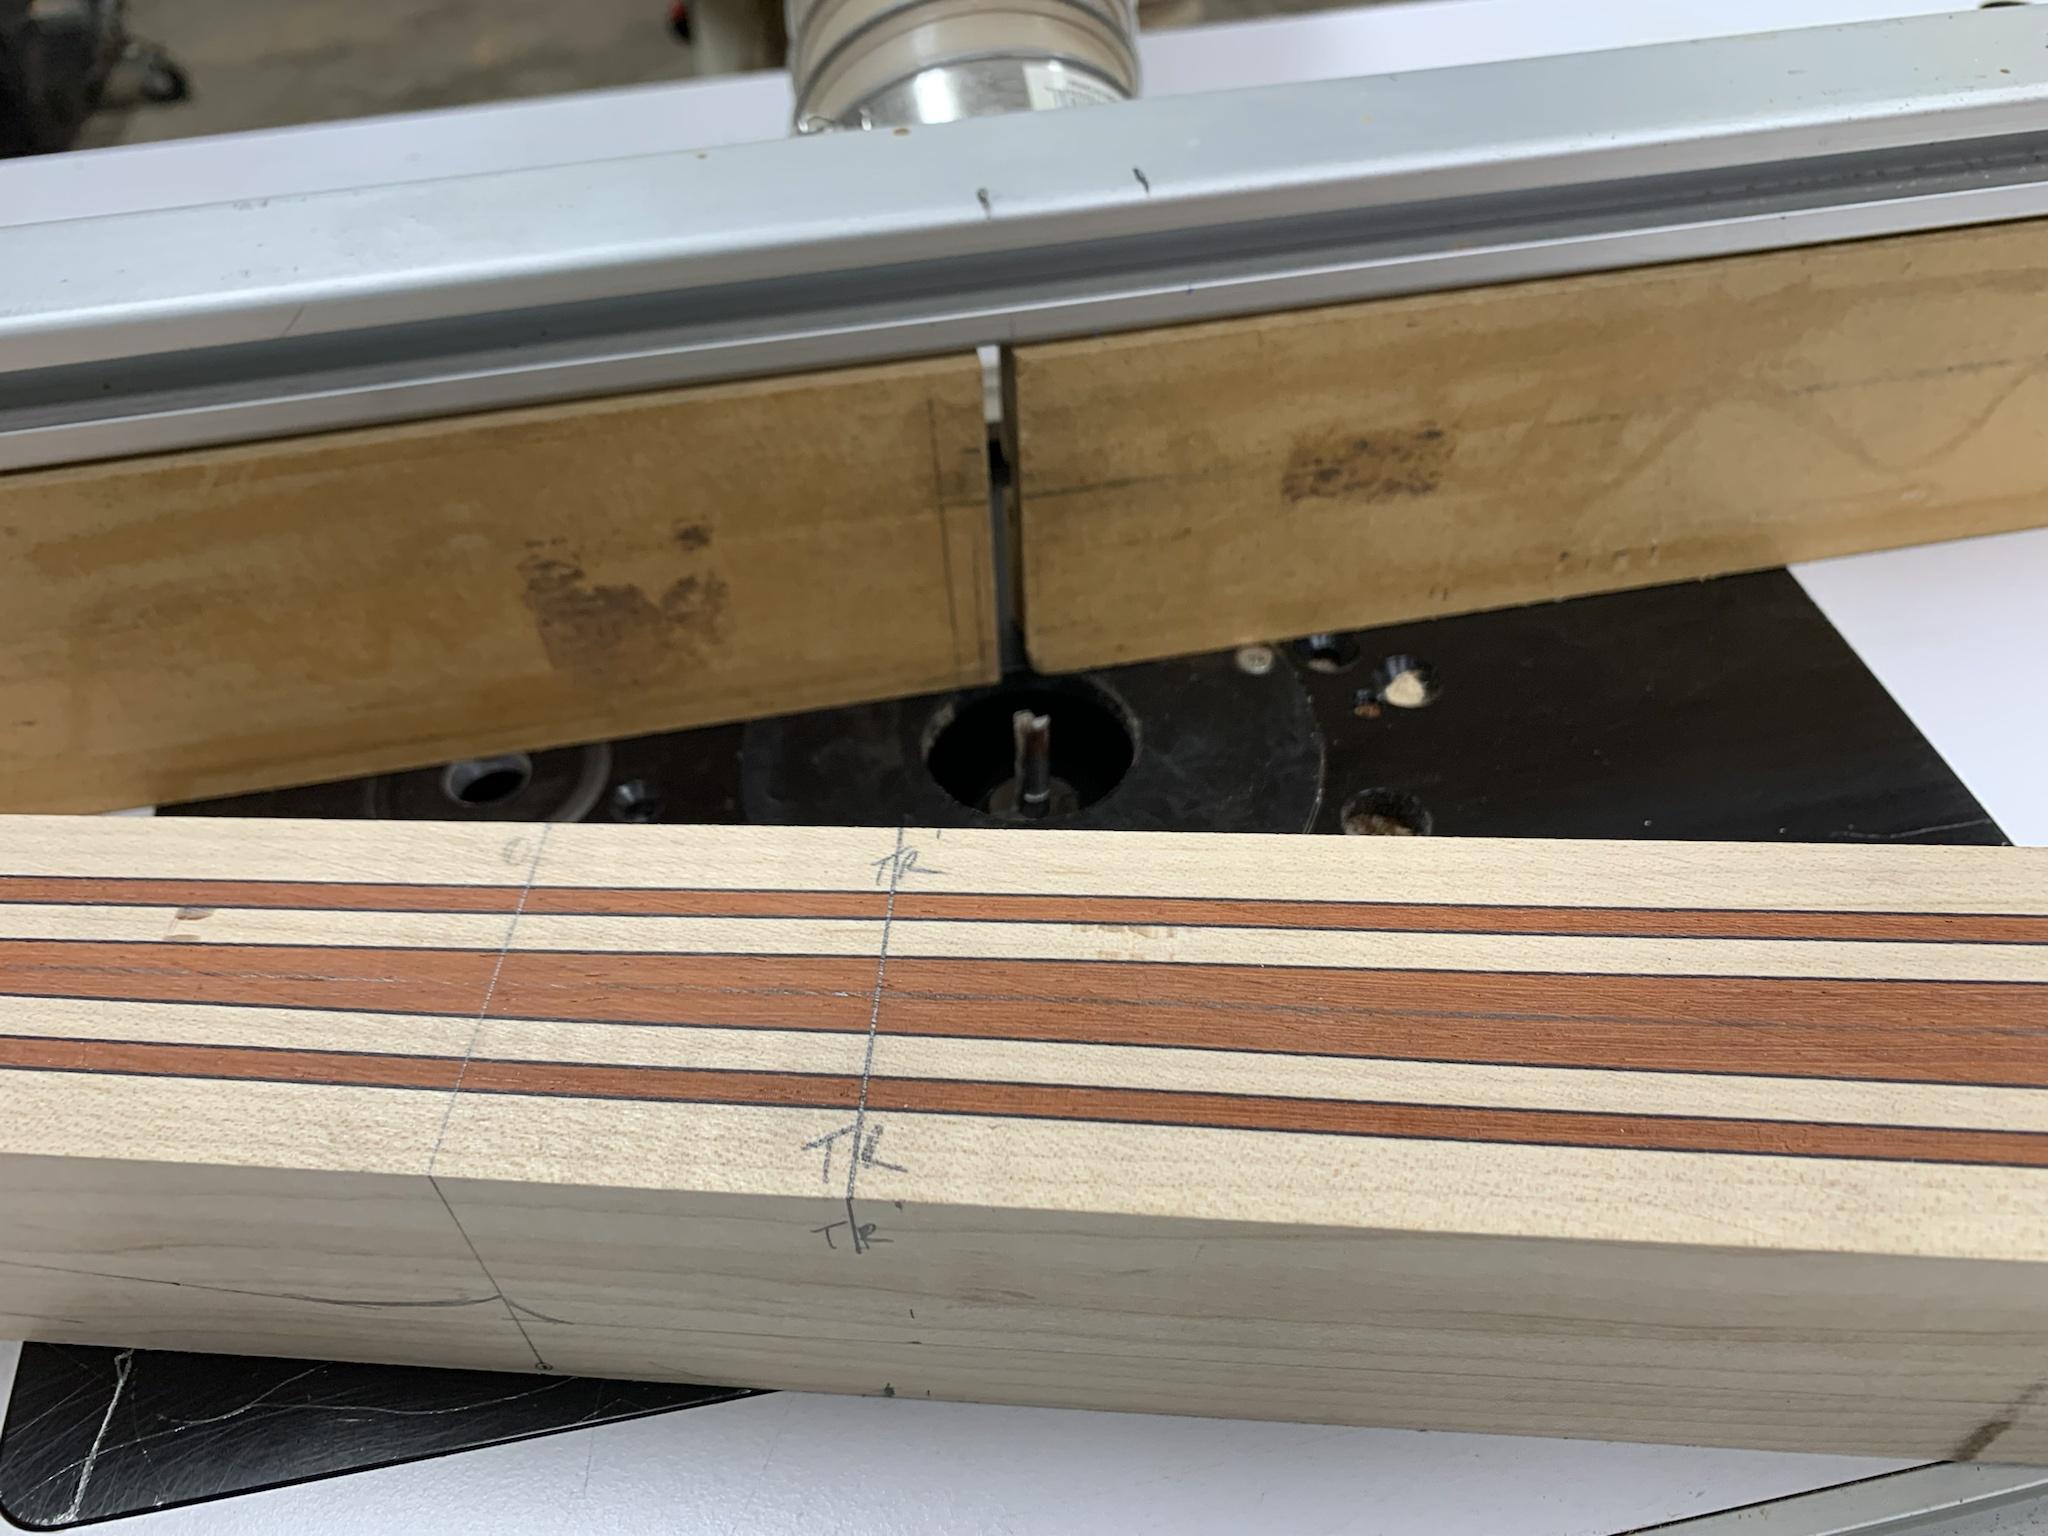
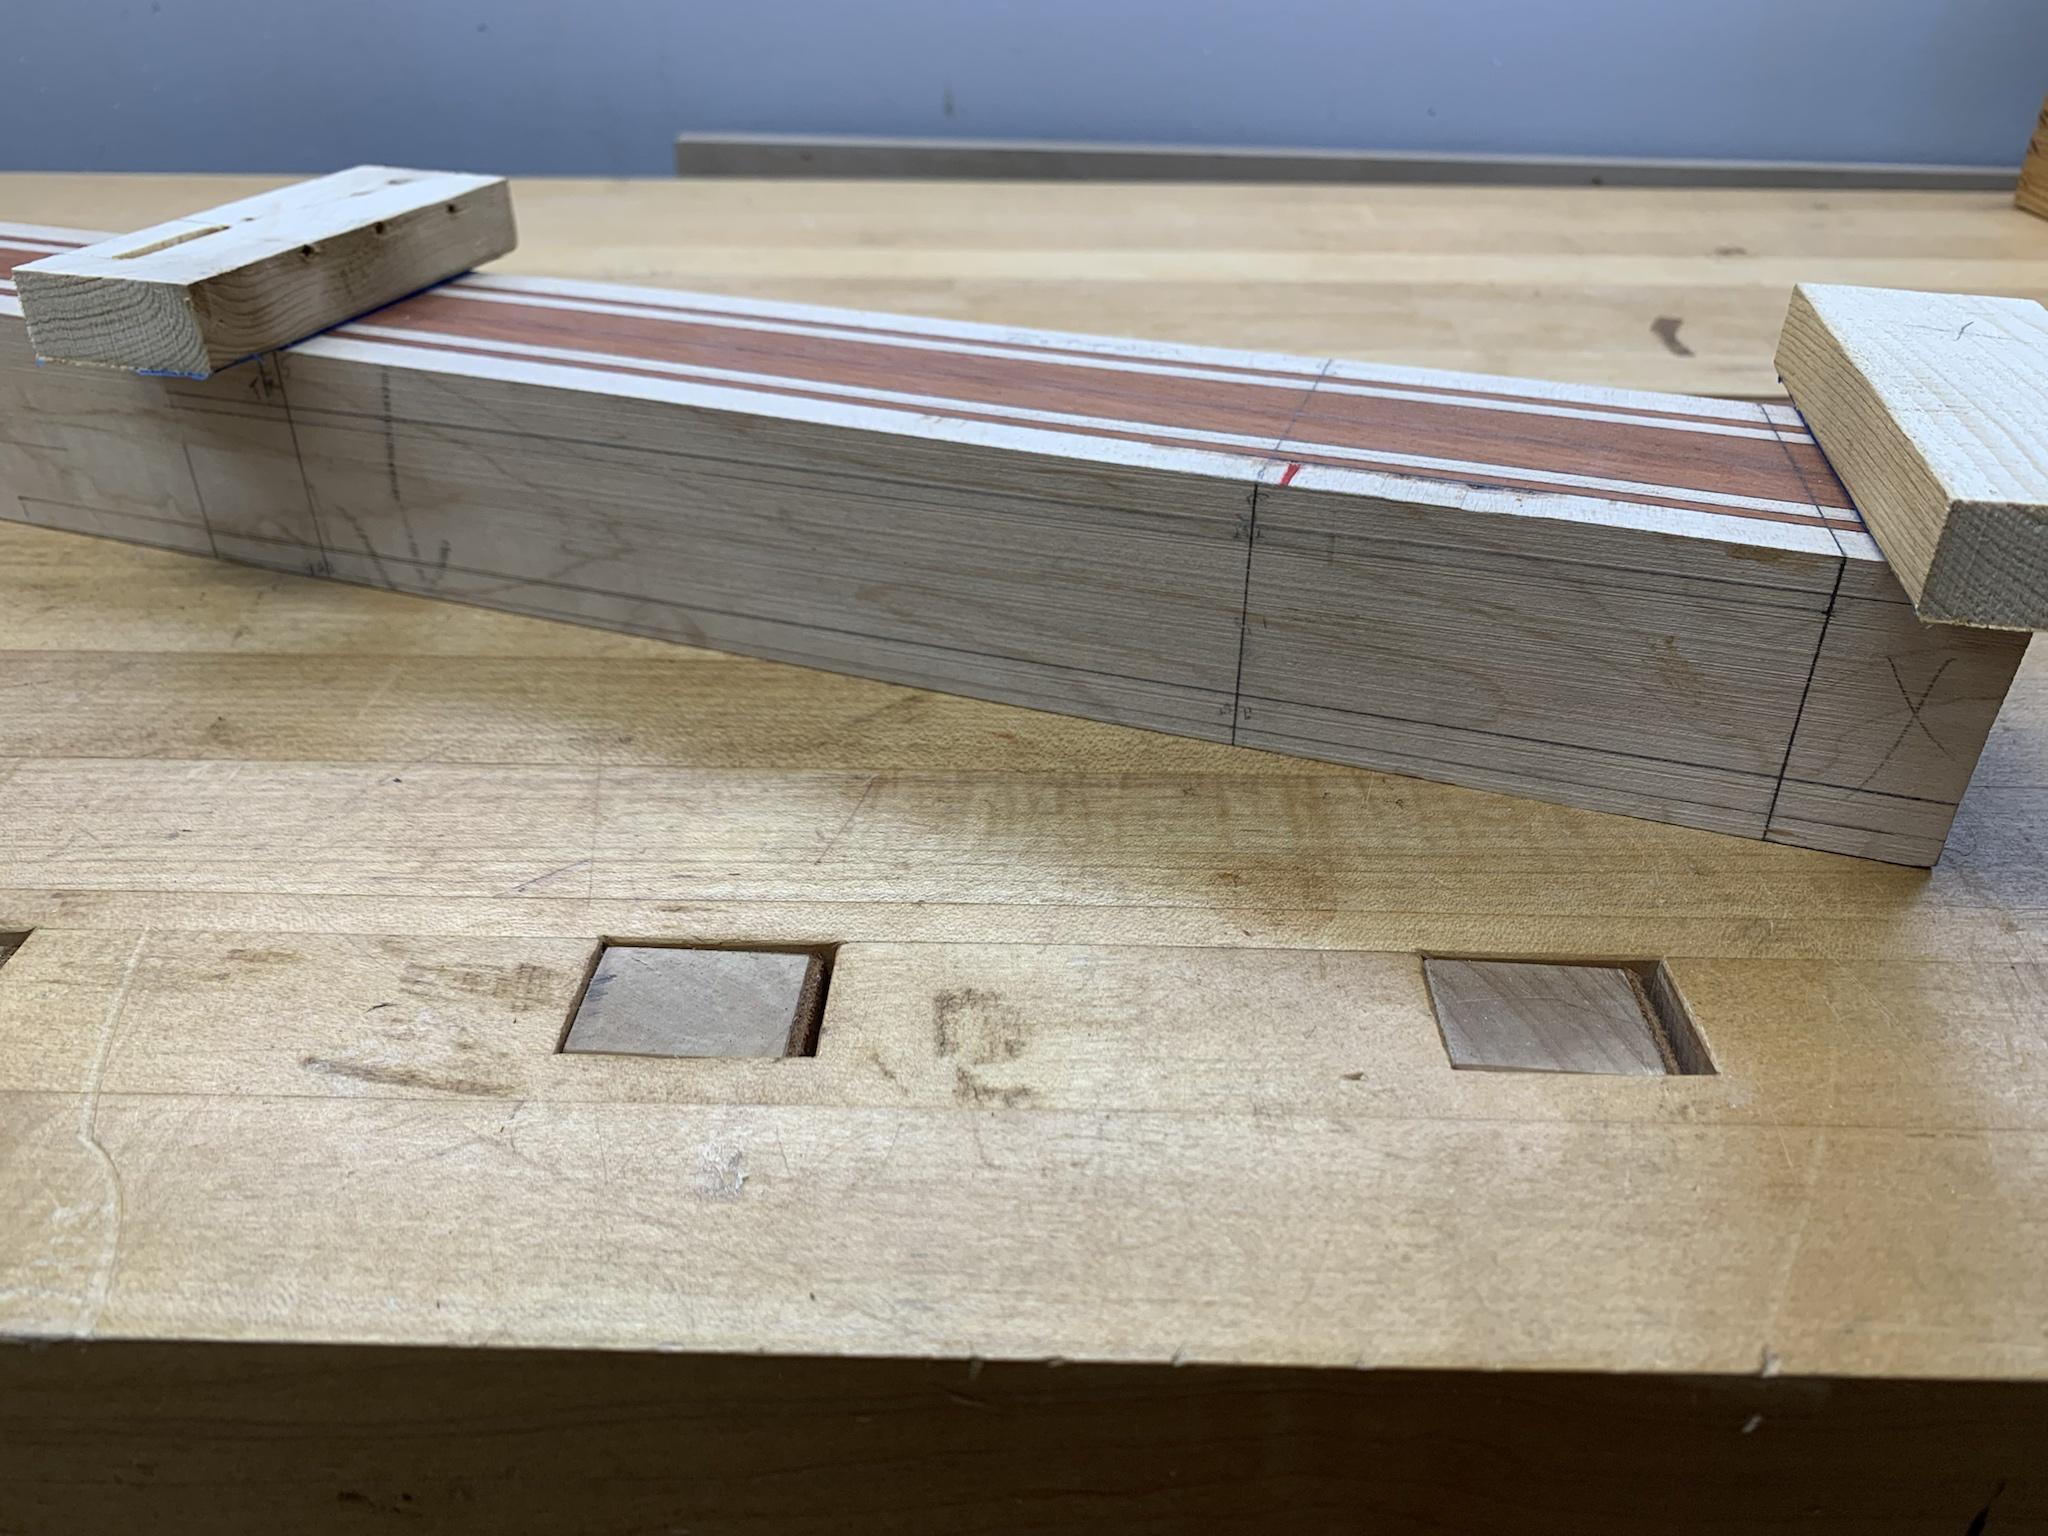
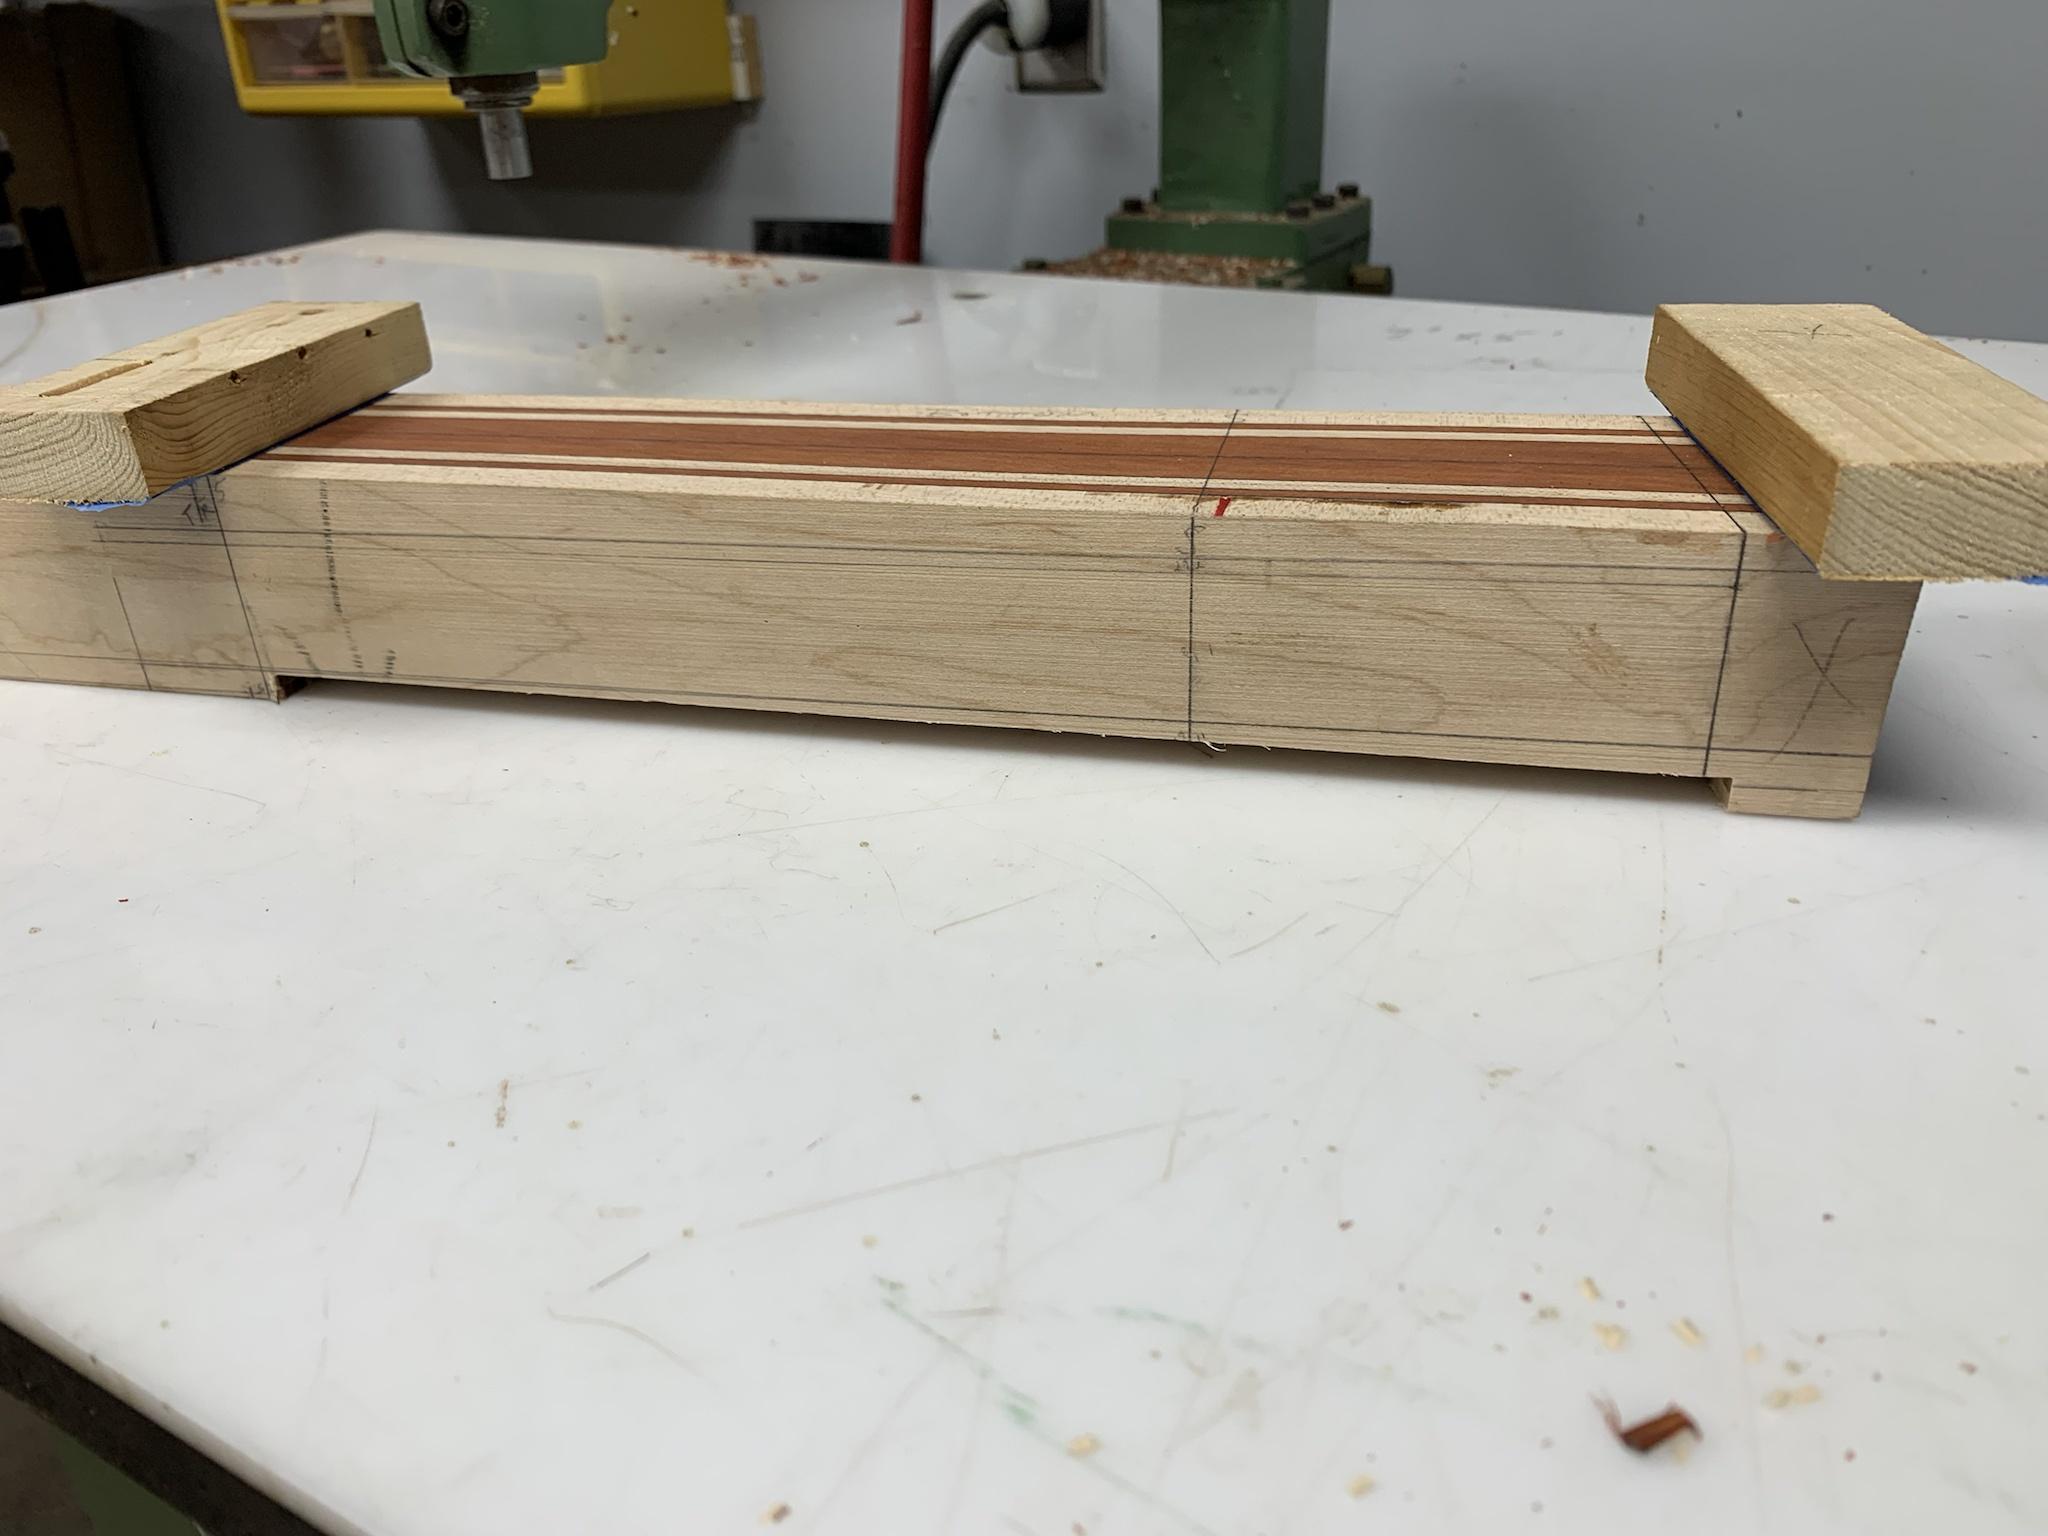
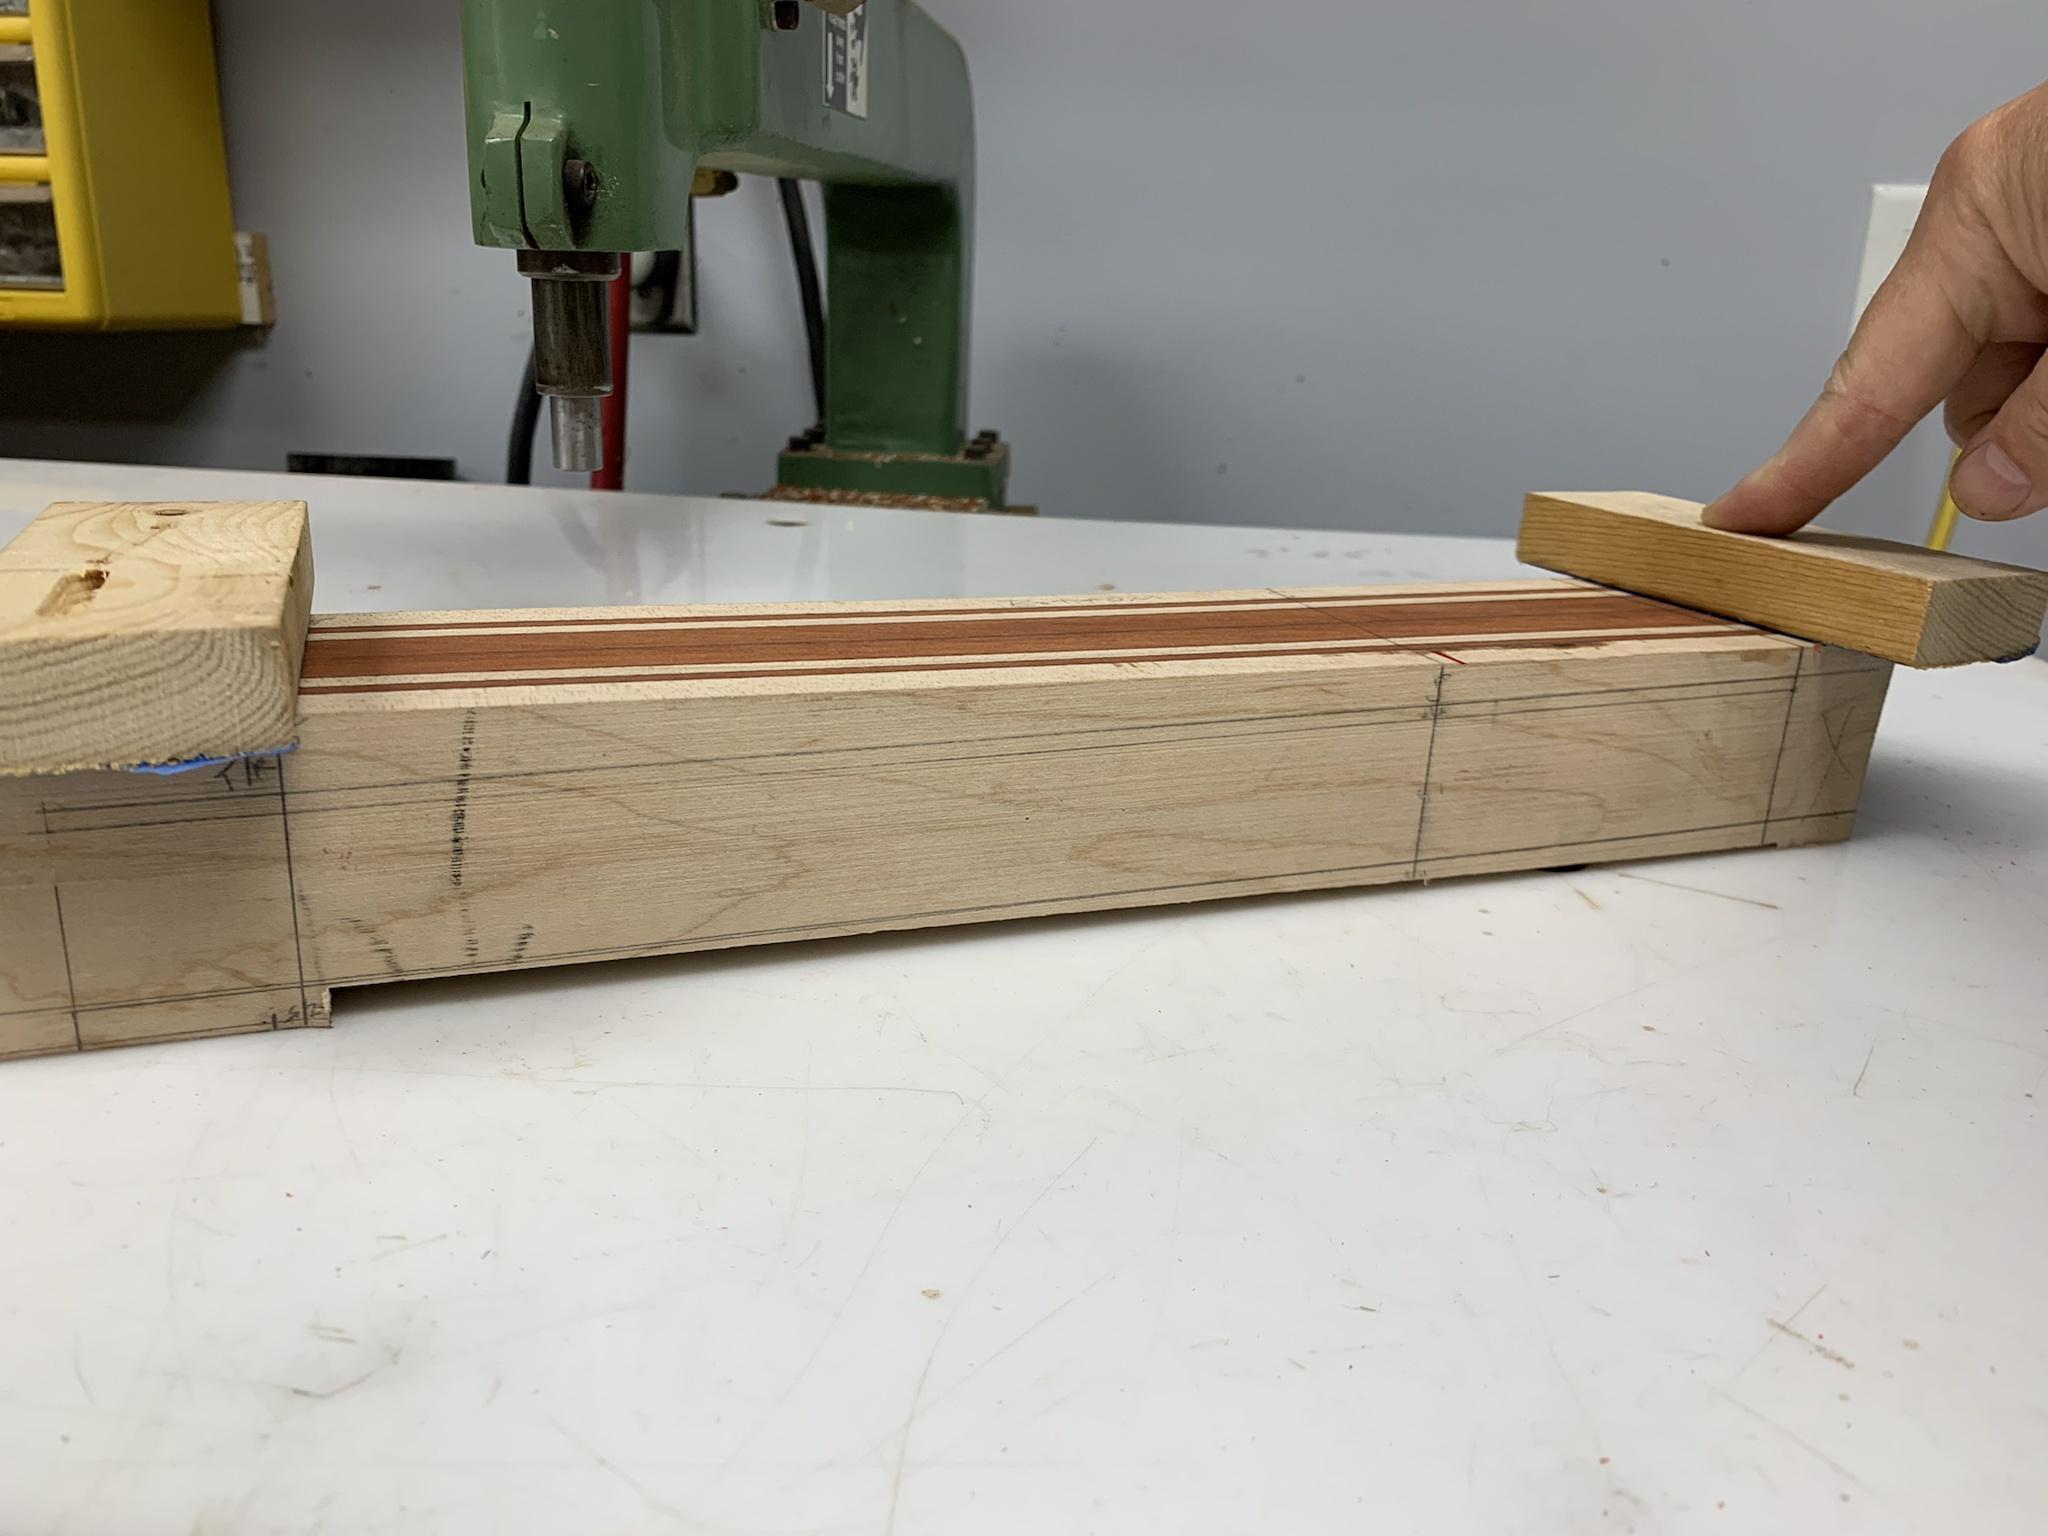
I perform this routing operation on my inverted pin router. So, I attach blocks to the rear of the neck beam. I set these so that I am not cutting into the final point at the end of the neck. I'll clean that up later by hand. You can see some guidelines that I've drawn on the side of the neck. These represent the end of the fretboard plane, the neck angle and the drop top thickness.
I start with the drop top thickness. This is a straight route that removes the bulk of the waste and is around 5.5mm deep.
Now, to accommodate the neck angle, I remove material from the "foot" that I left at the end of the beam.
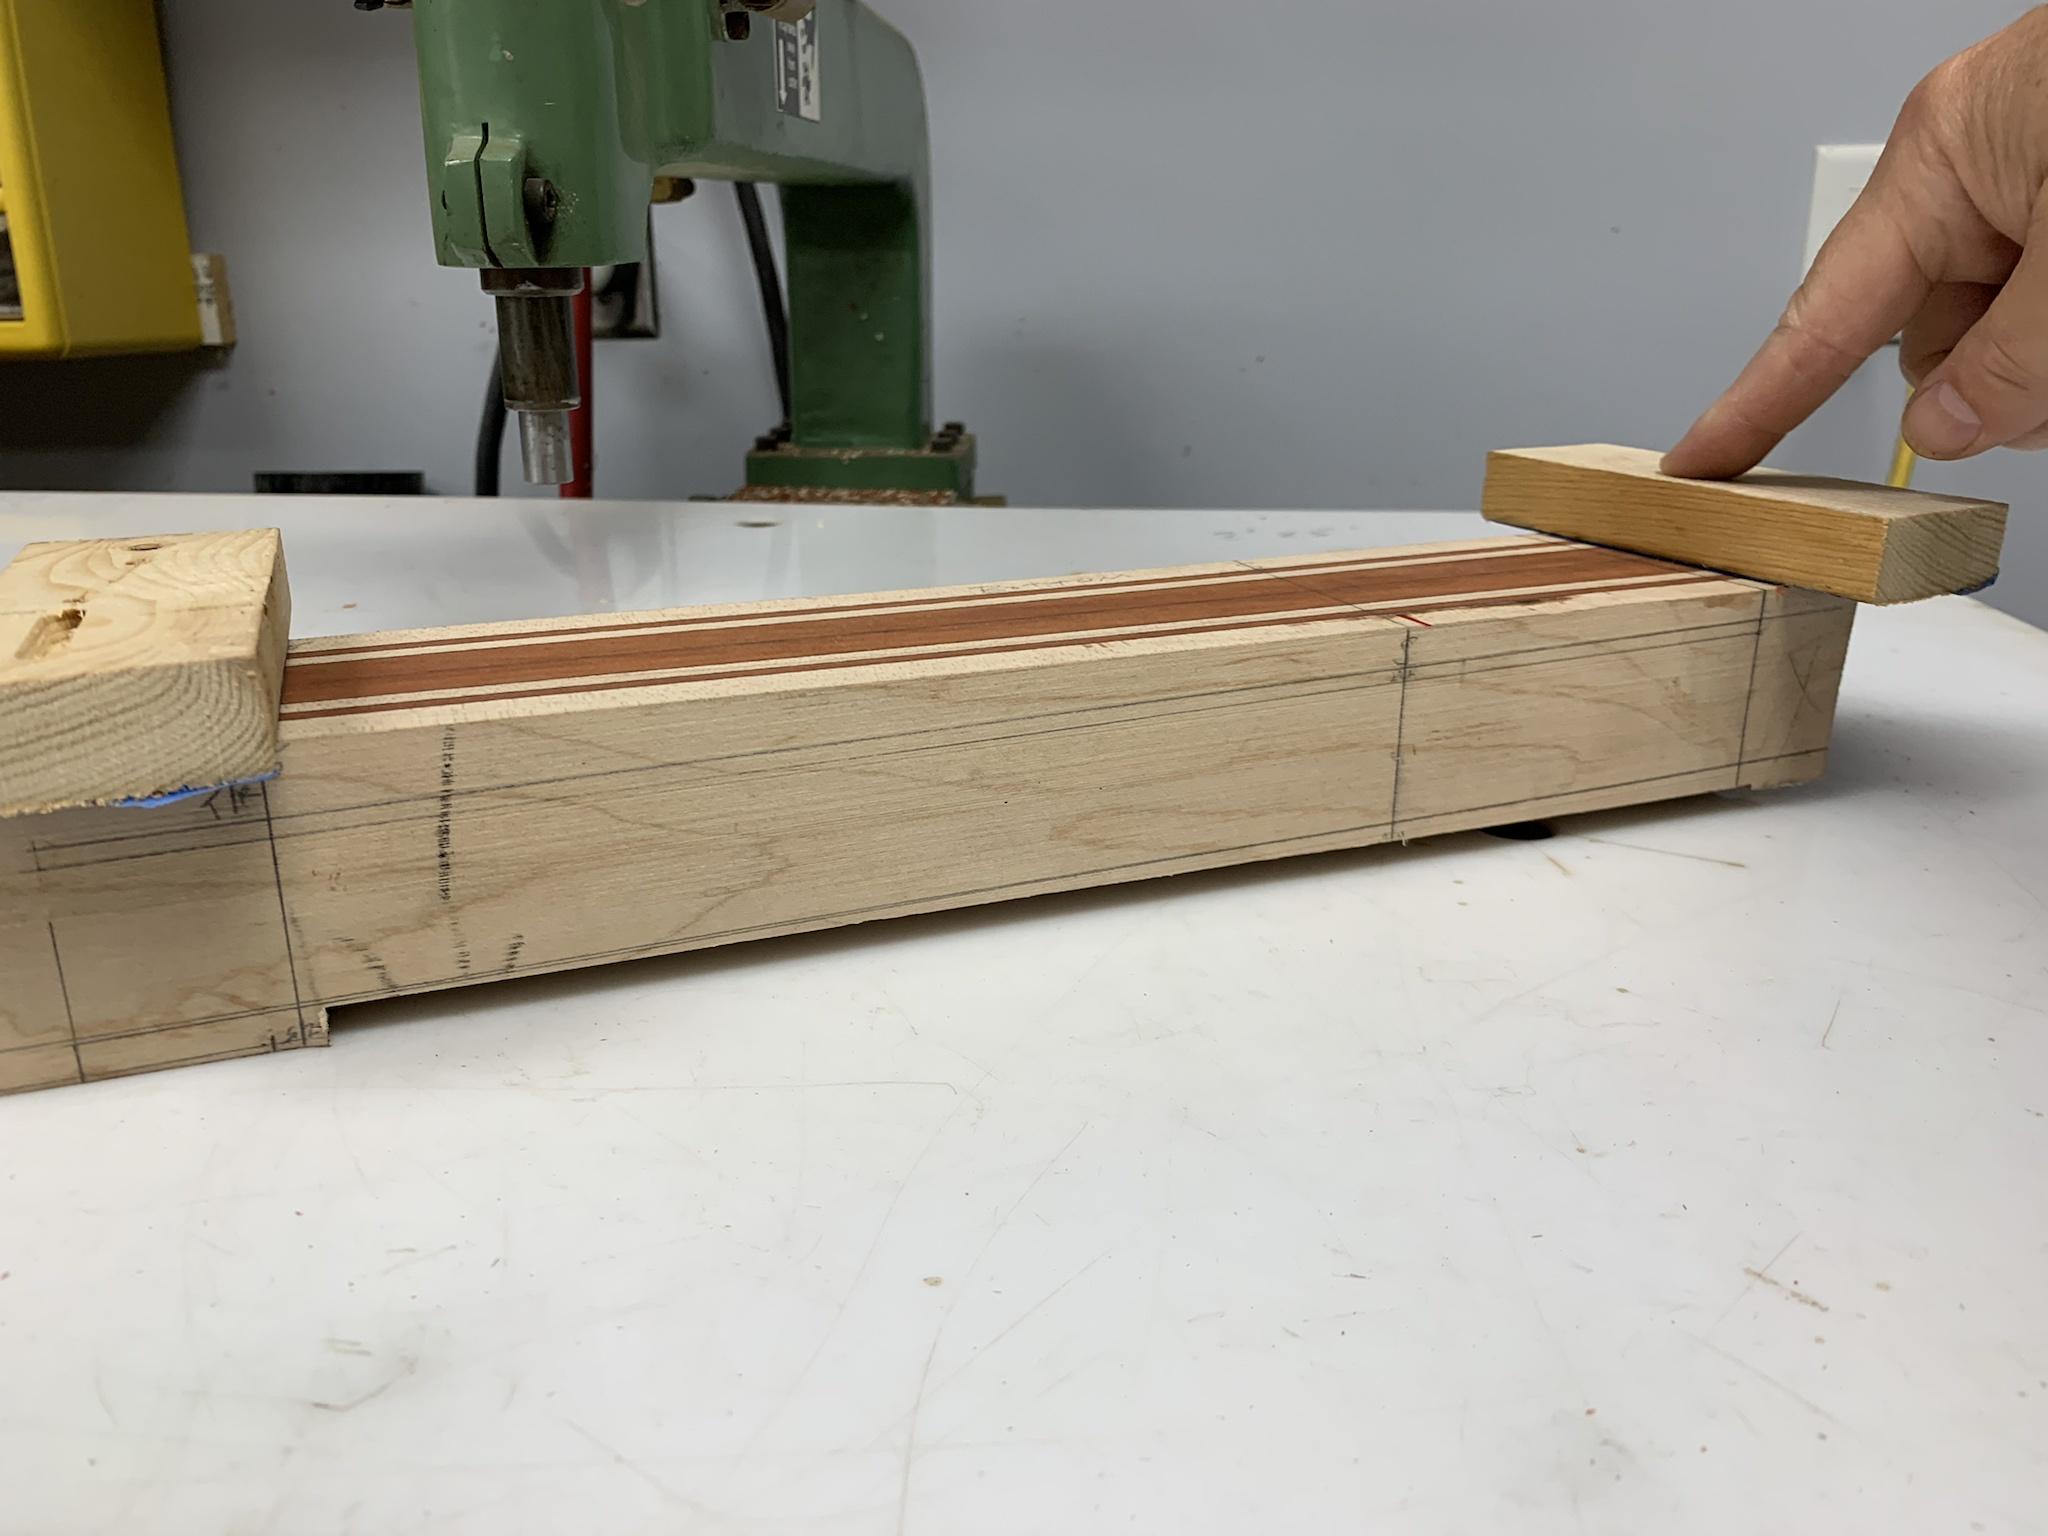
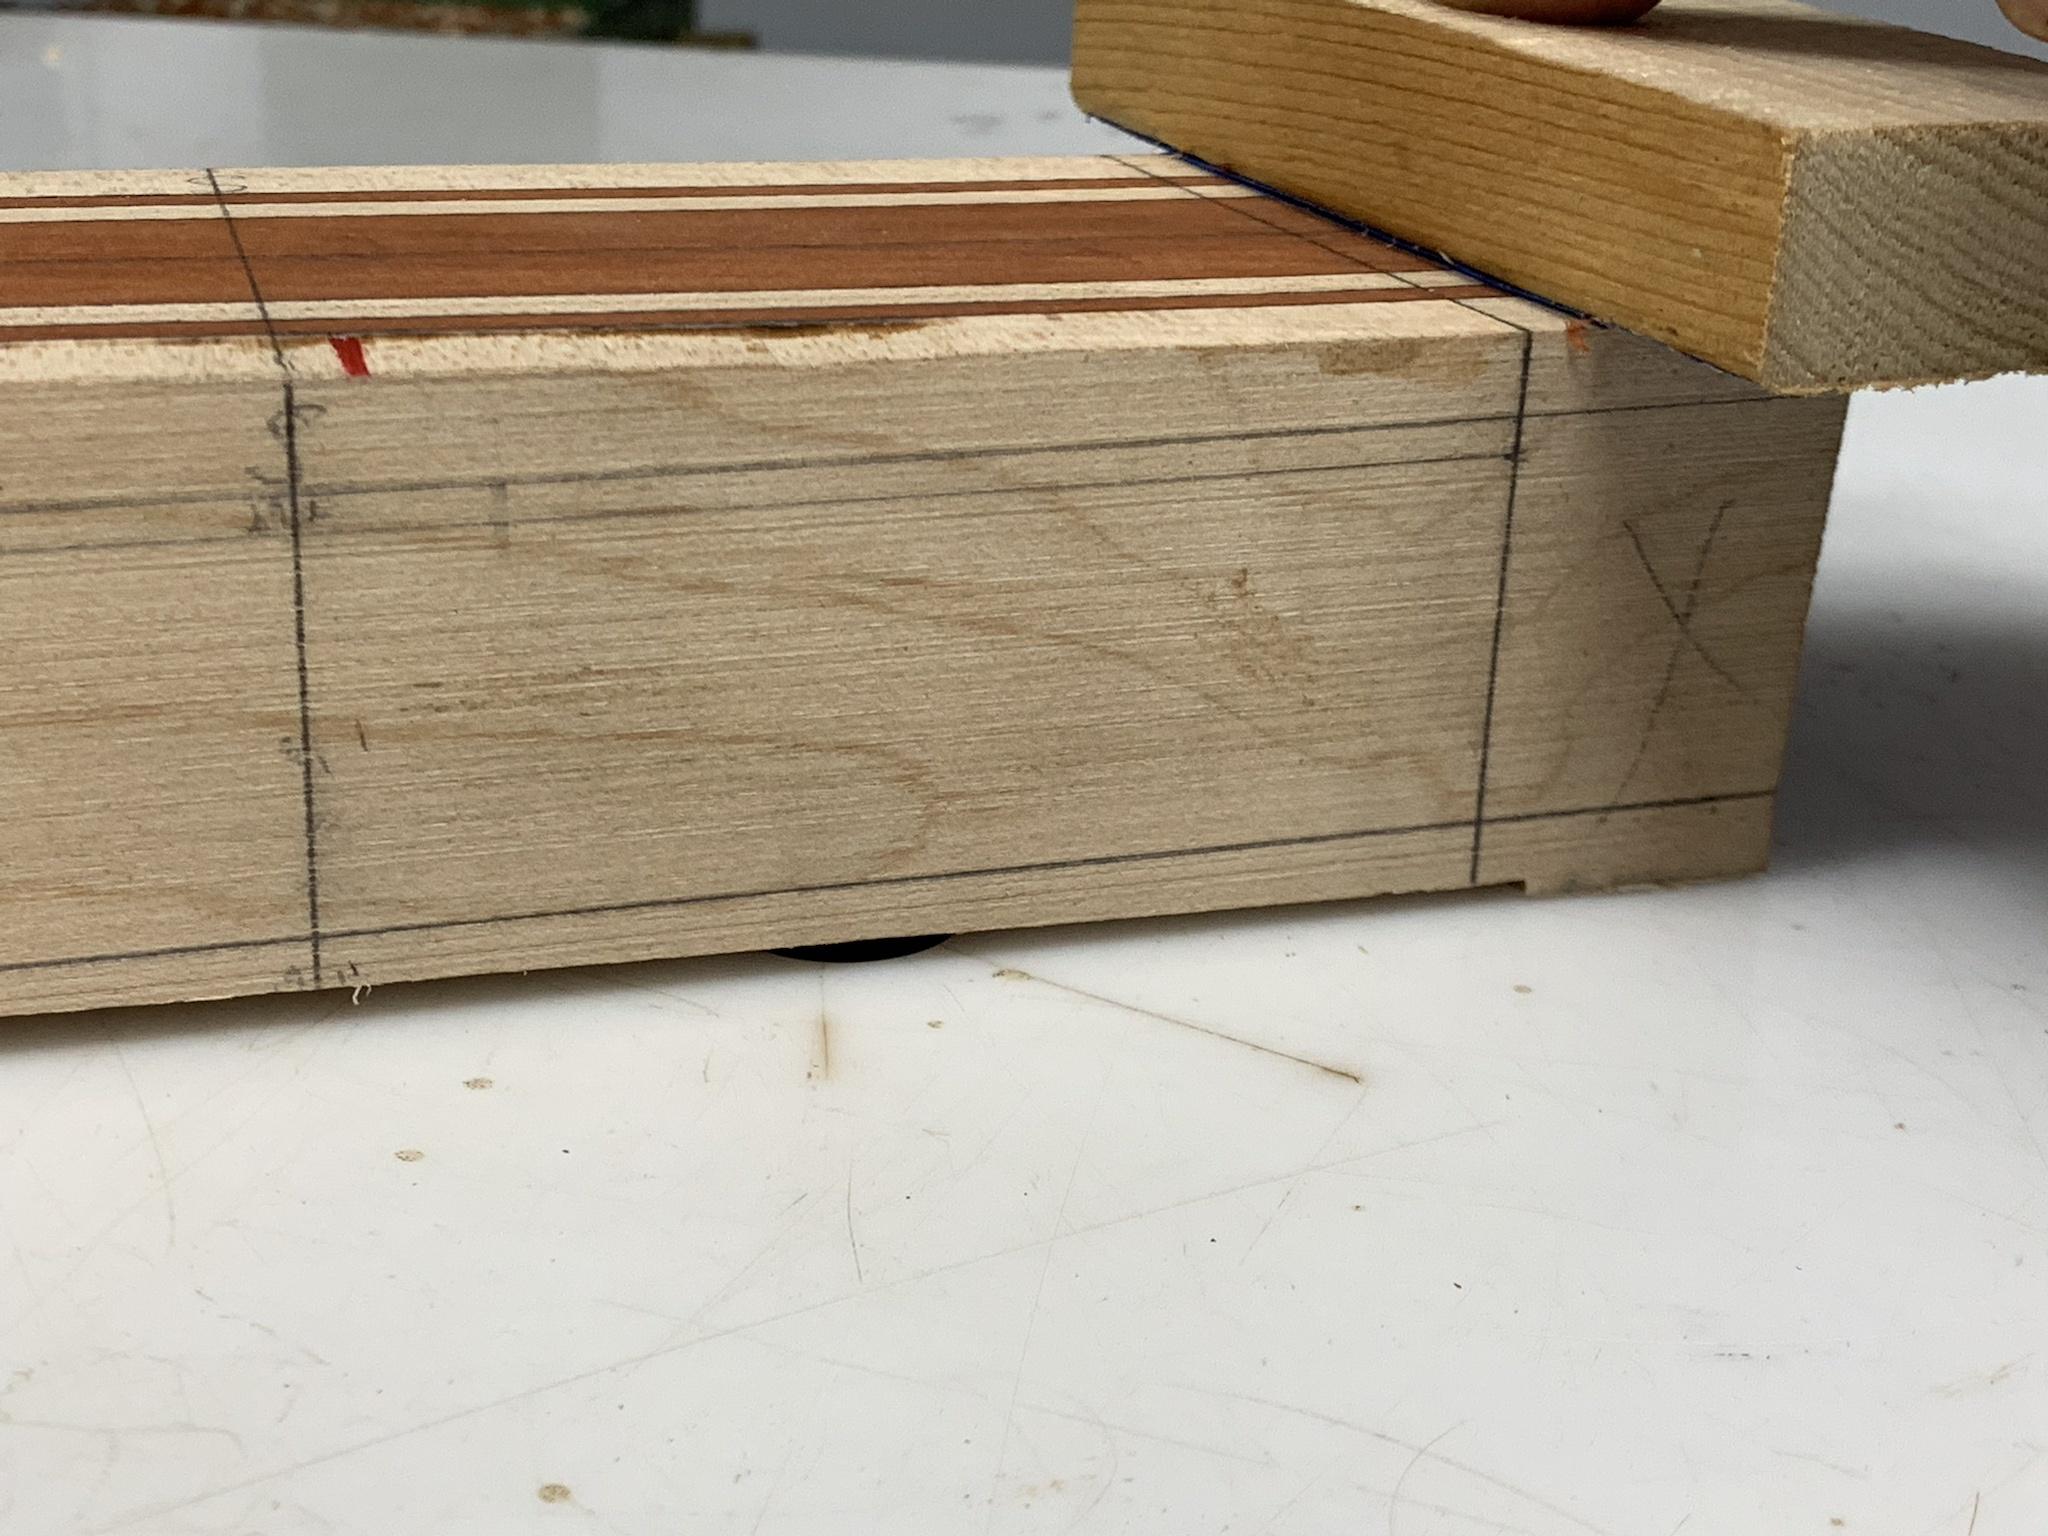
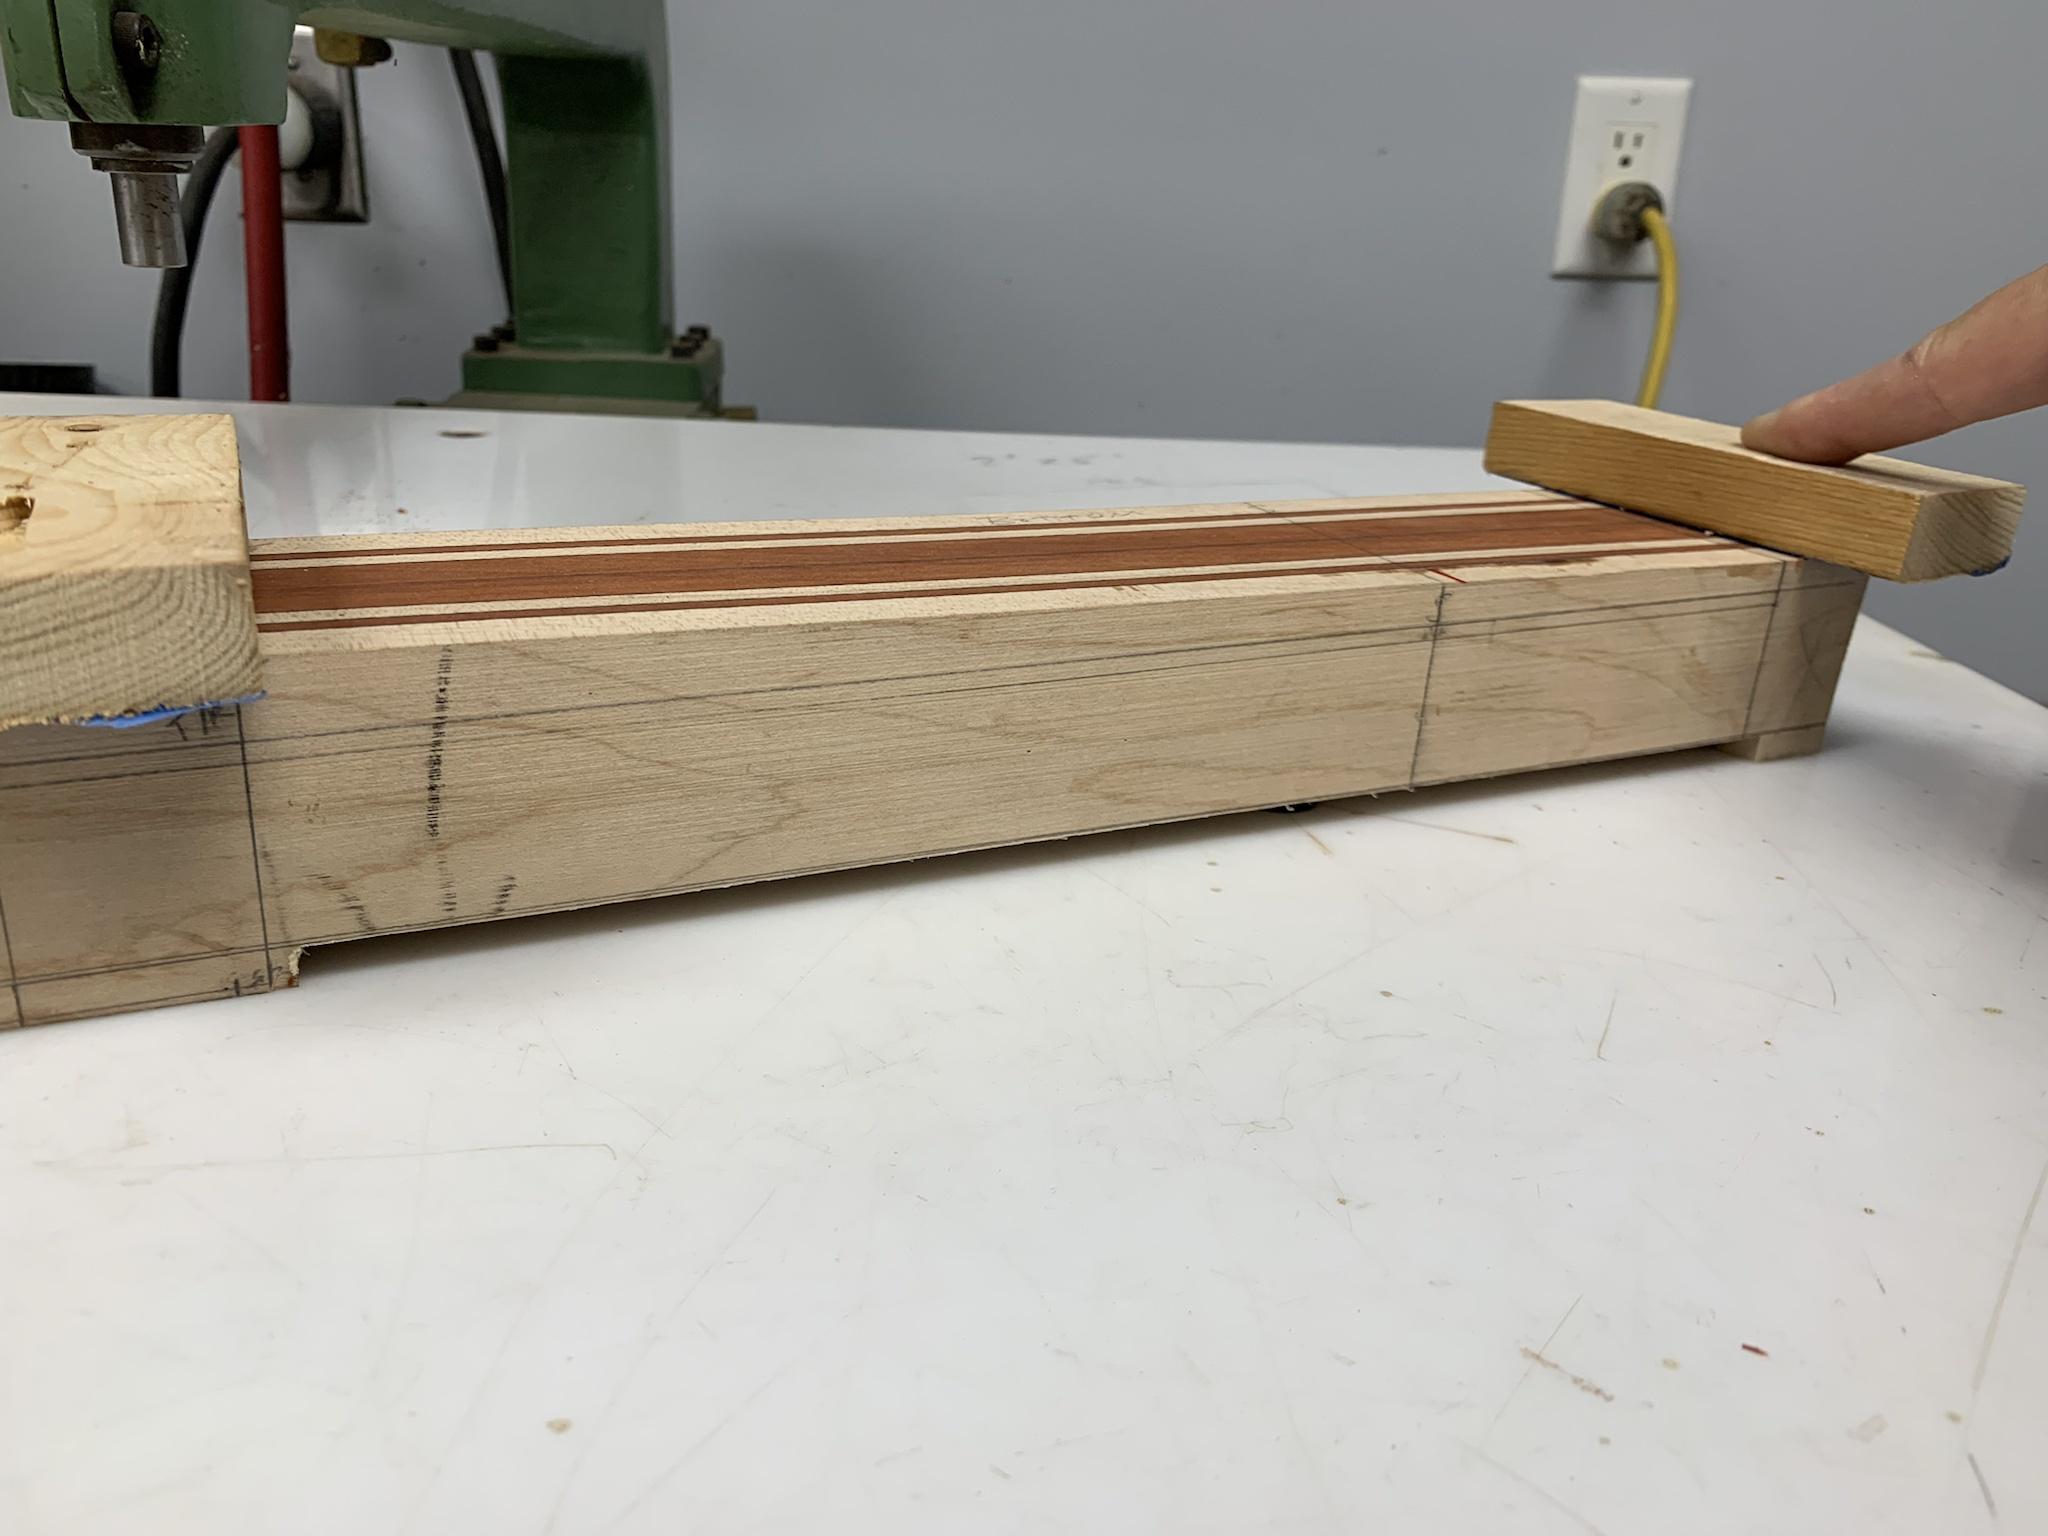
Here is the same shot, but now I'm pushing the neck beam down to the table on that shorter foot...
Close up of the shorter foot... I have to hold this down firmly as I make my final pass. I leave the router depth set exactly the same for the next step.
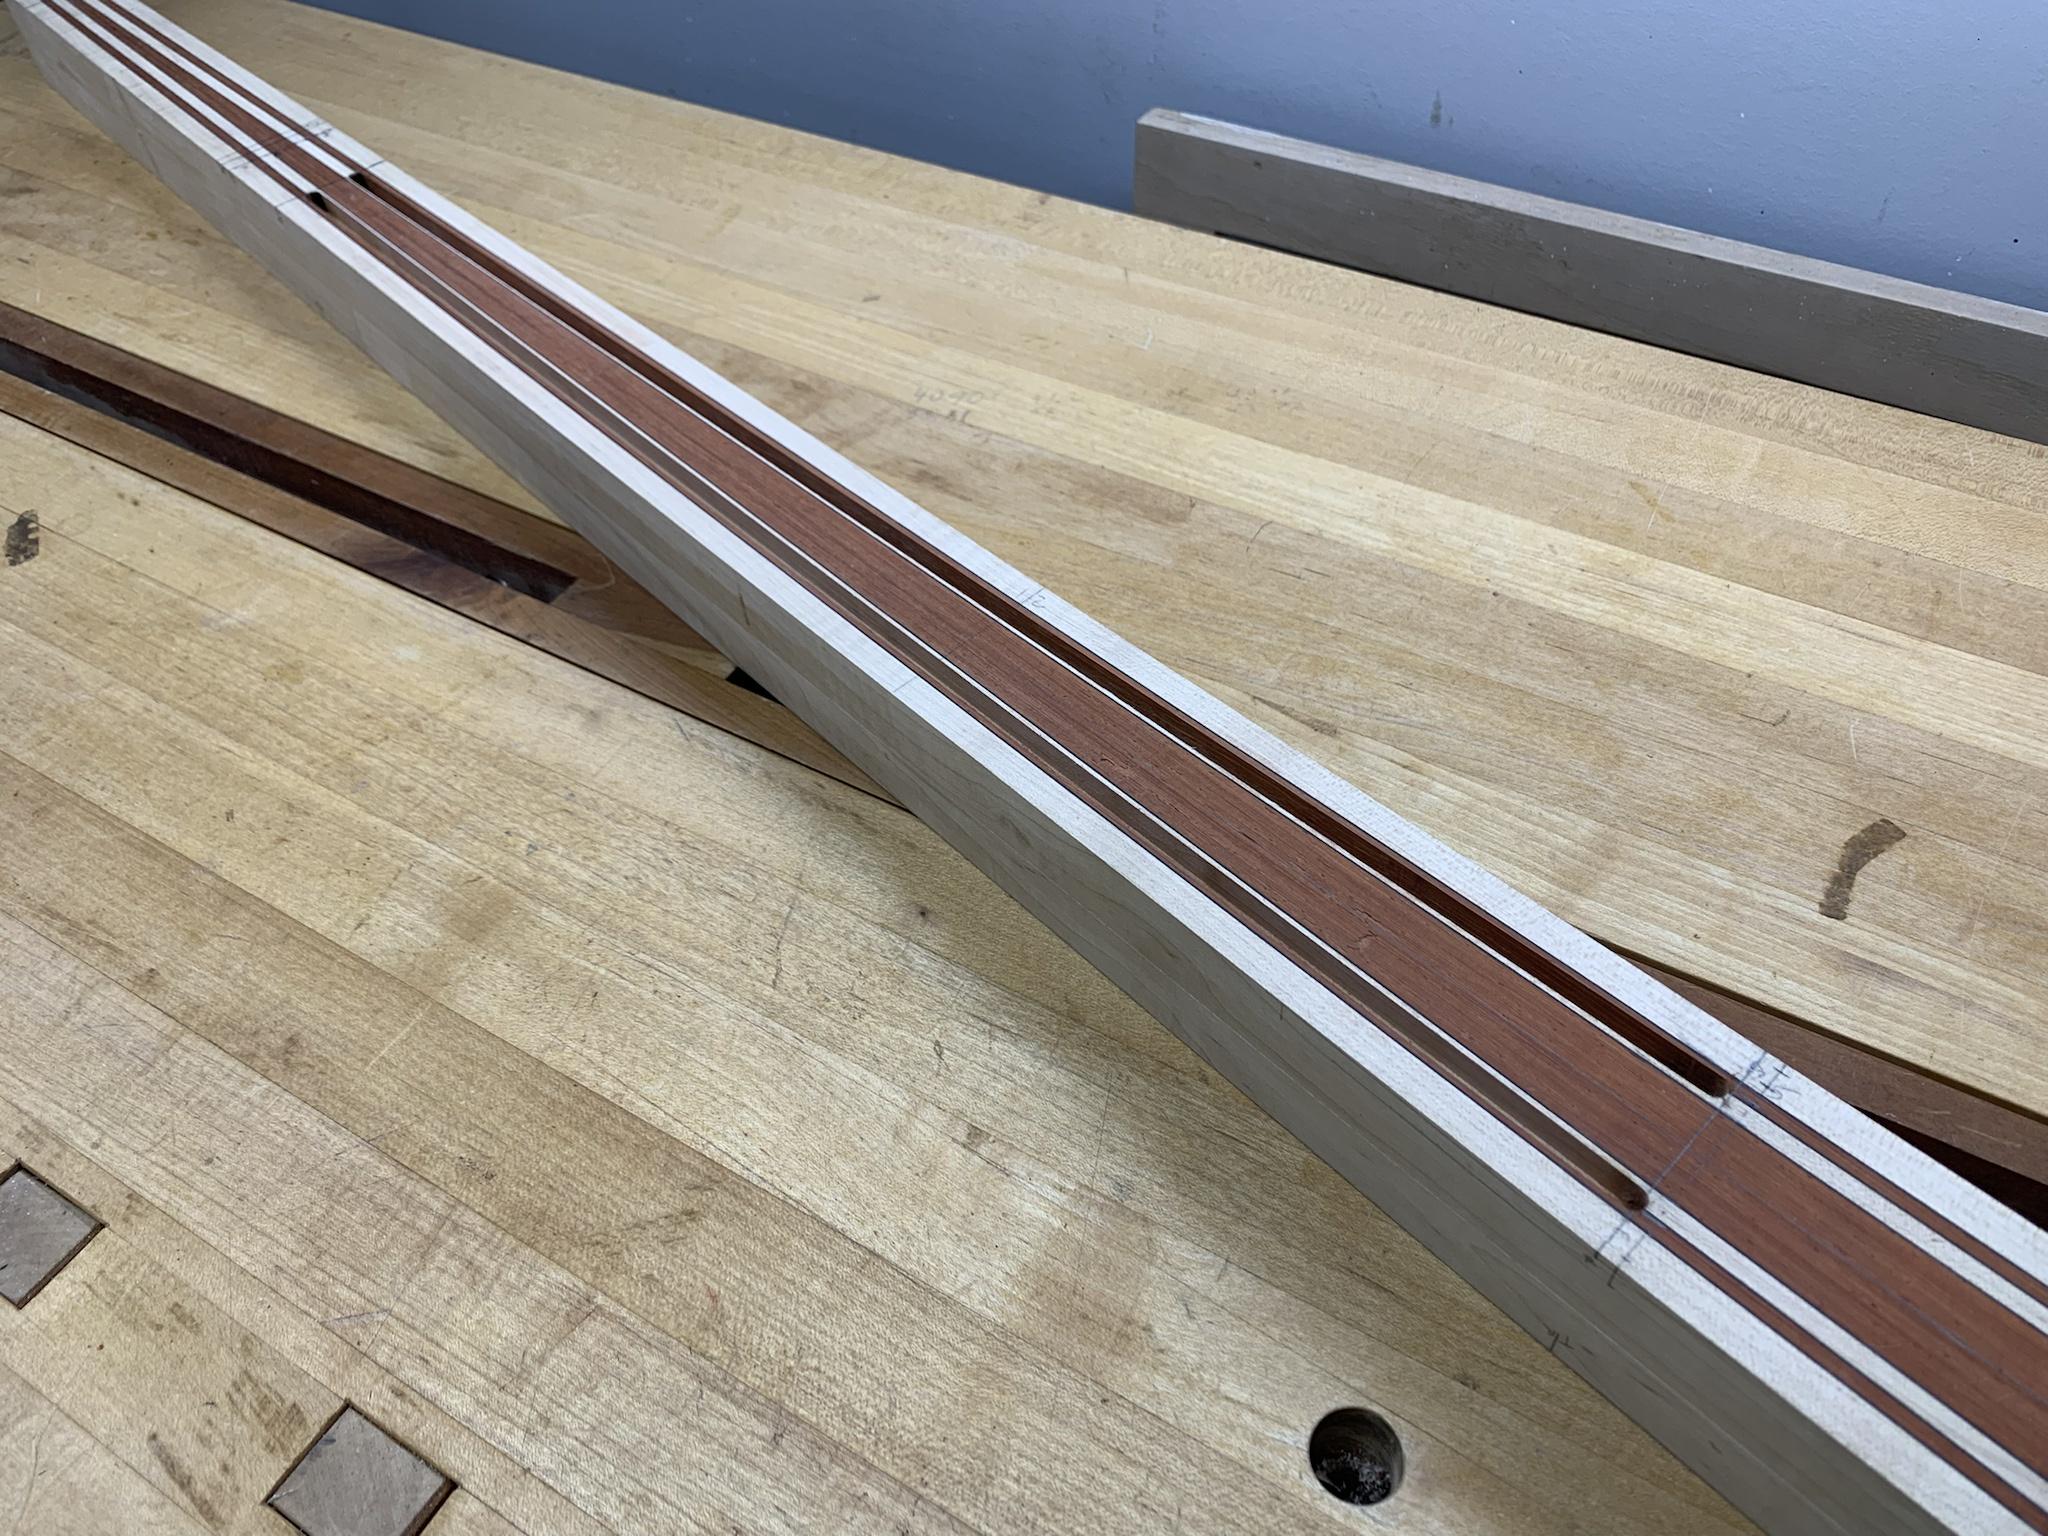
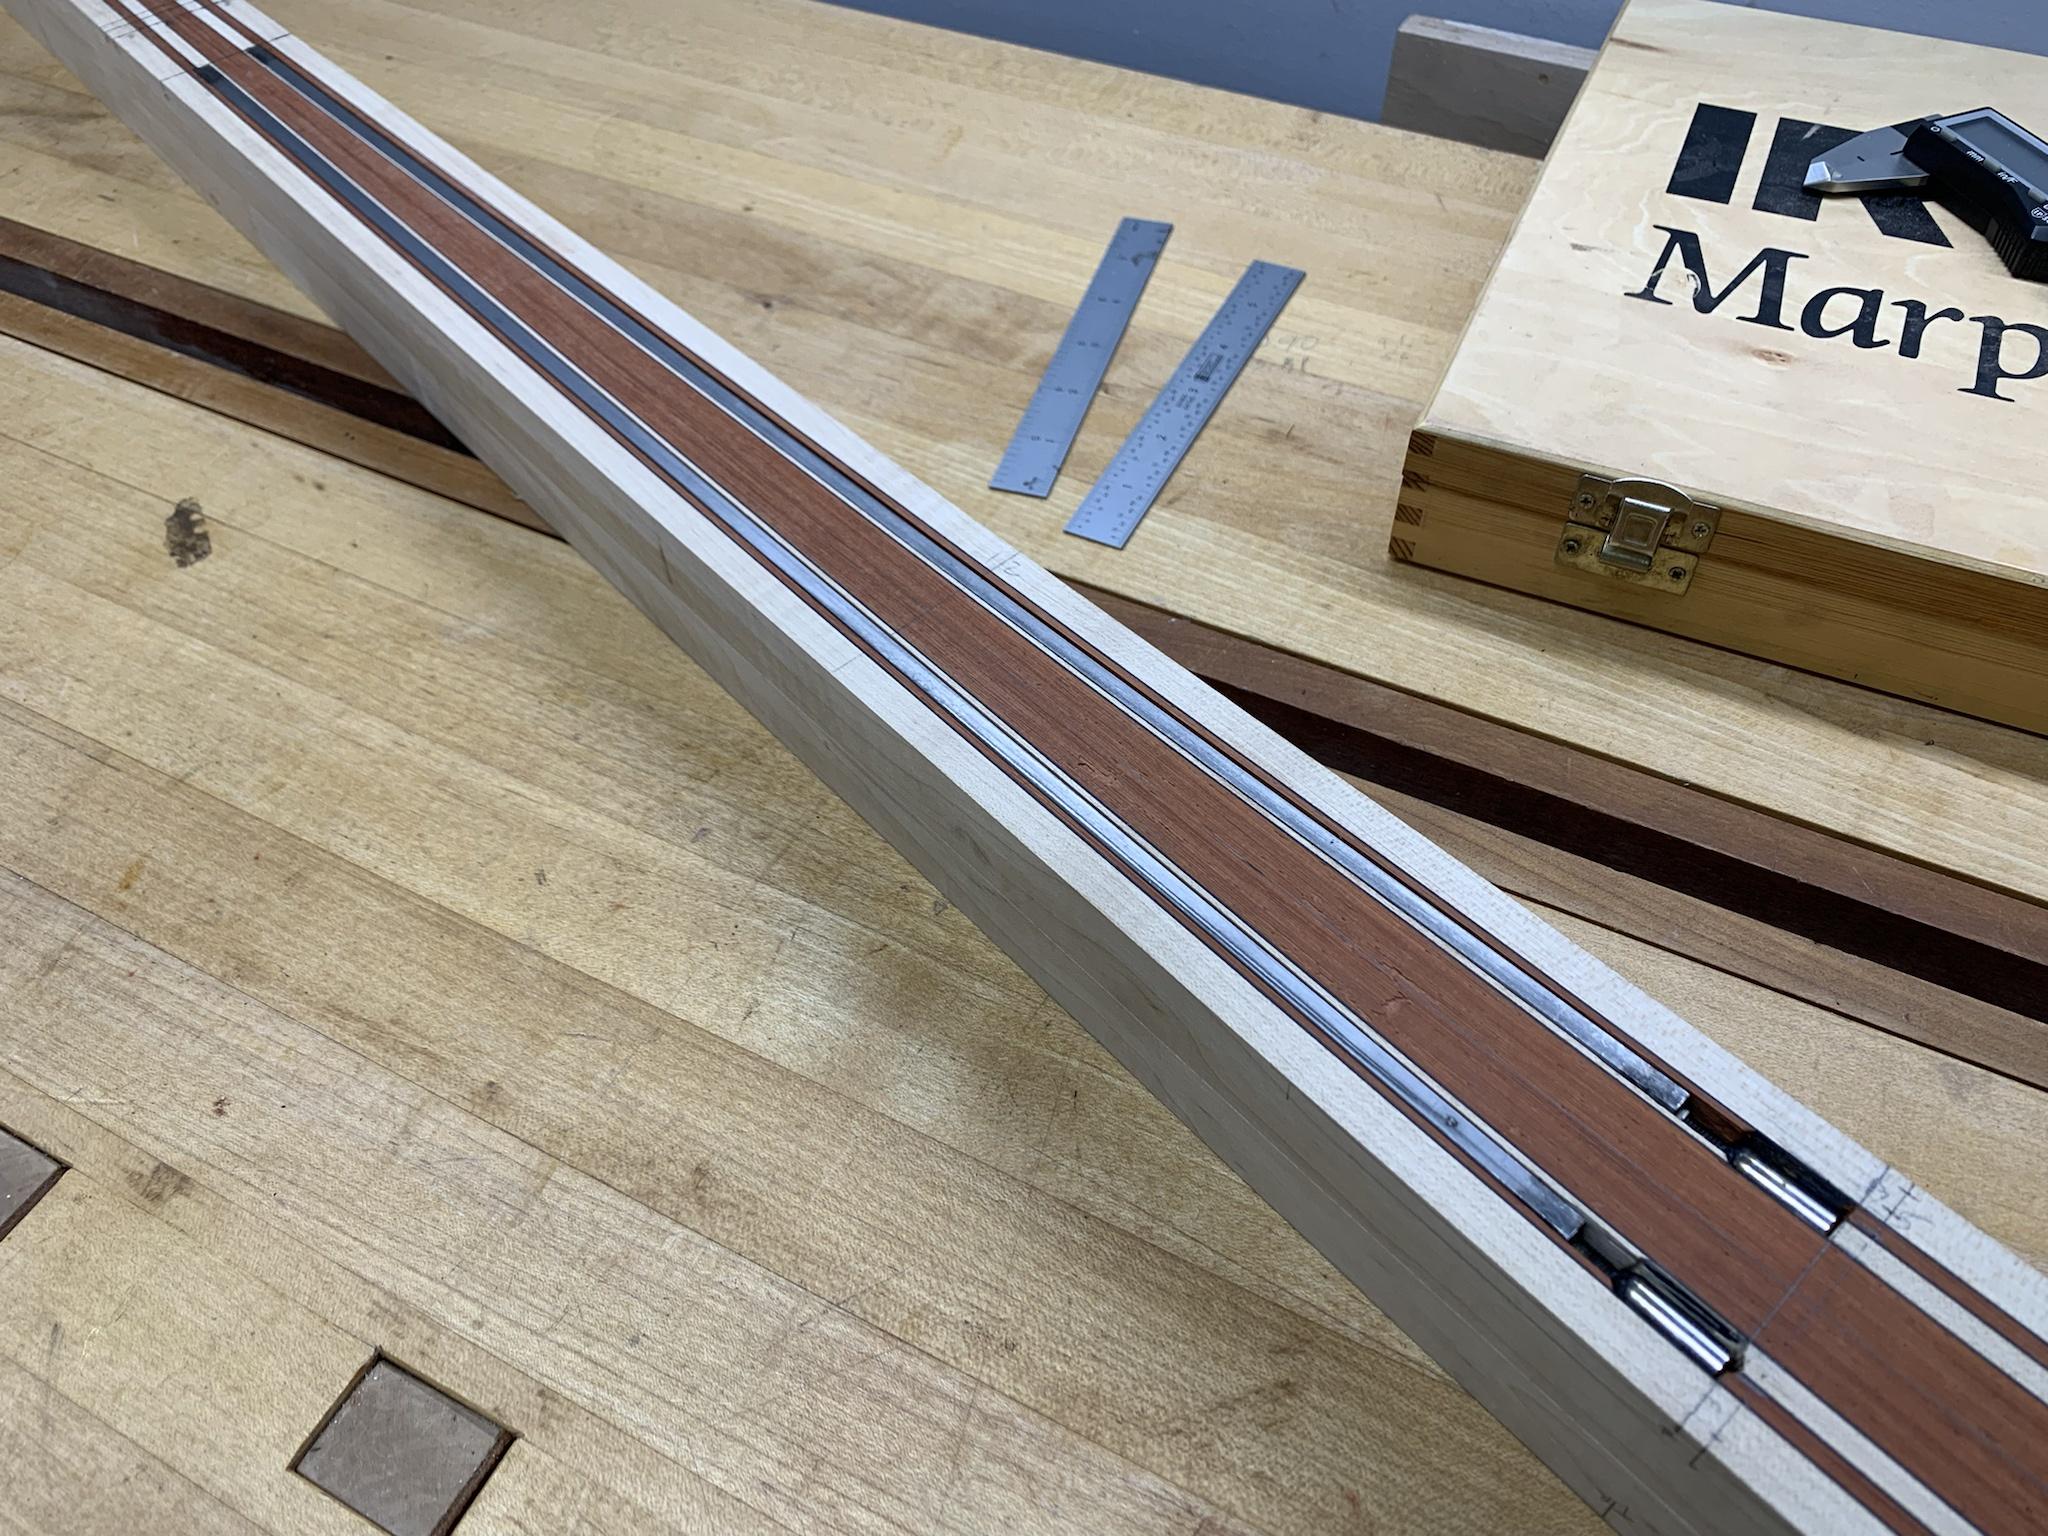
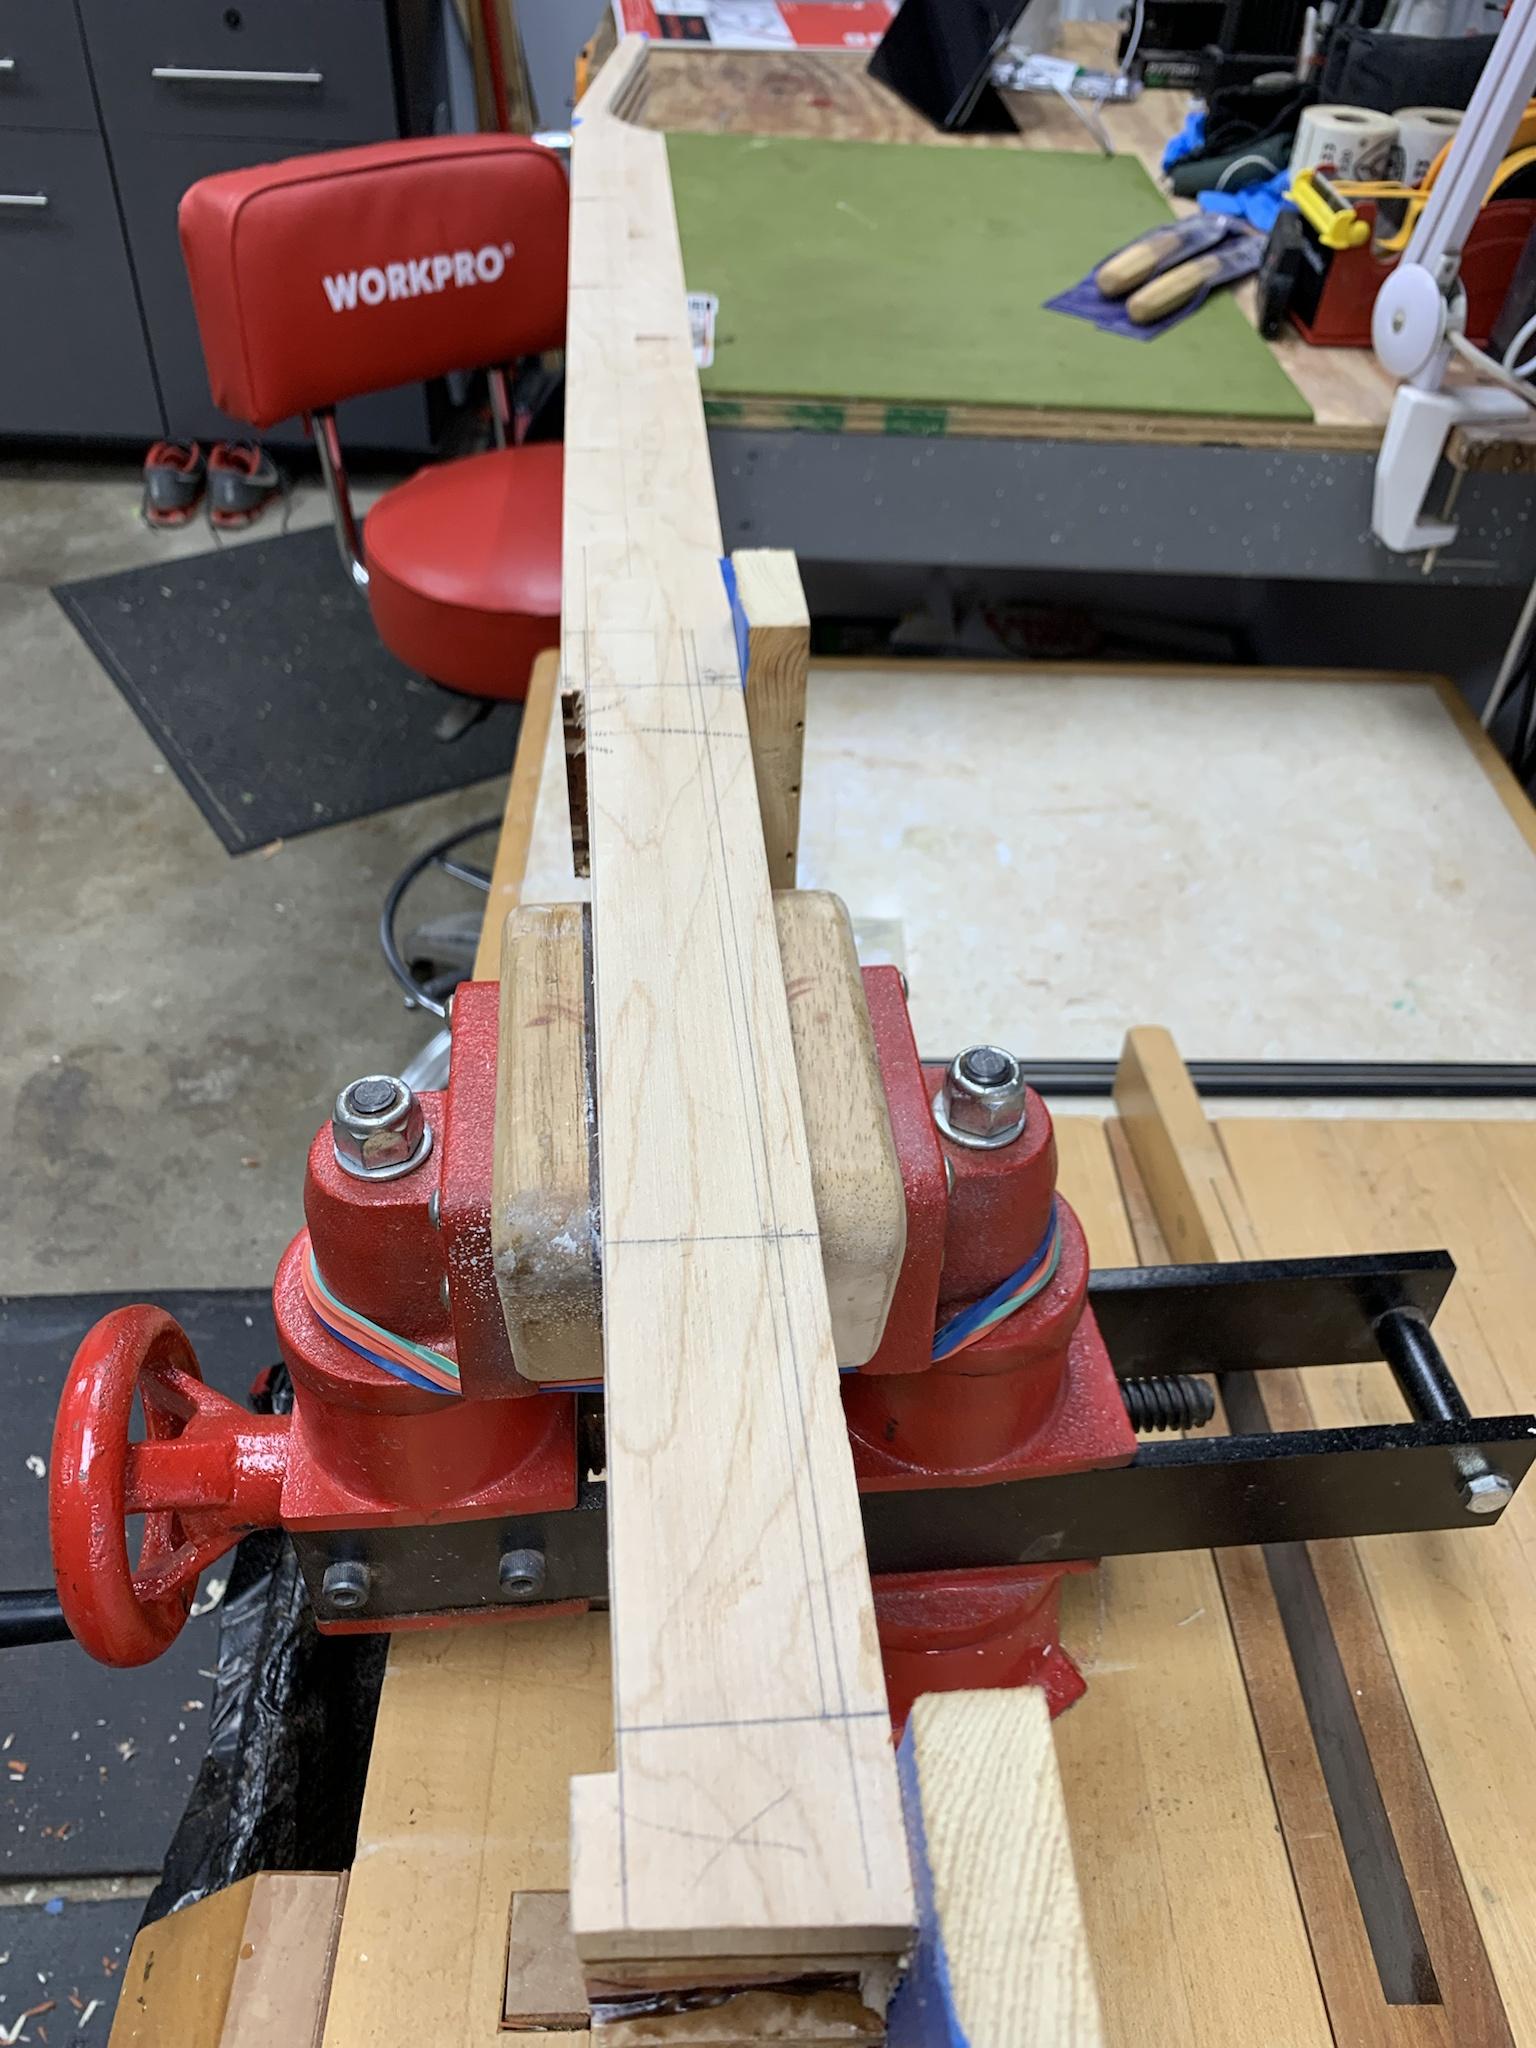
And there it is. You can now see that the material removed matches that angled line on the side of the neck.
Side view
Top view
Now I can remove the foot completely, but I'll leave the excess at the end to help hold the top when I glue it.
I think I've mentioned this before, but many, many thanks to @rockhewer for helping me wrap my head around this process and introducing me to this method. You rock, Kev.

More soon.