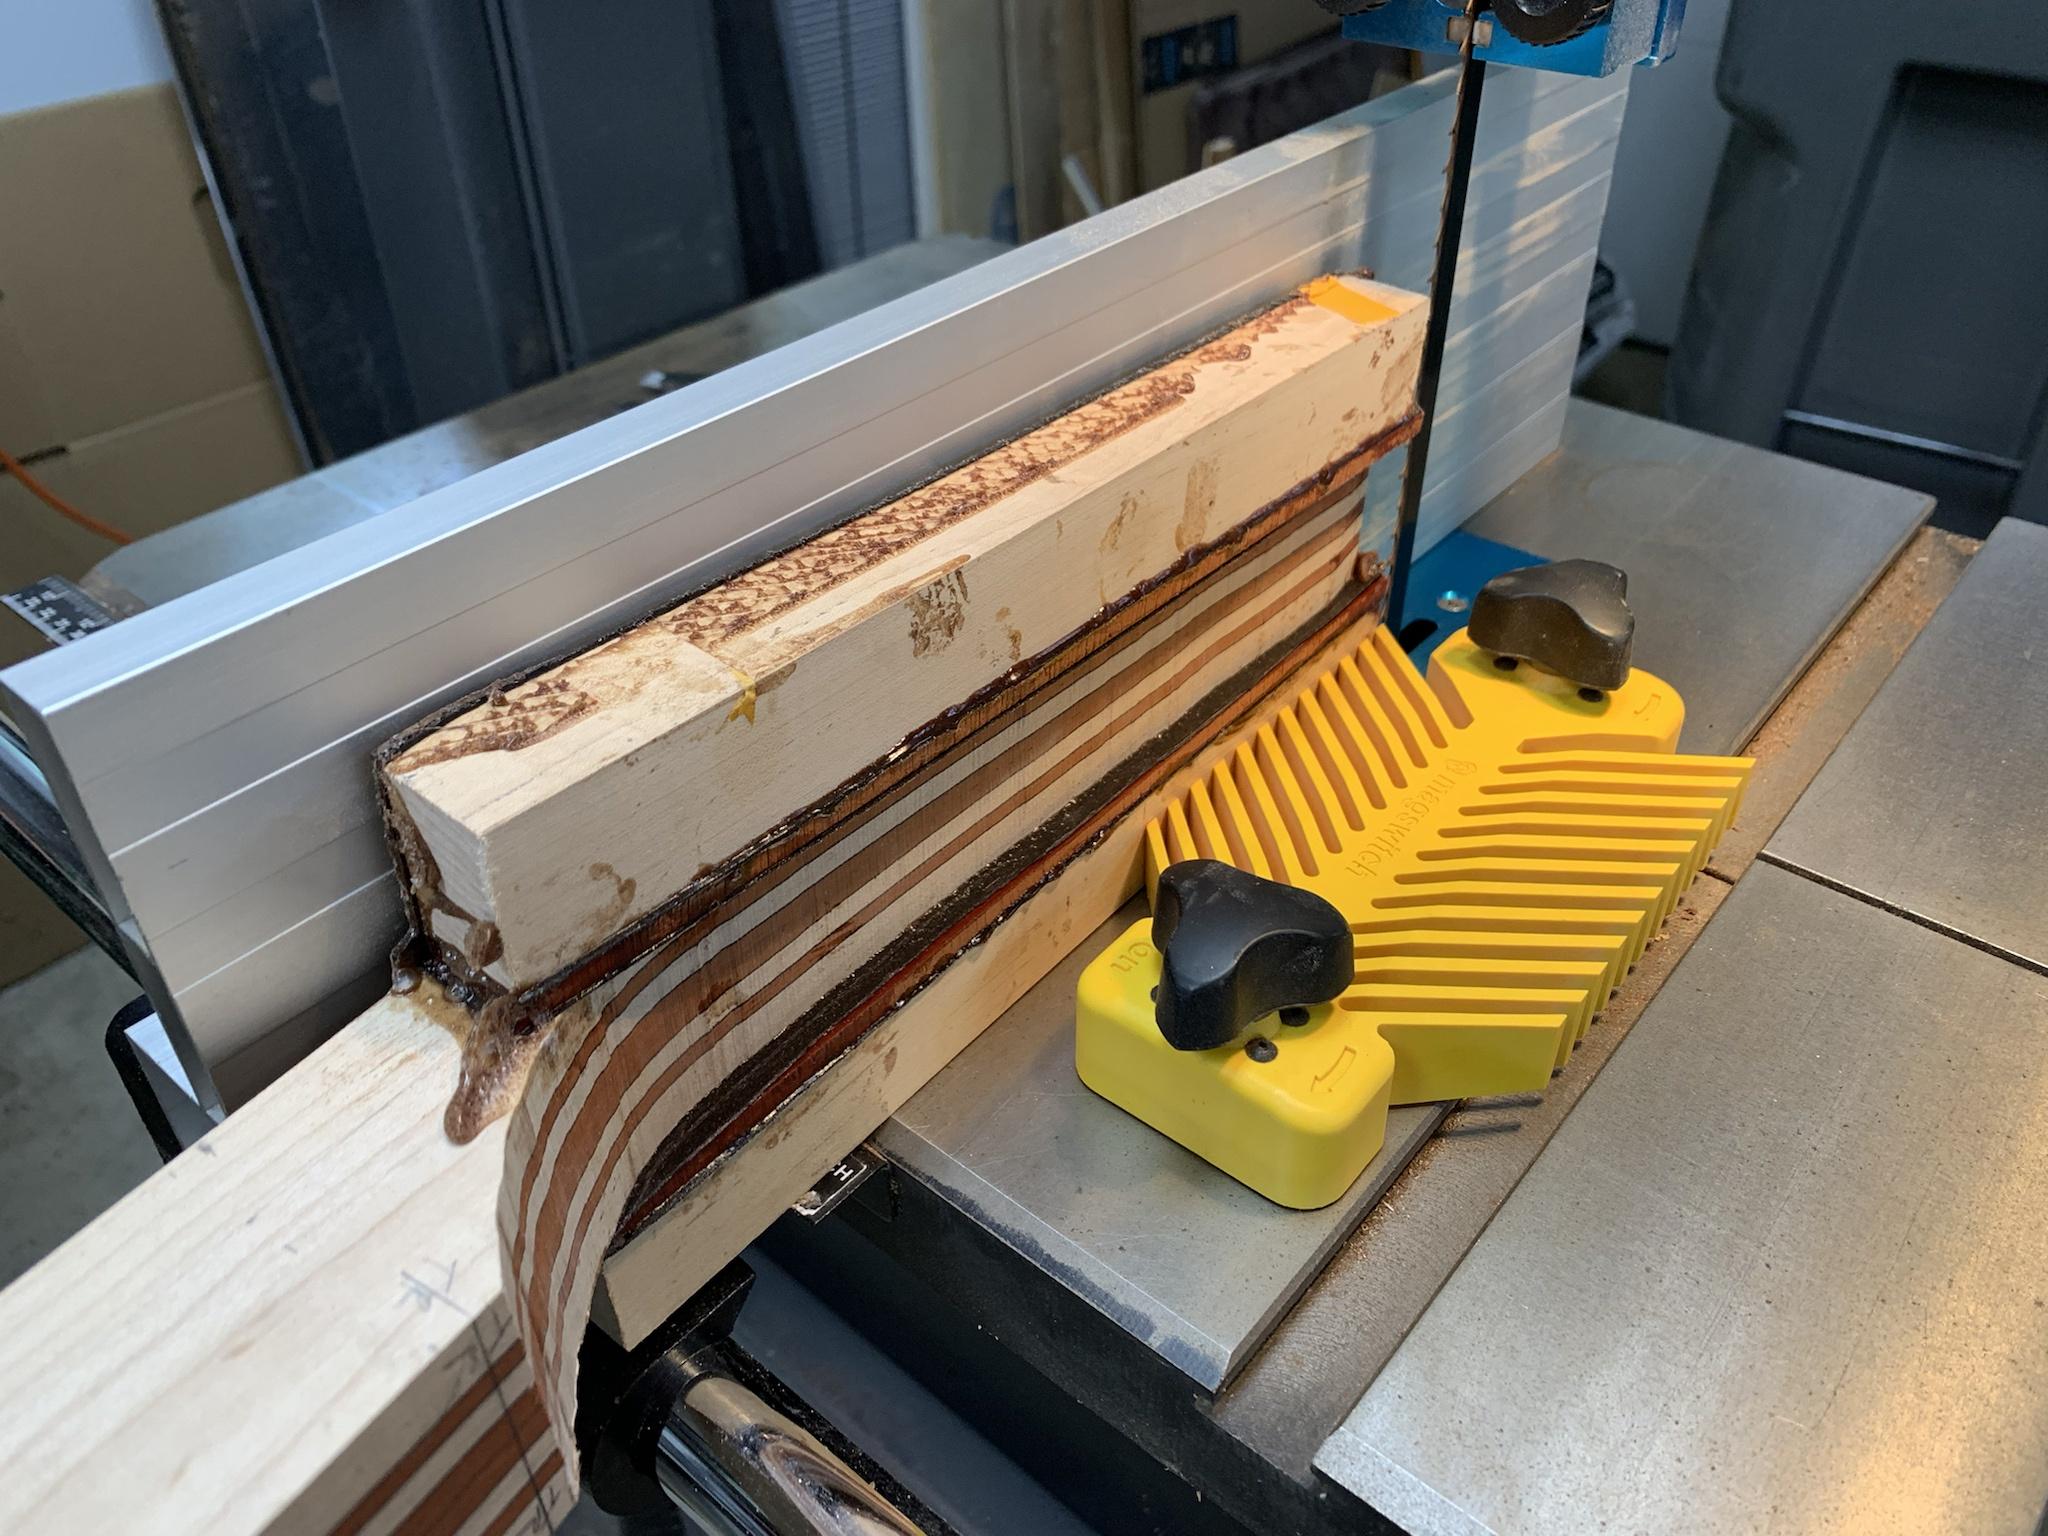
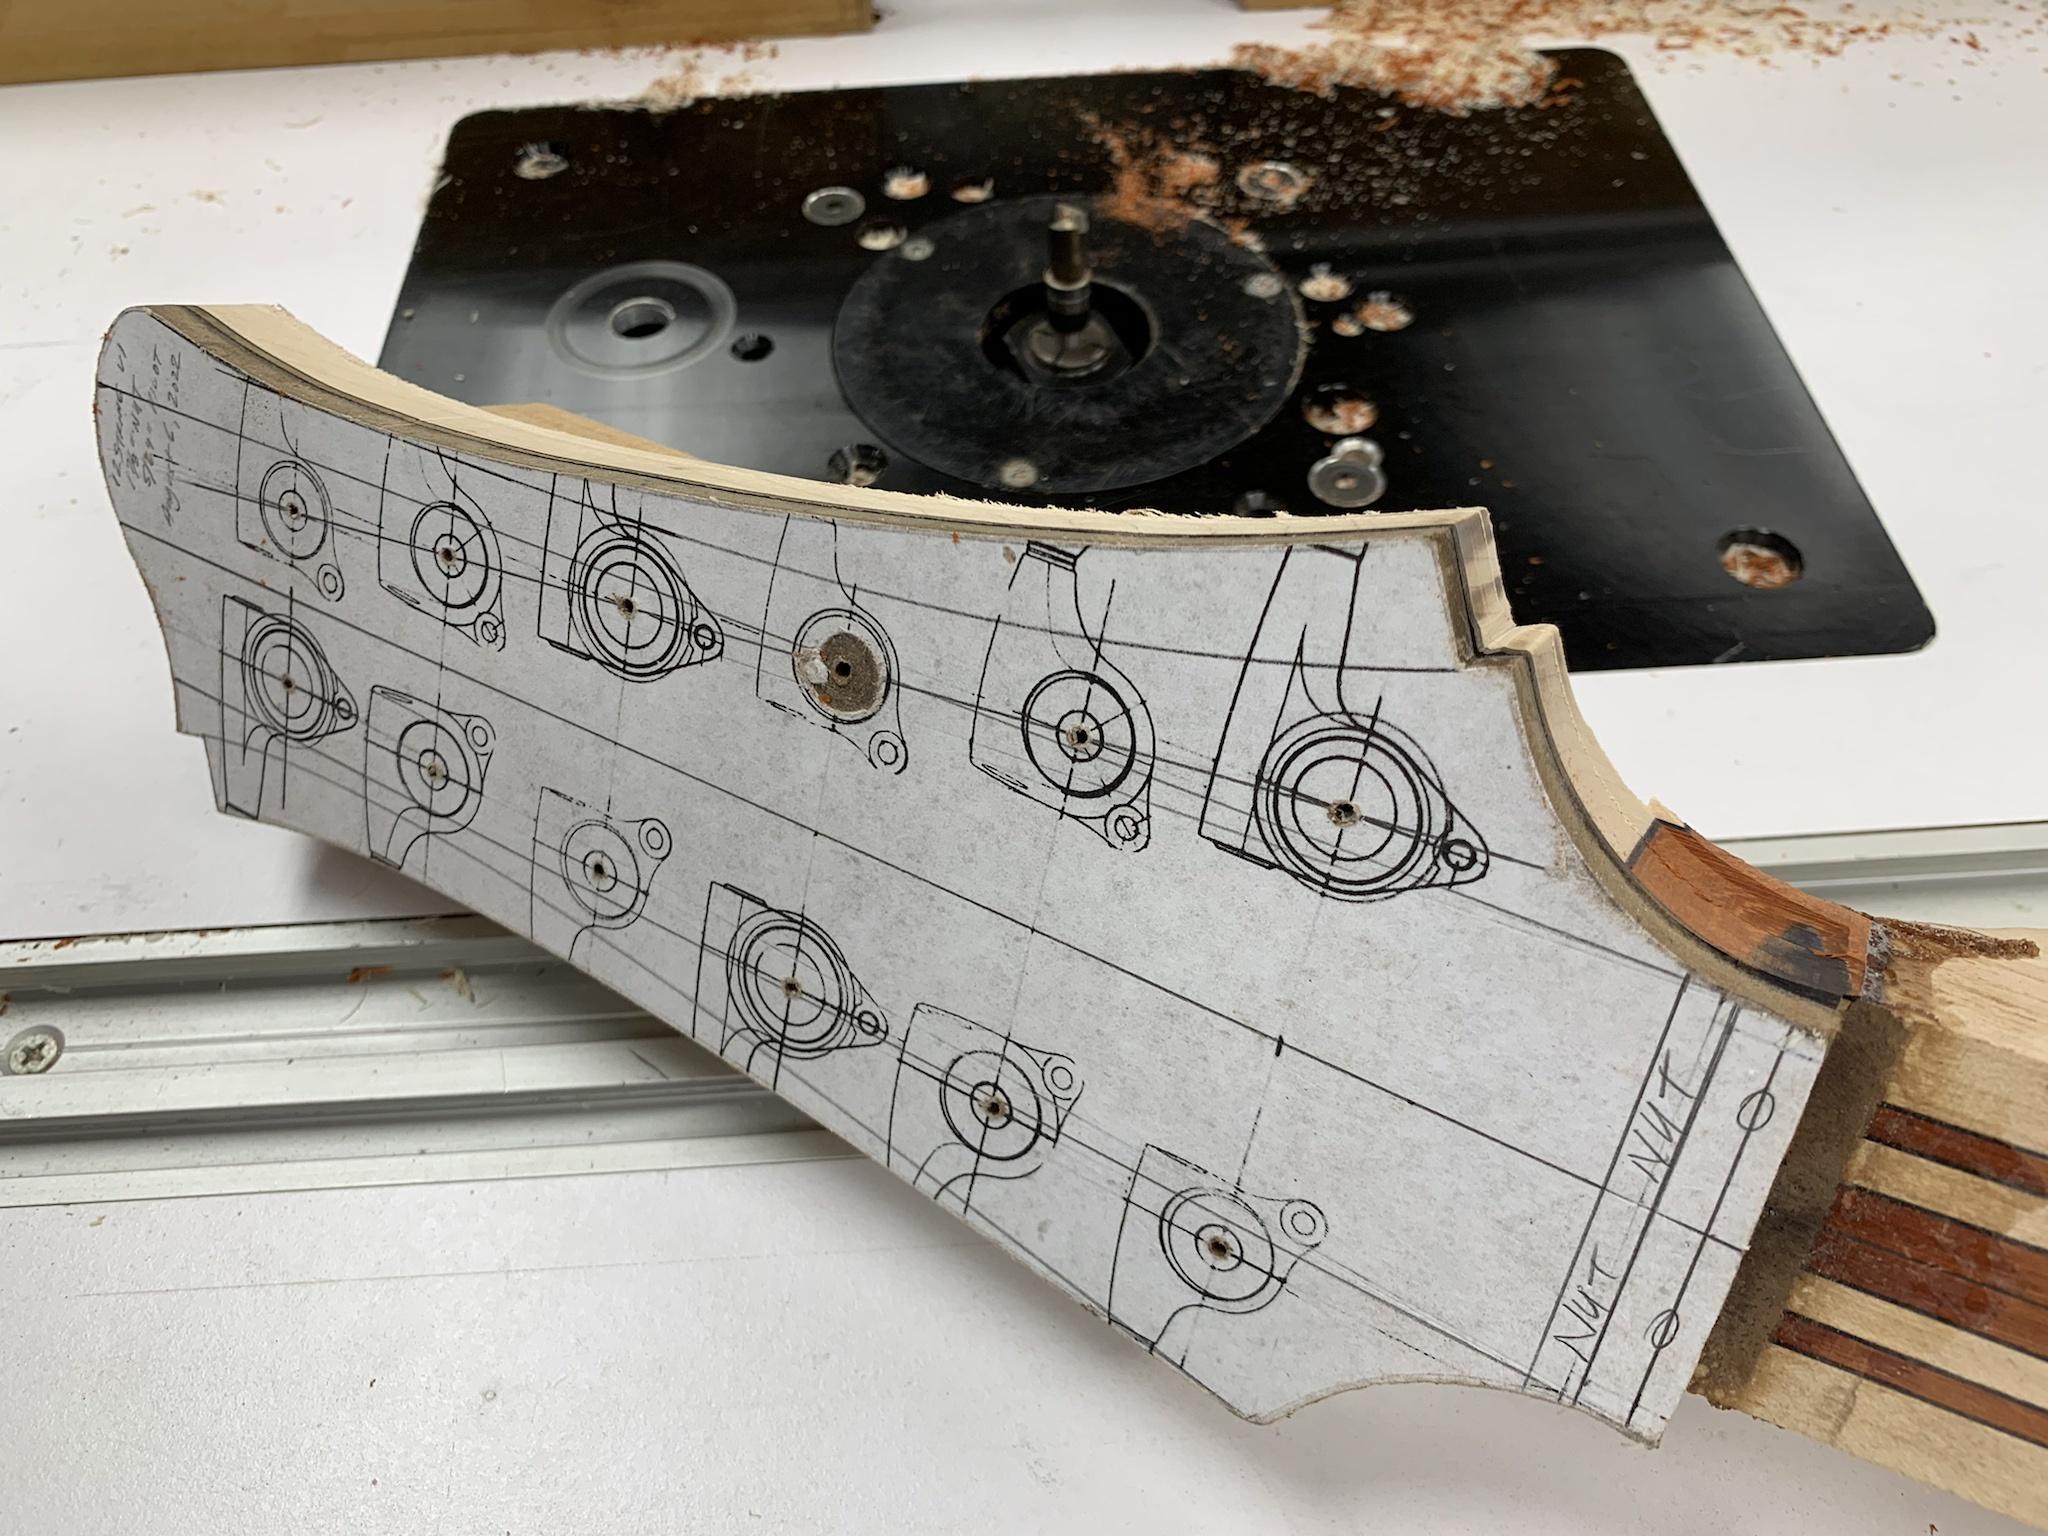
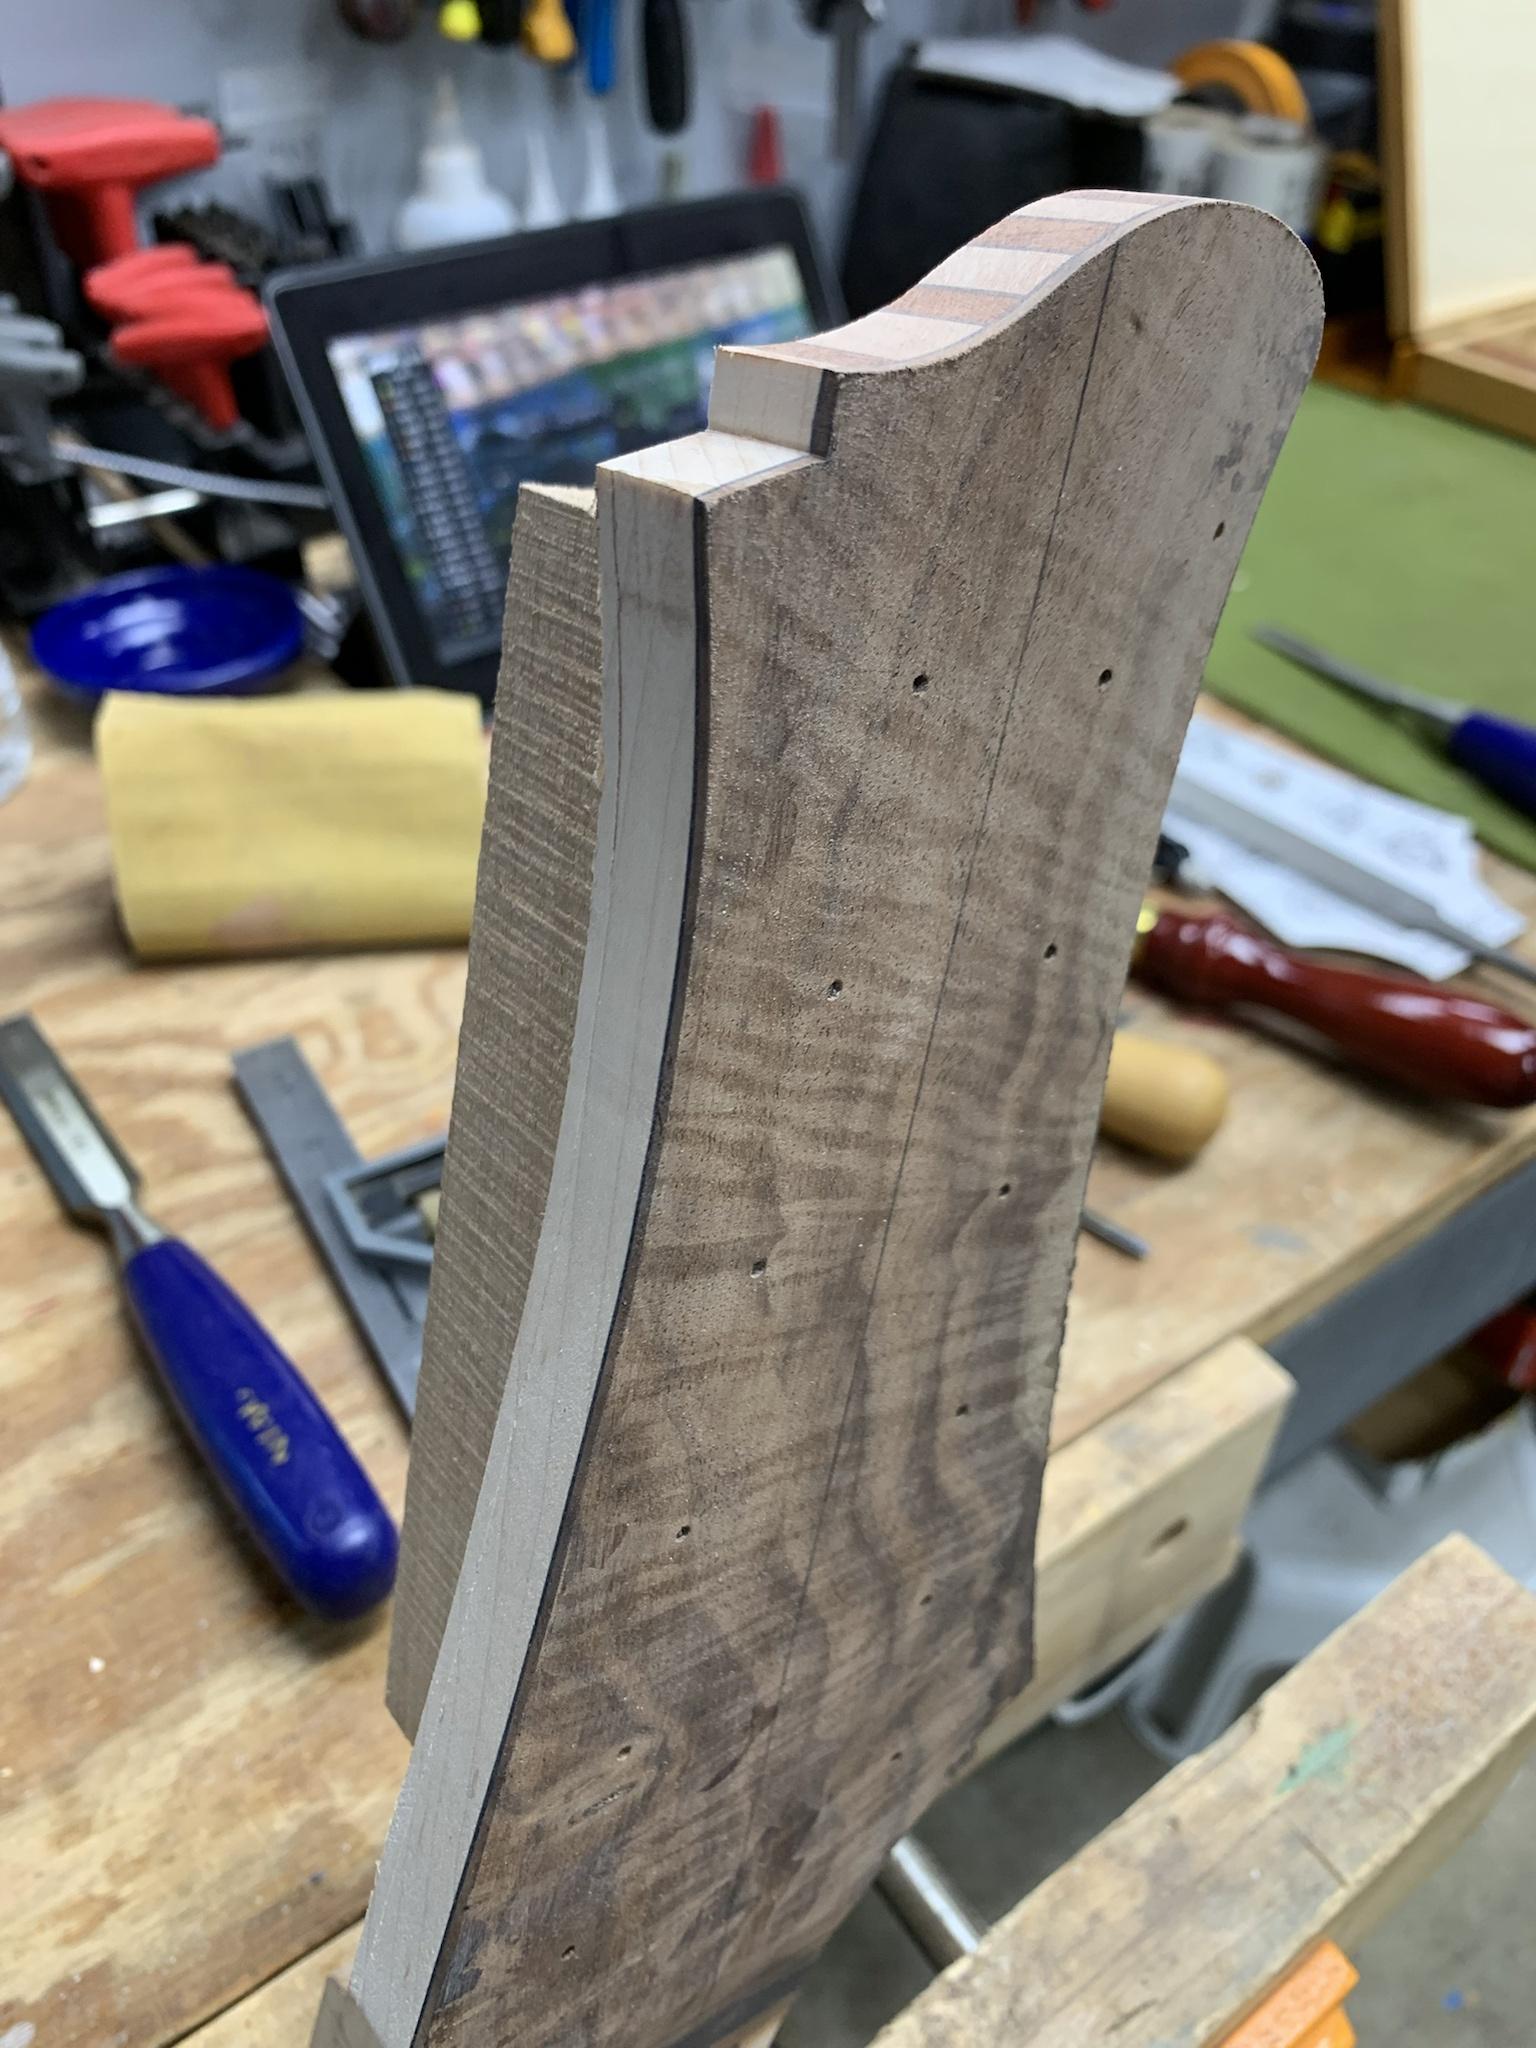
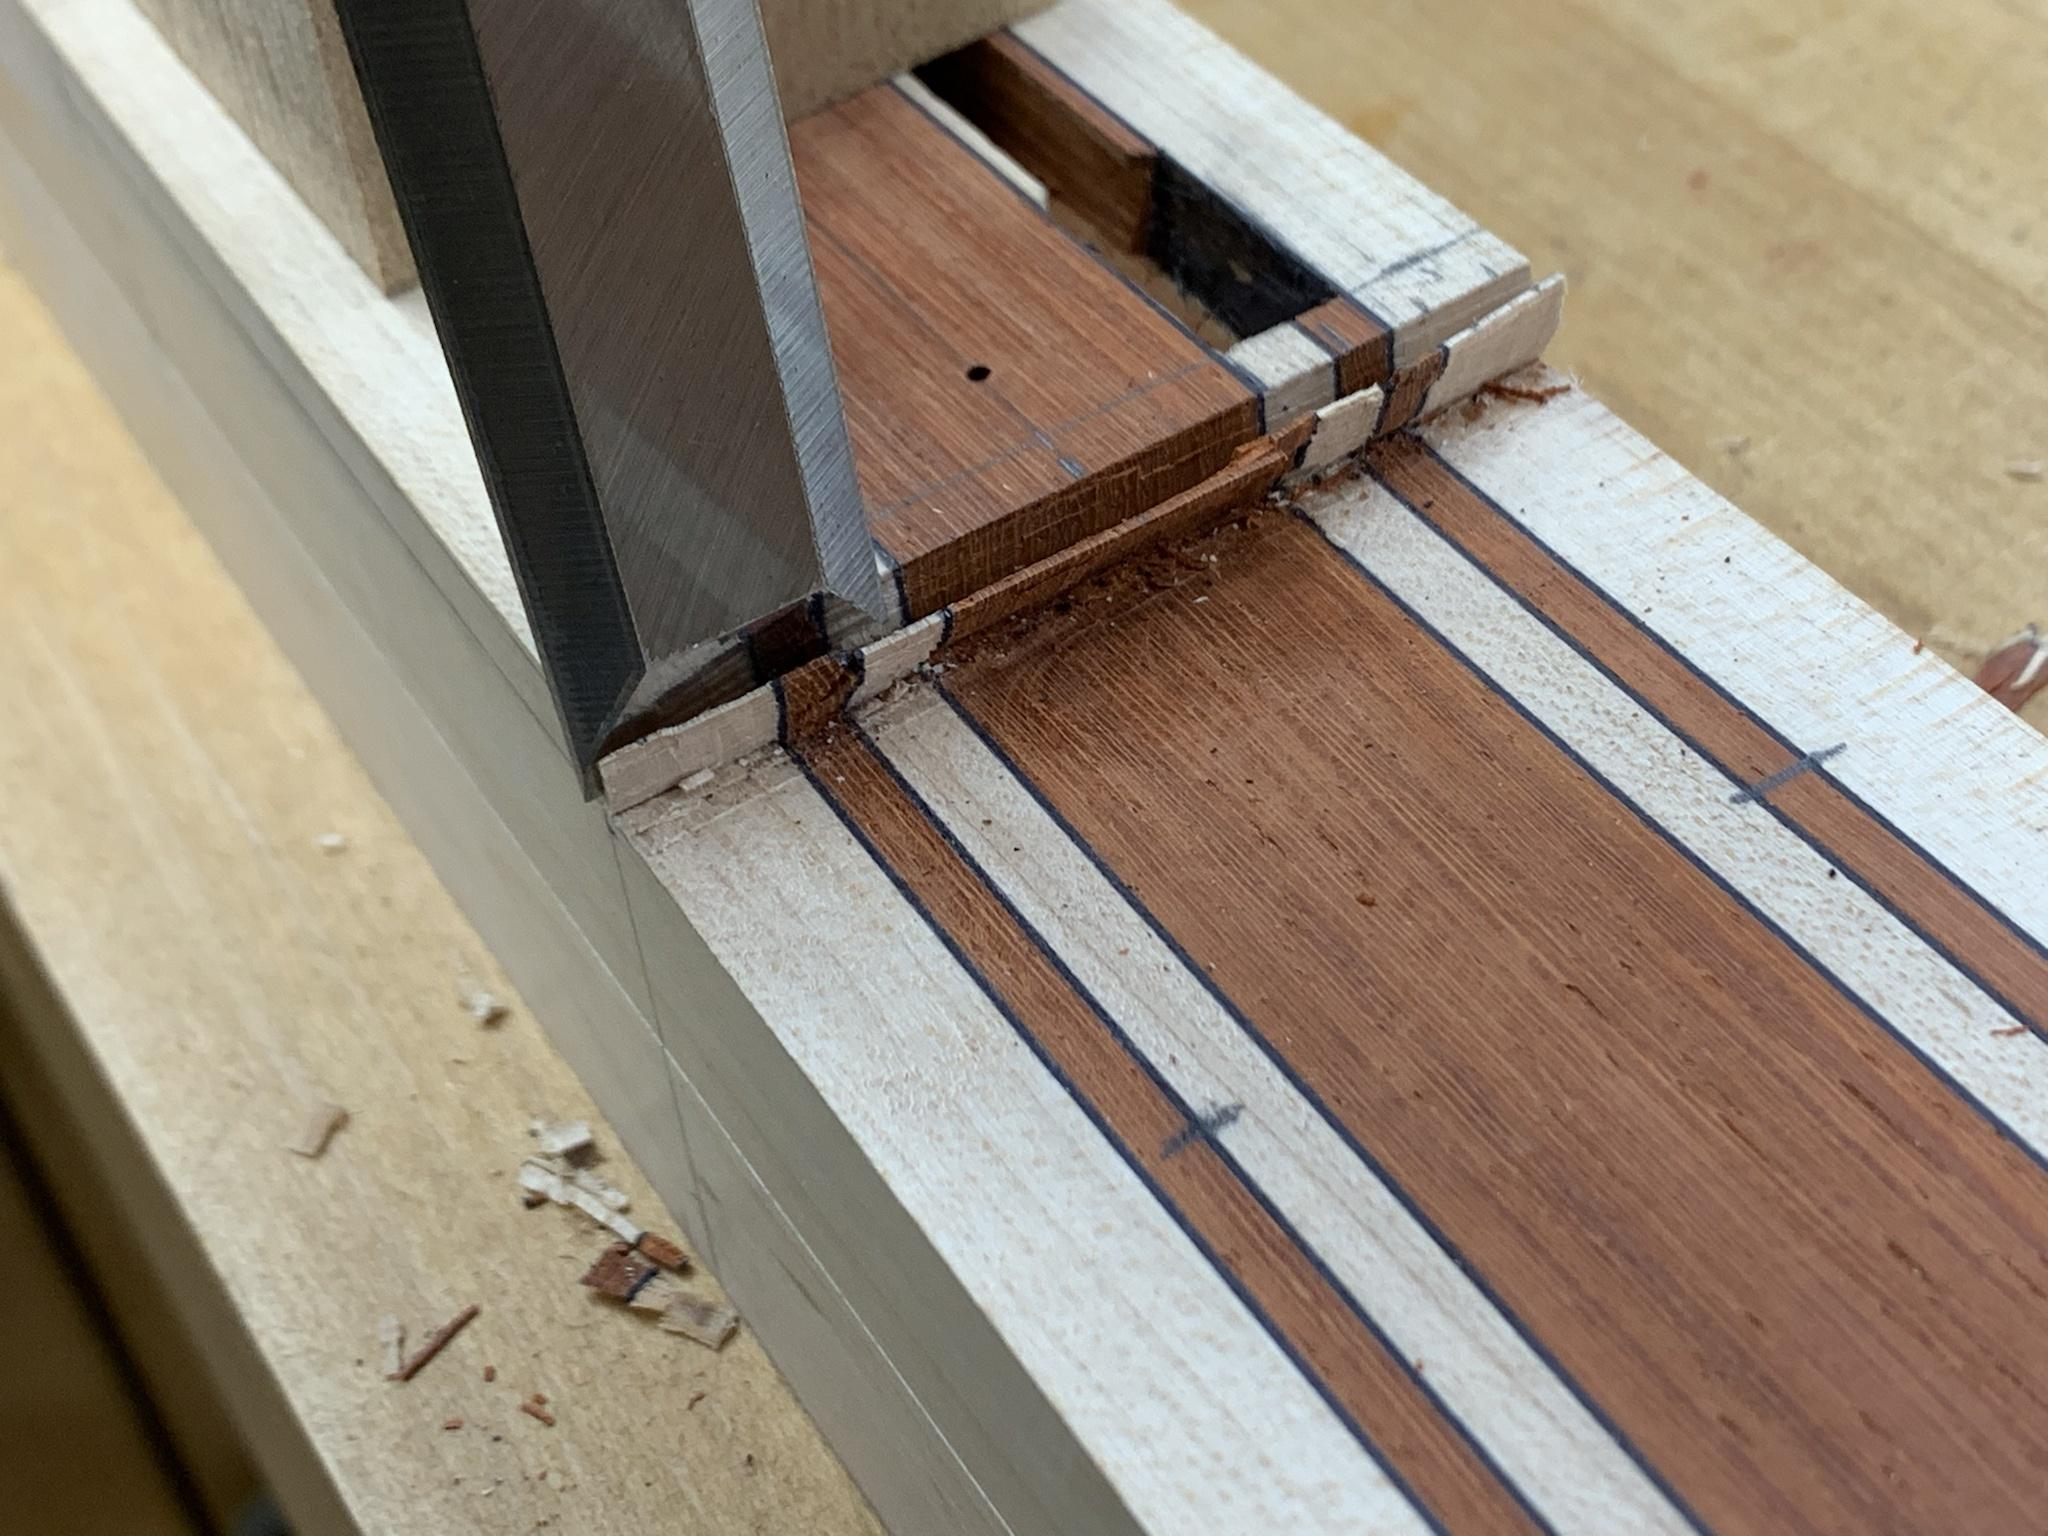
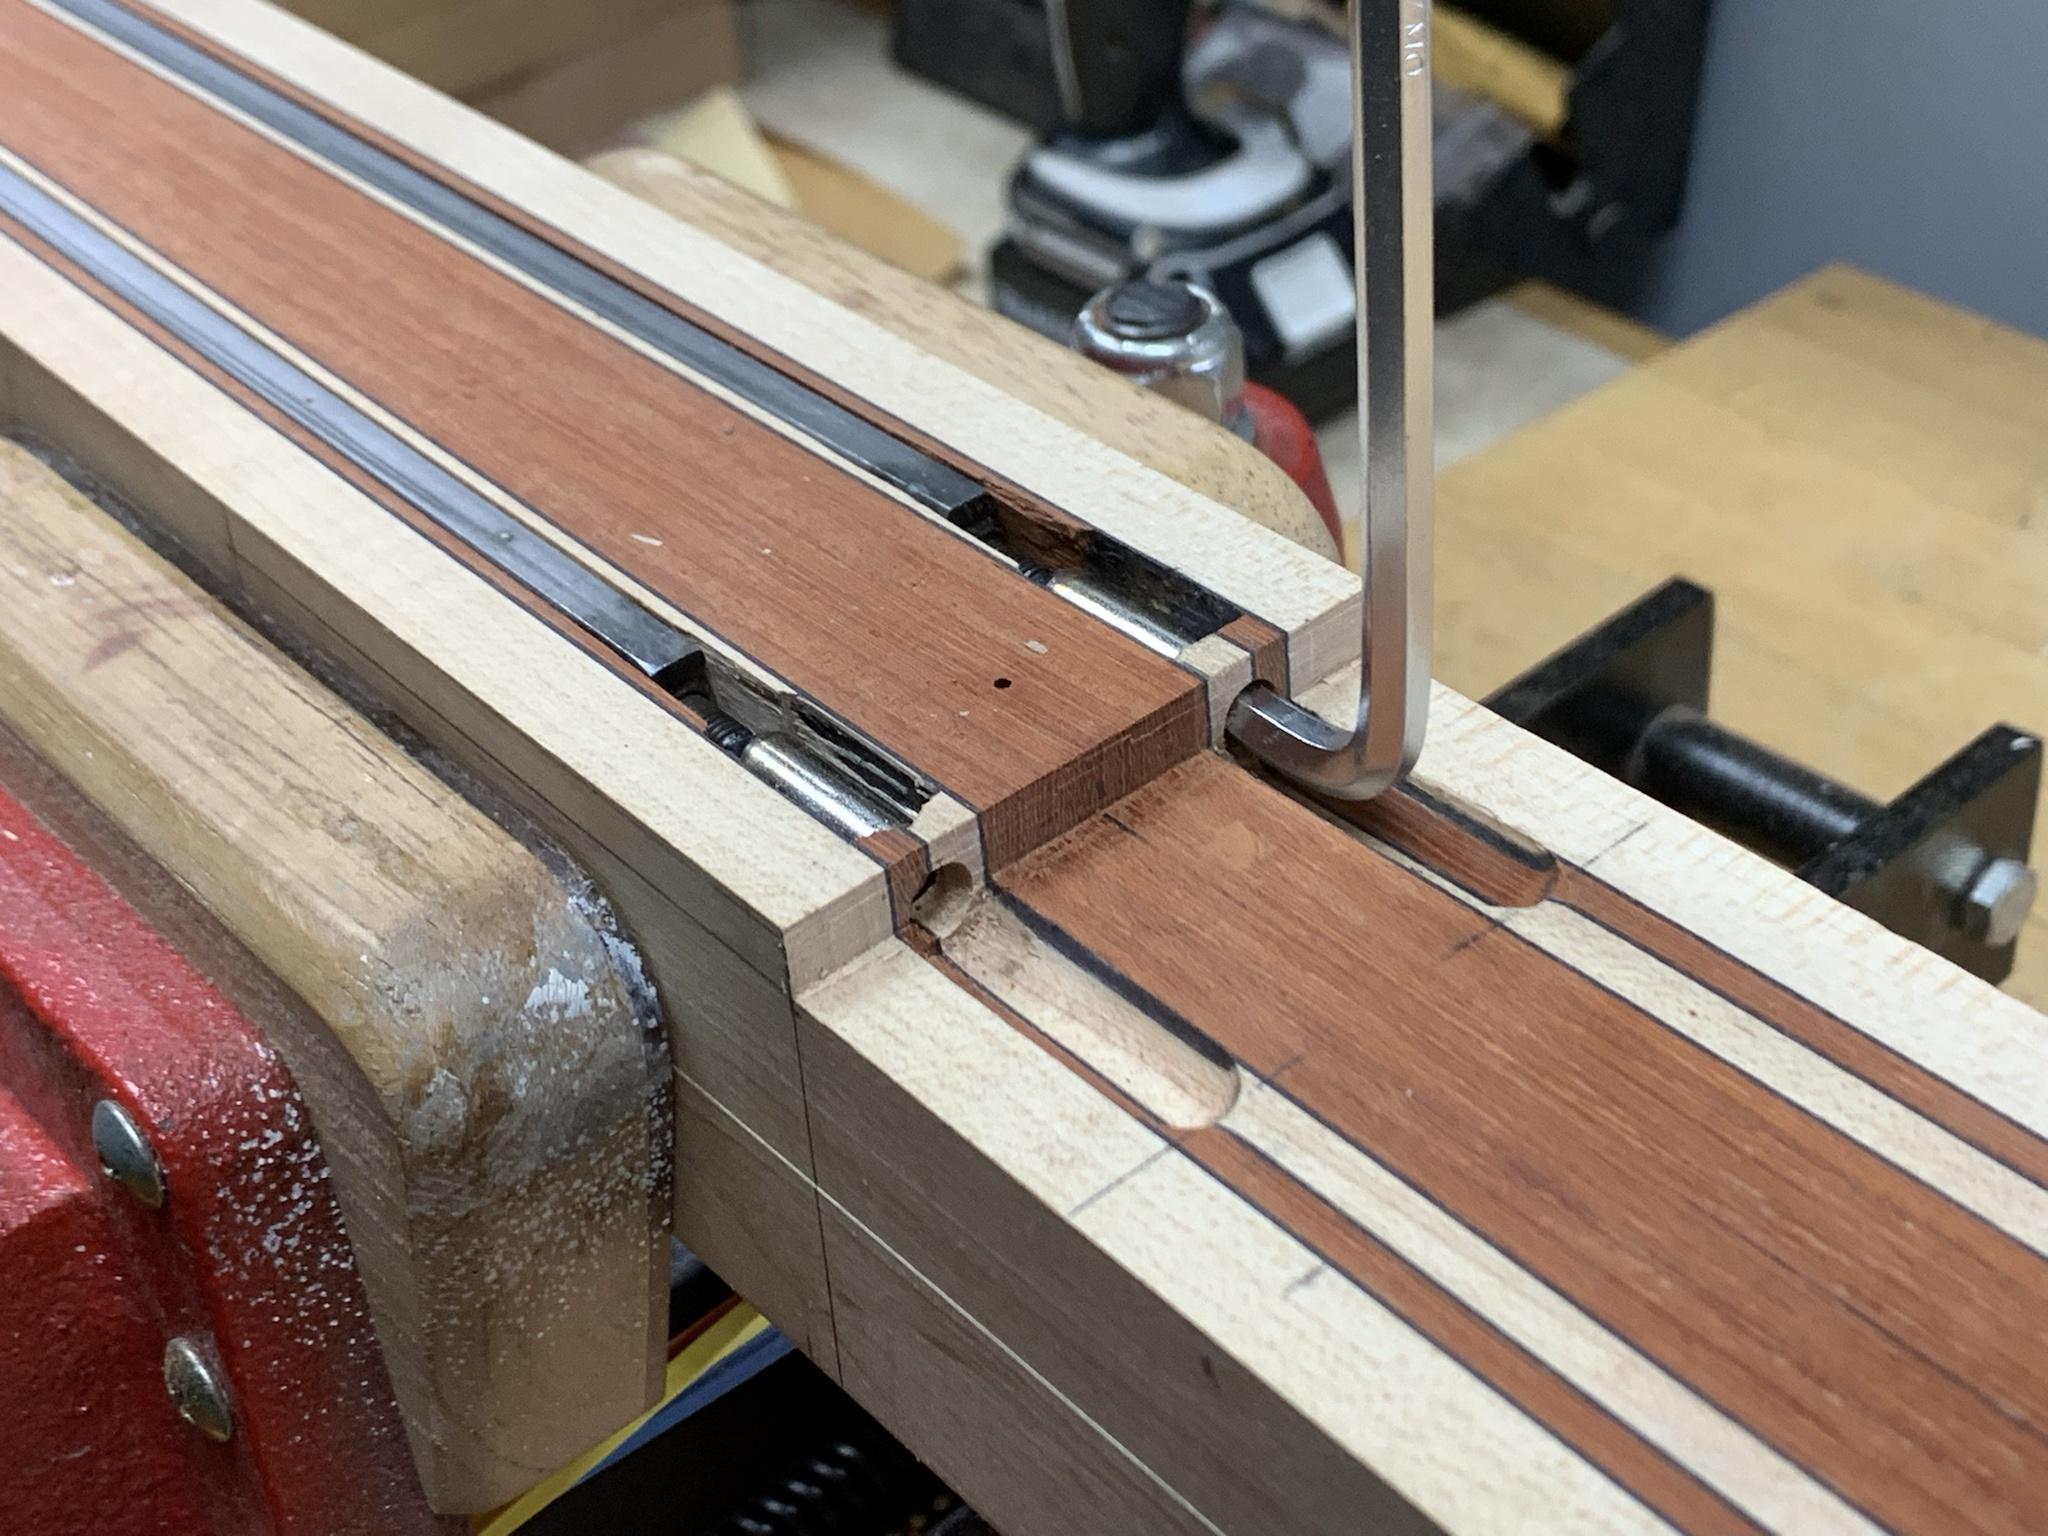
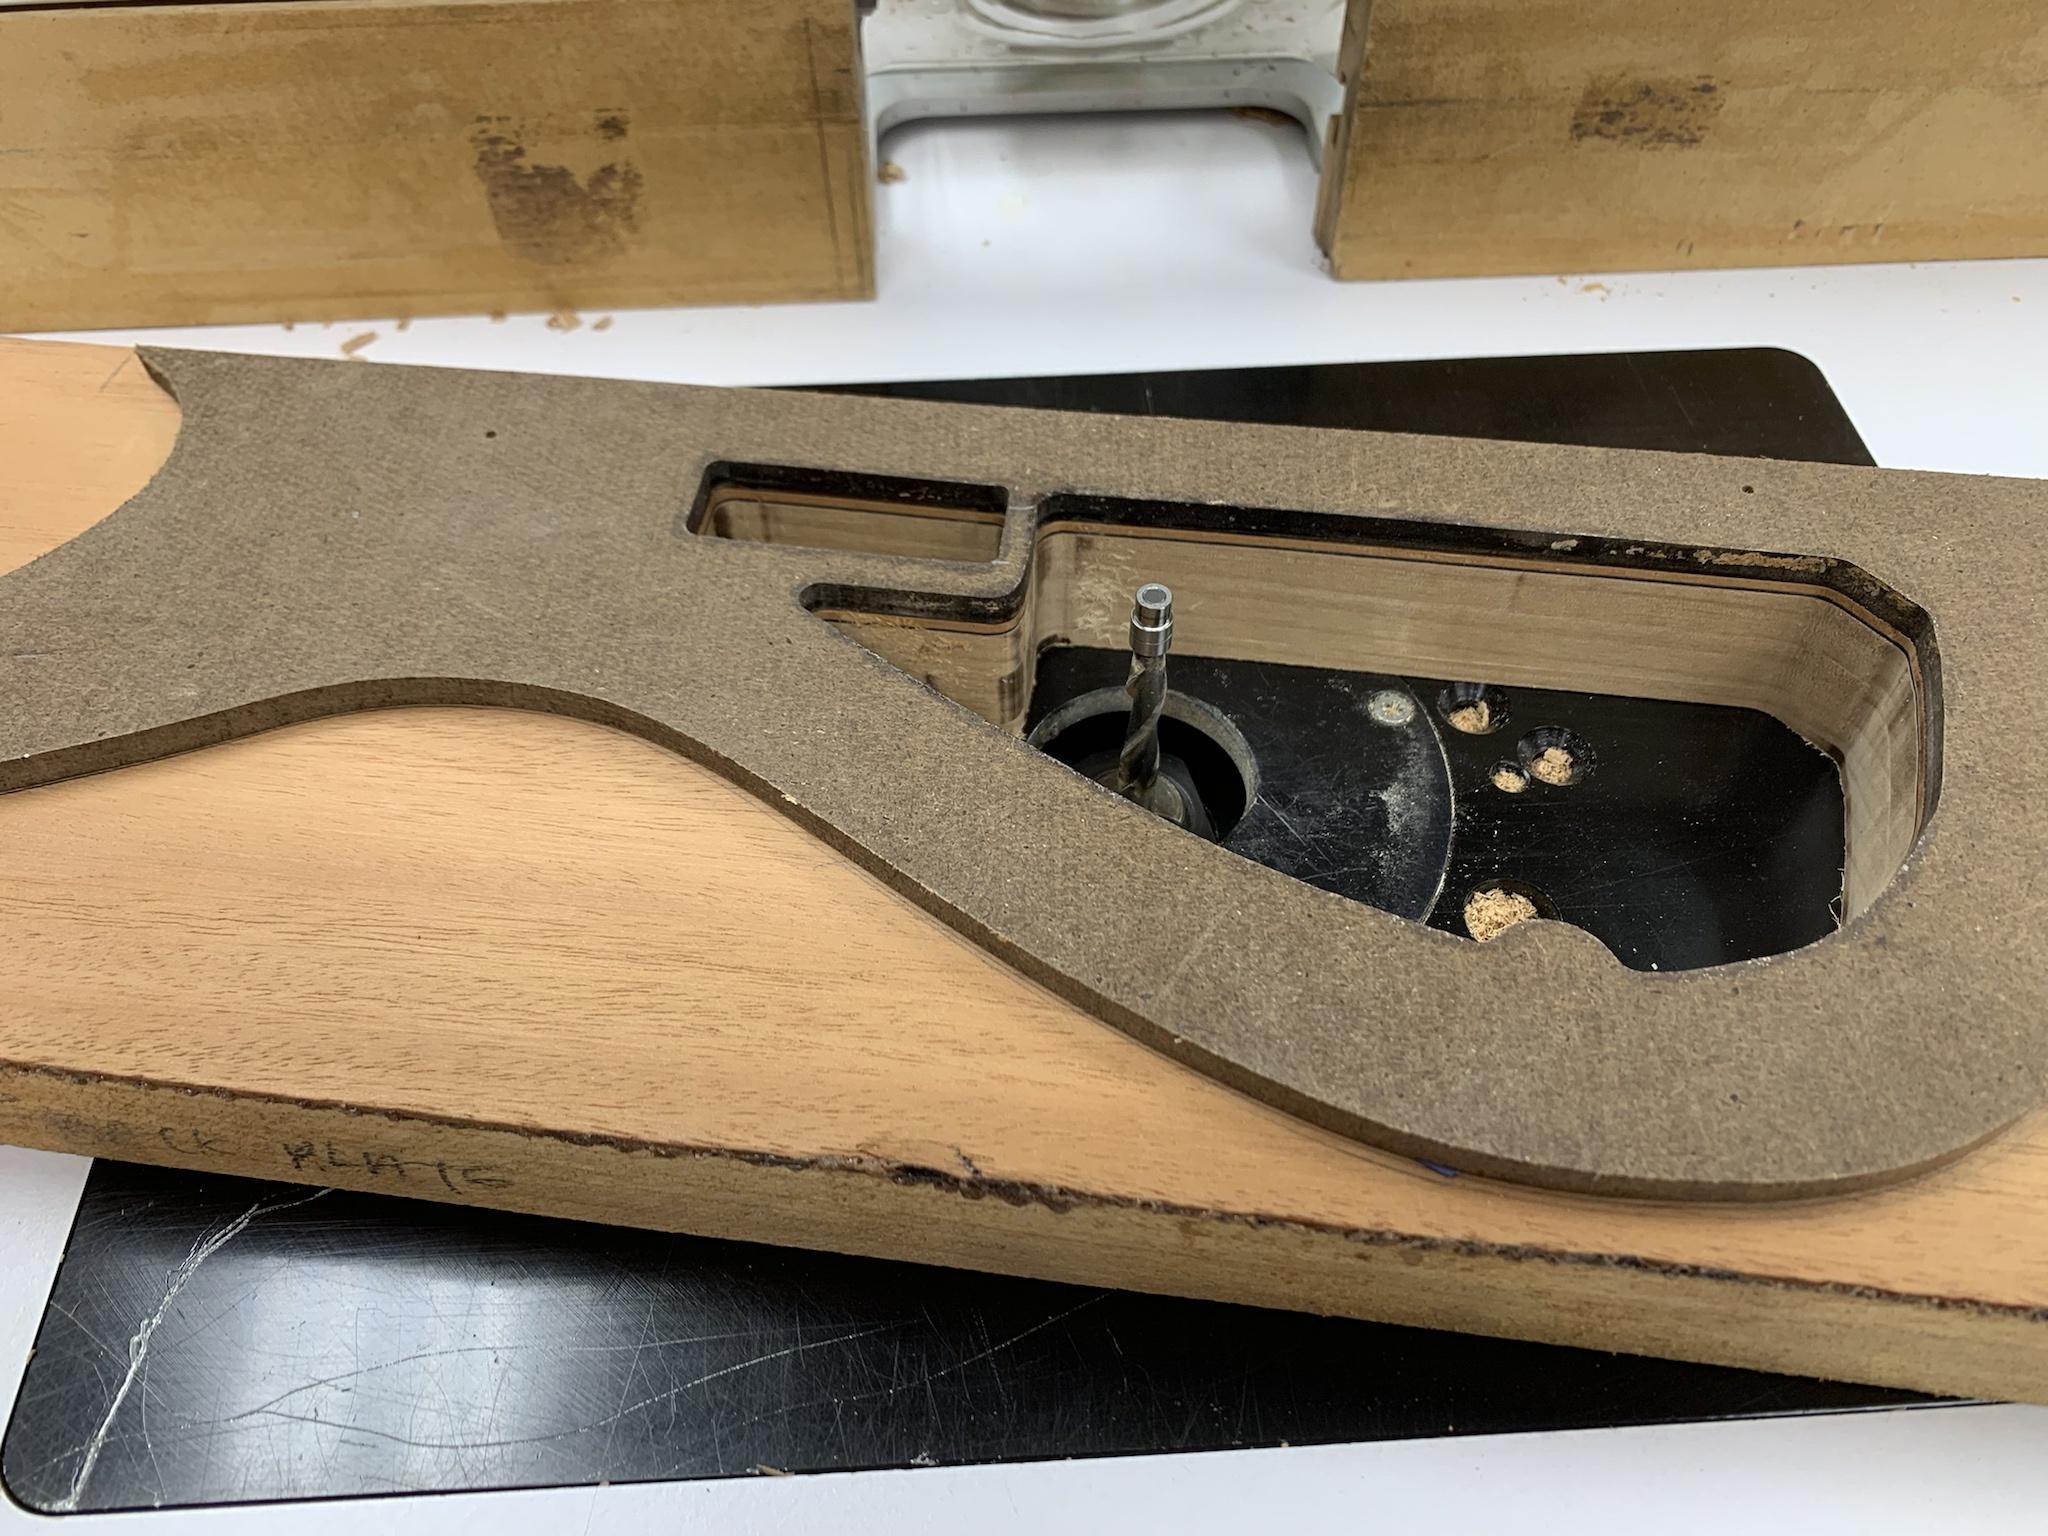
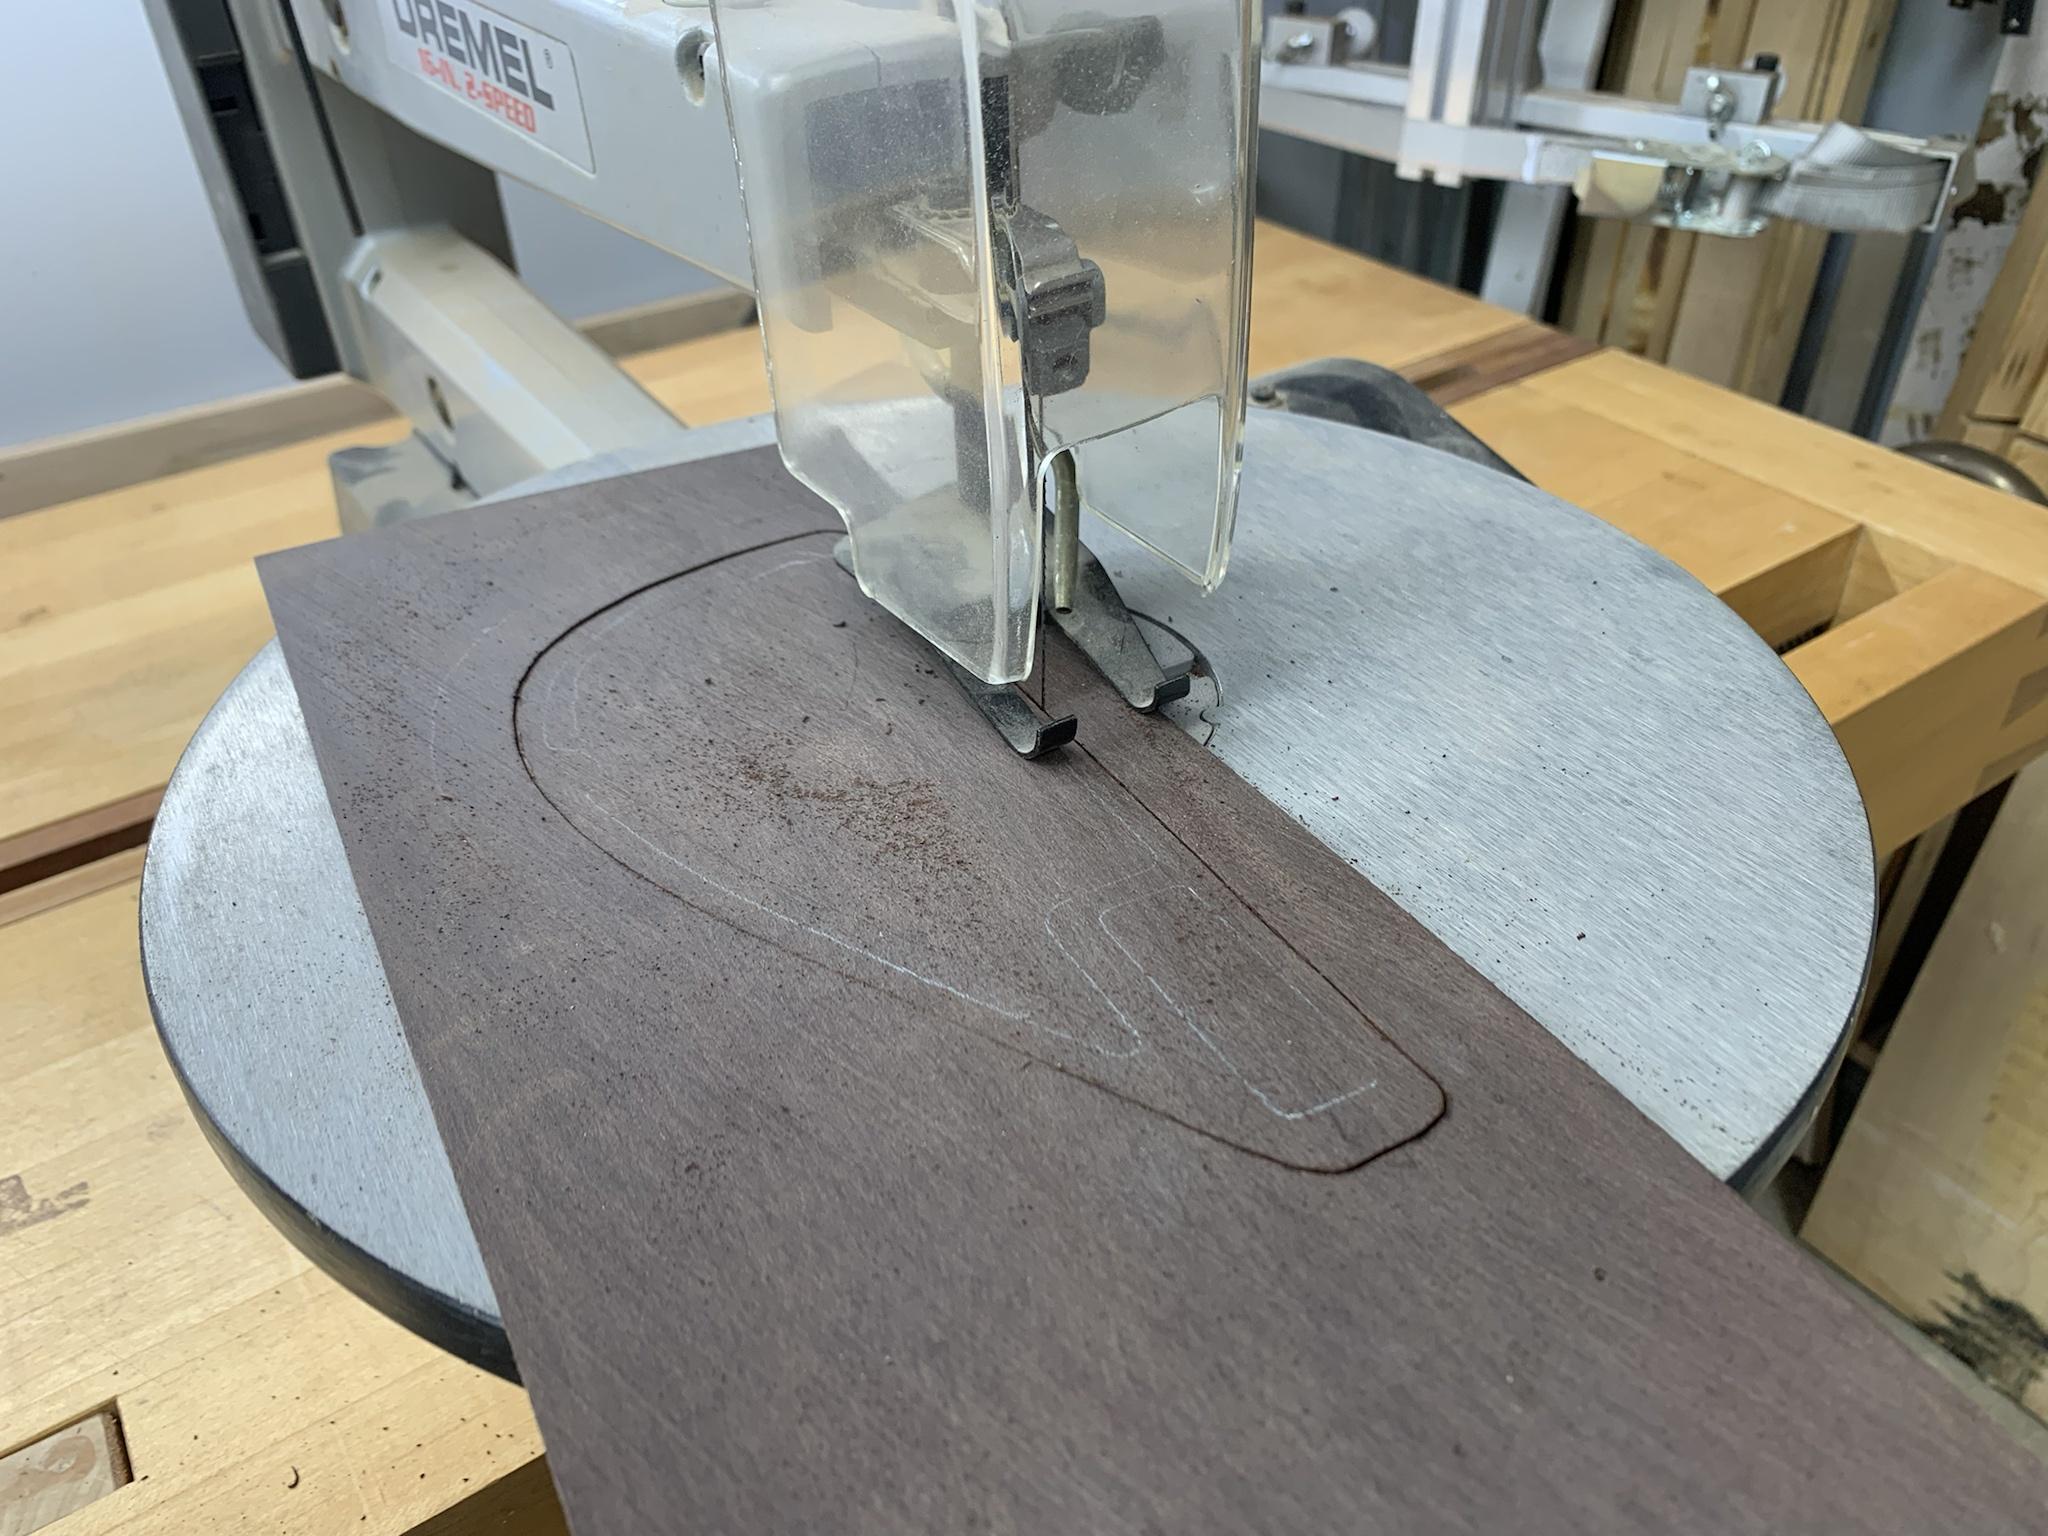
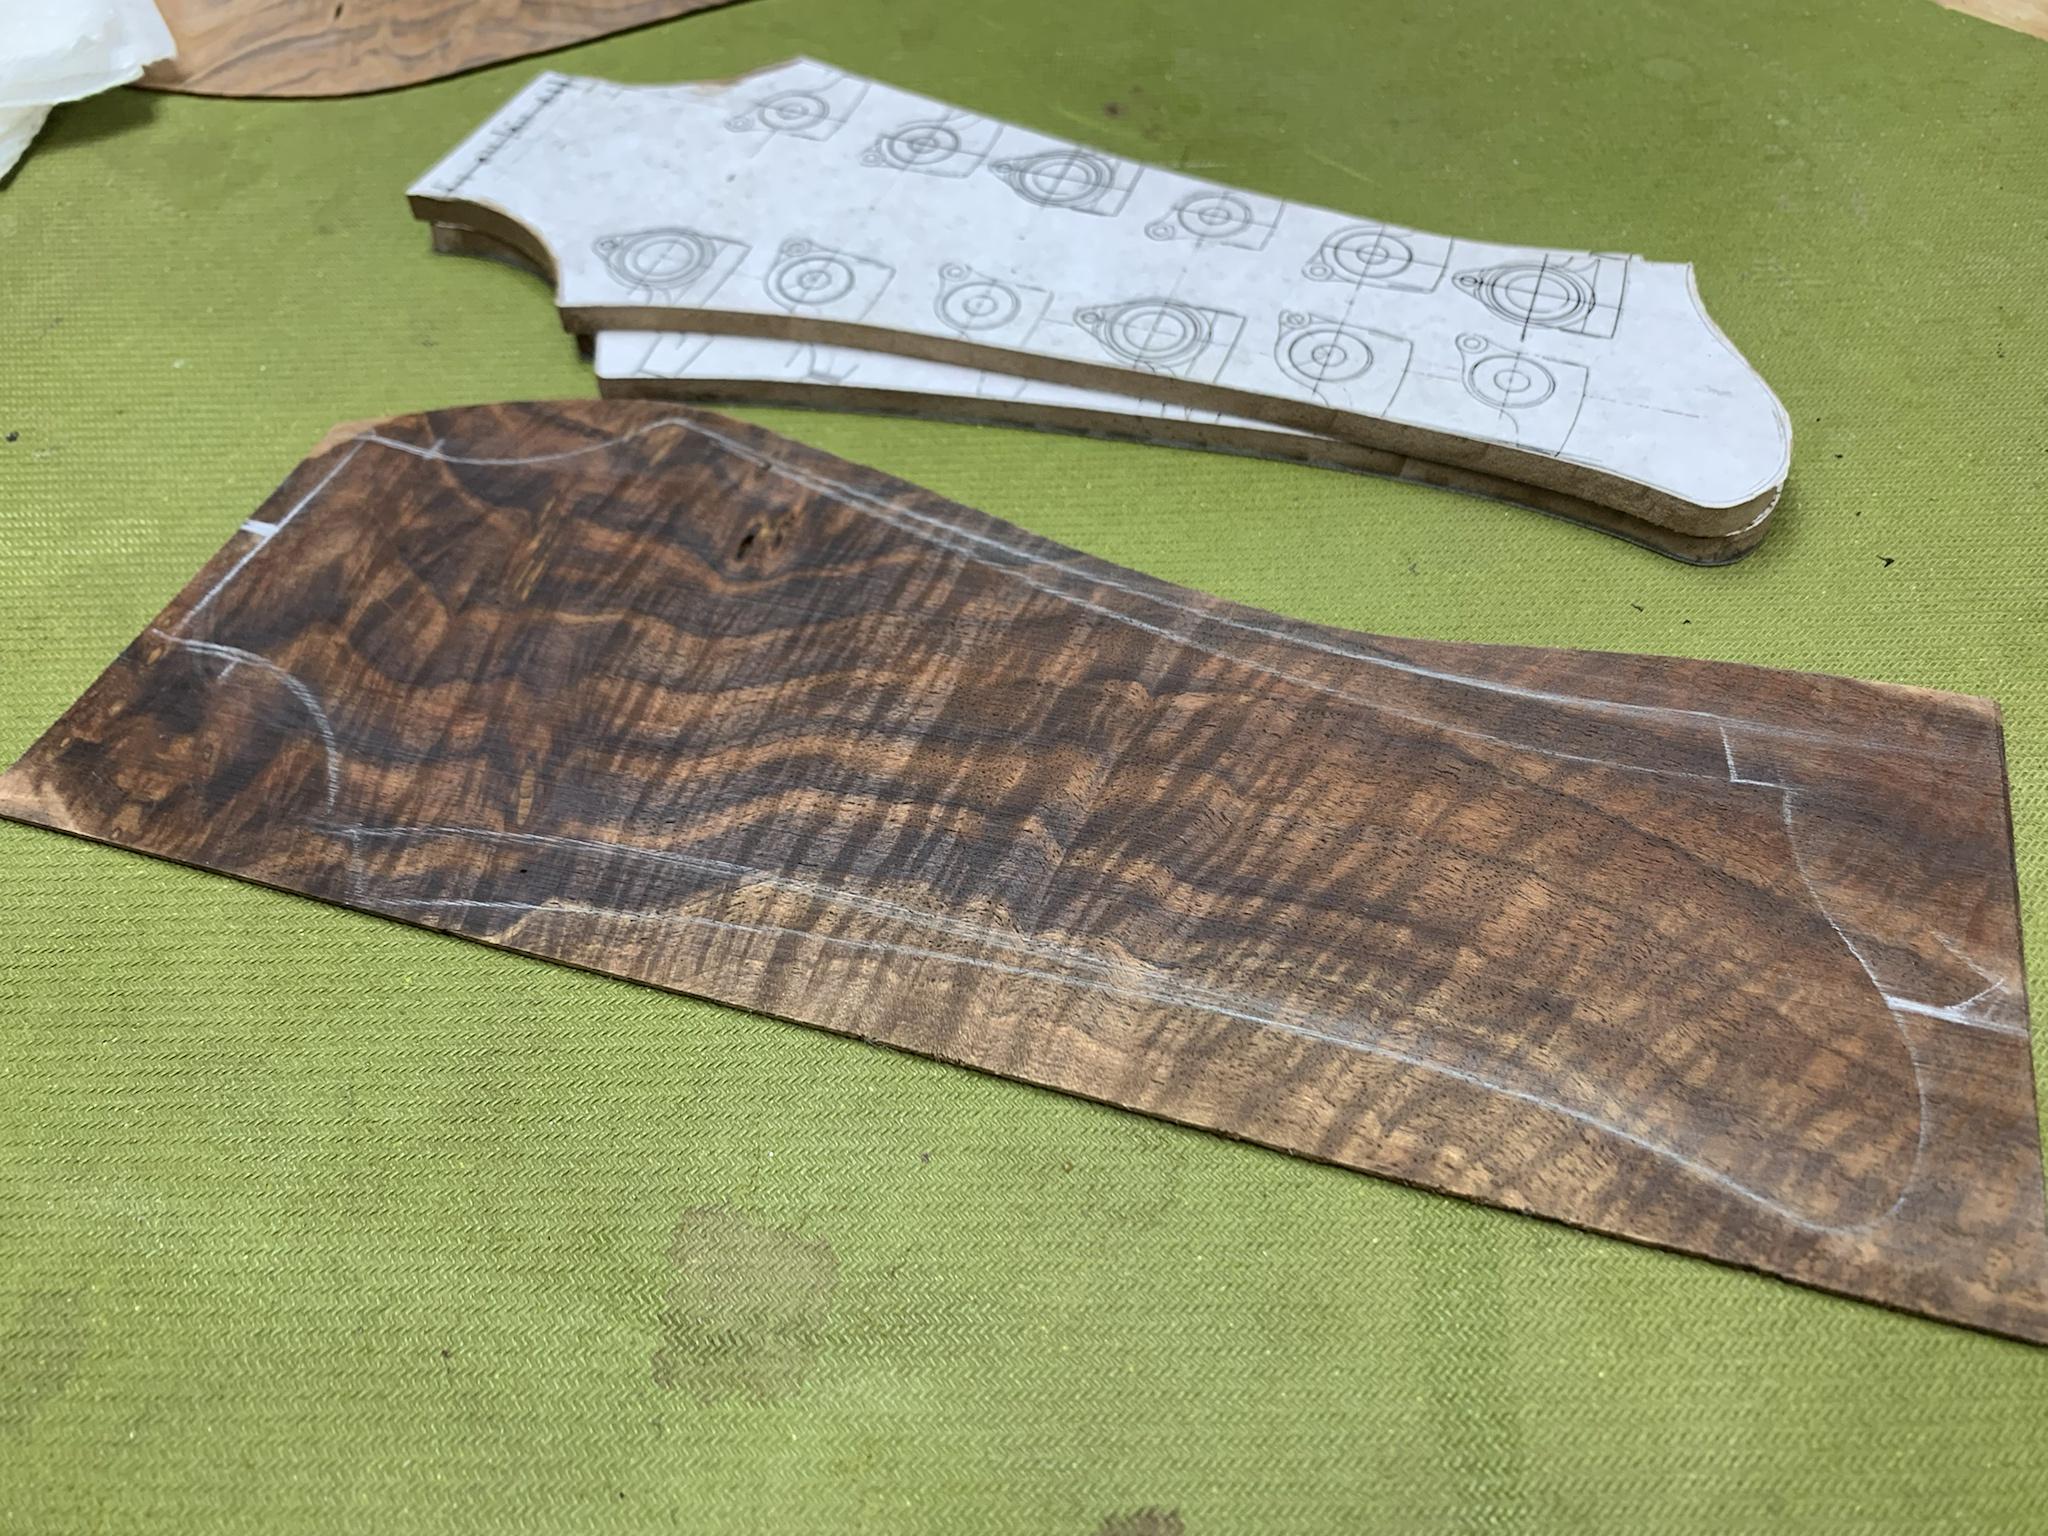
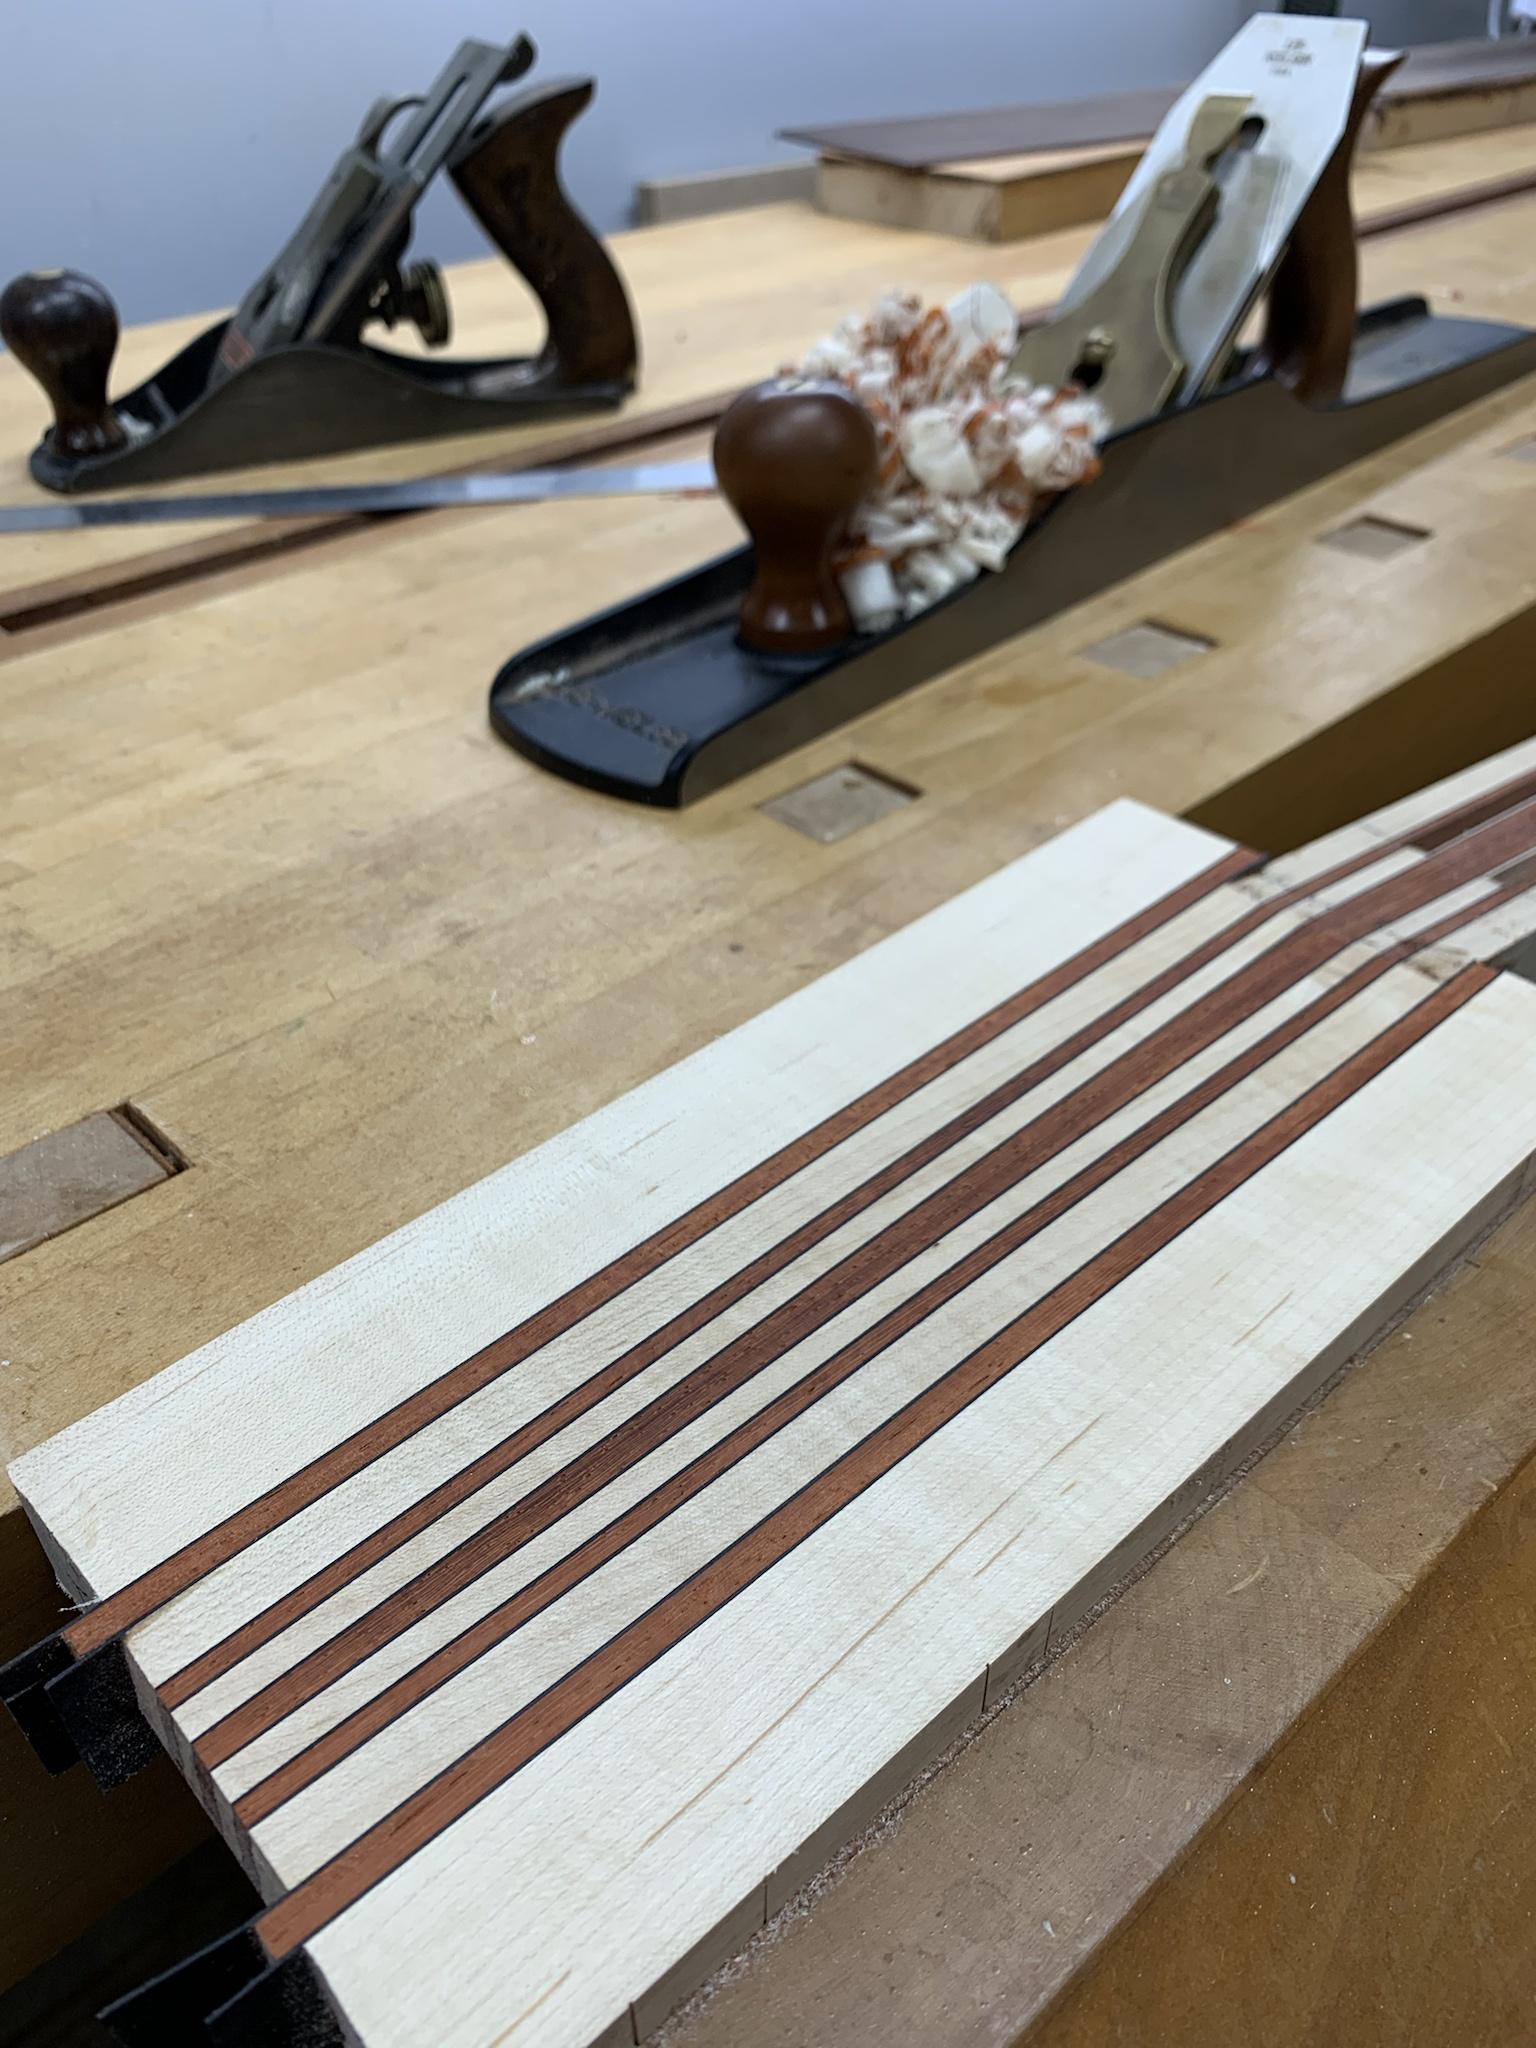
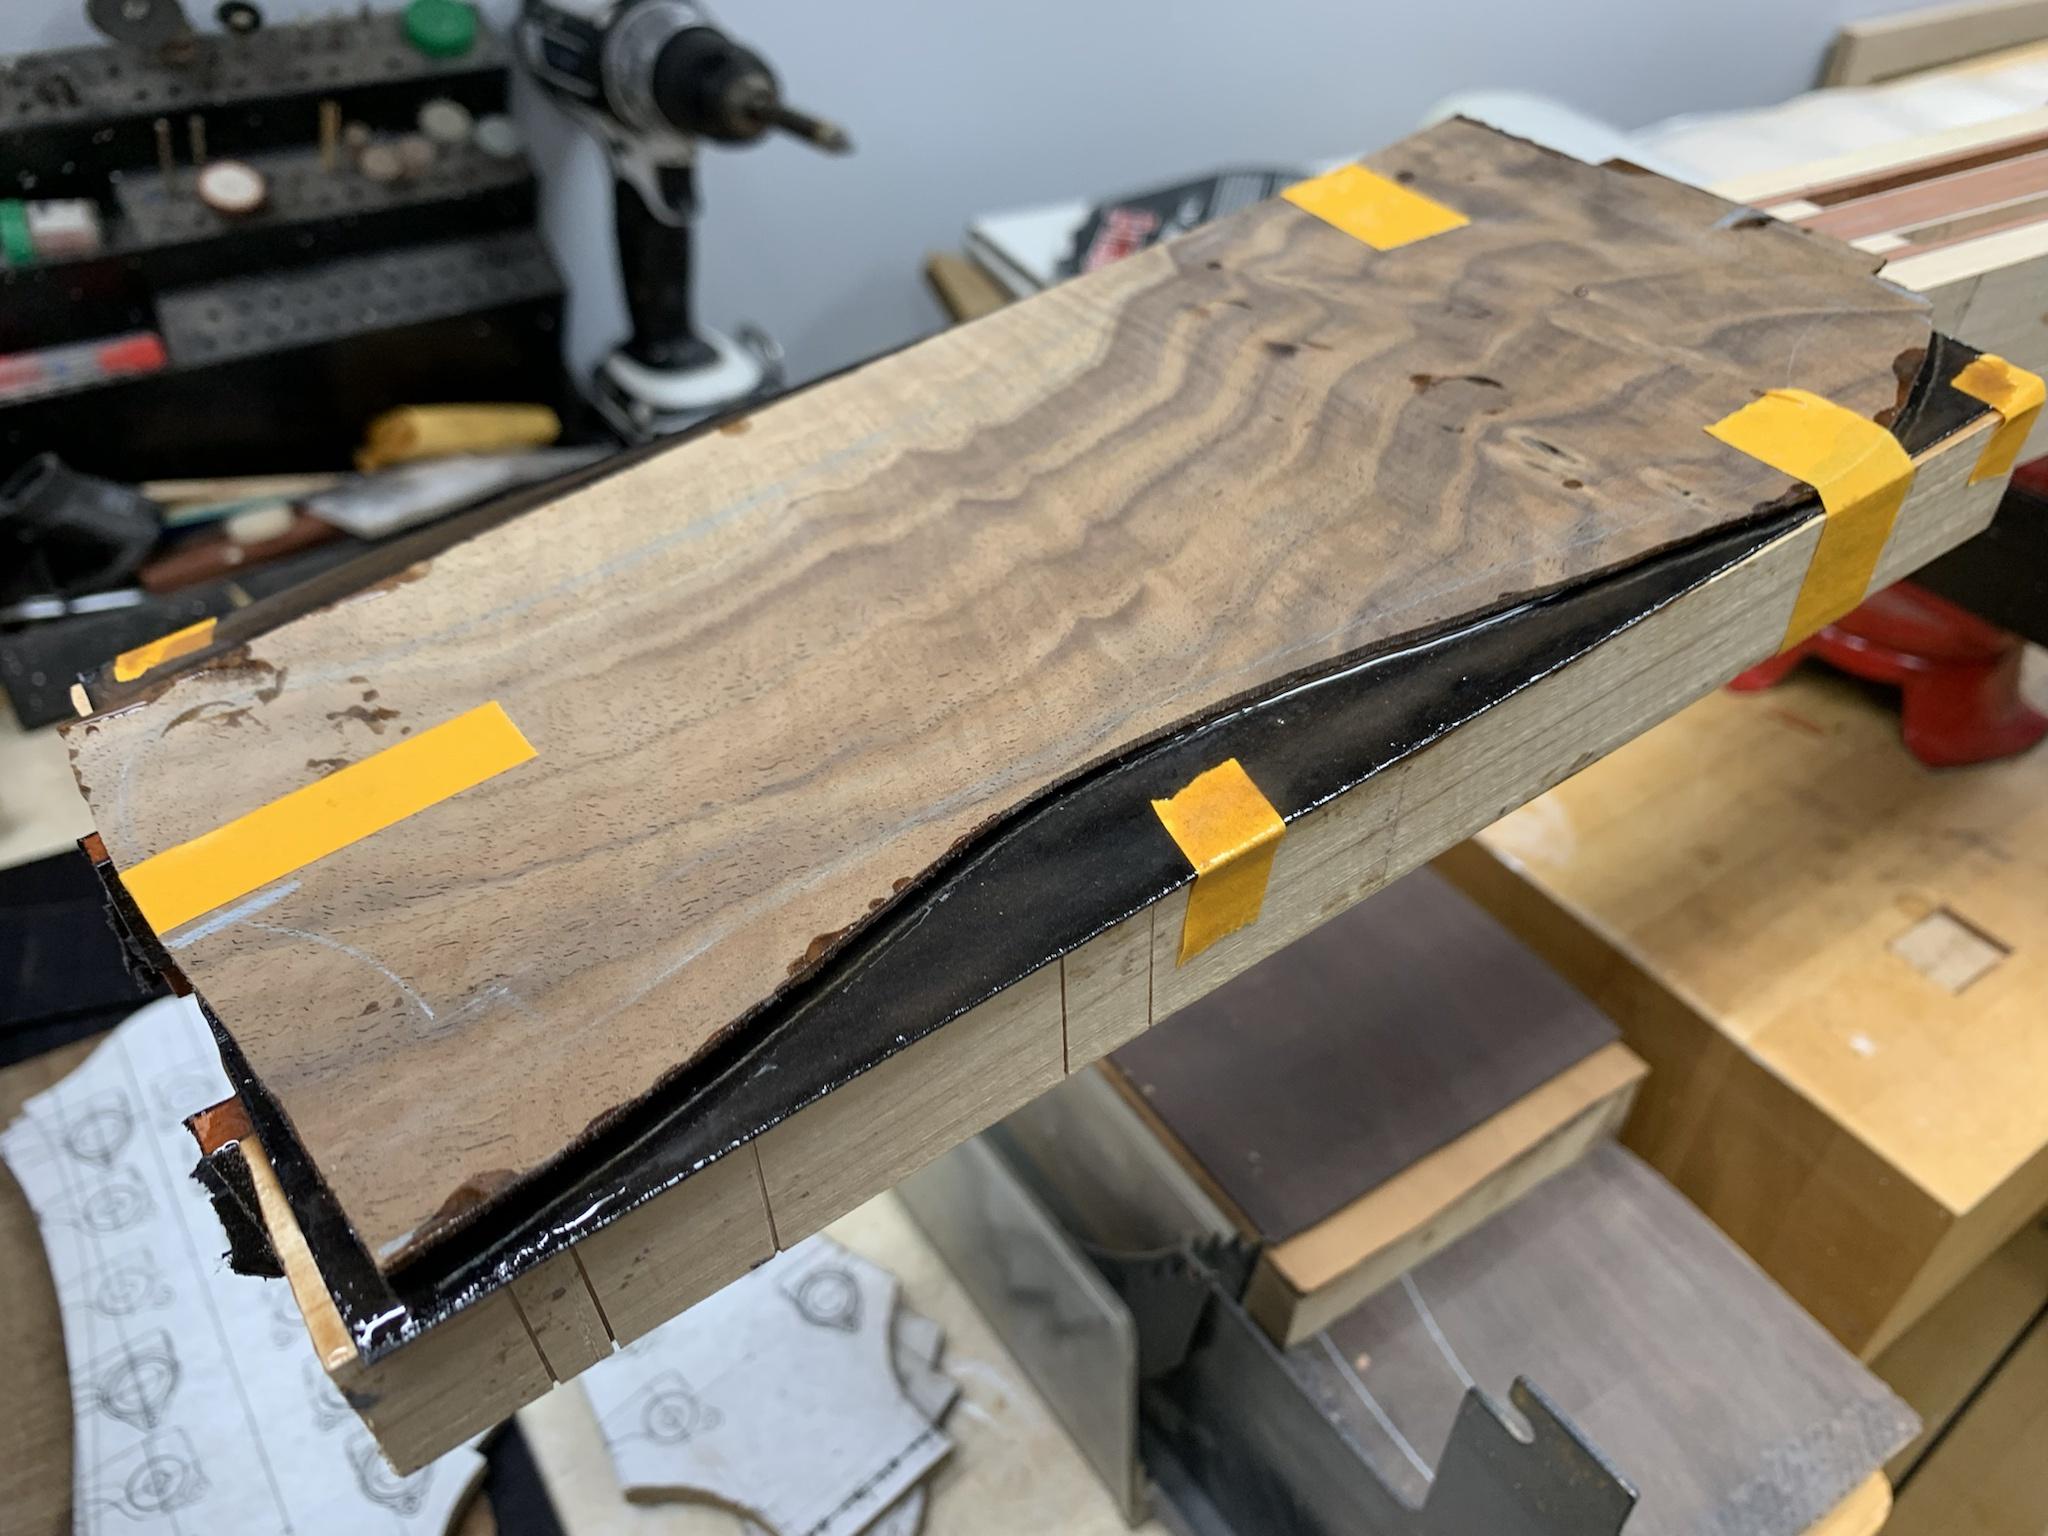
I cut the main headstock veneer tonight and wetted it with a little naphtha. Just had to post a picture of it. 

TalkBass has been independent since 1998. Add your voice.
Create a free account to reply to discussions, view embedded media, and browse with fewer display ads.
Join free Log in
Want zero display ads or expanded classifieds tools? Compare plans.



I may have missed it previously but is there any reason you appear to be going with three different sizes of machine heads? I would have thought that with the octave strings having all the smaller style that you could save some room and shorten the headstock a bit.And here it is next the the one used on the 5 string. Obviously the 12er headstock is yuuuge, but I feel like it is in keeping with the aesthetic.
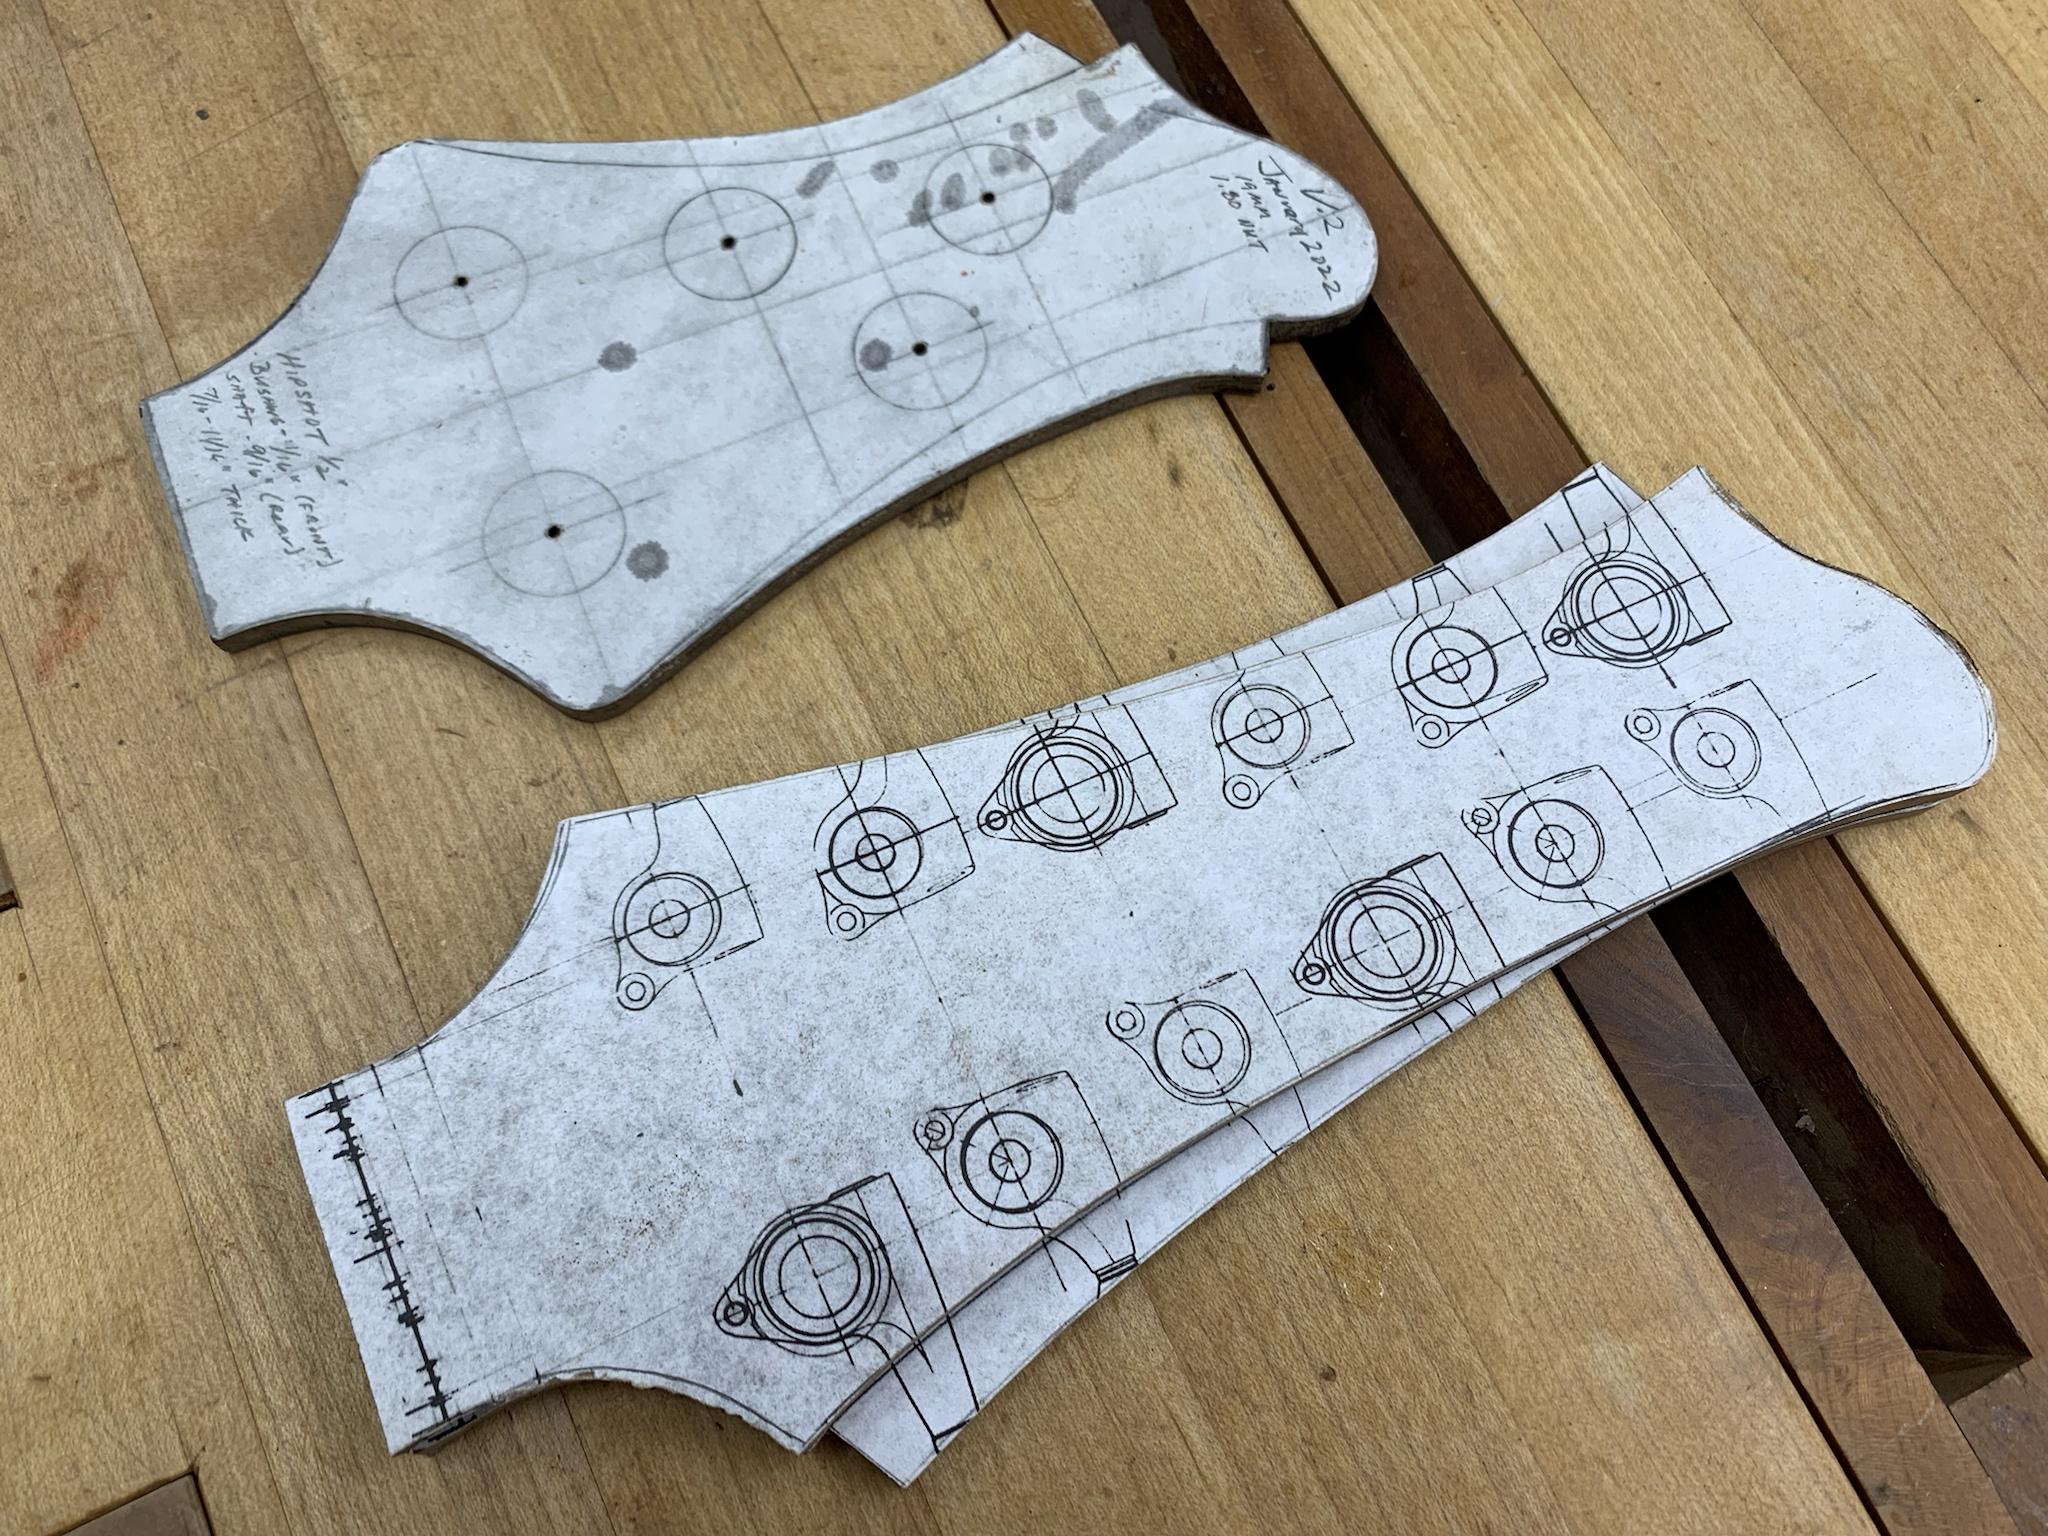
Thoughts?
I cut the main headstock veneer tonight and wetted it with a little naphtha. Just had to post a picture of it.

I may have missed it previously but is there any reason you appear to be going with three different sizes of machine heads? I would have thought that with the octave strings having all the smaller style that you could save some room and shorten the headstock a bit.
Looks like you're committed to it!
I will say that it does look very nice.
I guess I didn't really go into detail about my choice in tuners. I went with full sized machines on the fundamental strings because while using guitar size tuners on bass strings could technically work, it just wouldn't be right in my opinion. I don't think the leverage would be there for ease of tuning. I also chose the Gotoh Reso-Lite tuners for weight savings.


When I saw the pic, that's exactly what I thought and it instantly made sense to me.I decided to go with 2 sizes of guitar tuners for the octave strings to make it easier to differentiate when tuning
Thanks for such a detailed reply. I really enjoy hearing about the thought process that went into the design.Hey, thanks for commenting and the input.
I decided to go with 2 sizes of guitar tuners for the octave strings to make it easier to differentiate when tuning. It seems to me that having two different sized buttons right next to each other will make things a little easier in the respect. It may bother some people, but I think that the staggered sizes looks pretty neat.
As for overall length, I probably could have crammed things together a little more and saved some space. But you have to remember that you must allow for string diameter when laying out the tuner placement and string paths. There comes a point where you just can't go any closer. There are literally production model 12 string basses from major companies where some strings hit the adjacent tuning post... that seems inexcusable to me.
One of the goals with my design was to keep string paths fairly straight, and I feel like I've done fairly well. I don't think it's possible to do completely straight pulls on a 12 without using a classical style slotted headstock. While that would be cool, that's not something I wanted to tackle on my first attempt.
At any rate, a 12 string headstock is going to be big, there's just no way around it. But compared to others, this one is shorter and slimmer than many. One thing that I should also mention is that the overall length will be about 1/2" shorter than the overall length that is apparent in the template photo. I ended up reducing the space between the nut and the first set of tuners. This will increase the string angle coming off the nut a bit, but cut down on the overall length.
When I saw the pic, that's exactly what I thought and it instantly made sense to me.
Which means we think alike.
Which means,....you might want to get tested and diagnosed.

Thanks for such a detailed reply. I really enjoy hearing about the thought process that went into the design.
Don't take my comments the wrong way, it was just an observation from someone who's never had to balance the design decisions of anything like that. And I really do like the headstock shape.

Thanks for asking, @BAG !I really had intended to explain those choices earlier in the thread, but it had slipped my mind.
That’s some great forethought. Tuning this beast will be stressful enough.I decided to go with 2 sizes of guitar tuners for the octave strings to make it easier to differentiate when tuning. It seems to me that having two different sized buttons right next to each other will make things a little easier in the respect. It may bother some people, but I think that the staggered sizes looks pretty neat.
That’s some great forethought. Tuning this beast will be stressful enough.

Cutting the nut might prove to be an "interesting" activity!I agree. I just hope it doesn't fold in half.
Cutting the nut might prove to be an "interesting" activity!

You and I spell "painful" quite differently.Cutting the nut might prove to be an "interesting" activity!