

Enjoy the benefits of a premium membership!
Upgrade Account
-
TalkBass has been independent since 1998. Add your voice.
Create a free account to reply to discussions, view embedded media, and browse with fewer display ads.
Join free Log in
Want zero display ads or expanded classifieds tools? Compare plans.
You are using an out of date browser. It may not display this or other websites correctly.
You should upgrade or use an alternative browser.
You should upgrade or use an alternative browser.
SBO 2022 - GMC Basses #9: Back to the beginning
- Thread starter GMC
- Start date
More options
Who Replied?

I think tomorrow, I might push the body side plates through the thicknesser. Ready for veneer laminating.
It depends a lot of the type of hard wood and the depth and angle of the blade in the plane. It needs the plane set very low so it's hardly doing anything at all. Zebrano tears very easily...so this board was mostly sanded. In reality, you are just trying to remove a lot of the excess material at the far edges of the board that will receive the most sanding from the radius sanding block. These take ages to sand down, even with 60 grit paper. So I try to remove as much as I dare with a plane first.I've always kind of wondered about this process. When using a hand plane to knock down the outer edges of the board for radiusing, doesn't it tend to cause blow-out/tear-out at the fret slots on the unsupported edges?
Last edited:
I ran both sides of both sides through my thicknesser and matched all 4 boards to the same thickness.
Now..I have a LOT of padauk chippings all over my workshop! I use a chip extractor...which unattached itself half way through! Hey ho!
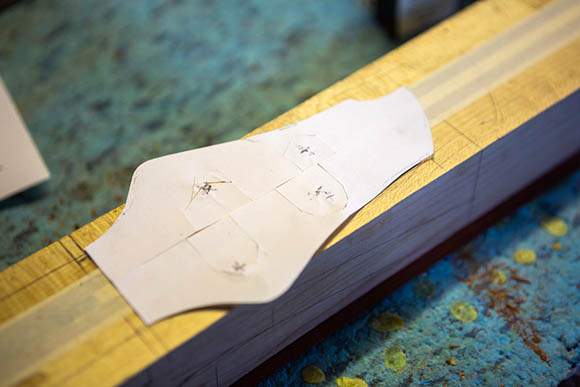
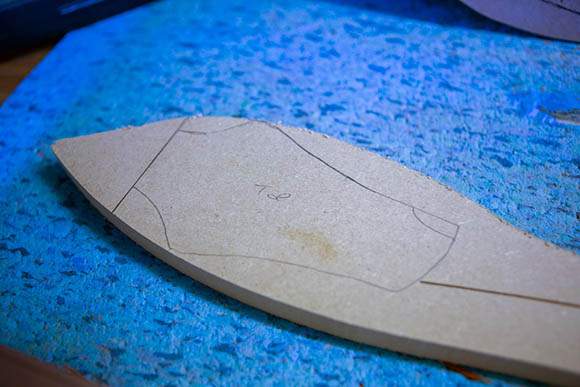
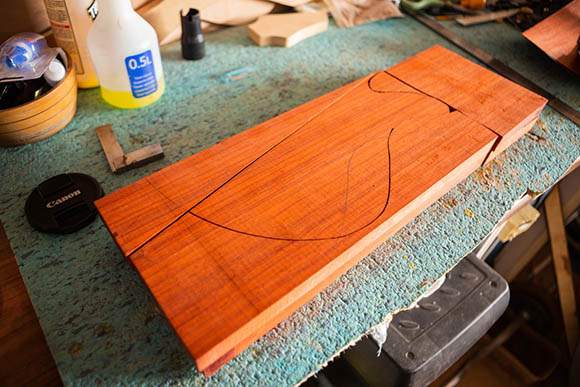
I laid out my cutting plan and drew the body wing shapes on each of the two top pieces. I cut some veneers to match, that I will sandwich between the top and bottom layers. Black / Padauk / Black will look very nice and subtle. I'll show those when I come to glue them. Then I made a new paper template for the headstock and scribed it onto a piece of spare MDF.
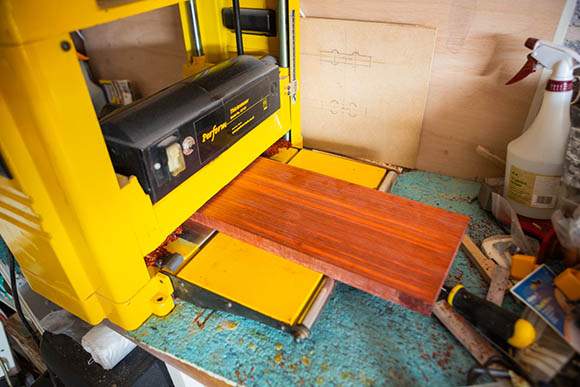
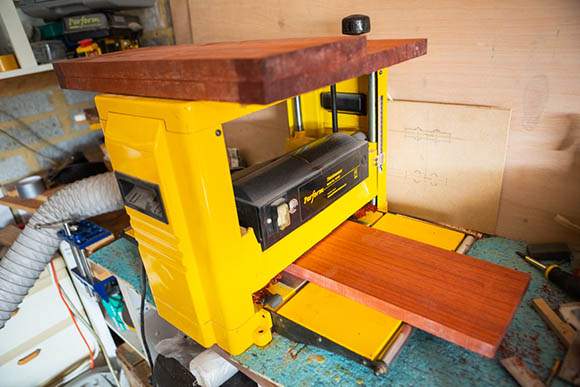
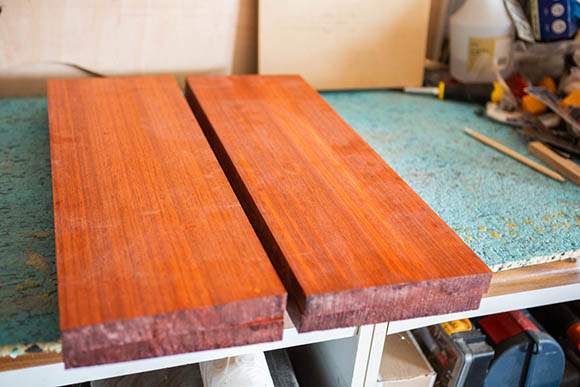
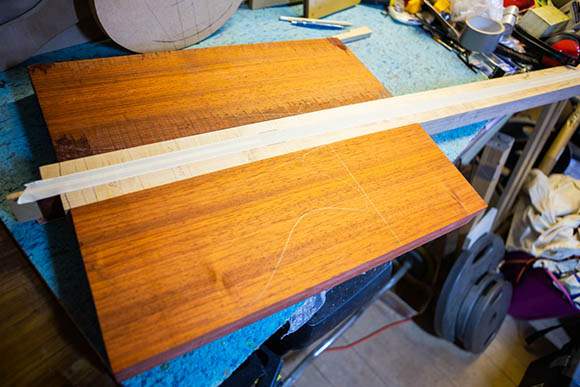
Now..I have a LOT of padauk chippings all over my workshop! I use a chip extractor...which unattached itself half way through! Hey ho!
I laid out my cutting plan and drew the body wing shapes on each of the two top pieces. I cut some veneers to match, that I will sandwich between the top and bottom layers. Black / Padauk / Black will look very nice and subtle. I'll show those when I come to glue them. Then I made a new paper template for the headstock and scribed it onto a piece of spare MDF.
Don't worry, my planer / thicknesser doesn't even have an extractor connection. Just a big "eyebrow" where it spits chips all over the place. 

I use a router and various sleds and guides, using mostly Bruce Johnsons ideas and designs, so I make a fair amount of mess, with wood chips.
It's amazing how far they travel and how well they cling to everything, isn't it?
It's amazing how far they travel and how well they cling to everything, isn't it?
Not a lot of visual progress today. I’ve tidied up my workshop, sanded down more of the fingerboard radius. This is the part I hate the most about bass making. A 75mm wide hardwood Zebrano board takes about 4 hours of sanding with 80grit paper and radius blocks. I really need to build a good router sled for this task!
The fret wire has arrived along with some more glue and tape. Apart from the active circuit, that’s all of the hardware here.
The fret wire has arrived along with some more glue and tape. Apart from the active circuit, that’s all of the hardware here.
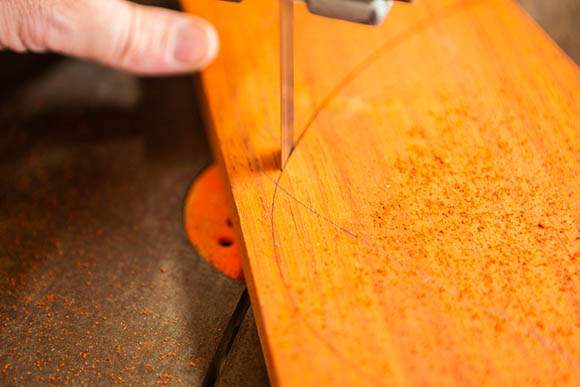
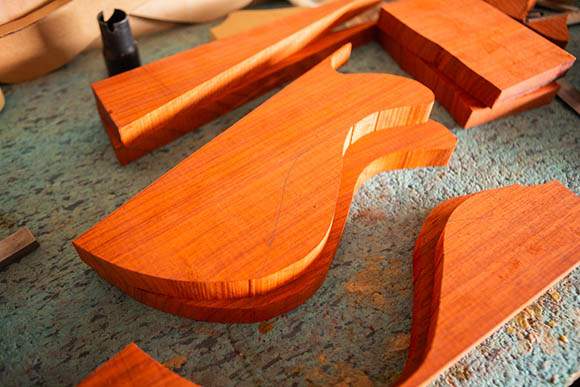
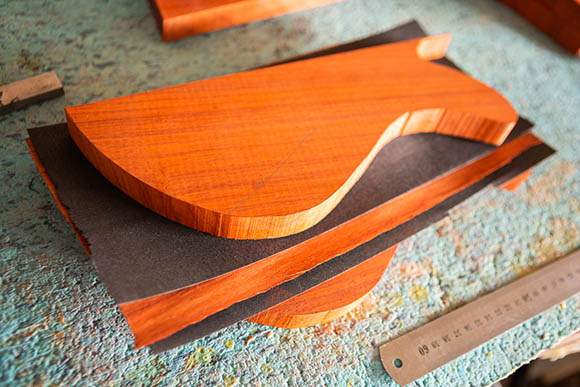
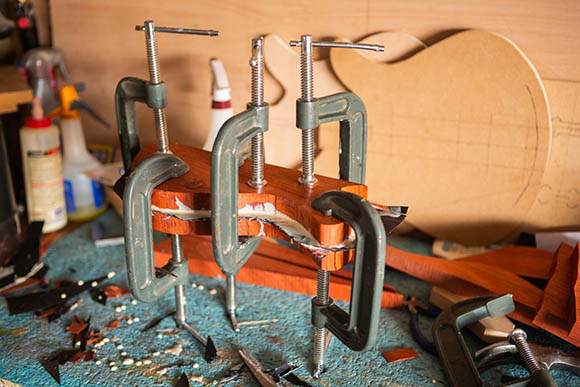
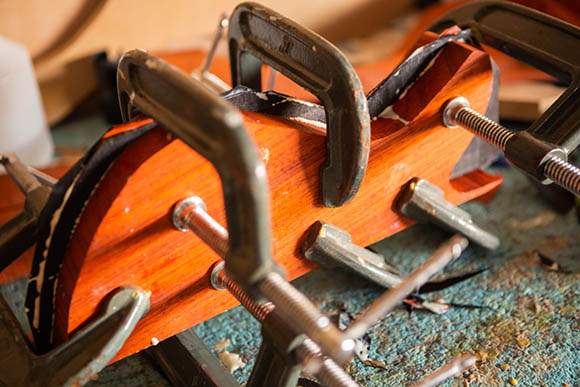
Today, I cut out the two leaves that will shape the lower horn using my bandsaw. The aggressive angle cut is that the grain of the Padauk runs out at a steep angle to the centre through neck. I trimmed out some black veneer and some padauk veneer. Filled each layer with glue and laid the three veneers down between the two Padauk leaves. Black / Padauk / Black veneers with the Padauk timber on either side. Checked, double checked for slippage and veneer order. Then clamped it all up. A lot easier said than done.


Looking good man.
I see a lot of folk glueing a fillet of wood over the truss rod, but I'm not sure why? What's the advantage over just installing the truss rod flush and then fret board straight on top?
I see a lot of folk glueing a fillet of wood over the truss rod, but I'm not sure why? What's the advantage over just installing the truss rod flush and then fret board straight on top?
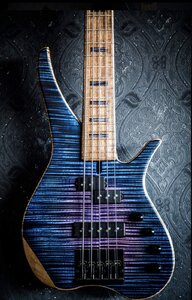
Thank you. It’s coming along nicely. The deeper you can place the rod, the more effective it becomes. The fillet allows for a slightly deeper routing and it keeps the rod secure in its place. The older, less fashionable aluminium box rods were way better and stronger too, but oddly harder to source in the uk these days. I used to put them literally just under the fingerboard and they worked really well.Looking good man.
I see a lot of folk glueing a fillet of wood over the truss rod, but I'm not sure why? What's the advantage over just installing the truss rod flush and then fret board straight on top?
This bass will be lacquered. Which is usually a bit yellow, which turns padauk from orange to a deep red colour. If I oil it with Rustins finishing oil, it turns a deep maroon / red colour, lot too far to how cocobolo turns when lacquered. If it was oiled, it would have to stay in its case 99.9% of the time, which is what happens with my bass no#3. When this project is complete, I’ll probably strip my bass #3 and lacquer it too.How has the p'dook color held up on the other builds?
(If I'm remembering correctly that you used it in the other builds)
Thank you. It’s coming along nicely. The deeper you can place the rod, the more effective it becomes. The fillet allows for a slightly deeper routing and it keeps the rod secure in its place. The older, less fashionable aluminium box rods were way better and stronger too, but oddly harder to source in the uk these days. I used to put them literally just under the fingerboard and they worked really well.
I see from your profile you are in Wiltshire, we are almost neighbours! (I'm in Bristol). I assume you have visited yandles wood yard in Somerset, not too far from you?

Who's truss rods do you use now? I've used Allied Lutherie and LMII in the past, but they aren't cheap and US postage now makes them very expensive.The older, less fashionable aluminium box rods were way better and stronger too, but oddly harder to source in the uk these days.
About 15 years ago, I bought 10 dual rods (and a load of carbon graphite rods) from Rob at Status Graphite who I used to chat with regularly. He was putting in a larger order and offered me a bundle deal using some of the excess. I've got a few left, they are a little old now. I think I'd be happier finding a uk stockist of the aluminium rods. The 2 way ones are fine but they are flimsier and they aren't as "structural".Who's truss rods do you use now? I've used Allied Lutherie and LMII in the past, but they aren't cheap and US postage now makes them very expensive.
Hi, great to meet a fellow west country bass builder! It'll be cool to meet up at some point! I've not seen Yandles, thanks for the referral! I'll arrange a visit.I see from your profile you are in Wiltshire, we are almost neighbours! (I'm in Bristol). I assume you have visited yandles wood yard in Somerset, not too far from you?
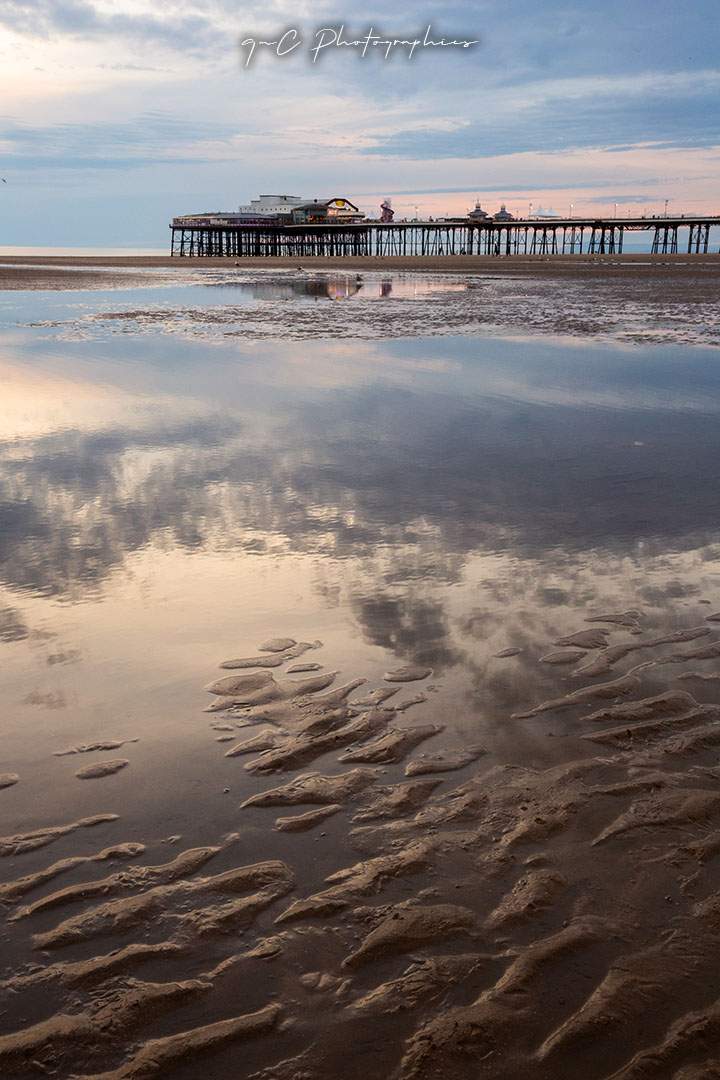
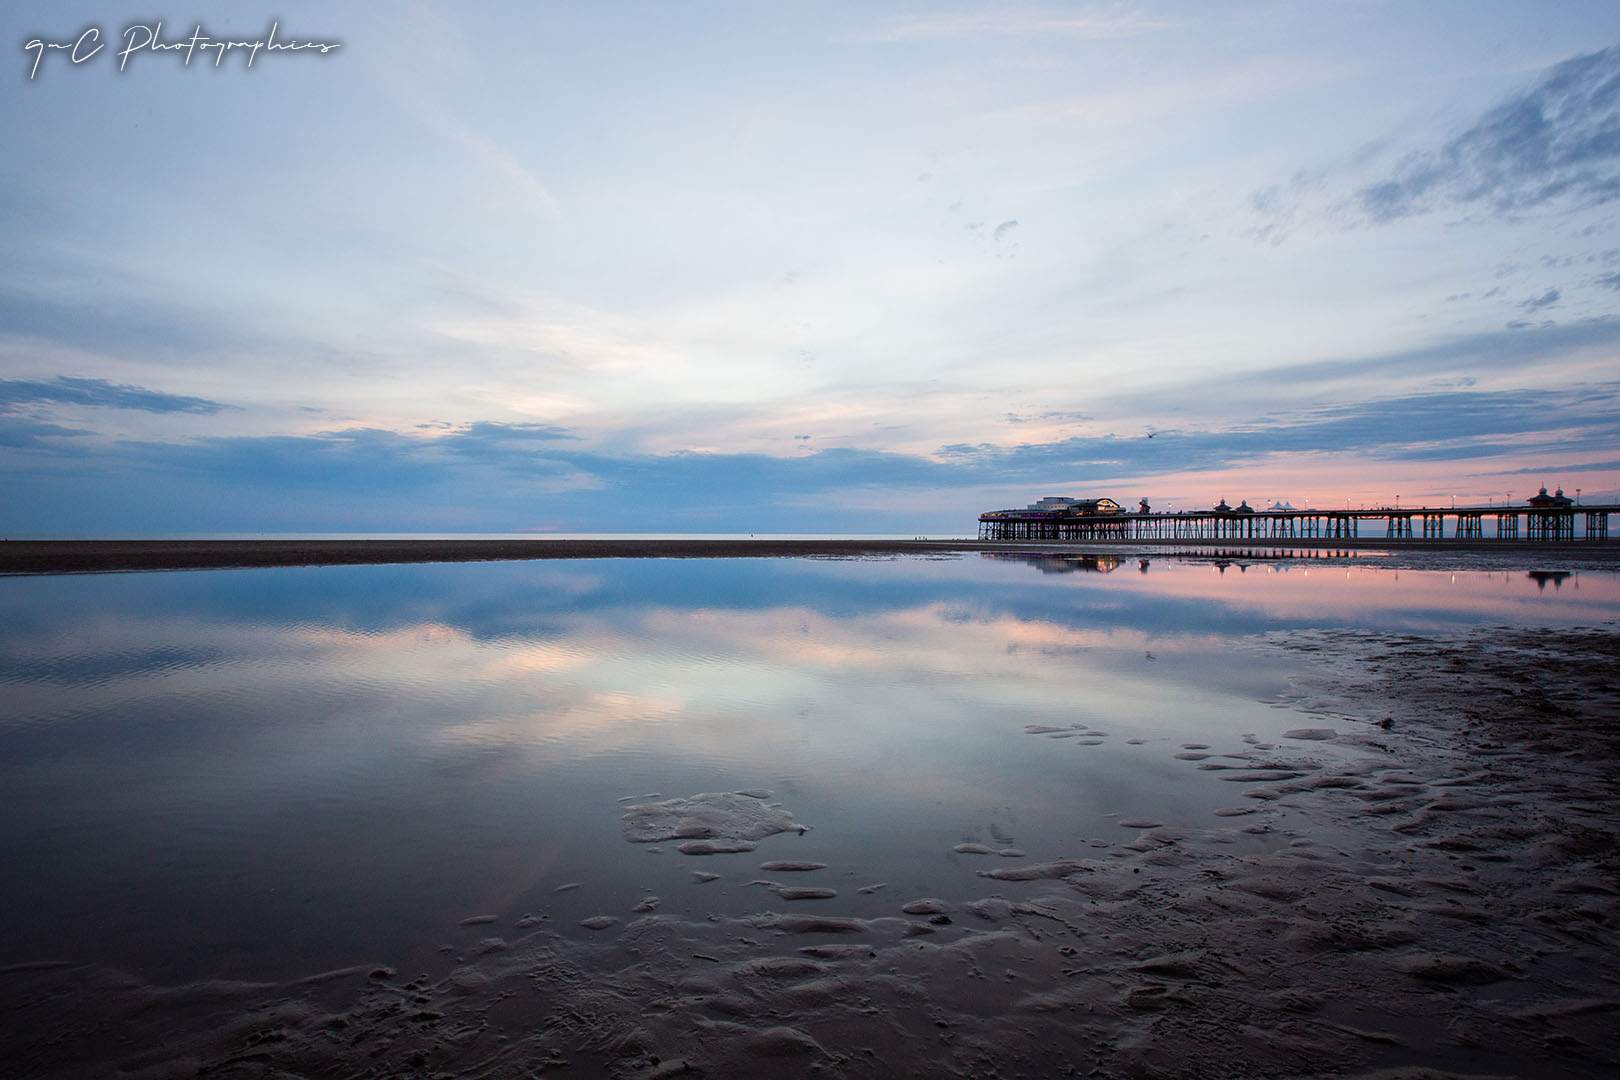
Not much progress this weekend, I've been in Blackpool with the family, sorry for the non-bass content!
Last edited:

Not much progress this weekend, I've been in Blackpool with the family, sorry for the non-bass content!
View attachment 4752865
View attachment 4752863
I’m American but my father is from Sheffield. When I was a kid, we’d fly to the UK for summer vacations to see the family and went to Blackpool several times. It’s beautiful! Enjoy your relaxation!!


