

Enjoy the benefits of a premium membership!
Upgrade Account
-
TalkBass has been independent since 1998. Add your voice.
Create a free account to reply to discussions, view embedded media, and browse with fewer display ads.
Join free Log in
Want zero display ads or expanded classifieds tools? Compare plans.
You are using an out of date browser. It may not display this or other websites correctly.
You should upgrade or use an alternative browser.
You should upgrade or use an alternative browser.
SBO 2022 - GMC Basses #9: Back to the beginning
- Thread starter GMC
- Start date
More options
Who Replied?
I've put 5 coats on the top and underside and sanded to 800 grit. I need to do a little more sanding on the sides, but they are nearly done. I guess final sand, buff and polish next!
Here's some photos after the last coat had cured:
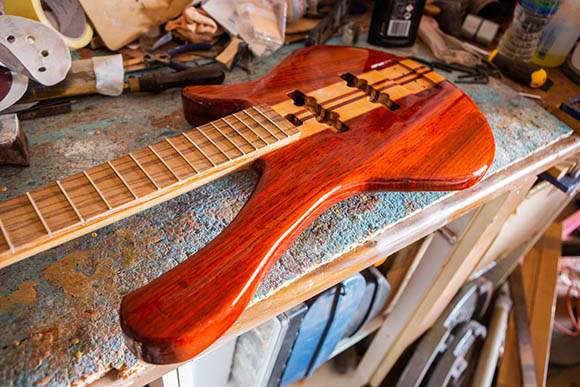
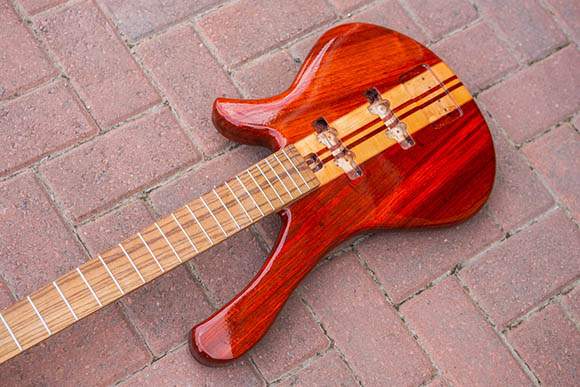
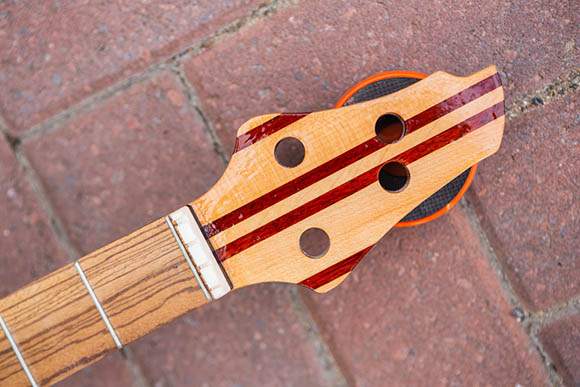
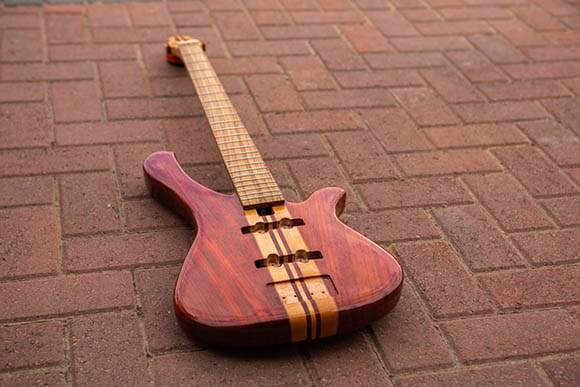
Here's some photos after the last coat had cured:

That thing just keeps looking more and more stunning. 
I've sanded from 240 through to 15K grit. Then I took a wool buffing head attached to my drill to start the polishing process. I put some Mcguires Swirl remover on the pad. Everything went well until the heat build up caused the sanding sealer to melt under the Solarez lacquer! Quite badly in one spot. So my only solution is to sand back and spot lacquer. Thankfully, this Solarez is quite easy to do that! Hopefully there aren't any witness lines. Disappointing but I keep saying to myself ... thankfully this isn't a Nitro finish!
The Solarez cures to a very hard state, so hard that buffing takes a lot longer that any other finish that I've used. It's great that this stuff can be brushed on and cured in a few minutes. It doesn't really have a 1/2 cured state, it's either wet, tacky or hard. The 100% solid nature makes the depth build up very easy. What goes on...you keep and is very easy to sand. Using a foam pad, I have to let the product lay out for about 30 mins before curing. Surprisingly, I don't have to worry about dust sports, for some reason these seem to rise to the surface and sand out very easily. The shine from the brush is great, but the surface is bumpy and un-leveled. 800 grit between coats really flattens out the surface. The next coat I applied with a foam brush and then after about 10 mins of laying out, I over brushed with a lint free cloth. This looks messy at first, but as it lays out for a further 20 mins or so settles to a much smoother surface. This approach seems to reduce the amount of level sanding required. I might put a few fresh coats on the control cavity cover and buff it directly, just to see what happens.
As a lessons learnt: next time I use this stuff, I won't use any sanding sealer or grain filler next time. I'll use just this stuff as sand back. It's so easy to apply, cure and sand and it builds to a thick coat within a few applications.
I'm finding buffing this stuff is surprisingly difficult. It's amazing for a matt / semi matt finish. Bringing back the shine is proving to be a challenge. Once cured, It doesn't respond in any noticeable way to hand buffing and using a buffing wheel seems to generate too much heat, unless I go slow and really take my time.
For my next build, I might try the spray on version and see how much shine I can get from the gun.
Here in the UK, we have far less options compared to the products that are available in the USA. I'd love to use Mohawk products, but anything that has oil or nitro composition can't be shipped across the pond due to flammable controls. Even the Solarez products are hard to get in the UK. The locally sourced Poly is softer and takes an age to cure, the water based stuff here is just awful. We seem to have an abundance of 2K. I really miss KTM, that stuff was amazing.
As a lessons learnt: next time I use this stuff, I won't use any sanding sealer or grain filler next time. I'll use just this stuff as sand back. It's so easy to apply, cure and sand and it builds to a thick coat within a few applications.
I'm finding buffing this stuff is surprisingly difficult. It's amazing for a matt / semi matt finish. Bringing back the shine is proving to be a challenge. Once cured, It doesn't respond in any noticeable way to hand buffing and using a buffing wheel seems to generate too much heat, unless I go slow and really take my time.
For my next build, I might try the spray on version and see how much shine I can get from the gun.
Here in the UK, we have far less options compared to the products that are available in the USA. I'd love to use Mohawk products, but anything that has oil or nitro composition can't be shipped across the pond due to flammable controls. Even the Solarez products are hard to get in the UK. The locally sourced Poly is softer and takes an age to cure, the water based stuff here is just awful. We seem to have an abundance of 2K. I really miss KTM, that stuff was amazing.
Last edited:
In order to make the deadline in 2 weeks, I'm going to take the Solarez finish to a satin level of finish. I need more time to work out how to take this stuff to a full gloss using the equipment I currently have. The other issue with this stuff (there's always some negatives among the positives!) is that sand throughs can't really be spot healed like you can with Nitro. It's a tedious sand back and re-coat situation. The top side of the body needs a complete re-coat due to a wee sand through on the fore arm carve. It's too noticeable to ignore. Thankfully I can hide the transition with the all though laminate lines. Photos to follow later once I have some observable progress.
The freshly coated upper horn is looking vey lush and shiny...however bumpy too.
Once this set of coats has dried, very low levels of sunshine today here in the UK...it's mostly dysmal and wet. I'll level sand, then finish sand it to 15K grit and then a few buffing sessions.
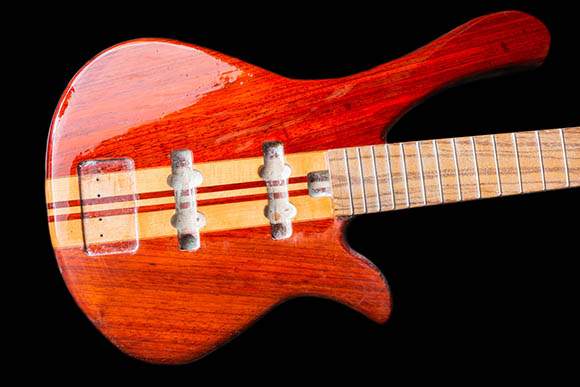
Once this set of coats has dried, very low levels of sunshine today here in the UK...it's mostly dysmal and wet. I'll level sand, then finish sand it to 15K grit and then a few buffing sessions.

Today I enlarged the control cavity, it needed to be a little larger to accommodate everything. I tend to be a little bit conservative with my first passes. I then routed the pickup slots a wee bit deeper. these Bartolini's are quite deep. I finished sanded the upper horn through to 2000 grit and it's looking good. I've still got a bit more sanding around the edges to do. I re-fitted the tuners, bridge and pickups...and then strung up the new strings. The nut stots are way too high, so that's a job to do next. Along with drilling the jack hole, strap button and pot holes. Today, I've tuned her up and acoustically...she's sounding nice.
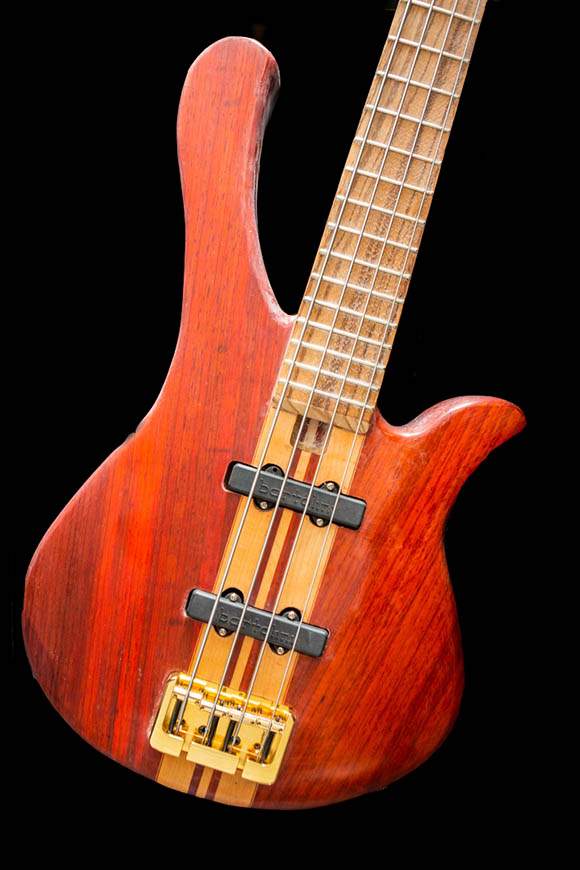
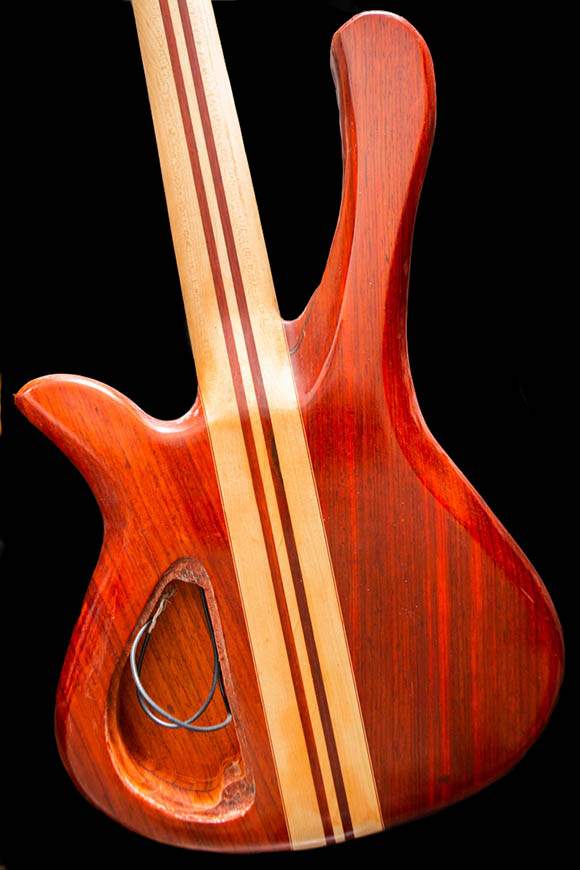

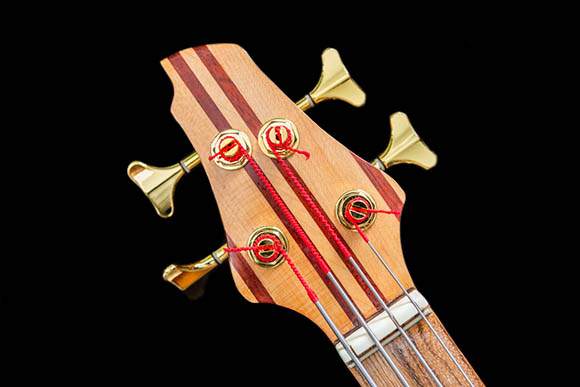


Oh man, he's going to have to throw the whole thing away and start again.You missed a screw on the neck pickup
Funnily enough, these are the "place holder" screws I use. I use these to pilot the holes. Later I'll swap out the final screws I'm going to use. This greatly reduces the wear on them. Unfortunately I'm one missing!You missed a screw on the neck pickup
The ones that I have ordered for this bass are gold and really look "the biz" with the black Bartolini Jazz shells.
Recently, I've been using P4/5/6 shells. I really prefer these than the awkward jazz shell shapes. If I was going to do one of these again...I'd insist on soap bar P series shells.
Last edited:
D
just some food for thought regarding worn pickup screws. What I like to do with all my basses is: I drill out the screw holes and put some (brass) inserts into the wood. Then I use M3 machine screws for adjusting the pickups. Much more accuracy and no need to worry about stripped screw holes.


Last edited:
It's really annoying when one gets to this late stage and wants to fit the electrics...and one realises a bit late in the day that he doesn't have enough copper foil or 250K pots...lol...now ordered!
Anyhow...I removed the nut and deepened the slots. I completed a most of the finish sanding and decided to re-fit the bridge, tuners and strings. I fitted the strap buttons, set the action, truss rod curve, intonation and tuned her up. The upper frets will need a bit of stoning, but up to the 18th fret, she's perfectly playable. Acoustically, this bass sings!
I think I'm heading for a Friday finish!
Anyhow...I removed the nut and deepened the slots. I completed a most of the finish sanding and decided to re-fit the bridge, tuners and strings. I fitted the strap buttons, set the action, truss rod curve, intonation and tuned her up. The upper frets will need a bit of stoning, but up to the 18th fret, she's perfectly playable. Acoustically, this bass sings!
I think I'm heading for a Friday finish!

It's really annoying when one gets to this late stage and wants to fit the electrics...and one realises a bit late in the day that he doesn't have enough copper foil or 250K pots...lol...now ordered!
Anyhow...I removed the nut and deepened the slots. I completed a most of the finish sanding and decided to re-fit the bridge, tuners and strings. I fitted the strap buttons, set the action, truss rod curve, intonation and tuned her up. The upper frets will need a bit of stoning, but up to the 18th fret, she's perfectly playable. Acoustically, this bass sings!
I think I'm heading for a Friday finish!
Well done! I wish I were at the same stage.
 I just realized an hour ago that I hadn't ordered knobs, so fingers crossed!
There's always Amazon! I usually keep stock of a bunch of standard bits that I use as place holders, like knobs, jacks, screws etc. For some reason my stock of pots were all 500K.Well done! I wish I were at the same stage.
Ironically...I'm now waiting on a gold barrel type jack to arrive from Amazon. Looks like tomorrow now.Well done! I wish I were at the same stage.
Anyhow, I used the spare time today to wire up as much as I could. I like to pre-wire everything so I can then transplant it into the bass with minimal of fuss. I managed to solder this lot up with no burnt fingers! That's a first! I still don't quite have the wiring / soldering Ninja skills that I'd like...but it's progress!
Later today I'll drill out the pot holes in the body and start to fit the shielding tape.
Ironically...I'm now waiting on a gold barrel type jack to arrive from Amazon. Looks like tomorrow now.
Anyhow, I used the spare time today to wire up as much as I could. I like to pre-wire everything so I can then transplant it into the bass with minimal of fuss. I managed to solder this lot up with no burnt fingers! That's a first! I still don't quite have the wiring / soldering Ninja skills that I'd like...but it's progress!
Later today I'll drill out the pot holes in the body and start to fit the shielding tape.
View attachment 4812857
Nice, I use the same method. Far easier and it gives me fewer opportunities to put a big soldering iron burn in the side of the control cavity.

Pot holes are drilled, only to find that I was too conservative / cautious with my cavity hole routing. I need to take the cavity about 4mm deeper so I can actually screw the pots in place! Lol. For a minute...I thought I'd have this SBO complete by close of play tomorrow. Now..maybe Friday.
The magnets for the cavity cover are working nice though!
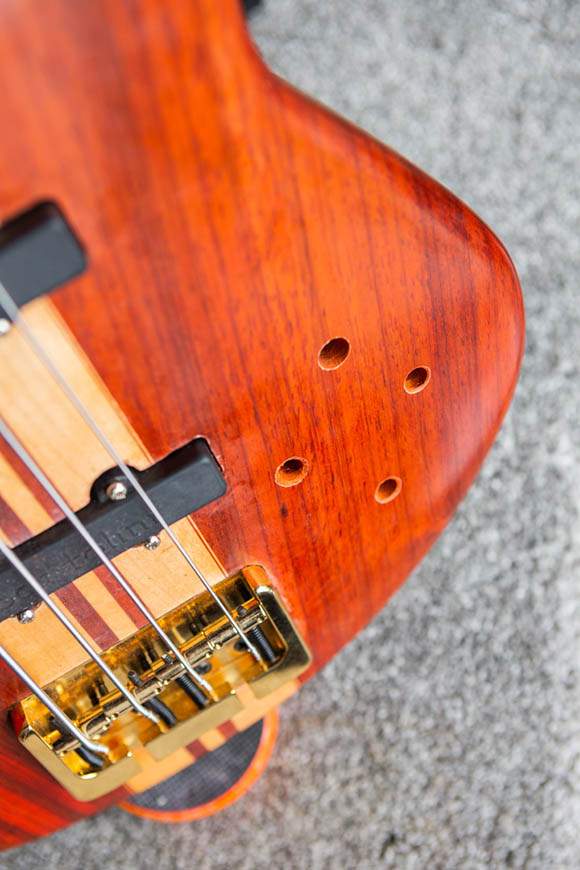
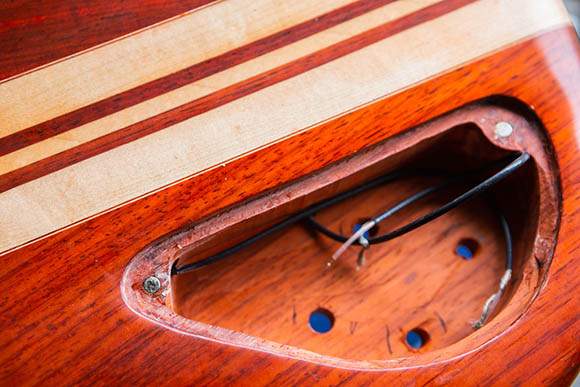
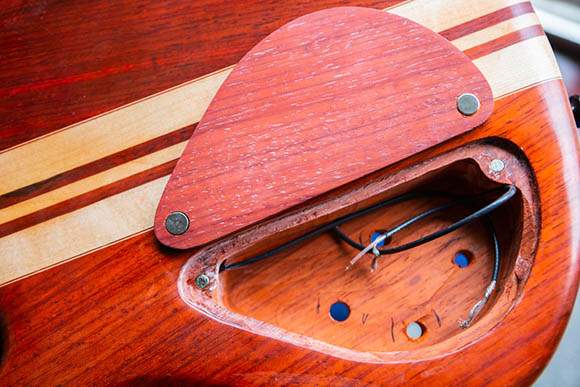
The magnets for the cavity cover are working nice though!
So I've struggled with that issue as well, cavity top being too thick for pots to reach thru and screw the nut on. I get super concerned about it being too thin and breaking. I've seen some guys just use a forstner bit to create a thinner area just around the pot body, so that the rest of it is still thicker. I may start doing that, because there's a point where that wood gets thin enough that my stress level goes WAY up. 


