

Enjoy the benefits of a premium membership!
Upgrade Account
-
TalkBass has been independent since 1998. Add your voice.
Create a free account to reply to discussions, view embedded media, and browse with fewer display ads.
Join free Log in
Want zero display ads or expanded classifieds tools? Compare plans.
You are using an out of date browser. It may not display this or other websites correctly.
You should upgrade or use an alternative browser.
You should upgrade or use an alternative browser.
SBO 22 - Solomon's new groove - Scratch Build
- Thread starter JParsons
- Start date
More options
Who Replied?

It’s called Shines hardener. It smells like the inside of a basketball…That little drawing is just awesome.
What kind of additive do you use for shellac?
Thanks! I usually rush through builds for myself, but this one I’m slowing down on, making sure I’ll be happy to keep it around.Immaculate
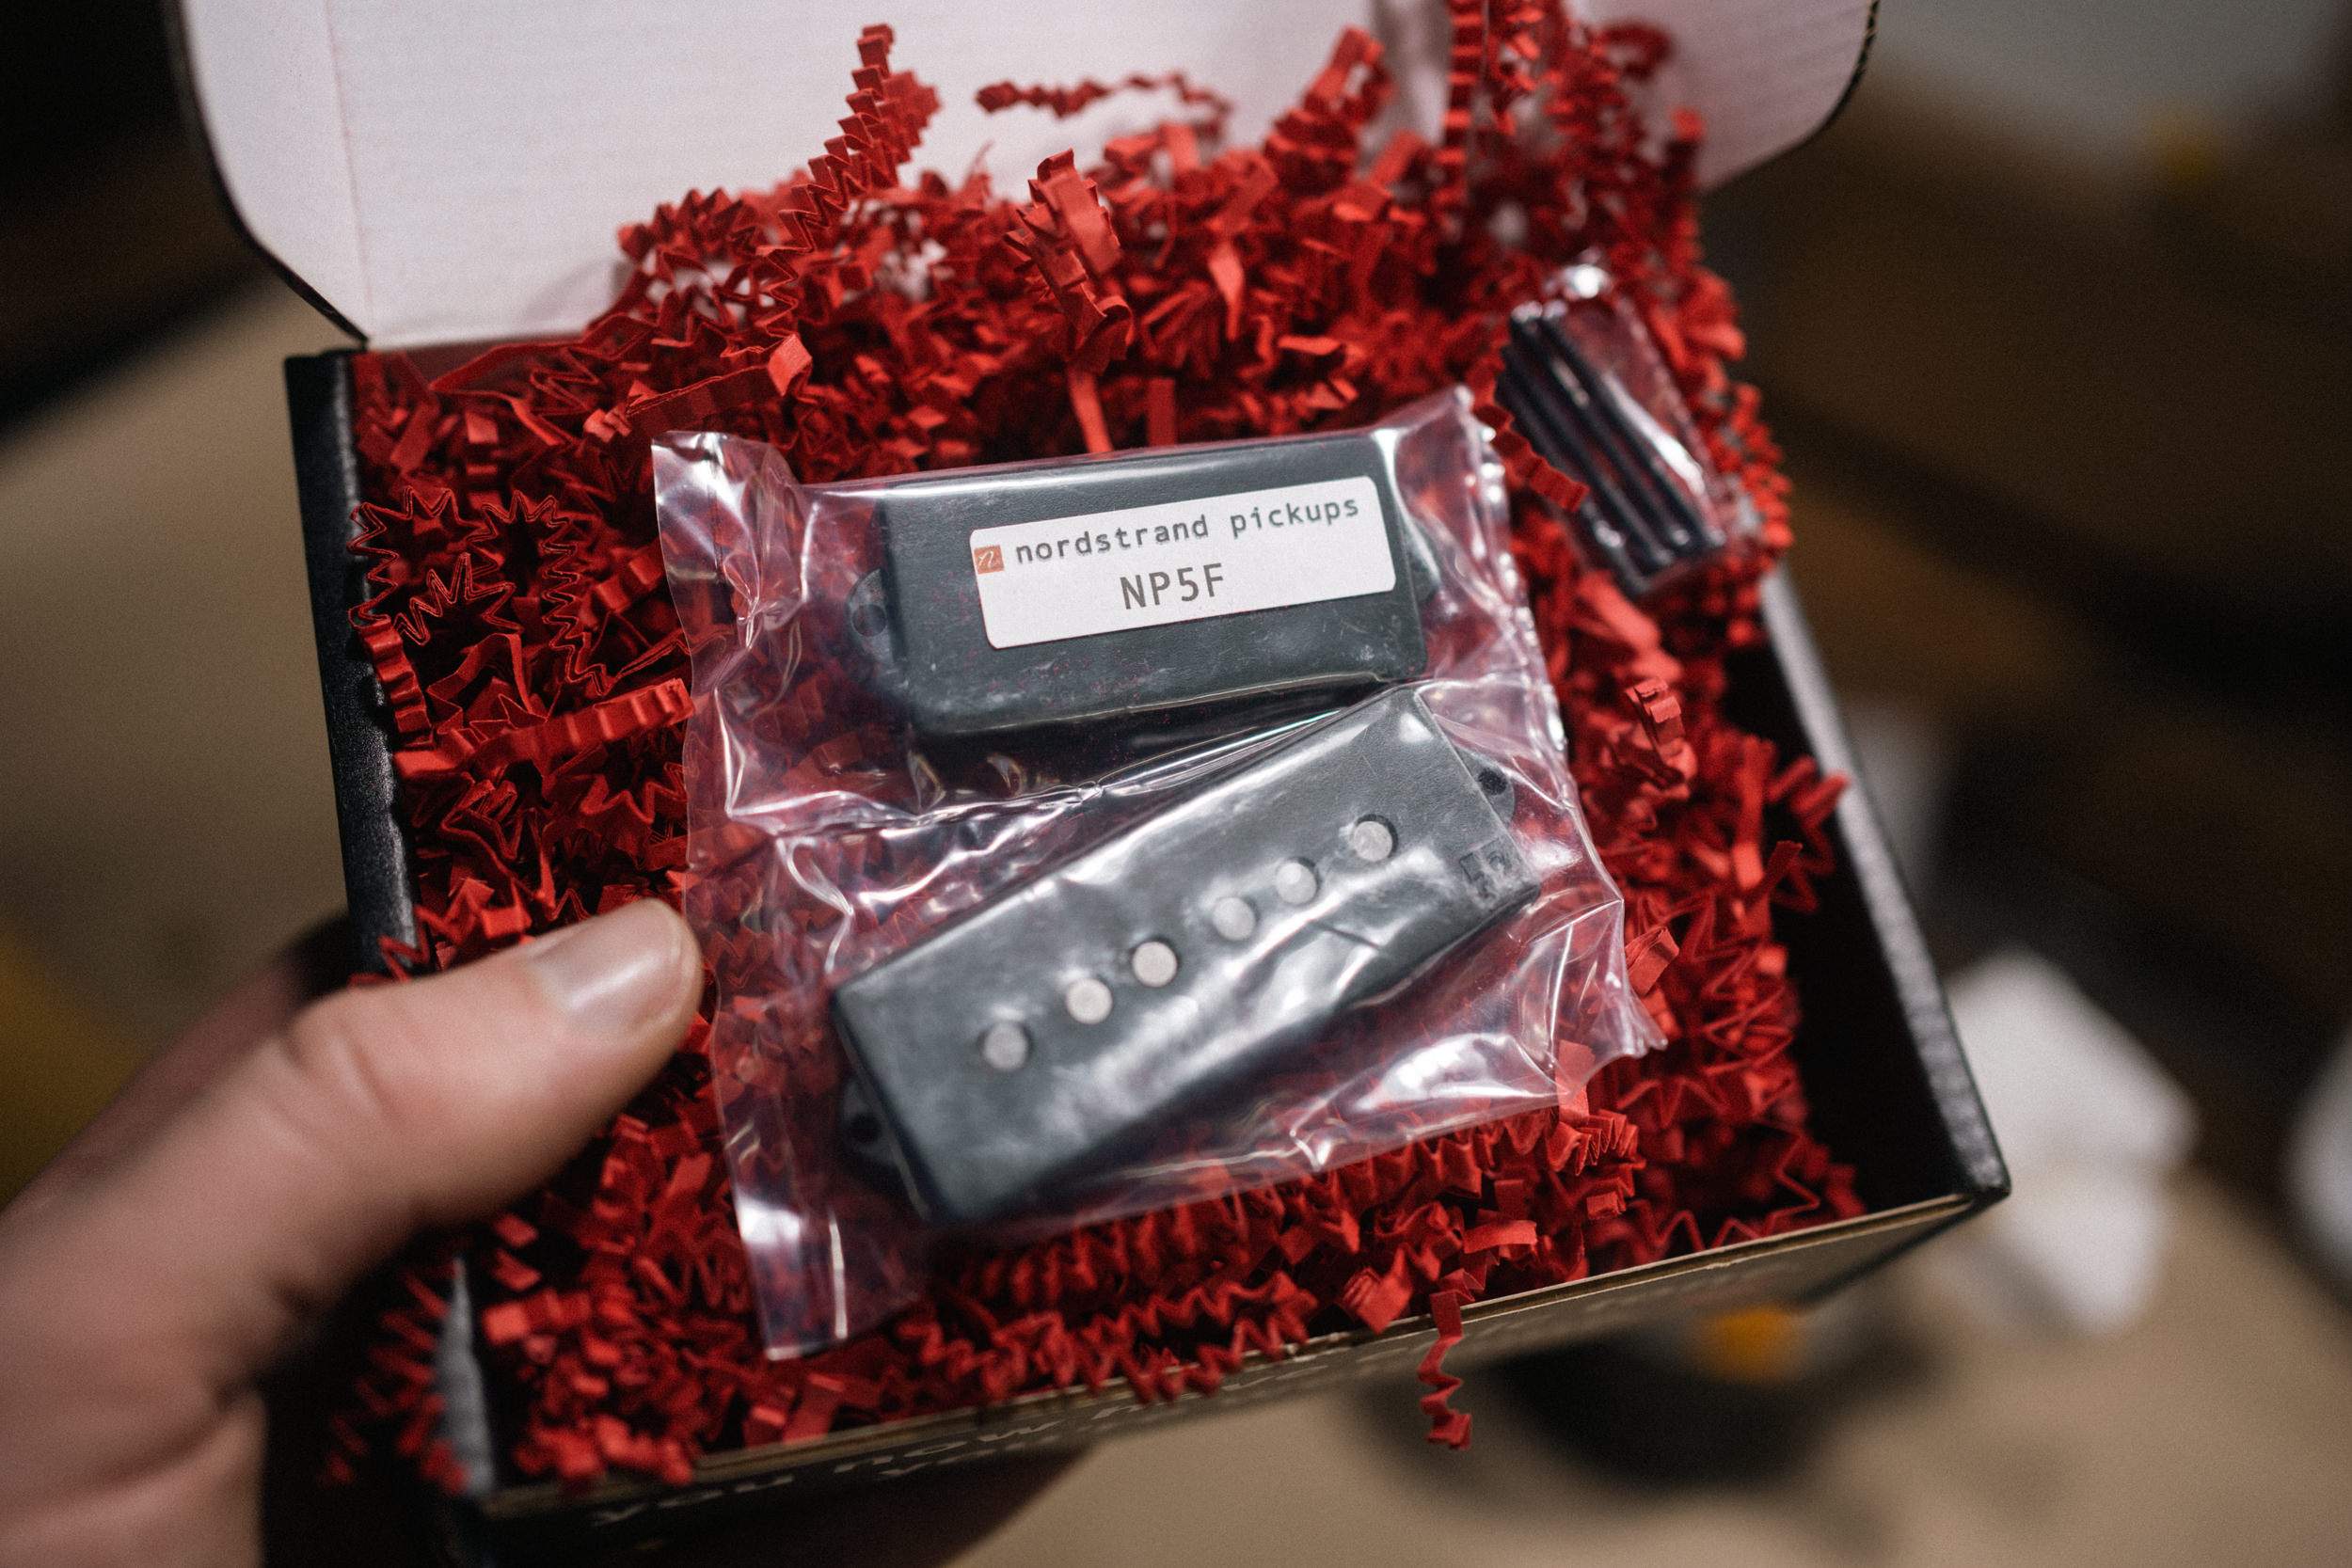
A nice little package arrived today - a Nordstrand NP5F! I had initially wanted to install a Lollar, but I got a discount on the Nordstrand and it was on the list of things to try anyway.
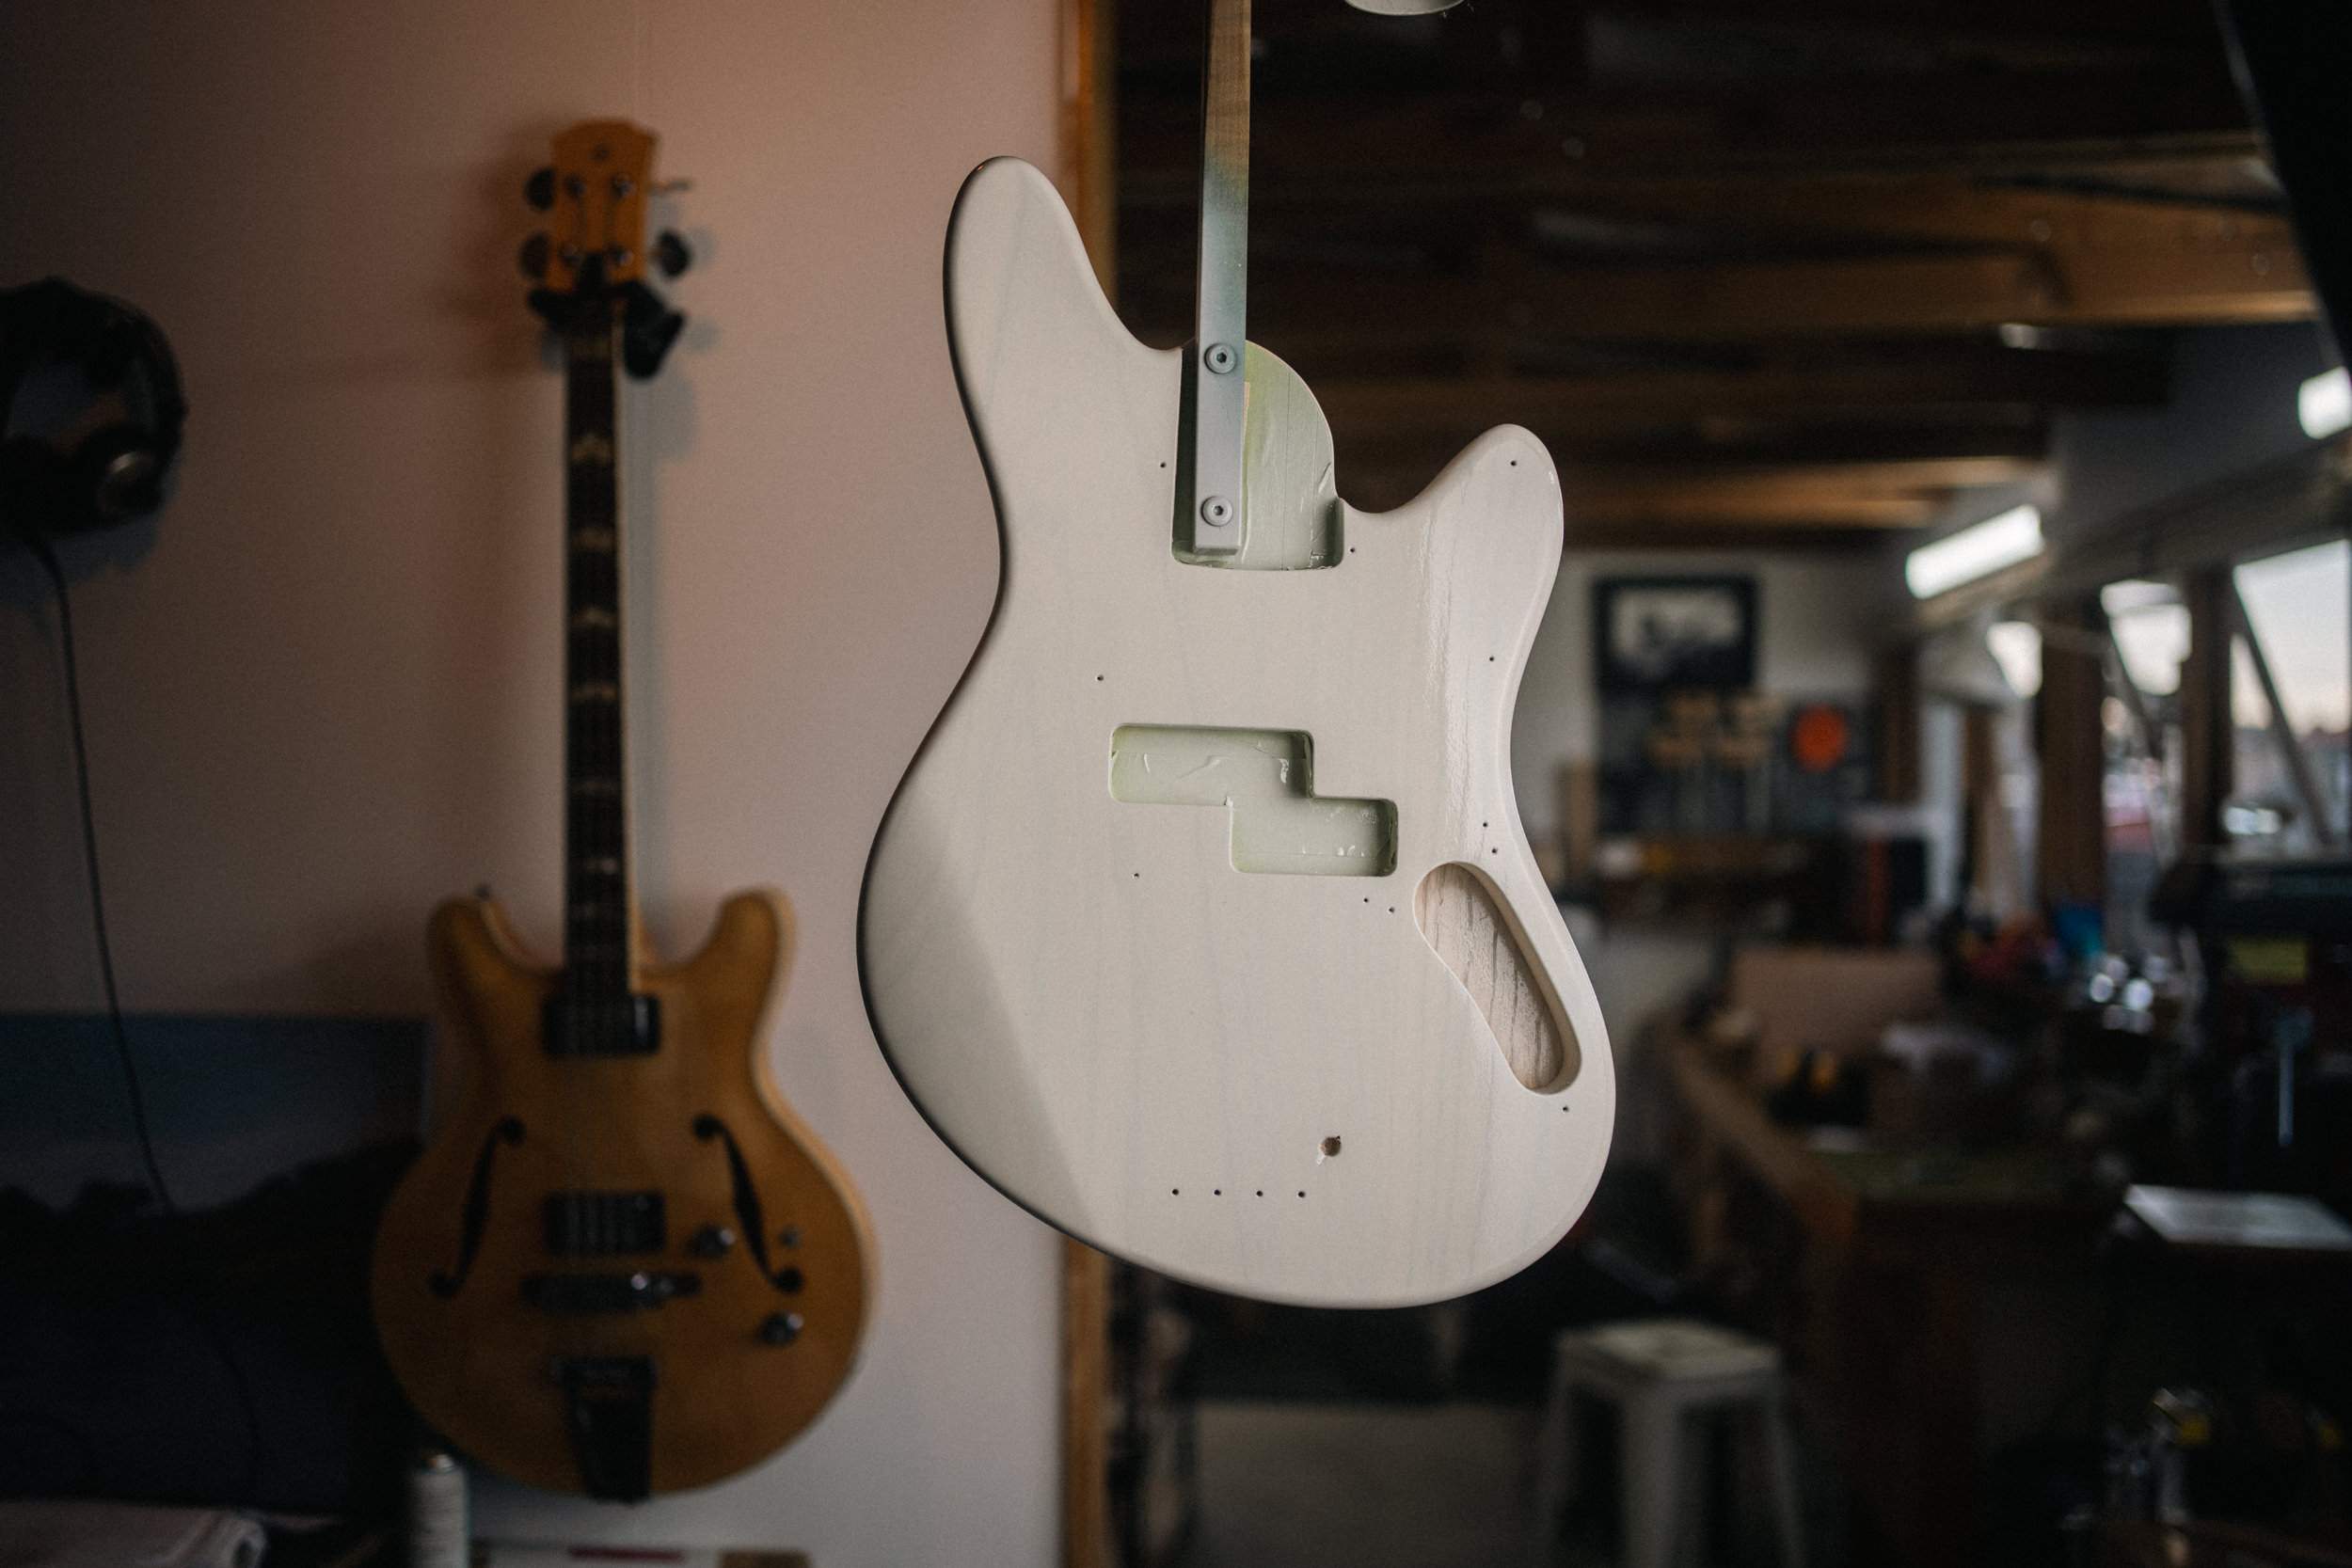
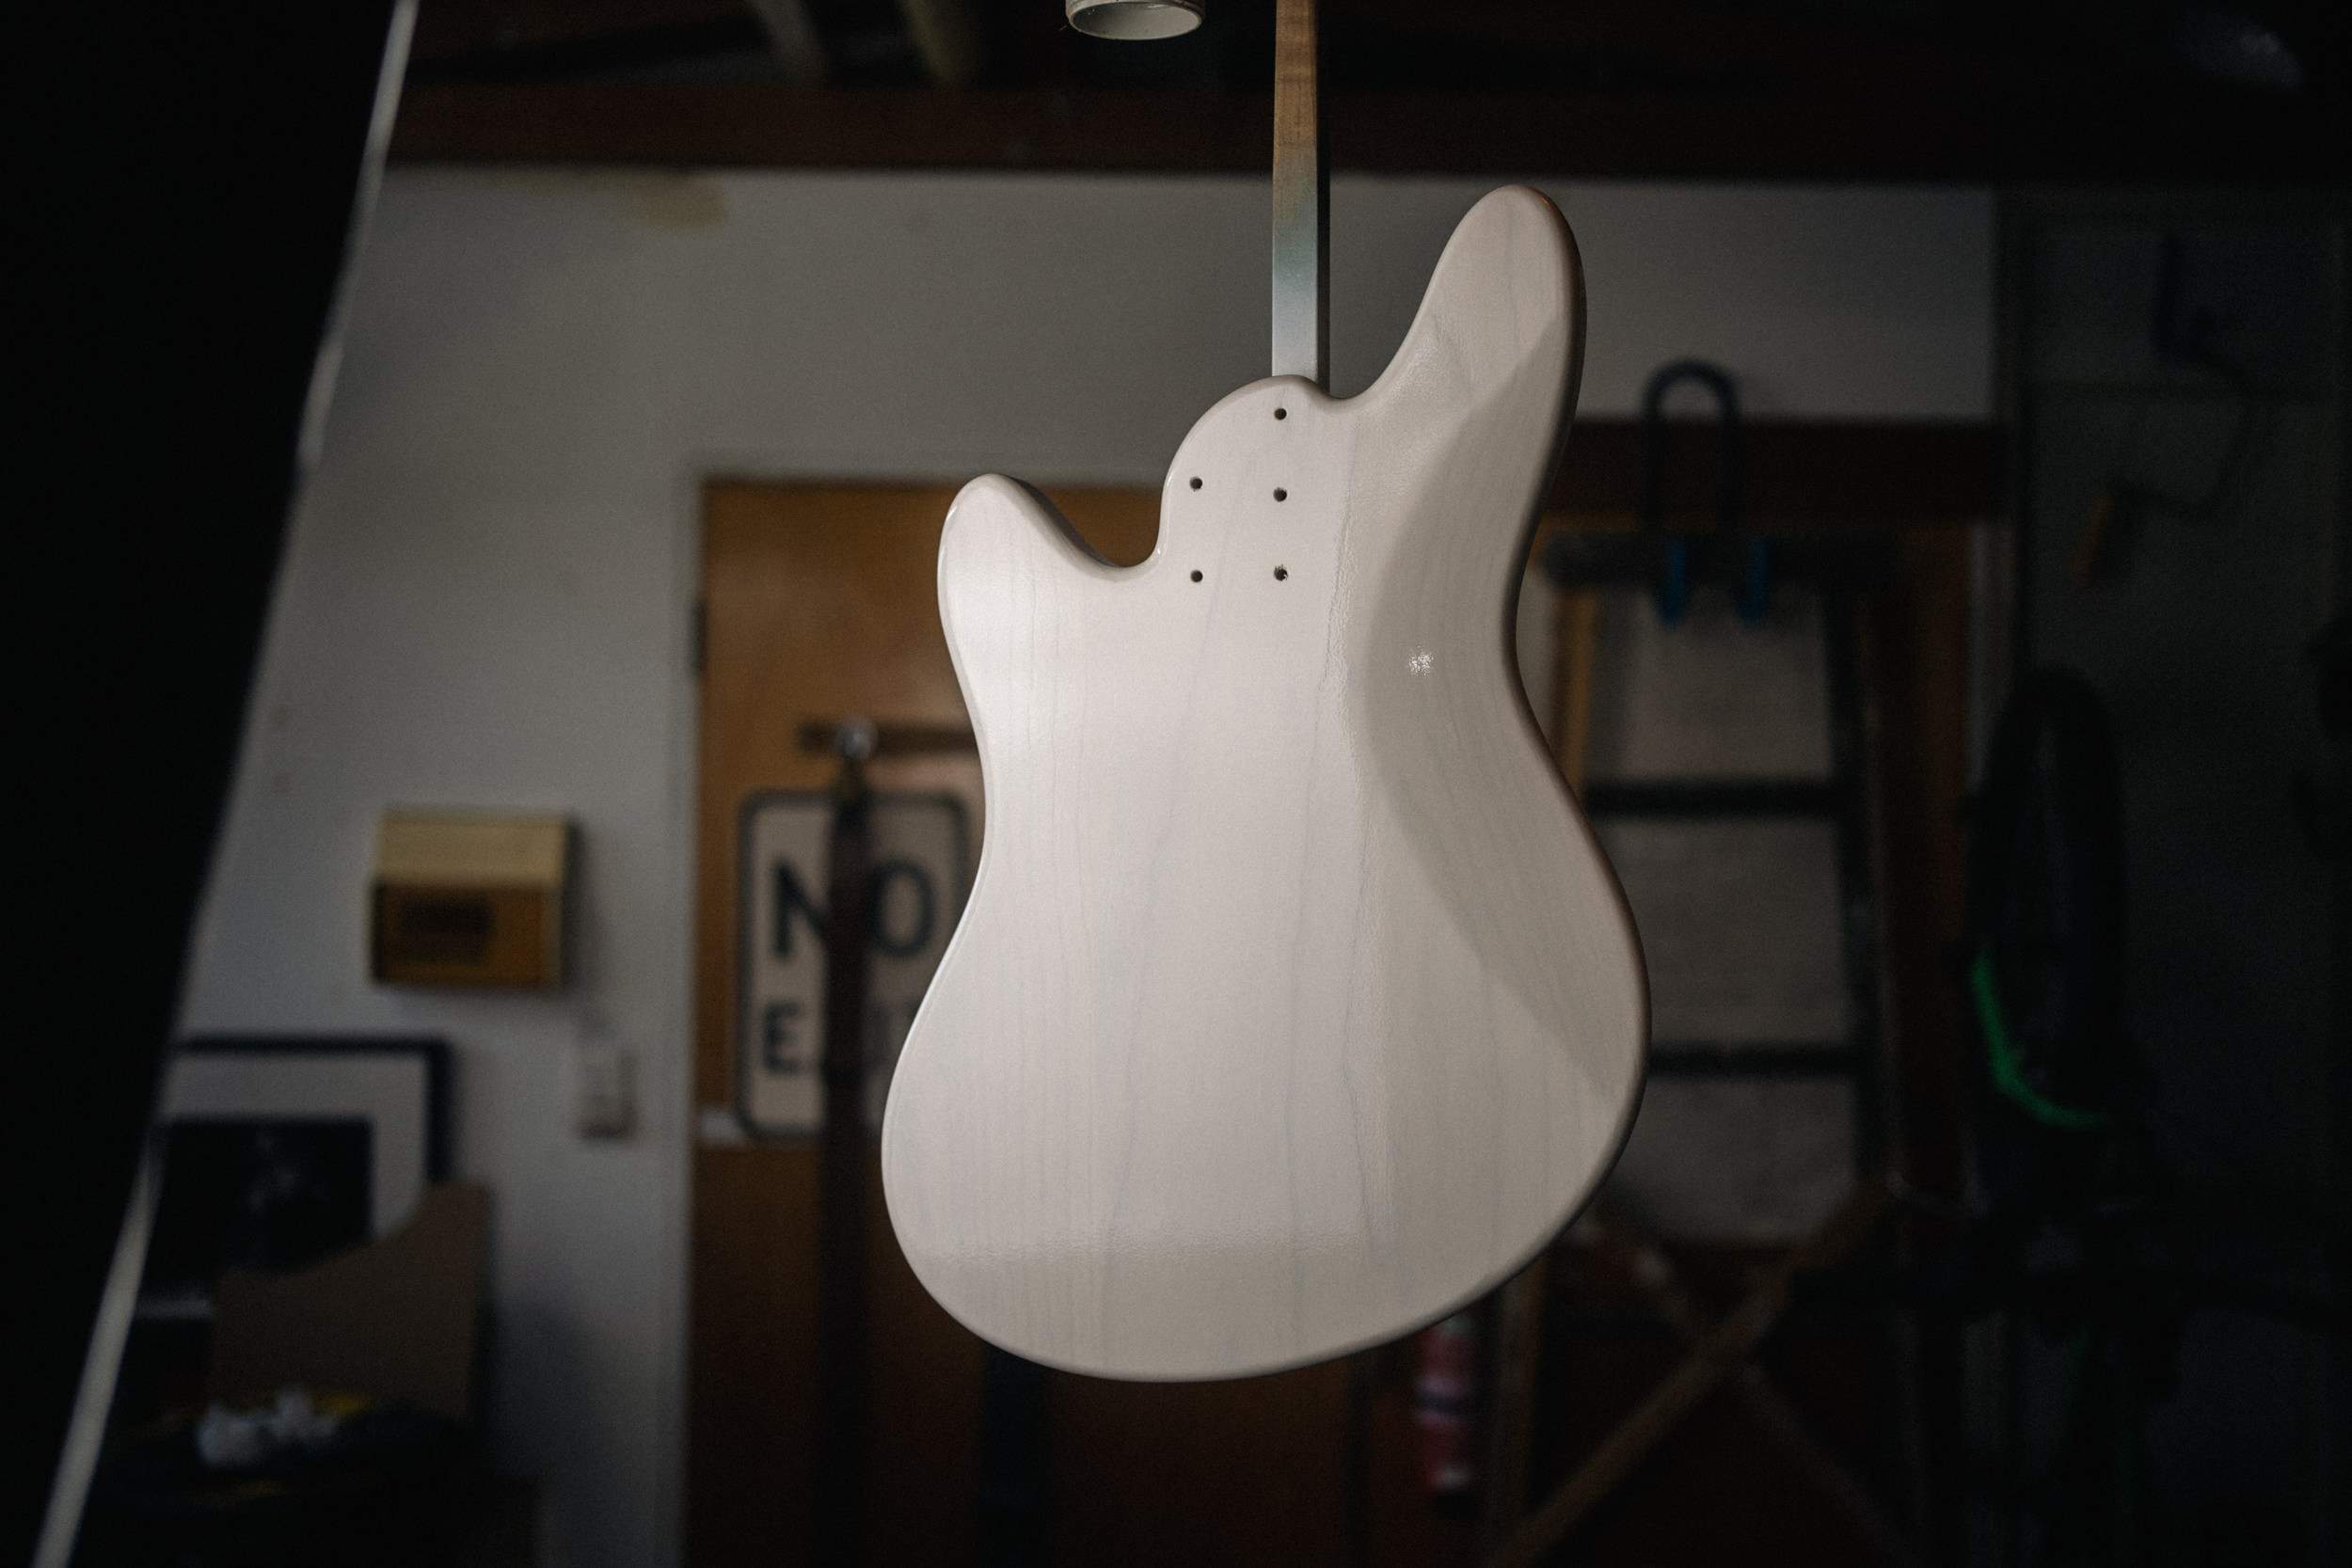
In other news, I started laying clear coats yesterday and got the second round on today. I put on a can a day, spraying light coats until the can is empty, then leave overnight. I might leave this to sit for a day or two before lightly leveling it out, and then I'll put the final coats on. I'd like to keep the "sunken into the grain" look, so I'll finish level and polish it out before it's properly cured. I'm also not going super glossy, but not satin. Aged is probably the right level.
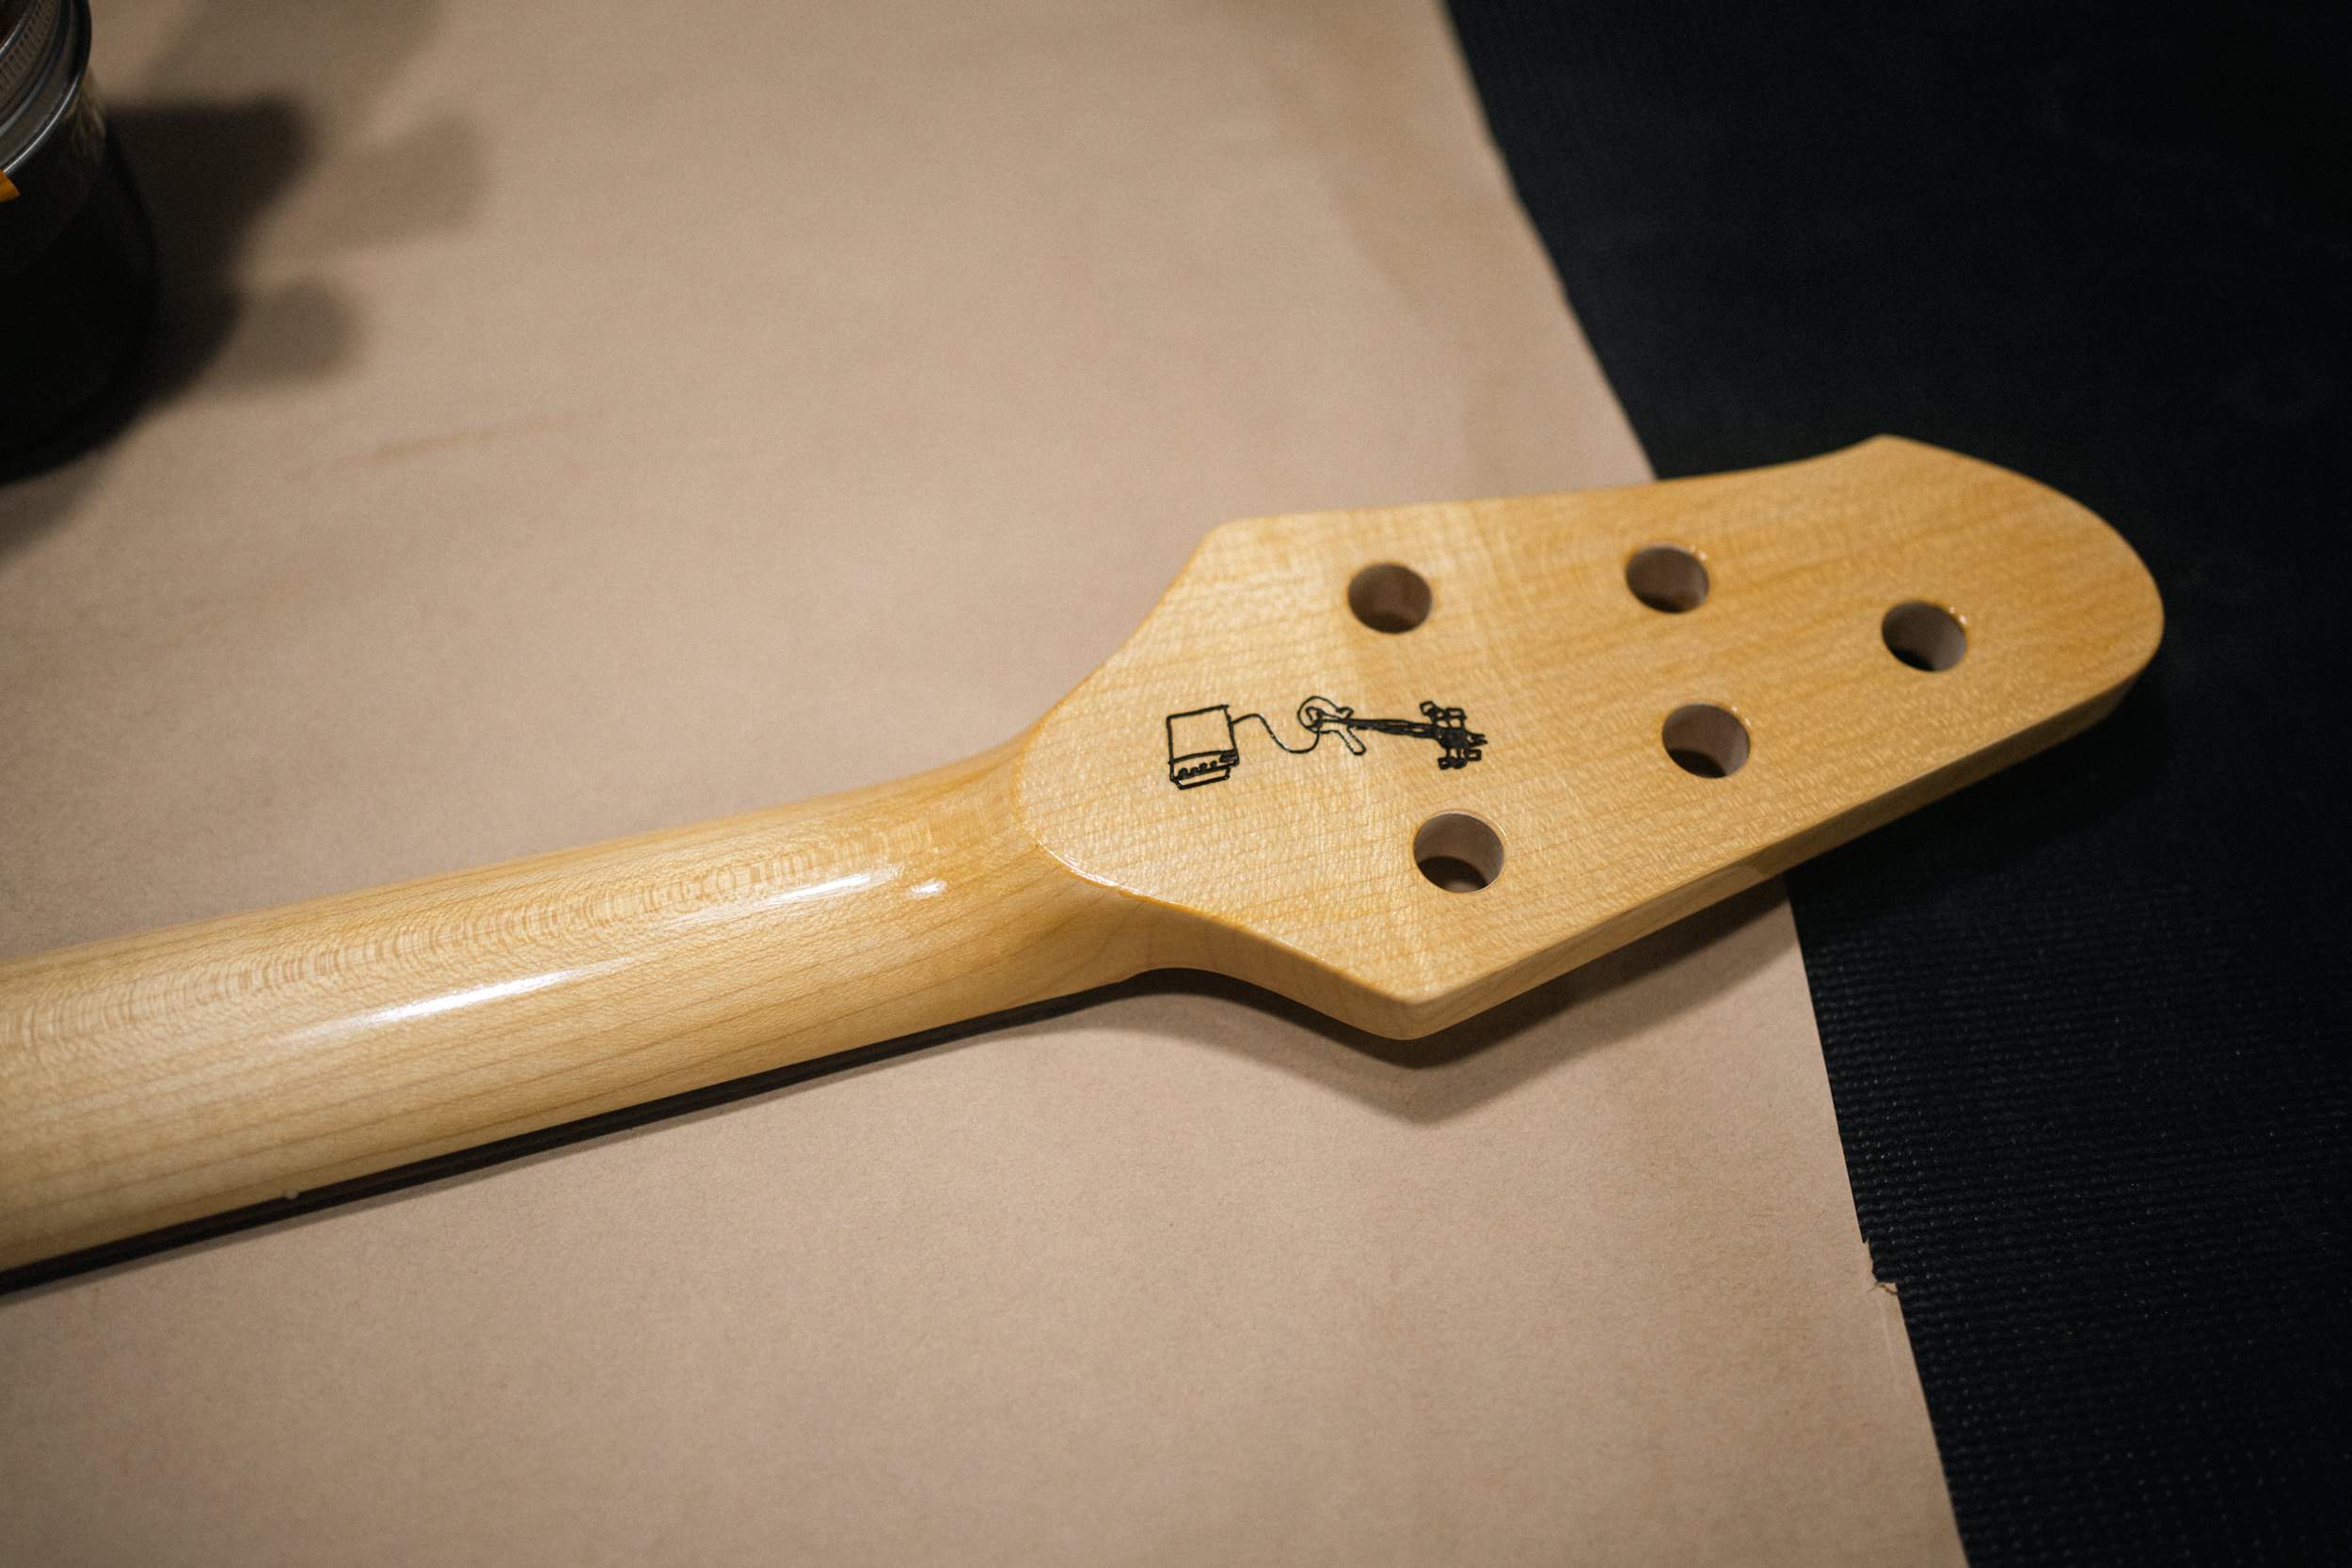
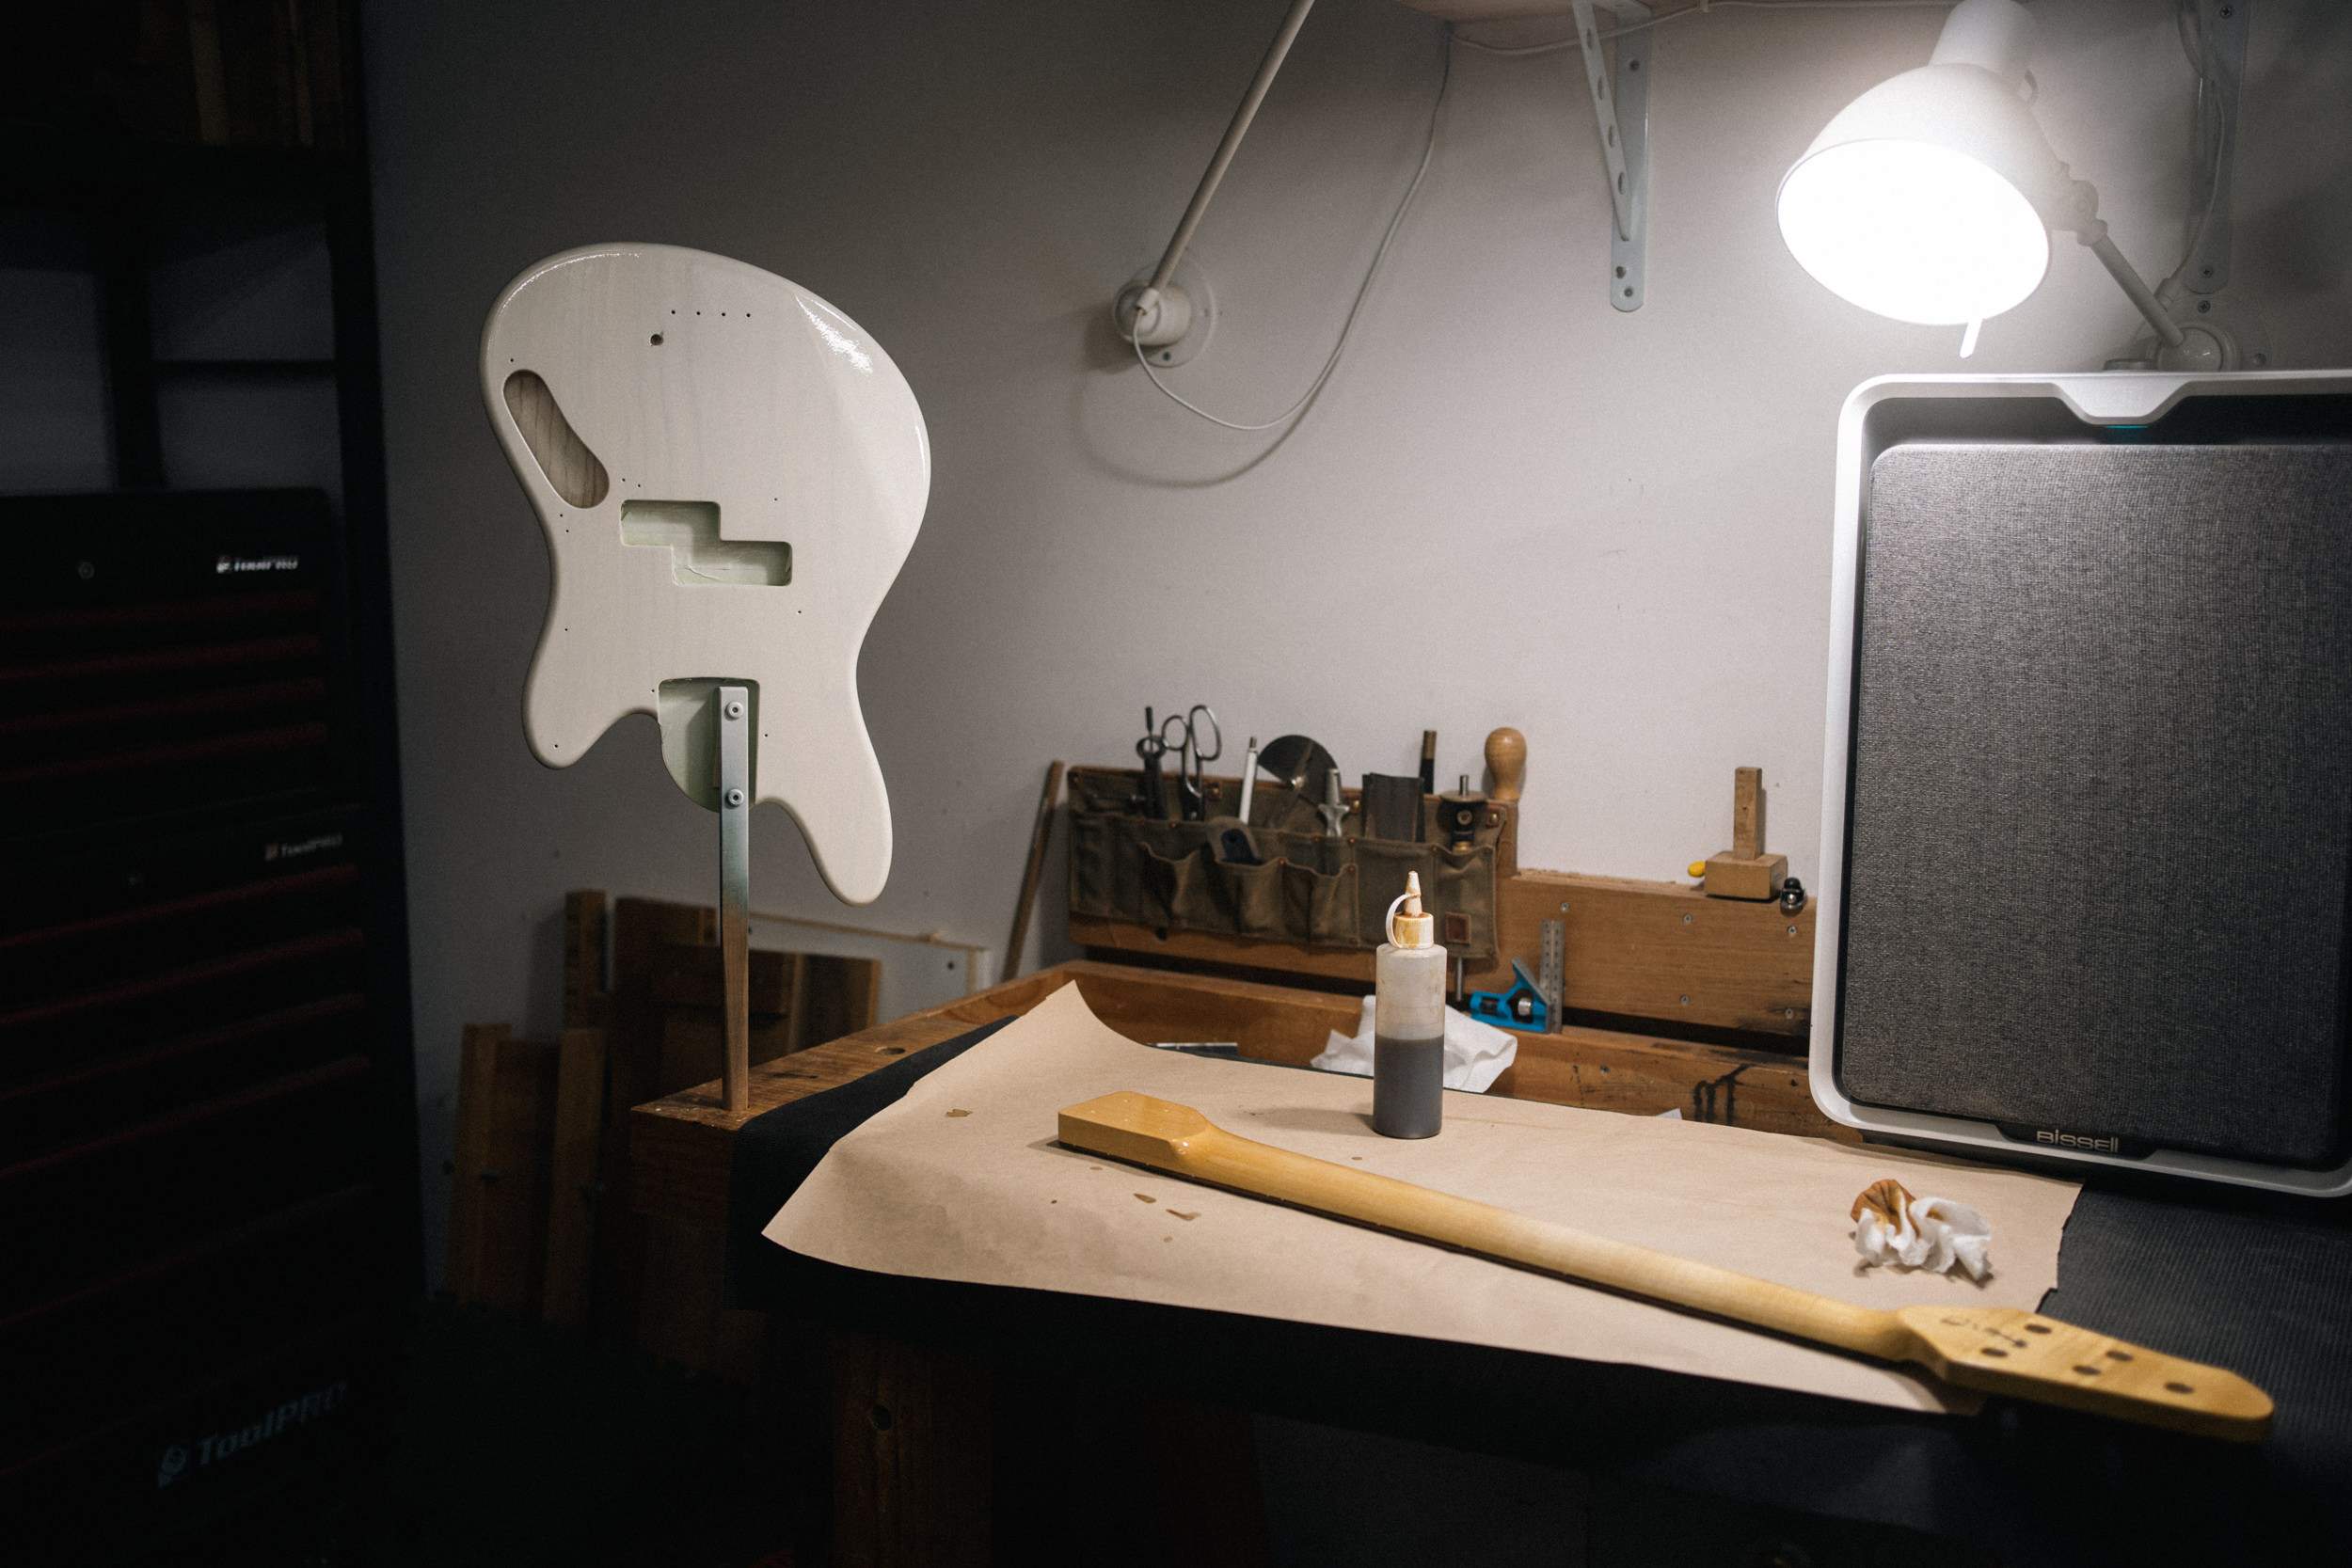
Finally, the neck got the shellac treatment. A few coats of ruby shellac to bring a more vintage look. It's one of those "trust the process" processes, as it looks like dogs balls for the first few coats. After a while, it evens out and will look even better once I level sand it and start french polishing it. I left the centre of the neck only lightly coated for a played-in look. It will get a few coats of white shellac all over later on.
In other news, I started laying clear coats yesterday and got the second round on today. I put on a can a day, spraying light coats until the can is empty, then leave overnight. I might leave this to sit for a day or two before lightly leveling it out, and then I'll put the final coats on. I'd like to keep the "sunken into the grain" look, so I'll finish level and polish it out before it's properly cured. I'm also not going super glossy, but not satin. Aged is probably the right level.
Finally, the neck got the shellac treatment. A few coats of ruby shellac to bring a more vintage look. It's one of those "trust the process" processes, as it looks like dogs balls for the first few coats. After a while, it evens out and will look even better once I level sand it and start french polishing it. I left the centre of the neck only lightly coated for a played-in look. It will get a few coats of white shellac all over later on.
Attachments

I've decided Fridays are for me. One of the perks of being self-employed and in control of my time.
I started flattening out the clear coat for the last spray session, but decided that there was actually enough material there for me to buff it out!
I started at 800, then went to 1200, then onto polishing compound - Novus 2. I know most people normally keep going up through the grits before jumping to polishing, but doing it this way leaves some fine scratches in, which give it the "used" look, without being dull. It's subtle.
Before:
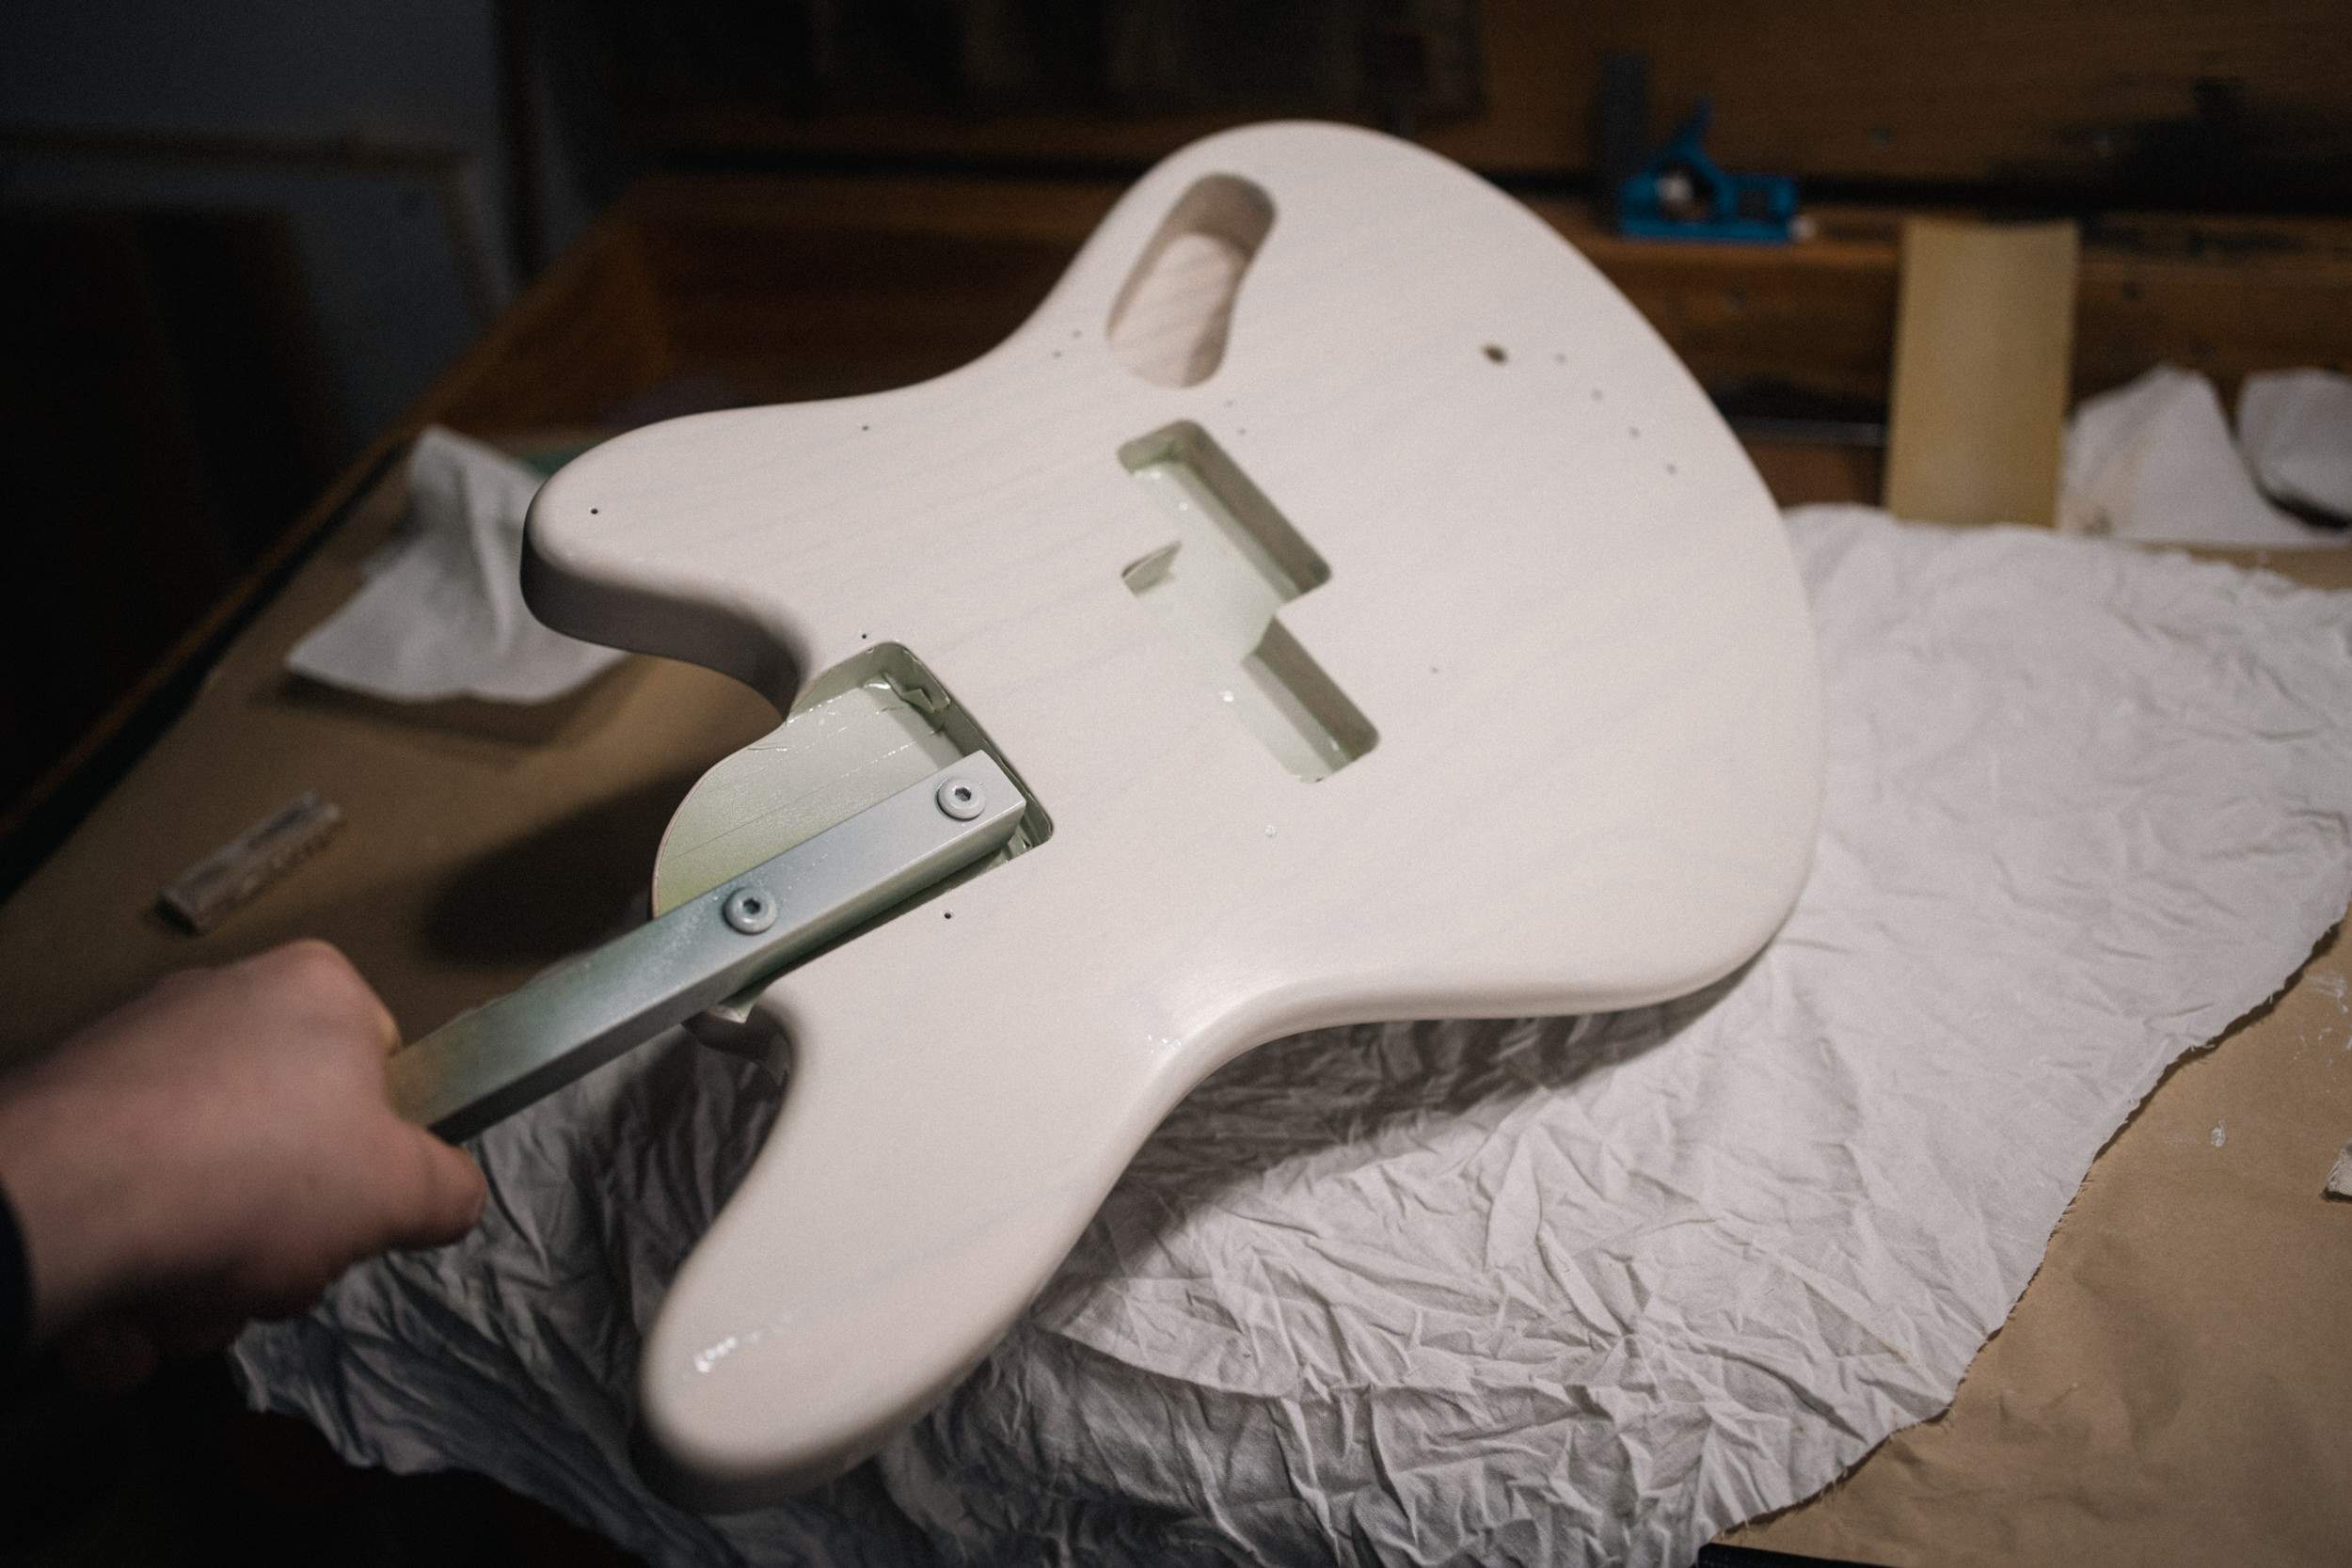
After:
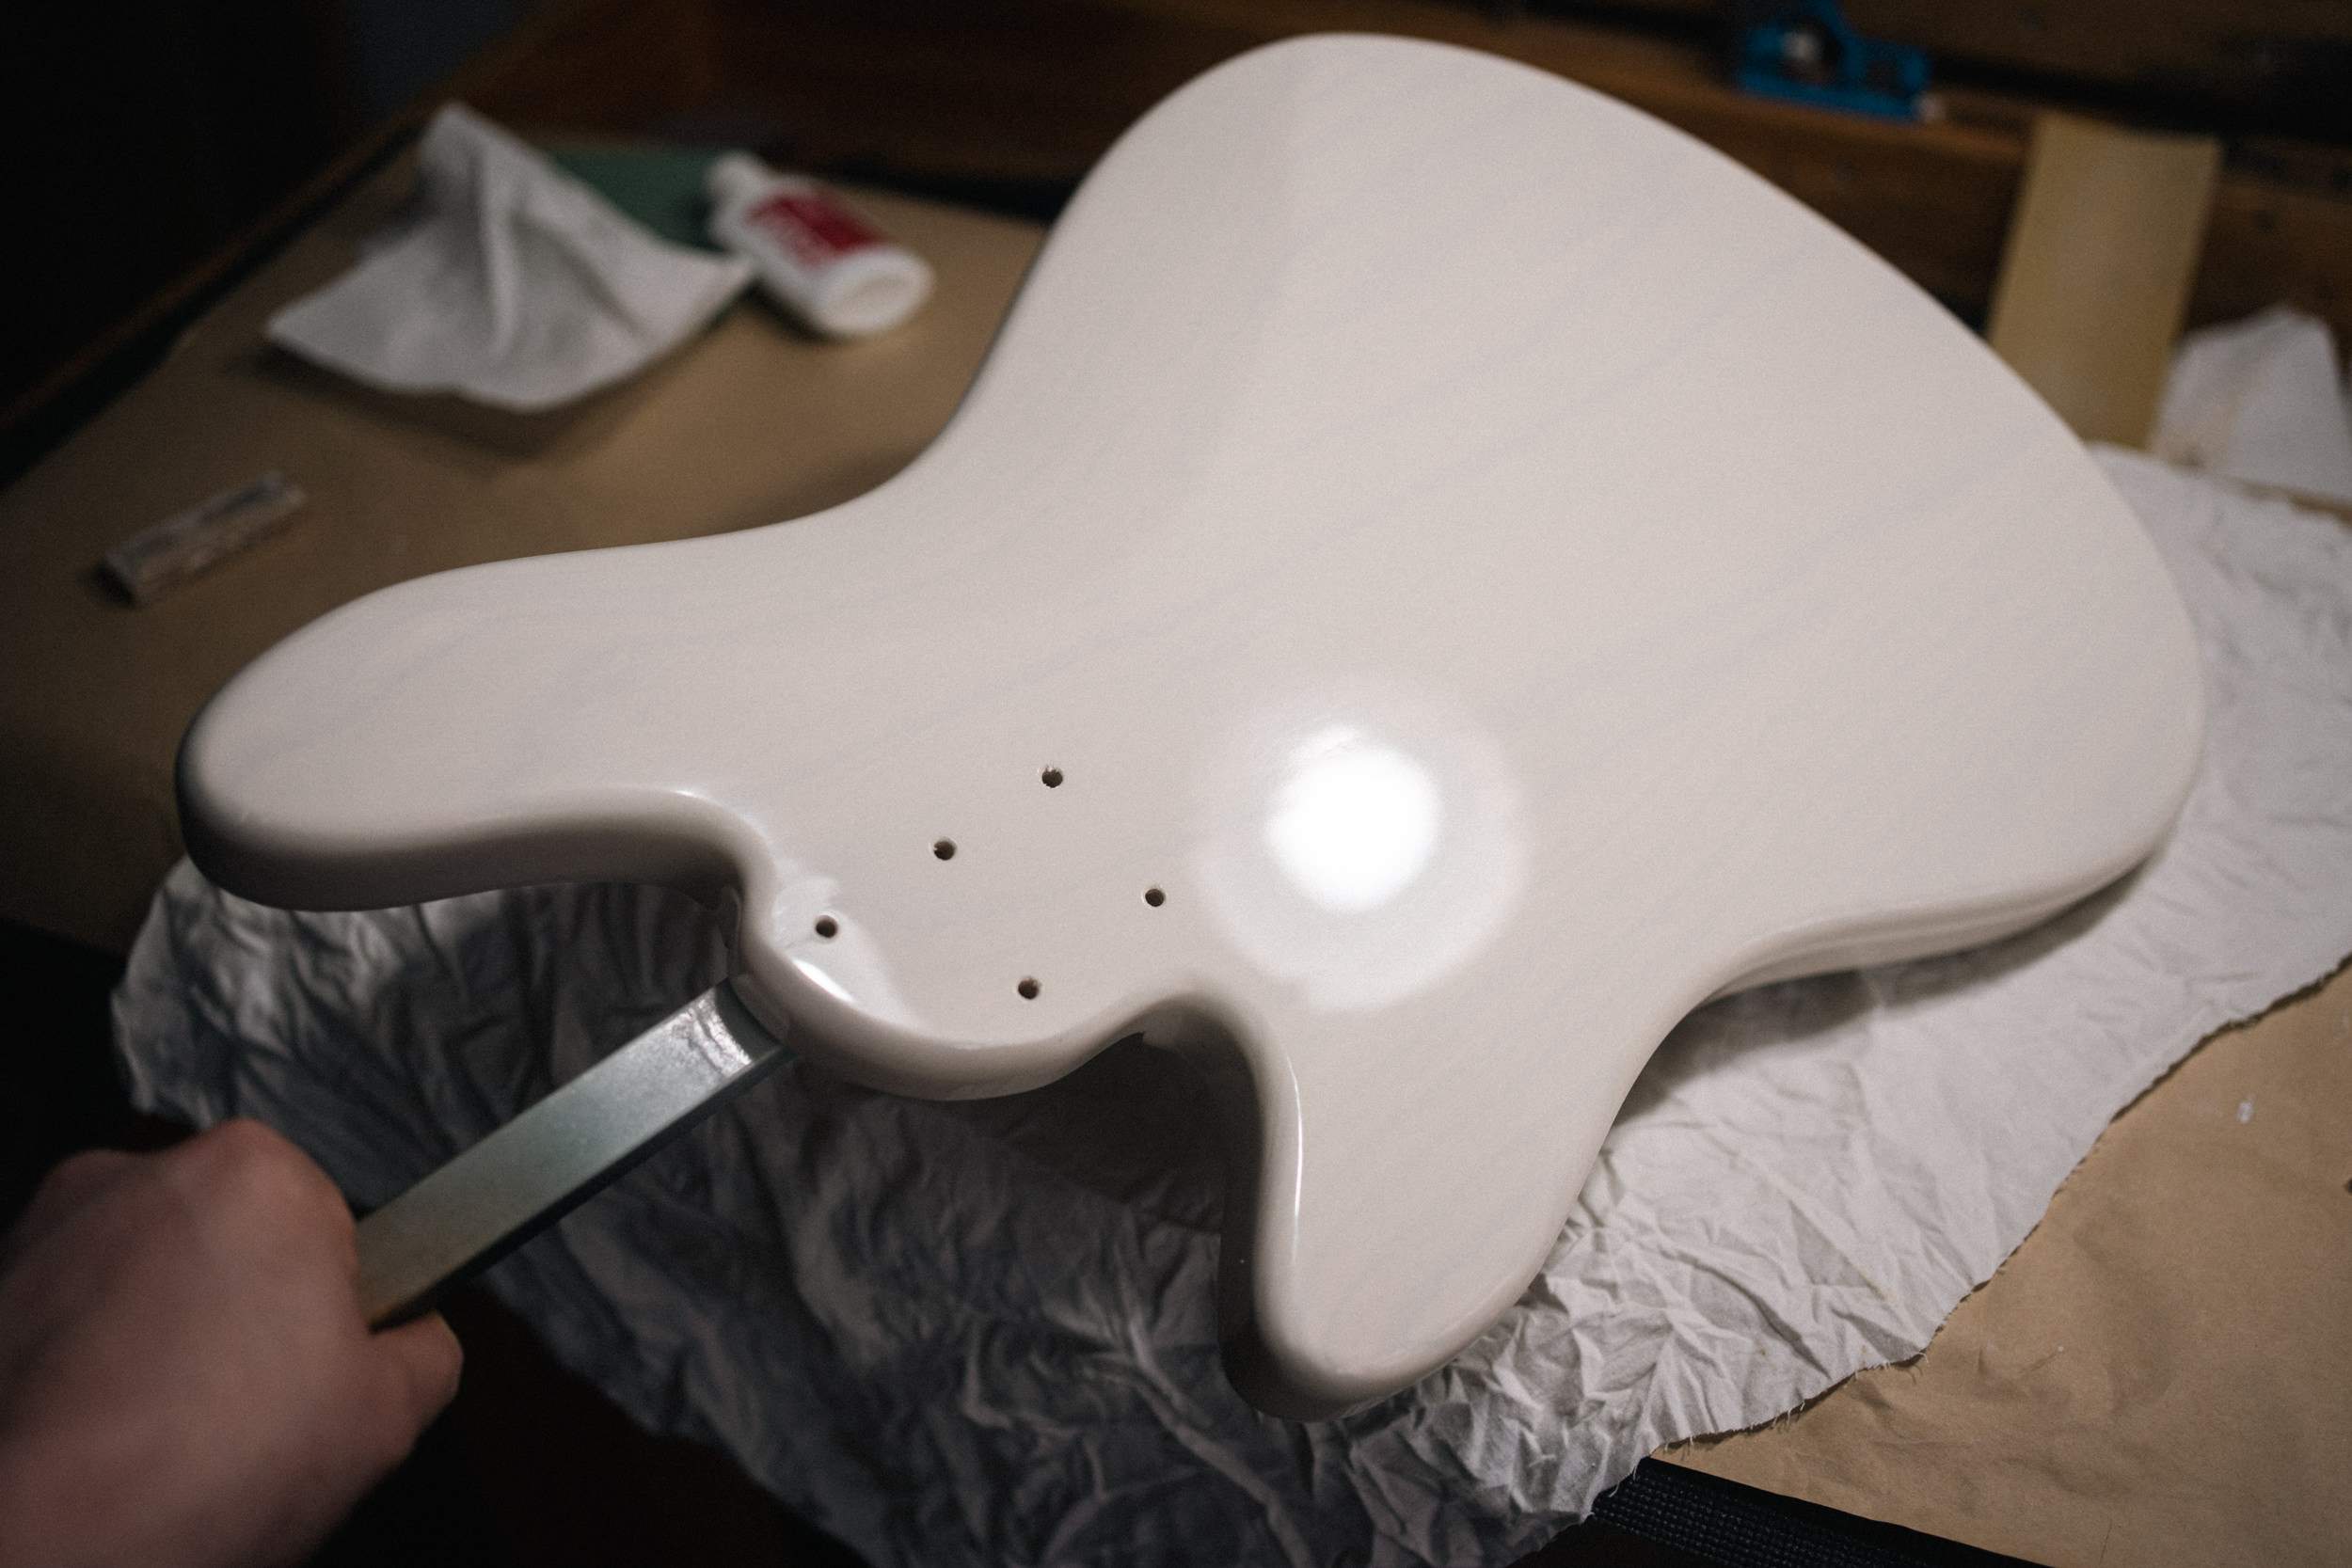
It's really hard to capture the qualities of a glossy finish!

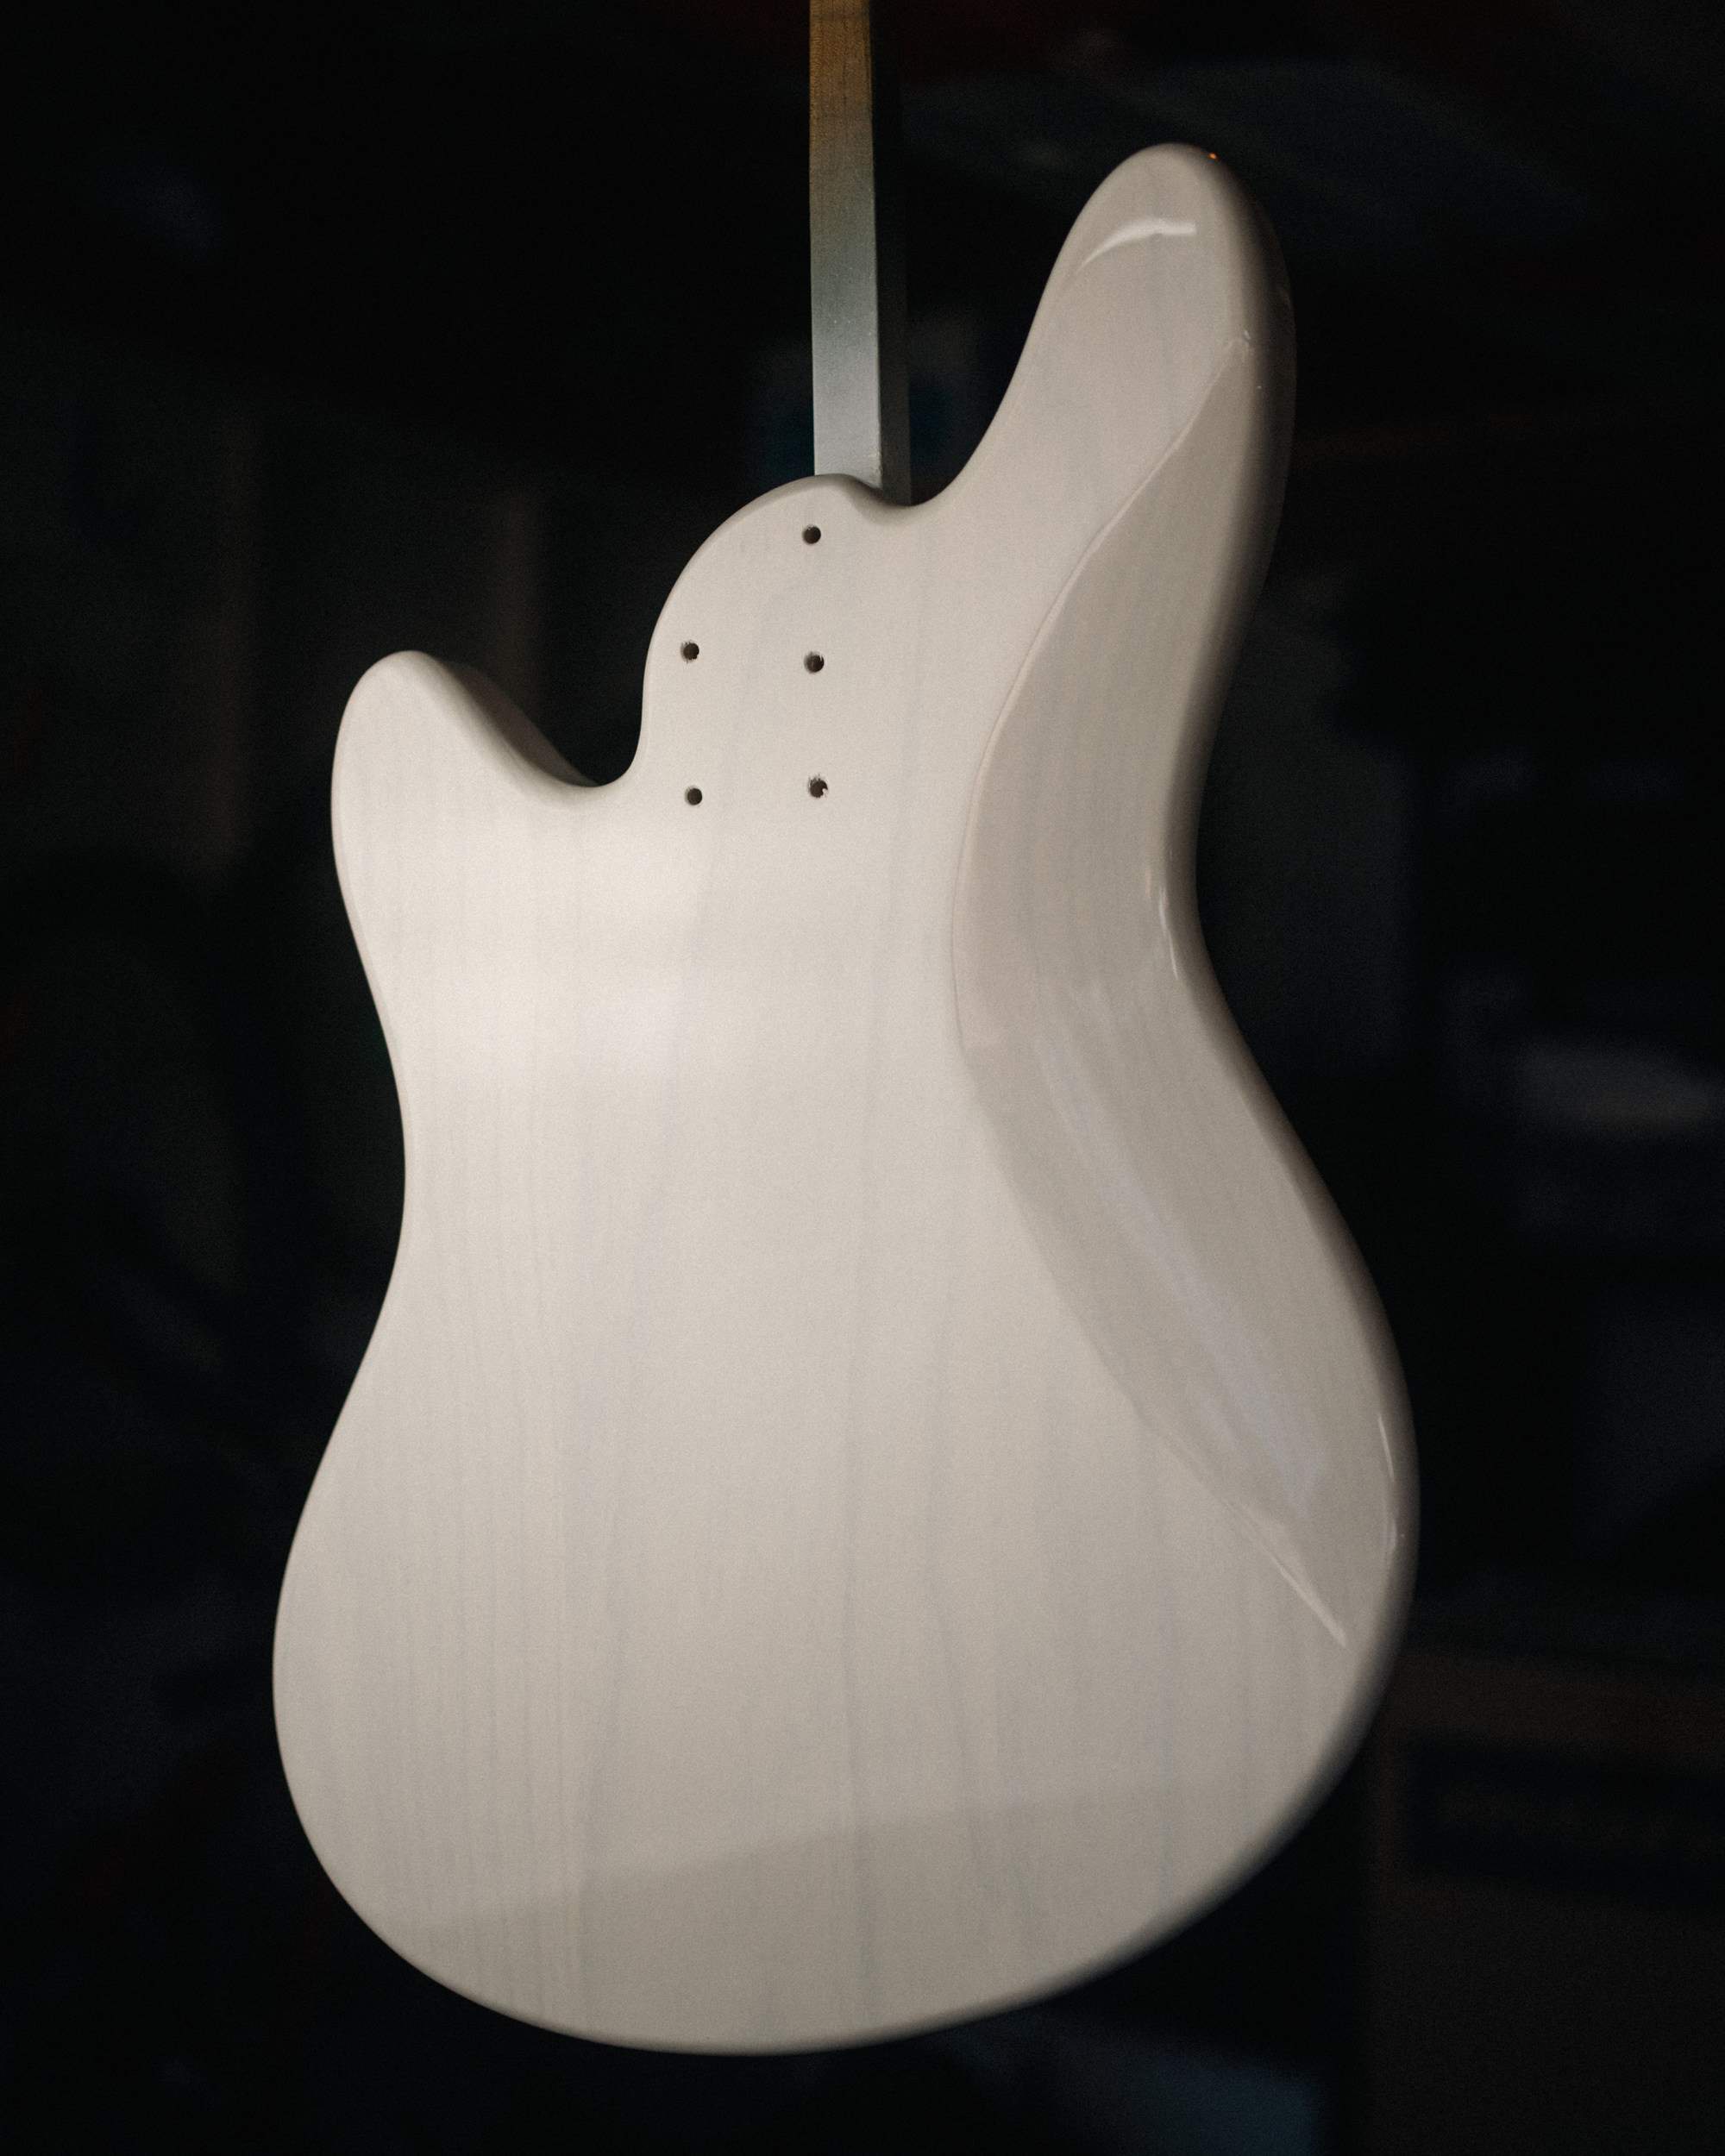
I'm expecting the finish to sink back into the grain over the next few weeks, giving an even older appearance.
One challenge in working with such a fresh finish is how soft it is. While it's hard enough to sand and polish, even the heat from your fingers can melt it slightly, which I learned after leaving a fingerprint from where I was trying to hold it still. Thankfully it buffed out.
I moved on to leveling the shellac finish on the neck. I pad it on pretty heavy, 5-6 coats a day, leaving it pretty streaky and ugly. Some areas were actually pretty flat, like the face of the headstock. I still cut it back with a block loaded with 600grit.
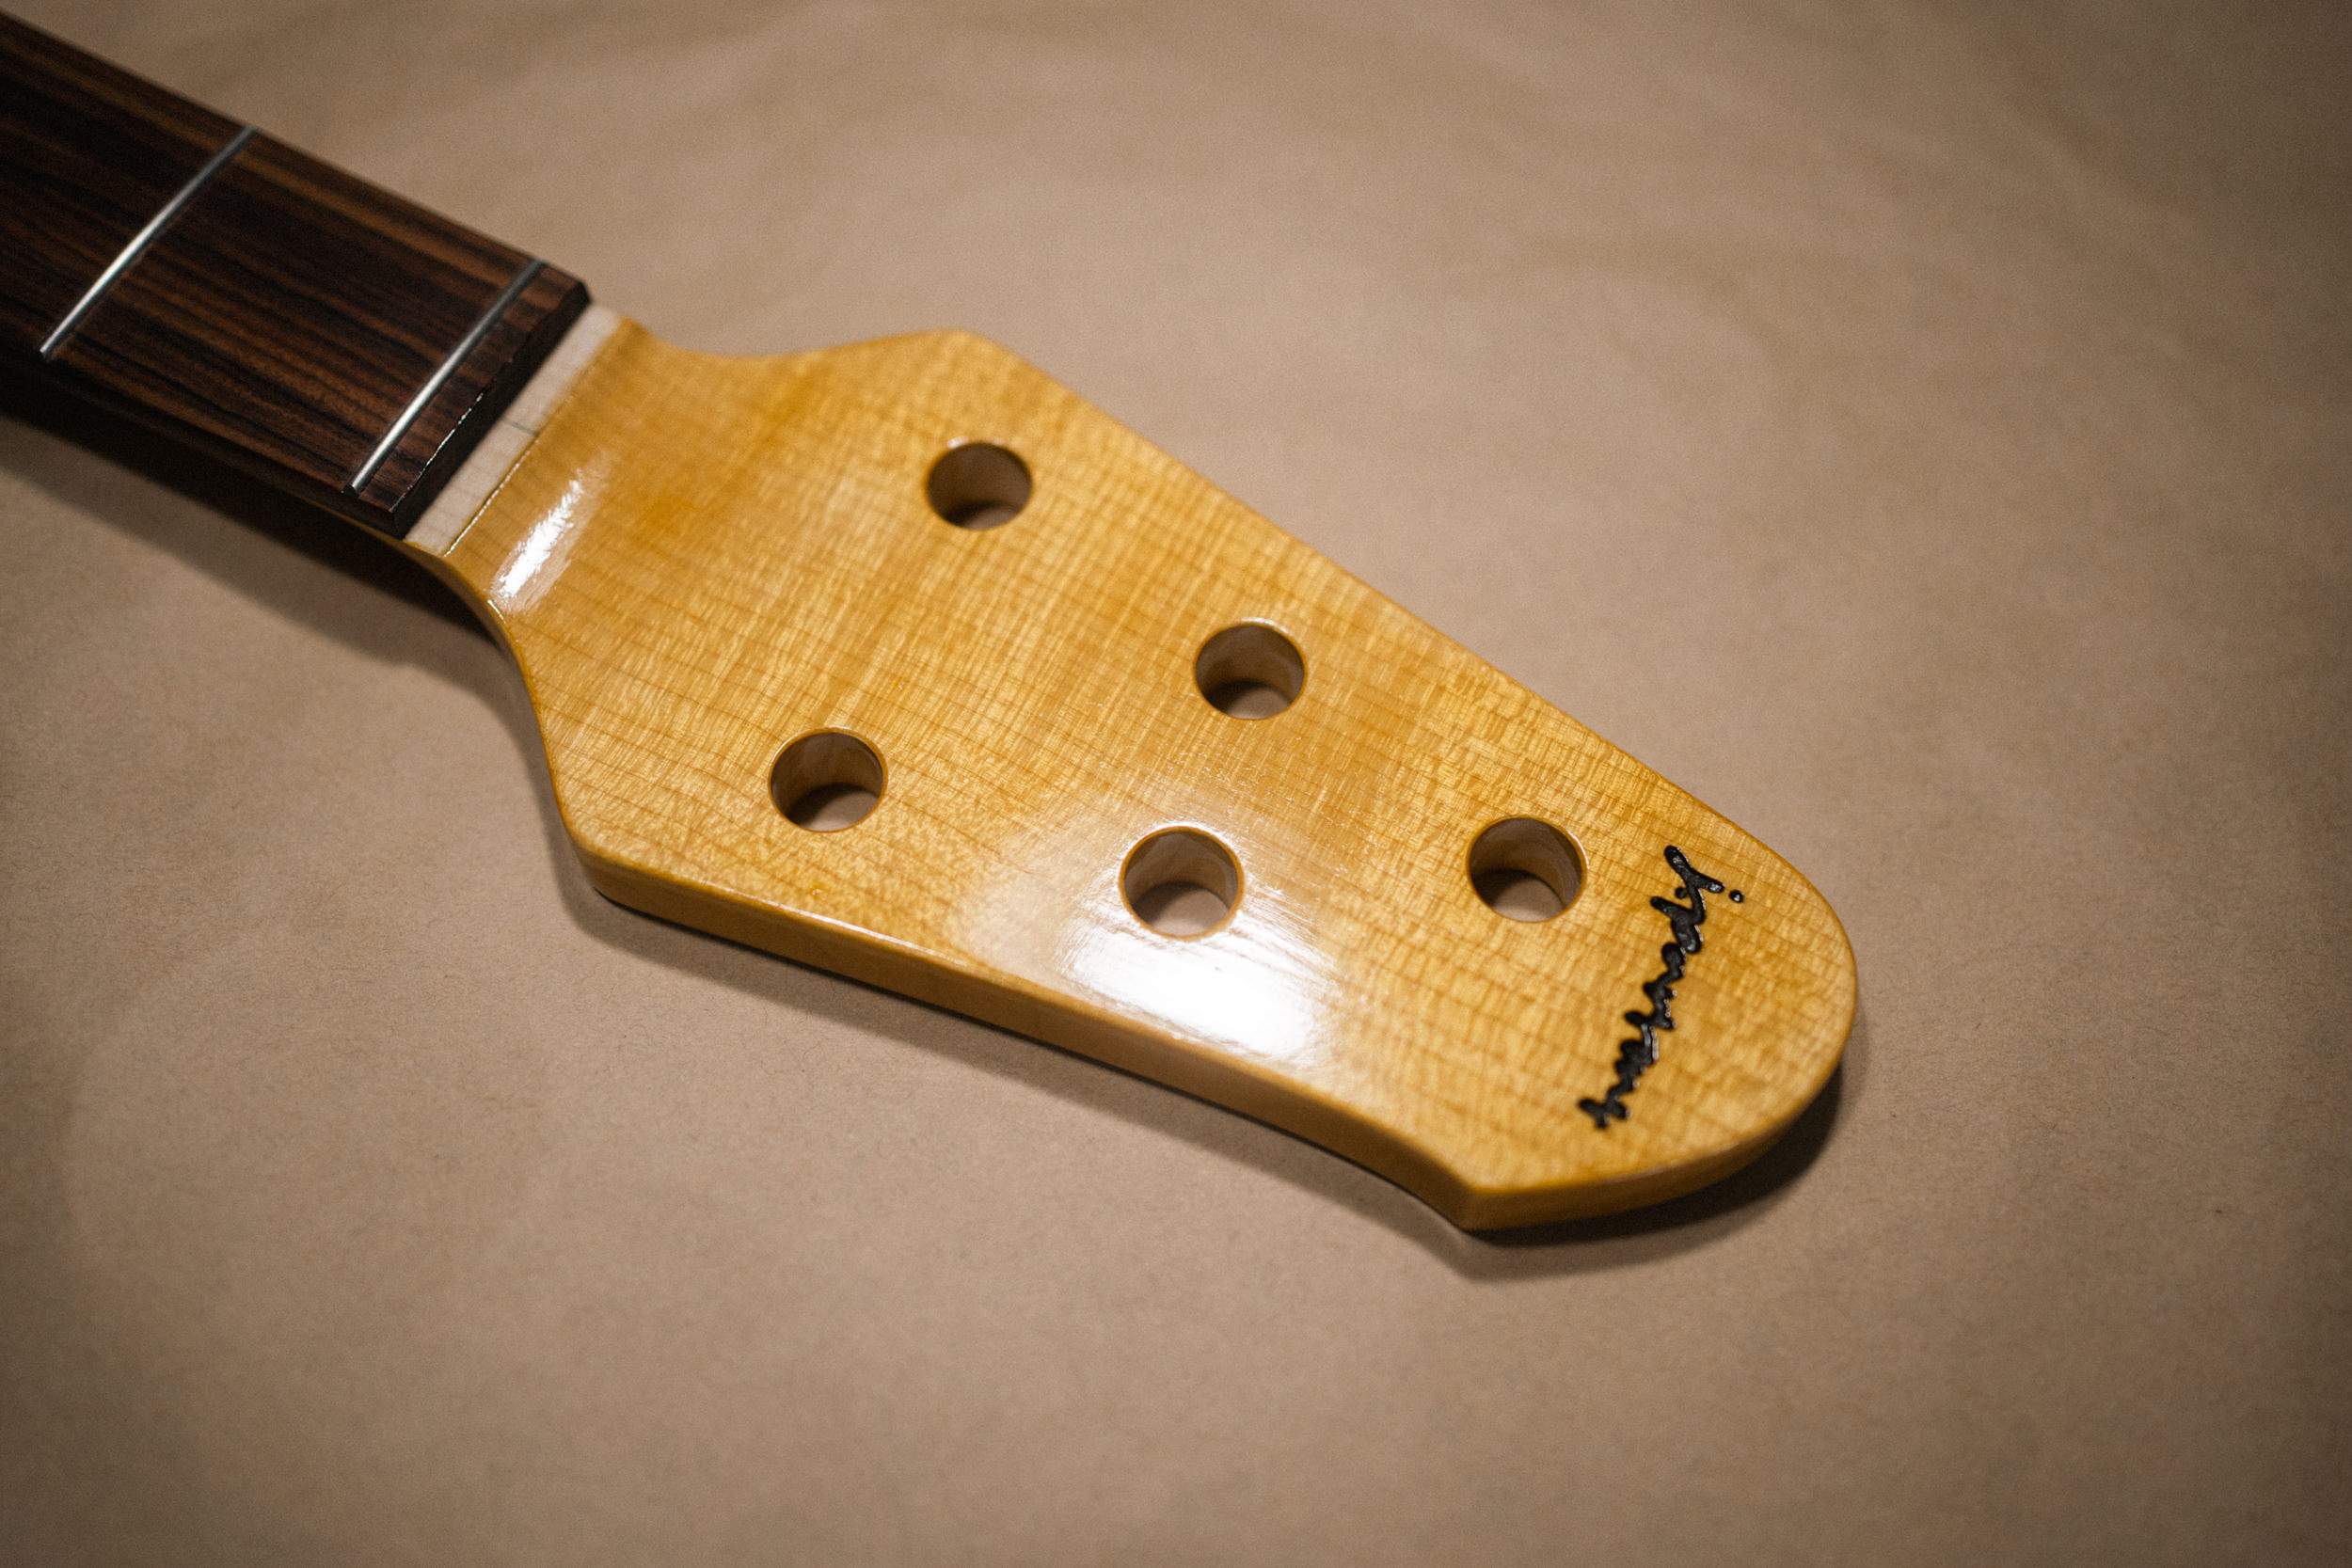
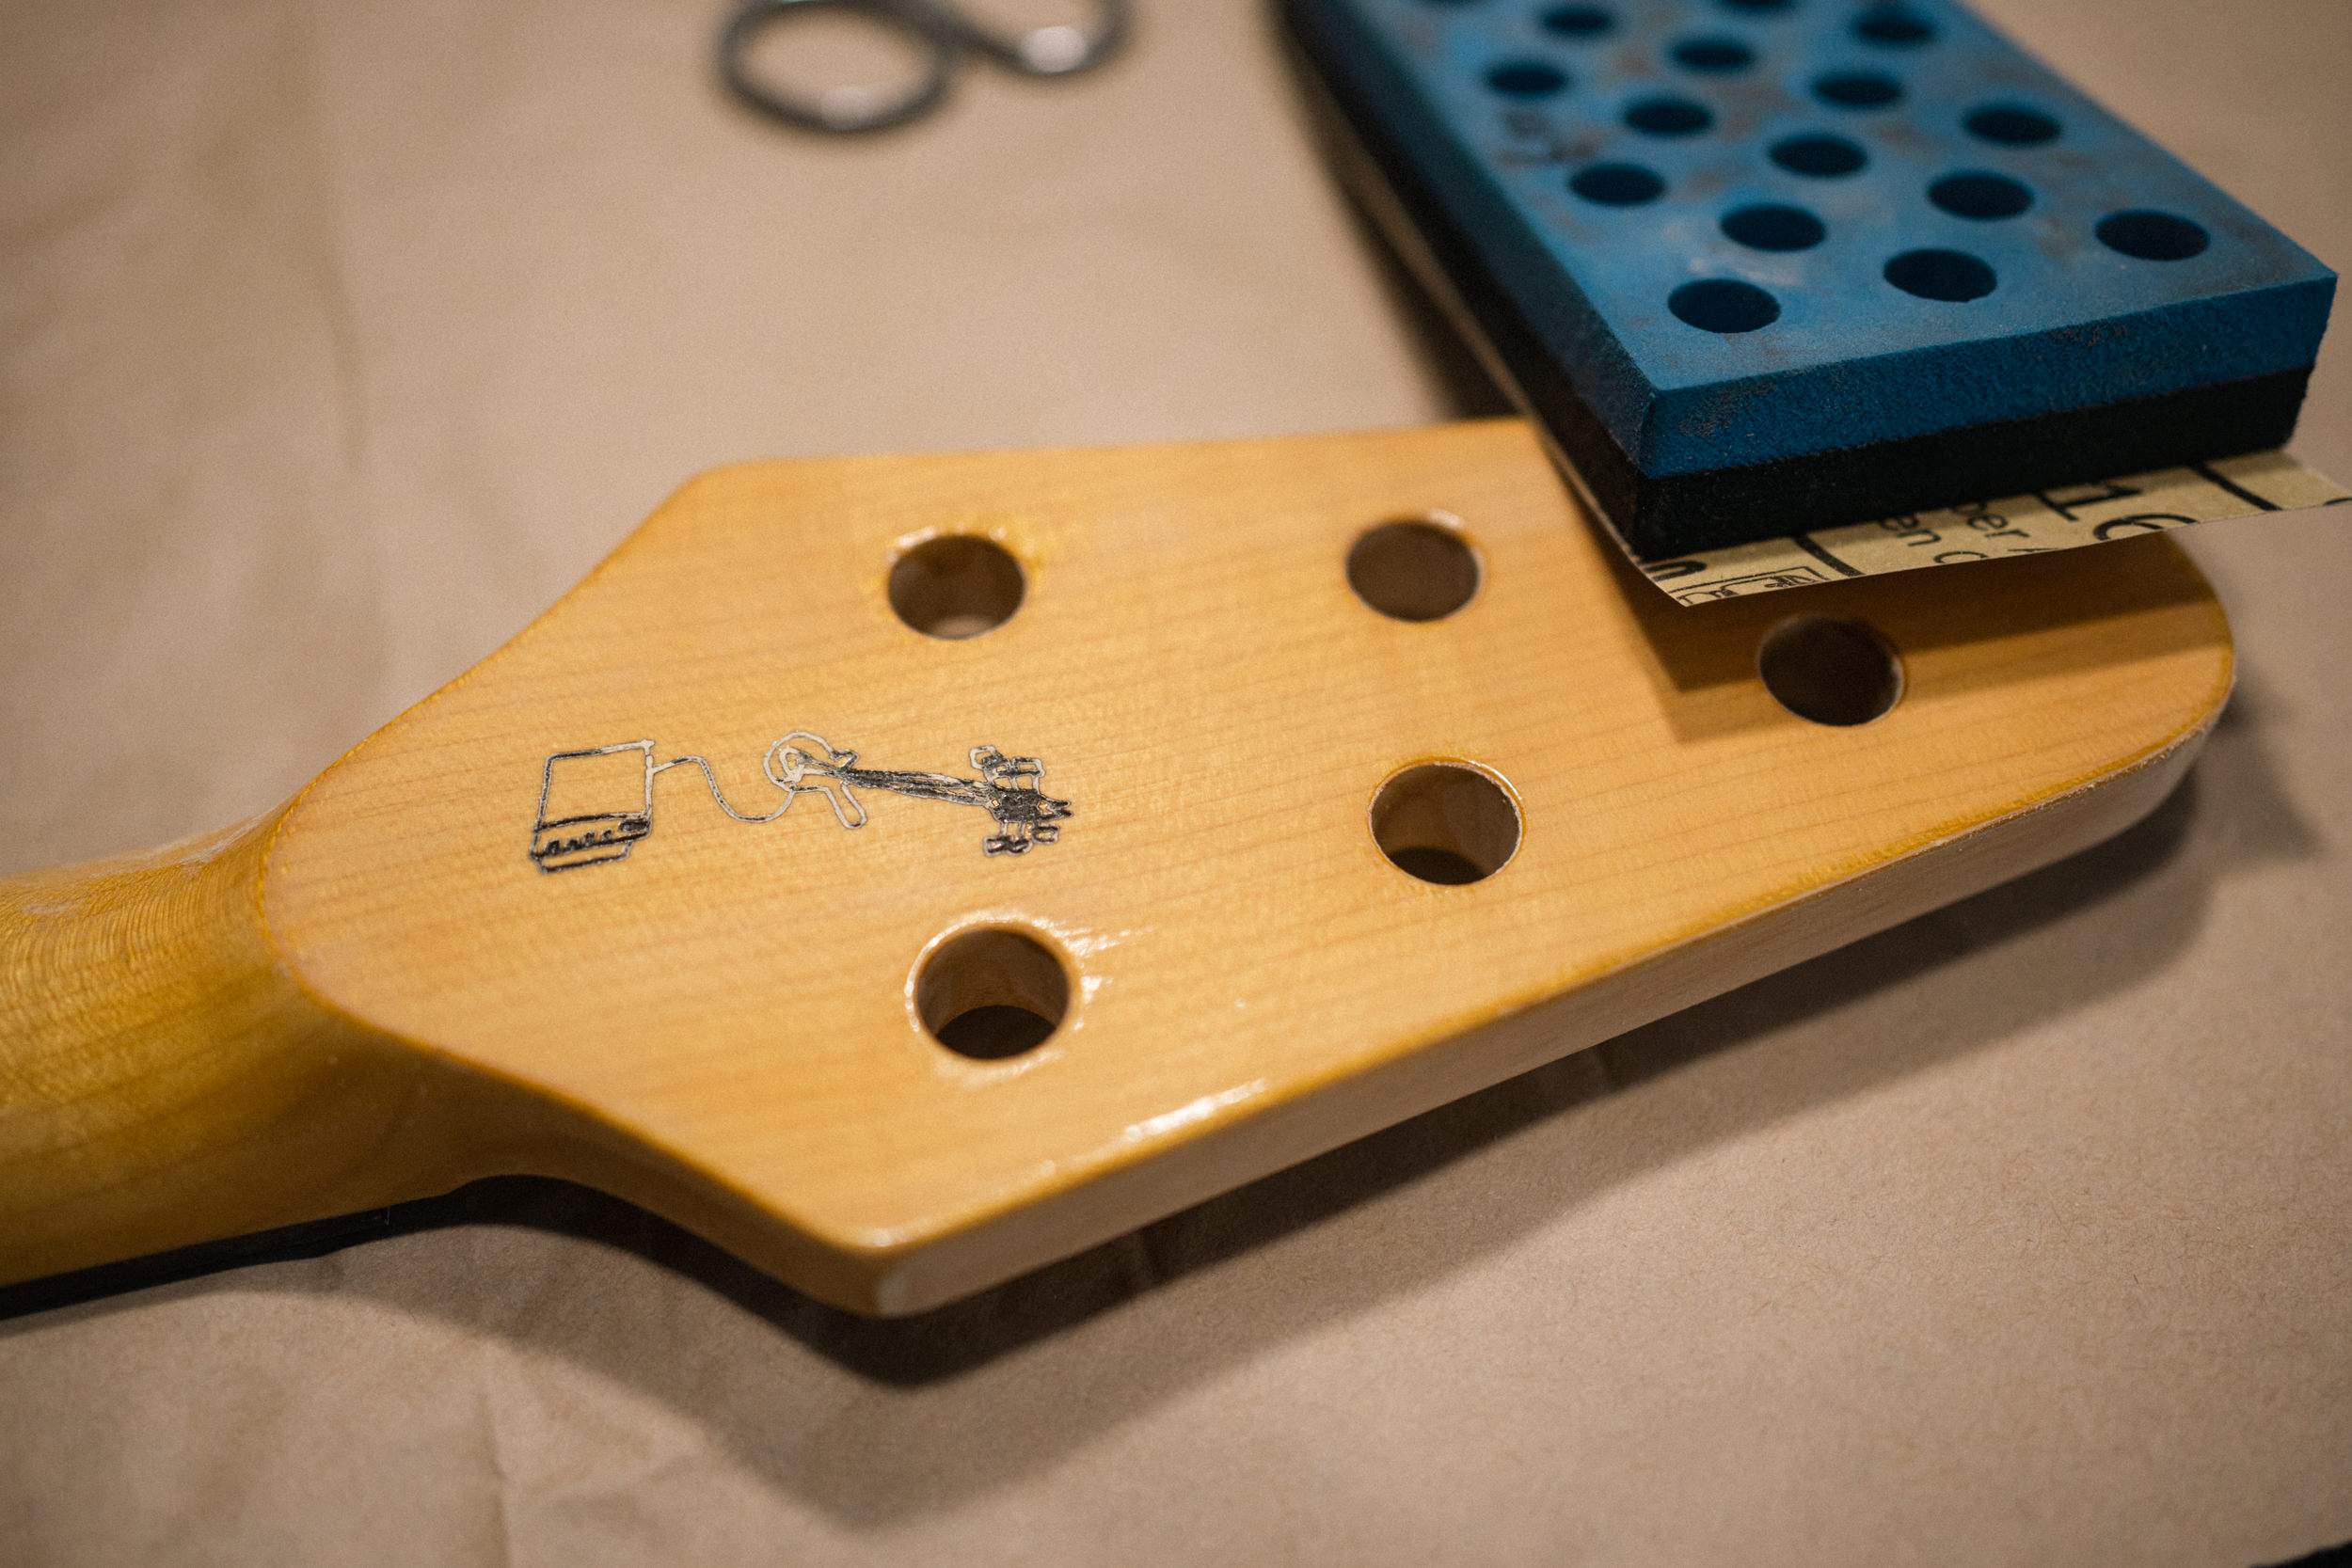
After it's 80% flat, I start the french polishing process. I really enjoy this part, watching the shine come back.
It's a strange process - while it's easy to imagine that you're just putting on a really thin coat, most of what you're doing is moving existing material around. The stuff you do add tends to come when the pad is drying out. I like to use a heavy cut of shellac, a squirt of acetone, and a tiny bit of hemp oil to keep things gliding nicely.
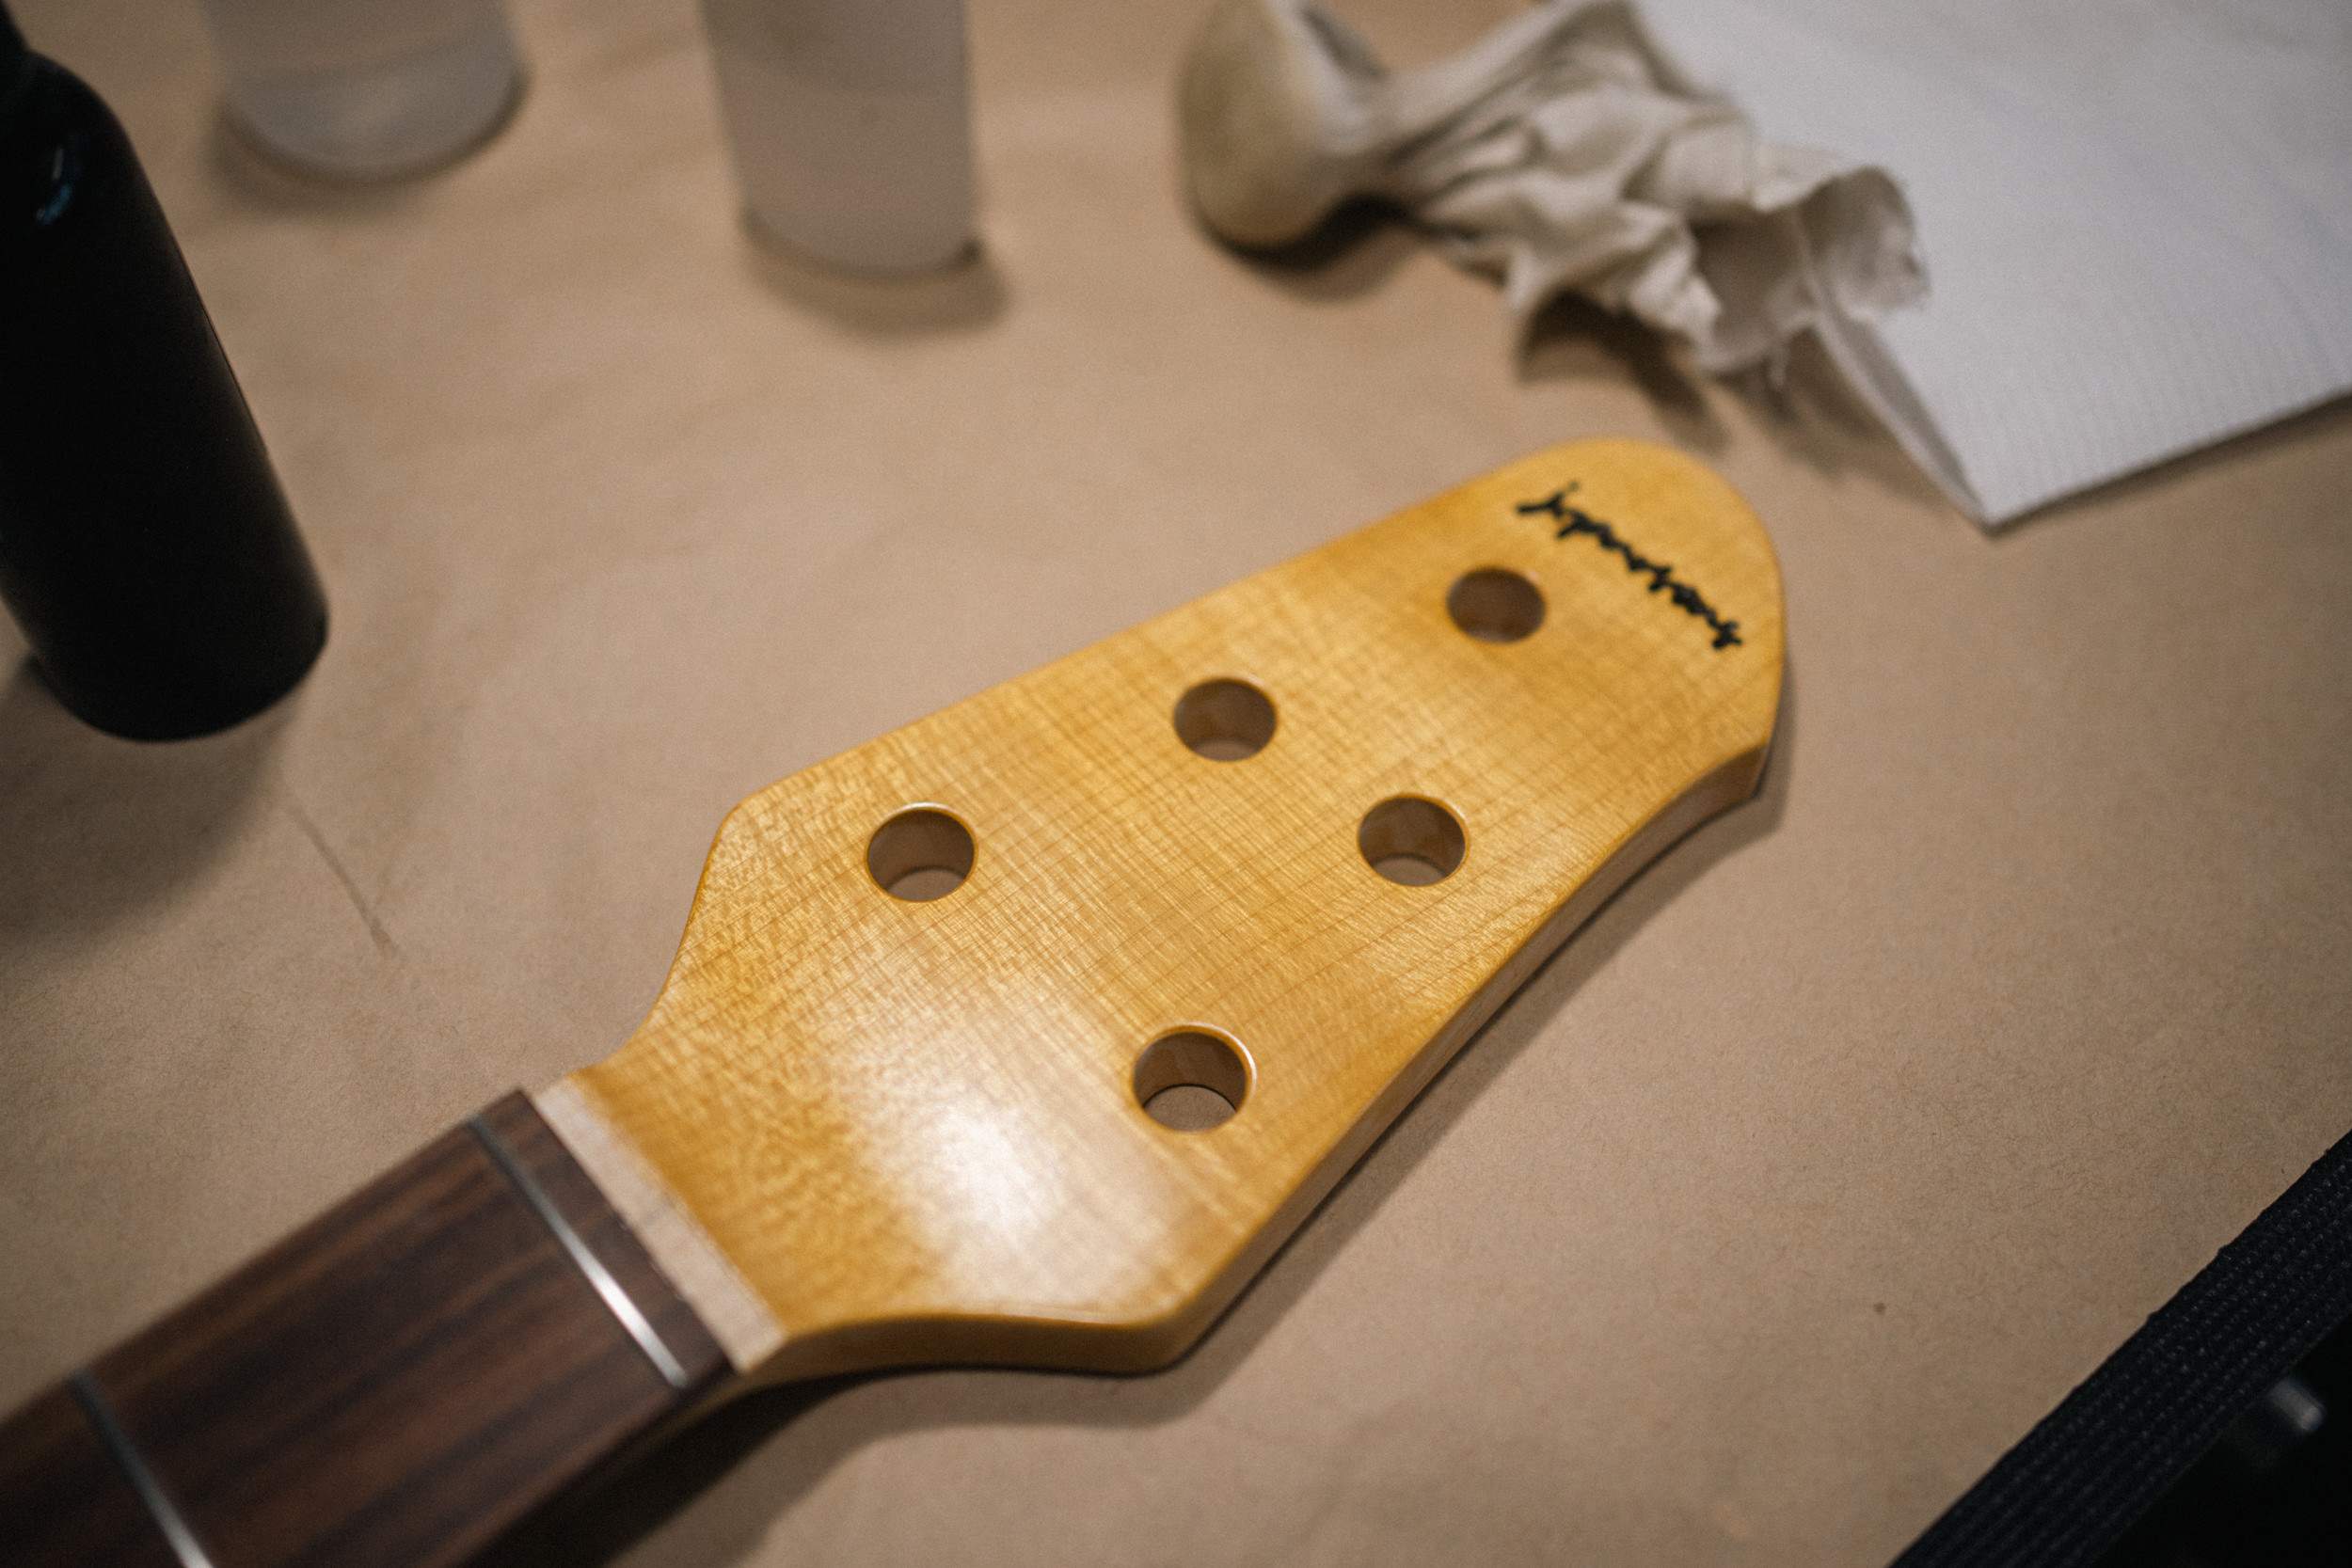
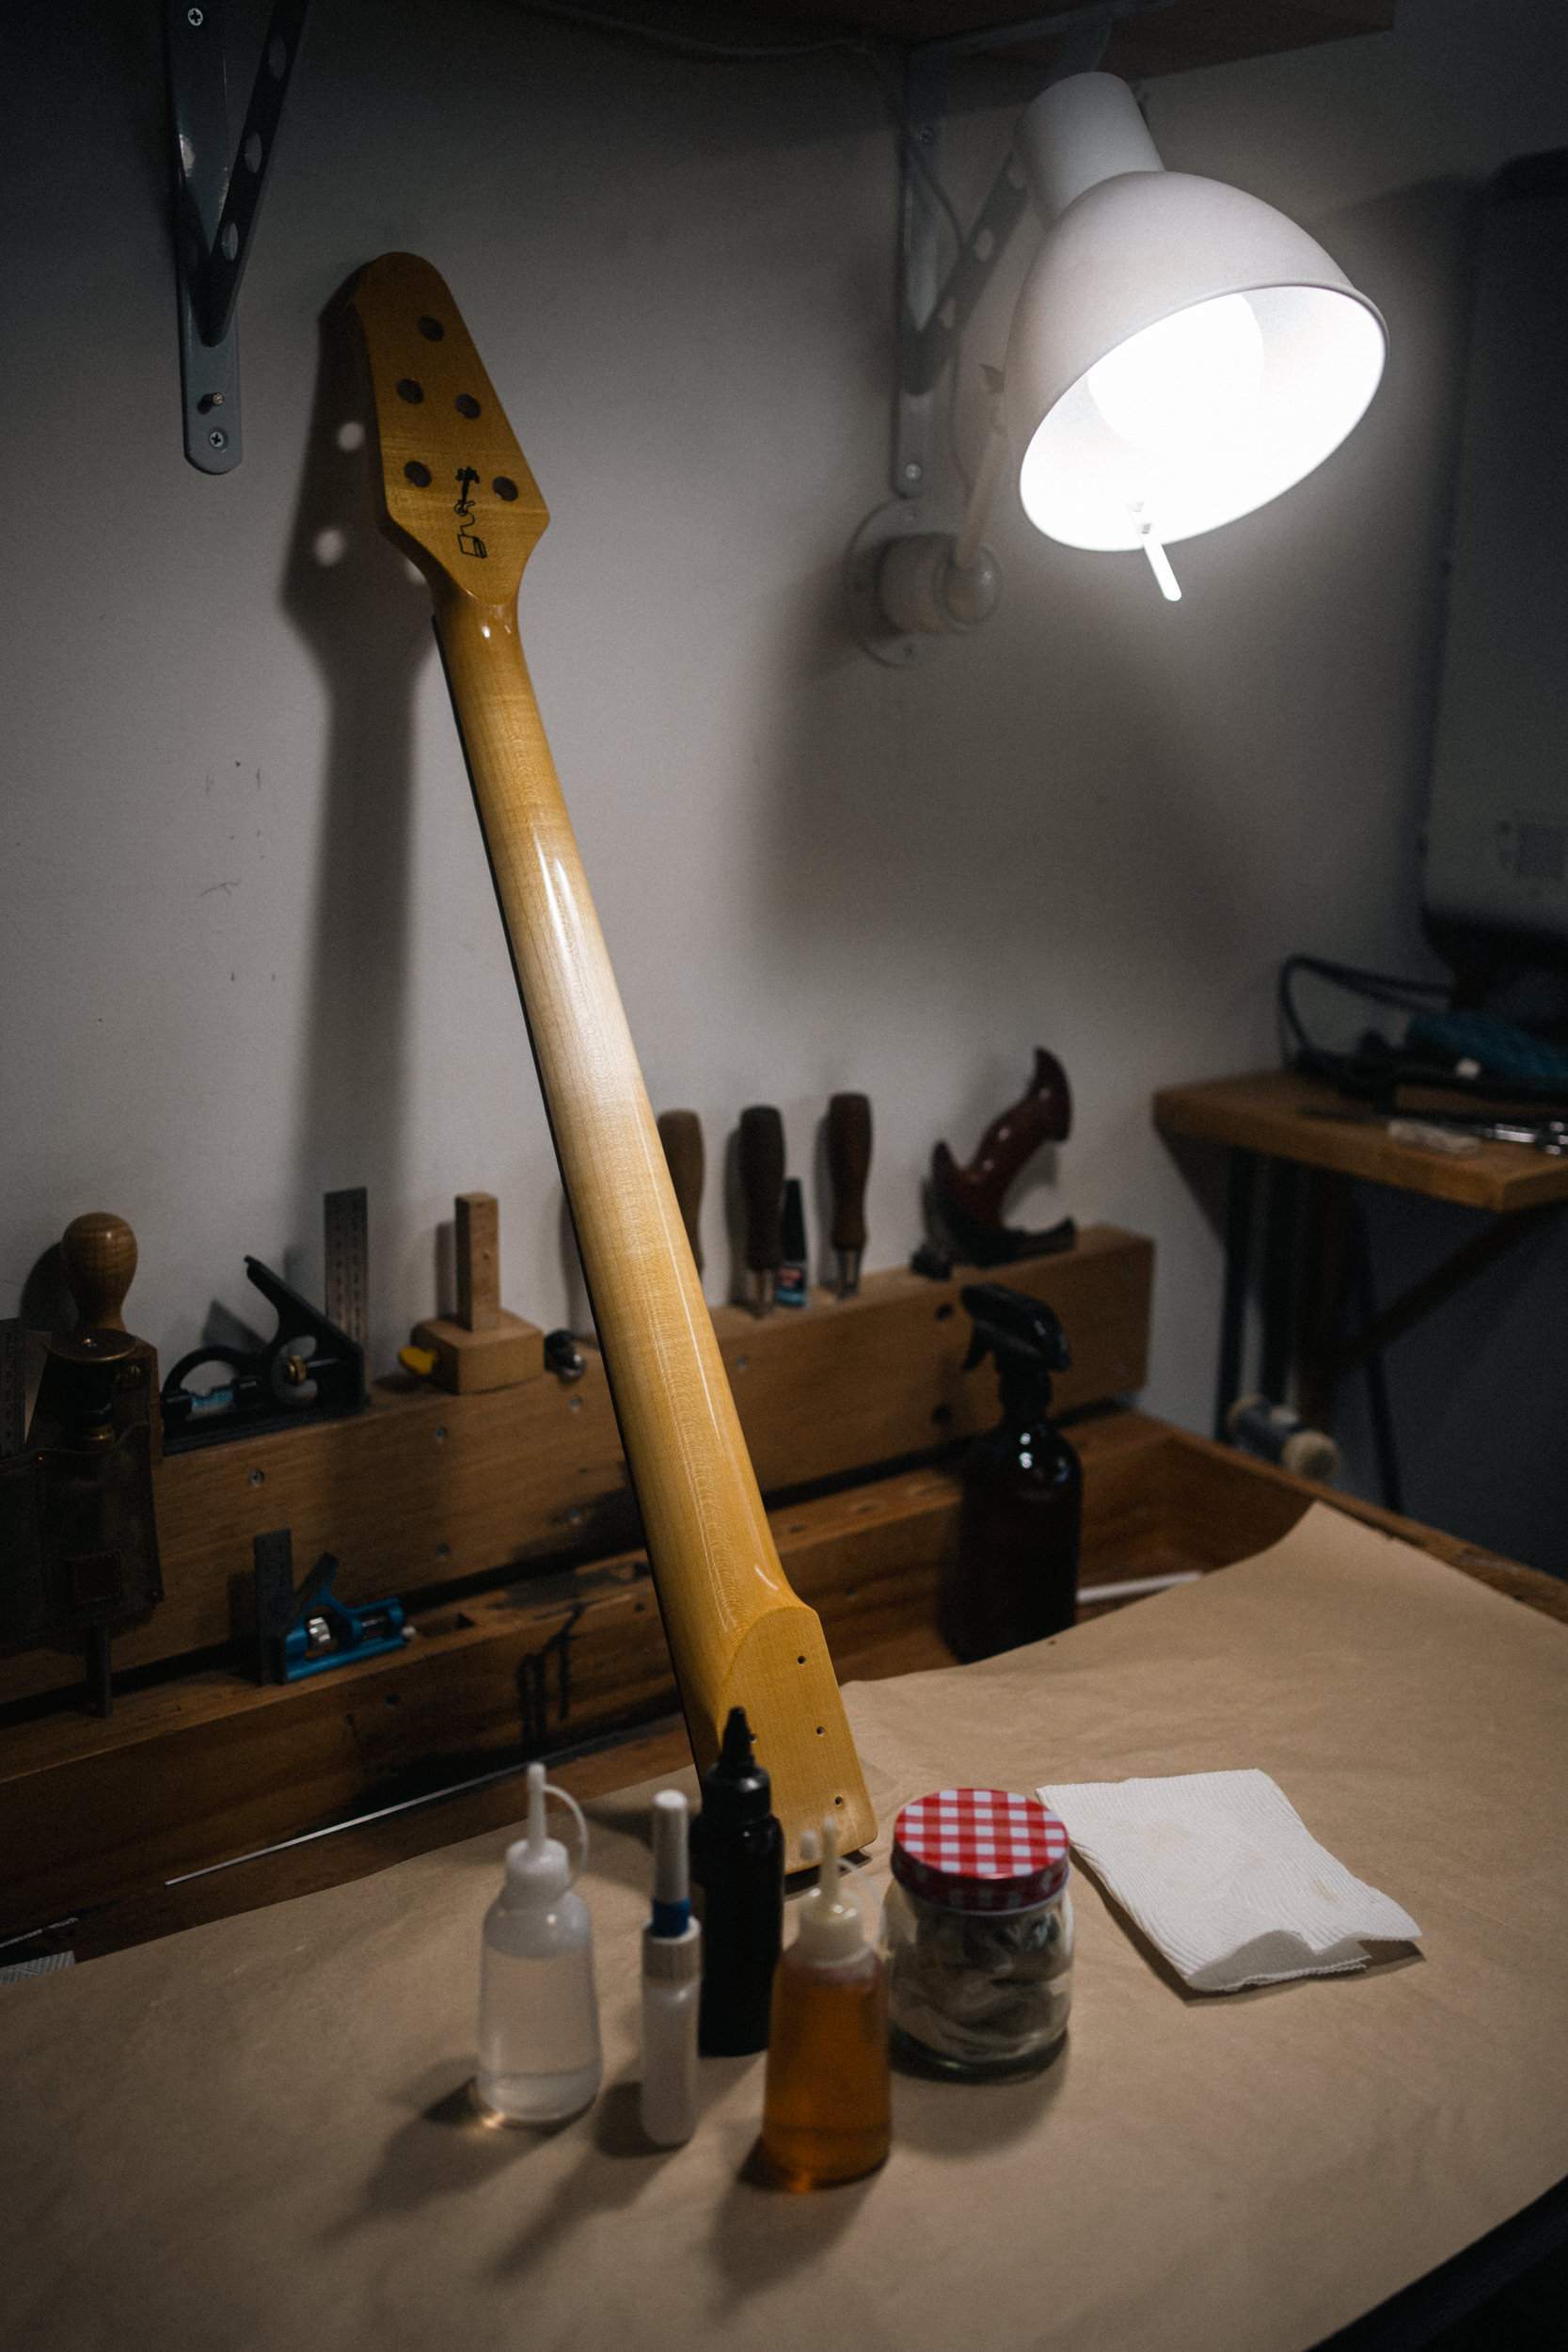
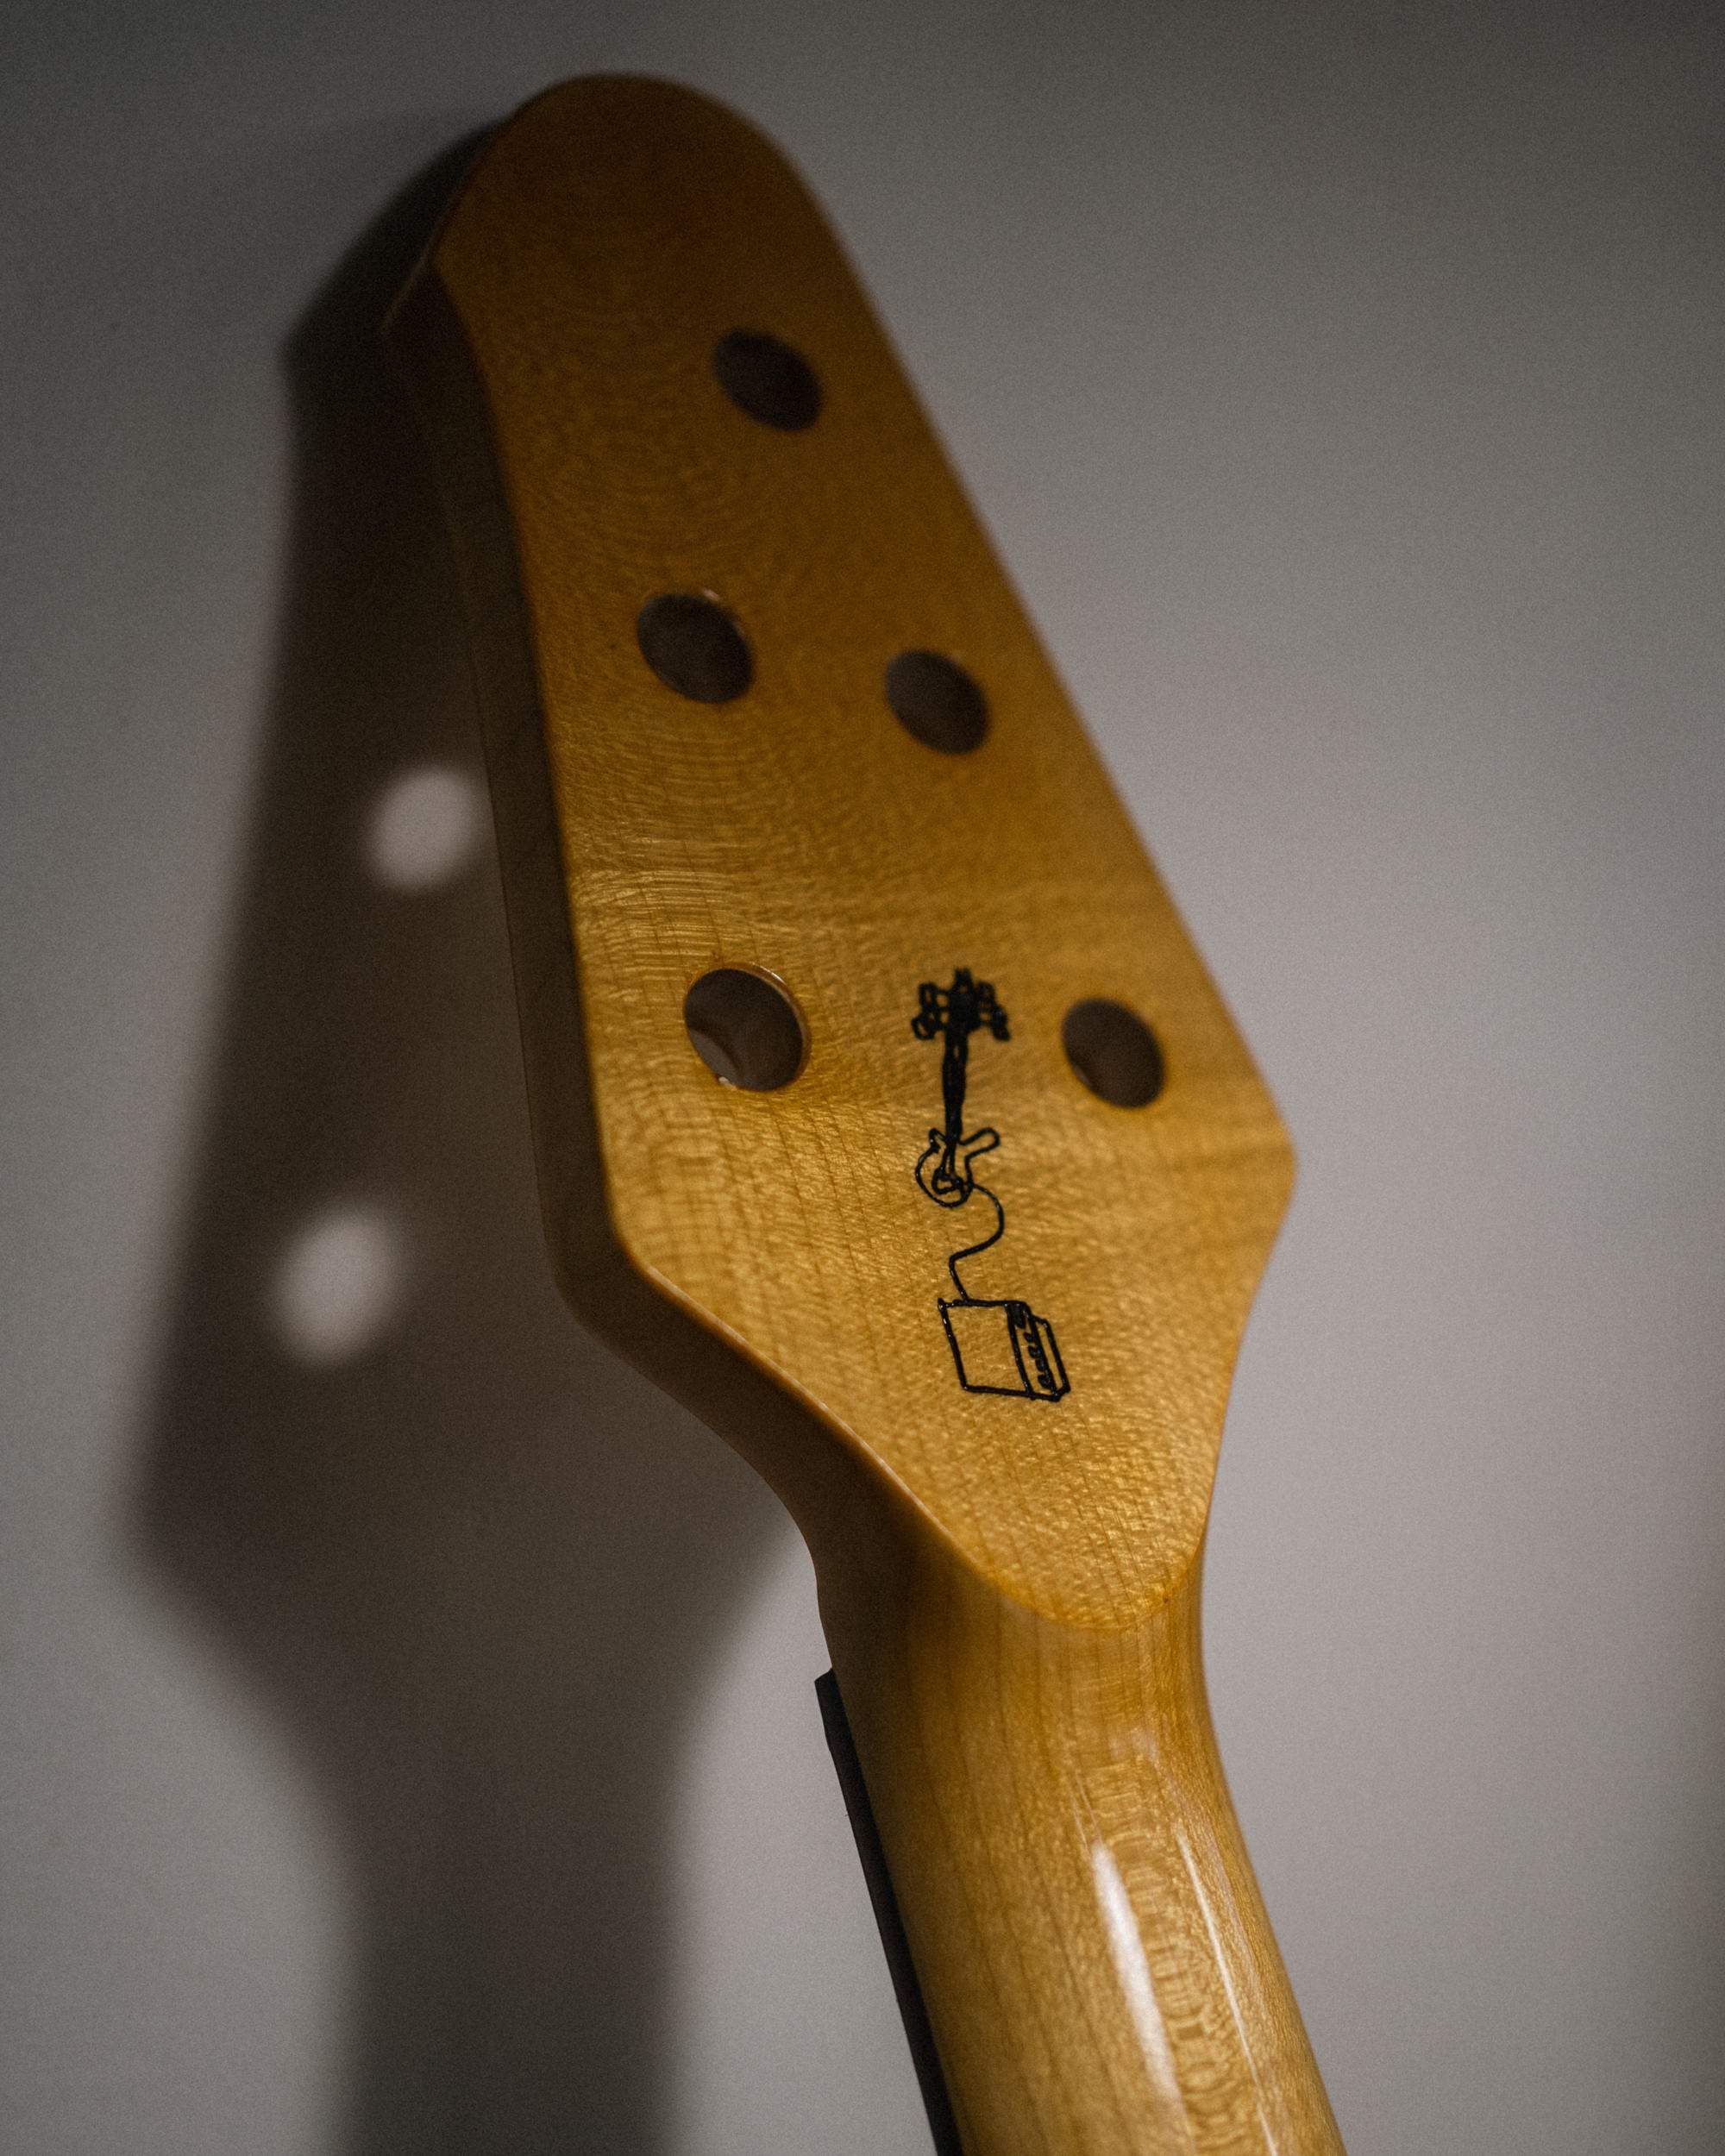
It's pretty much done. I might go back for another polishing session, but otherwise, I'll let it cure a bit, then hit it with the Novus 2 polish, although only on the bits that my hand won't touch. There's something really nice about the feel of a purely french polished surface. The slight amount of oil that remains in/on the shellac makes it feel slick and almost warm.
Now is the hardest part - waiting. I'm rostered on to play at church next weekend, but that's probably a bit too soon. I'd like to give the body a few weeks to mostly cure before I start bashing around on it!
I started flattening out the clear coat for the last spray session, but decided that there was actually enough material there for me to buff it out!
I started at 800, then went to 1200, then onto polishing compound - Novus 2. I know most people normally keep going up through the grits before jumping to polishing, but doing it this way leaves some fine scratches in, which give it the "used" look, without being dull. It's subtle.
Before:
After:
It's really hard to capture the qualities of a glossy finish!
I'm expecting the finish to sink back into the grain over the next few weeks, giving an even older appearance.
One challenge in working with such a fresh finish is how soft it is. While it's hard enough to sand and polish, even the heat from your fingers can melt it slightly, which I learned after leaving a fingerprint from where I was trying to hold it still. Thankfully it buffed out.
I moved on to leveling the shellac finish on the neck. I pad it on pretty heavy, 5-6 coats a day, leaving it pretty streaky and ugly. Some areas were actually pretty flat, like the face of the headstock. I still cut it back with a block loaded with 600grit.
After it's 80% flat, I start the french polishing process. I really enjoy this part, watching the shine come back.
It's a strange process - while it's easy to imagine that you're just putting on a really thin coat, most of what you're doing is moving existing material around. The stuff you do add tends to come when the pad is drying out. I like to use a heavy cut of shellac, a squirt of acetone, and a tiny bit of hemp oil to keep things gliding nicely.
It's pretty much done. I might go back for another polishing session, but otherwise, I'll let it cure a bit, then hit it with the Novus 2 polish, although only on the bits that my hand won't touch. There's something really nice about the feel of a purely french polished surface. The slight amount of oil that remains in/on the shellac makes it feel slick and almost warm.
Now is the hardest part - waiting. I'm rostered on to play at church next weekend, but that's probably a bit too soon. I'd like to give the body a few weeks to mostly cure before I start bashing around on it!

After wrapping up a couple of guitars today I took a few minutes to level and dress the frets.
I started by dressing the fret ends so they're slightly rounded, sanding them up to 800 grit, and then rolling the fingerboard edge a bit more. Then onto leveling.
I use a sanding beam to set the truss rod so the neck is as flat as can be (I know, I need a notched straight edge) and then check for any high/low frets. There was a couple, so I knocked them back flush with the others. I crowned them, then started the polishing process. I use one of those "fret erasers" that I've worn a fret-shaped groove into, then I wrap it in 400 grit paper. I do 6 strokes on each fret, moving to a fresh part of sandpaper with every fret. Then I do the same with 800 grit.
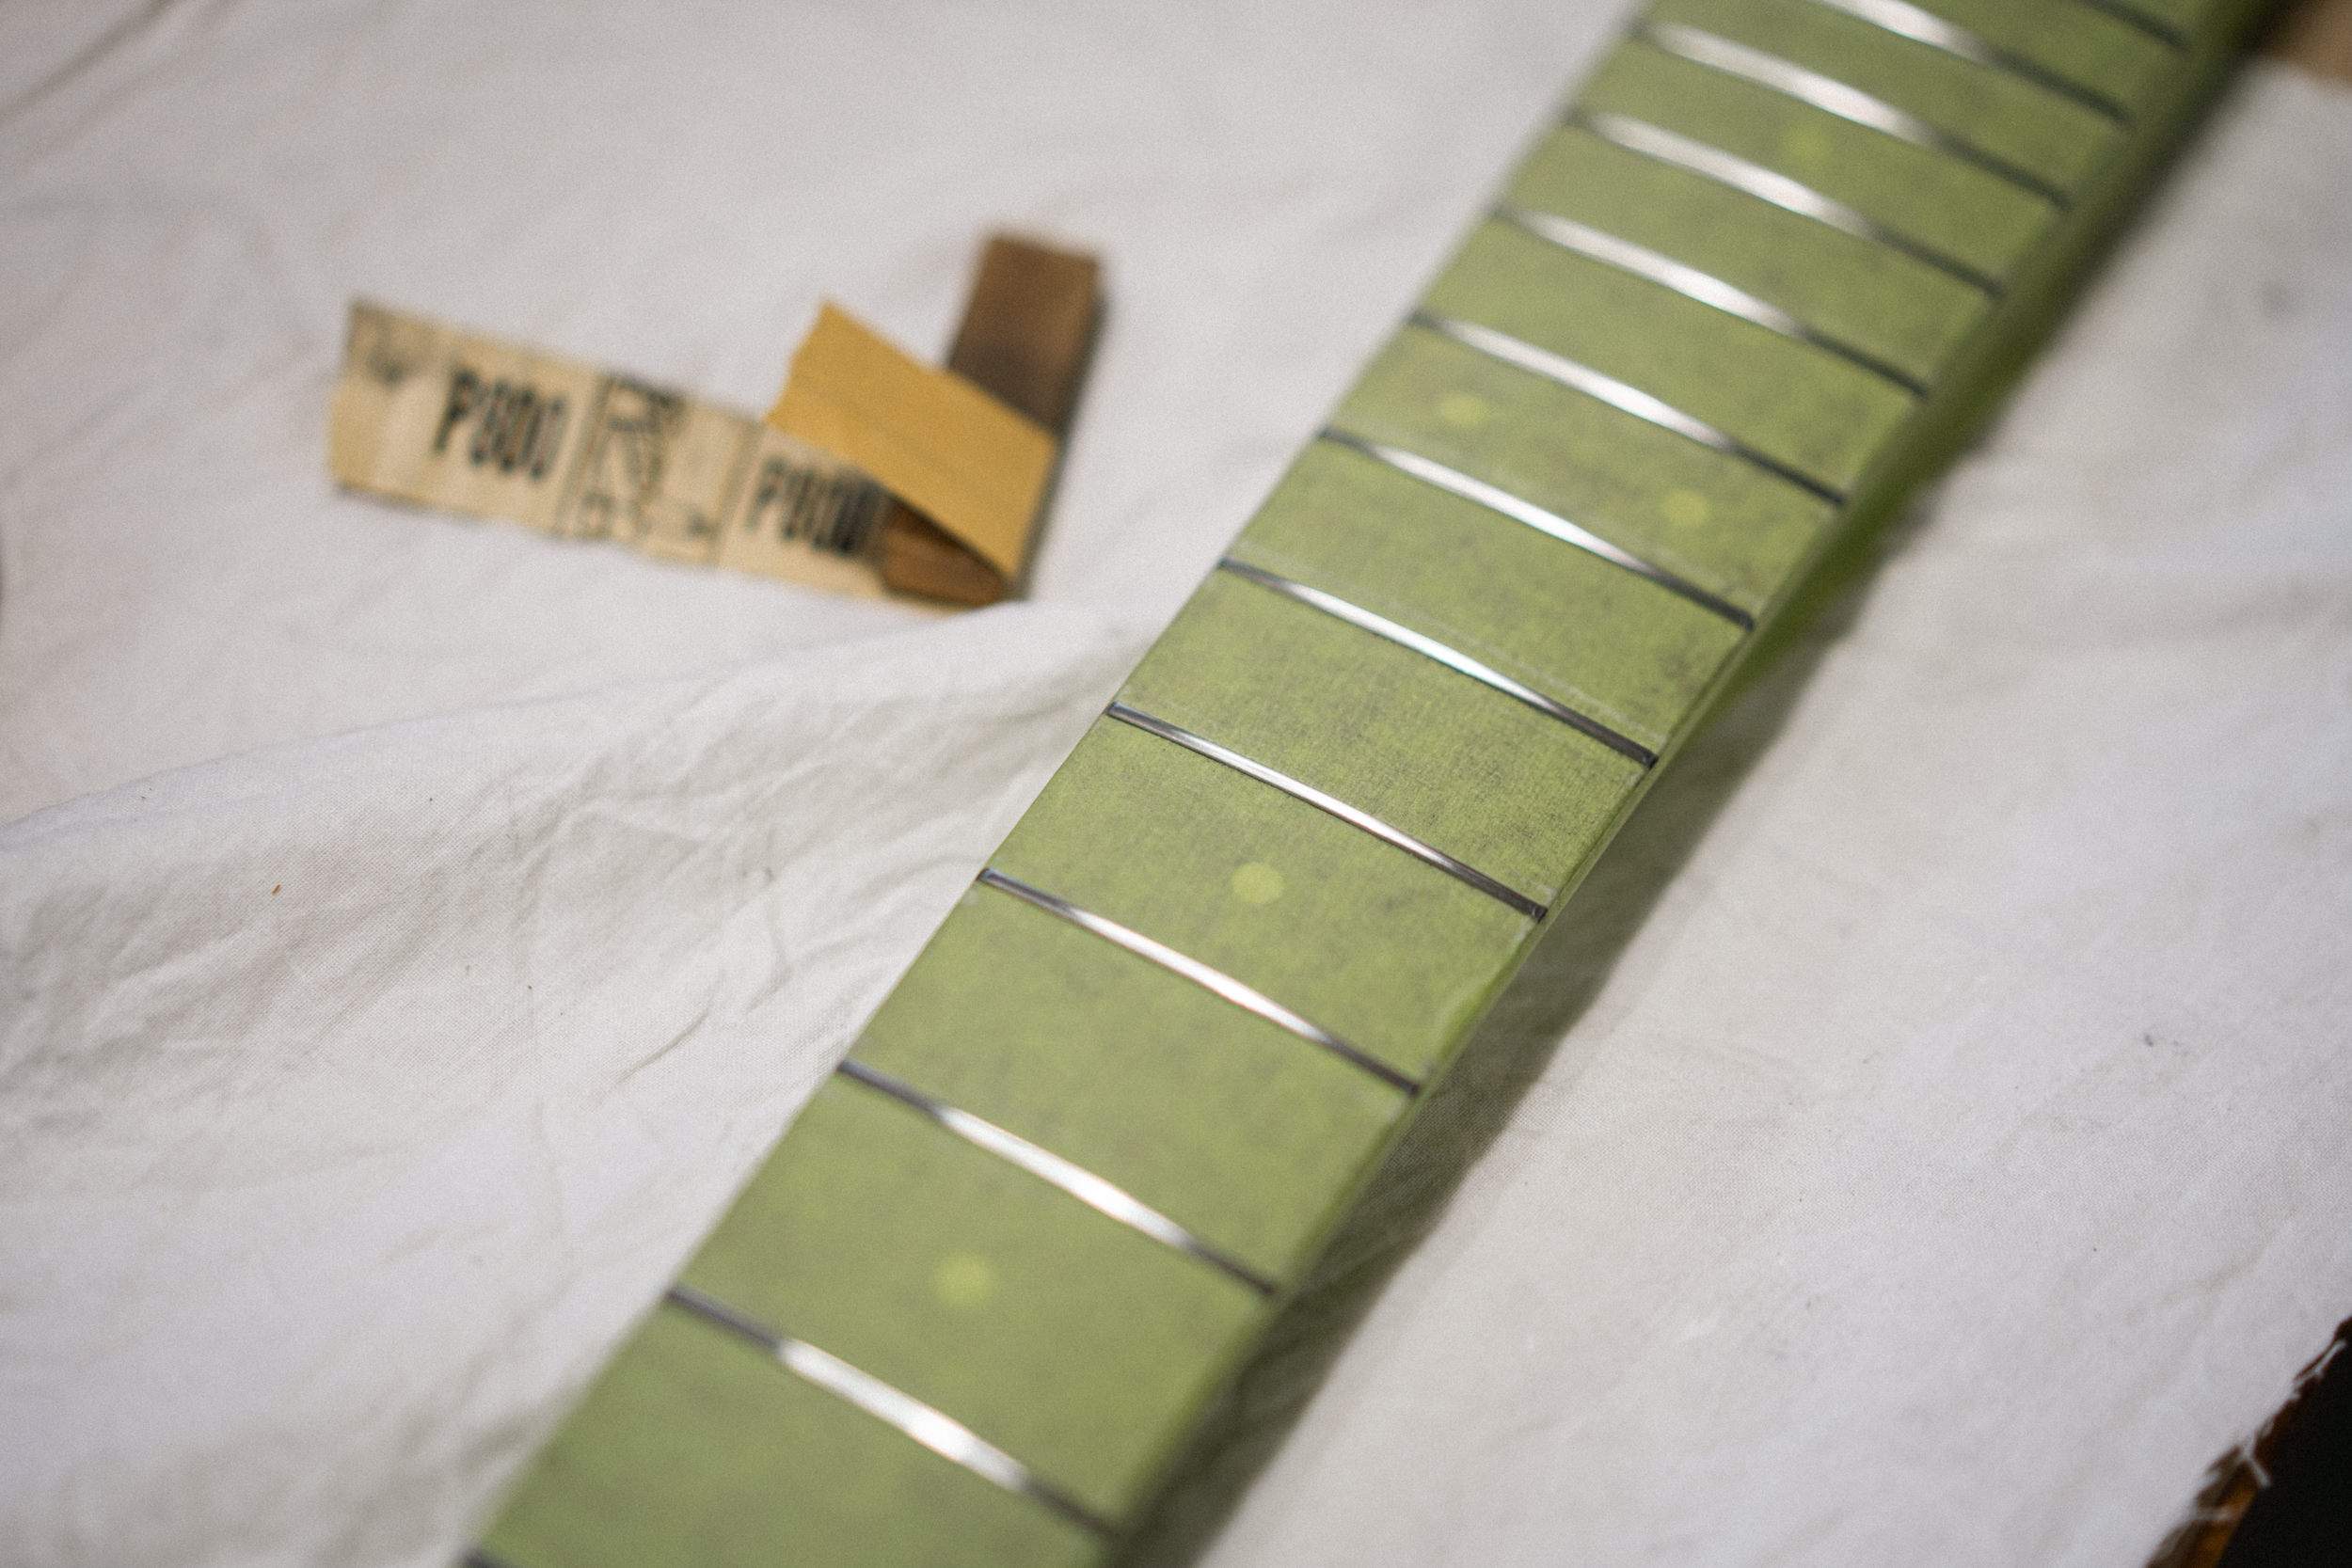
The next part involves a Dremel, a buffing wheel, and some Autosol. It makes short work of making things shiny!
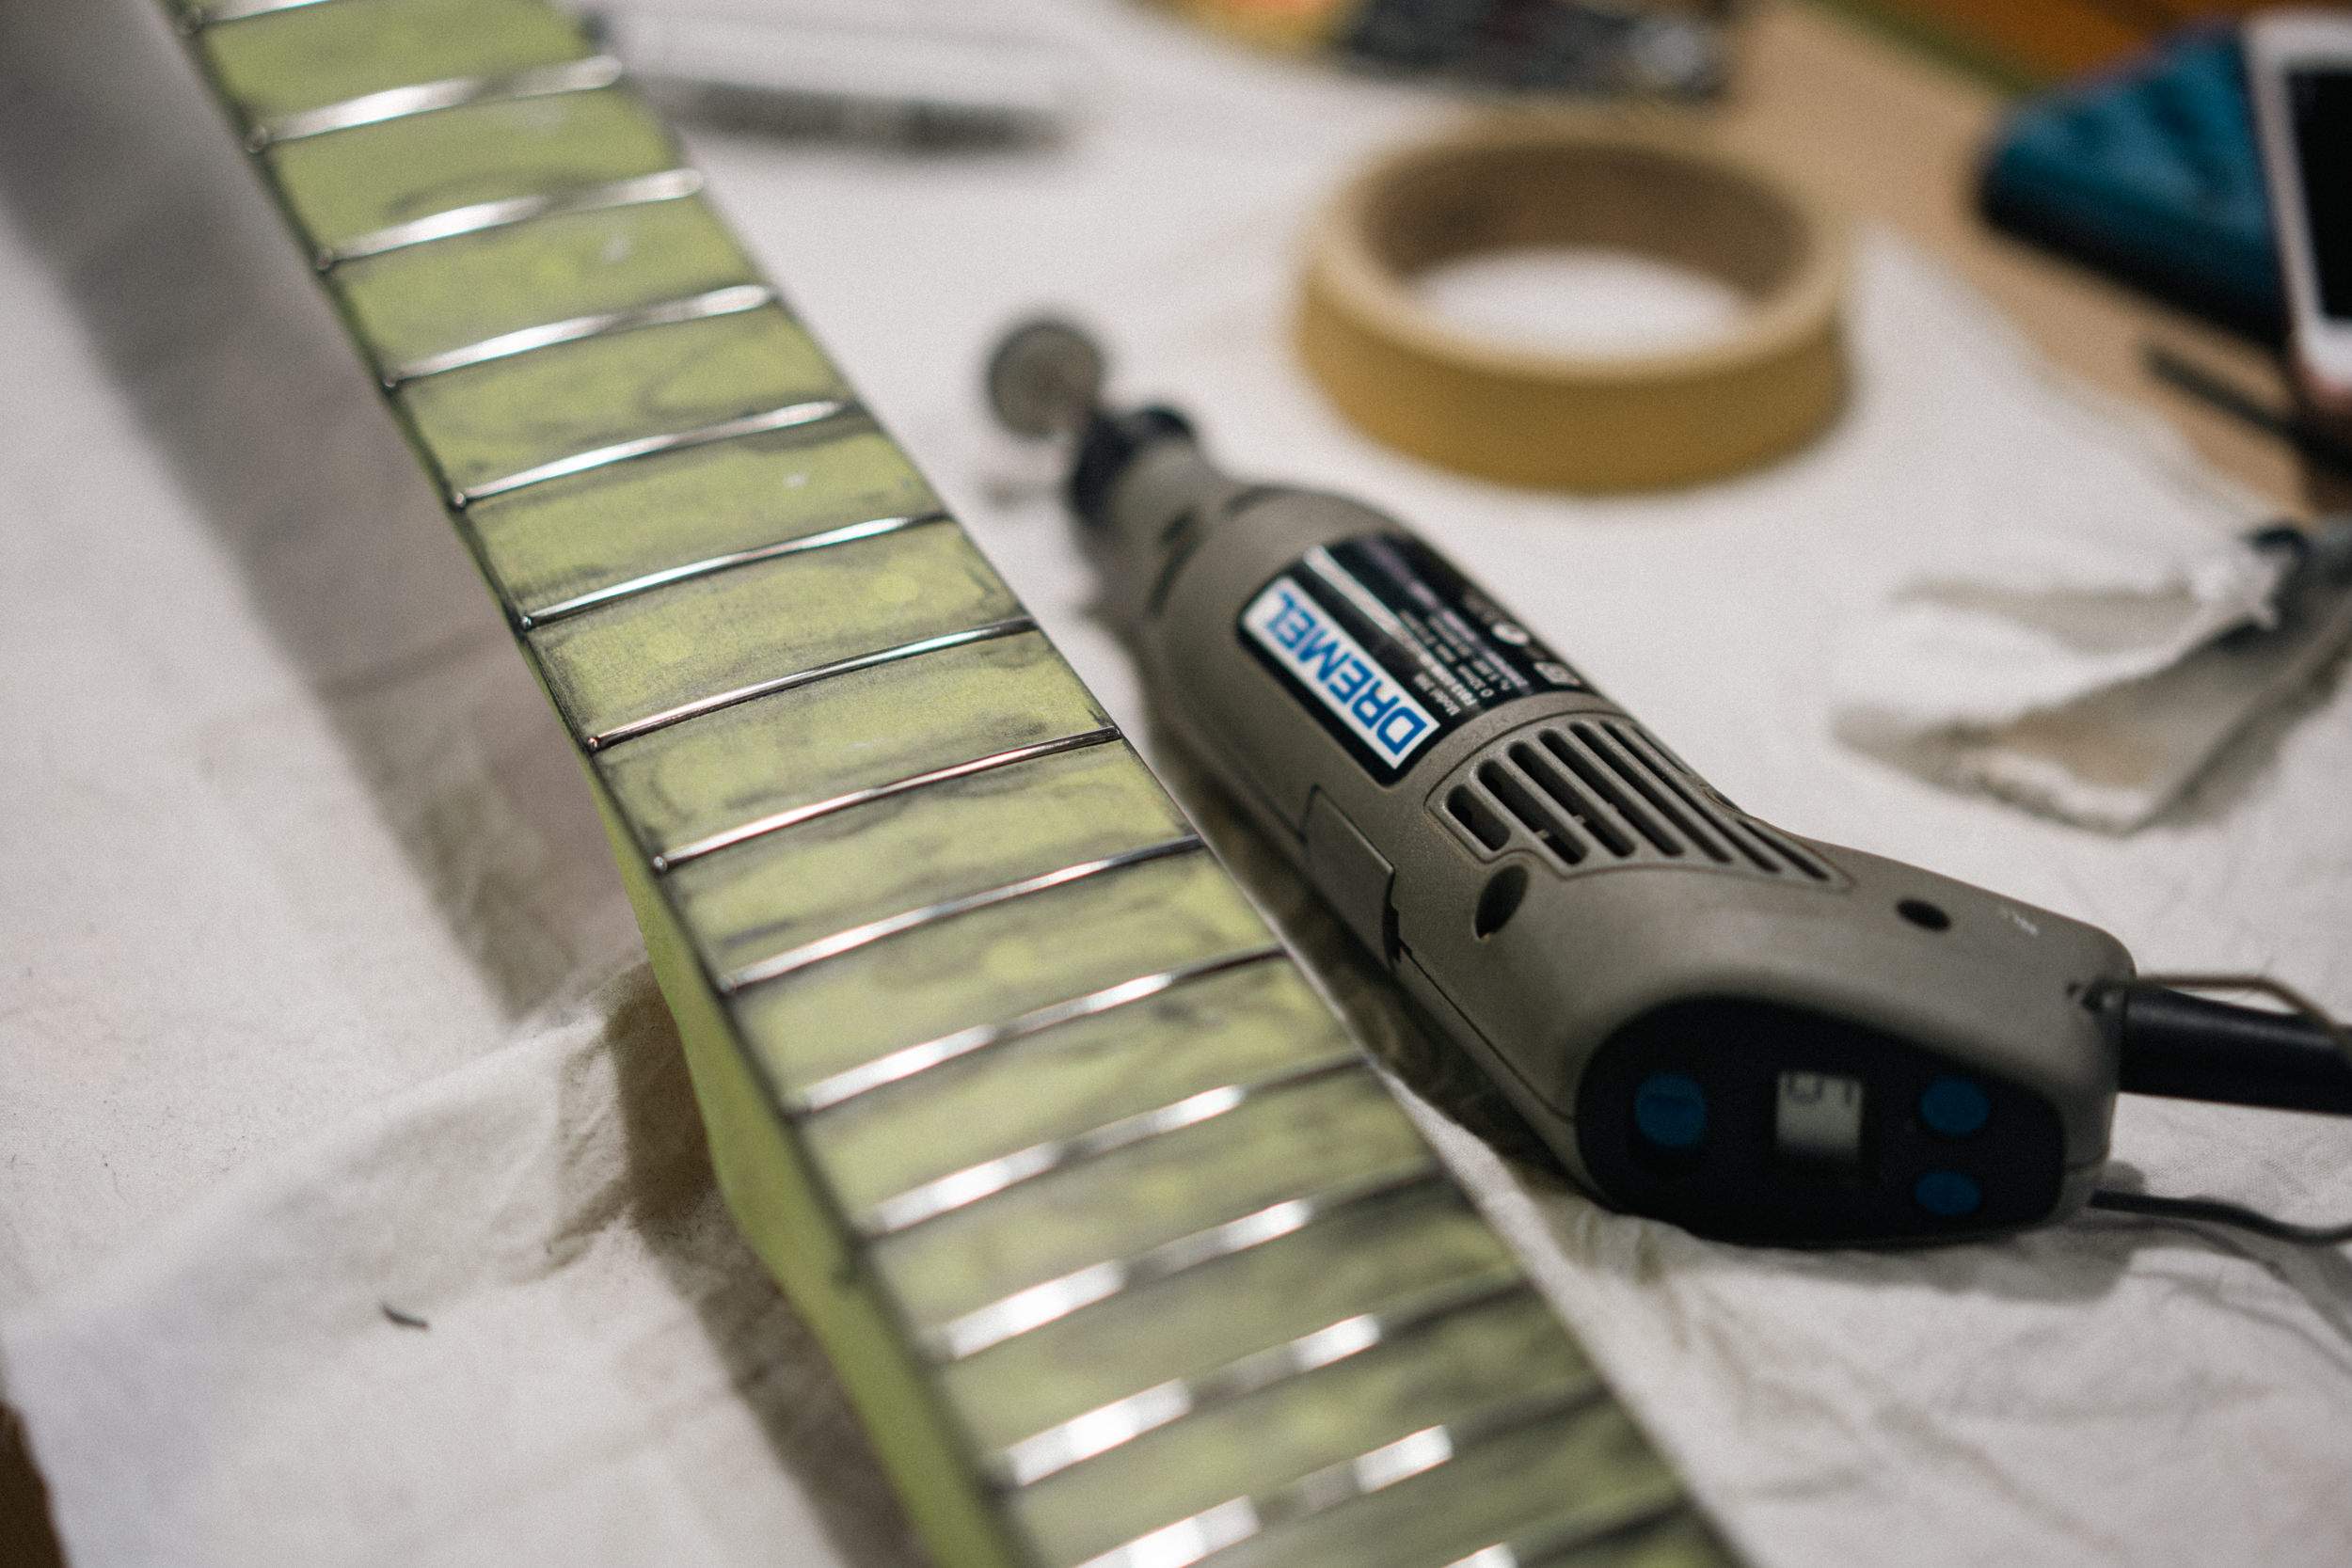
Remove the tape, oil the fingerboard with some hemp oil, and boom!
Oh wait, I didn't take any photos. For some reason, I put a 50mm lens on instead of my usual 35mm. It doesn't seem to work as well - can't focus as close, doesn't frame enough context etc...
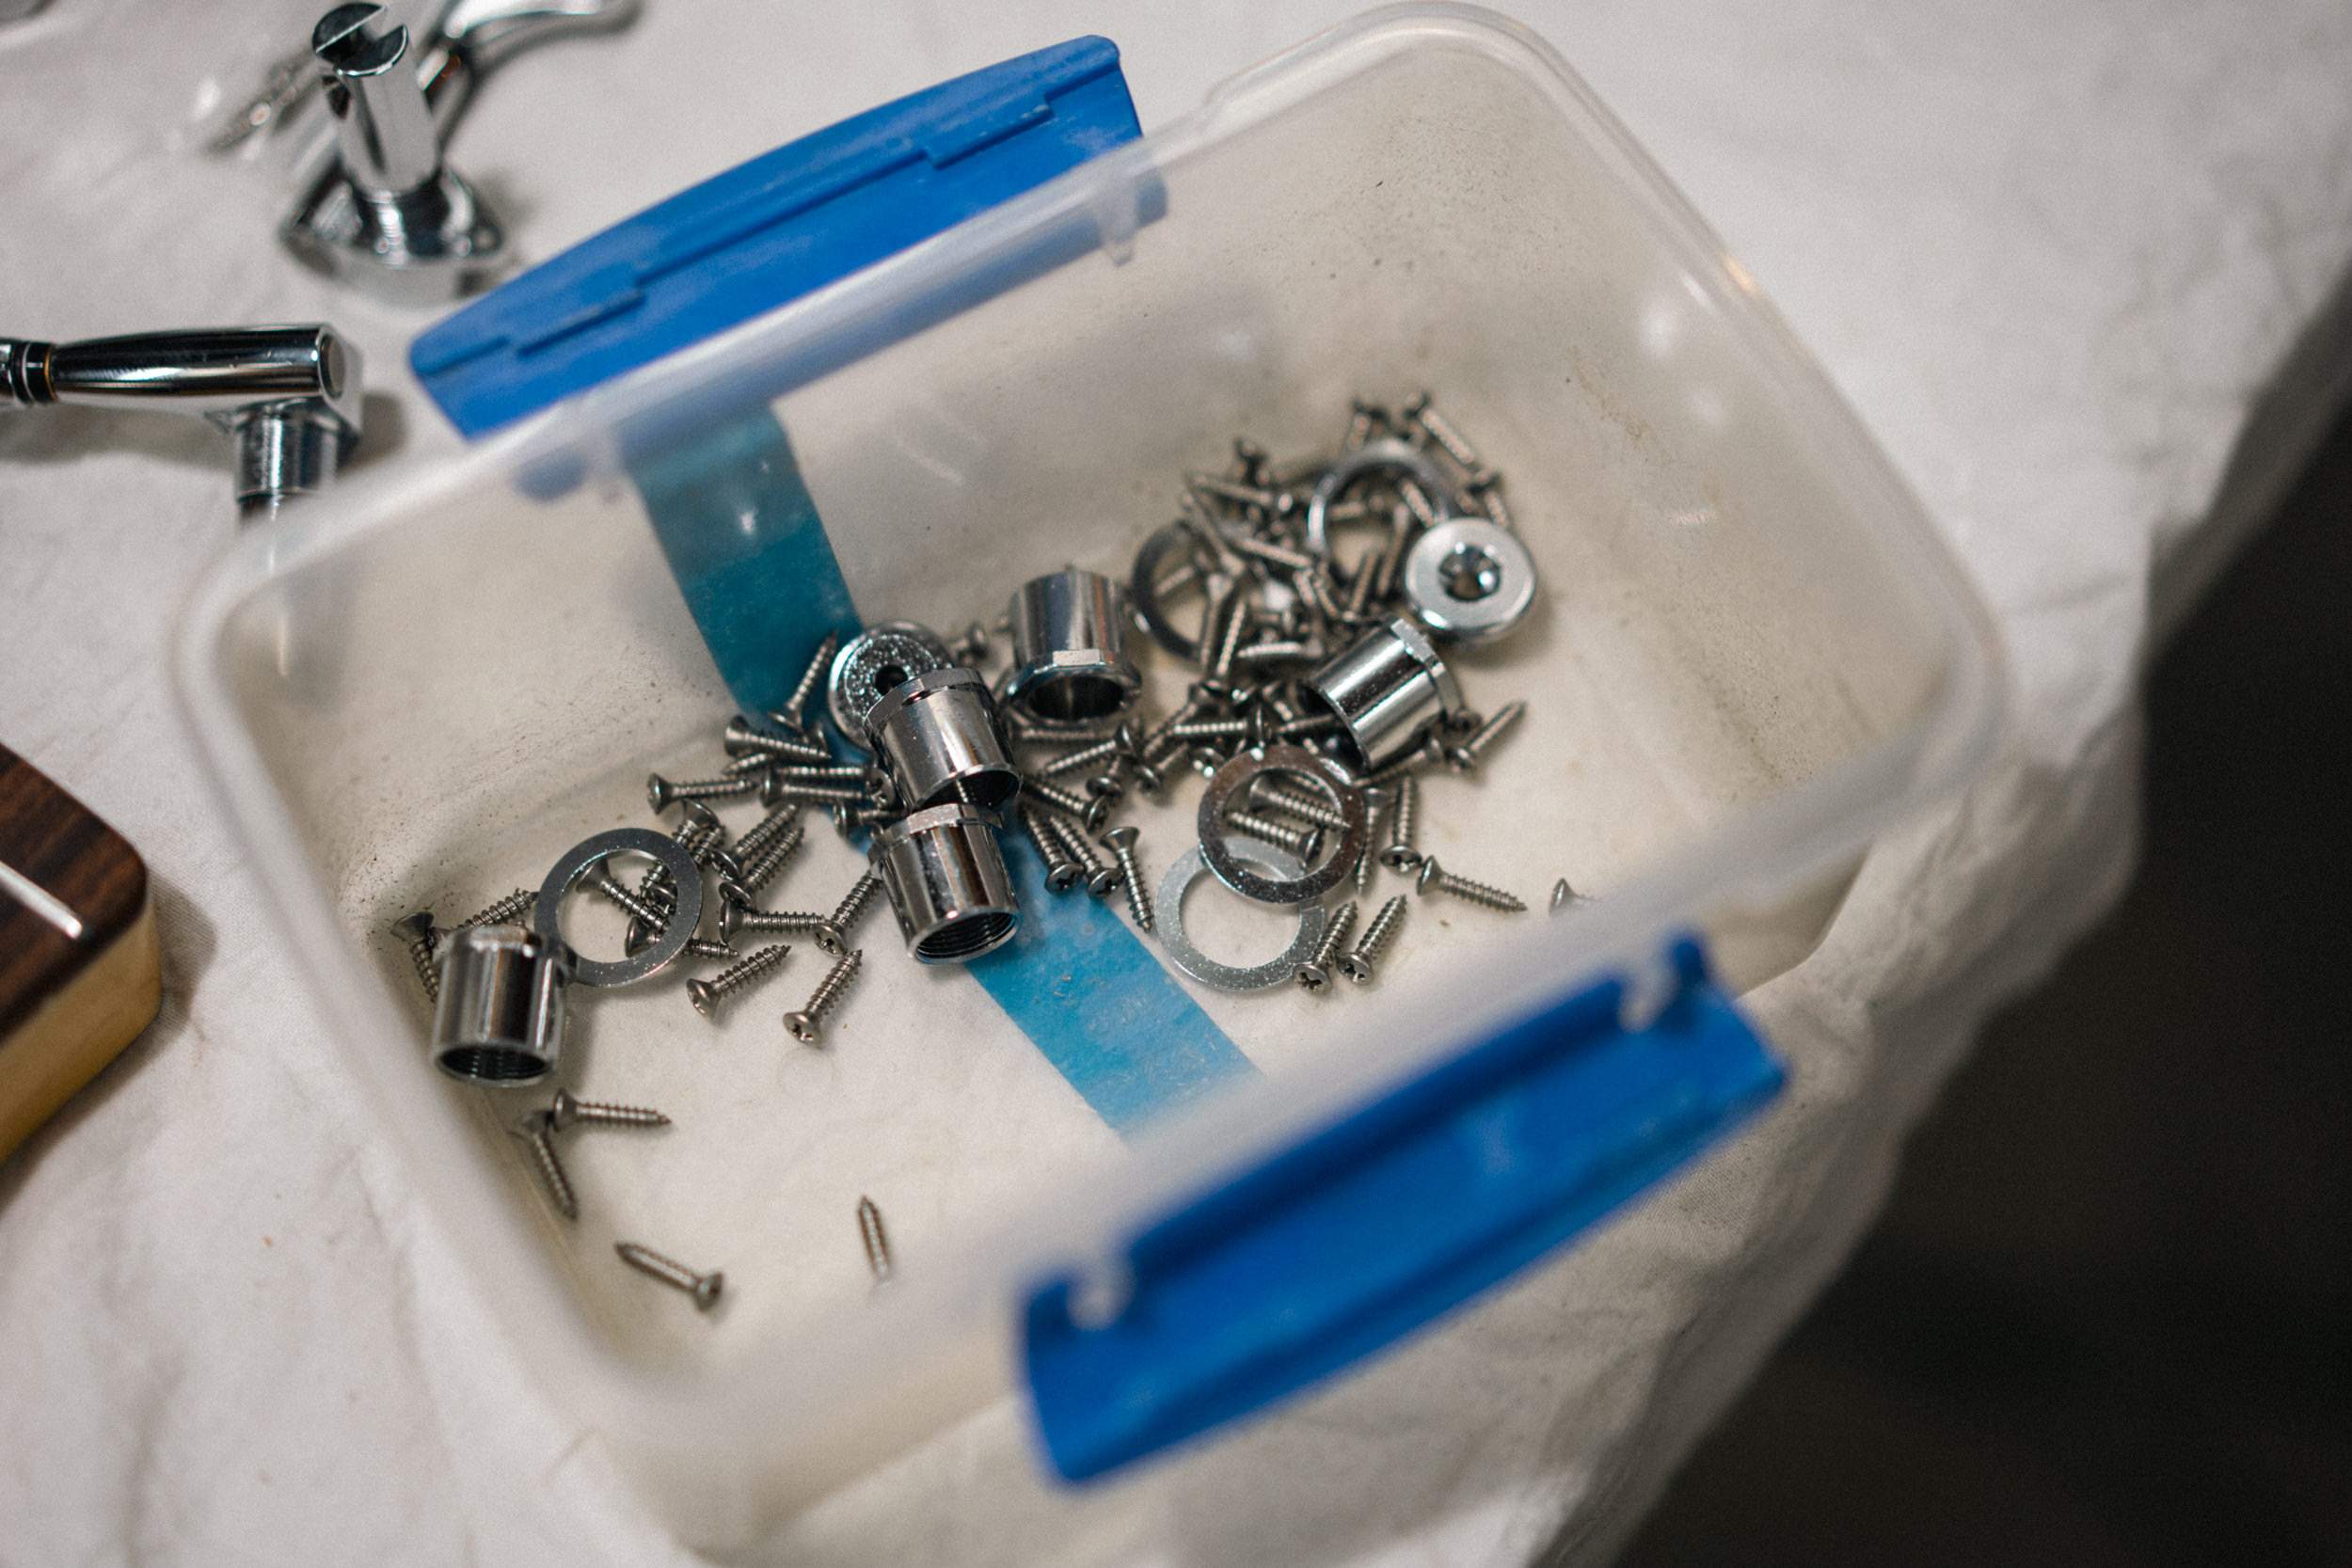
I had enough time to fit the tuners, but wanted to take the edge off all of those shiny chrome parts. Instead of going fully corroded relic style, I put the parts in a plastic container with a bunch of old pickguard screws and gave it a shake for a few minutes. It roughs things up just enough.
I was on a roll, so after dinner I came back out to start assembling the body.
But then disaster struck... Or, it had already struck, and I only just found out.
We had the fumigator come through last Friday, so I'd tucked everything away in cases and gig bags. It was only meant to be for the day, but I forgot and it had been in there for almost a week. I knew something was wrong when I felt the body stick to the inside of the bag. The soft lacquer had indents all over it, and the back was rough!
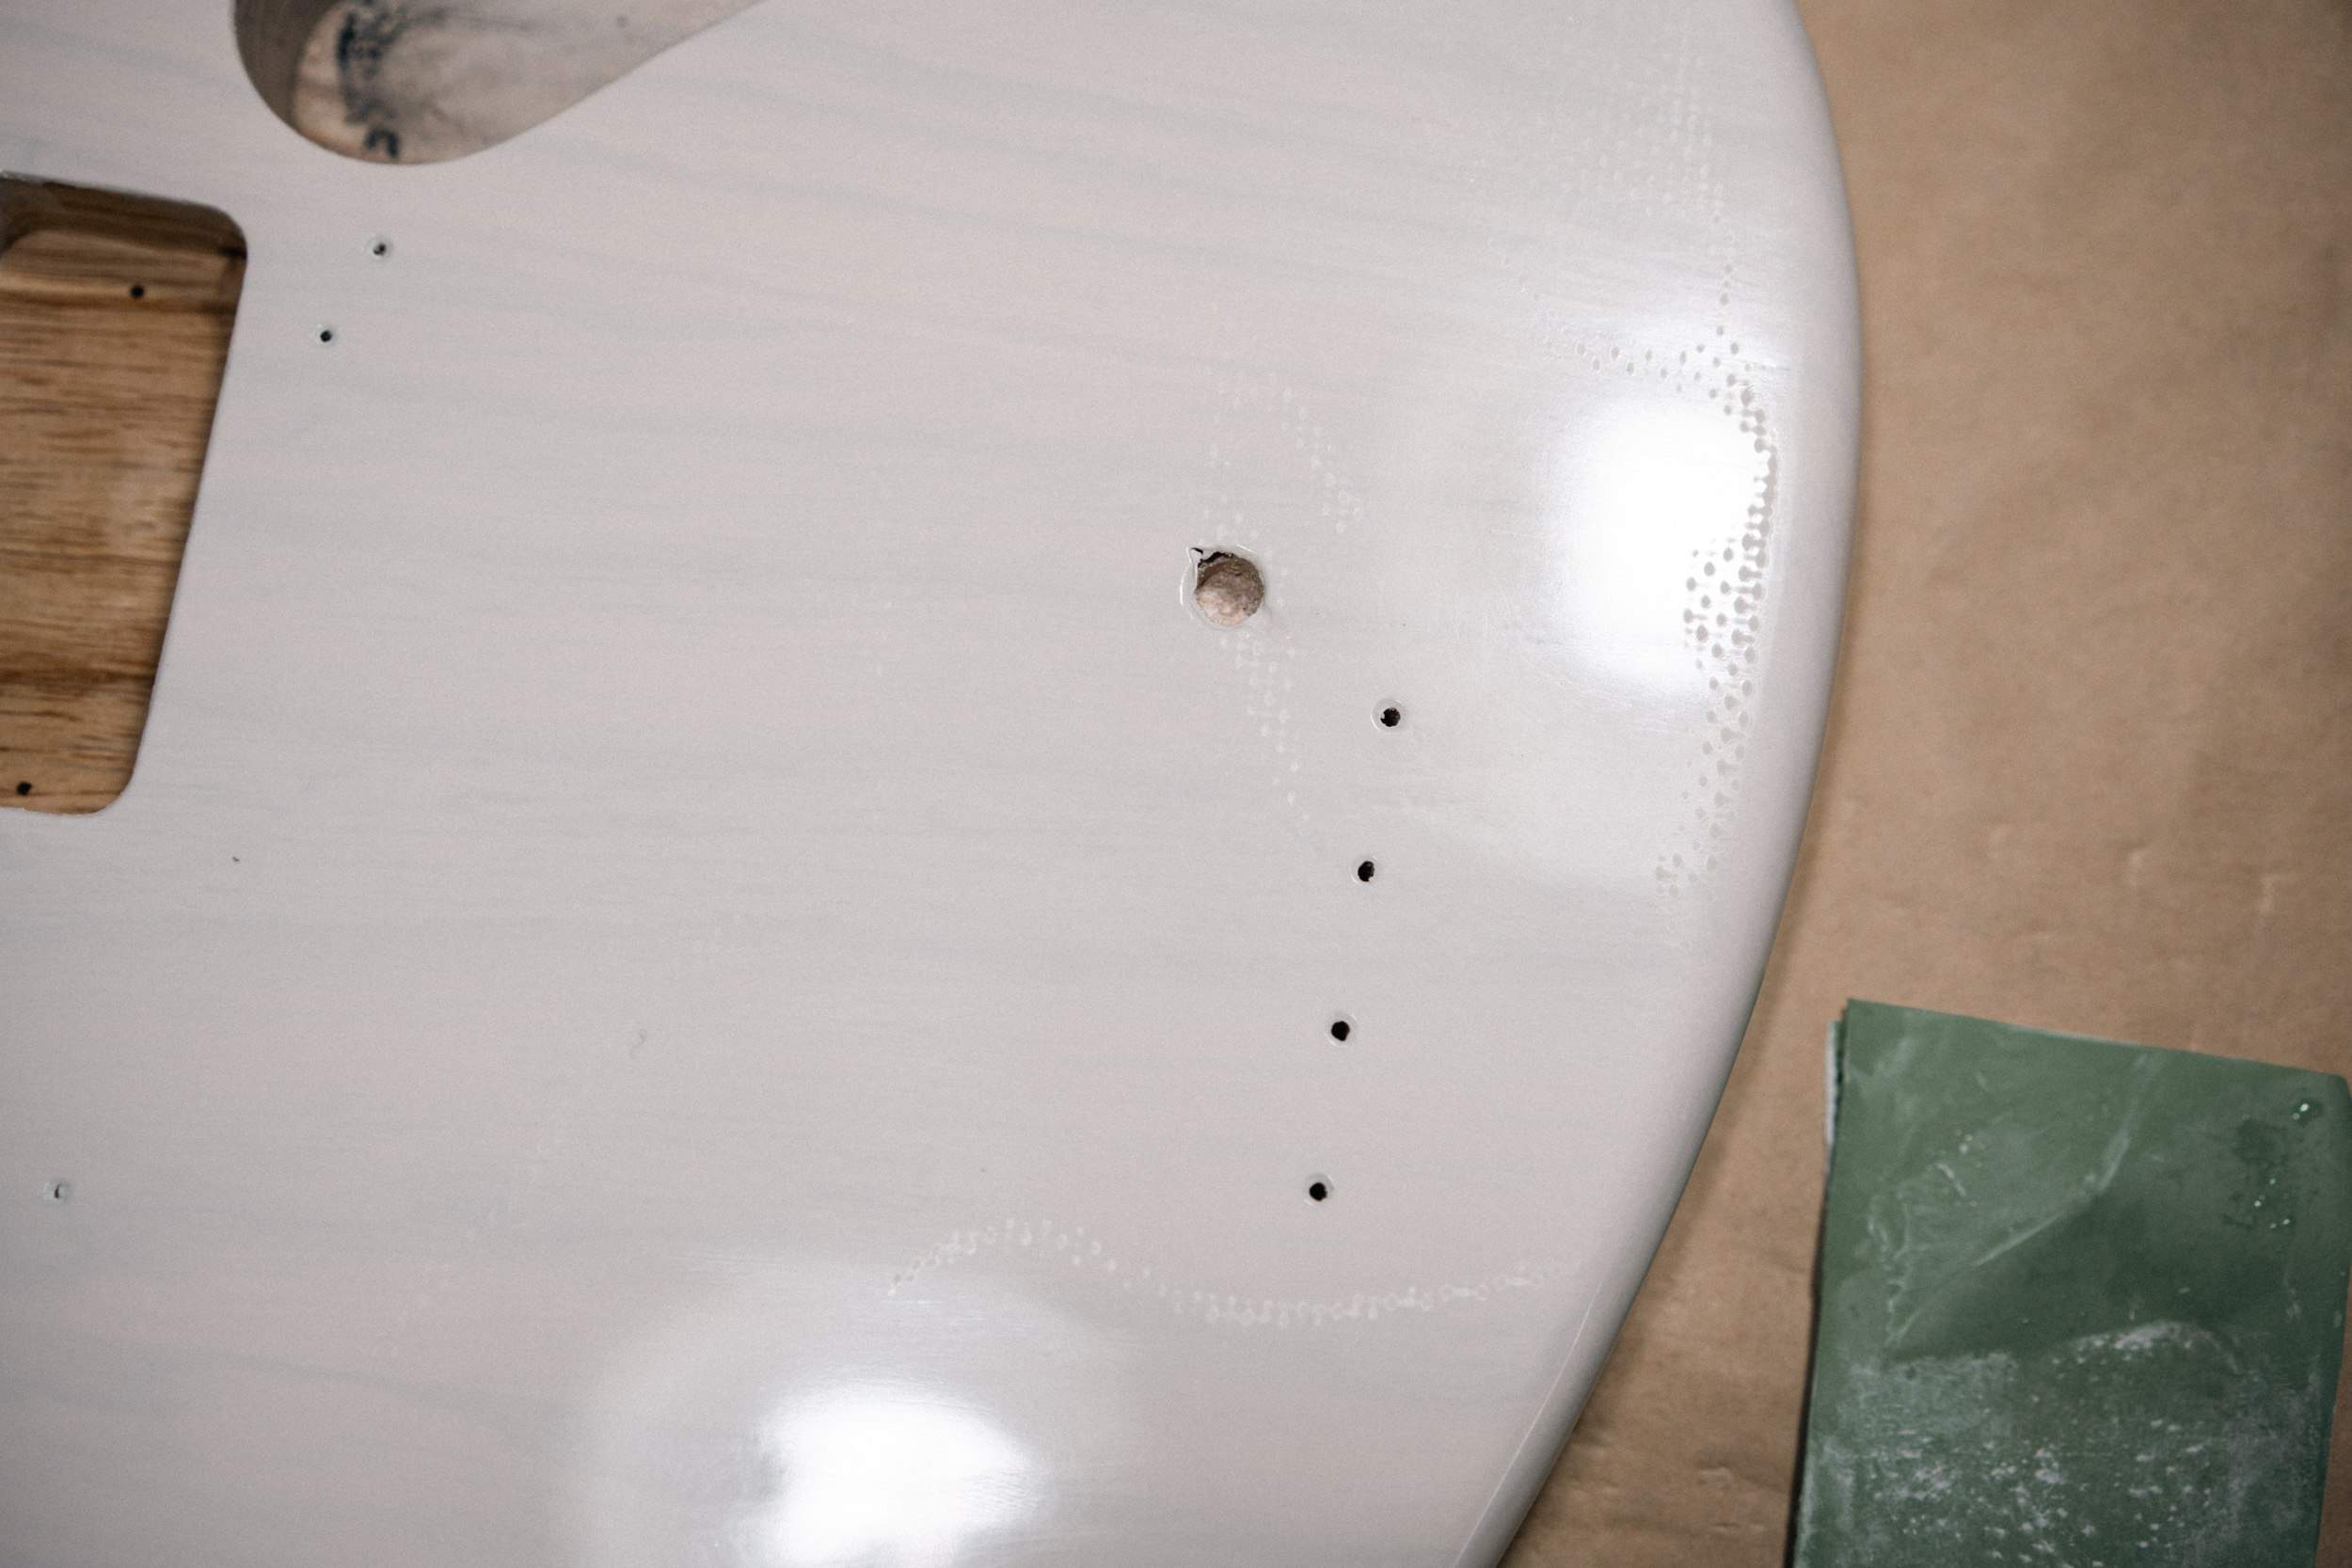
There was only one thing for it - I got the sandpaper out and leveled as much as I felt comfortable. I was worried about sanding through the clear, so I didn't go too far. I worked my way back up the grits and buffed it out.
It's not perfect, and some of the indents are still visible, but it's much better than before. Maybe I'll do a relic job on it one day!
I'll leave it to hang and cure a bit further, so it might be a last-minute assembly for me...
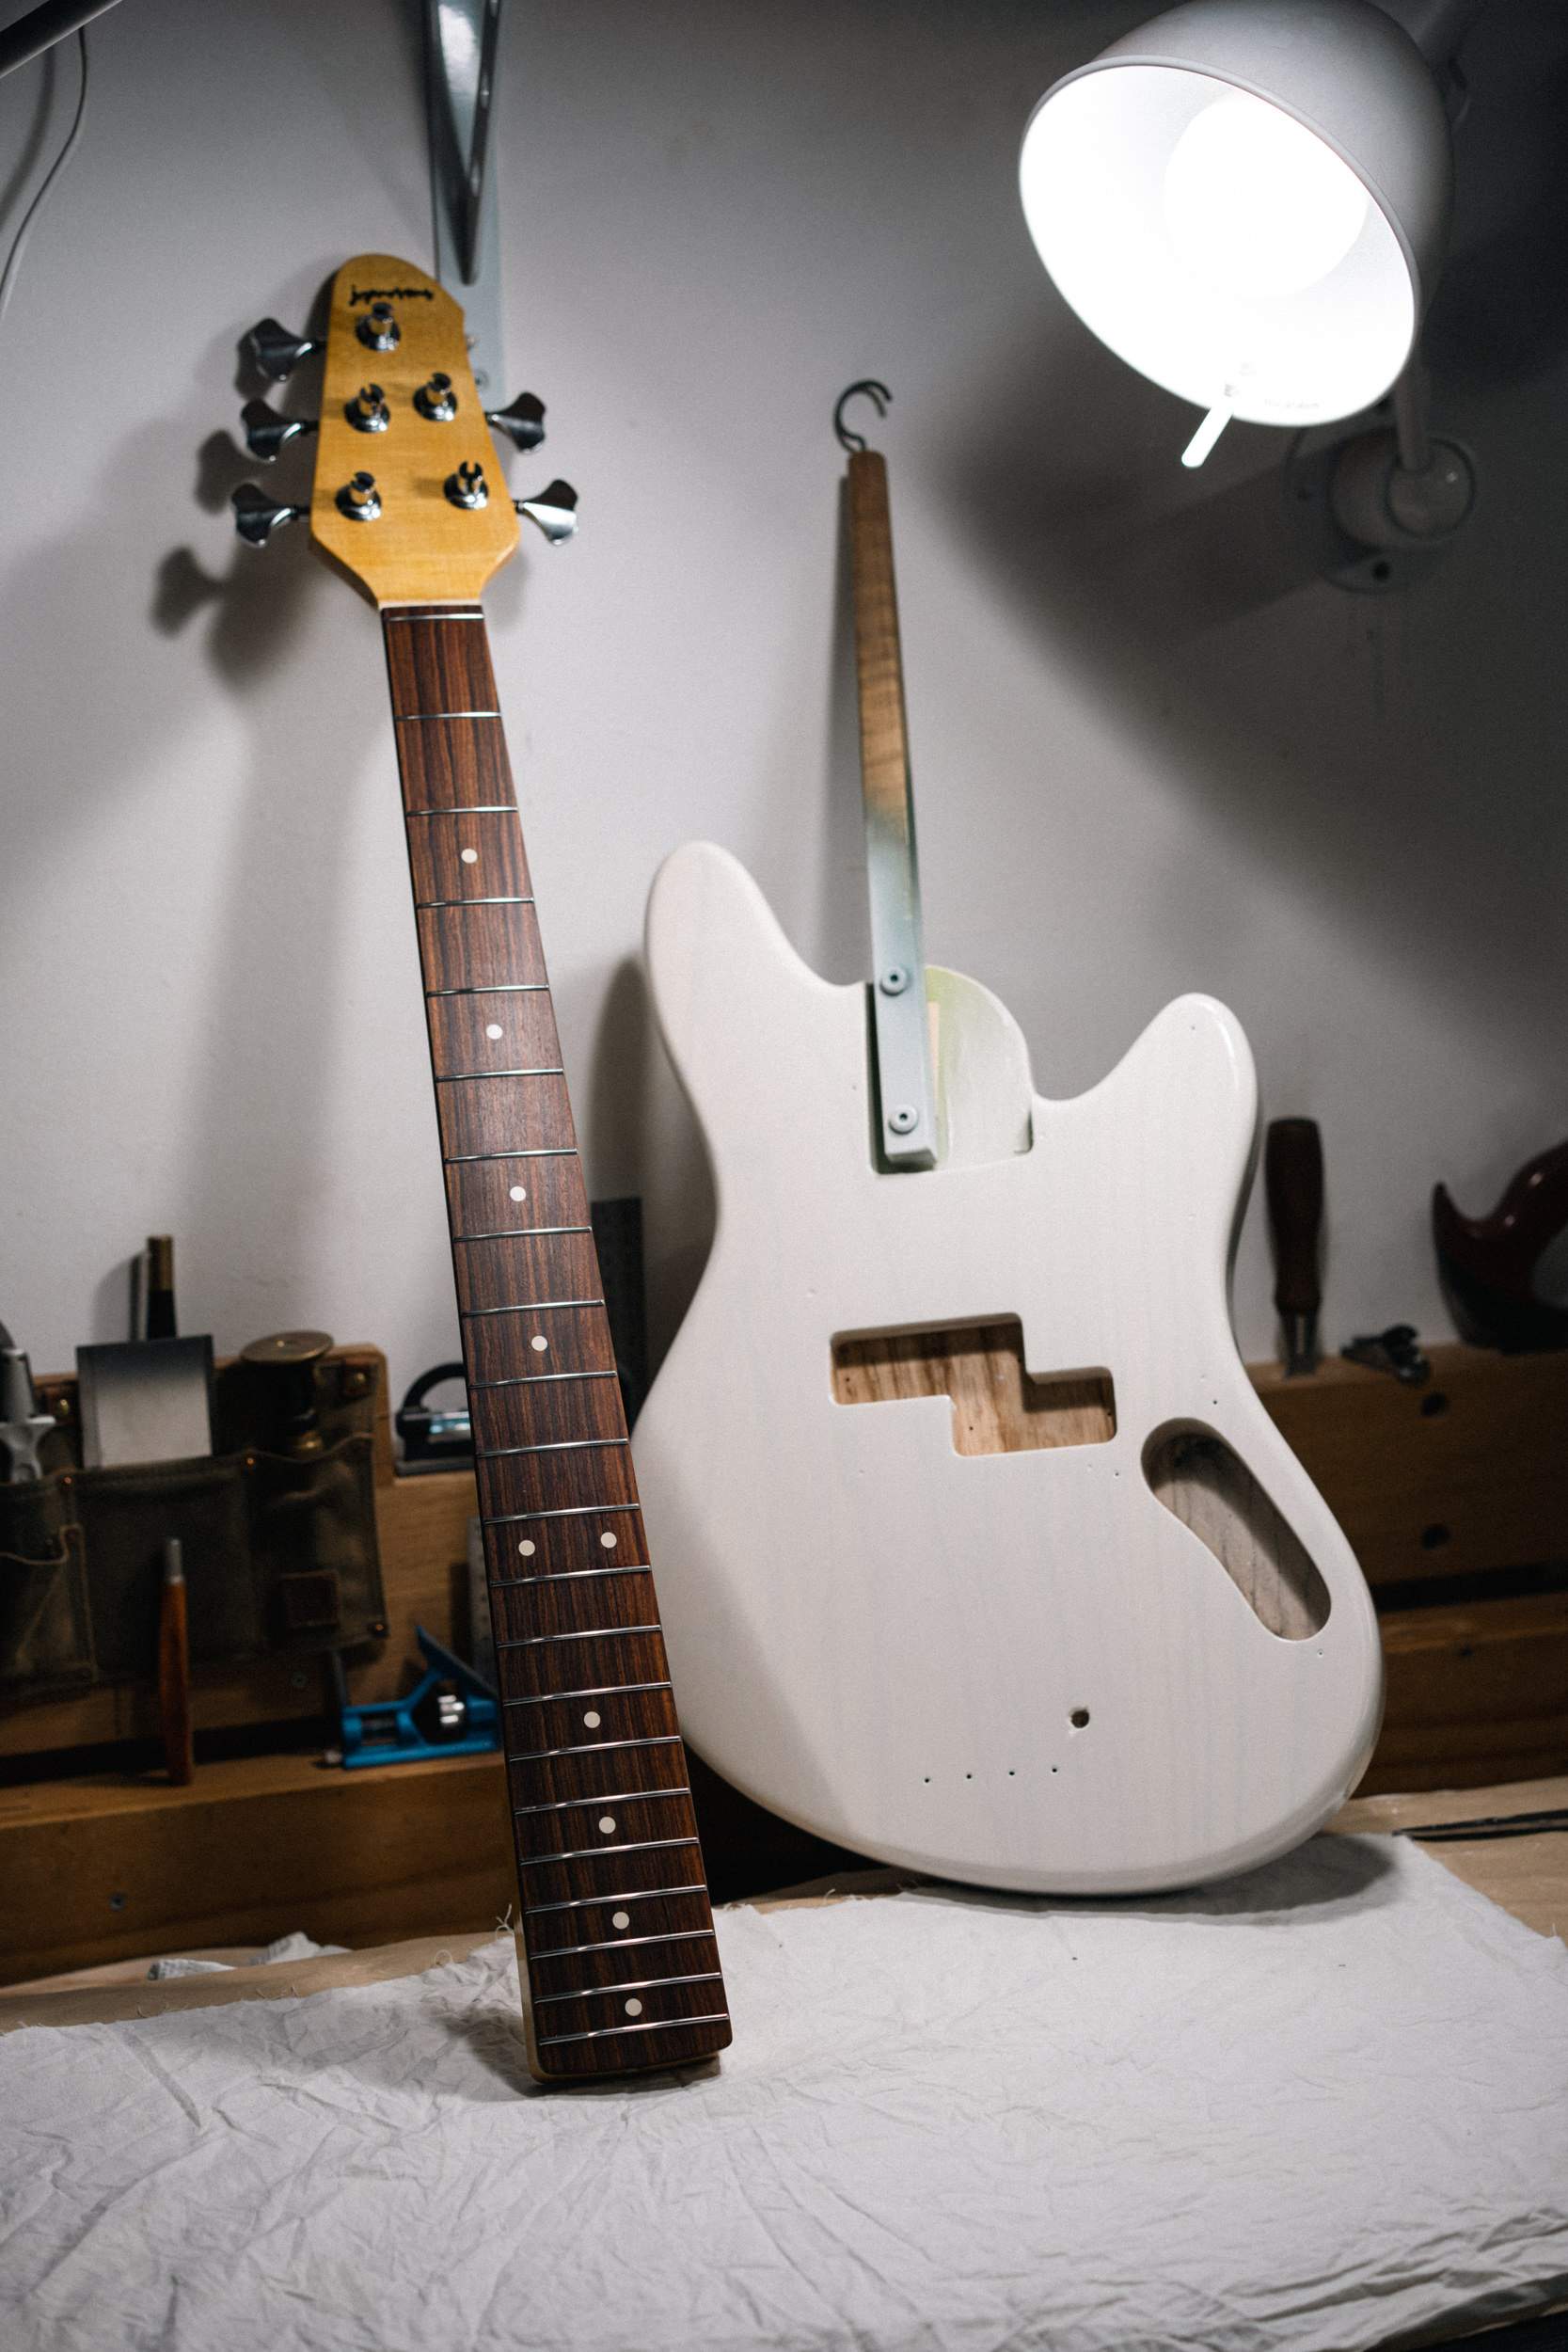
.
I started by dressing the fret ends so they're slightly rounded, sanding them up to 800 grit, and then rolling the fingerboard edge a bit more. Then onto leveling.
I use a sanding beam to set the truss rod so the neck is as flat as can be (I know, I need a notched straight edge) and then check for any high/low frets. There was a couple, so I knocked them back flush with the others. I crowned them, then started the polishing process. I use one of those "fret erasers" that I've worn a fret-shaped groove into, then I wrap it in 400 grit paper. I do 6 strokes on each fret, moving to a fresh part of sandpaper with every fret. Then I do the same with 800 grit.
The next part involves a Dremel, a buffing wheel, and some Autosol. It makes short work of making things shiny!
Remove the tape, oil the fingerboard with some hemp oil, and boom!
Oh wait, I didn't take any photos. For some reason, I put a 50mm lens on instead of my usual 35mm. It doesn't seem to work as well - can't focus as close, doesn't frame enough context etc...
I had enough time to fit the tuners, but wanted to take the edge off all of those shiny chrome parts. Instead of going fully corroded relic style, I put the parts in a plastic container with a bunch of old pickguard screws and gave it a shake for a few minutes. It roughs things up just enough.
I was on a roll, so after dinner I came back out to start assembling the body.
But then disaster struck... Or, it had already struck, and I only just found out.
We had the fumigator come through last Friday, so I'd tucked everything away in cases and gig bags. It was only meant to be for the day, but I forgot and it had been in there for almost a week. I knew something was wrong when I felt the body stick to the inside of the bag. The soft lacquer had indents all over it, and the back was rough!
There was only one thing for it - I got the sandpaper out and leveled as much as I felt comfortable. I was worried about sanding through the clear, so I didn't go too far. I worked my way back up the grits and buffed it out.
It's not perfect, and some of the indents are still visible, but it's much better than before. Maybe I'll do a relic job on it one day!
I'll leave it to hang and cure a bit further, so it might be a last-minute assembly for me...
.


But then disaster struck... Or, it had already struck, and I only just found out.
Ouch, I feel your pain. I had the same issue, but from putting a lacquered bass on a guitar stand after it had dried for several weeks. That was the last time I ever used lacquer. It seems great putting it on, but it is far too fragile and fussy for life in general.
I think this will be one of my last with lacquer. I’ve been trialling acrylic colour coats with white hard shellac clears, and it’s looking promising!
I’ve had a test piece sitting on my window sill for a year now, and it’s held up really well.
I’ve had a test piece sitting on my window sill for a year now, and it’s held up really well.
Now that it's had some time to sit, it's hardened up nicely.
I actually had to level out the finish again because as it dried the indents reappeared. I cut it back and left it for a week before buffing it out yesterday. Much better.
I also spent a bit of time adding wear spots and dings, and I'm really happy with how it looks - I normally like playing beat-up instruments.
So it was on to assembly! I'm playing at church this Sunday, so I figured it'd be nice to have it ready for that.
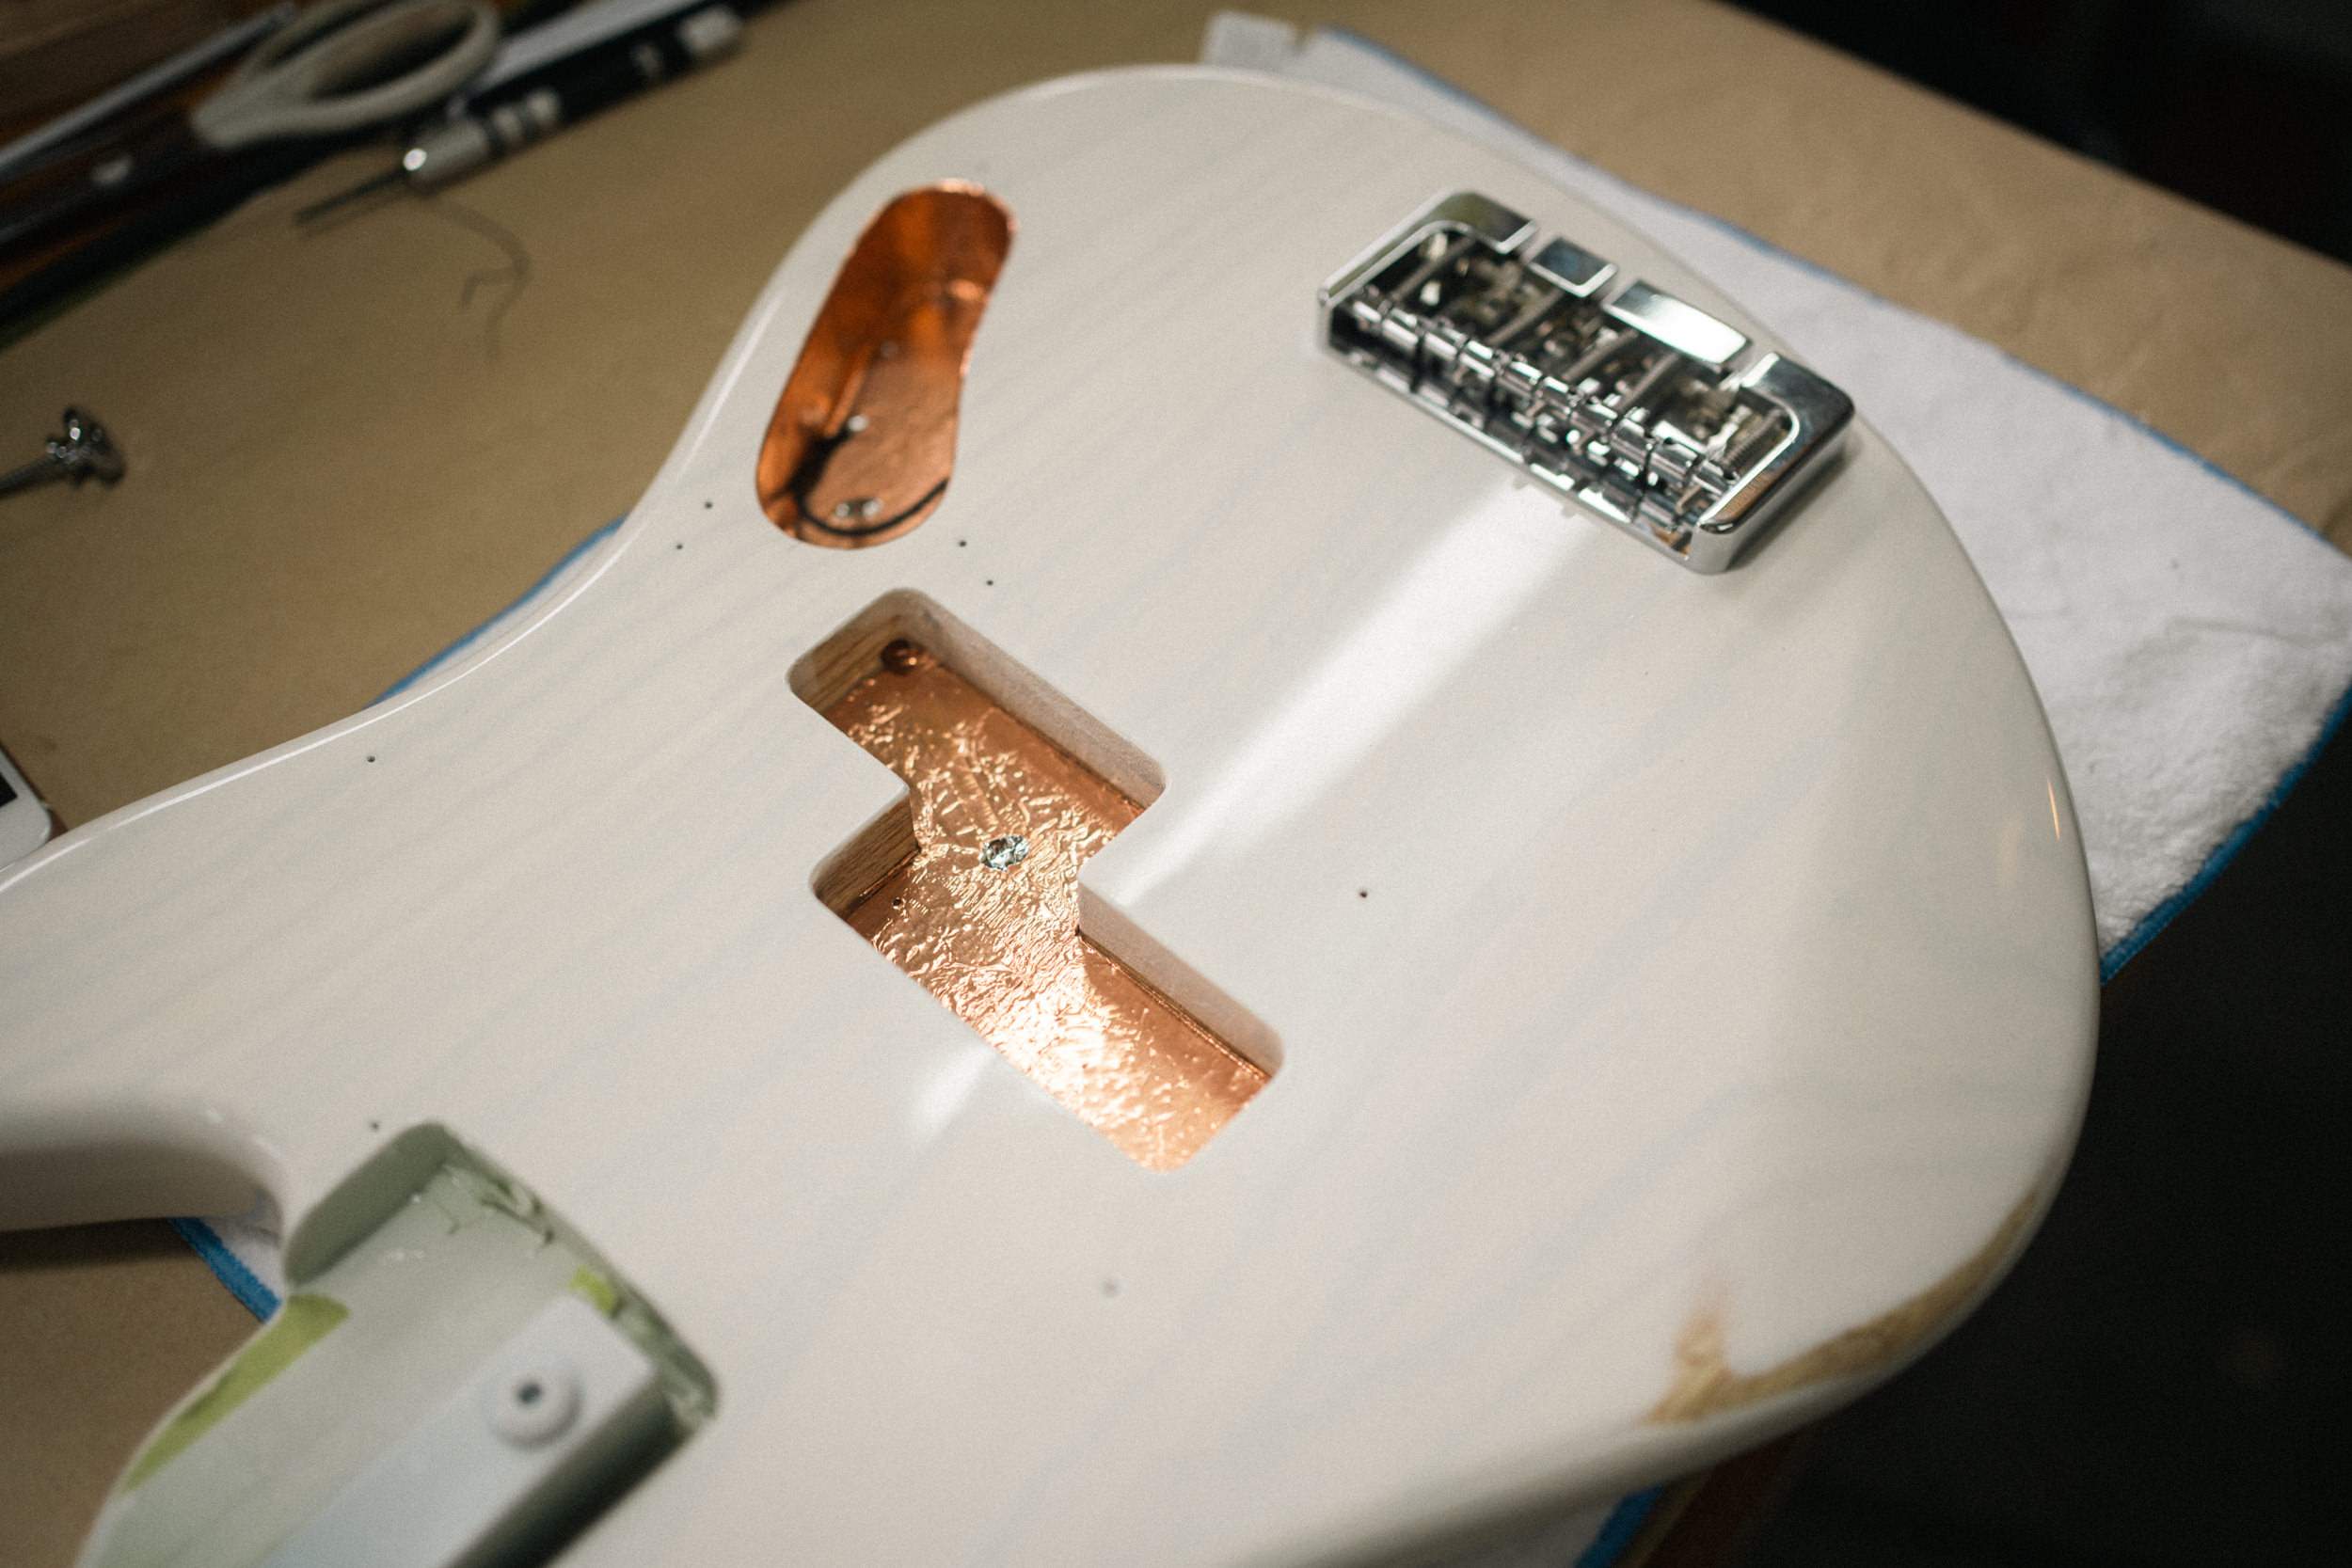
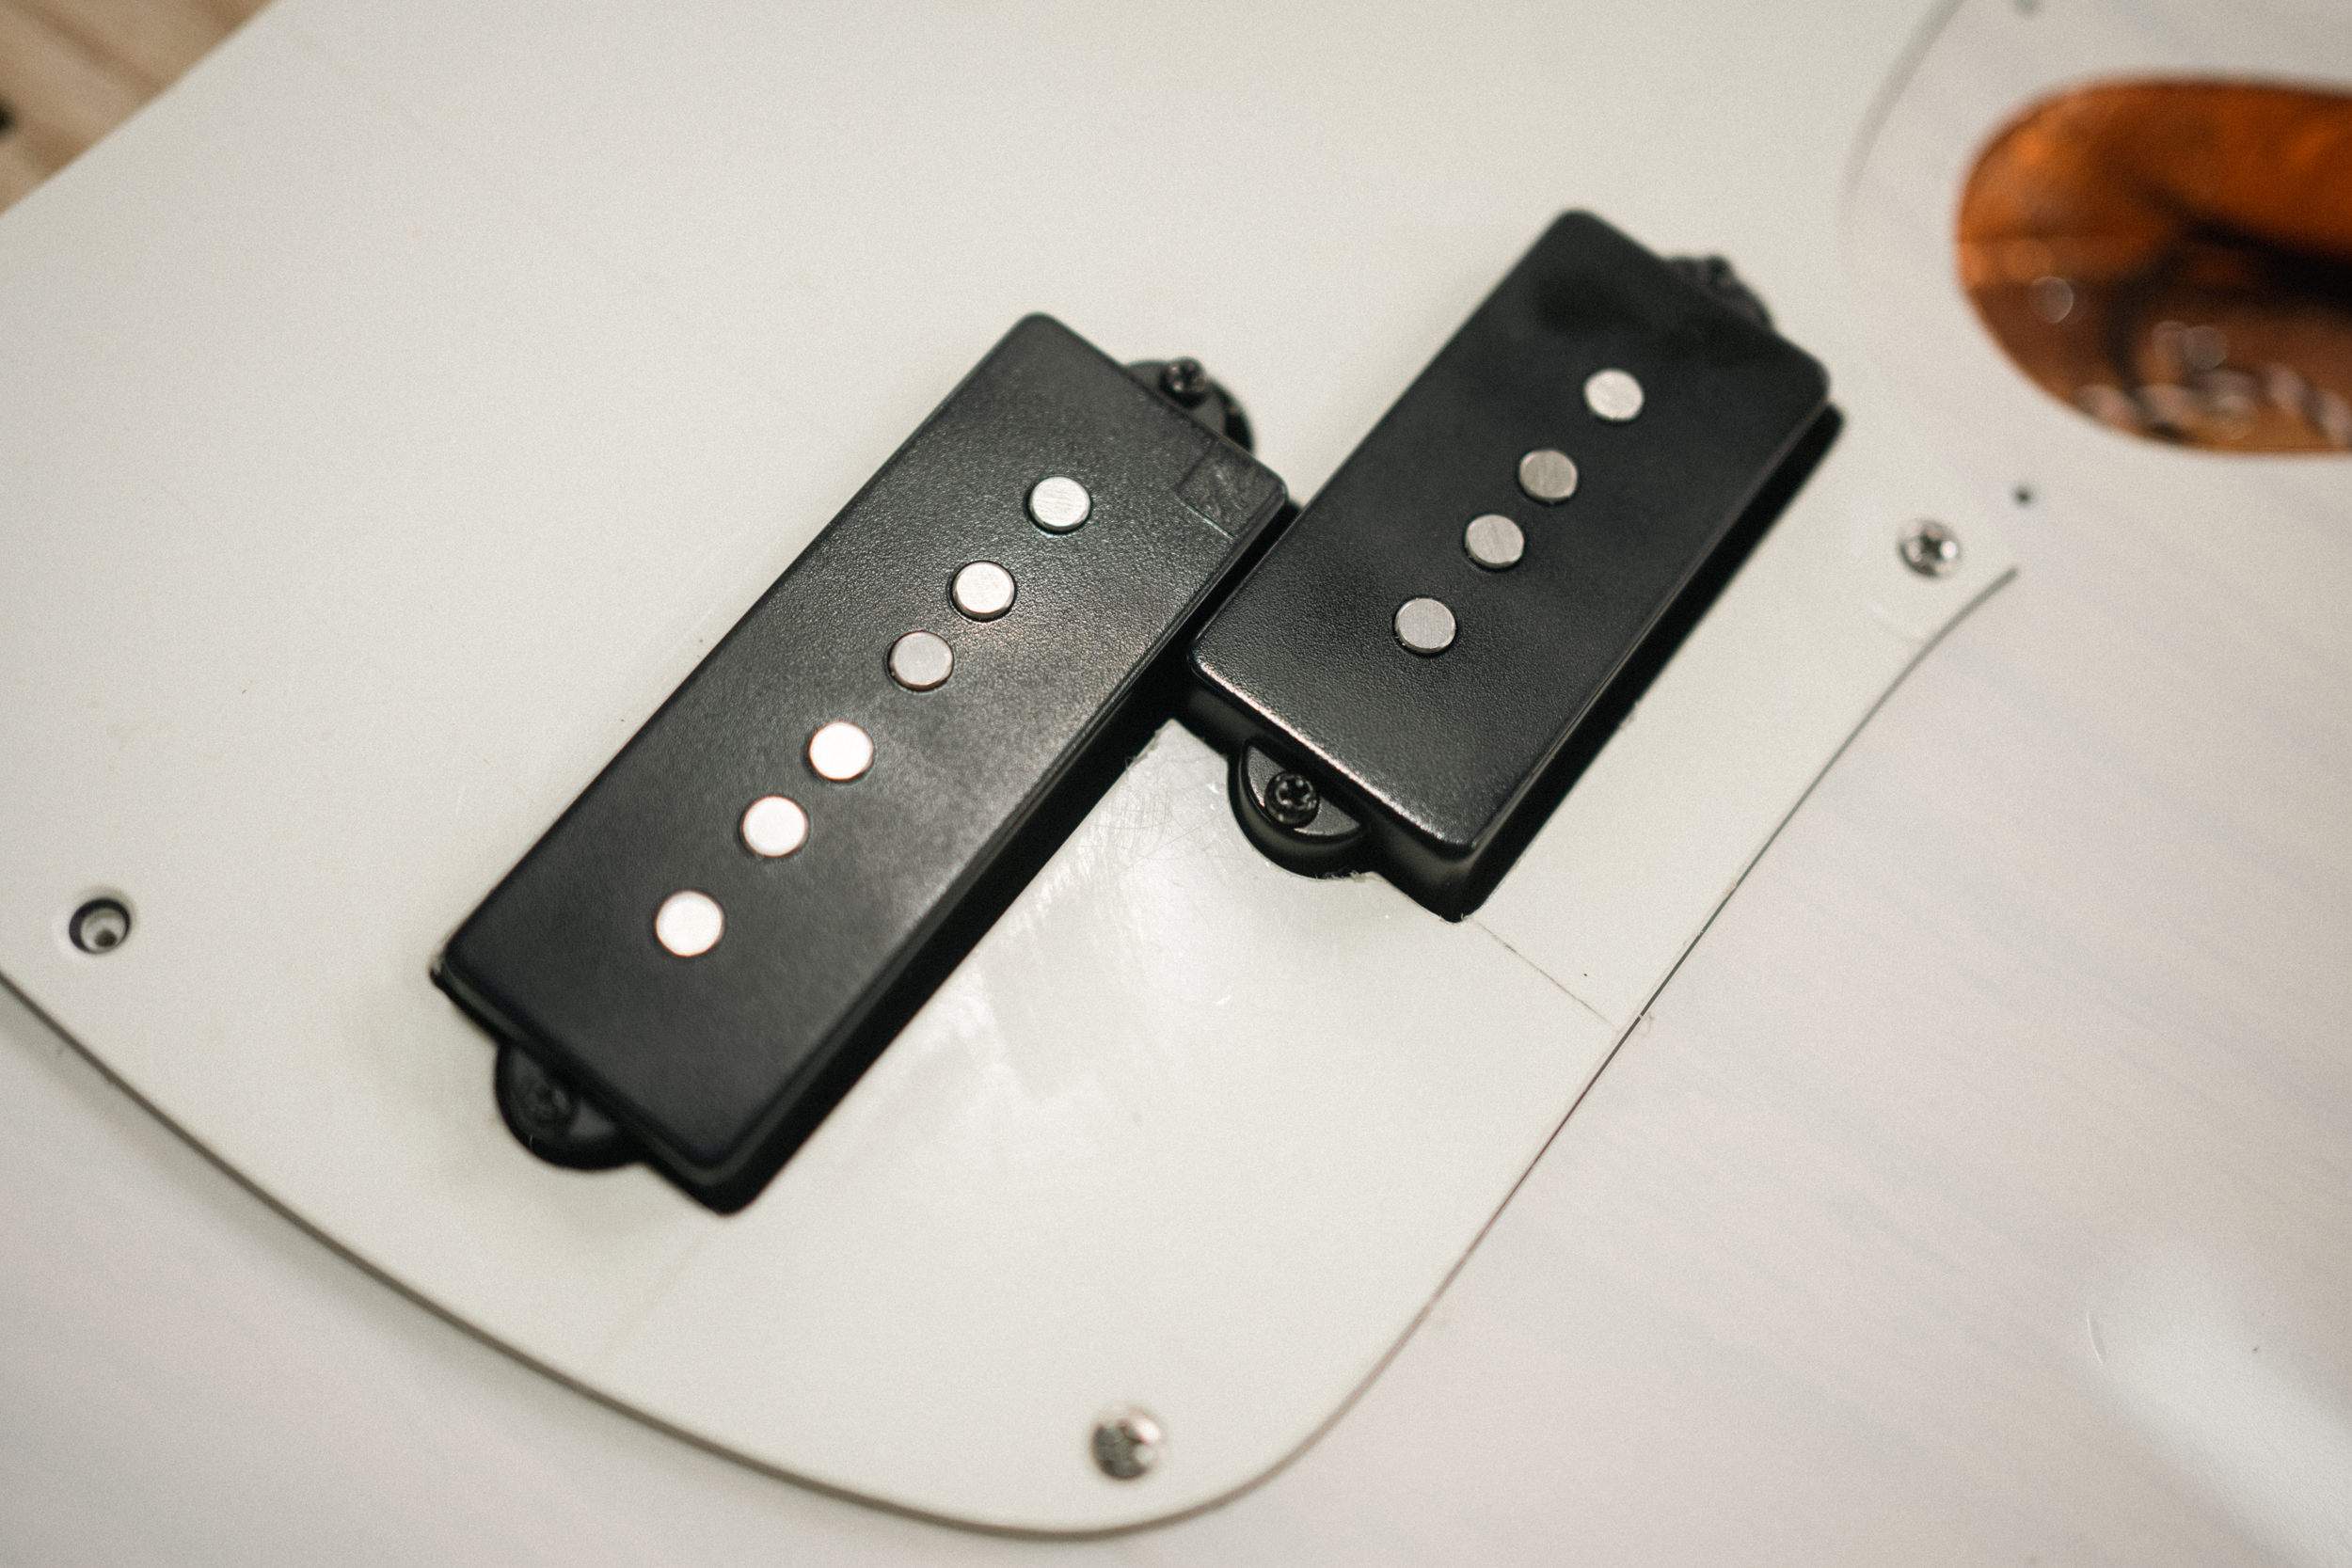
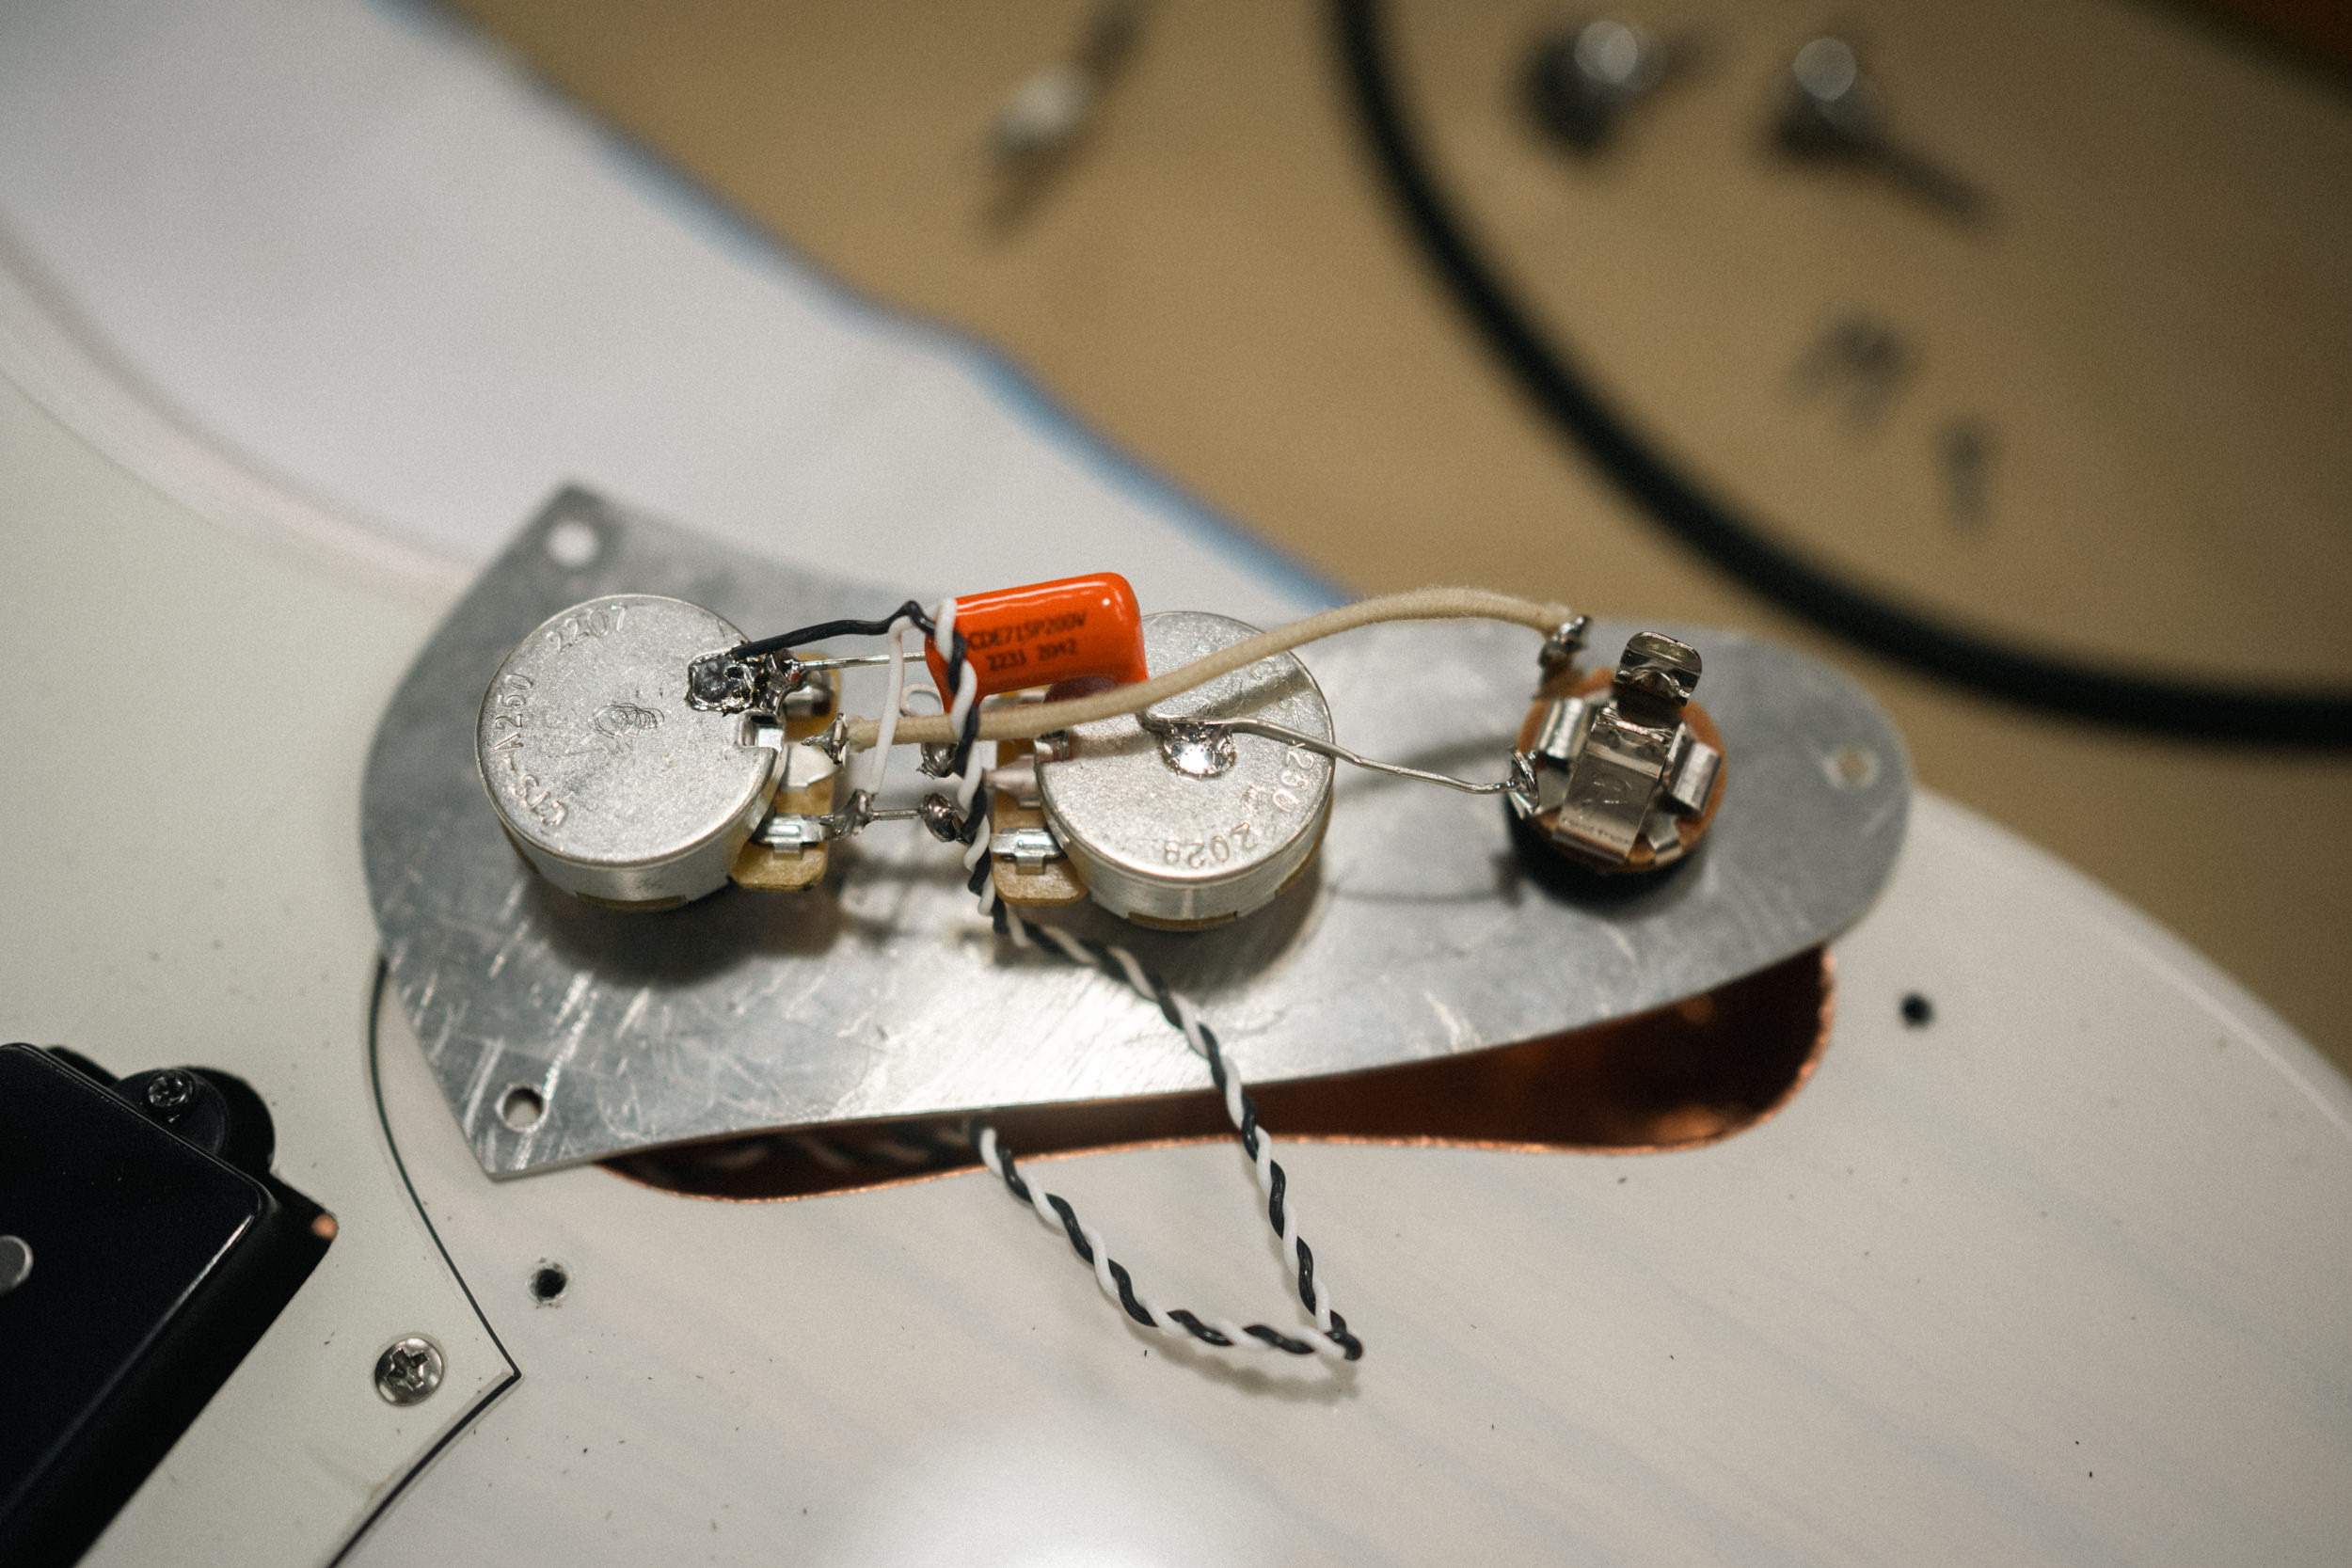
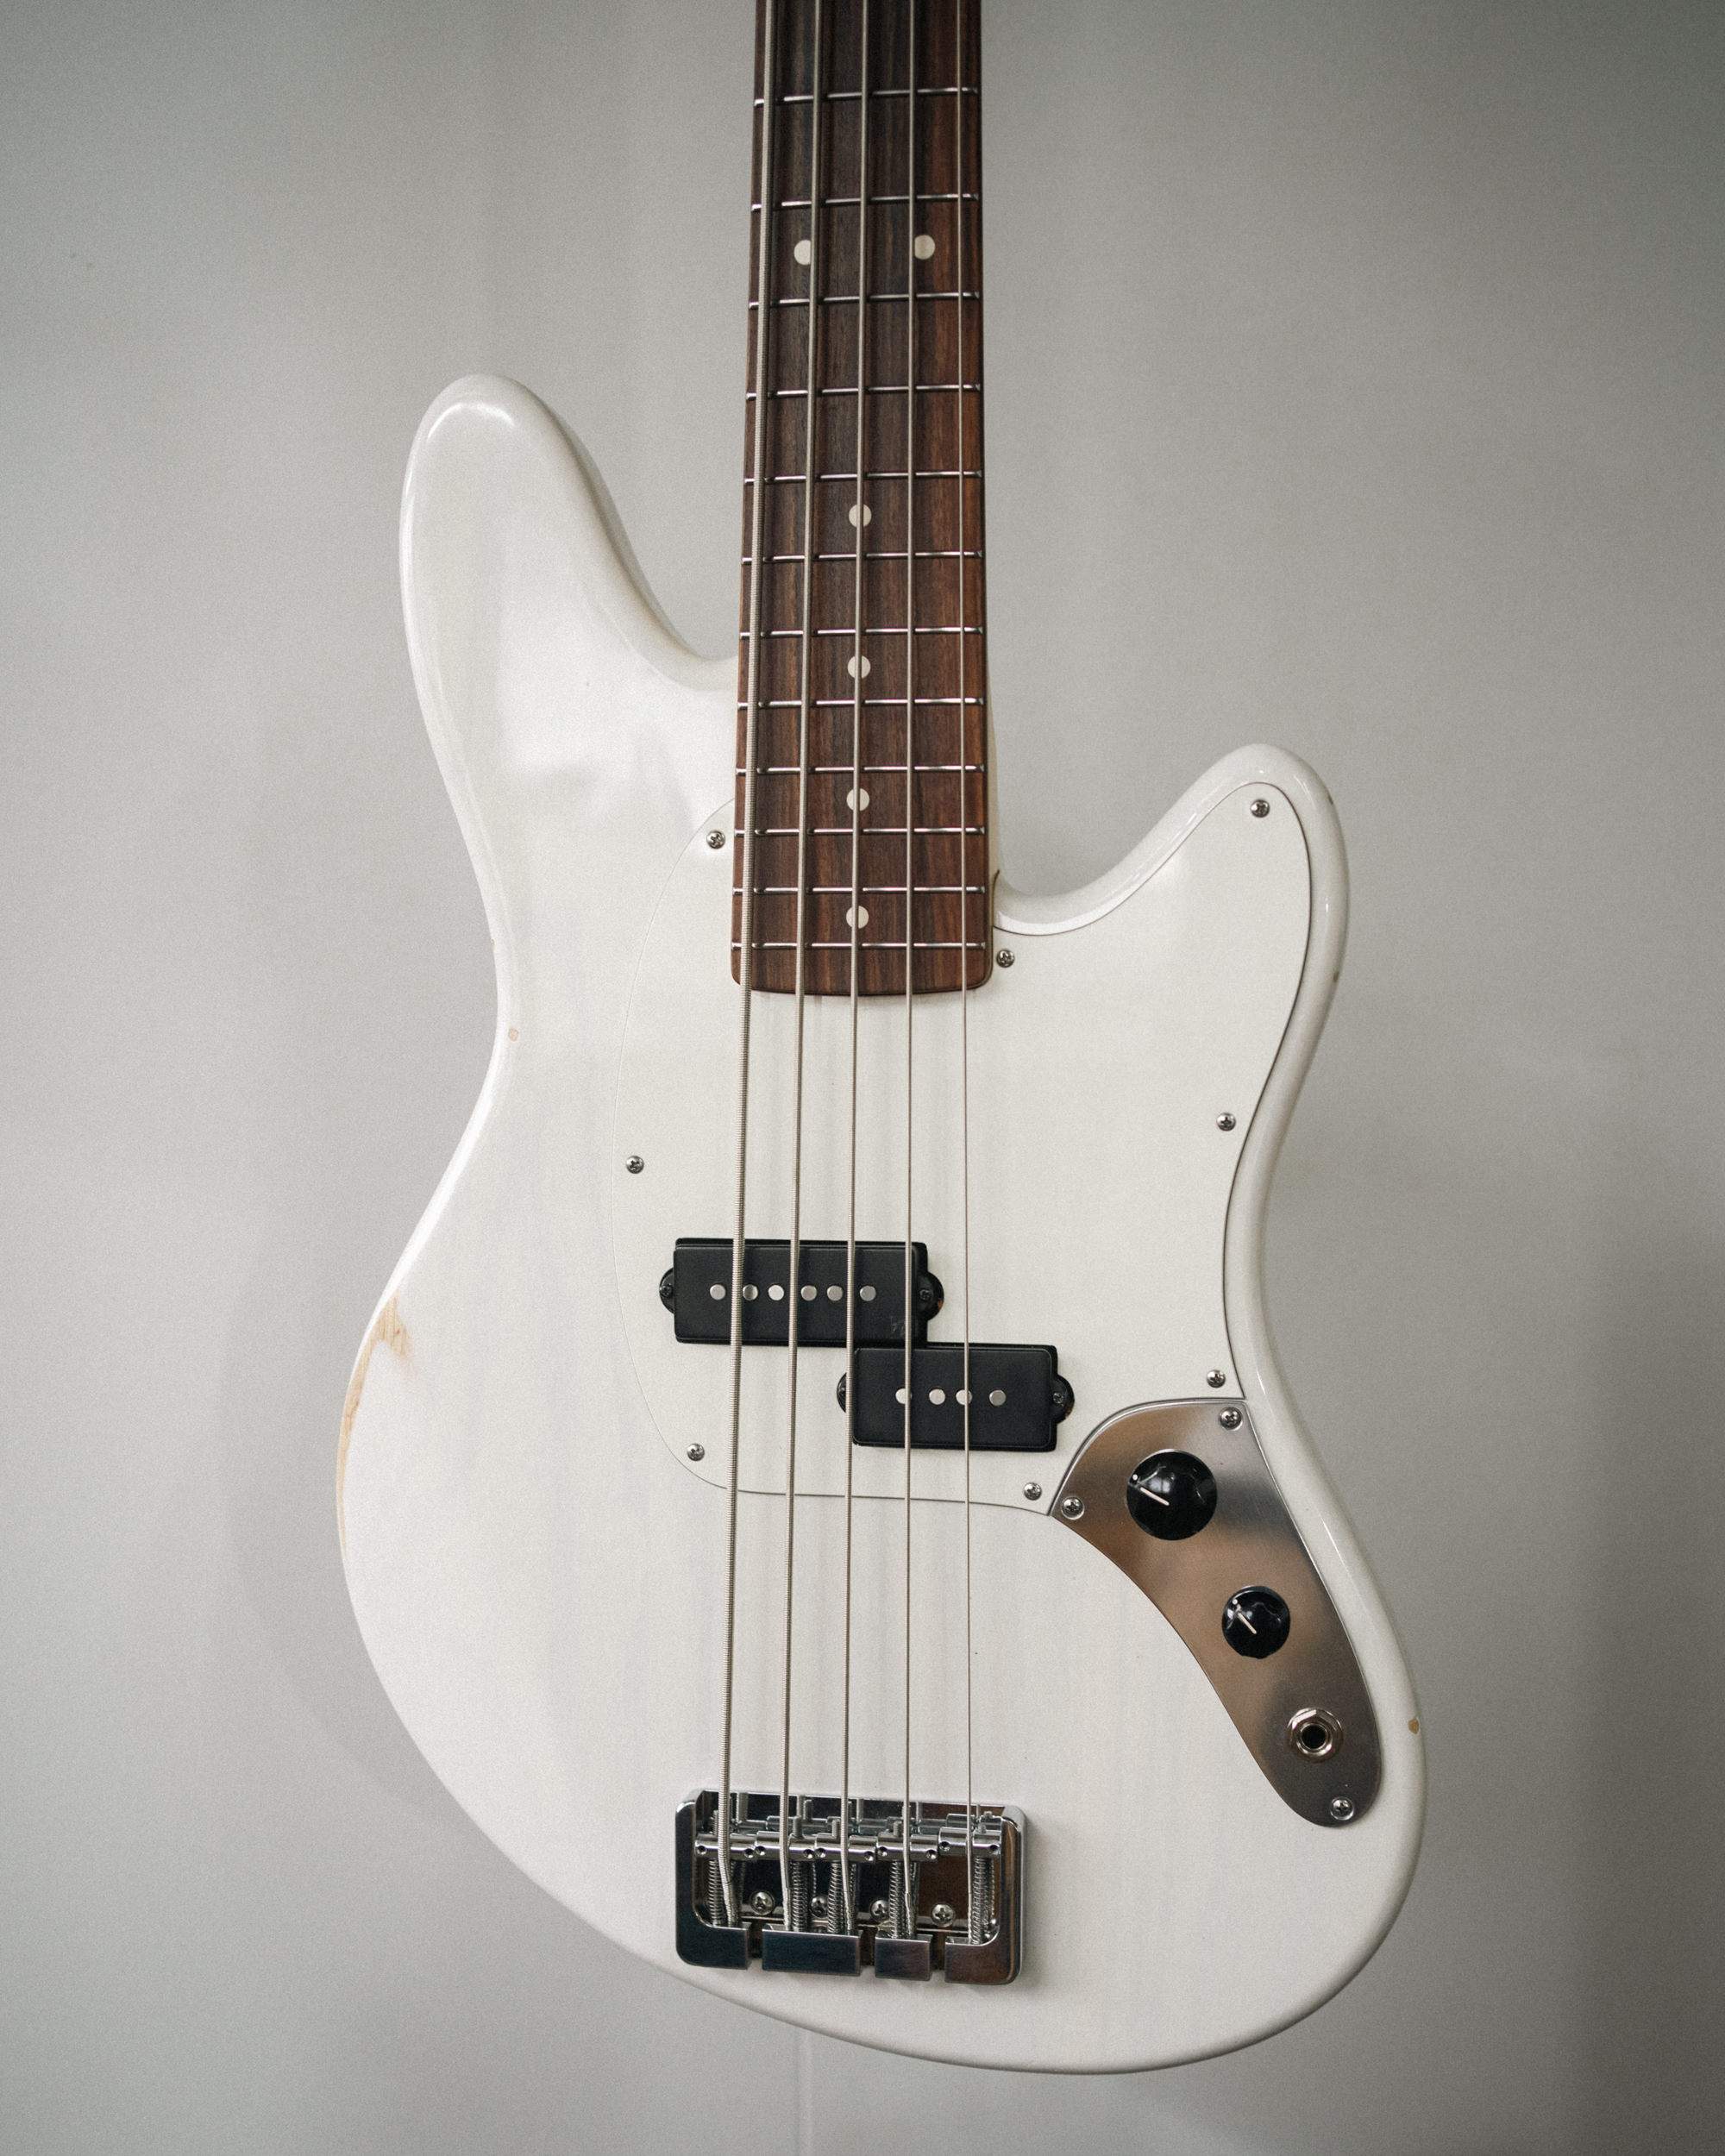
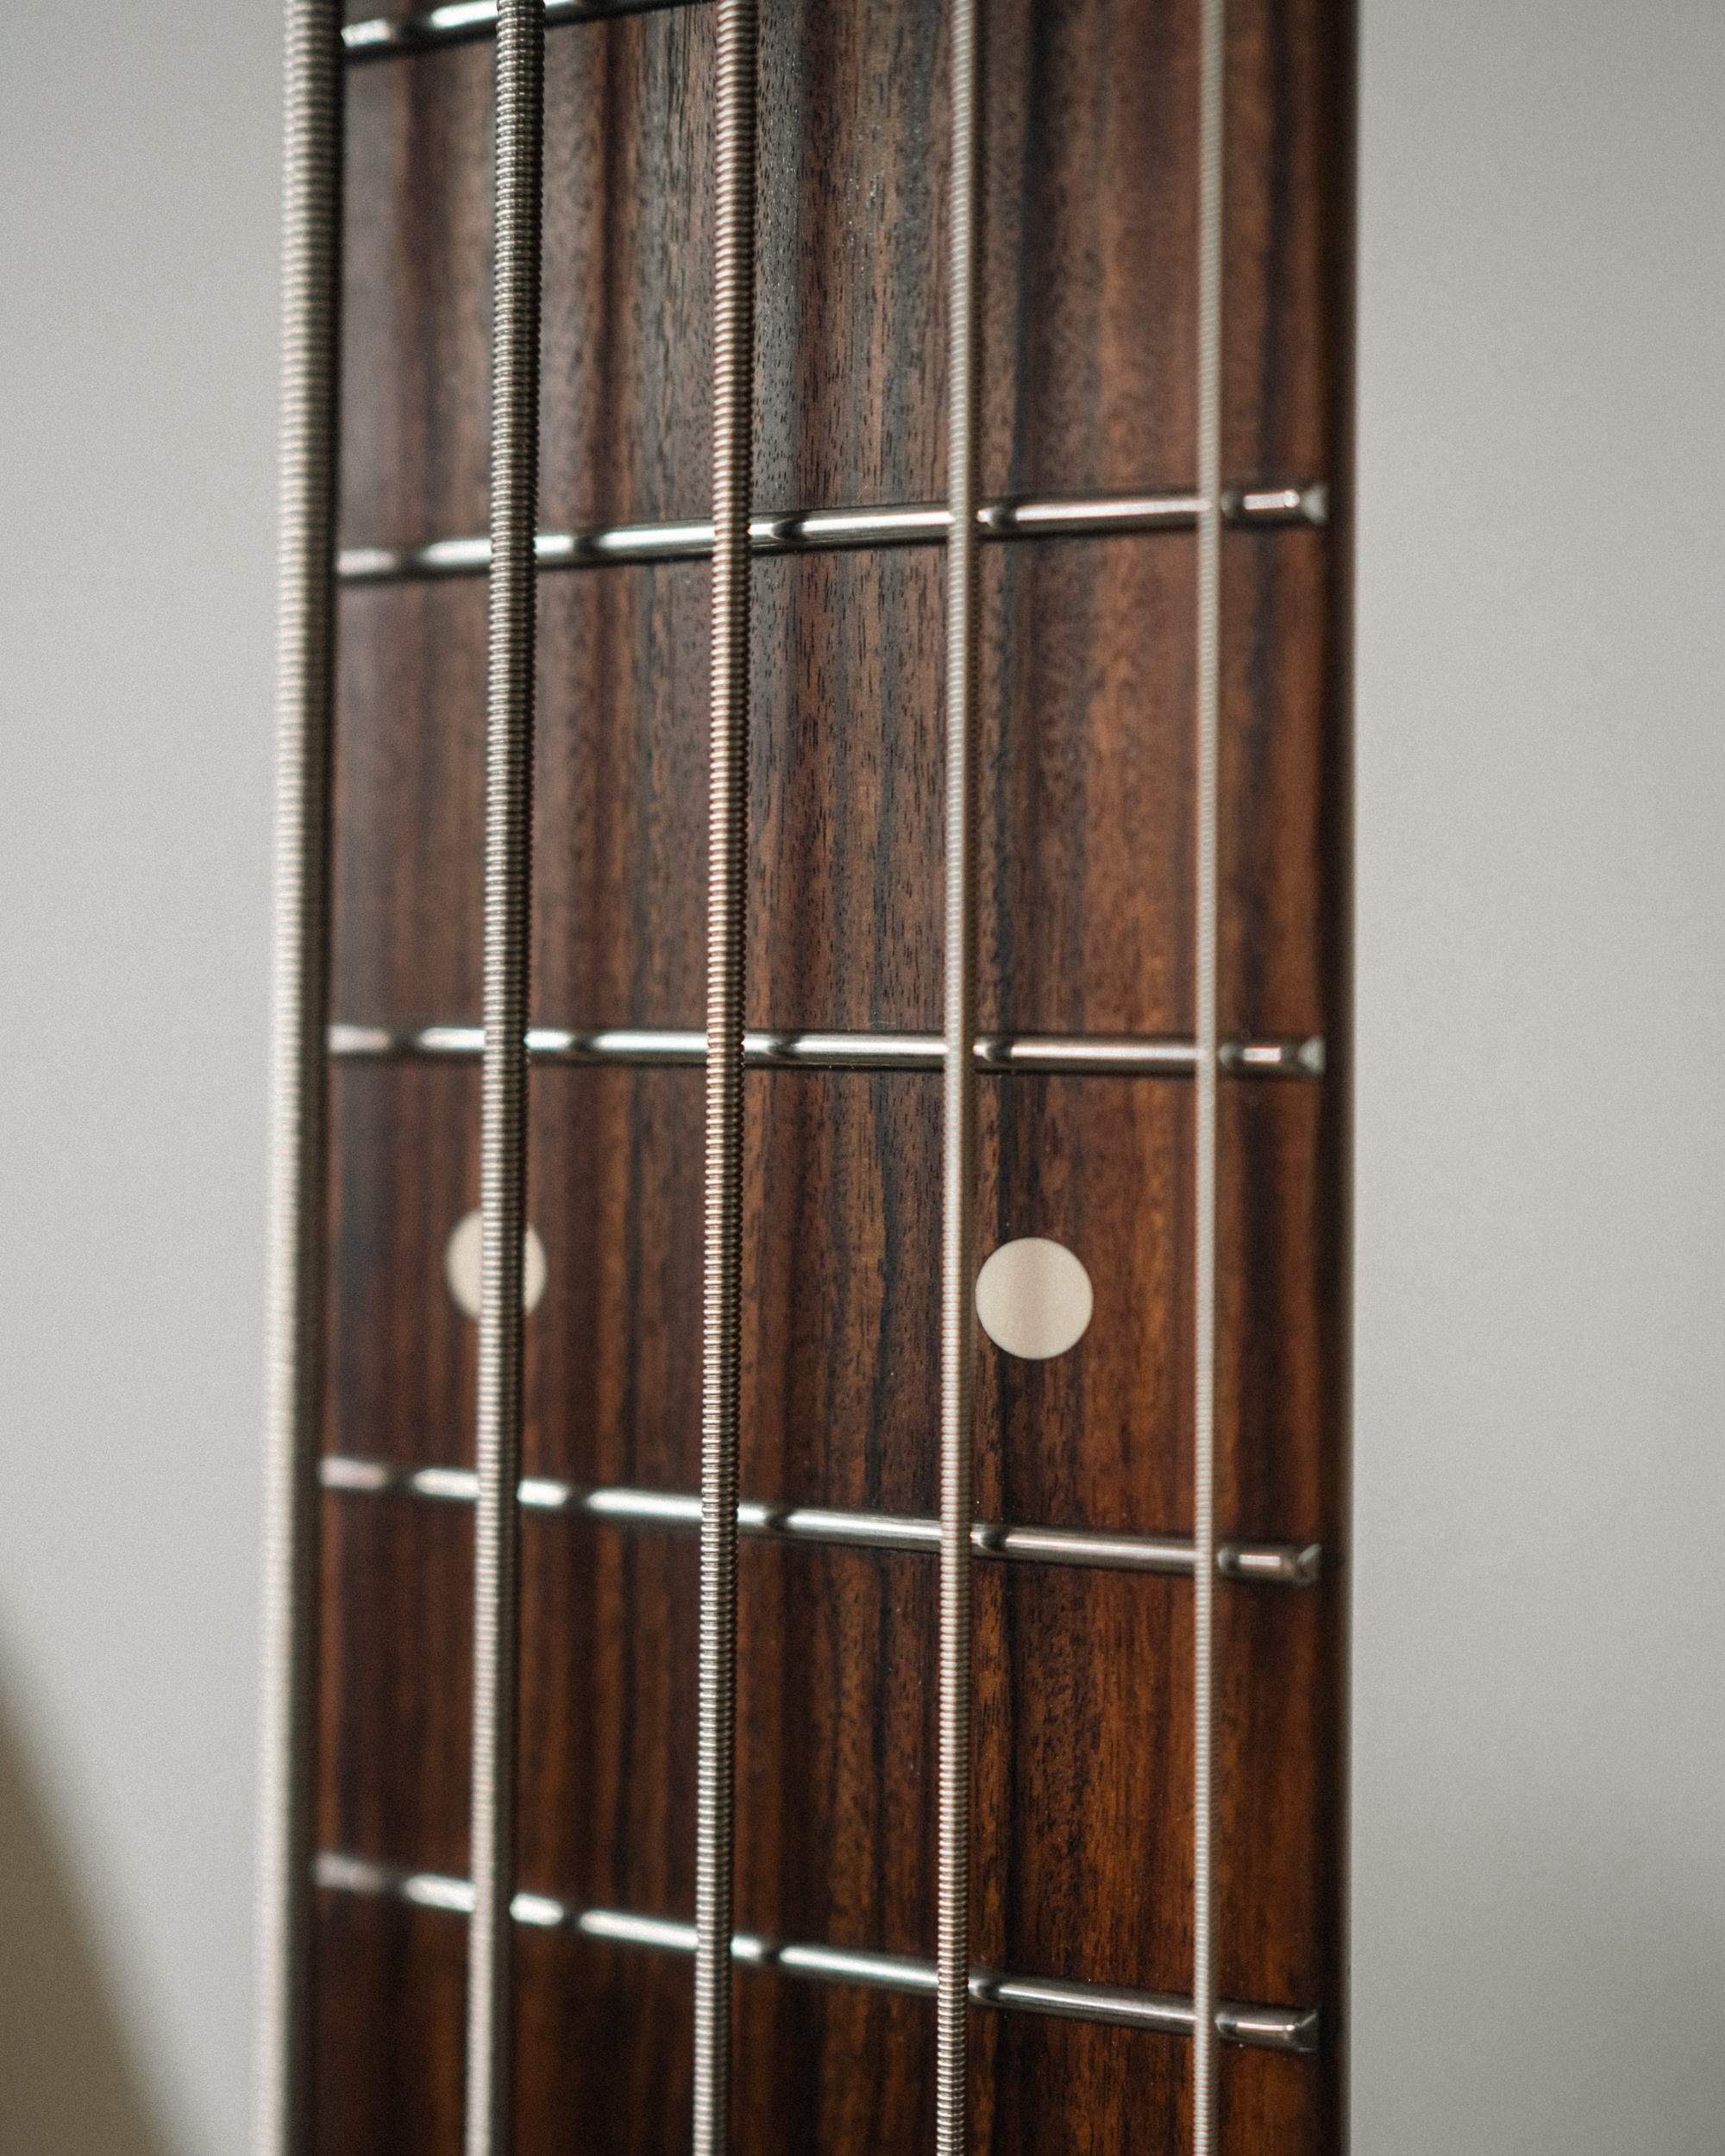
I'm a little bit disappointed with the pickguard - the pickup template I bought was made for this exact pickup, but the guy added a bit too much clearance space. One day I'll make another and use a template bushing to offset things.
Really happy with how the neck feels! Small stainless frets are a vibe, and the Pau Ferro fingerboard is tasty!
I'm not 100% sure about the pickup - I probably should've just gone with the Lollar, but I'll give it some time. I generally don't like new strings, so I'll have a better idea once they settle in a bit.
I'll take some proper glamour shots and sign off on this build in the coming days
I actually had to level out the finish again because as it dried the indents reappeared. I cut it back and left it for a week before buffing it out yesterday. Much better.
I also spent a bit of time adding wear spots and dings, and I'm really happy with how it looks - I normally like playing beat-up instruments.
So it was on to assembly! I'm playing at church this Sunday, so I figured it'd be nice to have it ready for that.
I'm a little bit disappointed with the pickguard - the pickup template I bought was made for this exact pickup, but the guy added a bit too much clearance space. One day I'll make another and use a template bushing to offset things.
Really happy with how the neck feels! Small stainless frets are a vibe, and the Pau Ferro fingerboard is tasty!
I'm not 100% sure about the pickup - I probably should've just gone with the Lollar, but I'll give it some time. I generally don't like new strings, so I'll have a better idea once they settle in a bit.
I'll take some proper glamour shots and sign off on this build in the coming days

If it were me, I think the gap between the pickguard and the control plate would bug me more. (It seems a bit crescent shaped, or is that just the angle?)
I think it’s a weird trick with lighting. The two are pretty snug in real life.If it were me, I think the gap between the pickguard and the control plate would bug me more. (It seems a bit crescent shaped, or is that just the angle?)

Such a clean work, impressive!
Can I ask how you do that exactly up to the headstock? since the headstock is larger than the neck, do you use a bullnose plane for this?
A little progress between client work today.
Trimmed the neck blank flush with the fingerboard using my plane, then followed up with a hard, straight sanding block.
View attachment 4751017
View attachment 4751018
Can I ask how you do that exactly up to the headstock? since the headstock is larger than the neck, do you use a bullnose plane for this?
Thanks!Such a clean work, impressive!
Can I ask how you do that exactly up to the headstock? since the headstock is larger than the neck, do you use a bullnose plane for this?
I use a file and a spokeshave to flush up the section between the headstock and 2nd fret. That gives me enough room to run the plane up before hitting the headstock.
Along with the huge gap around the pickup, I’m not stoked with the alignment of the d/g half. The string sit pretty much over the pole pieces, which I’ve noticed give those strings more attack. I’m also not a huge fan of the pickups sound. Once again, I should’ve just gone for the Lollar.
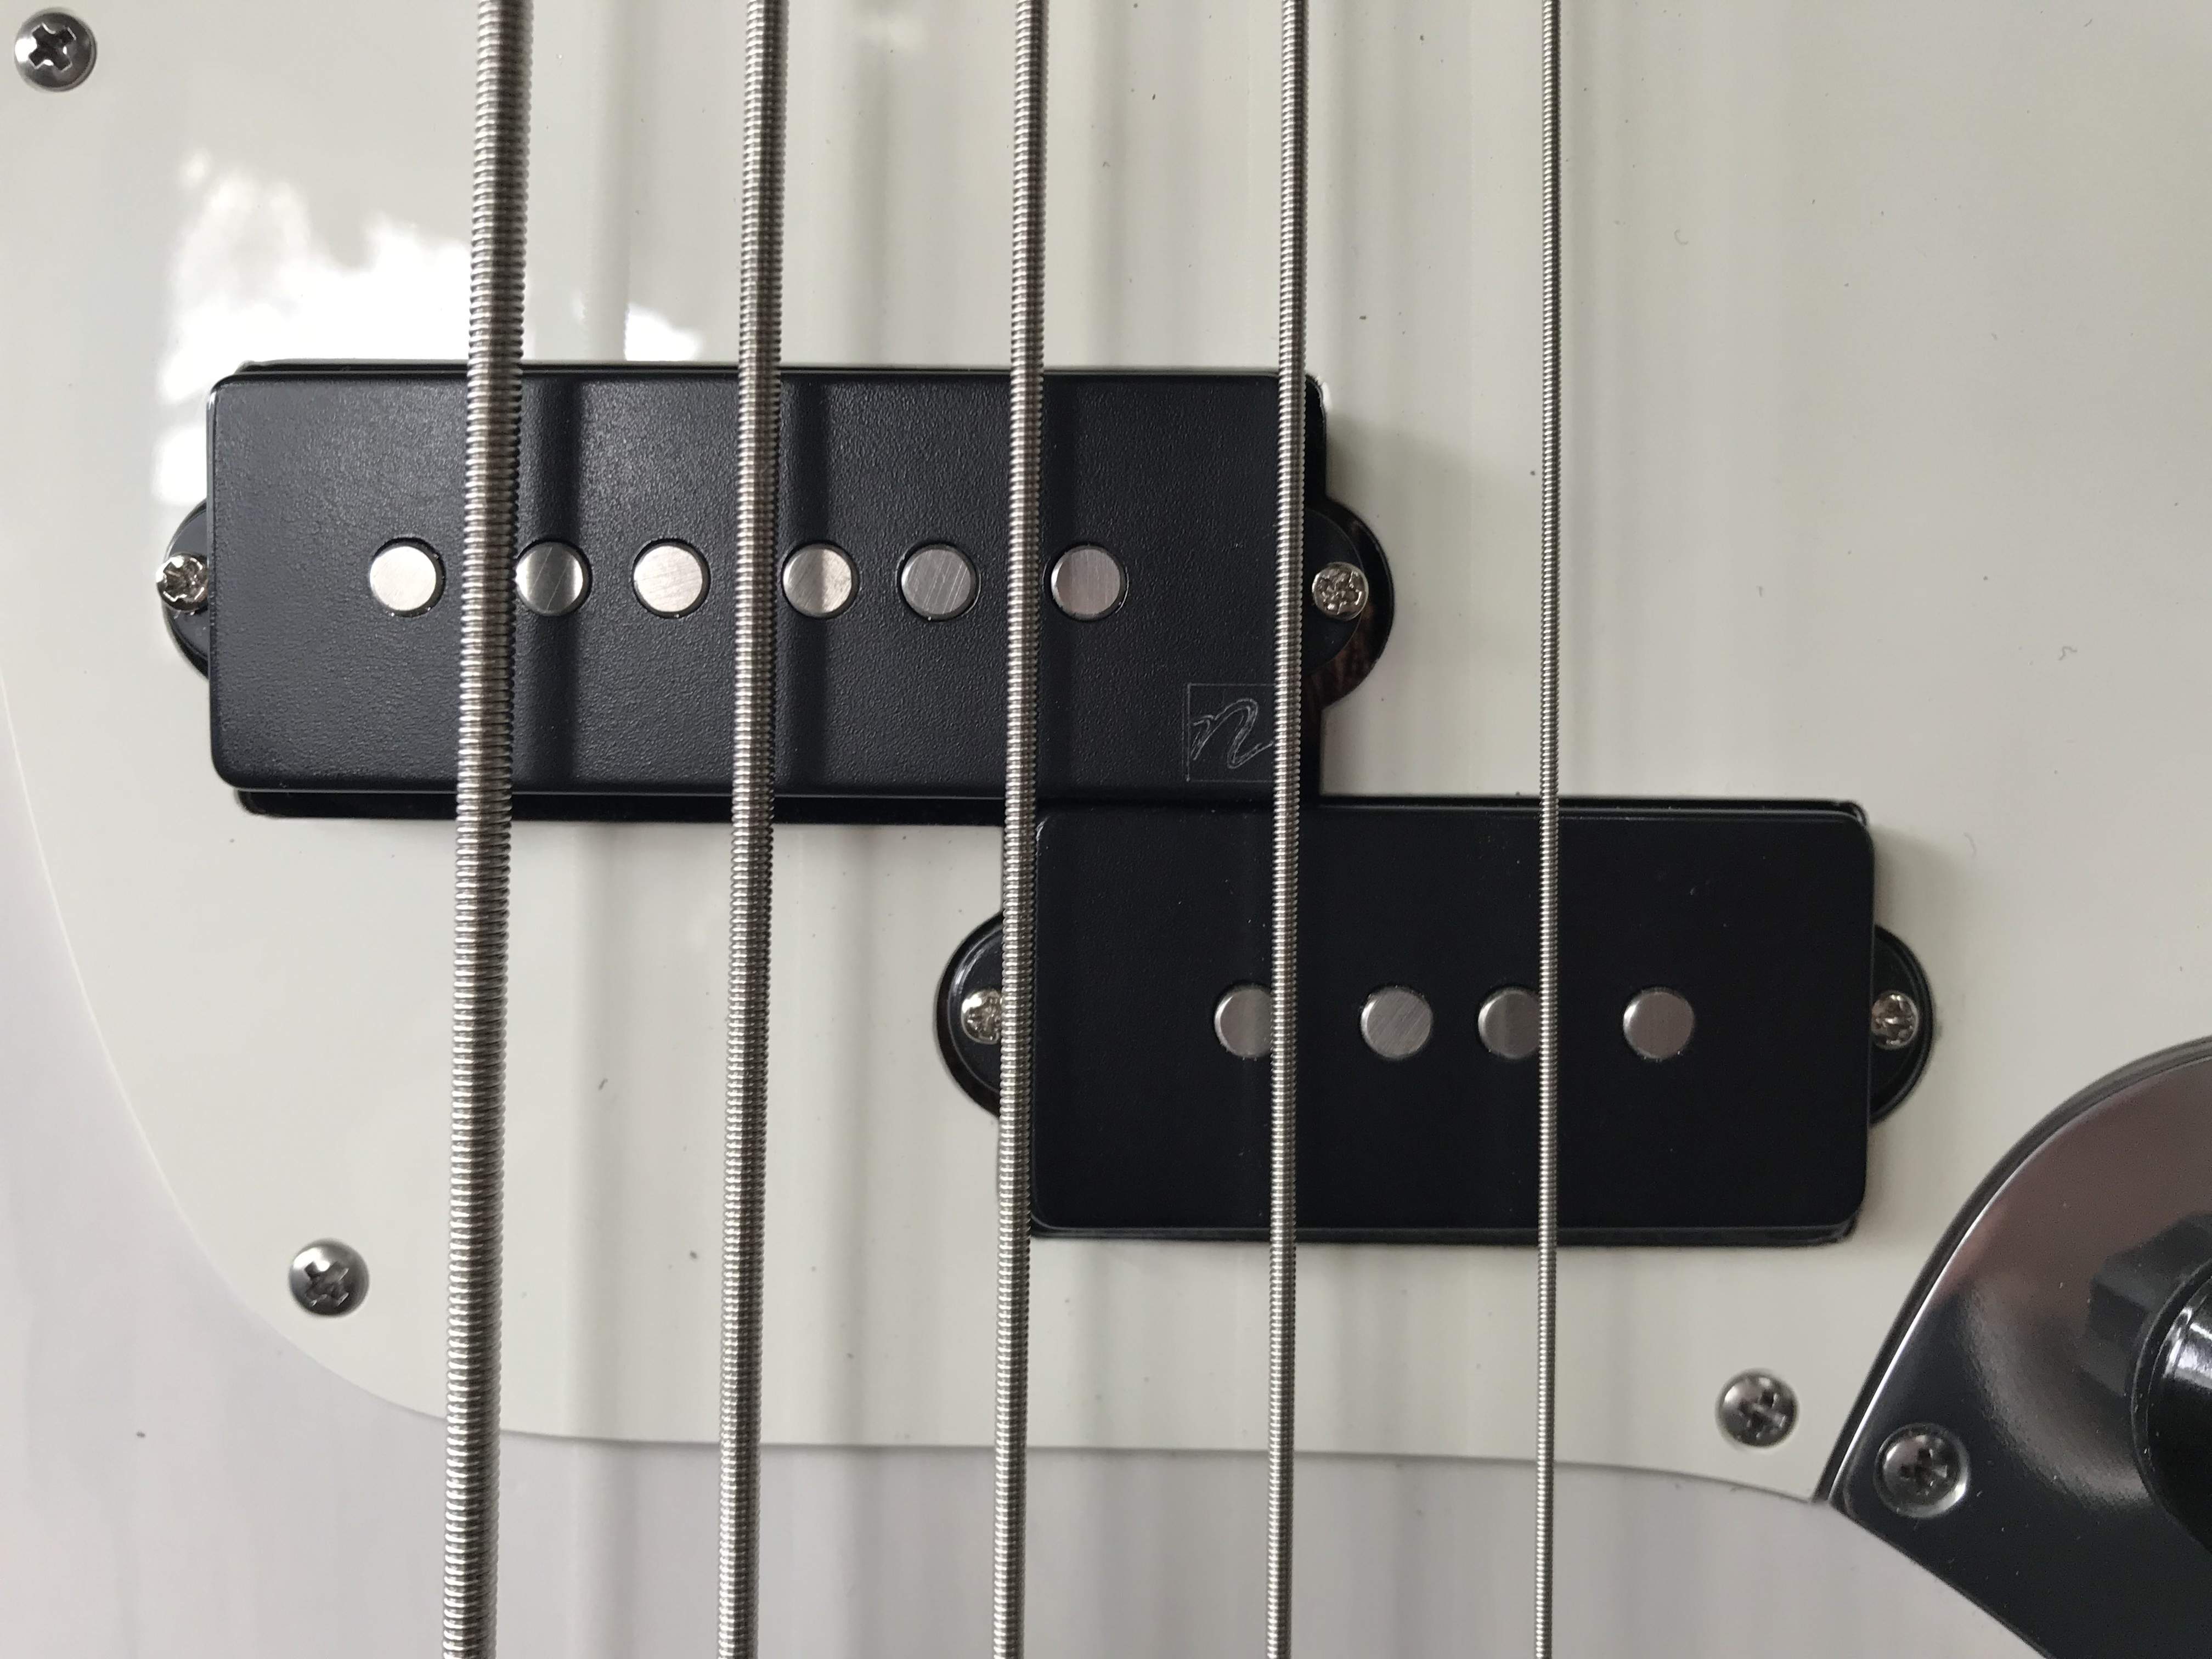
I do have a Lace Alumitone Bass Bar that I’ve been meaning to try out. I installed one in a customer build last year and I thought the tone was fantastic. This one is the 3.5, which Lace lists as a 4 or 5 string pickup. I’m curious to know if the string coverage would be enough.
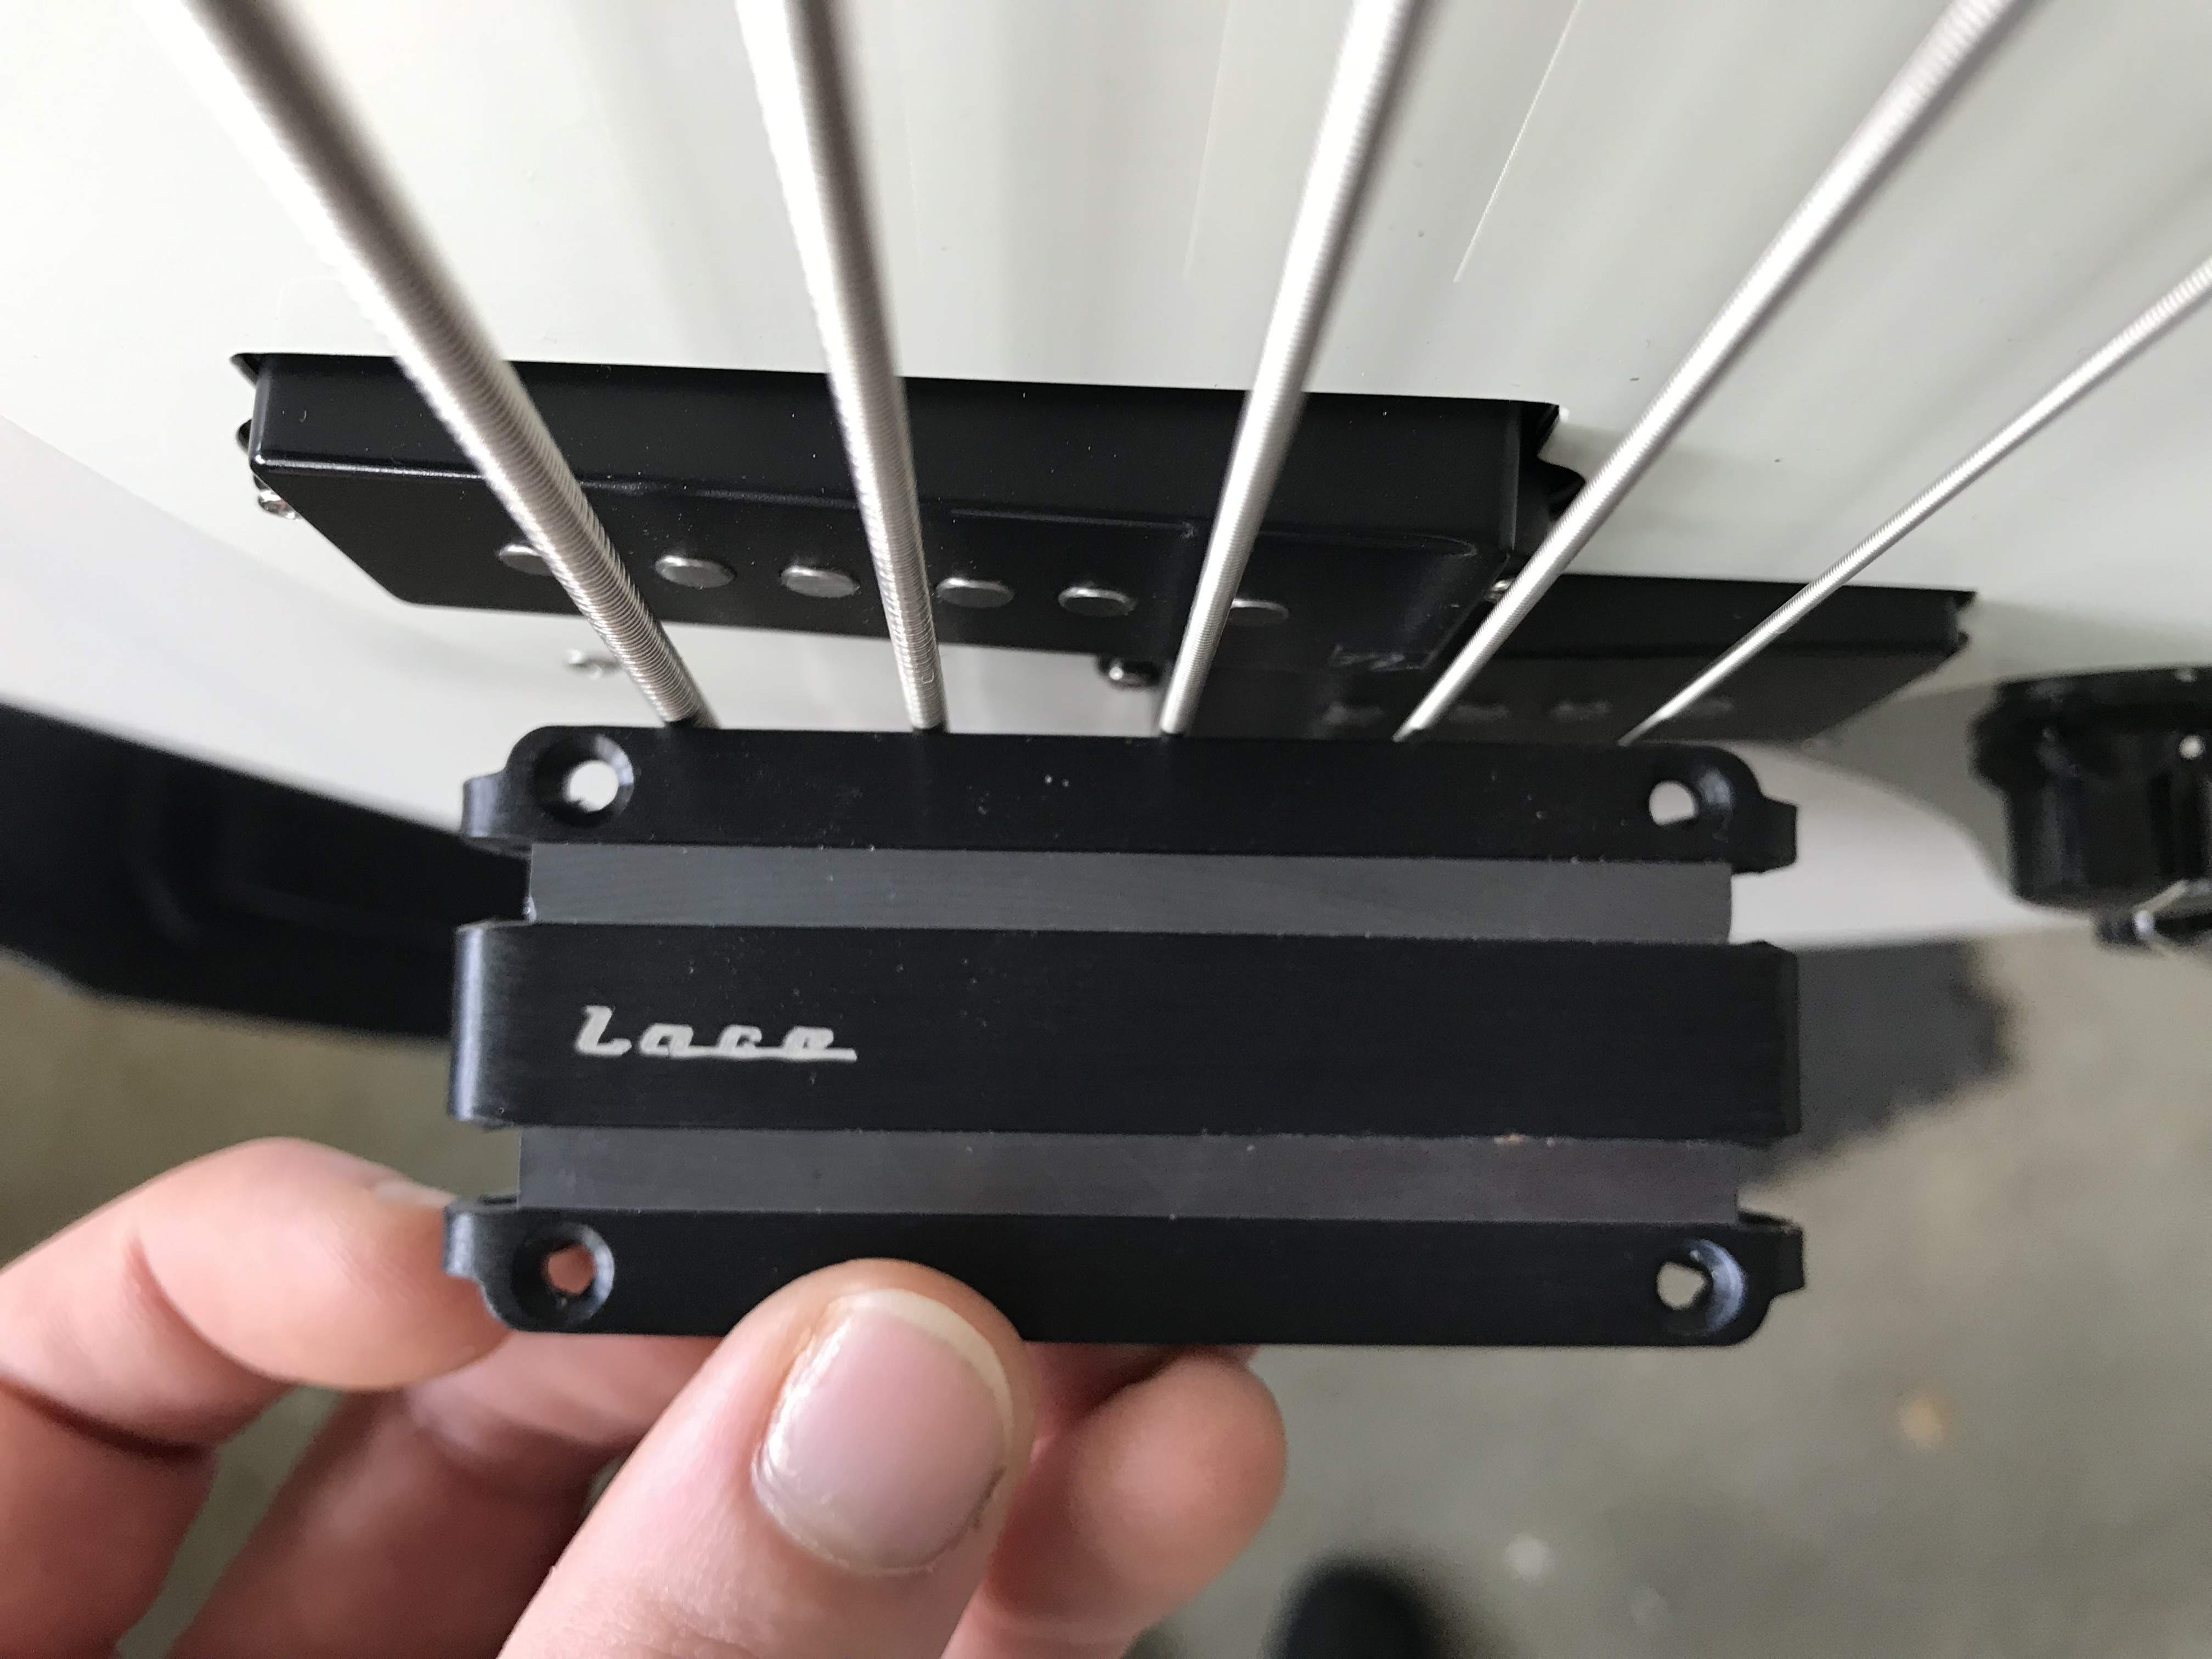
the string width at that point is 67mm, while the magnet width on the pickup is 77mm.
Should I see if it works?
I do have a Lace Alumitone Bass Bar that I’ve been meaning to try out. I installed one in a customer build last year and I thought the tone was fantastic. This one is the 3.5, which Lace lists as a 4 or 5 string pickup. I’m curious to know if the string coverage would be enough.
the string width at that point is 67mm, while the magnet width on the pickup is 77mm.
Should I see if it works?
If it's just a matter of making a new pick guard, trimming the pup route a little and you can put it all back if you don't like it, then I say go for it.
You could also shift that D-G pup and make a new pick guard, no?
You could also shift that D-G pup and make a new pick guard, no?


