- Aug 24, 2010
- 440
- 1,082
- Disclosures
- Builder/Owner:Drake Custom Bass Guitars
I had a lot of fun with the Fretless 5 string build-off. I would like to congratulate Simo for his outstanding build in the Comp. Well done!
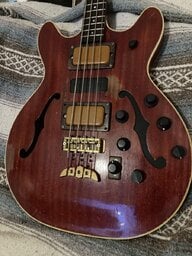
As for me, it has been awhile since I have posted anything on TB so I thought I would show my latest build. This bass is going to be a semi-hollow bodied Starfire type bass. She will have a 32 inch medium scale set neck with 22 frets. Her body will be of Mahoagny and her neck will be of Wenge. The fret board will be Wenge and she will have figured Mahogany fret board binding with MOP crown inlays.
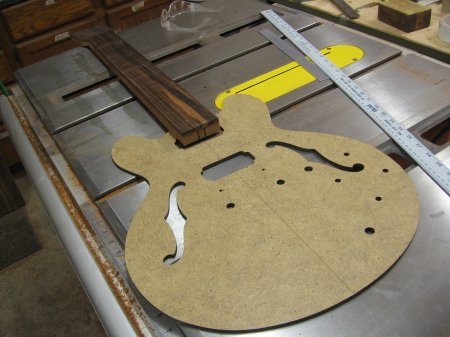
Here is the rough plan I have in mind. The template is for a Gibson style guitar but I think it will work for the shape of my bass body. Please note that I will not be using the pick up layout you see here nor will I be using the old neck I have in the picture. They are just to show what I have planned.
First let's get the tedious rough work done so we can get to the fun stuff.
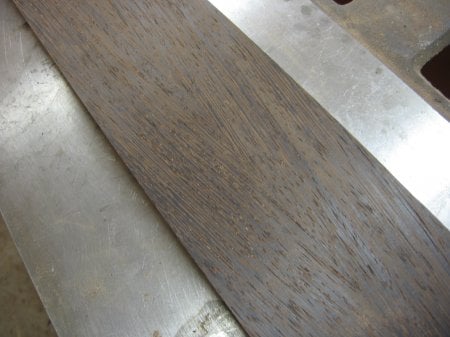
This is the piece of Wenge I have selected for this build. It is a two piece neck blank of quartersawn wood. My blanks are about 3 1/2 inches wide and about an inch thick. I usually start with 38 inches long so I can use the cut off for heel blocks as this will be a deep set neck (glue in).
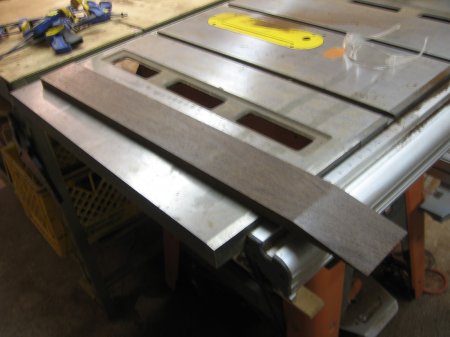
This blurry picture is of the blank after I cut the Scarf. I used my table saw with a gig to get the 12 degree angle I needed. The cut off piece is then flipped over to make the headstock. This makes a very tough joint.
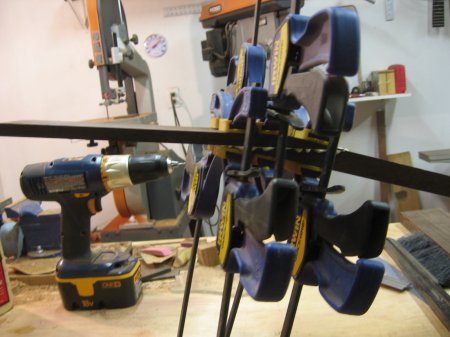
And the blank with the headstock being glued on. Some cut the headstock off and glue it under the blank like on an some acoustic guitars but I like it to be under the fretboard. It creates sort of finger joint after the peghead veneers and fret board are glued on. I have never had one of my necks break at this joint. Come to think of it...I have never had one of my necks break.
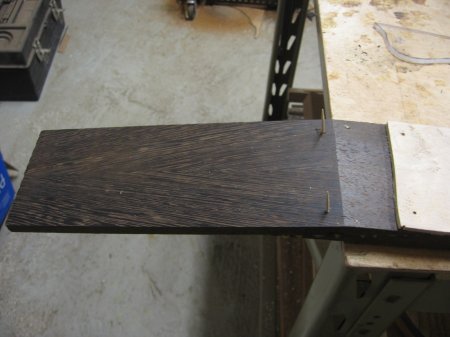
Anyway...for those who have seen my builds before, know that I use toothpicks as locating pins for glueing on various things. These are very handy for glueing on headstocks, veneers, and fingerboards. Later, if you have to cut through one they do not damage bits and blades. They are placed in the waste areas of my headstock. In this photo you can see the veneer laying on the neck blank. Note the holes. They match up to the toothpicks sticking up out of the headstock. I will put some glue down and use the toothpicks to guide the veneer on. The toothpicks will keep the veneer from moving around while applying the clamps.
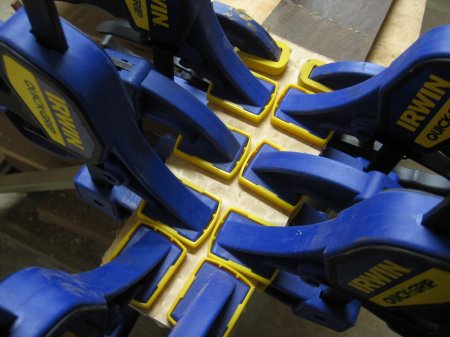
Here I am glueing on the peg head veneer. The wood is of Quilted Maple cut from the same wood I am going to use for the top. You will get to see some pictures of the top later.
This post is not too exciting but I promise that once I get the basic prep work done, you will get to see this bass take shape.
As for me, it has been awhile since I have posted anything on TB so I thought I would show my latest build. This bass is going to be a semi-hollow bodied Starfire type bass. She will have a 32 inch medium scale set neck with 22 frets. Her body will be of Mahoagny and her neck will be of Wenge. The fret board will be Wenge and she will have figured Mahogany fret board binding with MOP crown inlays.
Here is the rough plan I have in mind. The template is for a Gibson style guitar but I think it will work for the shape of my bass body. Please note that I will not be using the pick up layout you see here nor will I be using the old neck I have in the picture. They are just to show what I have planned.
First let's get the tedious rough work done so we can get to the fun stuff.
This is the piece of Wenge I have selected for this build. It is a two piece neck blank of quartersawn wood. My blanks are about 3 1/2 inches wide and about an inch thick. I usually start with 38 inches long so I can use the cut off for heel blocks as this will be a deep set neck (glue in).
This blurry picture is of the blank after I cut the Scarf. I used my table saw with a gig to get the 12 degree angle I needed. The cut off piece is then flipped over to make the headstock. This makes a very tough joint.
And the blank with the headstock being glued on. Some cut the headstock off and glue it under the blank like on an some acoustic guitars but I like it to be under the fretboard. It creates sort of finger joint after the peghead veneers and fret board are glued on. I have never had one of my necks break at this joint. Come to think of it...I have never had one of my necks break.
Anyway...for those who have seen my builds before, know that I use toothpicks as locating pins for glueing on various things. These are very handy for glueing on headstocks, veneers, and fingerboards. Later, if you have to cut through one they do not damage bits and blades. They are placed in the waste areas of my headstock. In this photo you can see the veneer laying on the neck blank. Note the holes. They match up to the toothpicks sticking up out of the headstock. I will put some glue down and use the toothpicks to guide the veneer on. The toothpicks will keep the veneer from moving around while applying the clamps.
Here I am glueing on the peg head veneer. The wood is of Quilted Maple cut from the same wood I am going to use for the top. You will get to see some pictures of the top later.
This post is not too exciting but I promise that once I get the basic prep work done, you will get to see this bass take shape.