• TalkBass has been independent since 1998. Add your voice.
    Create a free account to reply to discussions, view embedded media, and browse with fewer display ads.
    Join freeLog in
    Want zero display ads or expanded classifieds tools? Compare plans.

Short scale 5er

I spent yesterday afternoon replacing a fender on my car. I don't have much experience doing stuff like that. It's done and everything looks good and is solid, but I'm certain I didn't do things in the most efficient way, getting some of those screws in behind the door was a ship in a bottle motion for sure (in retrospect I should have removed the door first).

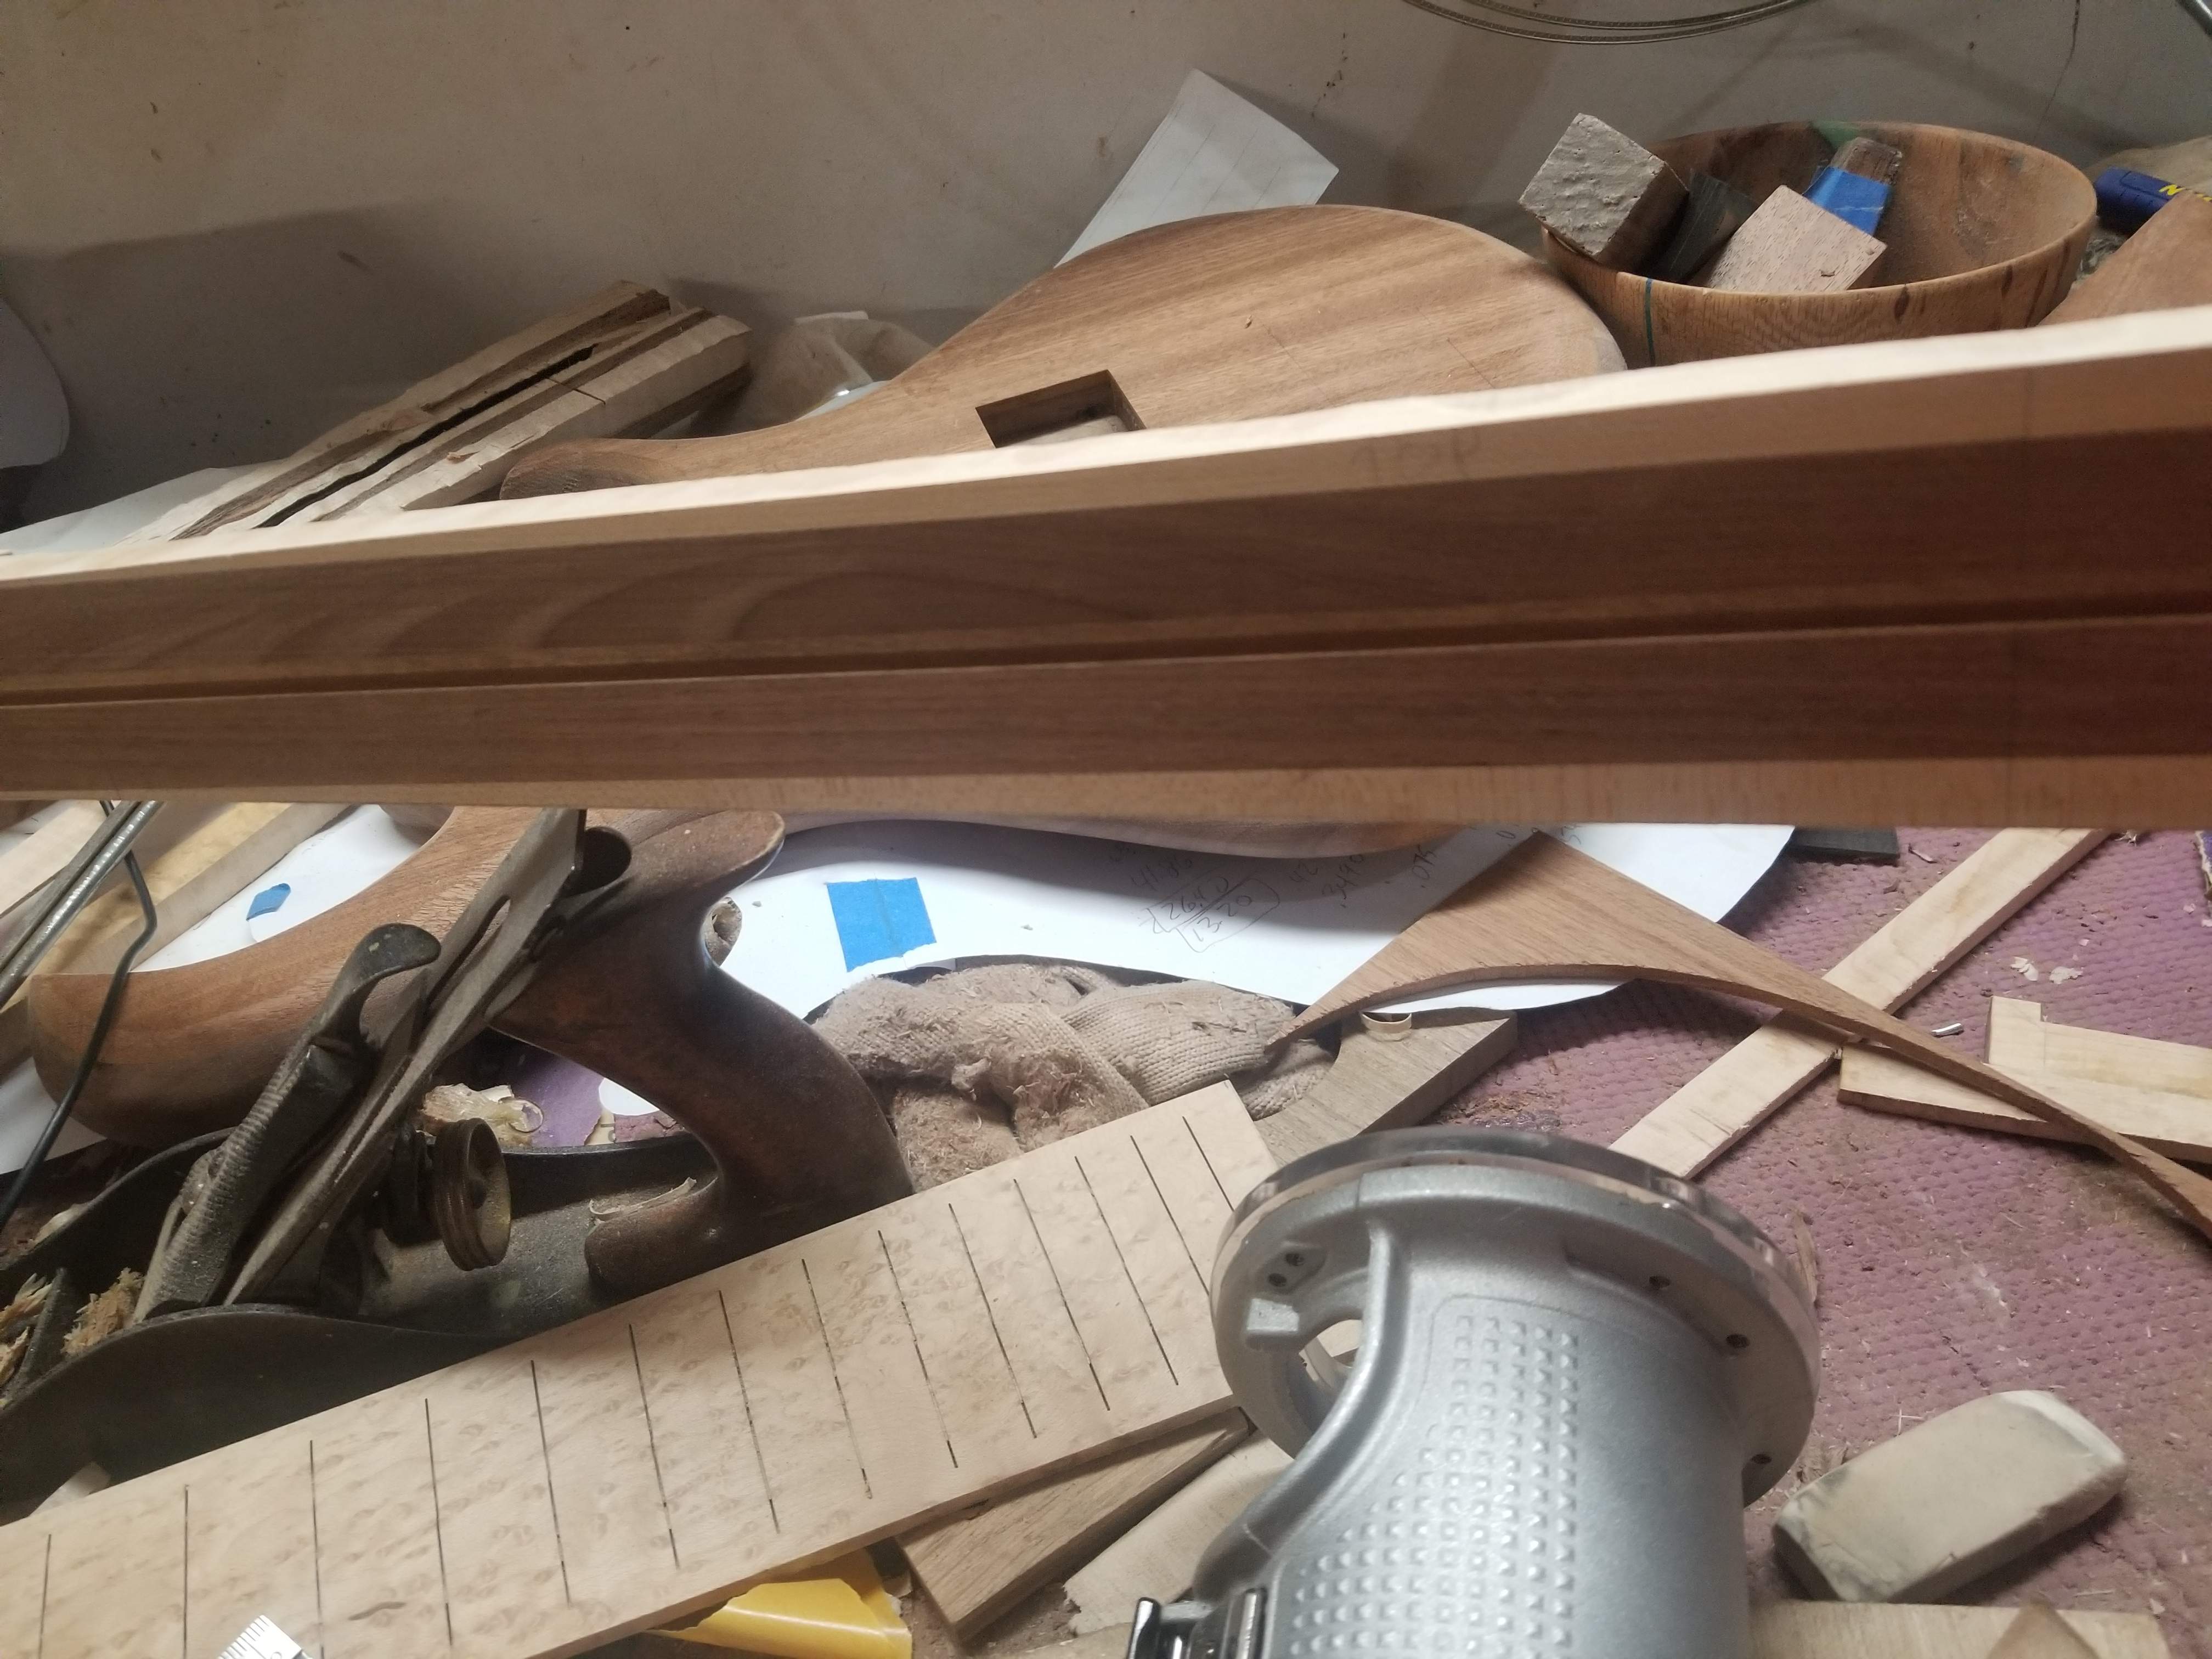
Anyway, this morning I got a solid hour in the shop. I re-measured everything and cut the tapers on the fretboard and neck blank. I sanded in the radius on the fretboard then sanded and polished it, and yes this is a cool piece of birdseye maple. It's still a bit wider than is needed.
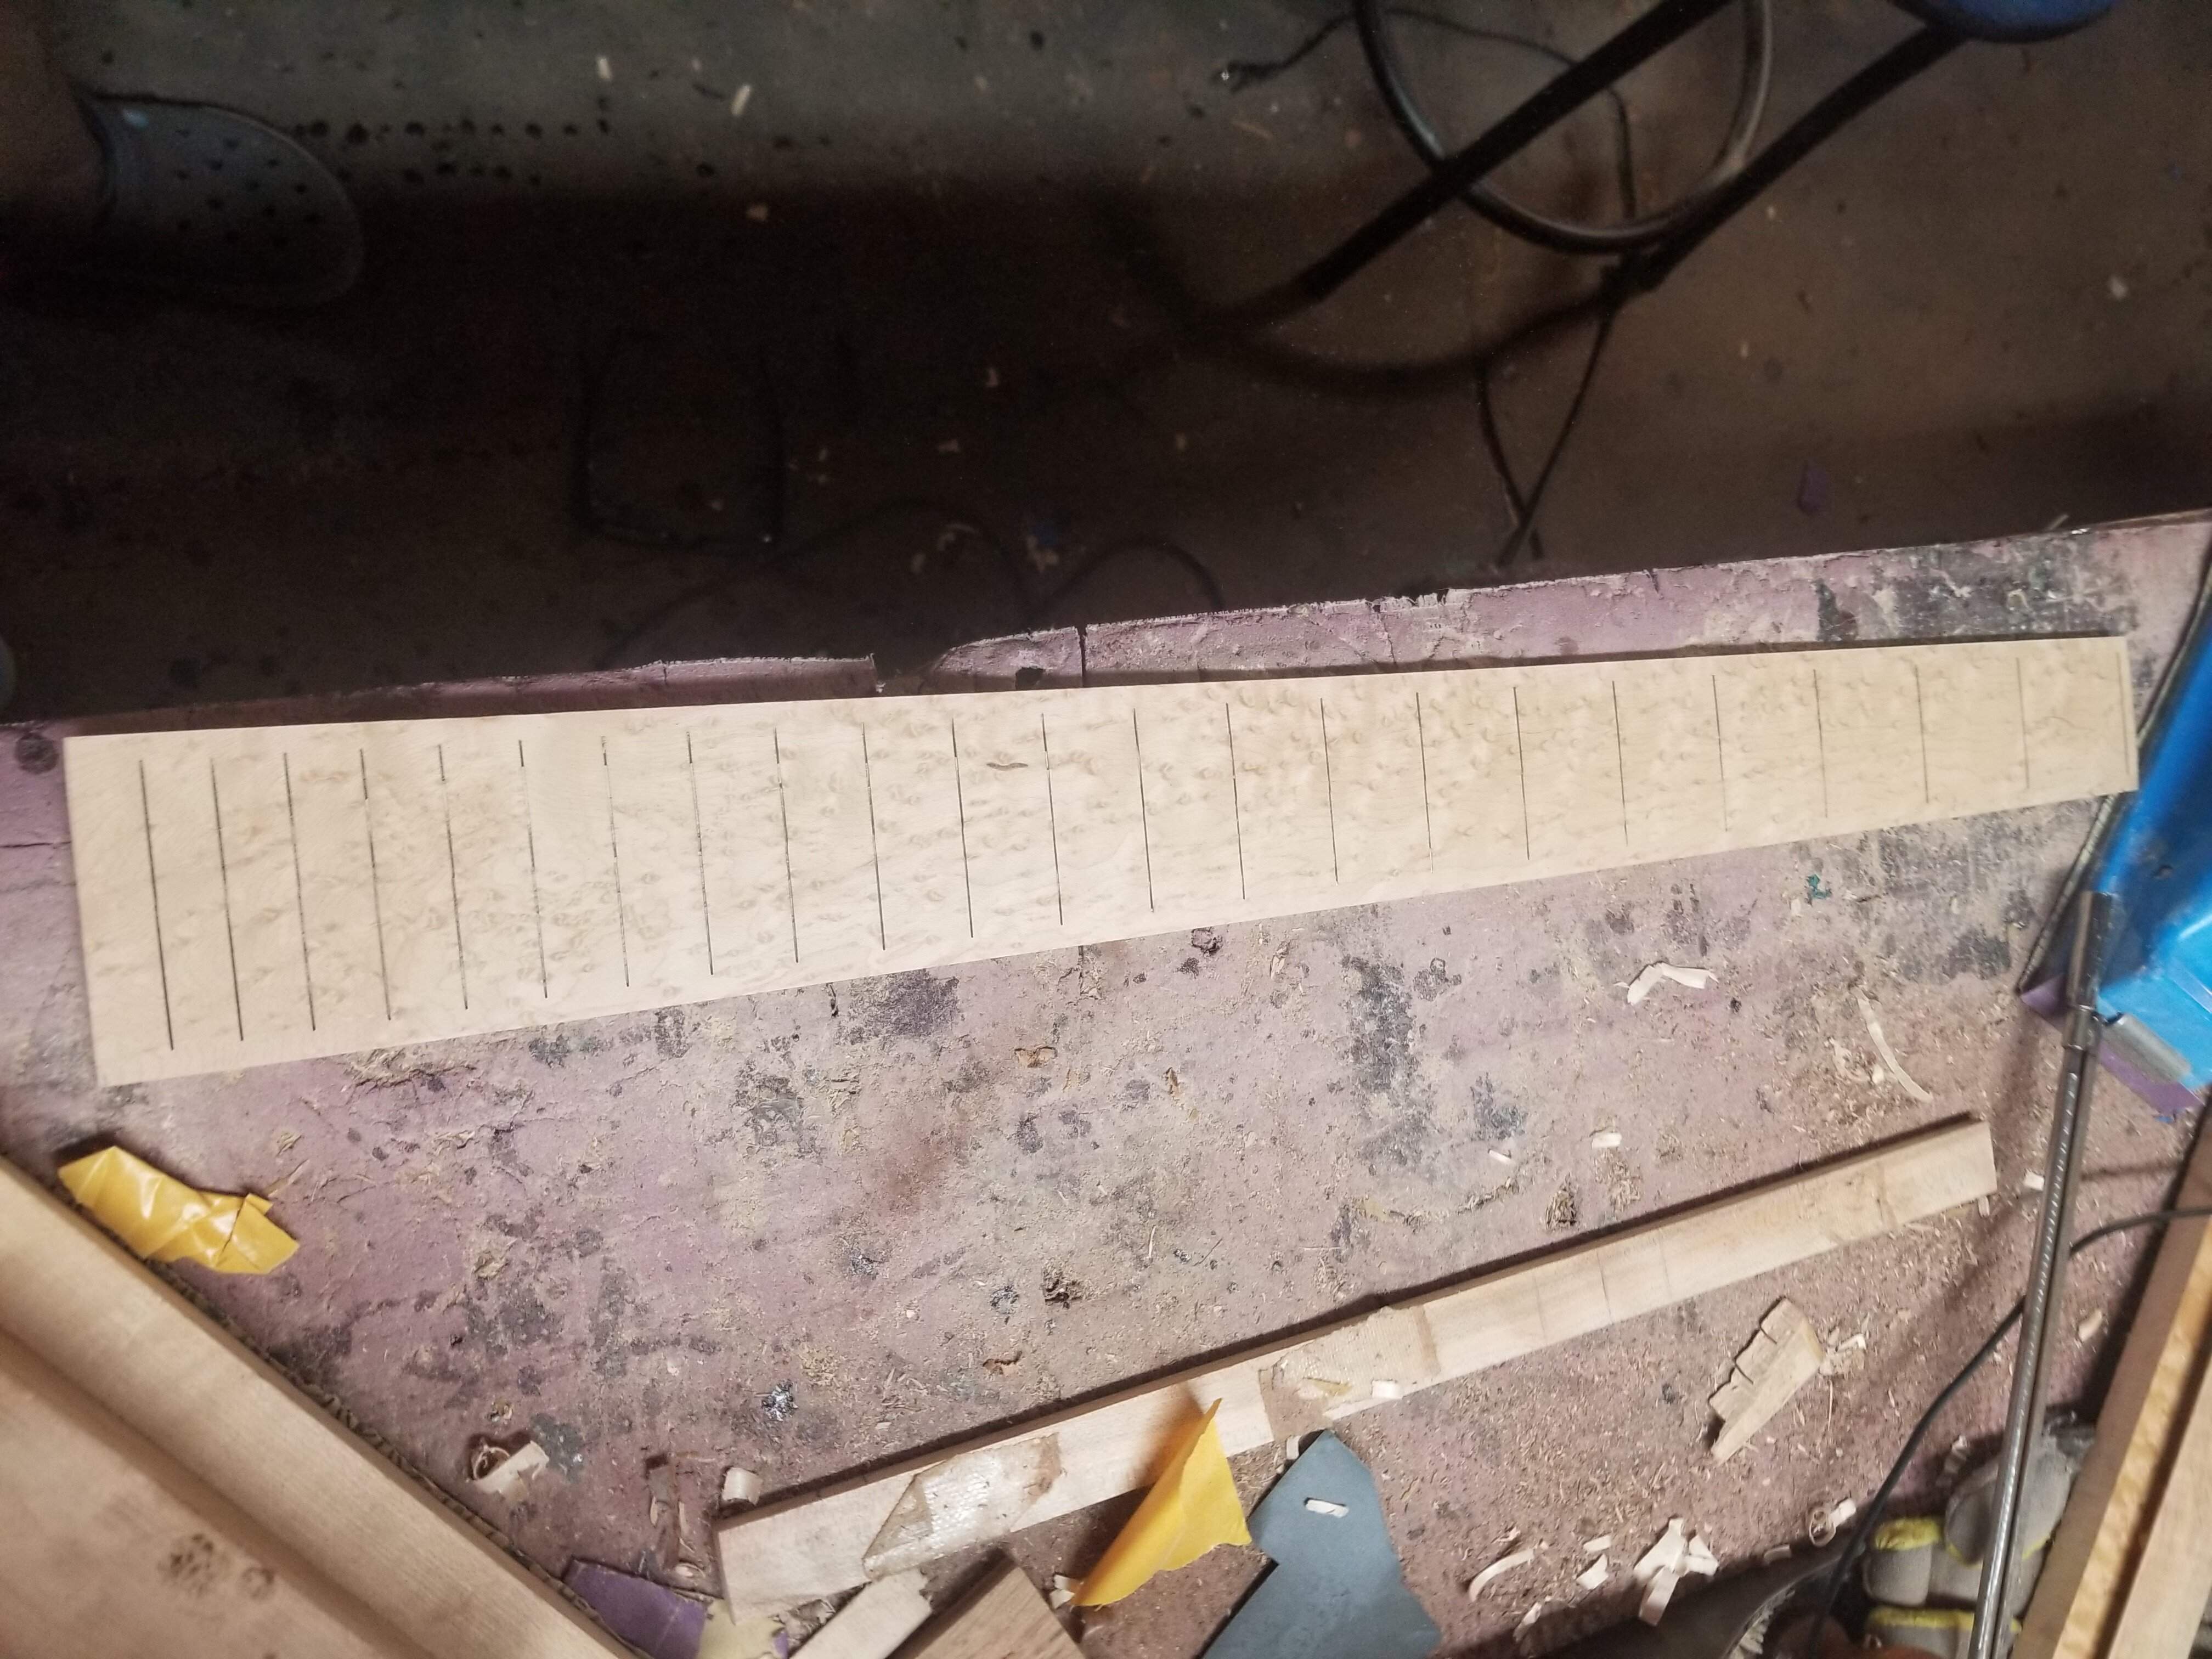
20220502_083620.jpg

20220502_083532.jpg


I was watching a video yesterday where someone time lapsed a truss rod install with a the adjustment down on the body side like I'm doing here. Instead of drilling out the end he cut a slot and put some ebony in the end with a hole in it. I've done something similar on headless basses (on the other end of the neck). On the last neck for this instrument I just drilled the hole, it came out perfect. This time the drill blasted the end of the neck apart, so I got to cut a slot and install a piece of ebony. It looks great, let's just pretend I planned it like this. Next time I'll do this work with the CNC and save myself some time.
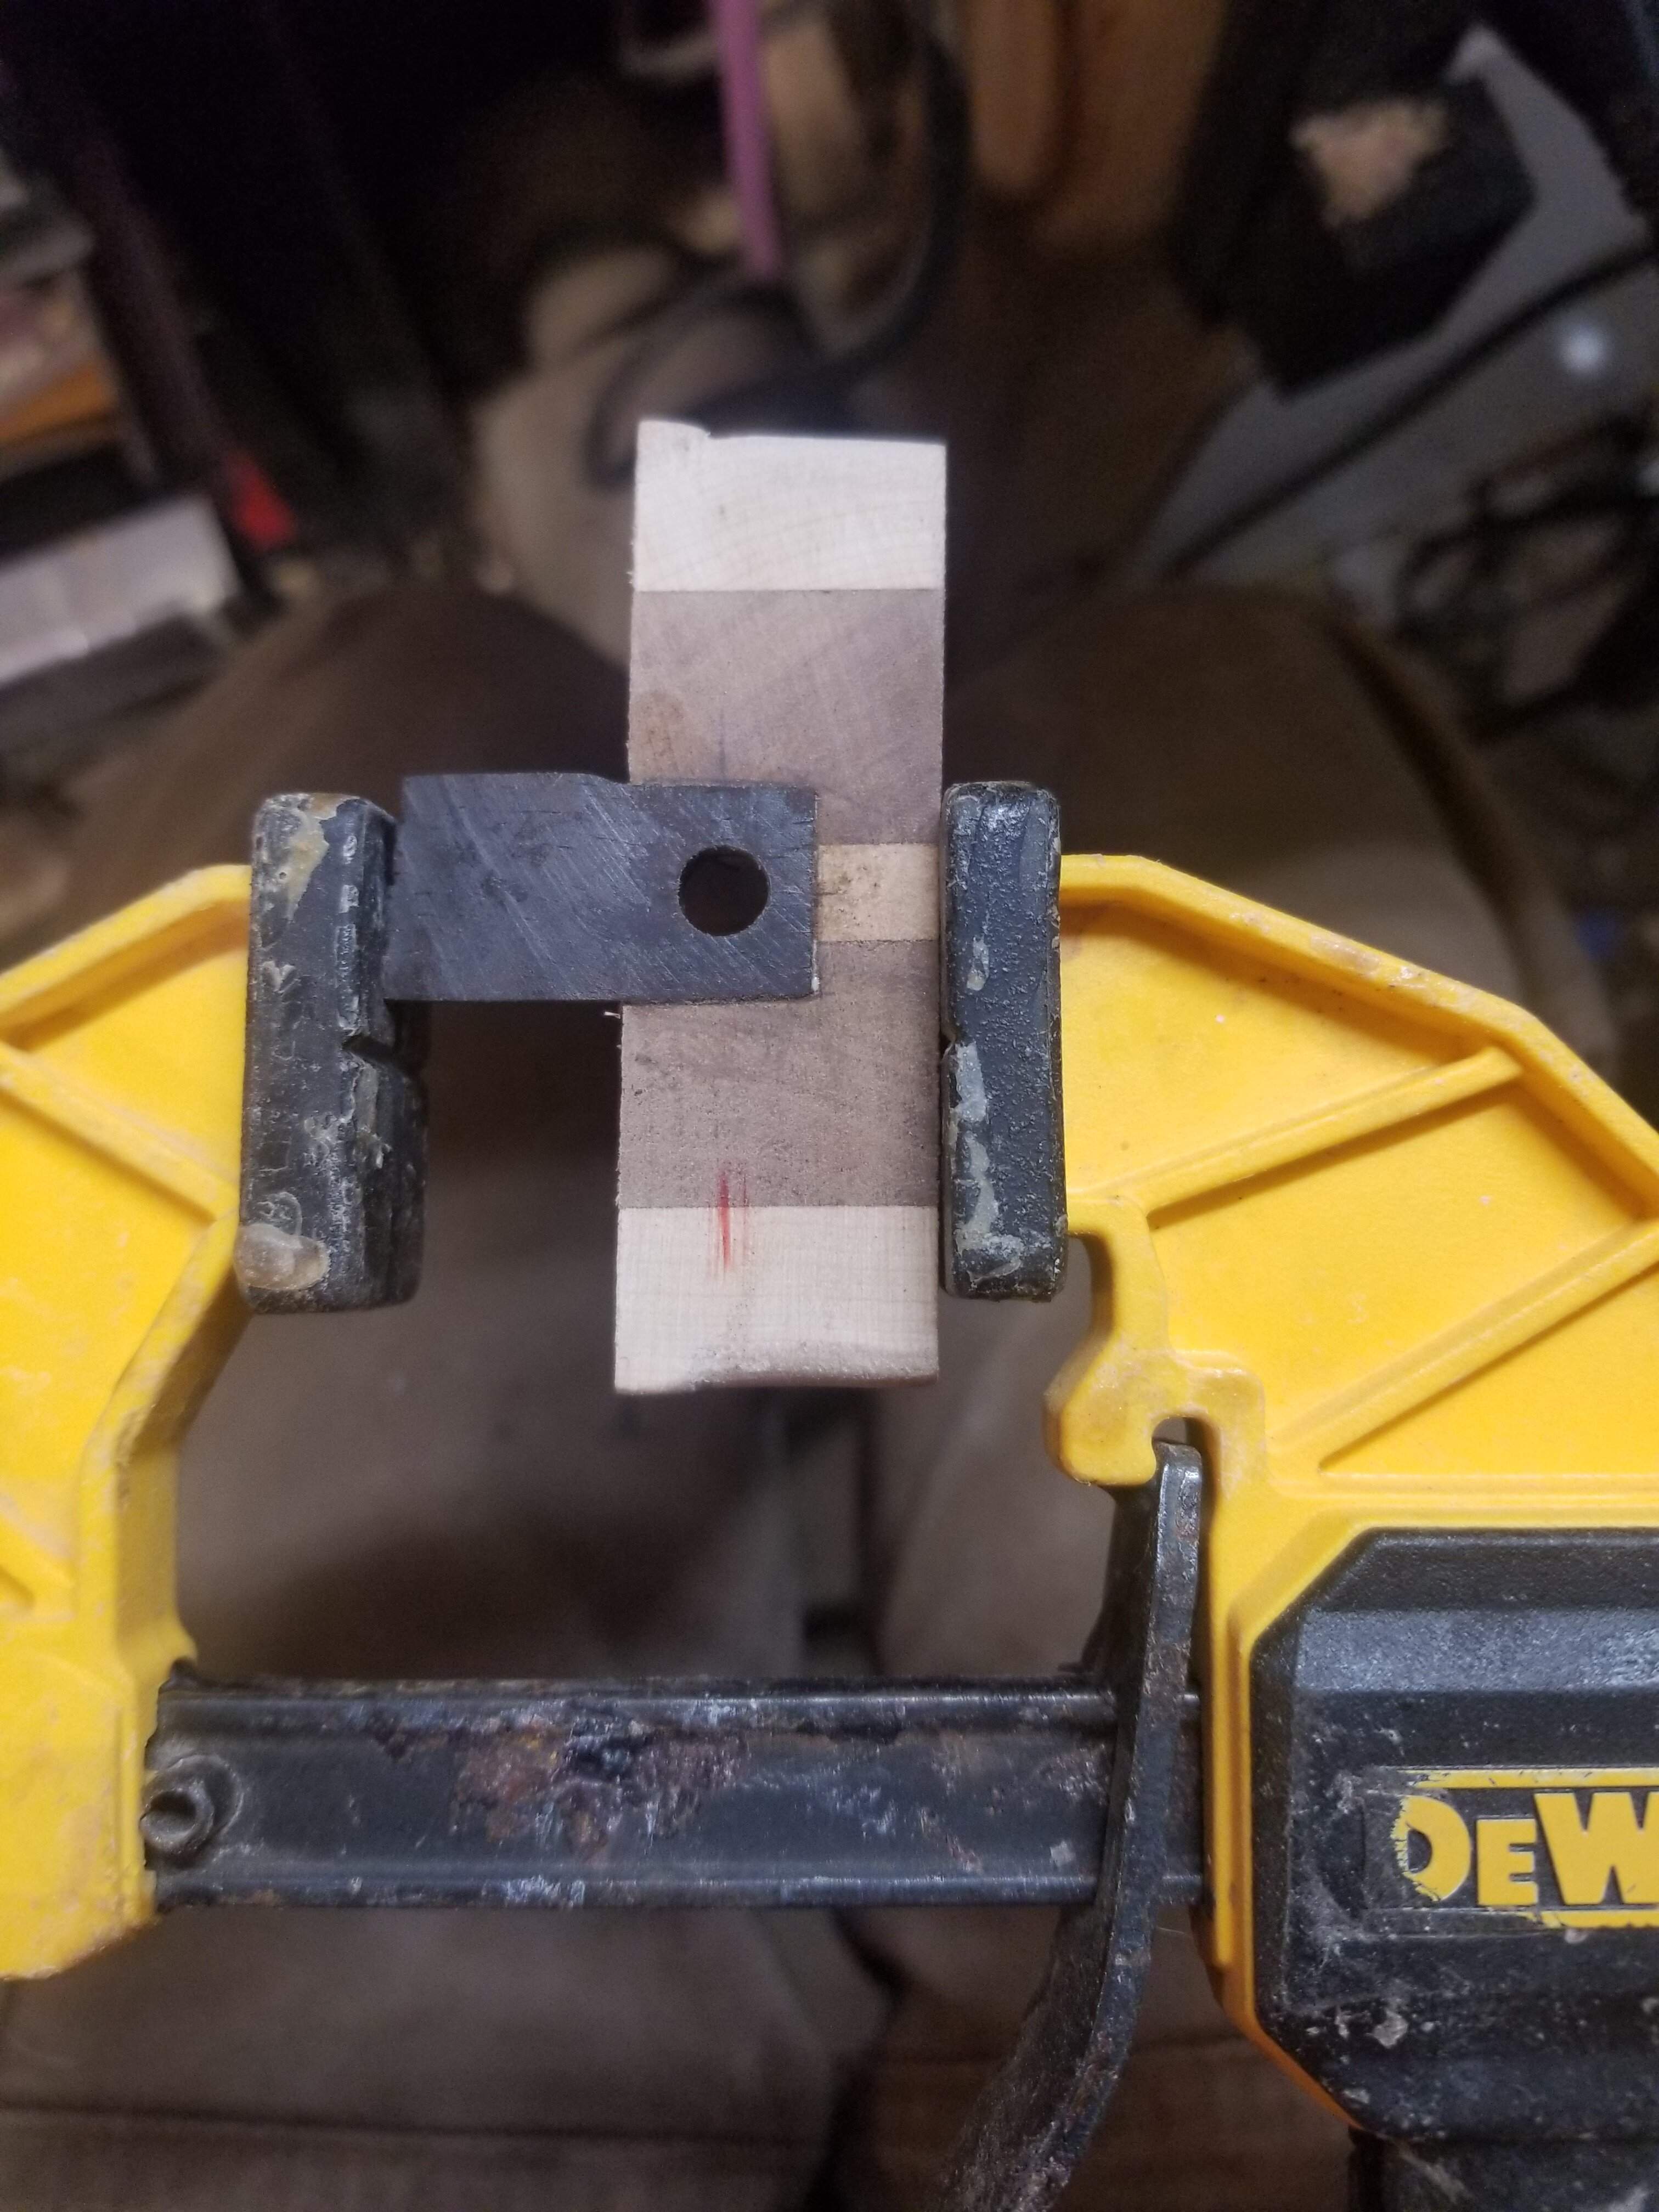
20220502_083523.jpg
 
I got the fretboard glued to the neck blank this morning. Nothing serious to report - I used the "old bike tube" clamping method once again.
20220503_073705.jpg

I then went back to work on the body, I recall saying somewhere that I was 90% done with the body, perhaps true from a shaping perspective, vastly overstated from an overall perspective. Both horns were poorly formed, a bit more work there, but getting close. I got the rear cover sanded flat, I need to work on the pickup cover a bit.

The seller sent me some new tuners to use - the first ones he sent are just regular Schallers, these new ones are Da Vinci Schallers, I've never seen these before, very cool looking - there's a clear plastic cover over the gear.
Screen Shot 2022-05-03 at 10.12.38 AM.png
 
Last edited:
The tuners have two small pins that sit in holes to keep it from rotating, rather than a screw from the back. That adds a level of difficulty in that you have to get those two holes in the right spots. I'll have to make a jig or something. Not a huge deal, but a bit harder than the normal ones.
 
A couple of pics of the tuners with weights in both global weight
20220504_090535.jpg
And freedom units (hells yeah!)
20220504_090526.jpg

and here's a pic of the two pins on the back, I've seen tuners with one pin, but never one with two.
20220504_090550.jpg

I got the neck out of the "clamps" and did a test fit. I checked string paths, looking good. This new fretboard is sweet as well. The maple of the neck blank matches the color of the fretboard nicely, that's always a cool look. I am really trying not to think of things in terms of doing it a second time, but I'm almost back to where I was :-D. I got the tangs cut off all the frets and got them filed on about half of them. Should get to install frets tonight, I hope.
20220504_075356.jpg
 
The tuners have two small pins that sit in holes to keep it from rotating, rather than a screw from the back. That adds a level of difficulty in that you have to get those two holes in the right spots. I'll have to make a jig or something. Not a huge deal, but a bit harder than the normal ones.
Can't you just drill the hole for the tuner post, drop them in the hole, get them all lined up properly and then press them against the back of the headstock so the pins cause a small dent? That dent would then be your center-point, no?
 
  • Like
Reactions: Beej
Can't you just drill the hole for the tuner post, drop them in the hole, get them all lined up properly and then press them against the back of the headstock so the pins cause a small dent? That dent would then be your center-point, no?
That might work, I think that given the length of the pins, I won't be able to engage the nut on the front. The tuners might be too loose in the hole to place them all, stand back and check orientation. More to come once I start to work on the headstock.
 
  • Like
Reactions: TerribleTim68
Can't you just drill the hole for the tuner post, drop them in the hole, get them all lined up properly and then press them against the back of the headstock so the pins cause a small dent? That dent would then be your center-point, no?
I did that with some Sperzel(?) tuners with a pin on the back. It turned out that my ability to keep the tuners aligned properly while pressing them and then accurately locate the drill in the centre of the relatively large and ill-defined dent was not up to the task. YMMV.

RichterScale's idea is good. Or just lay it all out on paper and mark the centres through the paper.
 
I will likely make a template, I'll put a mark on the tuner and line it up with a mark on the template. I'll do some tests. I don't trust a CNC model to look good IRL, I'll obviously use CNC to cut the holes for the tuners.

I guess I haven't posted in a few, somewhat productive, days between morning, lunch and after work sessions. I got frets installed, ends kind of done (I'll clean them up later), I carved the neck and got the brass inserts installed for the neck attachment.

I'm pretty excited at how this thing is looking. It feels pretty awesome to "pretend" play, it will only get better from here as I dial it in.
20220505_152122.jpg
20220505_152114.jpg
 
I spent some time cleaning up the back this morning then moved onto the headstock design. I designed it in CAD, I'll cut the holes and the slot for the nut out of a test piece then design what the actual headstock will look like. I guess I could design that in CAD, and maybe I'll try it out, but IRL works better for that kind of thing with me. Once I get this decided I'll glue on some wings and work out the laminate for the front (and maybe back too). (the two small rectangles on the upper left were just used for measuring inside the tool, kind of annoying this tool doesn't have a ruler, so this is a bit of a hack)
Screen Shot 2022-05-06 at 9.03.42 AM.png
 
Here's proof of my IRL comment above. I ran the above CAD on the CNC (oak), the tuner spacing looks fine and just fits on the amount of headstock I have on the neck blank. I compared it to a Keisel I have here and it's similar spacing (34" scale). When I held it up to the body, it's out of proportion, way too big. I moved all the tuners closer together and this looks much better. I'm not sure I'll ever get to the point where I can do that on a screen and have it make sense. I guess if I had the whole instrument on the screen I could see it. I guess it's really not that much of a difference, but it looks a lot better.
20220506_130702.jpg
 
I didn't take any pics, but I got the fret ends all set and got the board taped off for leveling.

I made a quick template on the CNC for the hex key access to the truss rod adjuster and routed it out. I could have just put the body in the CNC and done it directly, but I don't trust I'd get everything lined up perfectly. This was just safer.
20220507_085830.jpg

This buyer has been bugging me (ha!) about branding my instruments, it bothered him that my last one didn't say my name anywhere on it. I really have been procrastinating doing something, but I figured I'd do _something_.

This barely fit with the remaining sapele scraps I had, I mean just barely. I cut the holes on the CNC then did the rough cut on the scroll saw.
20220507_084514.jpg

I took a piece of tiger maple, cut my name in script, cut out a circle on the CNC, then filled it with epoxy. I'm sure this won't be what I put on every bass going forward, but it doesn't look that bad.
20220507_172410.jpg

tomorrow morning I'll level the frets and get moving on doing final scraping/sanding on the body.

The buyer just asked if I could dye it purple. I'm not sure if that would work or not on sapele. I know it's thirsty wood, so I imagine controlling the darkness of the color might be tough - not to mention the natural color of the sapele is pretty dark just by itself when the oil hits it.
 
....The buyer just asked if I could dye it purple. I'm not sure if that would work or not on sapele. I know it's thirsty wood, so I imagine controlling the darkness of the color might be tough - not to mention the natural color of the sapele is pretty dark just by itself when the oil hits it.
I would suggest against it. The wood is too red. Purple is gonna come out weird looking over such a red wood.
Derek over at Big-D has some good videos where he talks about choosing stain colors based on wood color and his suggestion is basically to use orange and red tones over a wood like sapele and DO NOT use blue and green tones over it. The blue and green tones (including purple) work over more white colored wood. It sounds pretty basic, but it makes sense to me.

Your other option is to try it on an off cut first. But my guess is it isn't gonna work very well because the red in the sapele will alter the color of the purple and it's just gonna look muddy and weird.
 
A bit of a hang up(?) in the build - the buyer found a cool walnut burl top and wants me to swap from sapele to walnut. In some ways planing off the sapele pains me, it is a nice top, on the other hand, I'm not precious here, and it's not my bass. I'm just about done with the neck and frets, so I'll finish that up and then start working on replacing the top. My plan is to use the sanding planer to remove the top then I'll add a contrast layer (probably thin black laminate) and glue on the walnut. I'll need to cut out the pickup cover piece before I glue it up, getting that lined up will be a challenge.