• TalkBass has been independent since 1998. Add your voice.
    Create a free account to reply to discussions, view embedded media, and browse with fewer display ads.
    Join freeLog in
    Want zero display ads or expanded classifieds tools? Compare plans.

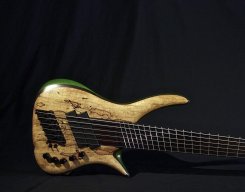
Six string spalted maple, fretless, and first build ... kit

I found an epoxy at Home Depot the other day that I'm happy with for coating the fretboard.
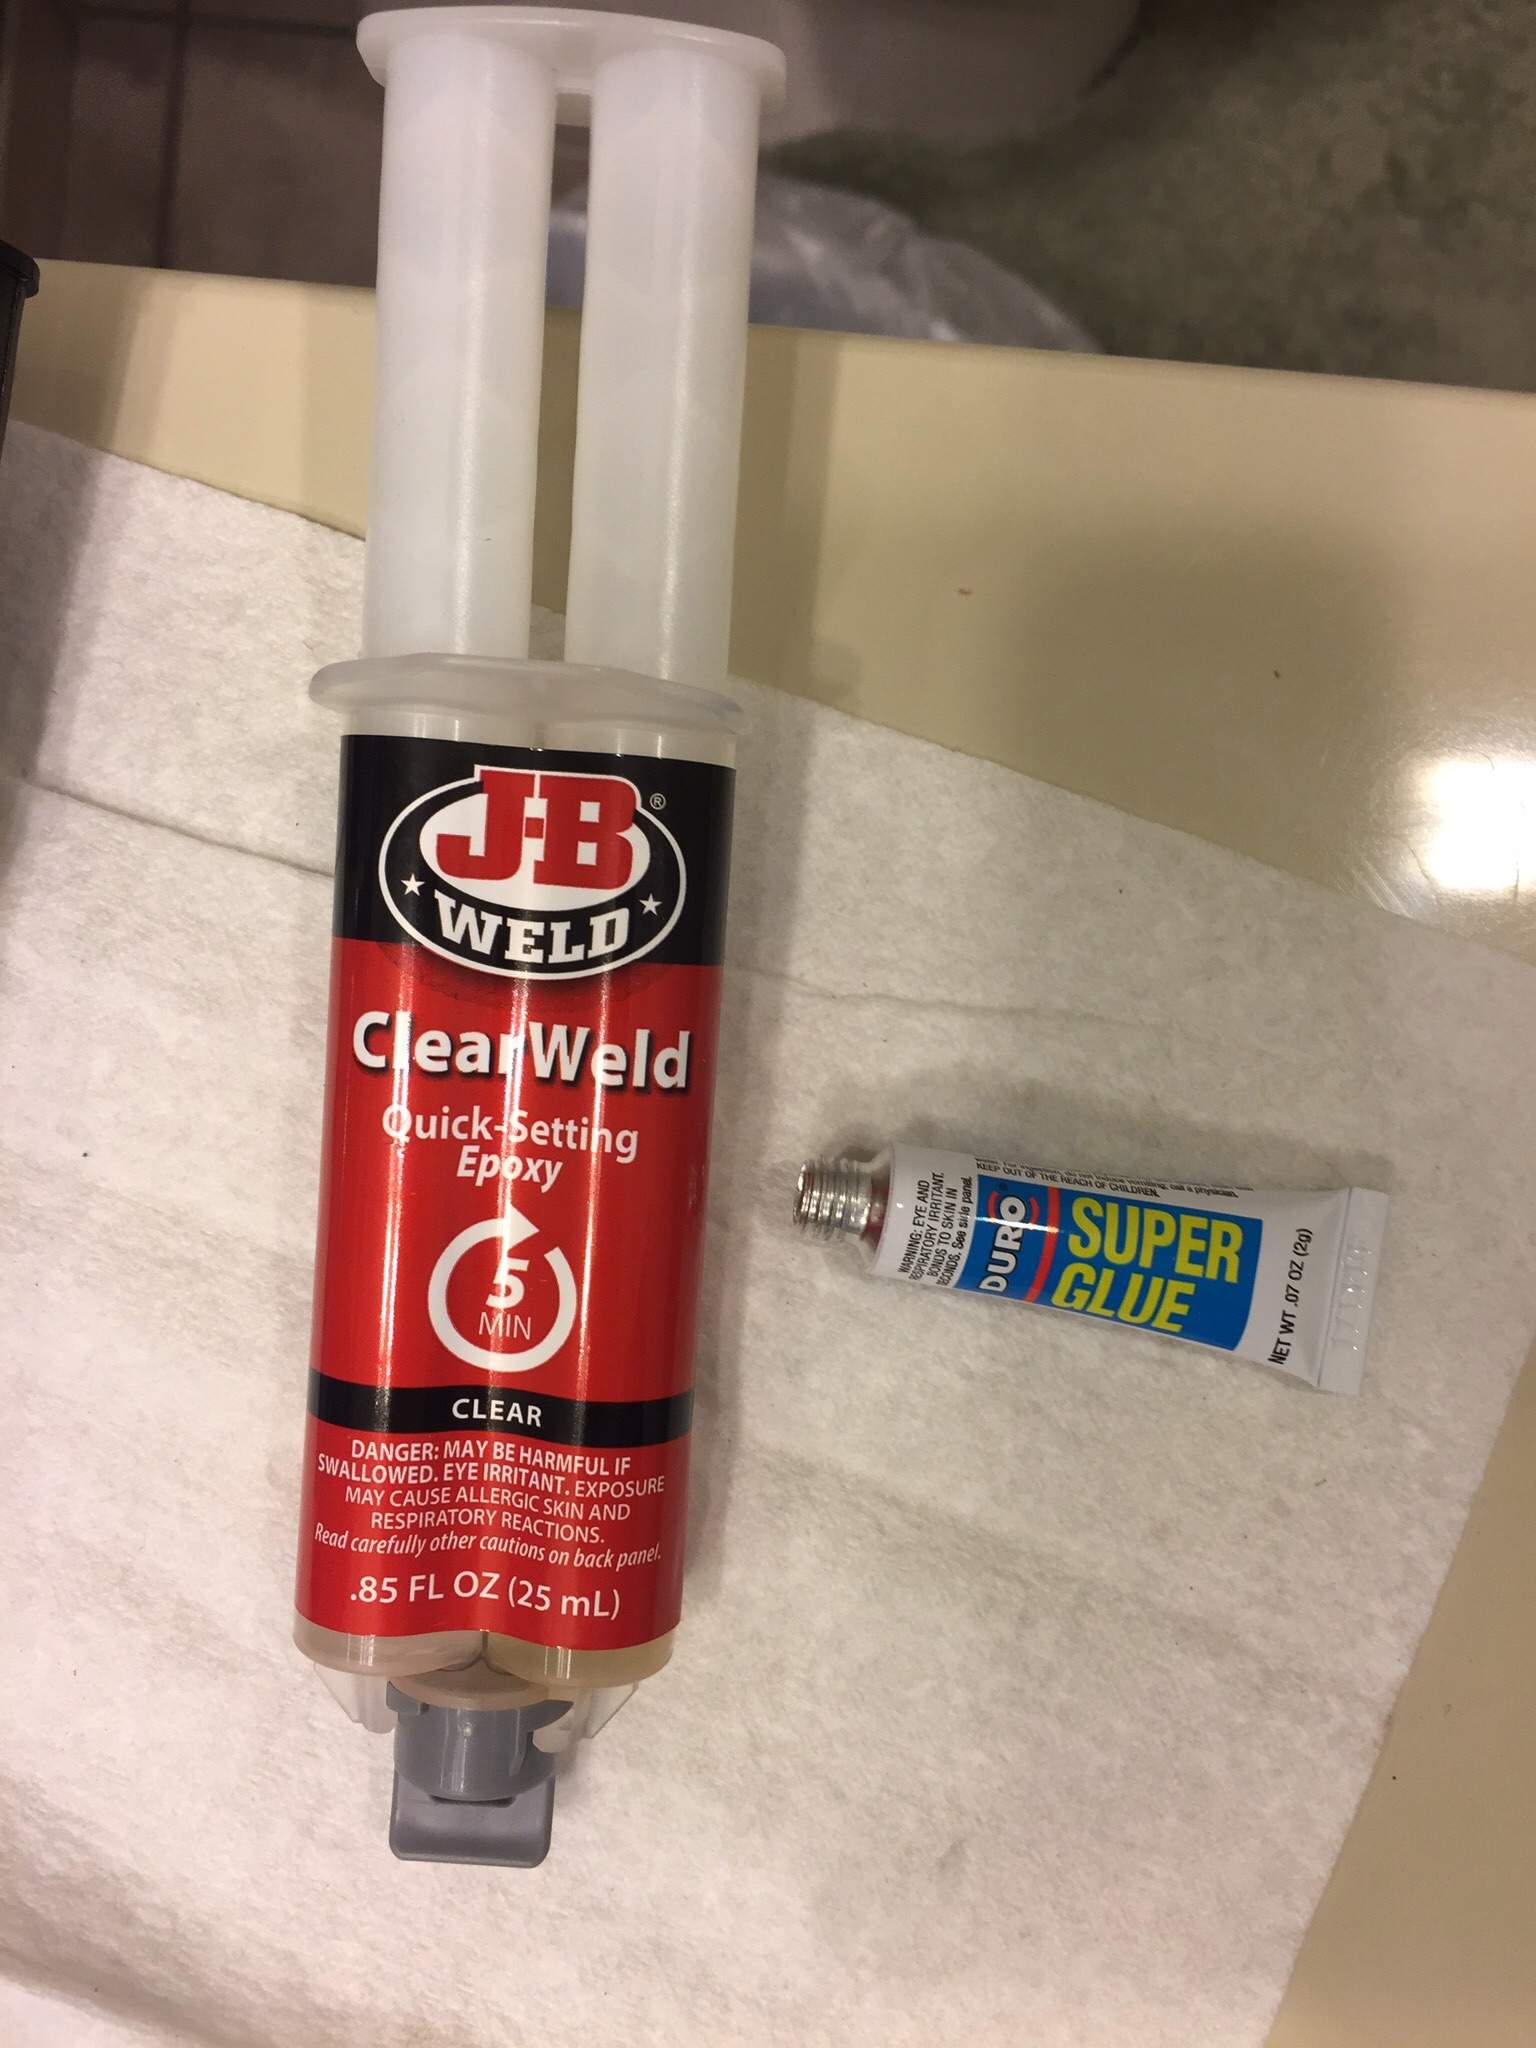
image.jpg


Two coats of the JB Weld epoxy seem to be enough. I've put four on, though, and will let them fully cure for a day or so until I sand it back on my first test neck.

The second test neck from Guitar Fetish arrived, too, and I'm currently prepping it with my coping saw for the veneer testing.

I'll also drill out the inlays on the new test neck this weekend, and try measuring the bridge's position again.
 
I finally got a chance to do some of the tests I wanted to do before my vacation trip starts on Friday.

First, I tried removing the diamond inlays on my new test neck. They didn't come out easily. I'm glad I didn't try this before removing the inlay dots on the actual fretboard, or else I would have never wanted to try replacing the white dots with rosewood epoxy.

image.jpg


But, this was good enough for my testing purposes. I used the slow StewMac epoxy and their rosewood filler to make a paste, resembling chocolate syrup, to fill the holes I drilled.

image.jpg


The largest smear is from a problem I had actually getting the epoxy mix to stay in the drilled hole. I'm not sure why I had a problem with it, and not the other holes (which I filled first).

I'm going to let that set for a full day before sanding back the excess. I wanted to test glueing the veneers in the fretslots, but I need to re-saw them. That'll wait until I return from my trip.

Last night, I catalogued and measured all of the holes I'll need to drill, and drilled them in my test piece of basswood.

image.jpg


There was some tearouts, but I'm not that experienced with the drill, so I'll practice some more. I'm happy with what I have done, though.
 
  • Like
Reactions: vmabus
Things are going... slowly. I let the epoxy test settle while I was away for a week over New Year's, and I didn't like the results. I also wasn't happy with the testing of the veneers in the fret slots. The blue didn't stand out enough from the rosewood.

I was feeling discouraged after that, and added up all my costs and expenses for the project. It was about $1300, or almost what a similarly-equipped Carvin would have cost me. I chose to build a kit partly because I couldn't afford a Carvin outright, but over three months have spent nearly the cost of one and I still don't have anything built.

My wife, awesome as she is, told me to put the neck testing aside for now and focus on the body. I need to place the bridge, but I practiced drilling the holes for the bridge and ferrules successfully, so I feel better about that.

I'm going to need to drill a control cavity hole for the coil tap switch, but I don't know where to drill it yet, and need to seat the knobs before I can decide. But, I can't set the knobs until I route out a little more room for the Pope preamp. So, tonight I bought a Forstner bit set. I'm excited to try them.

Sorry no pictures in this long-awaited update. Things are moving along, slowly.
 
  • Like
Reactions: jg42 and vmabus
That's hard - I wish I had a better command of the English language to be able to dredge up words that would encourage you. My own experiments with fret lines took a lot of trial an error to find something that worked well for me, but I am confident that you will be able to find a system and color scheme that works. It seems to me that the way you are approaching the build will result in an excellent instrument, and I can sympathize with the discouragement you are feeling at the setbacks.
 
Thanks for the kind words.

I think I'm biting off too much with the blue and rosewood veneers. The rosewood veneers are actually thicker, and more brittle, than the blue ones, so I am considering just using blue on all fretlines.

If I do that, I might get some Paua abalone dots from LMII for the position markers, but I'm afraid they might clash with the blue I'm using on the body stain and veneers.
 
Over dinner tonight, I talked it over with my wife, and then quickly placed an order with LMII.

Here's the new fretboard plan:

Blue veneer lines on all frets, with green lines for the 12th and 24th frets (maybe more, based on how they look). I also ordered the Paua abalone dots, as well as yet another fretboard on which to do my final (?) tests.

It seemed ... excessive to spend $17 for a 3' long sheet of veneer from which I'm literally only going to use about 1/2", but it'll be worth it if it looks good with the blue and Paua abalone.

I feel a lot better having decided that.
 
Over dinner tonight, I talked it over with my wife, and then quickly placed an order with LMII.

Here's the new fretboard plan:

Blue veneer lines on all frets, with green lines for the 12th and 24th frets (maybe more, based on how they look). I also ordered the Paua abalone dots, as well as yet another fretboard on which to do my final (?) tests.

It seemed ... excessive to spend $17 for a 3' long sheet of veneer from which I'm literally only going to use about 1/2", but it'll be worth it if it looks good with the blue and Paua abalone.

I feel a lot better having decided that.

Love reading all these posts, particularly the ones where things didn't work initially but that ultimately resulted in a taylor-made solution. I'm about to start my first build (fortunately it is an actual course so there'll be someone at hand to consult with) and am reading as much as I can.

To the point: have you considered Luminlay fret lines? They're not cheap but might be an option: [Invalid or Expired Link Removed], about 1/3 down the page.

Regards,
Michael
 
To the point: have you considered Luminlay fret lines? They're not cheap but might be an option: [Invalid or Expired Link Removed], about 1/3 down the page.
Sigh. I wish you hadn't shown me that. ;) The blue looks perfect.

However, I'm sticking with my plan. I've invest too much time and money on my current idea to ditch it for something expensive and risky.
 
I just had an absolutely stupid/brilliant idea:

Could I apply a long, continuous sheet of veneer atop the fretboard, and solve all of my problems? I have enough rosewood (and blue) veneer to easily cover the fretboard.

Has anyone done this before? It can't be any harder than gluing and clamping, right?
 
I did a quick test of my idea and it's feasible, but I'm not changing my plans. I'll use the blue veneers on all fretlines but 12 and 24 will be green.

Progress continues. I finally measured the bridge placement:

image.jpg


I also finalized the drill bits I'll need for enlarging the knob holes, and making the additional switch hole. I'm still not fully capable of drilling completely clean holes, but at least these will be mostly covered by knobs, so I have some leeway. If I'm ambitious enough, I might drill them this weekend.
 
OP. Dont want to derail but i have a question about this Pitbull kit that others watching this thread might be interested in knowing as well.
How thick is the spalted top? Is it like a thin veneer that conforms to the curvature of the body or a thicker cap that is actually carved a bit? I was assuming the former but it's hard to tell.
 
OP. Dont want to derail but i have a question about this Pitbull kit that others watching this thread might be interested in knowing as well.
How thick is the spalted top? Is it like a thin veneer that conforms to the curvature of the body or a thicker cap that is actually carved a bit? I was assuming the former but it's hard to tell.
It is a very thin veneer. I'm going to be very careful when sanding so I don't go through it.
 
Eureka! It took a while, but I finally figured out how to coat the fretboard after setting in the veneer lines. I used the medium Hot Stuff CA super glue (Amazon link) and just dropped a bit onto the fretboard, smeared it around with the back of sandpaper, and let it dry for 15 minutes. I buffed it a bit with steel wool and cleaned it with a cloth.

IMG_1528.jpeg
The test board had gone through hell (I have one more on order to finally test this before moving onto the real thing) and I made a mistake with the coping saw before placing the veneer, which is apparent next to the bottom diamond inlay. There's also a little glue spilled out next to the lines; I have syringes to hopefully apply the glue better.

Is one coat of CA glue enough to protect the rosewood from roundwound strings? I haven't decided if I'll use flats or not on this board, and wanted to coat it so I had the option of using rounds.
 
As an Amazon Associate, TalkBass may receive commissions from qualifying purchases made via links on this site.
  • Like
Reactions: vmabus
The colored veneer he ordered was from LMII, and they are dyed under pressure so that the color goes all the way through the wood.
Yep, and my order of the green veneer and (final?) test fretboard shipped today. Unfortunately, since it's coming from California to Pennsylvania, I won't get it until a week from now.

And, in keeping with the spirit of the build diary, I ordered the replacement stackable knob and some pickup foam today from BBG. I don't know if I'll need the foam, but I probably will, and it was only a few dollars.
 
Are you going to use a radiusing block to do your defret?
I believe the fretboard has a compound radius, going from 12" - 20". I have a 12" radius block, but not a 20" one. Once I confirm that it is compound, I'll get the right block(s) needed for it. Except for pulling out the frets, drilling out the position marker, and doing a quick sanding without a radius block, I haven't done too much to the actual neck's fretboard. All of my testing work has been on test necks and fretboards.

Is the body thick enough for the Pope preamp? The ones I have installed have the wires coming out and pointing at the control cavity cover. If the body is too thin you can't put the cover on. God luck with the build.
I think I'll be okay, but I won't know until I enlarge the pot holes and smooth out the bottom of the control cavity. It's going to be tight, though. If I can't get it to work, I'll find a Plan B.