- May 16, 2009
- 625
- 743
- Disclosures
- Former Manager, Bass San Diego
**For the TL;DR crowd, skip this first post and go on to the fun pics!
So for the sake of brevity in my prologue: My bass isn't terribly fine, but it isn't horrible, and it holds practical and sentimental value to me. So, when it started giving me too much trouble, I decided it should be repaired rather than sold. I was in a place where I couldn't afford the bench time to get it fixed properly, but I had enough for wood, I had tools, I had time since it was off-season for DB music, and I had a measure more ambition than sense (the secret ingredient!).
Whenever I finish a project like this I decide I should have at least some documentation of it, so I took pictures of my workings and decided I'd share them here for anyone interested in doing it themselves or for anyone who even cares to pass the time.
Part I: It All Started with the Action
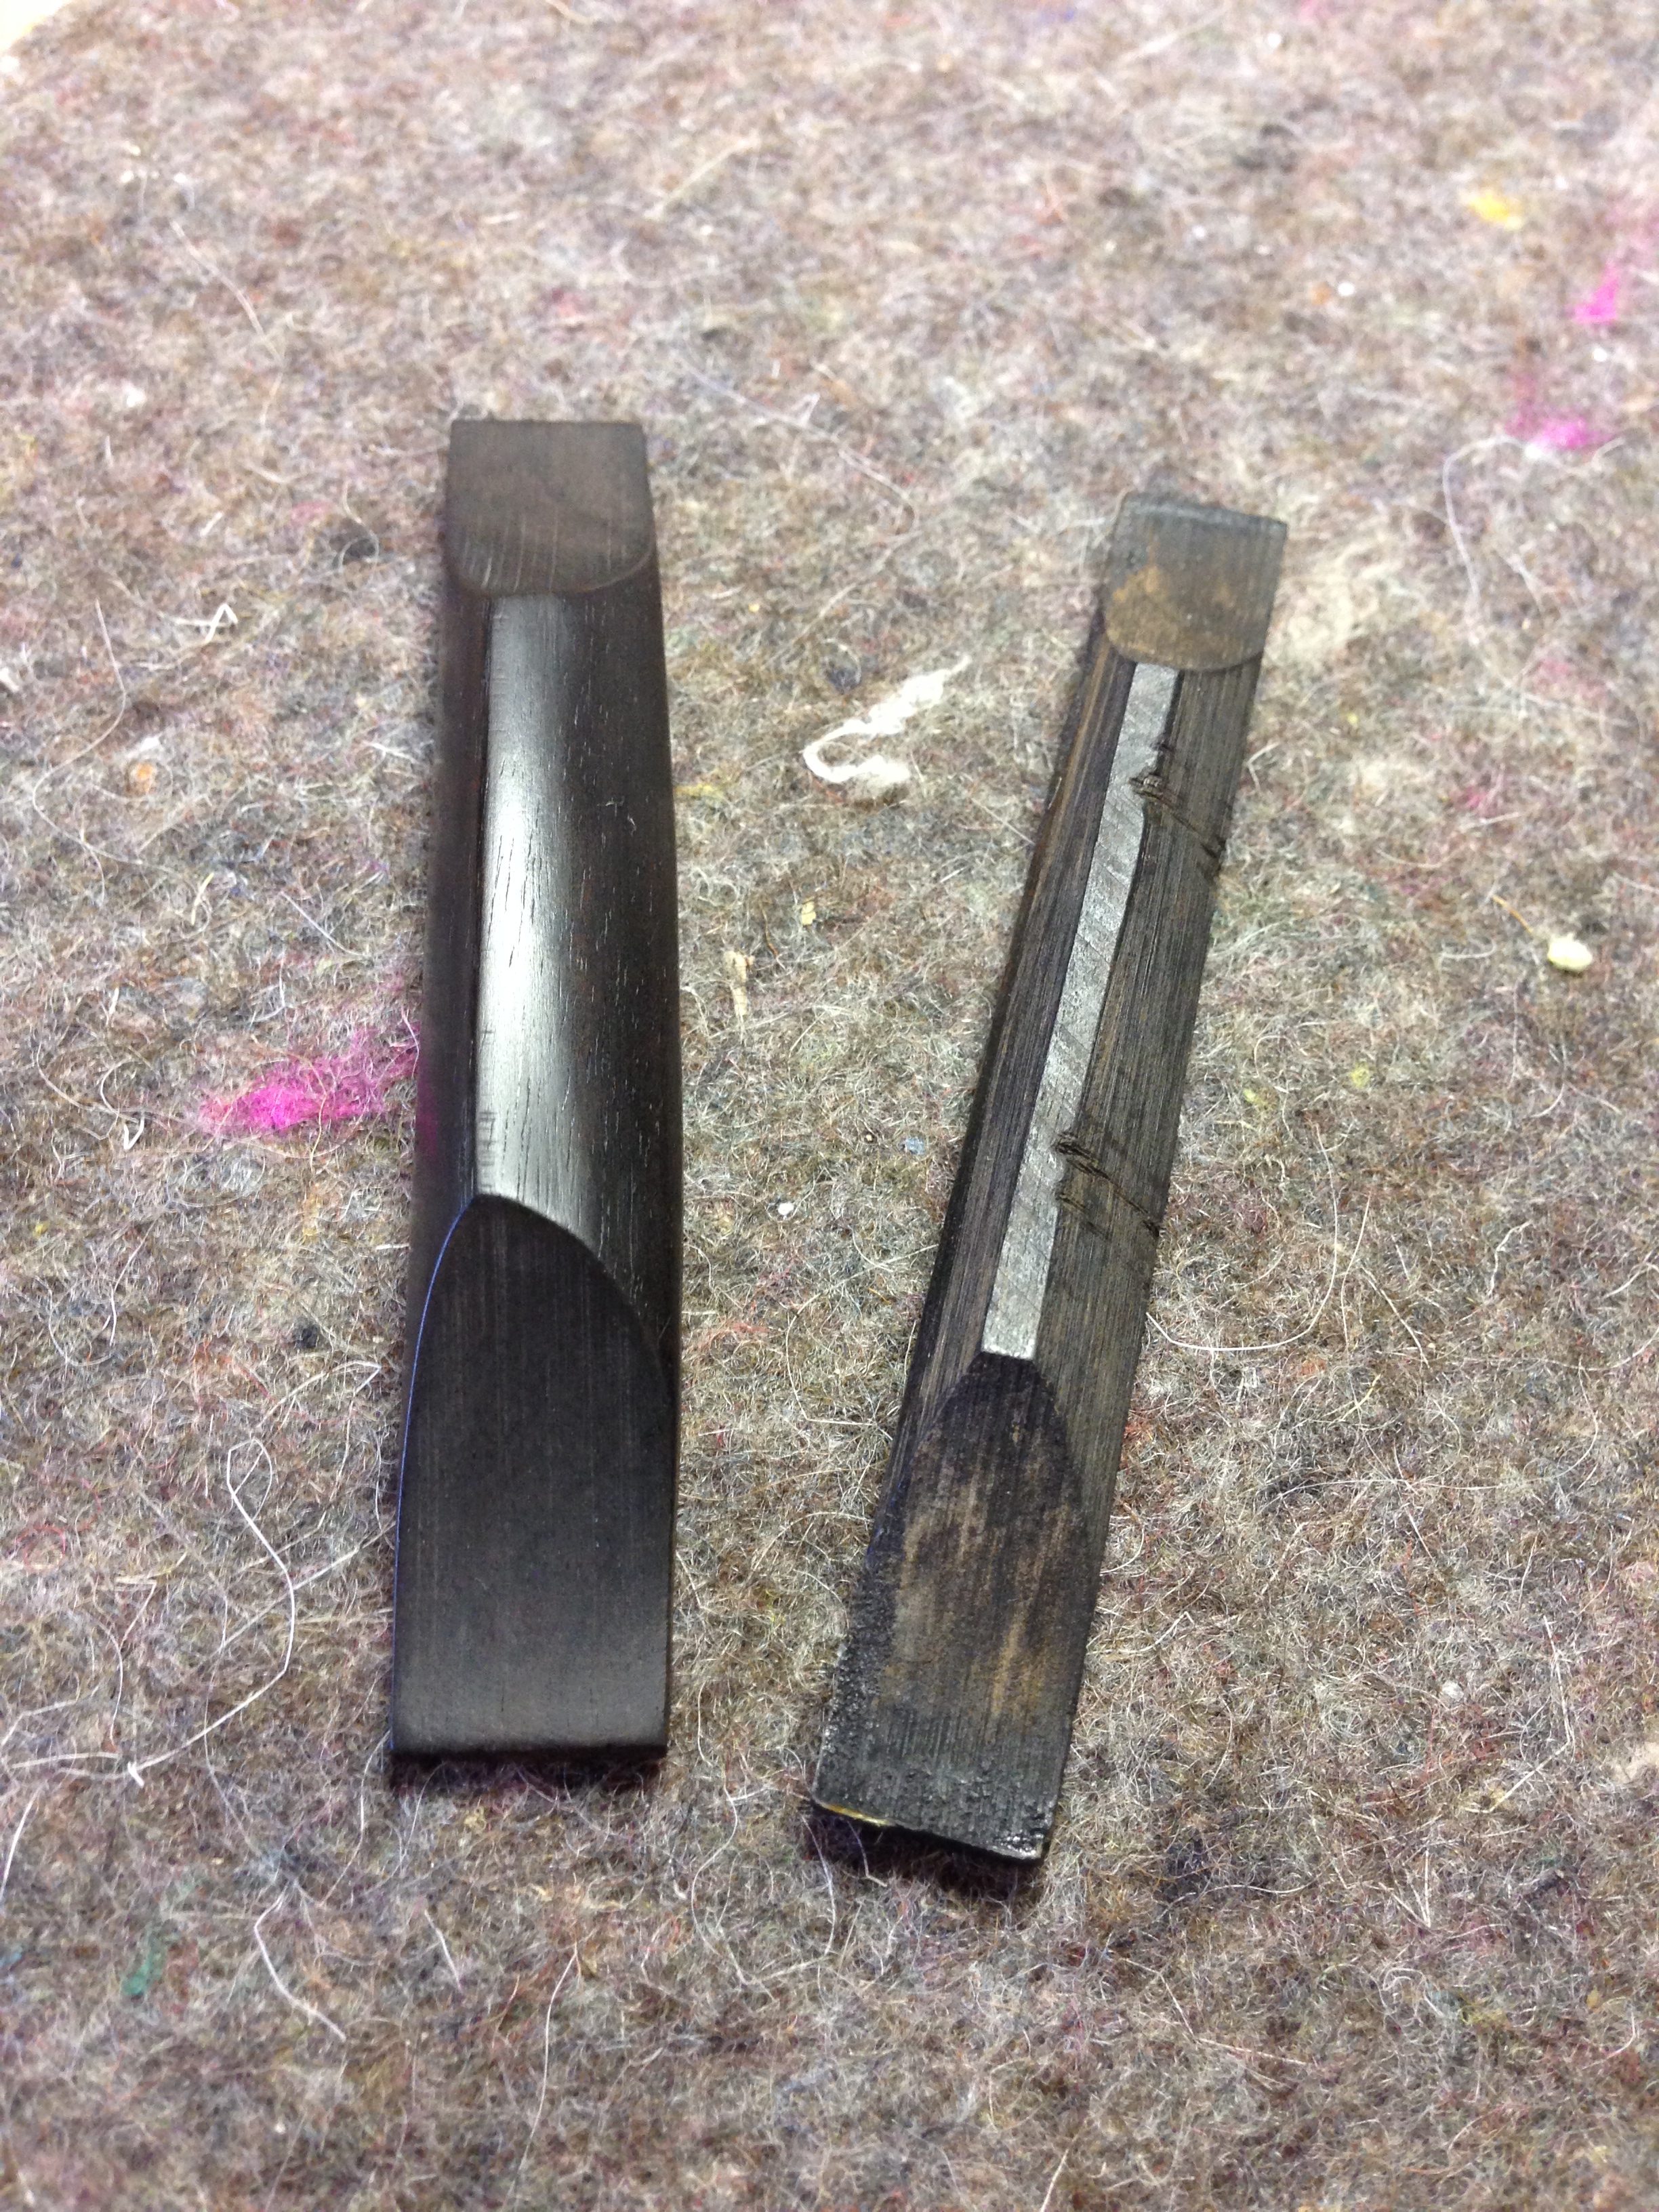
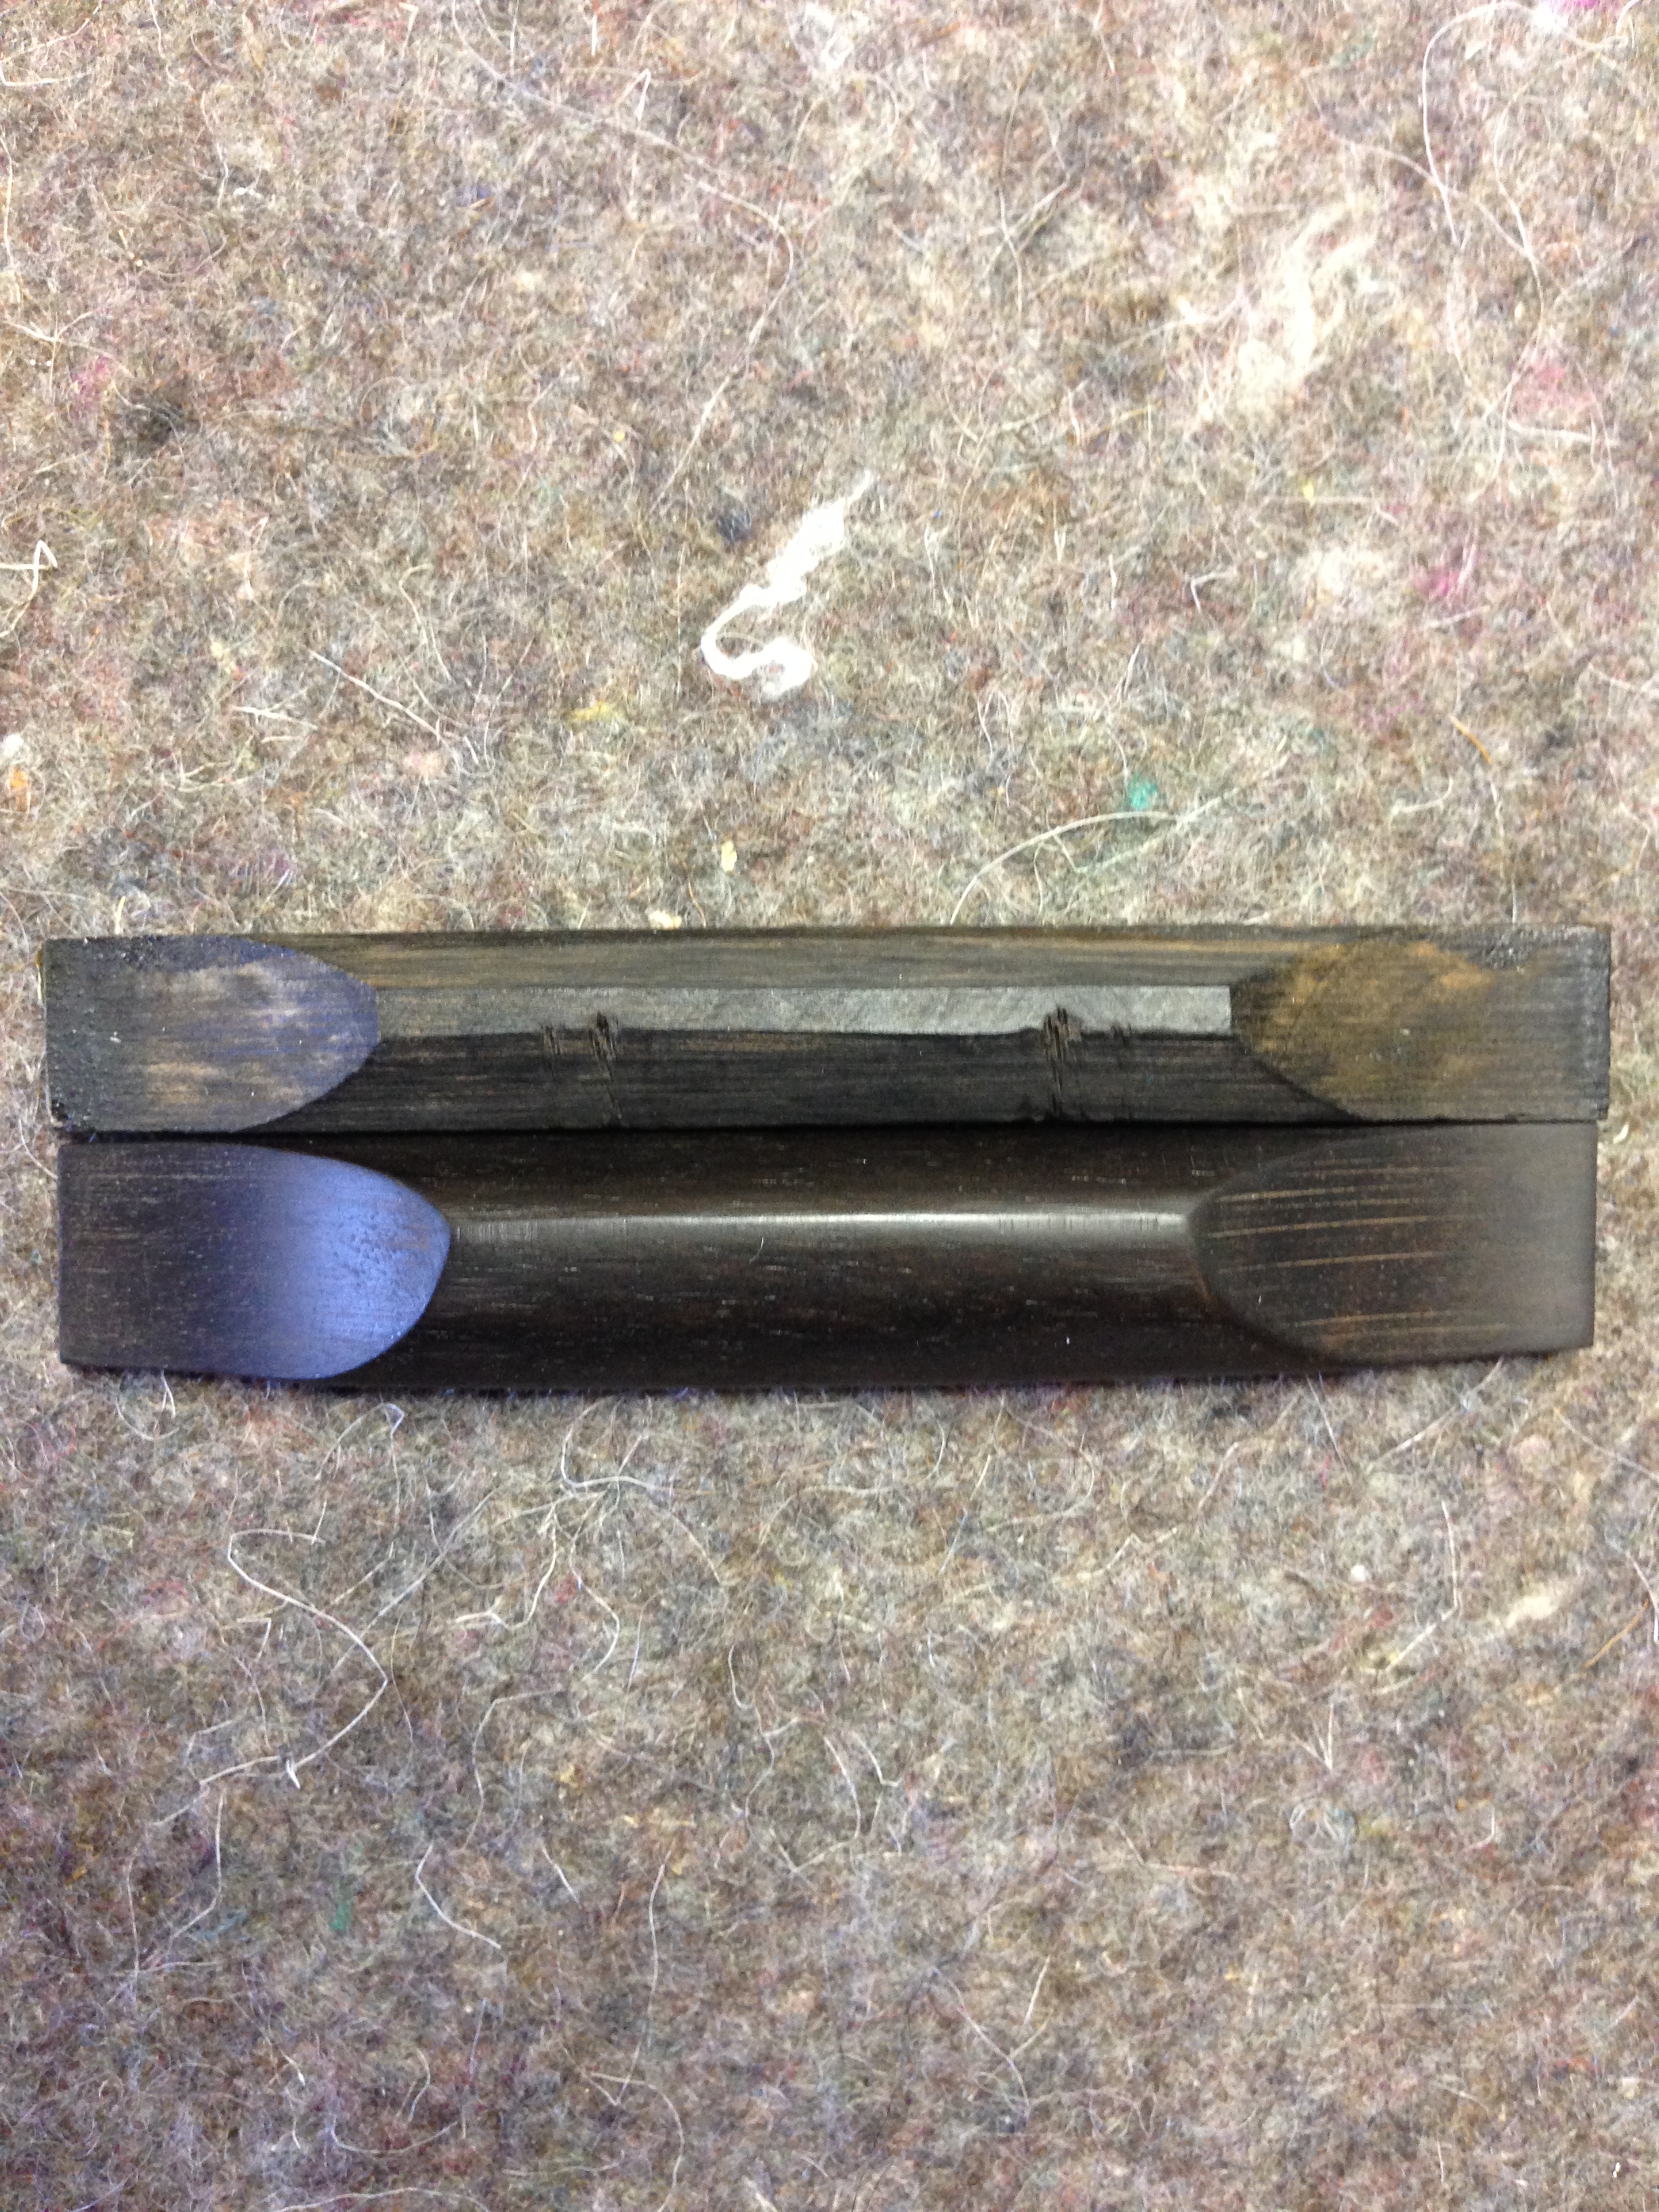
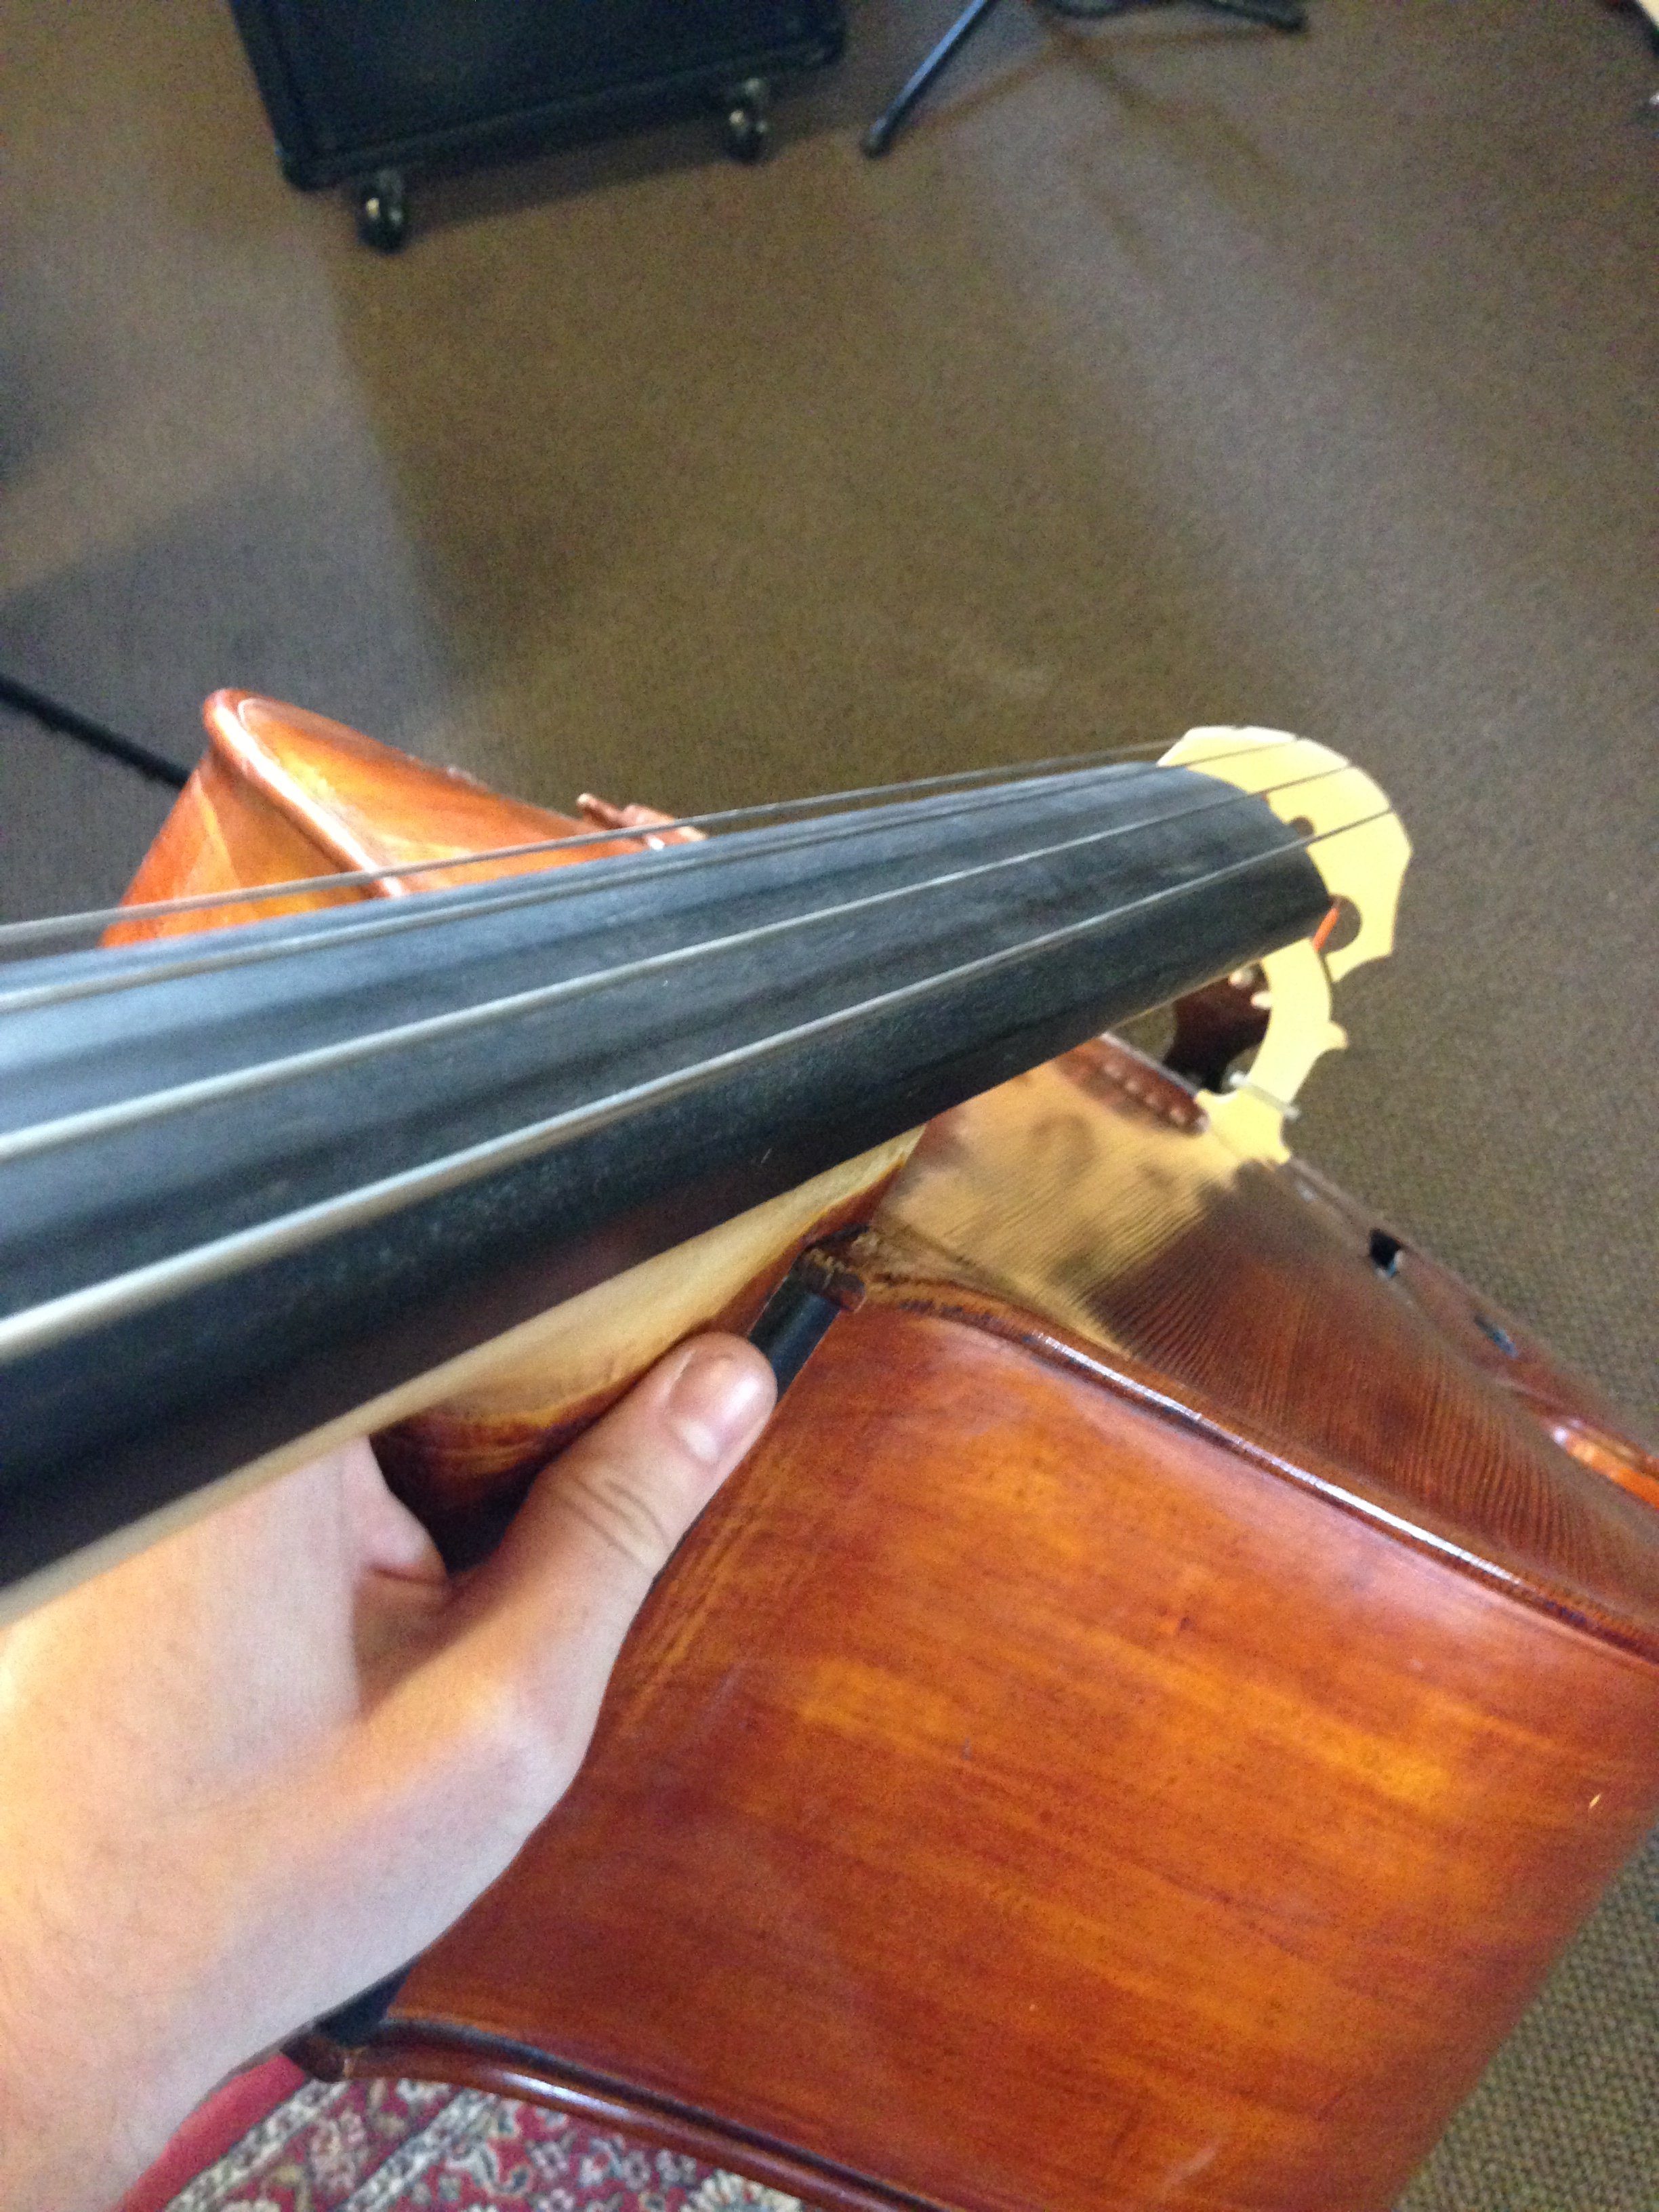
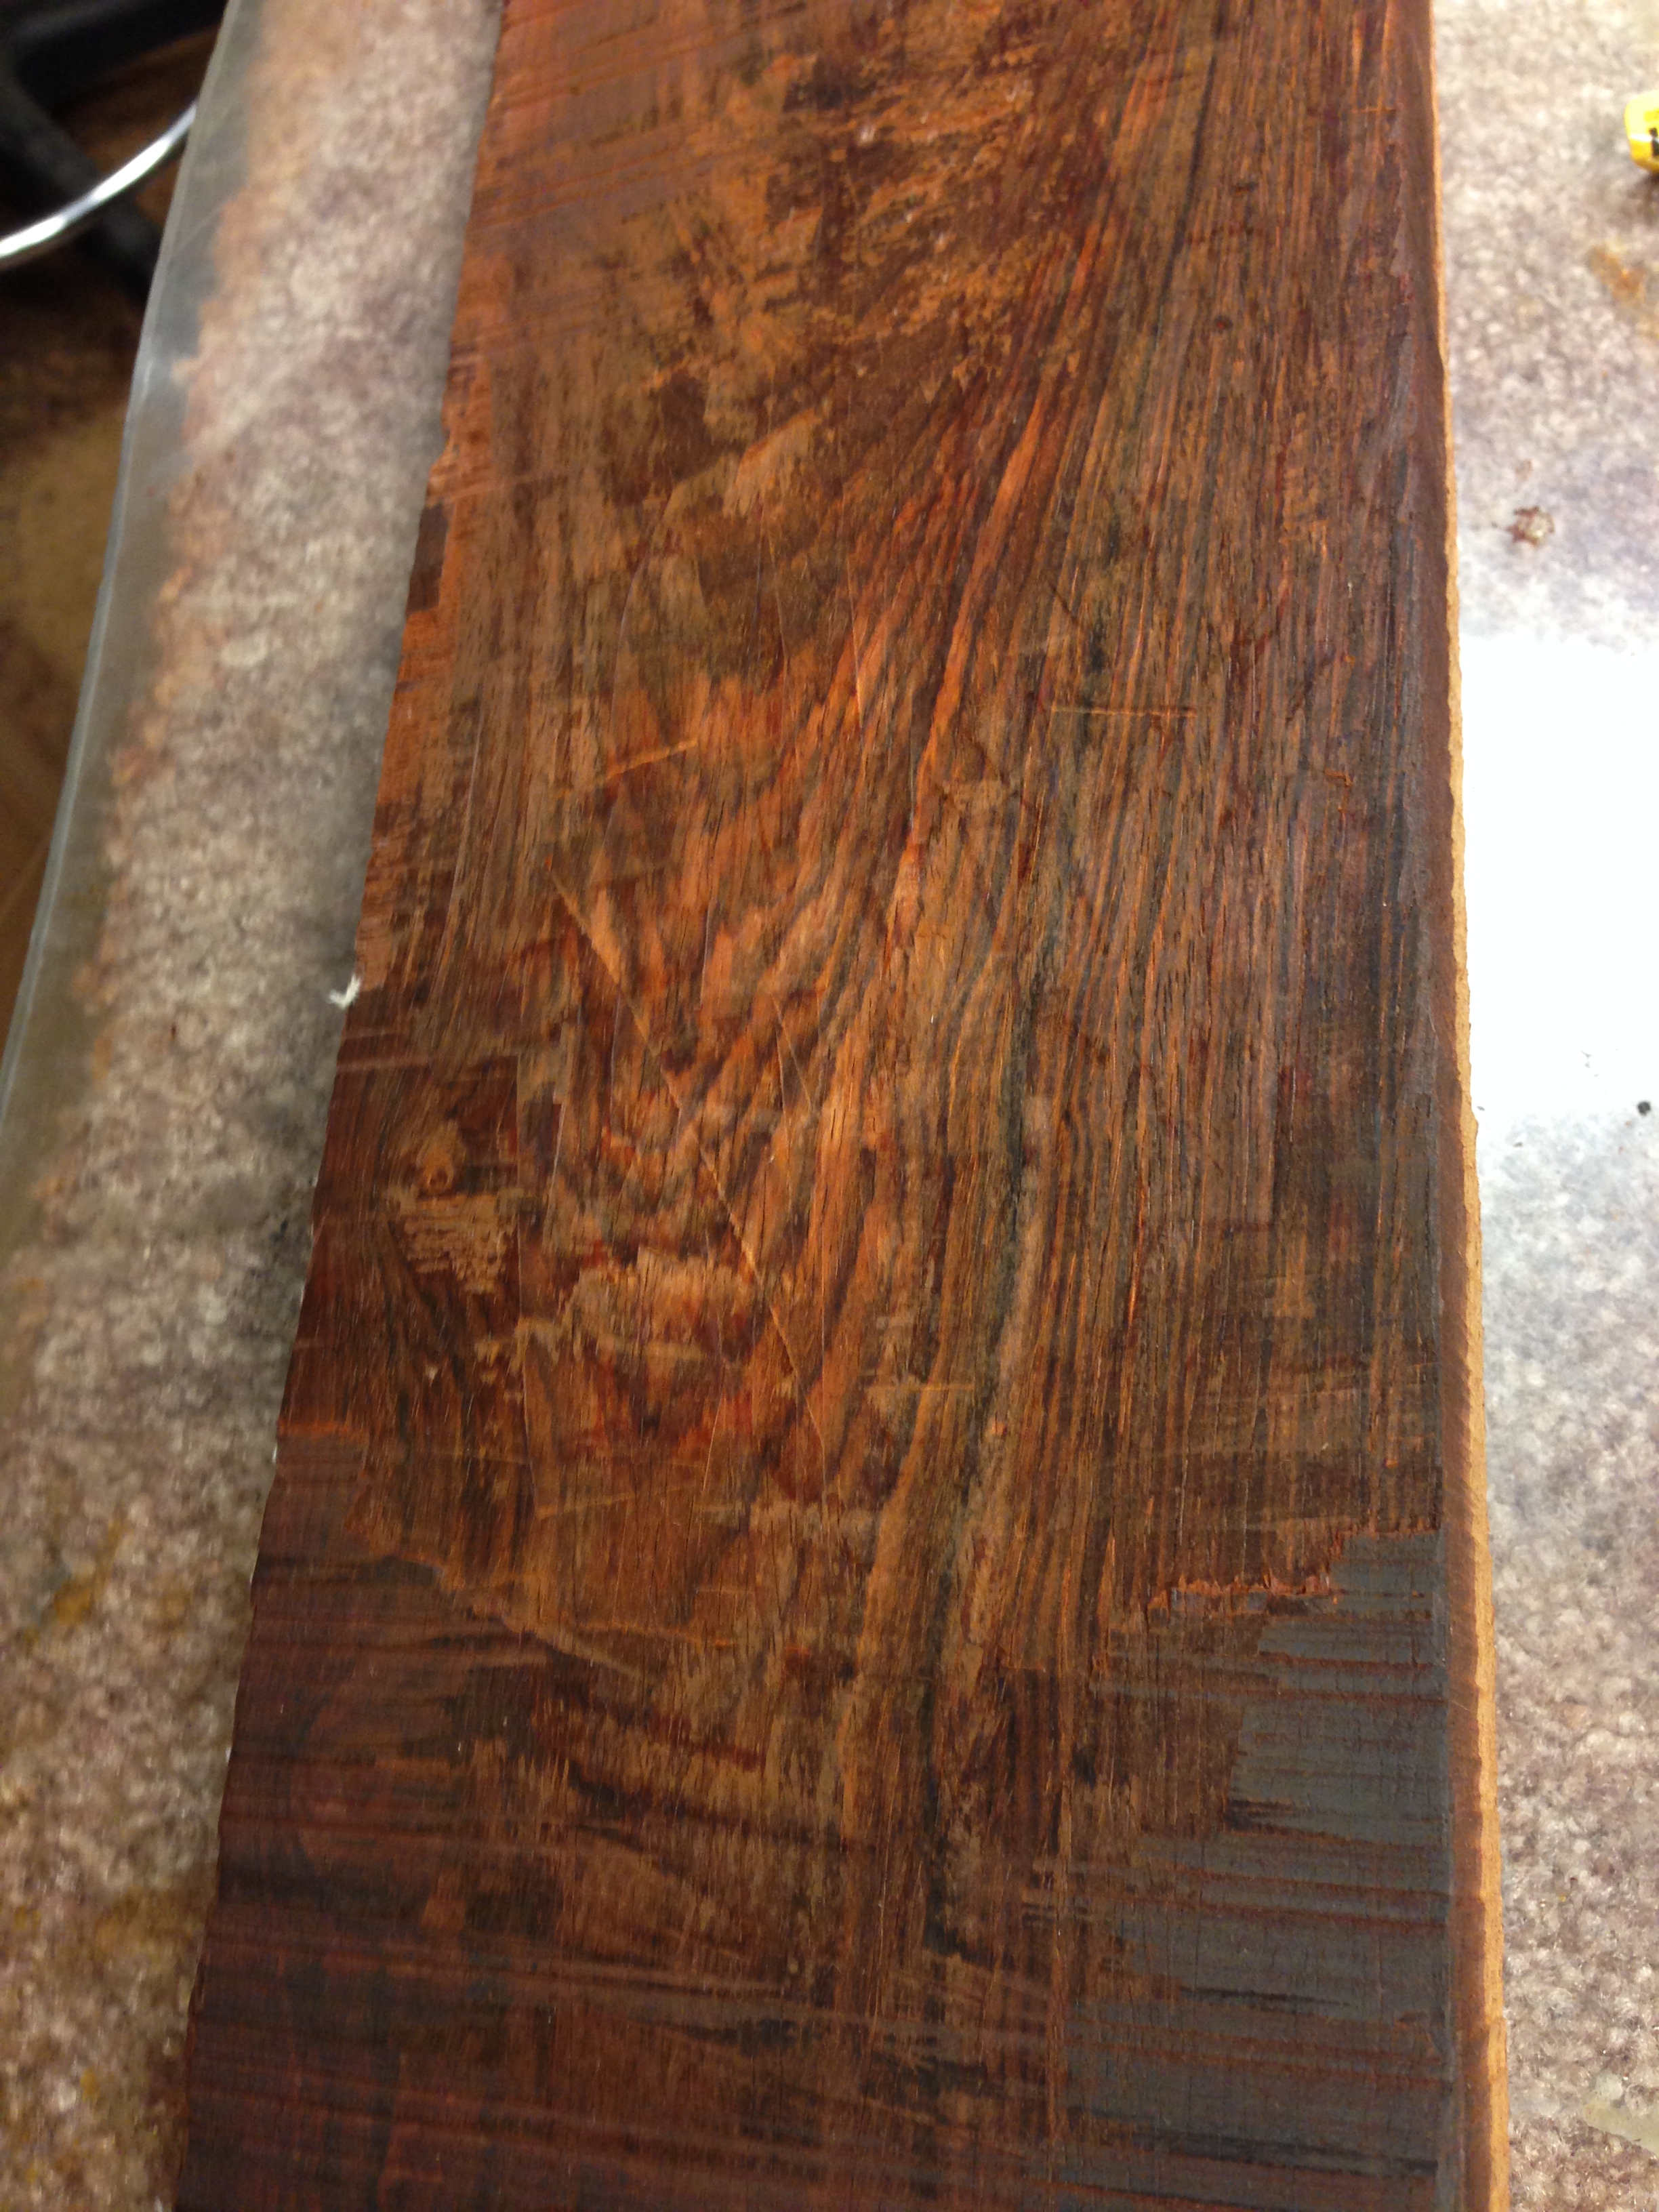
Even with the adjustable bridge on my axe at minimum height, I felt that the action was too high. I attributed it to not playing the DB in months and that my muscles had gone, but one day I was really digging in and felt a wobble in my pizz hand: I pulled at the fingerboard (which I never really liked--it was some "ebonized" piece of ordure) and discovered that it had delaminated quite a bit up the neck, which caused the neck to bow forward, messing with the projection and relief! This was the last straw; I was going to fix this thing.
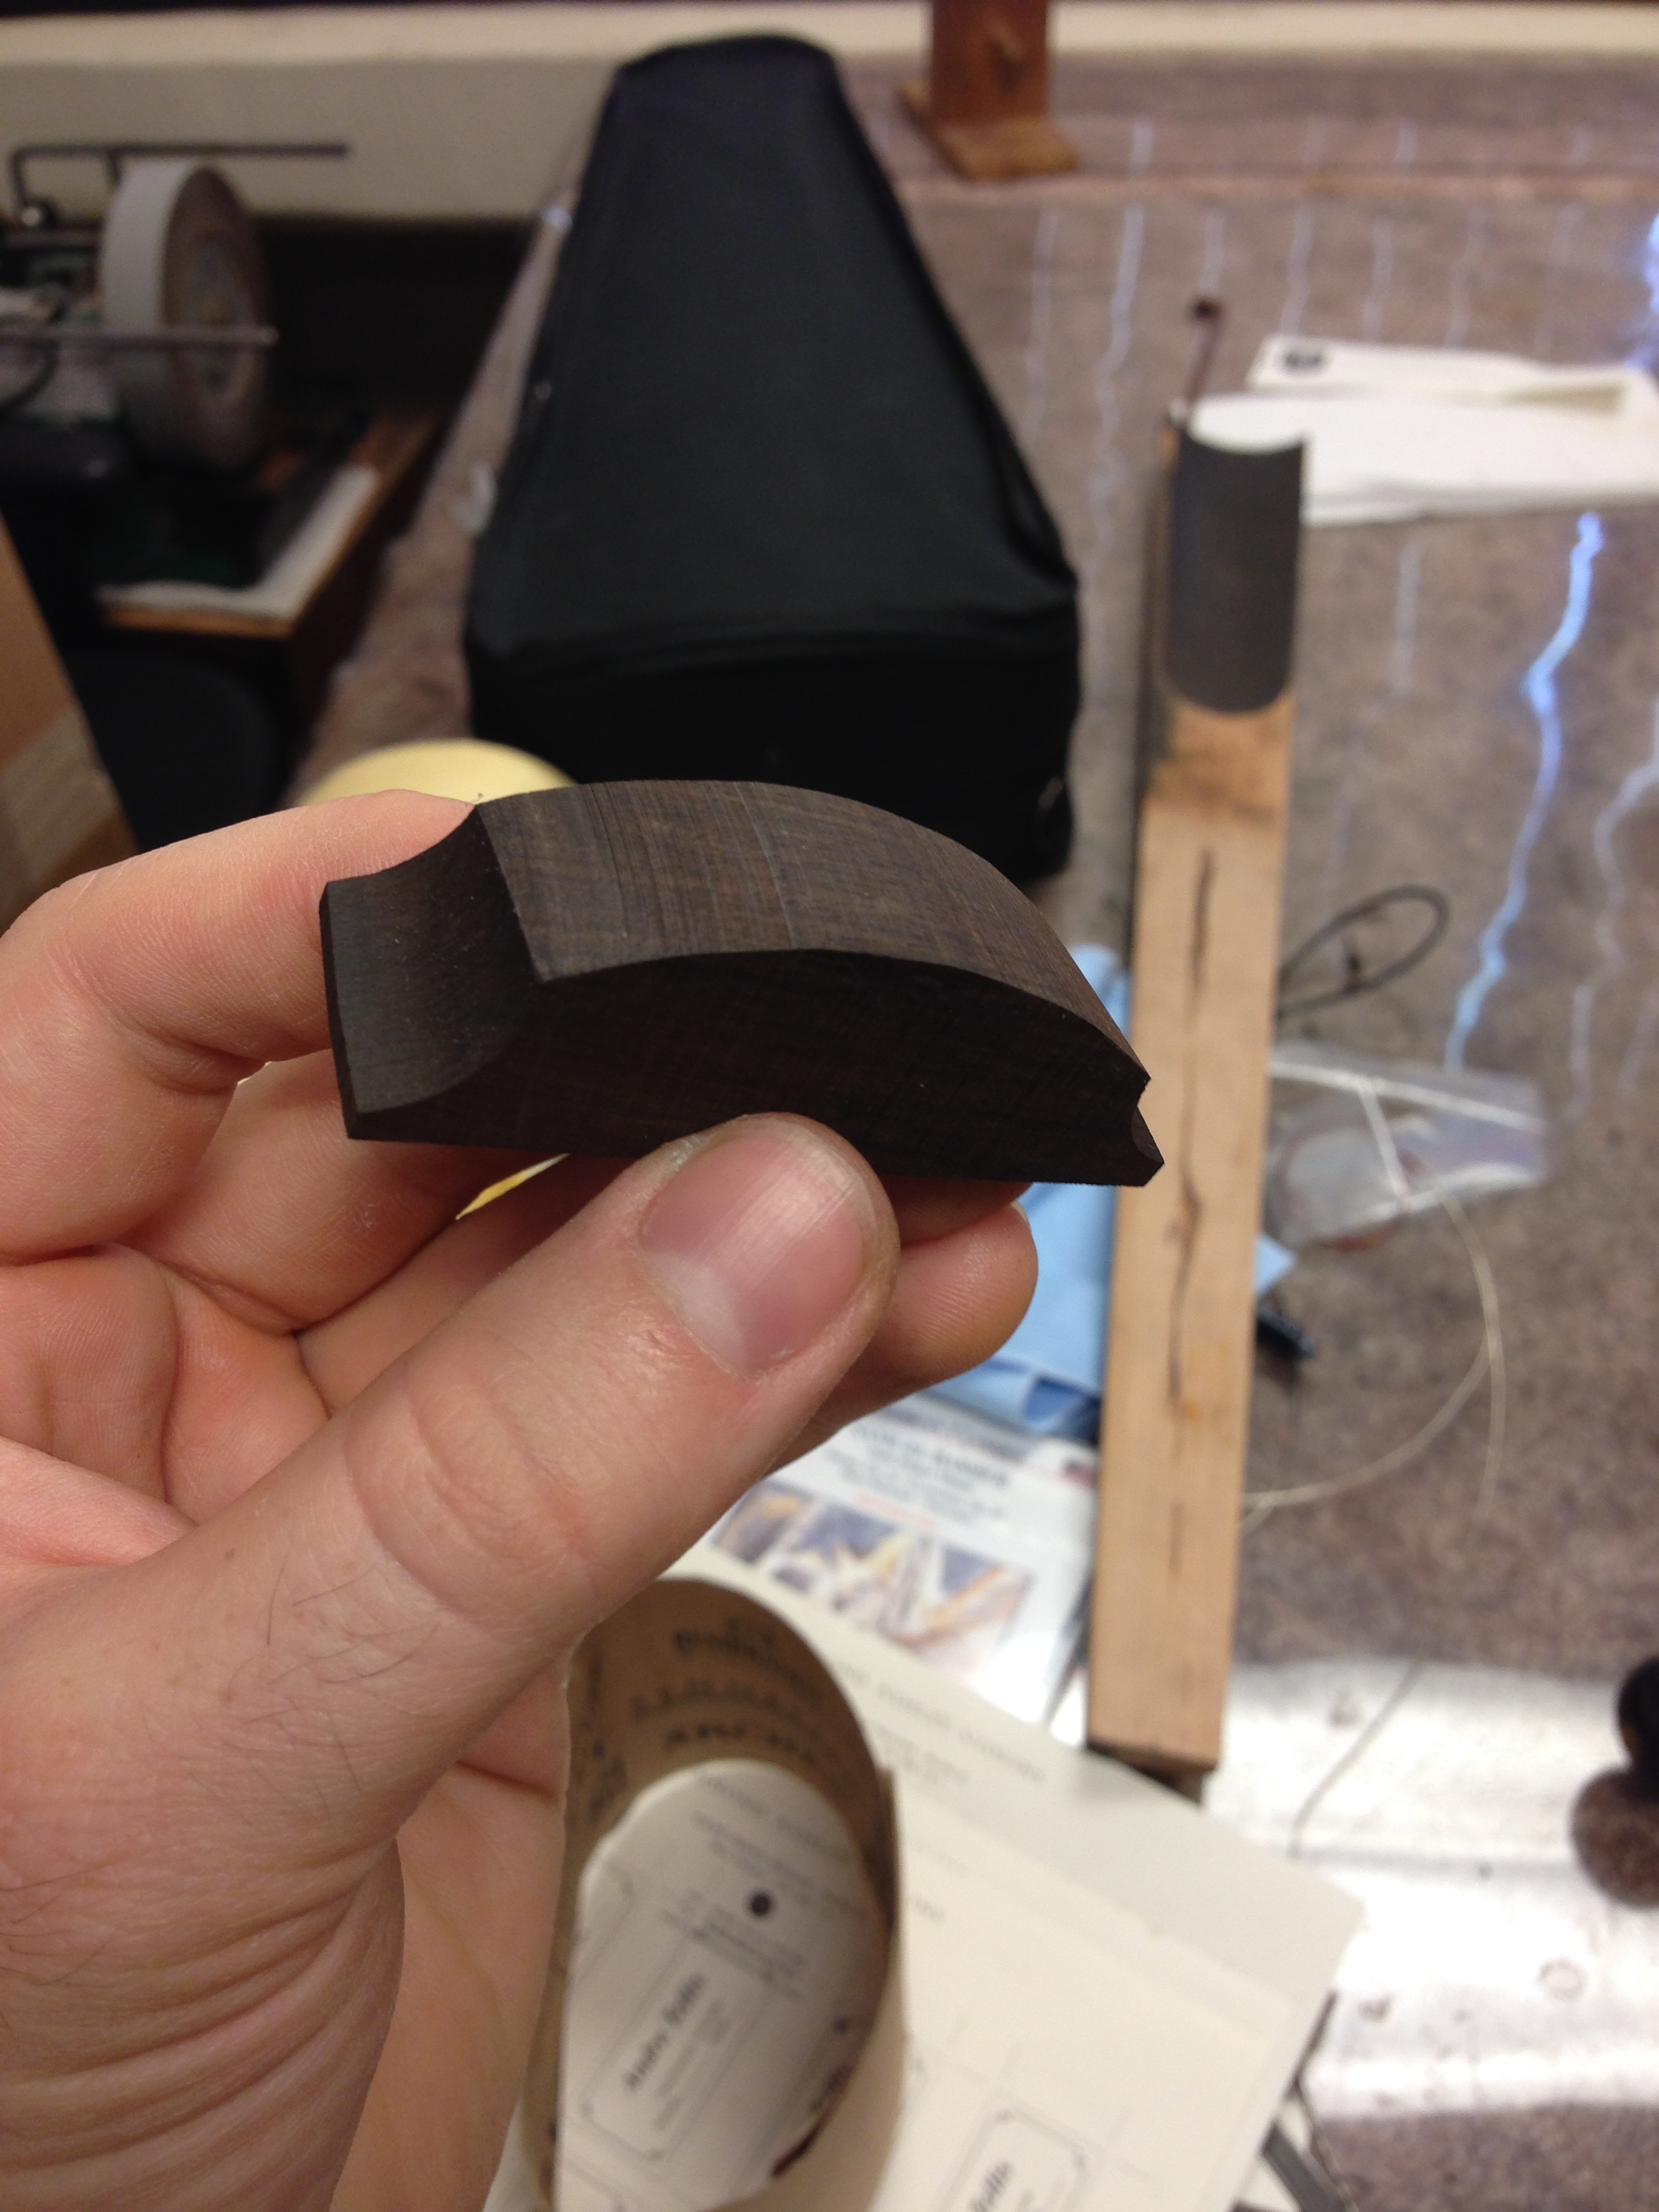
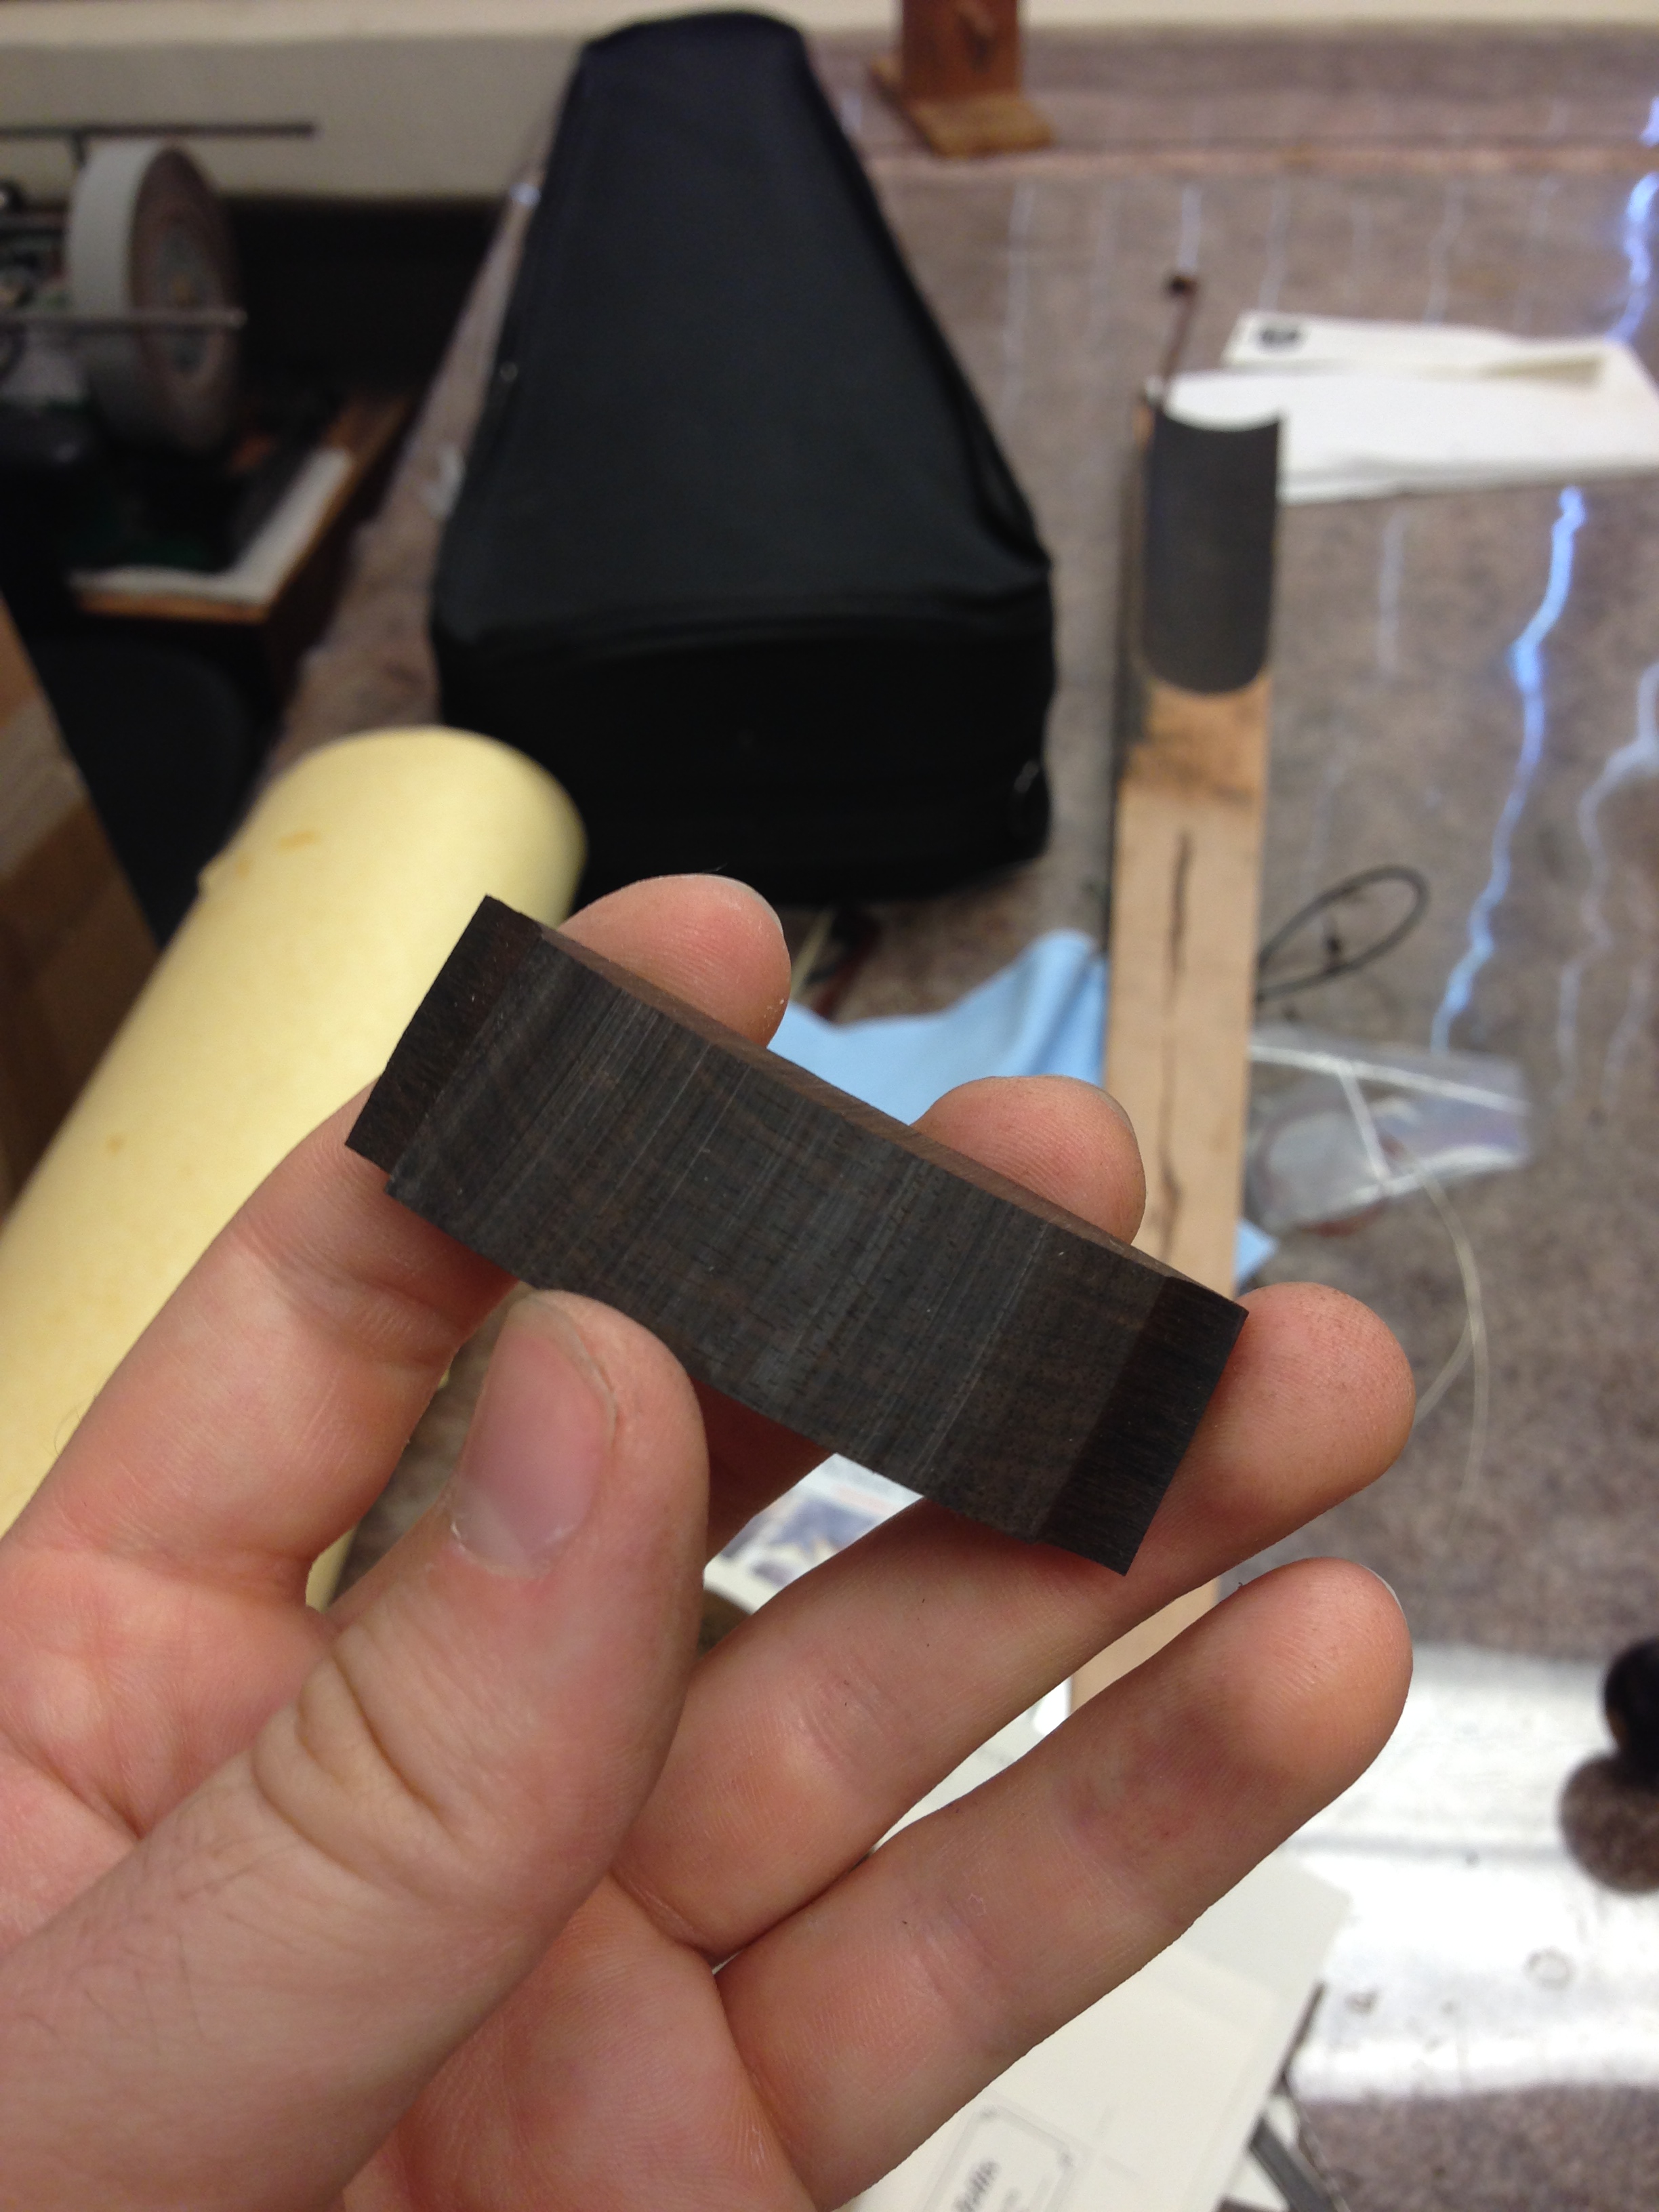
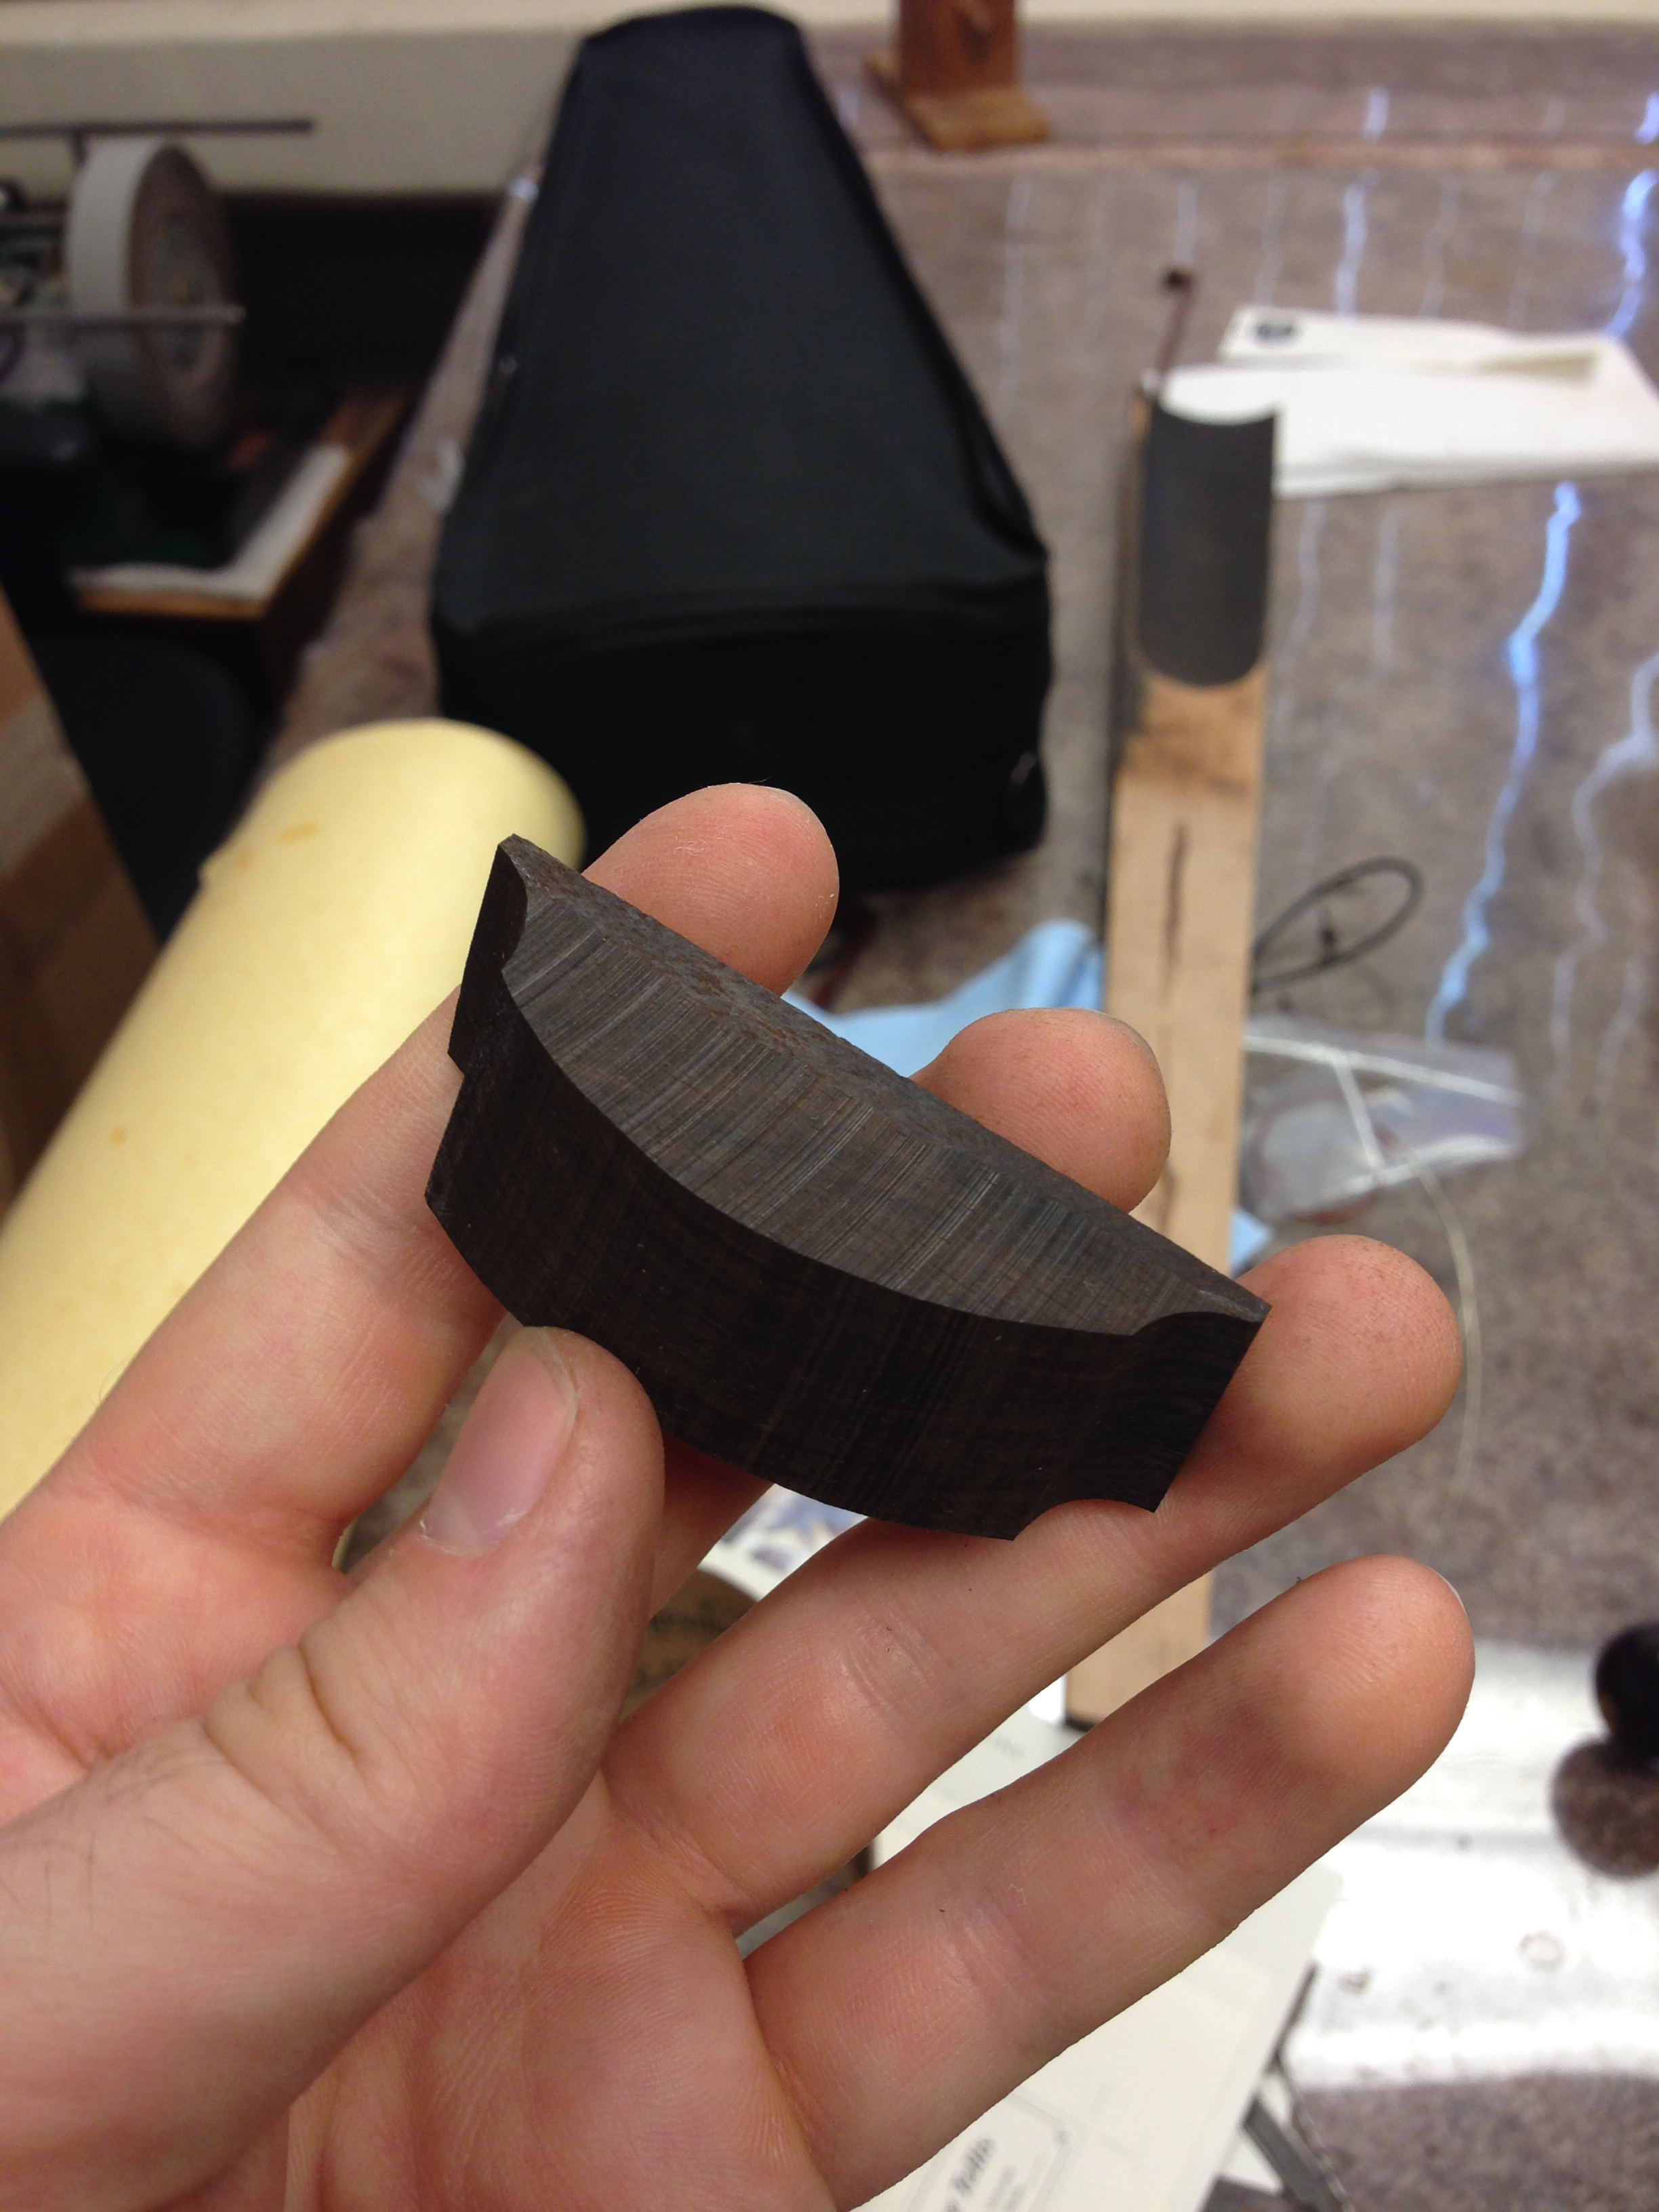
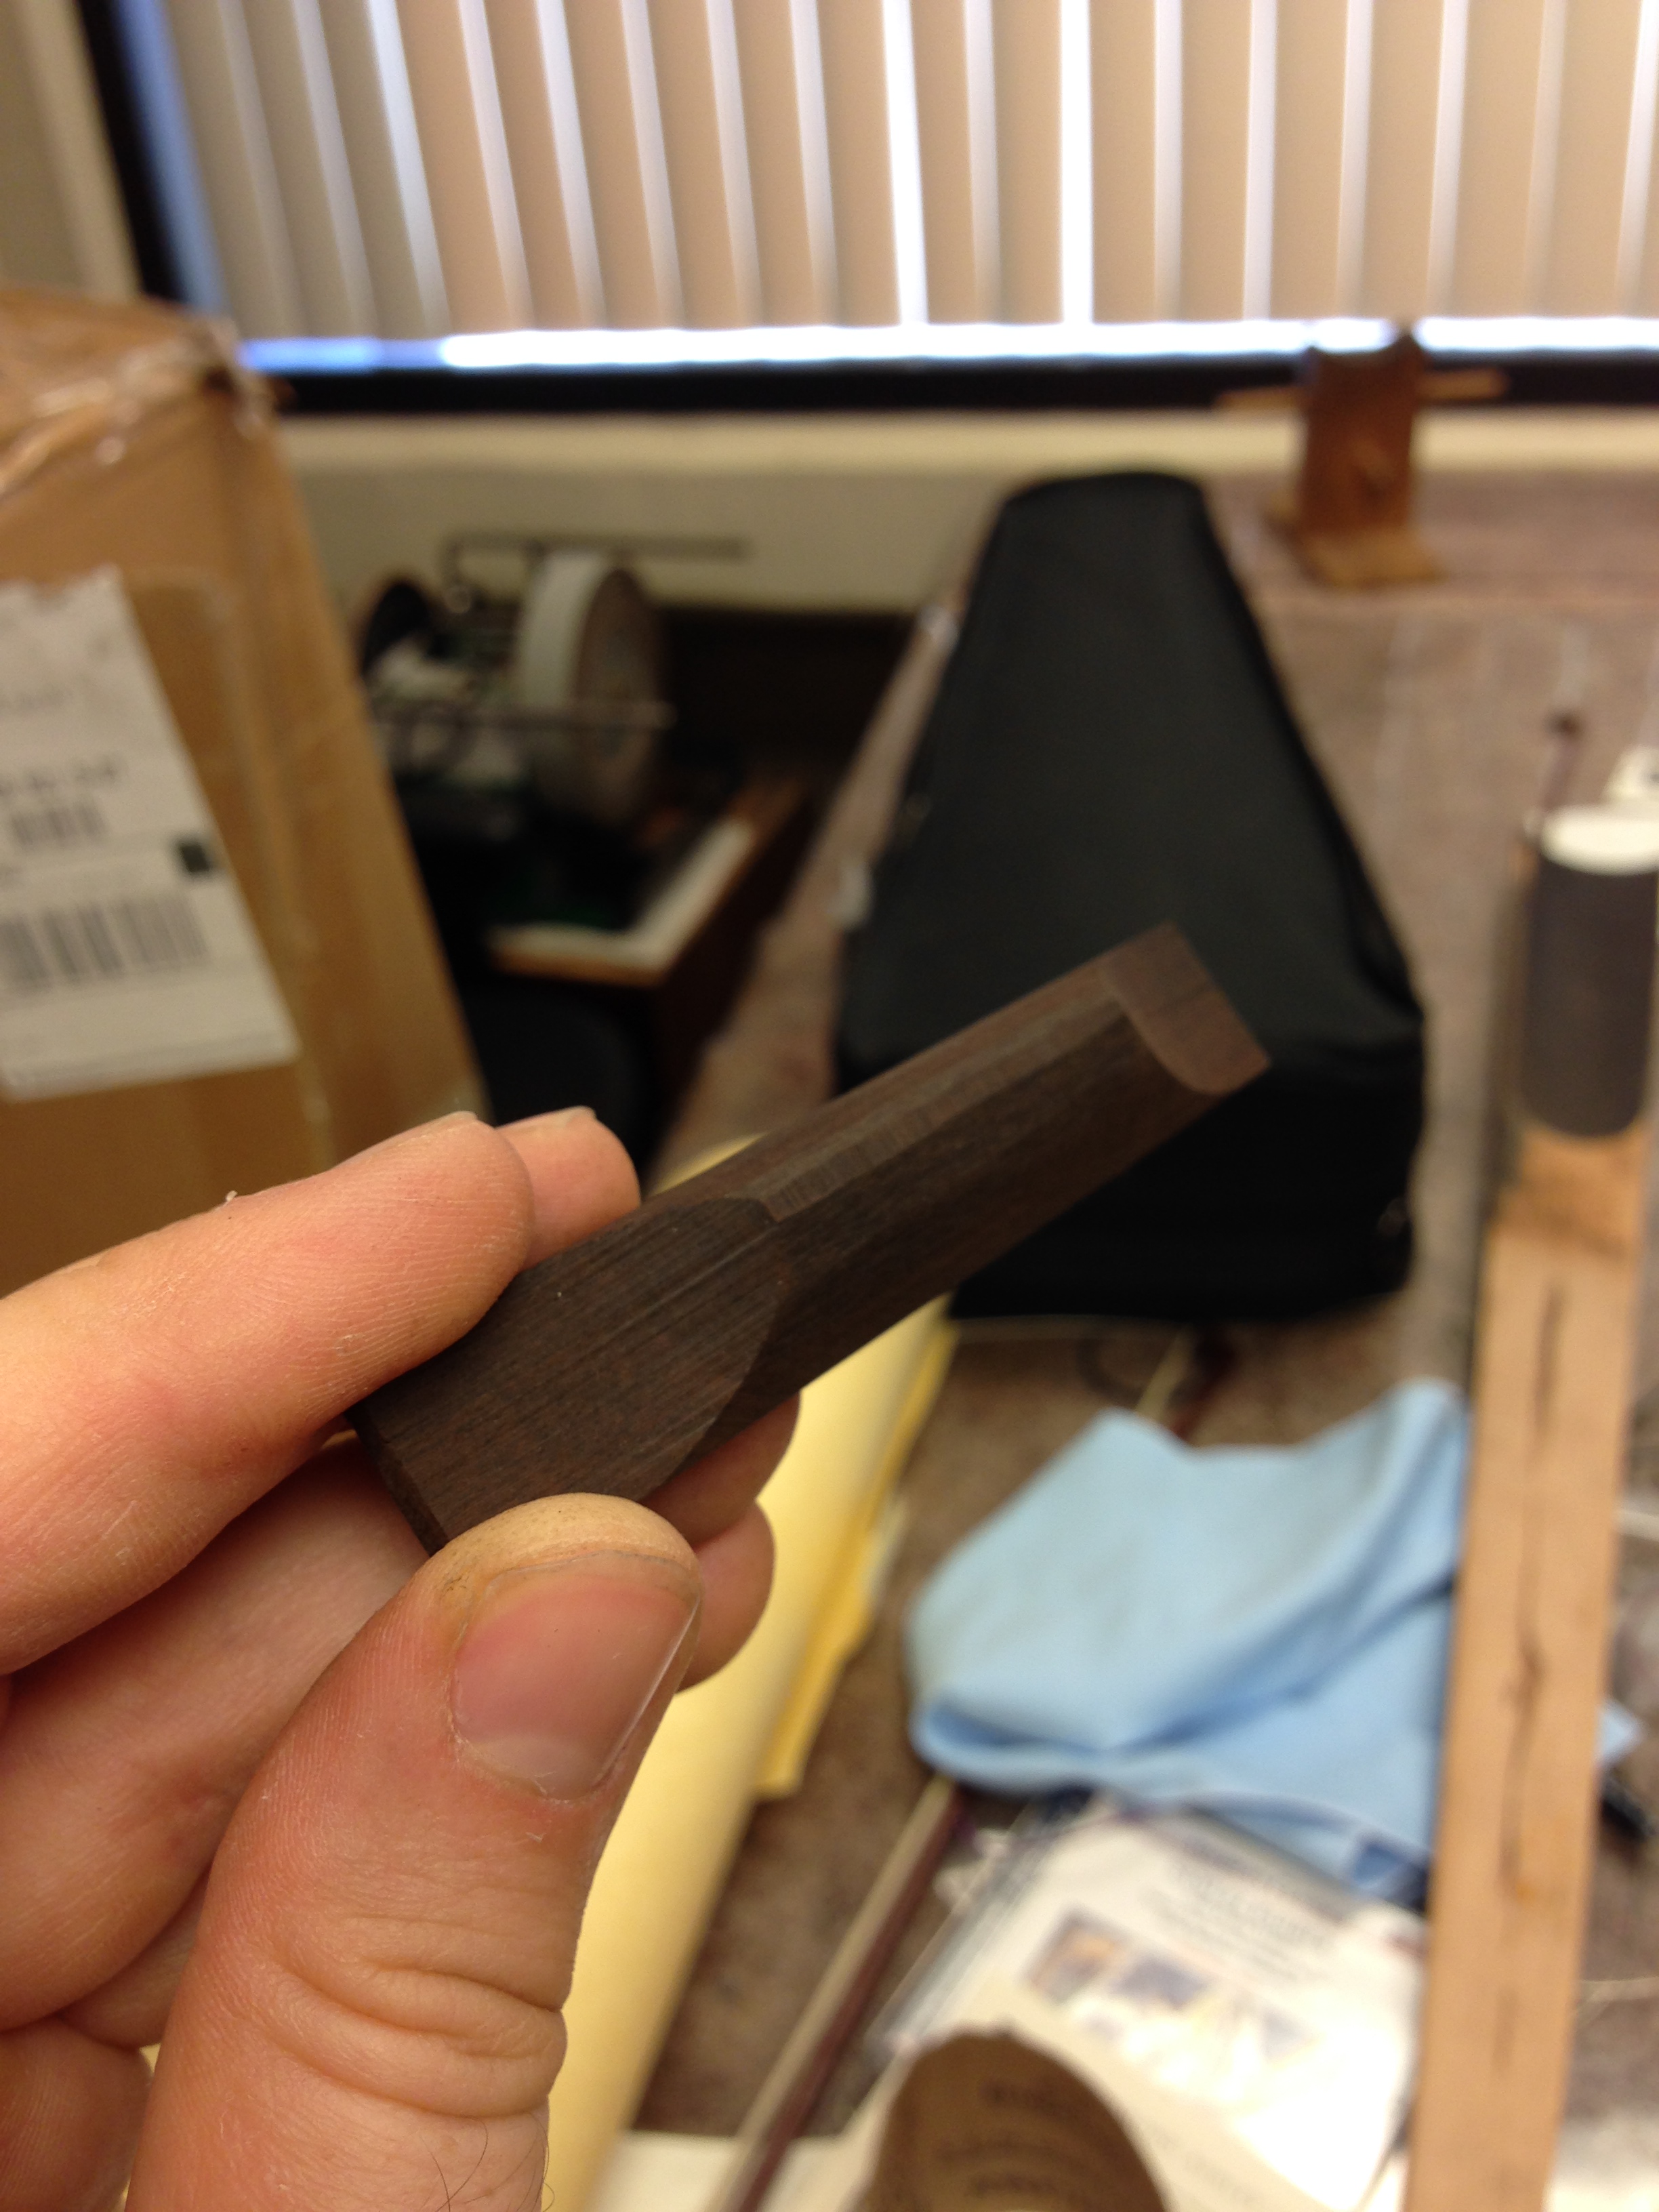
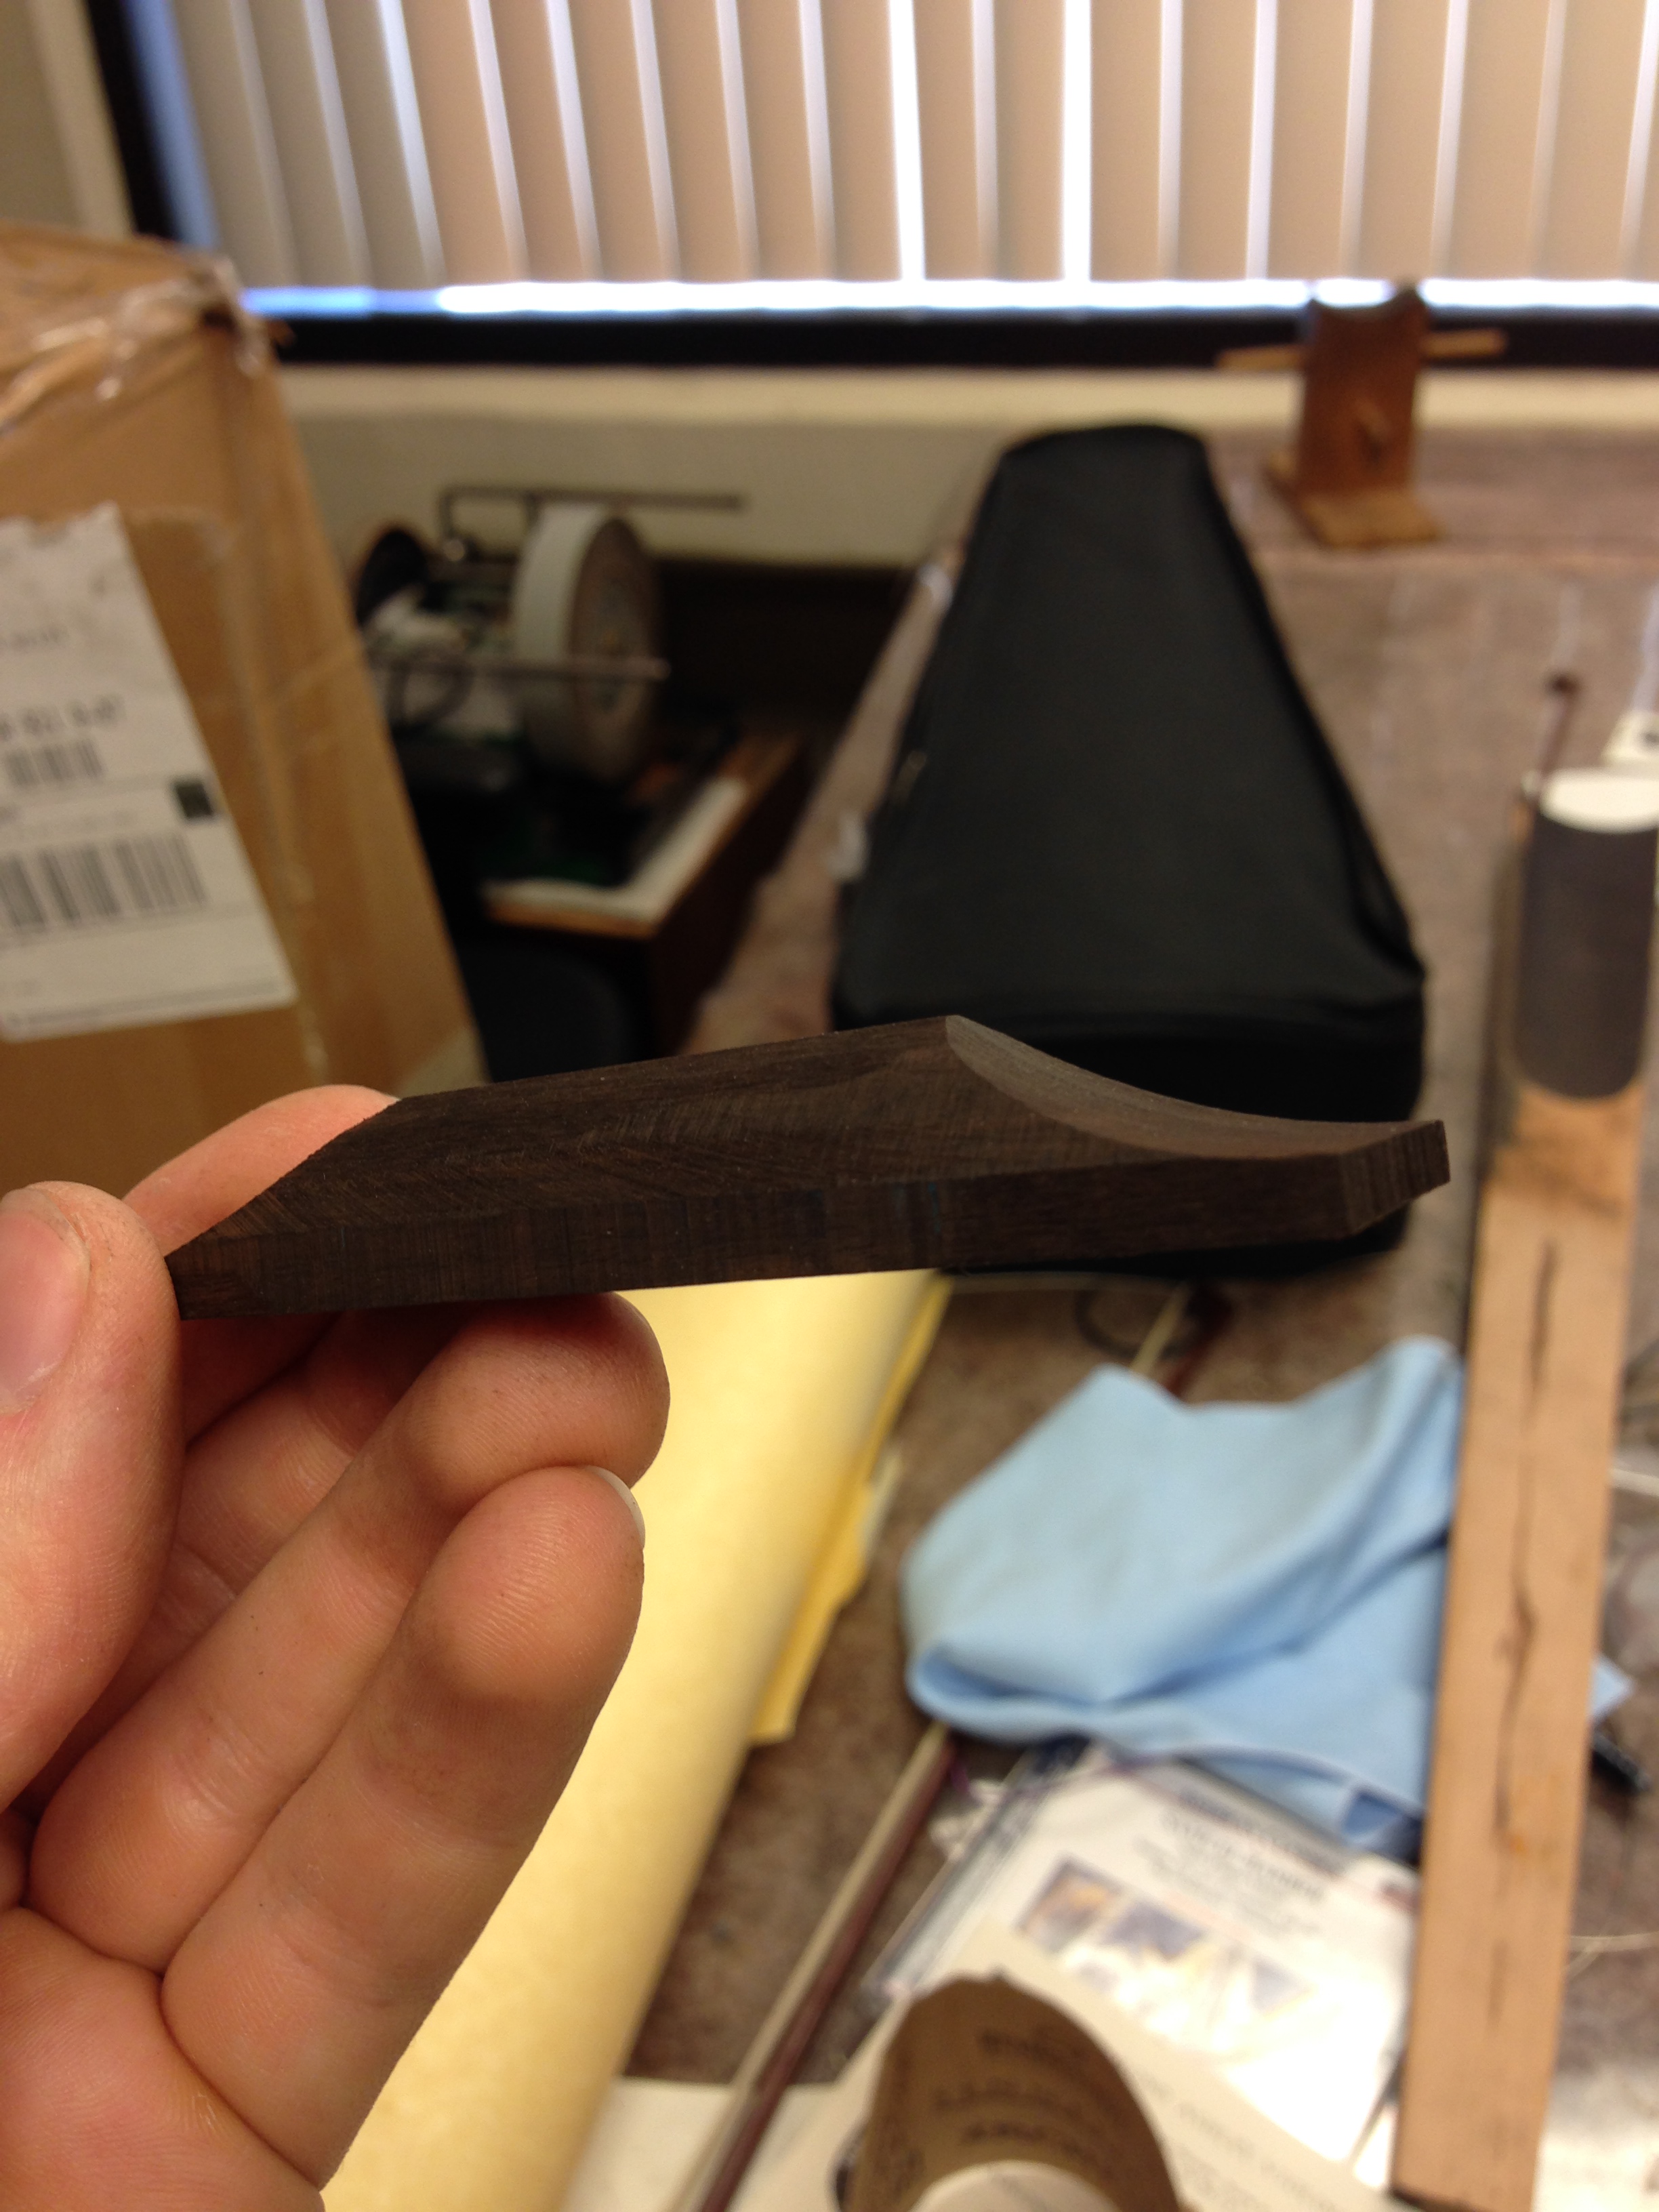
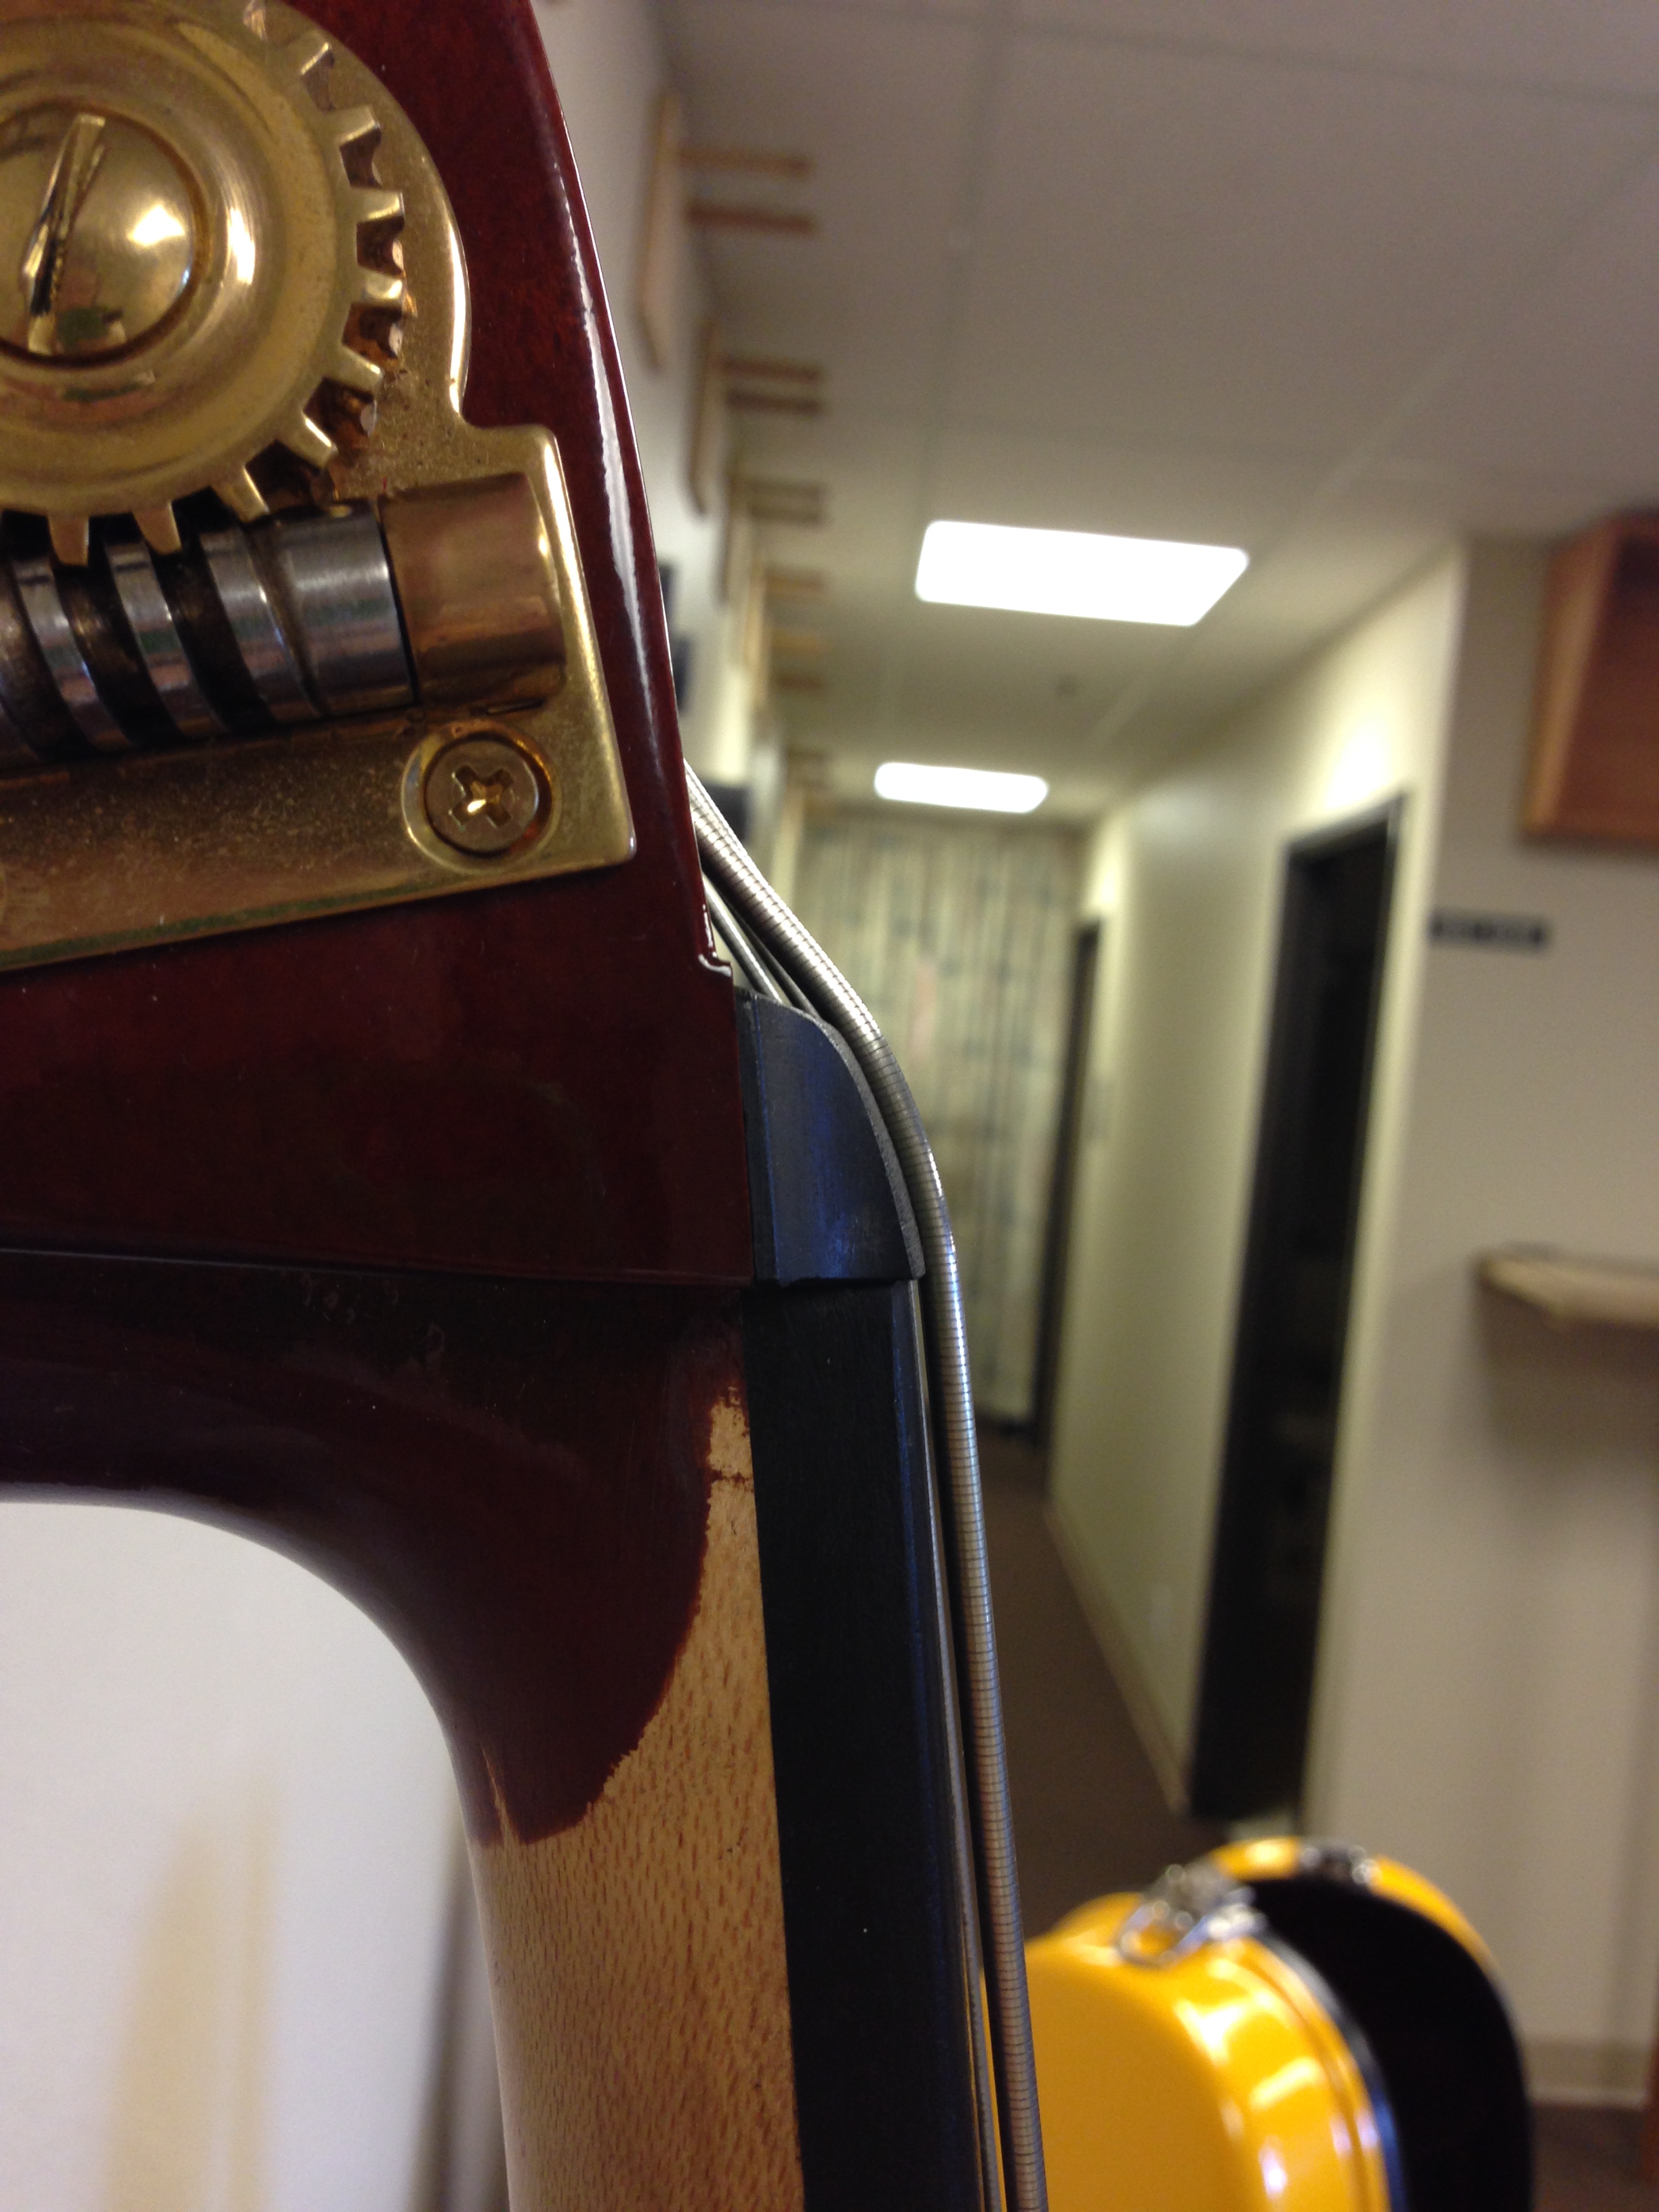
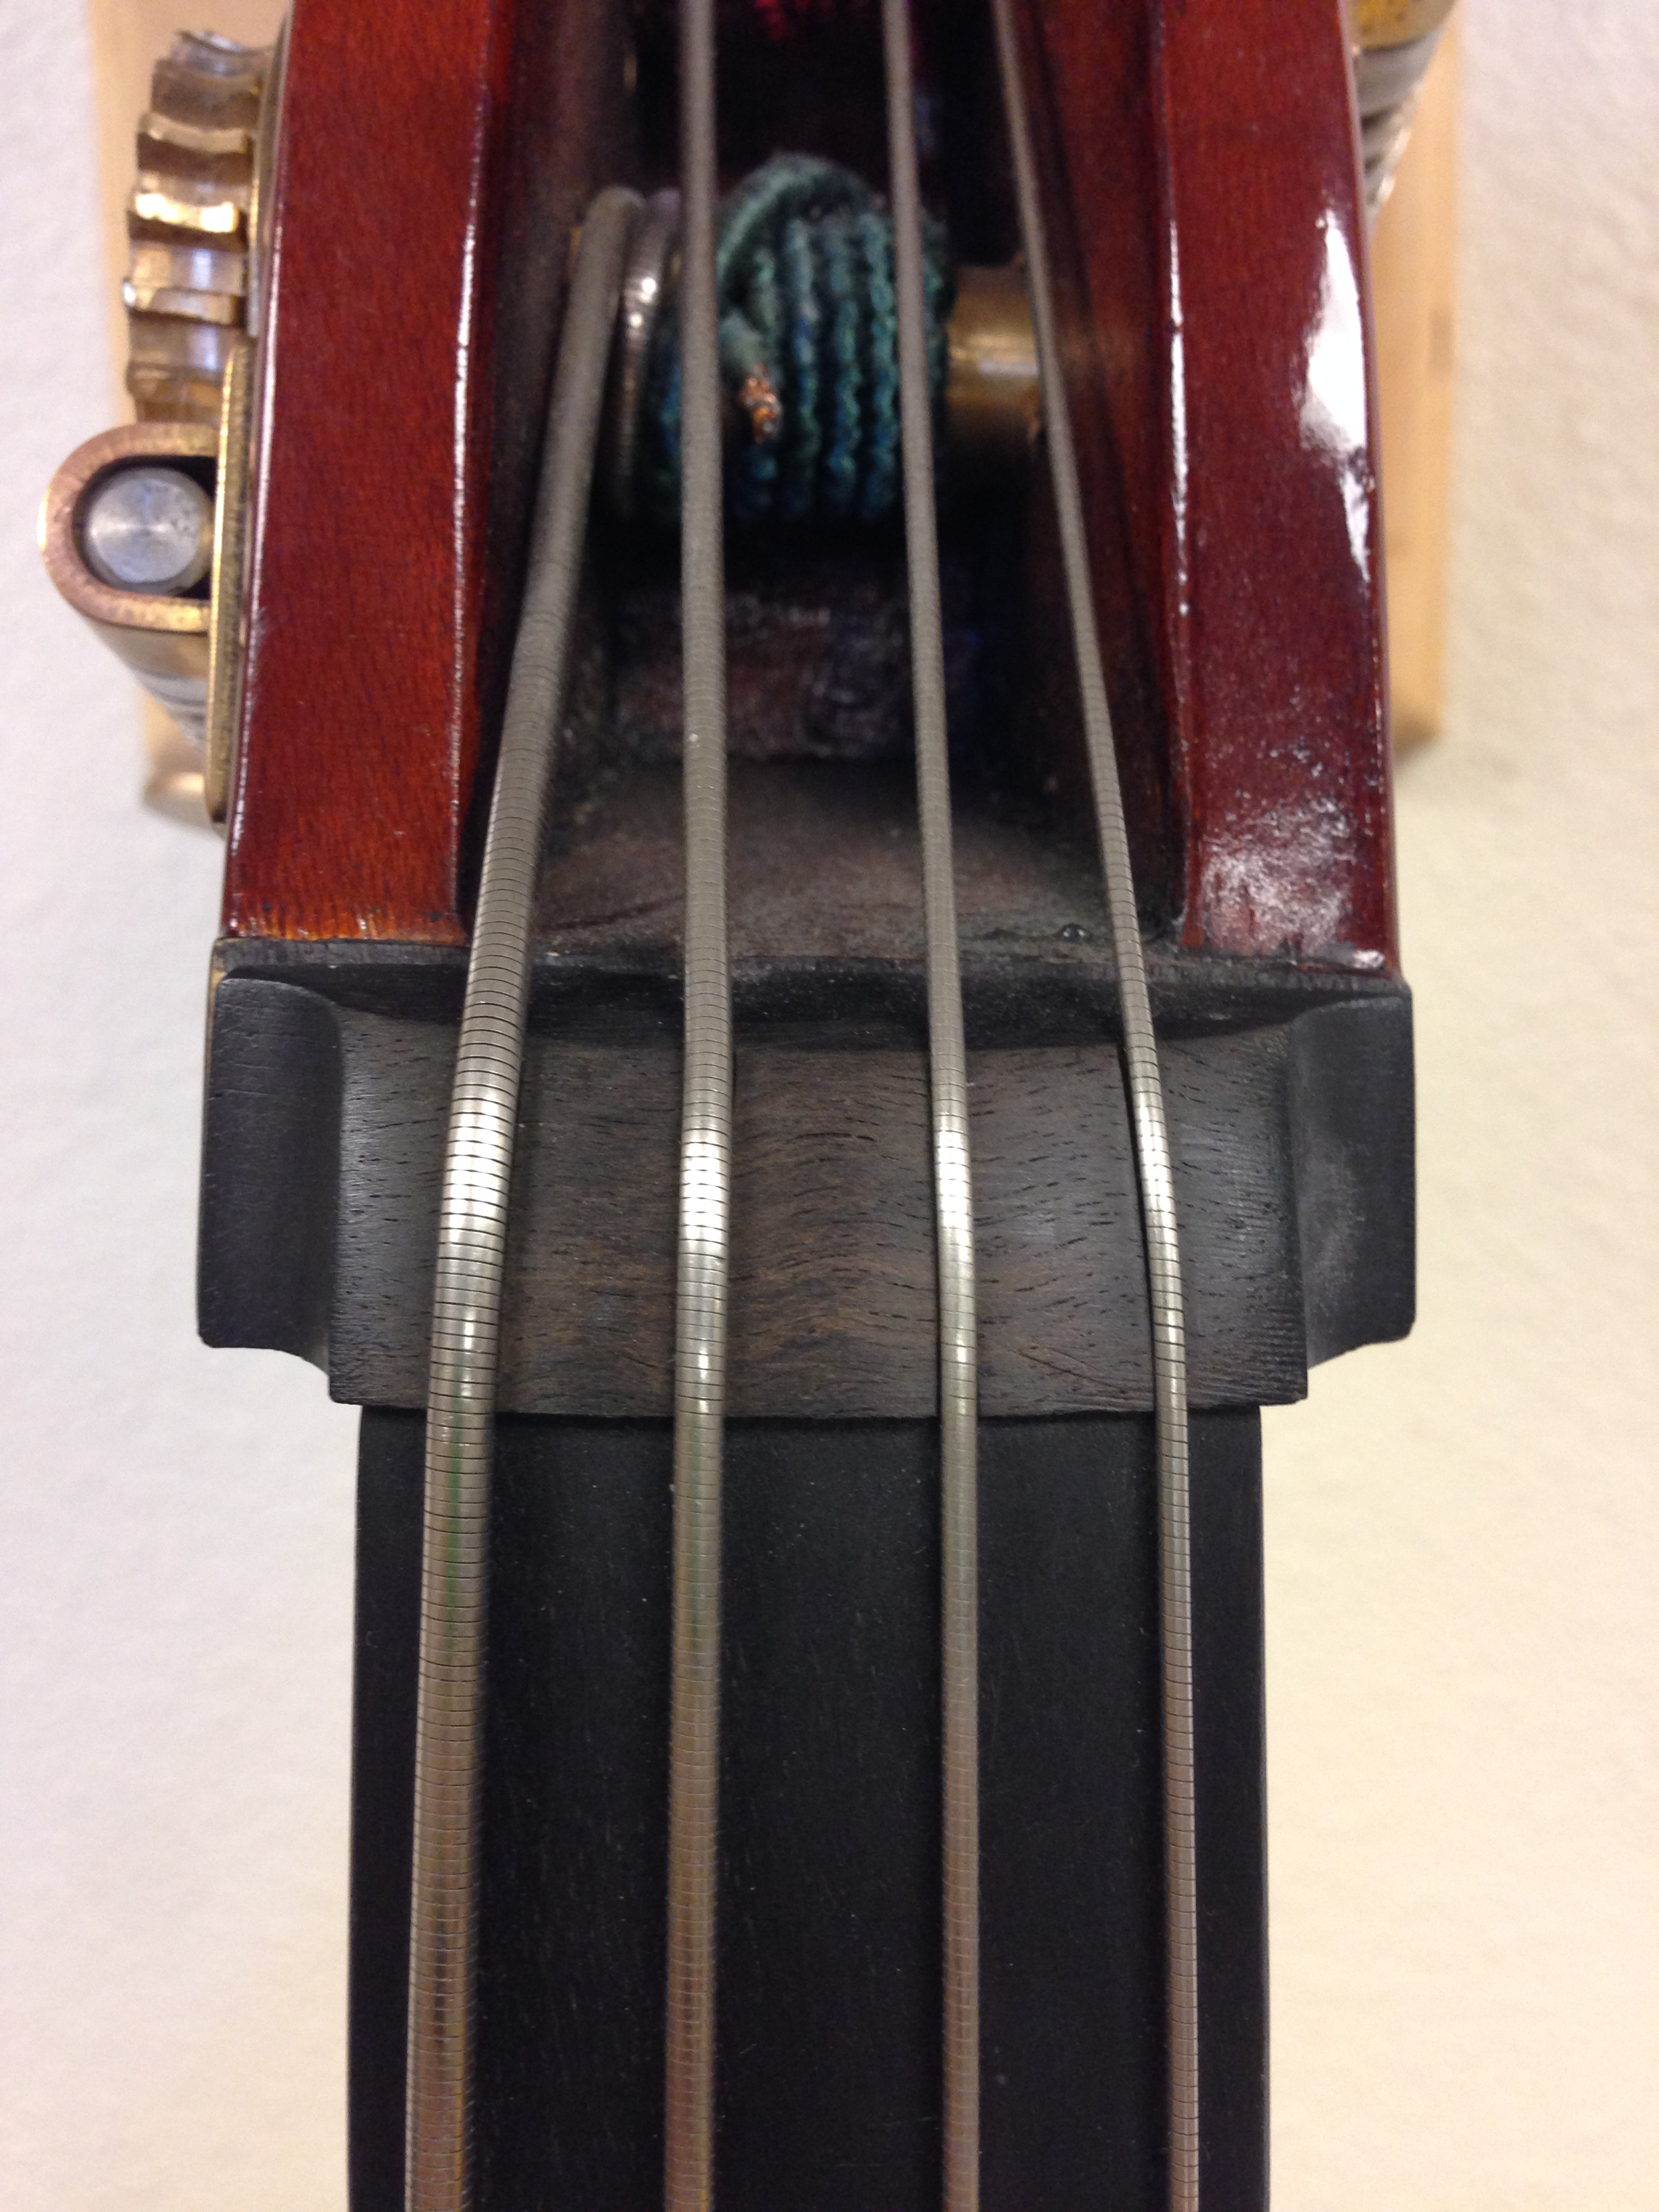
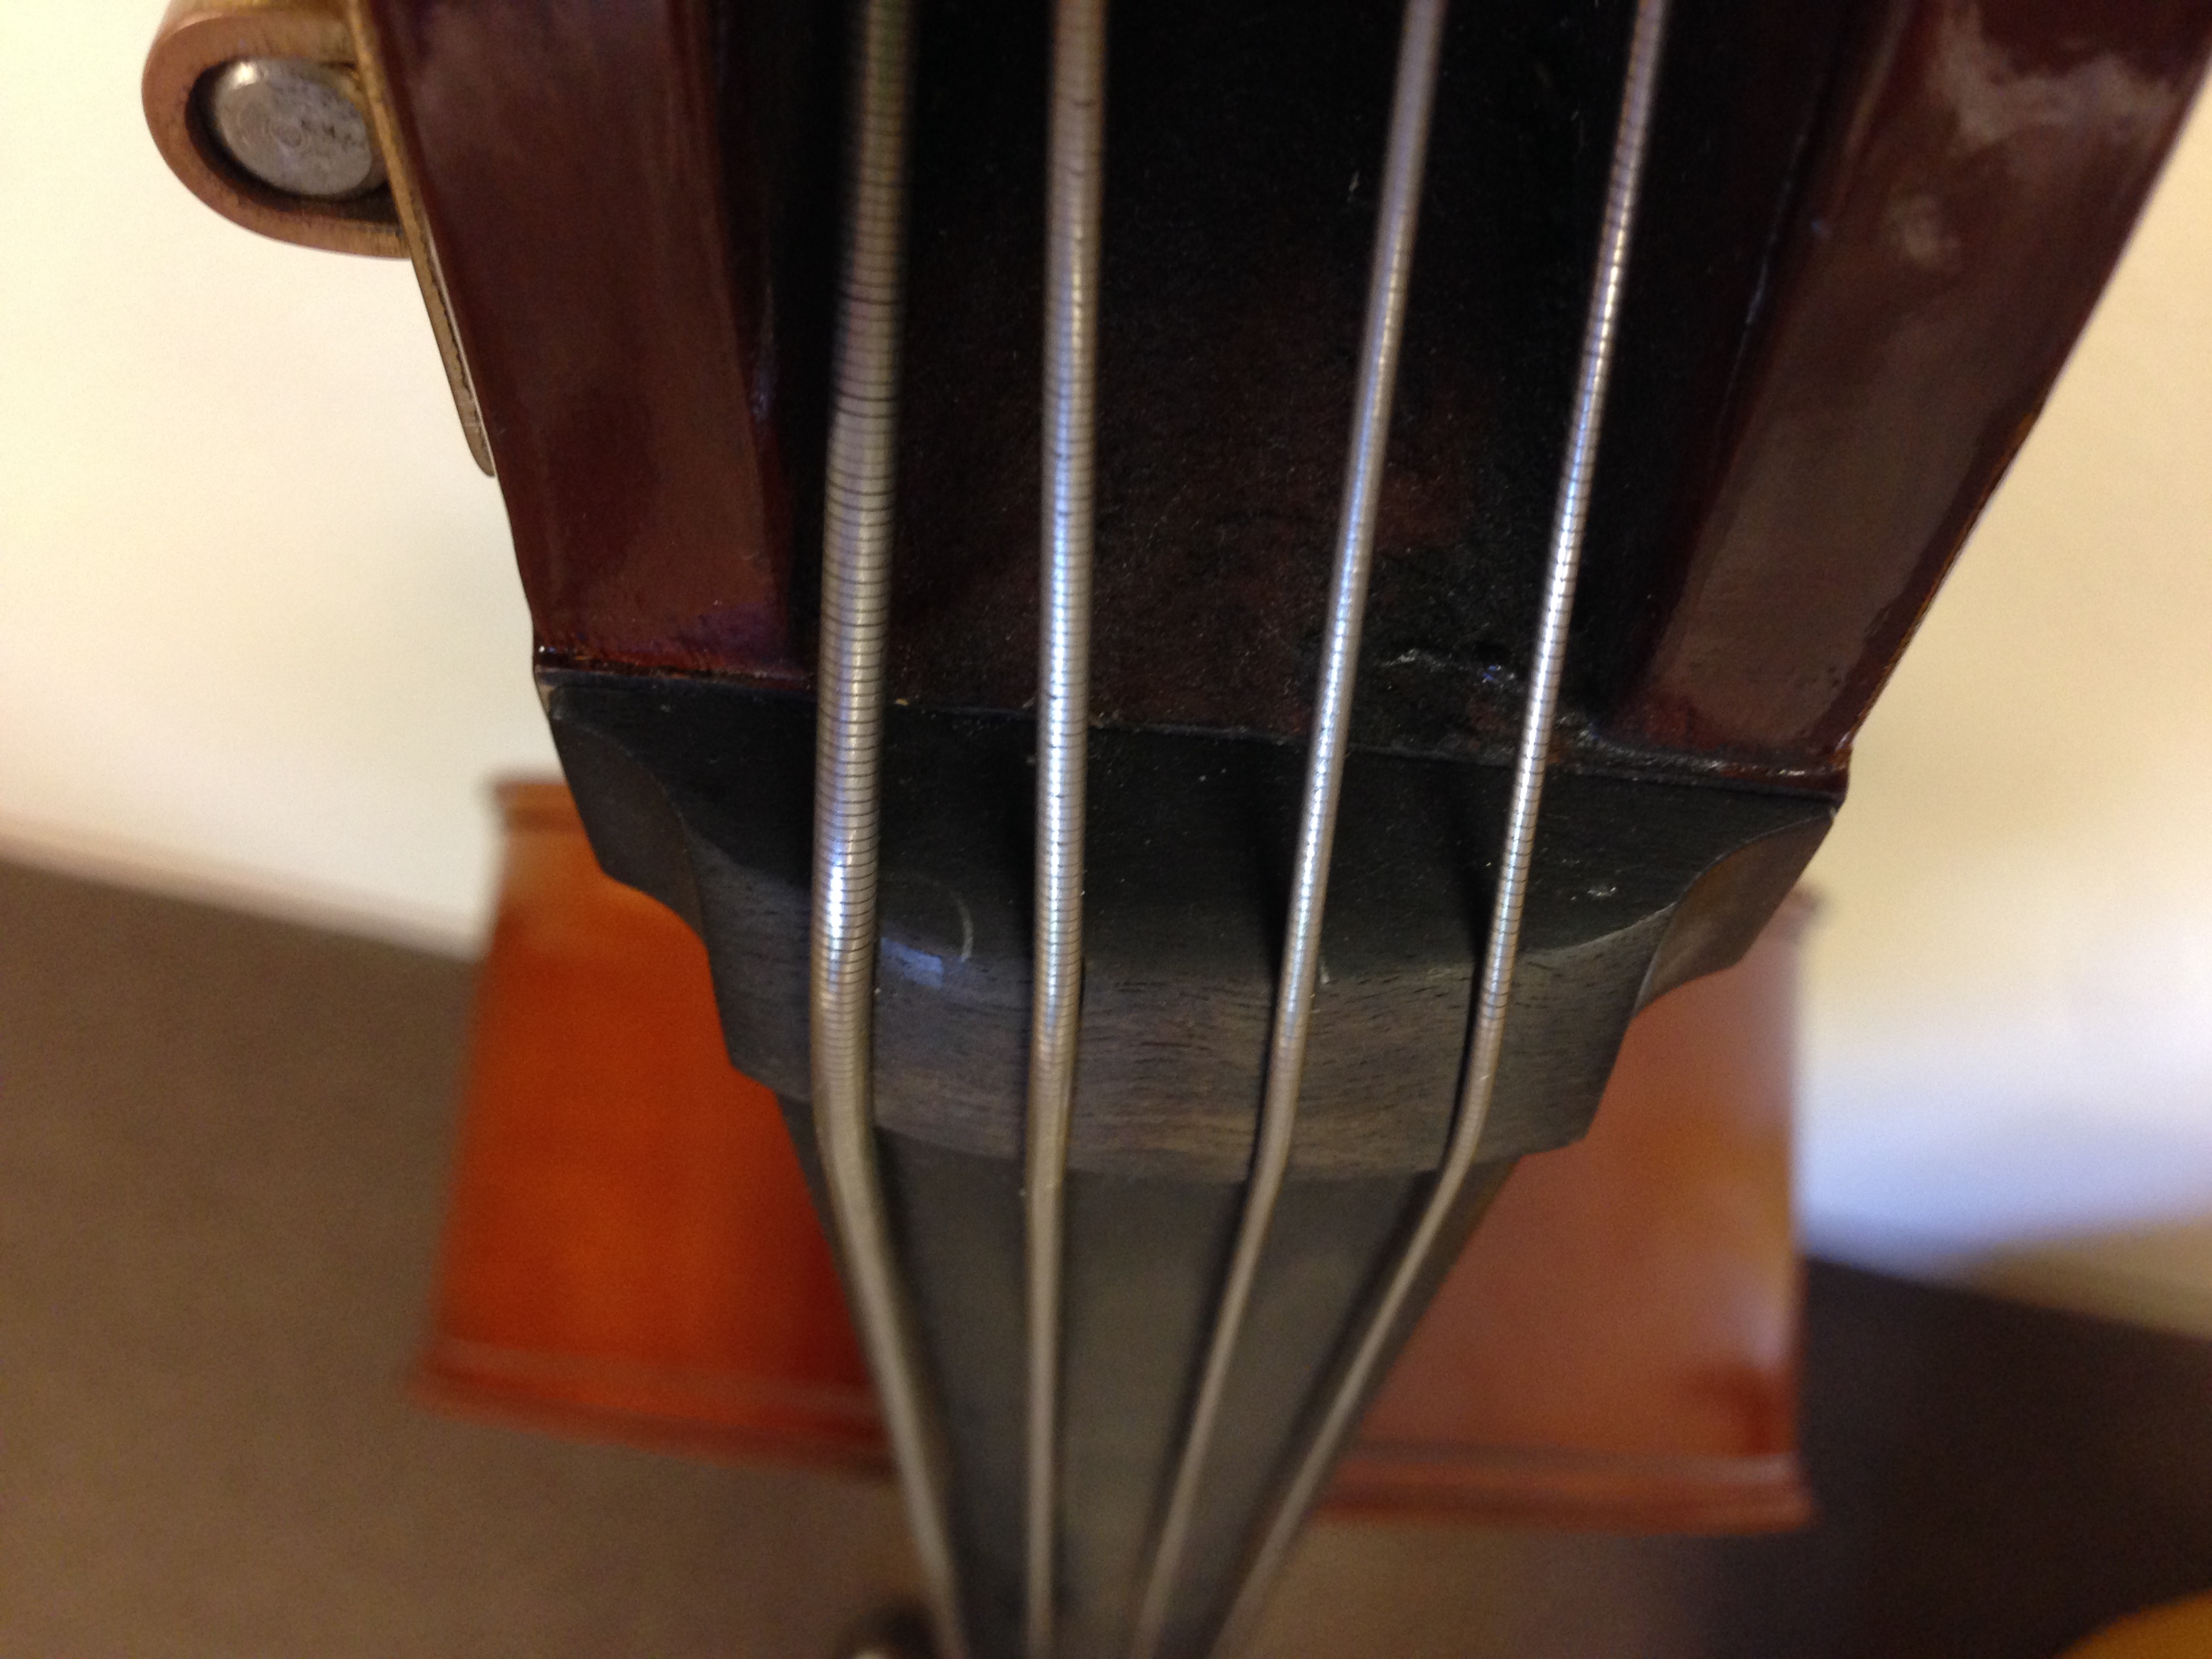
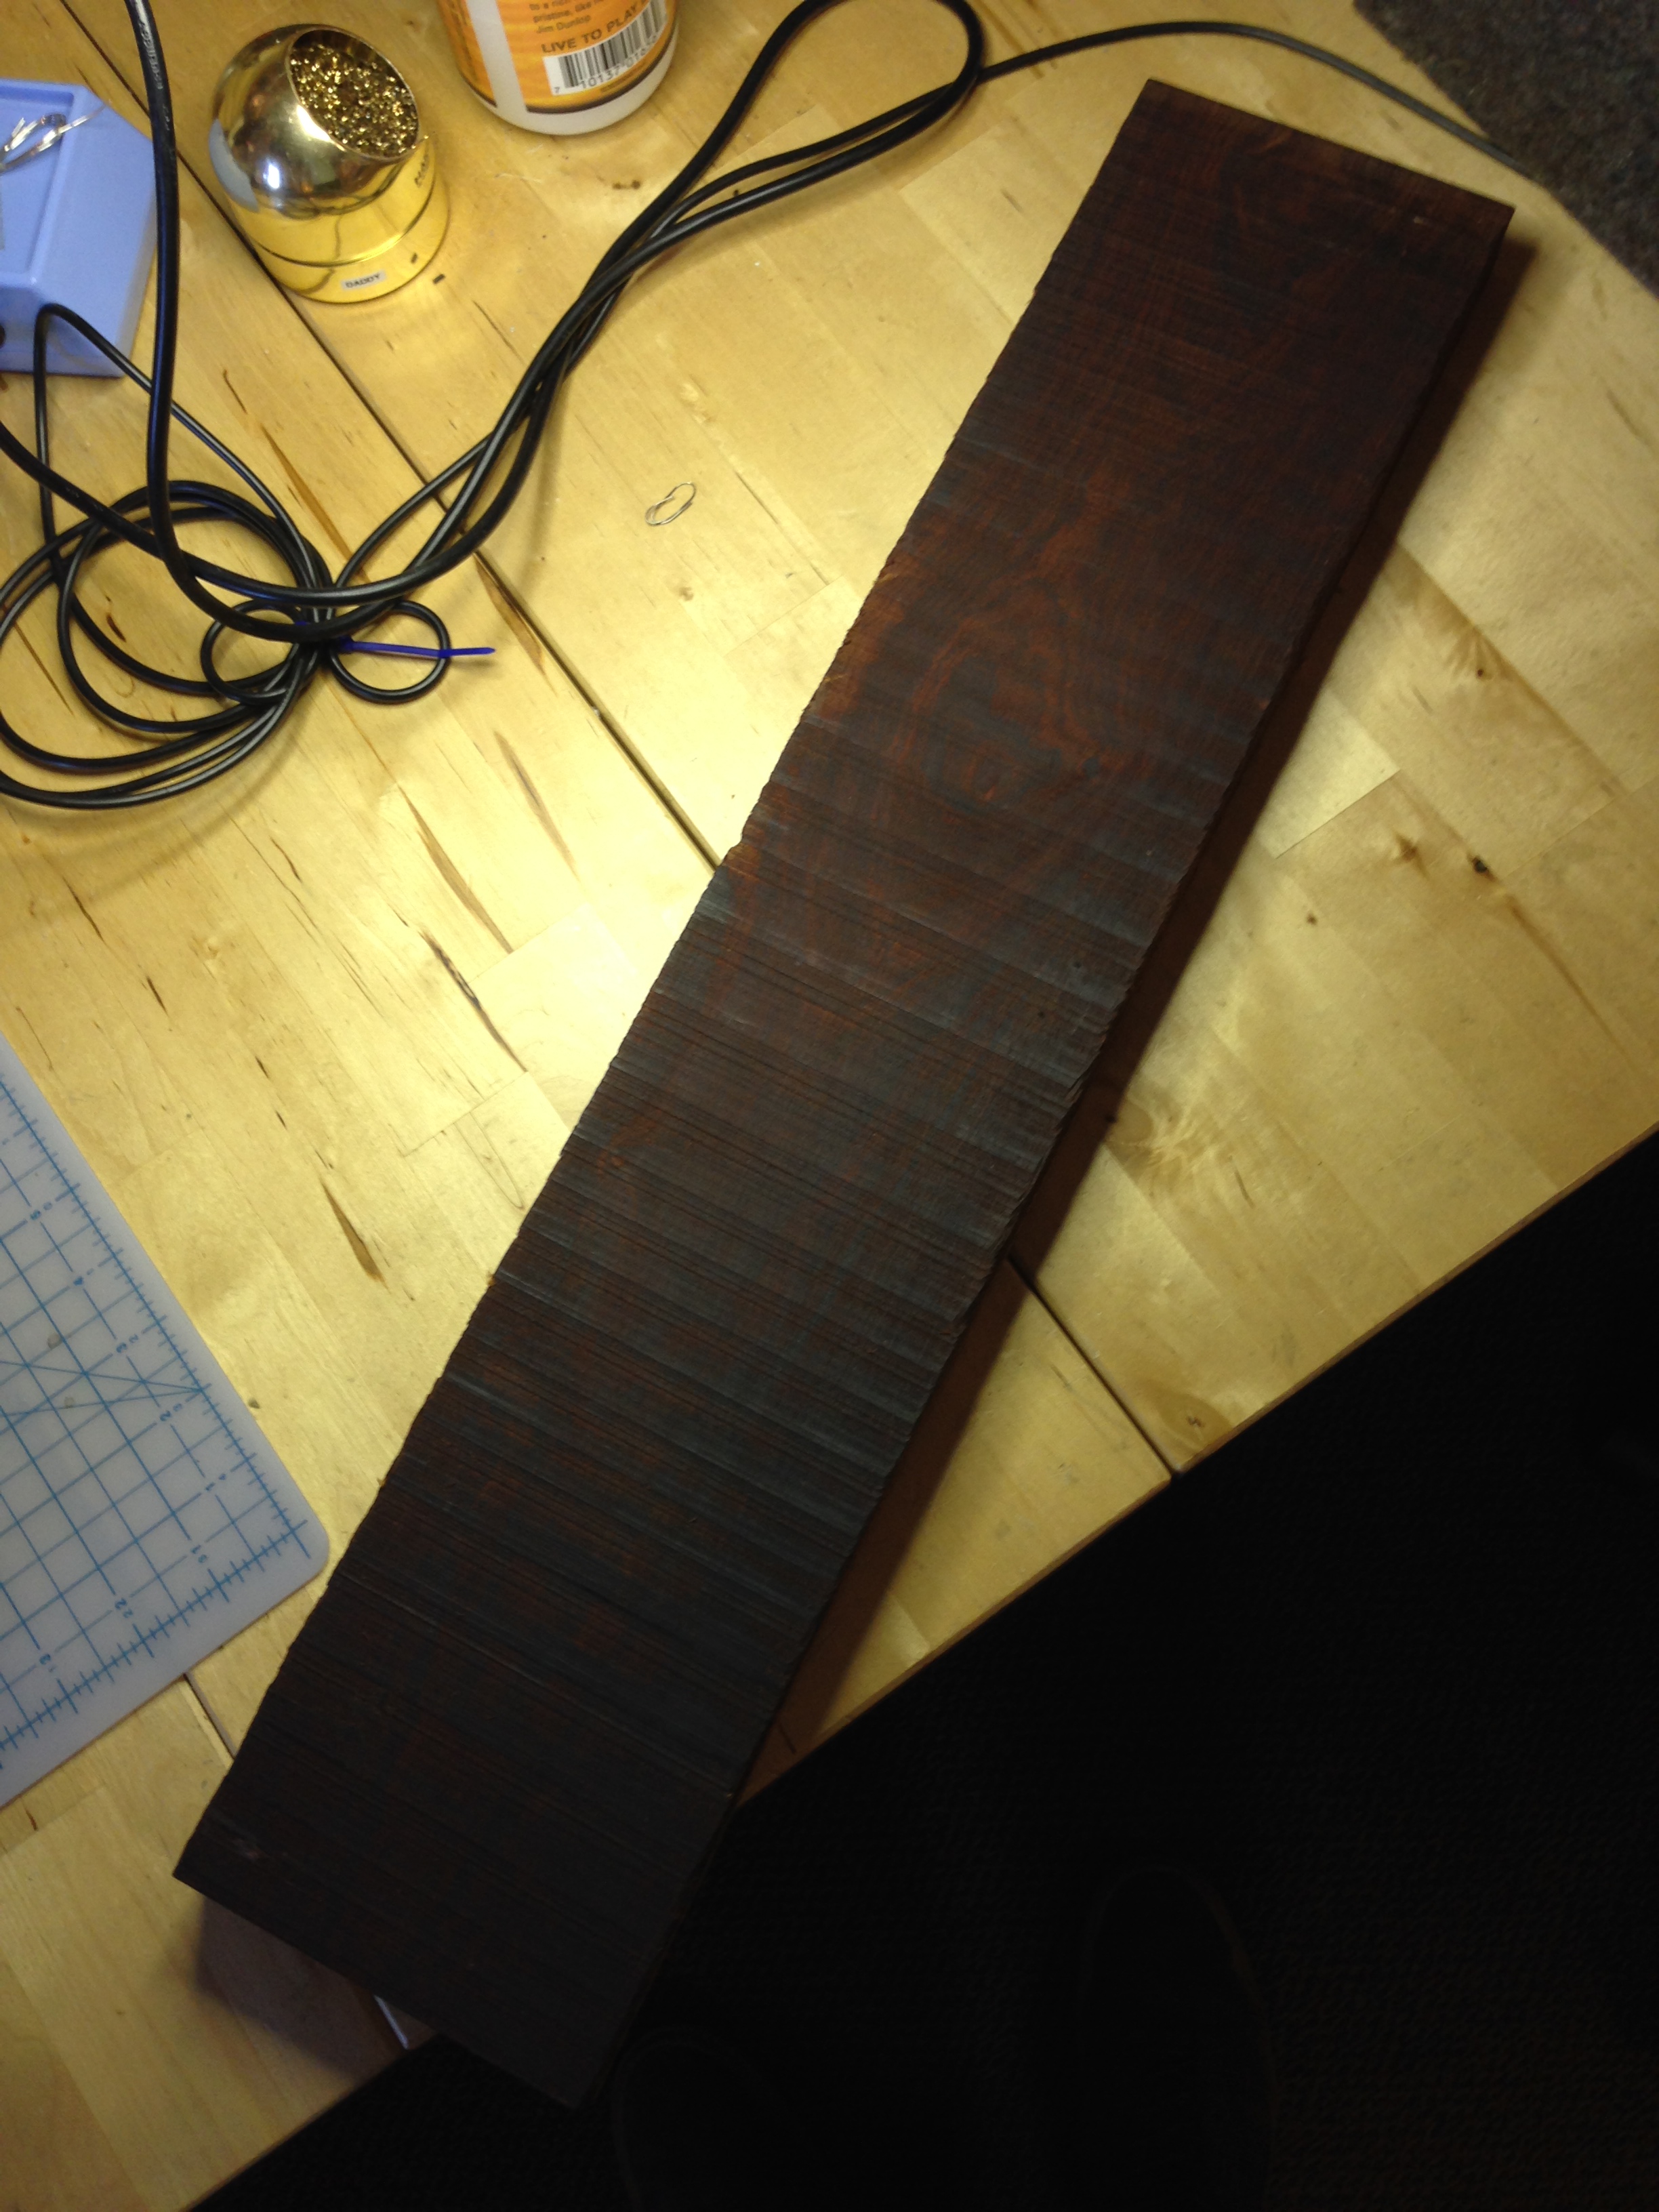
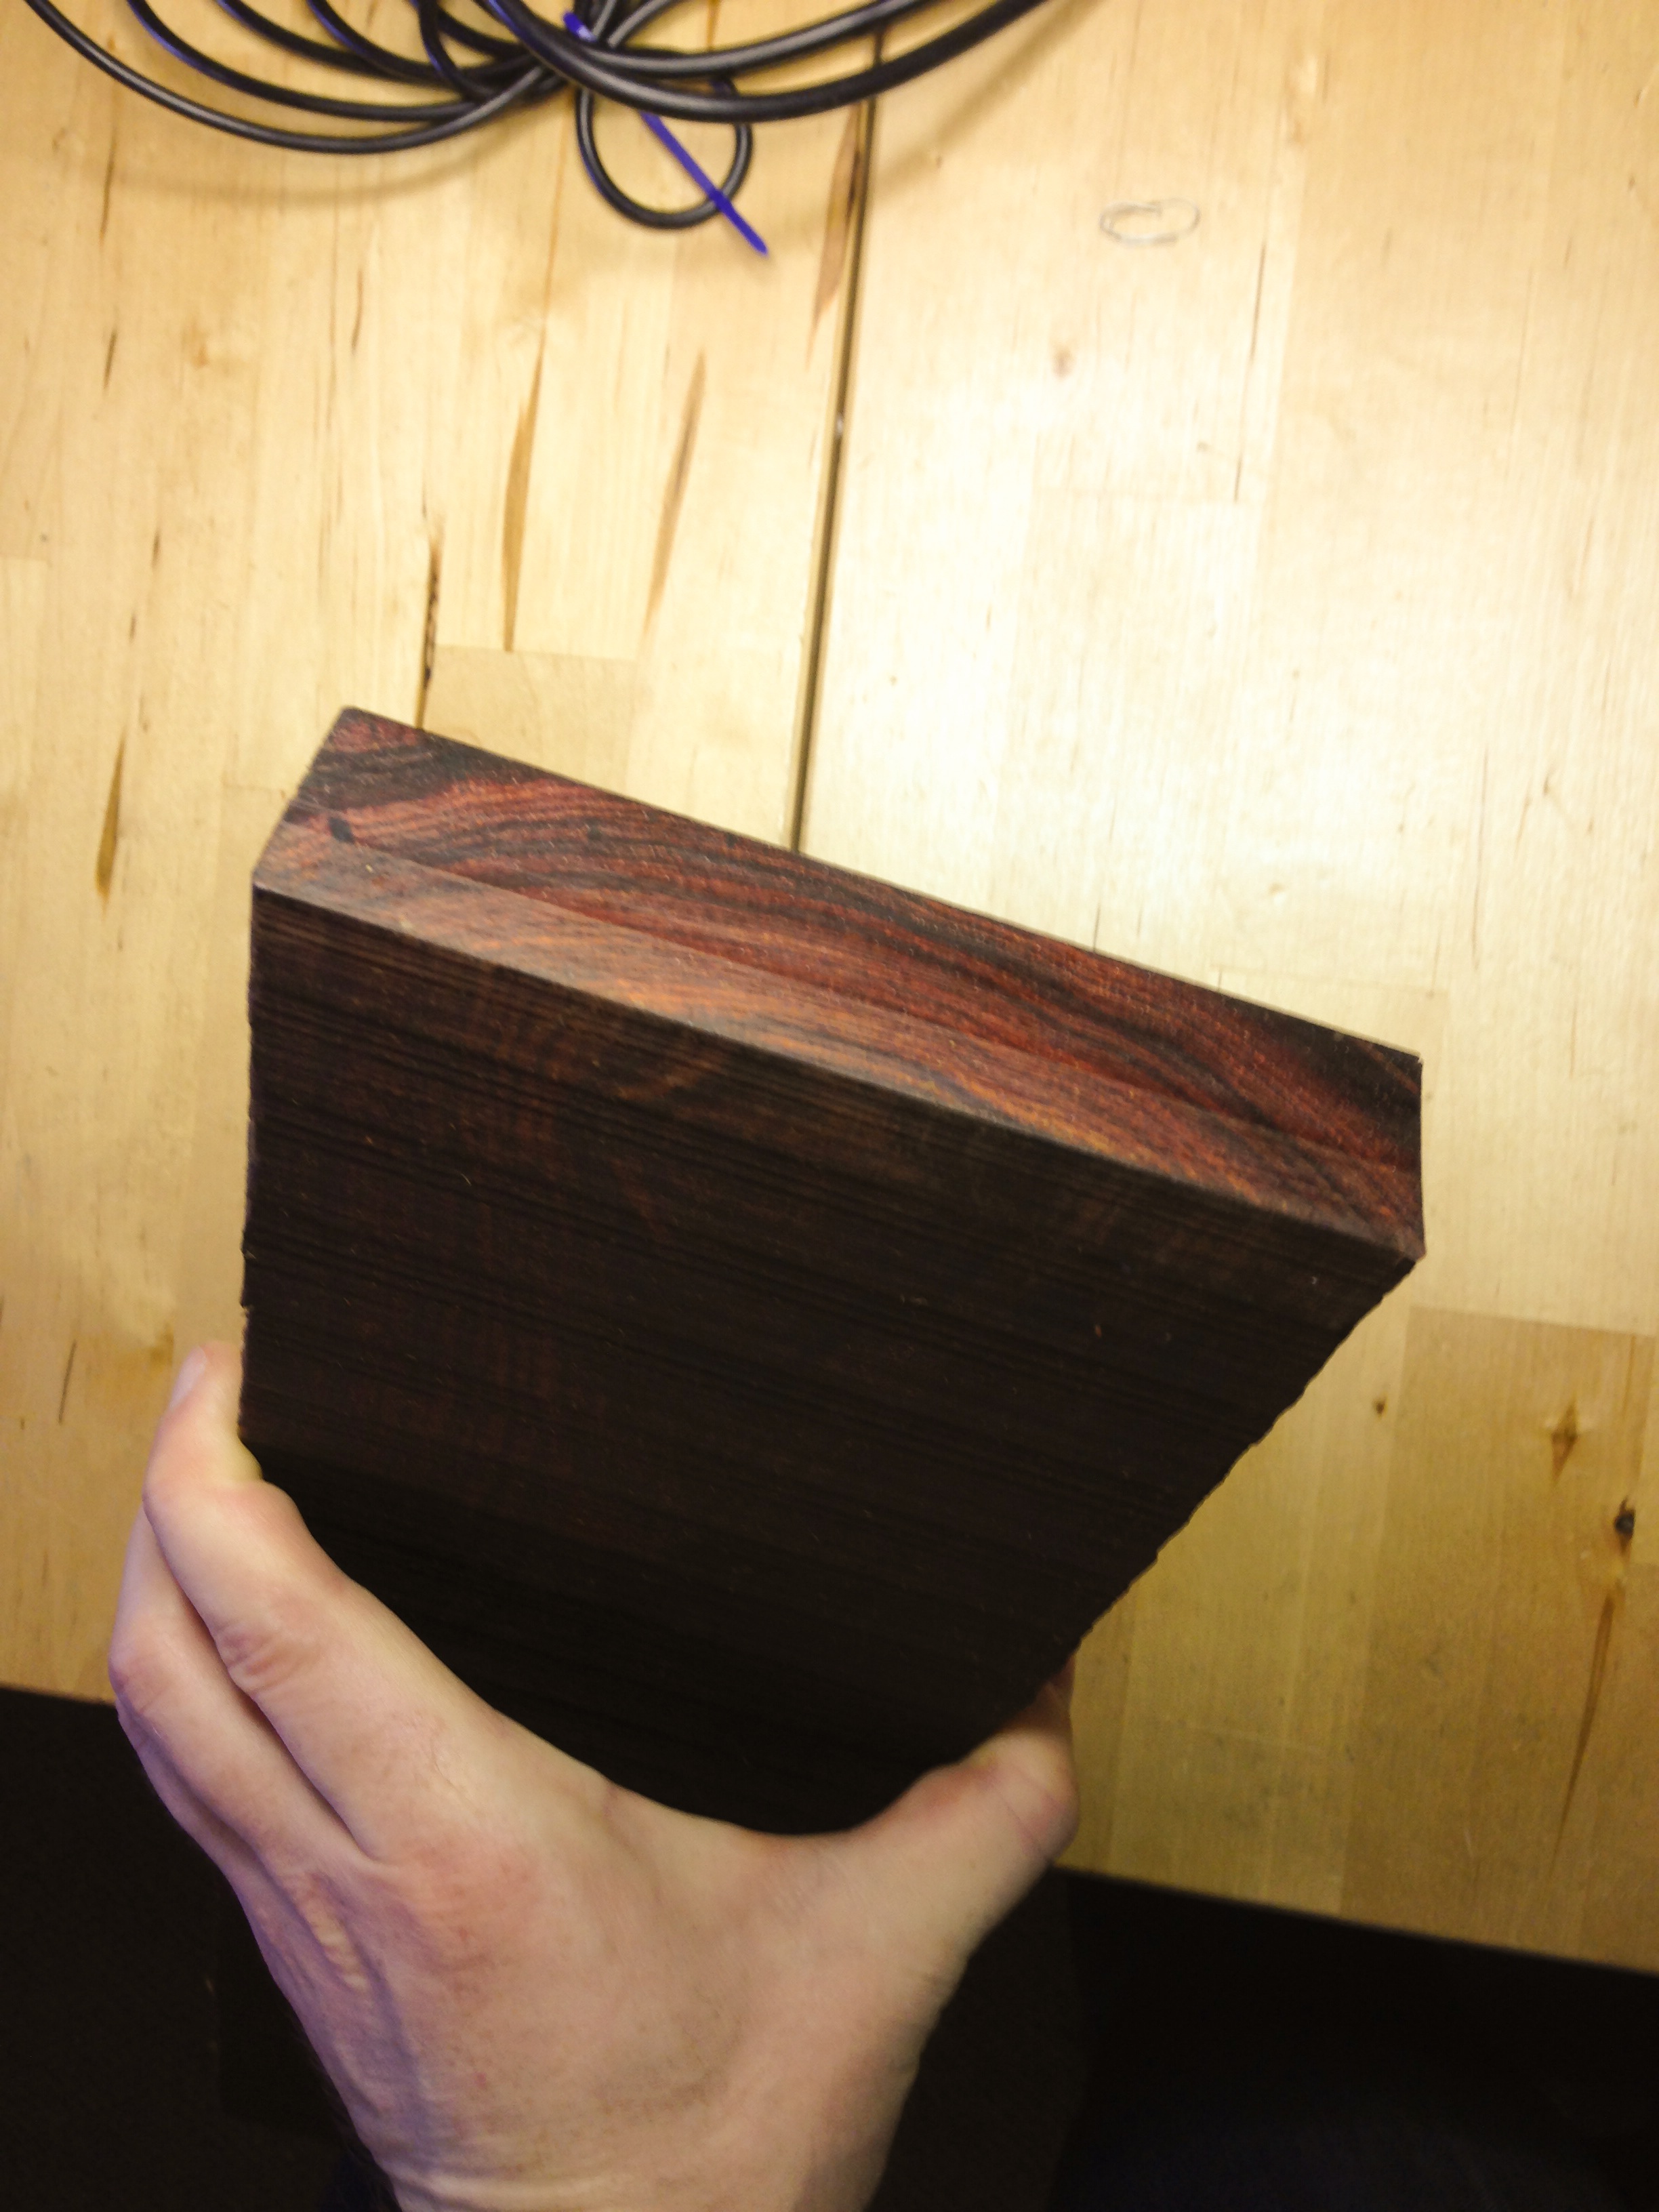
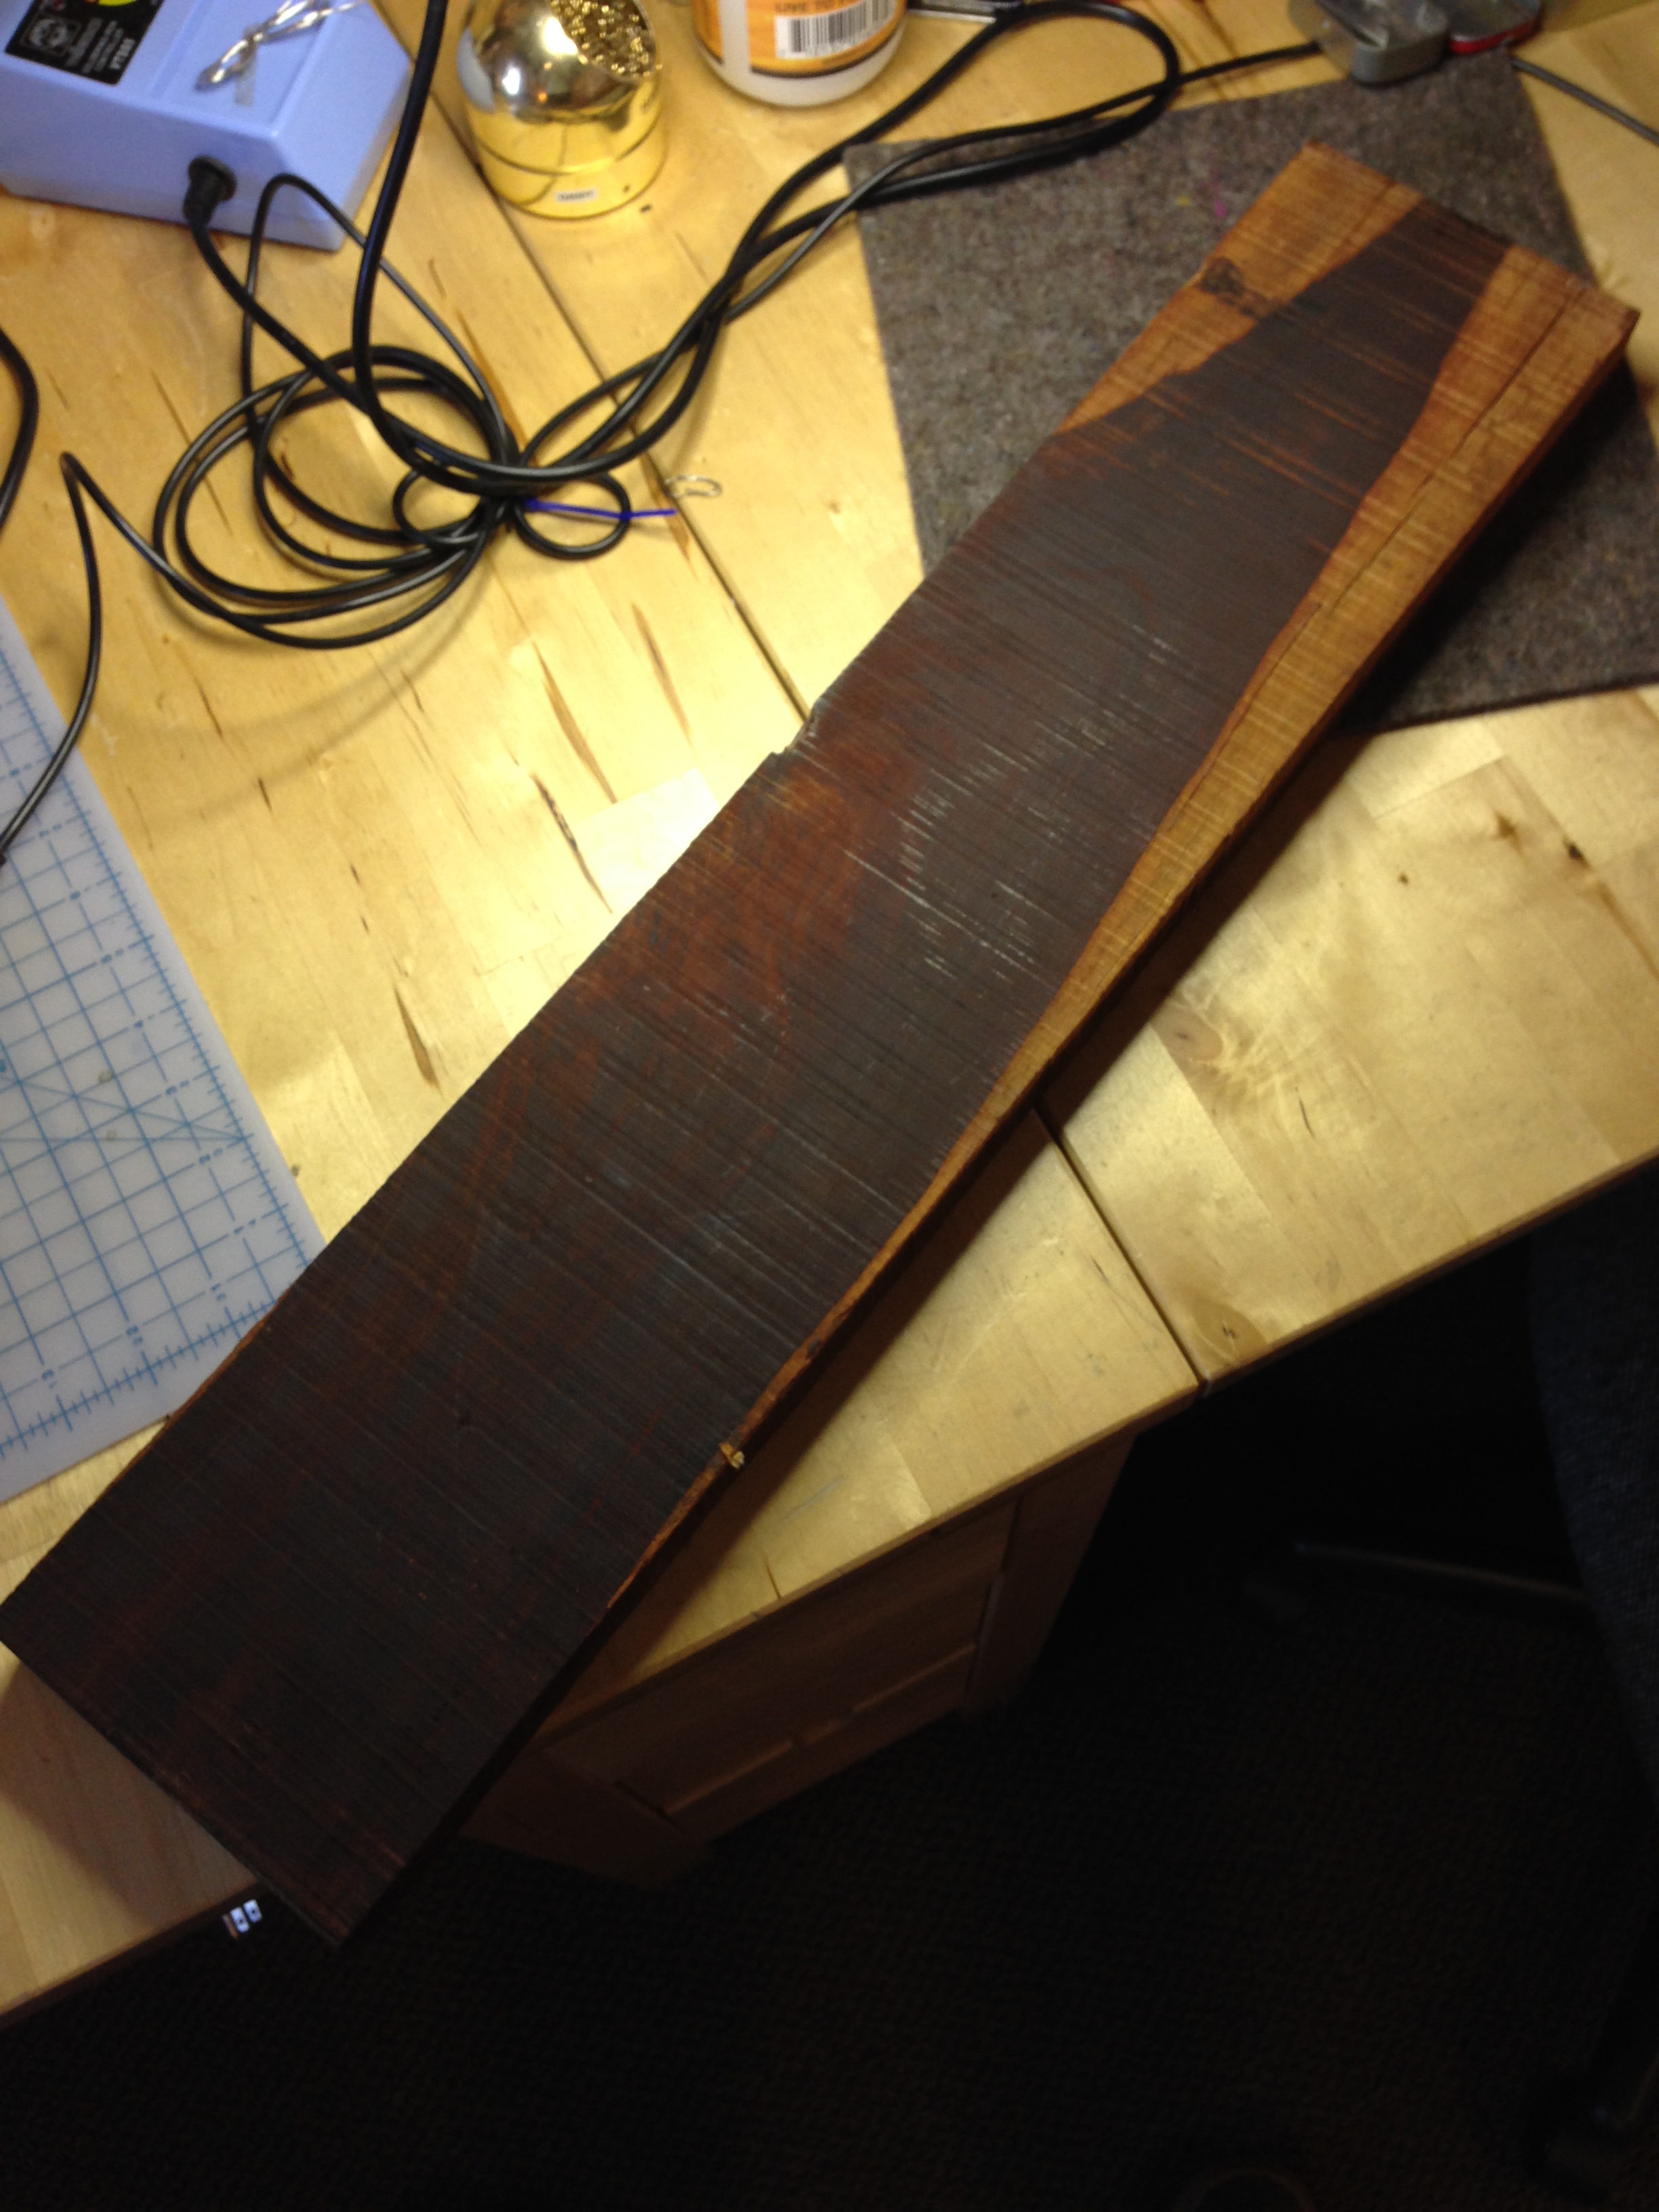
I bought a nice ebony fingerboard blank through a buddy at a violin shop and went to work. I laid the bass up, took the strings and bridge off (sound post didn't even fall--yes!), and went to work pulling the fingerboard-shaped ejectamenta off of the neck. Even just holding it compared to the ebony blank it was obviously inferior. It was light, and the black paint/dye had rubbed through to the white wood where strings contacted frequently. I scraped and planed the neck, fitted the blank to it and glued it up with the help of a second pair of hands (thanks Erik). On the second try doing this, the glue took, and I went along planing the board down to proper thickness/relief. This brought me to the next challenge.
So for the sake of brevity in my prologue: My bass isn't terribly fine, but it isn't horrible, and it holds practical and sentimental value to me. So, when it started giving me too much trouble, I decided it should be repaired rather than sold. I was in a place where I couldn't afford the bench time to get it fixed properly, but I had enough for wood, I had tools, I had time since it was off-season for DB music, and I had a measure more ambition than sense (the secret ingredient!).
Whenever I finish a project like this I decide I should have at least some documentation of it, so I took pictures of my workings and decided I'd share them here for anyone interested in doing it themselves or for anyone who even cares to pass the time.
Part I: It All Started with the Action
Even with the adjustable bridge on my axe at minimum height, I felt that the action was too high. I attributed it to not playing the DB in months and that my muscles had gone, but one day I was really digging in and felt a wobble in my pizz hand: I pulled at the fingerboard (which I never really liked--it was some "ebonized" piece of ordure) and discovered that it had delaminated quite a bit up the neck, which caused the neck to bow forward, messing with the projection and relief! This was the last straw; I was going to fix this thing.
I bought a nice ebony fingerboard blank through a buddy at a violin shop and went to work. I laid the bass up, took the strings and bridge off (sound post didn't even fall--yes!), and went to work pulling the fingerboard-shaped ejectamenta off of the neck. Even just holding it compared to the ebony blank it was obviously inferior. It was light, and the black paint/dye had rubbed through to the white wood where strings contacted frequently. I scraped and planed the neck, fitted the blank to it and glued it up with the help of a second pair of hands (thanks Erik). On the second try doing this, the glue took, and I went along planing the board down to proper thickness/relief. This brought me to the next challenge.