• TalkBass has been independent since 1998. Add your voice.
    Create a free account to reply to discussions, view embedded media, and browse with fewer display ads.
    Join freeLog in
    Want zero display ads or expanded classifieds tools? Compare plans.

Special Edition Build Off -- Fusion Bird

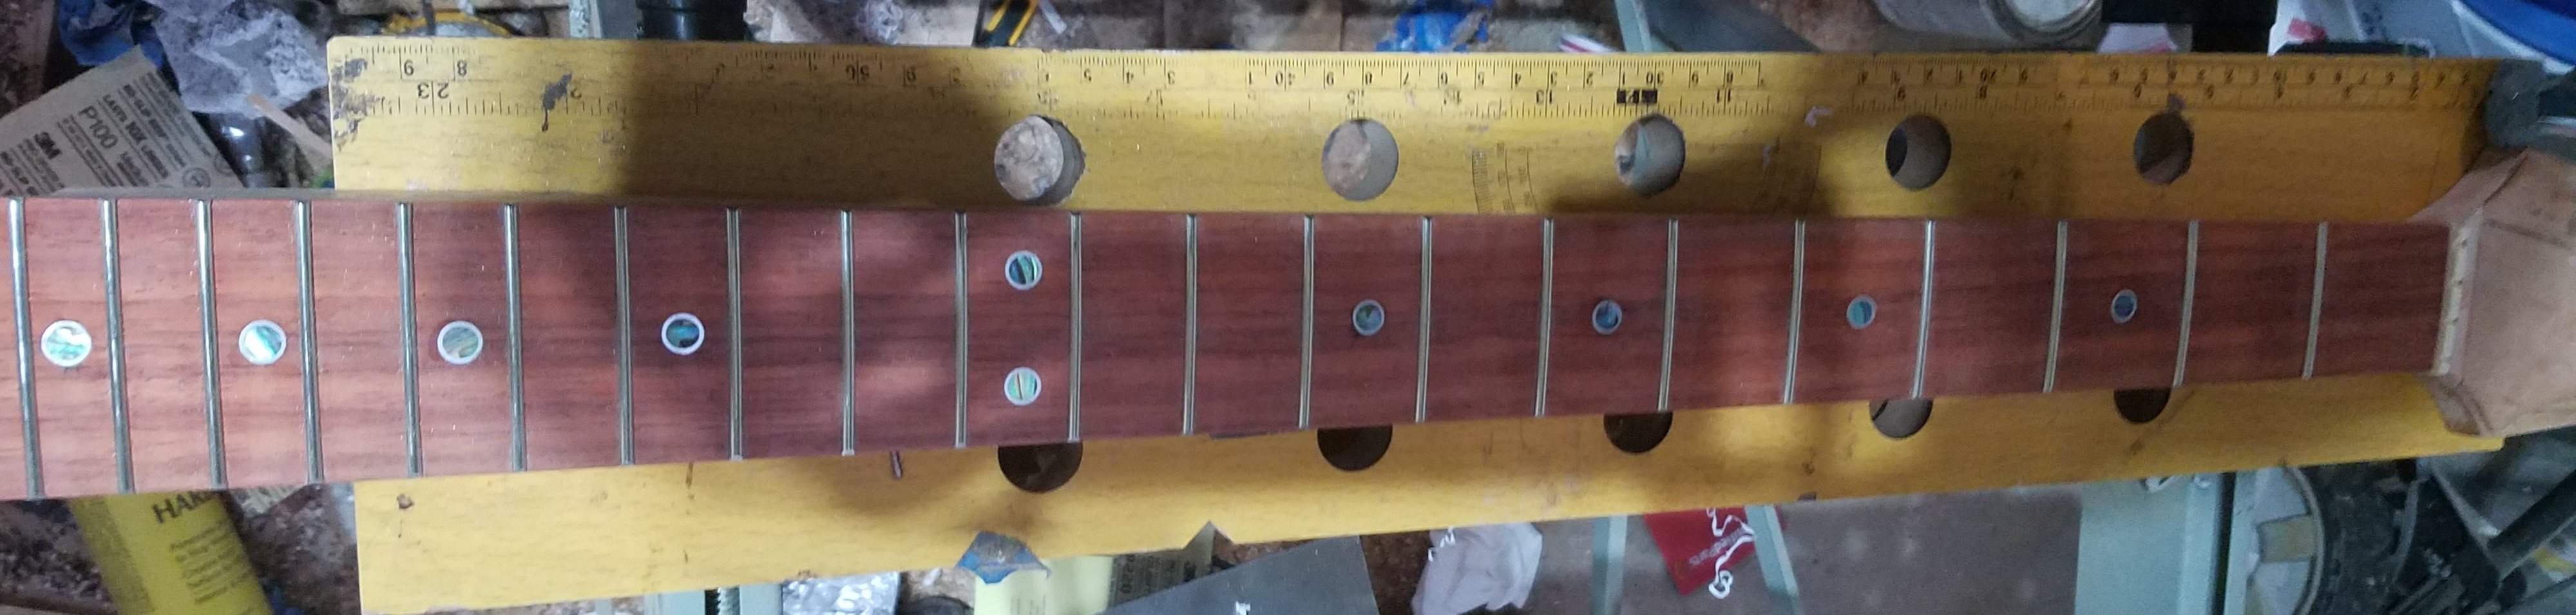
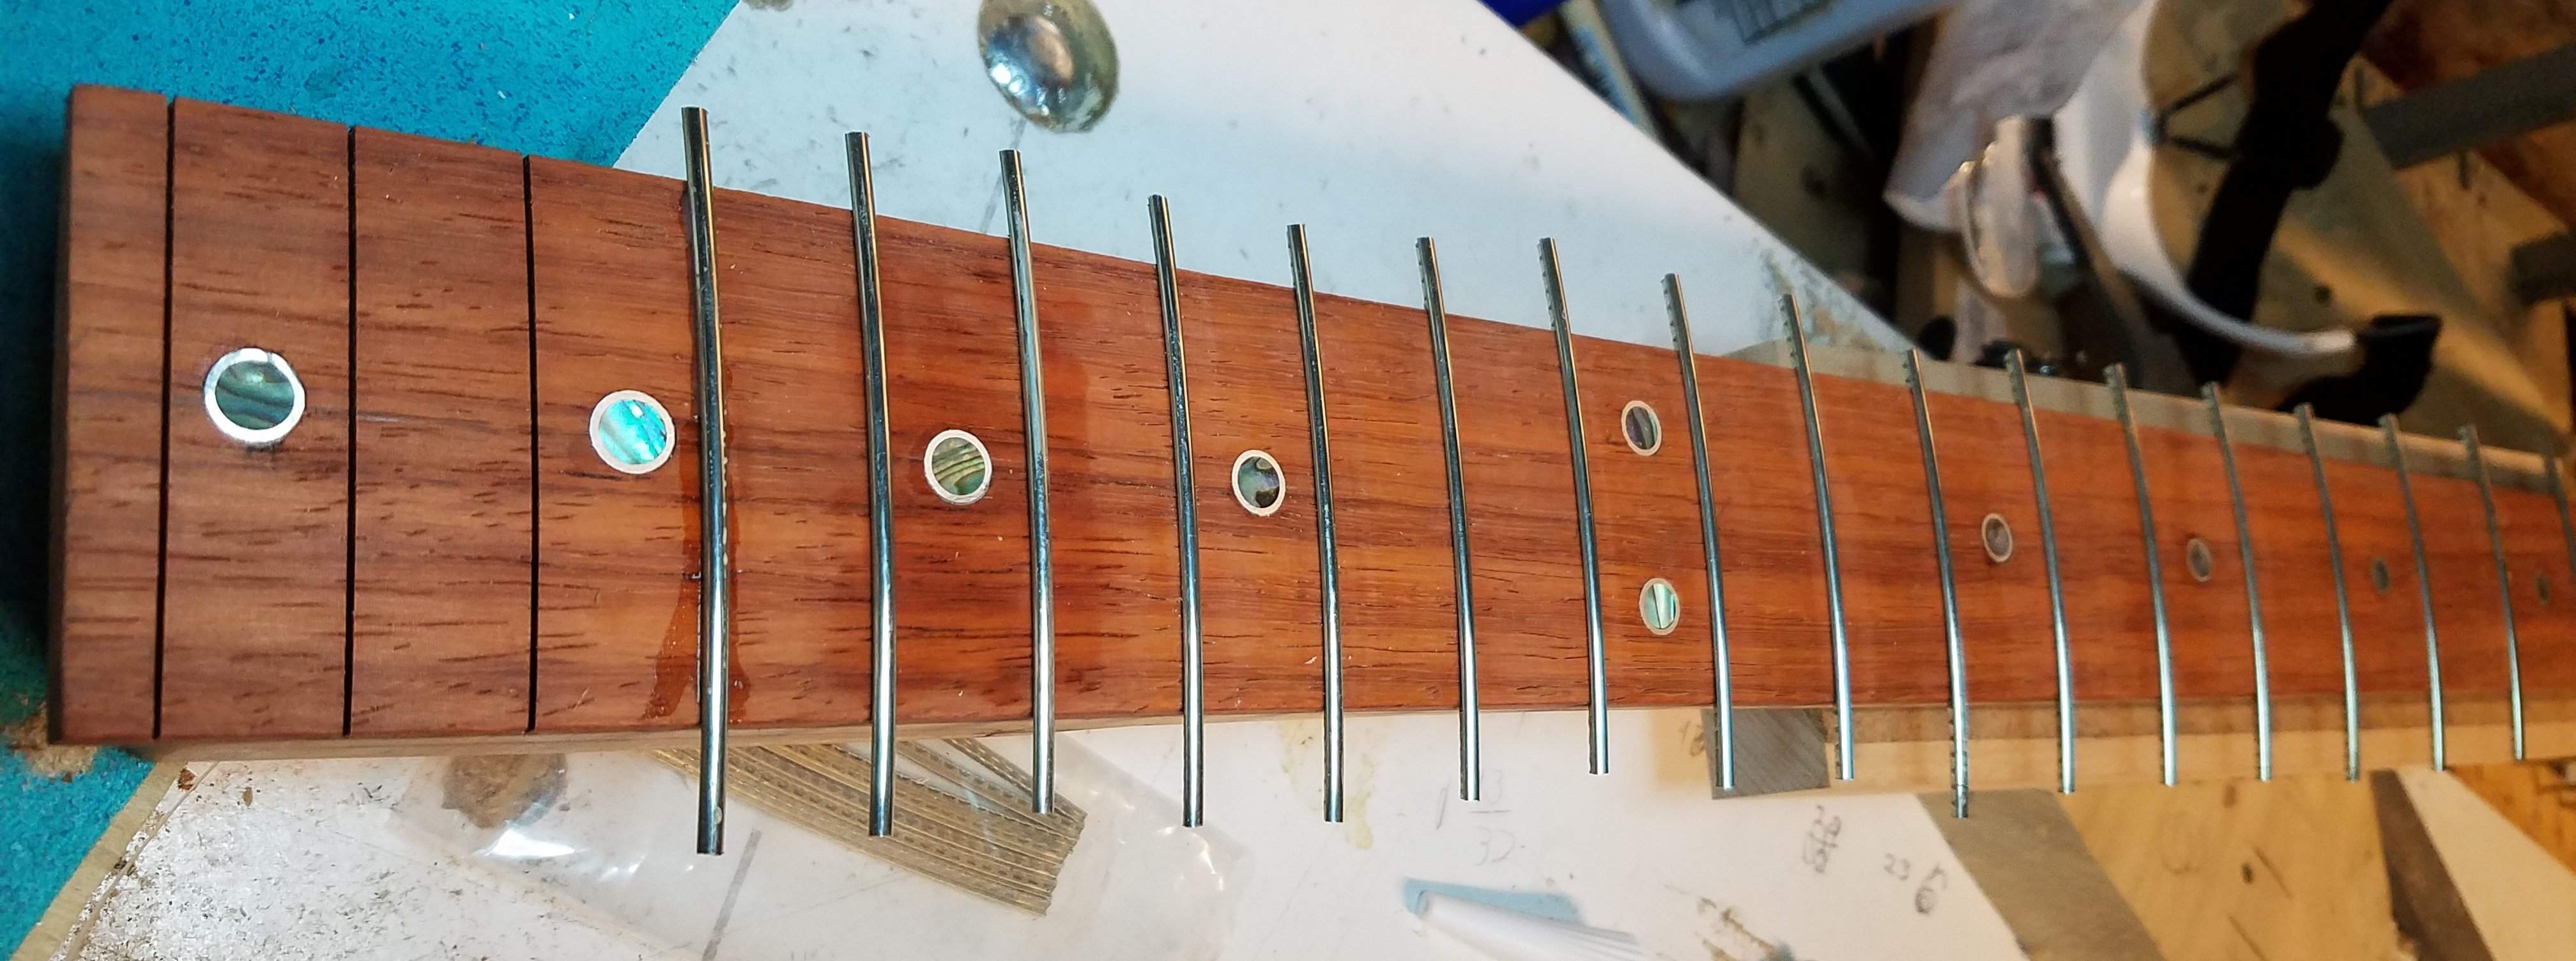
Frets in progress
20200602_084154.jpg

And done
20200602_084111.jpg

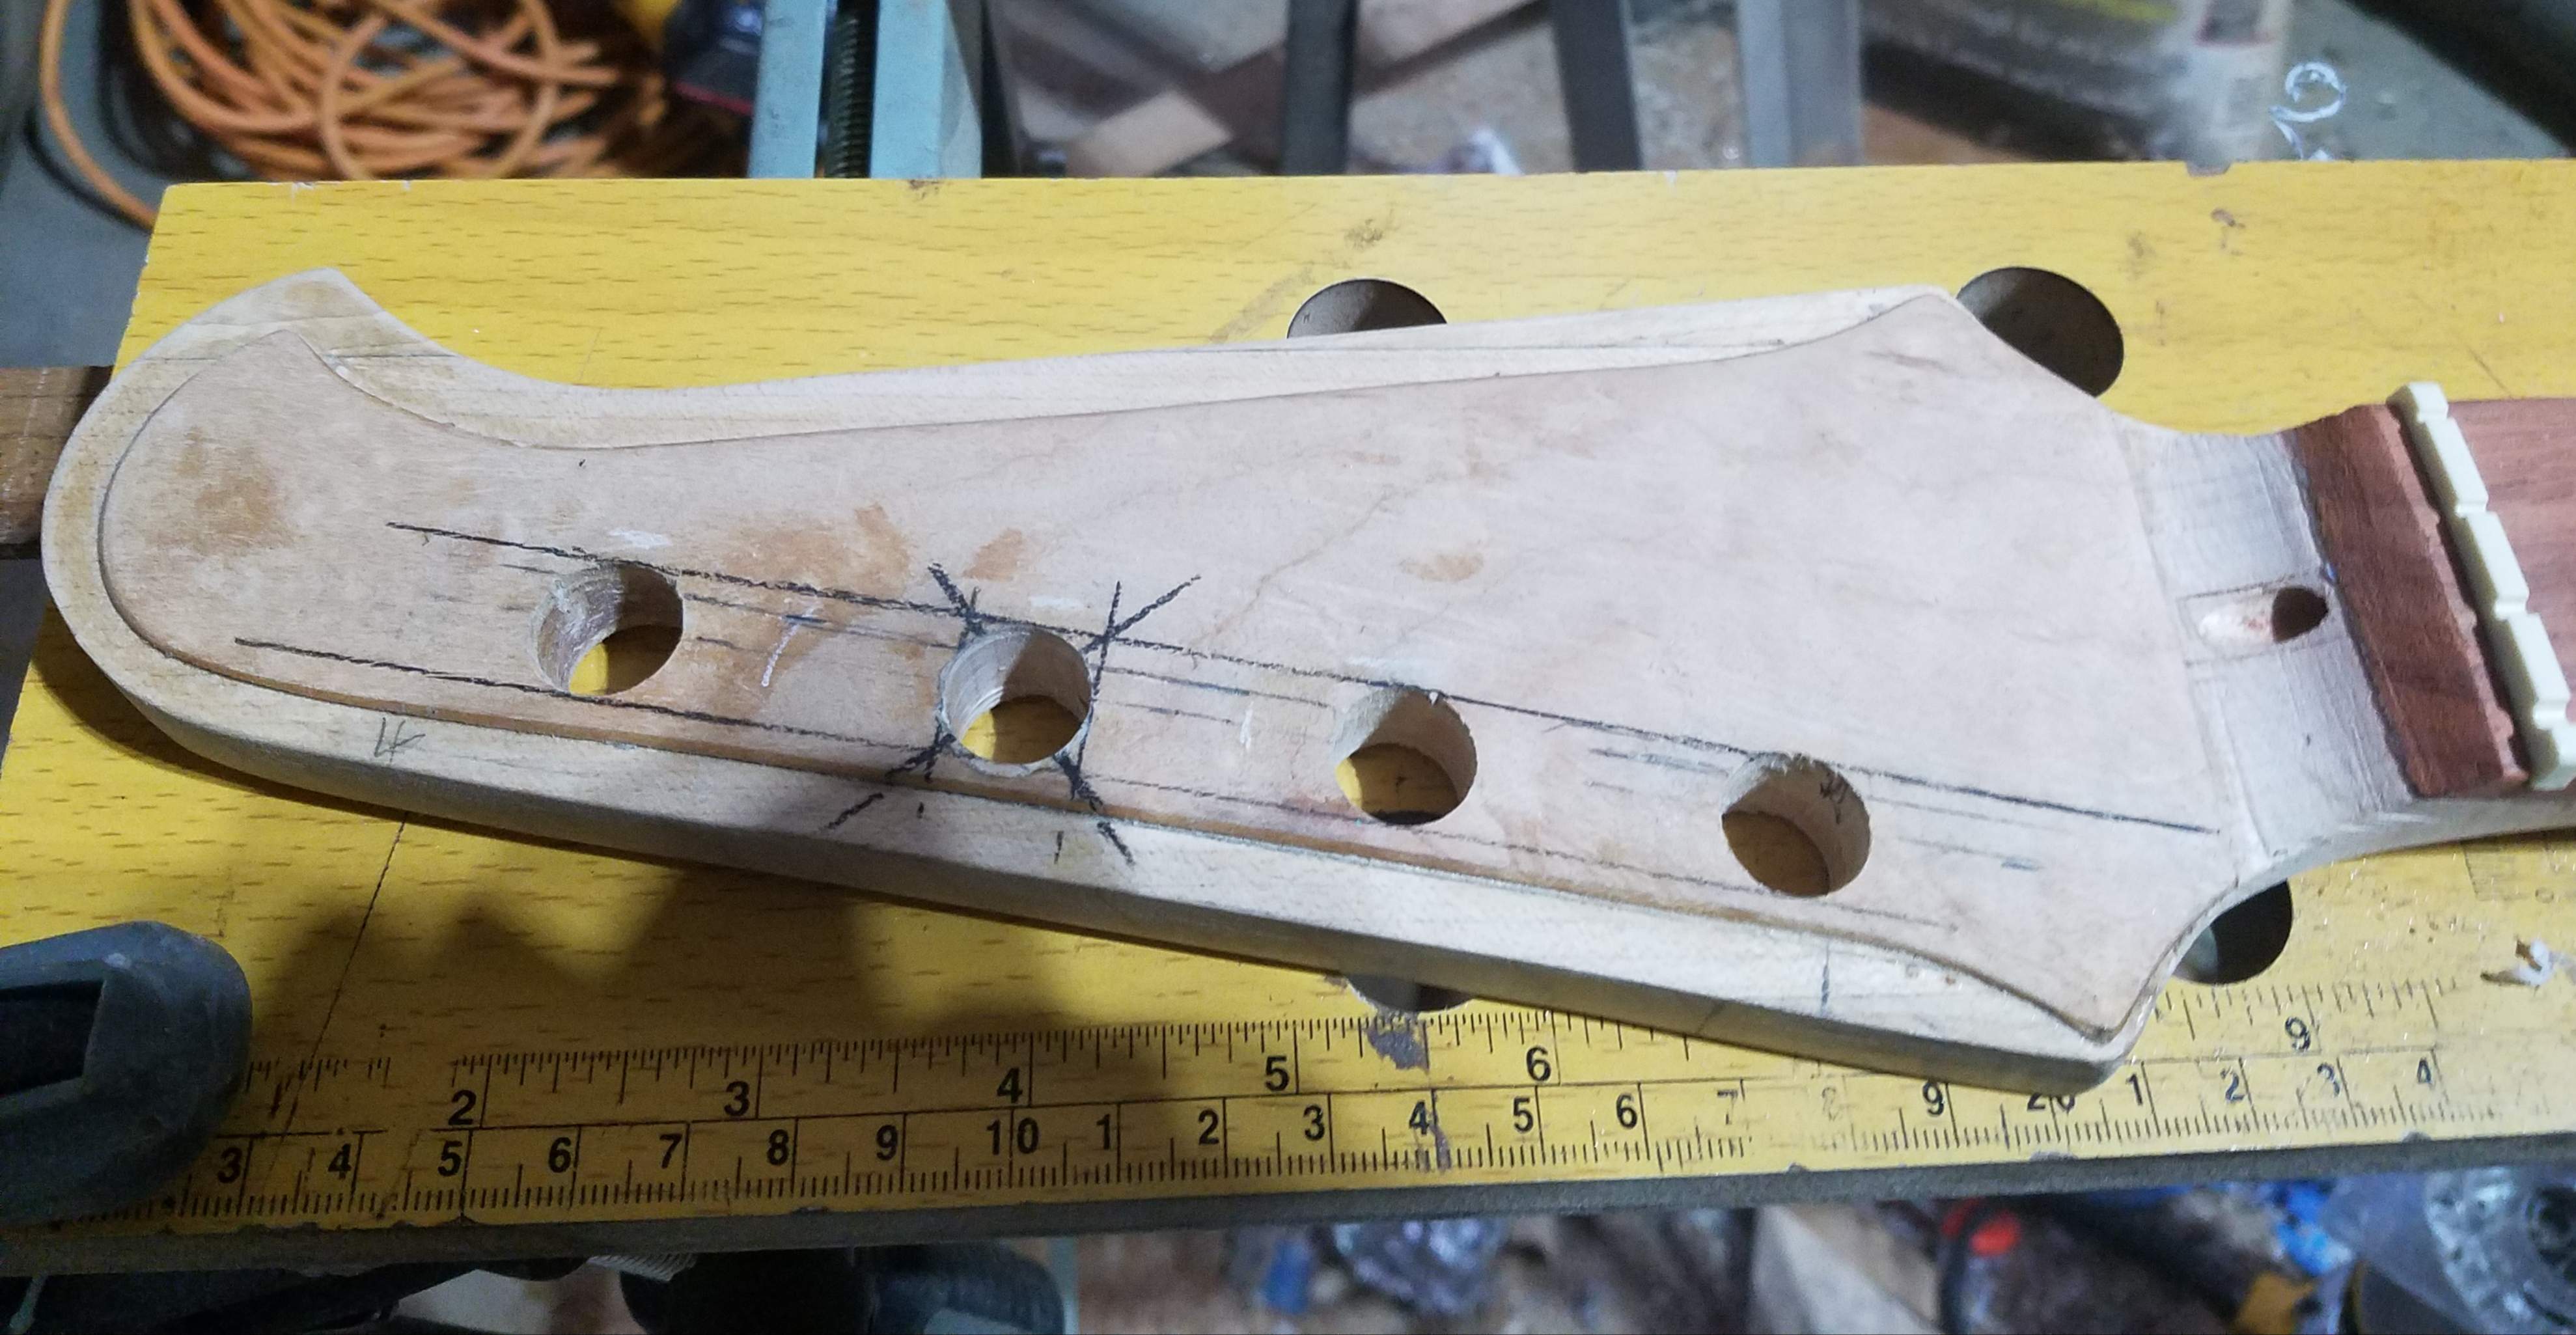
Headstock is drilled, and re-drilled... The D tuner hole was a bit off the line so I cut a 14mm maple plug, plugged the hole and re-drilled (hence the marks). I'll remove the nut and do the painting prep next.
20200602_084024.jpg
 
I had to go back and re-read your dot making method here. This is what I'm planning to do on my build as well, so pardon me while I steal your design and method. ;)
A couple questions just so I'm clear:
  1. Are you cutting the aluminum ring "taller" than the dot and then filing flush?
  2. It kind of looks like you are leaving the aluminum ring a bit proud and "capping" the dot with a CA flood, no?
  3. I'd love to see your fixture that you use to clean up the dot assemblies, if you don't mind.
 
I had to go back and re-read your dot making method here. This is what I'm planning to do on my build as well, so pardon me while I steal your design and method. ;)

A couple questions just so I'm clear:
  1. Are you cutting the aluminum ring "taller" than the dot and then filing flush?
  2. It kind of looks like you are leaving the aluminum ring a bit proud and "capping" the dot with a CA flood, no?
  3. I'd love to see your fixture that you use to clean up the dot assemblies, if you don't mind.
Steal away. I'm pretty sure I stole the idea from somebody else! ;)

1. the ring is about 1/64" taller than the dot -- basically I extend it through the cutting fixture until I just see a bit protruding

2. I leave it a bit proud in the so that I can remove the tooling marks left by the saw . The cap just kind of occurs as when you put a drop in the center to secure it to the ring.

3. I could take a picture of it but its pretty simple: A 3/4" thick piece of oak scrap with a 5/16" diameter hole drilled with a Forstner bit to a depth equal (more or less) to the thickness of the dot. I drilled a 1/8" hole through the board centered in the 5/16" hole so I could push the trimmed piece out
 
Looks cool, you gonna get all your entries in? Its gonna be tight...
I think so. All 3 are down to finishing and assembly. I plan to get the blue done on this one today/tomorrow, the teal on the Bird VI Tomorrow/Tuesday and the K clear coat on Wednesday. Also next Friday is my 'off-Friday' which should help.
 
I think so. All 3 are down to finishing and assembly. I plan to get the blue done on this one today/tomorrow, the teal on the Bird VI Tomorrow/Tuesday and the K clear coat on Wednesday. Also next Friday is my 'off-Friday' which should help.

<<crystal ball mode on>>

On Sunday, June 21st , 2020, 1:59:30pm GMT -6 Jon will post the last of his 3.

<<crystal ball mode off>>
 
So... malfunction on the spray gun (actually an ID-10-T error) spit ugly blobs of paint. I'm going to sand back to white/ touch up, then follow @Freekmagnet 's lead and use Duplicolor Metalspecks blue and save the pearl for another build.

Yeah, the Duplicolor works great. It goes down real smooth. If I were to do it again, I’d let it cure for a few days before clear coating with Varathane. I went straight to clear coating after a day. It ended up working OK, but when I pulled the masking tape off of the neck pocket, the seams kinda lifted up. It was only the tiniest of tiny amounts and I was able to fix it no prob, but it was a little scary for a second.

In the future, I’ll turn to the Duplicolor whenever I want a metallic finish. It was waaaay less hassle than mixing color into Varathane.

Nice looking build, BTW. Can’t wait to see it finished!
 
Yeah, the Duplicolor works great. It goes down real smooth. If I were to do it again, I’d let it cure for a few days before clear coating with Varathane. I went straight to clear coating after a day. It ended up working OK, but when I pulled the masking tape off of the neck pocket, the seams kinda lifted up. It was only the tiniest of tiny amounts and I was able to fix it no prob, but it was a little scary for a second.

In the future, I’ll turn to the Duplicolor whenever I want a metallic finish. It was waaaay less hassle than mixing color into Varathane.

Nice looking build, BTW. Can’t wait to see it finished!
Thanks for the tip on the clear-coat!

I'm willing to try the Varathane mix again for metallic; just not on a tight timeline. :D

Thanks! I can't wait to see it finished either. :woot:
 
The problem I had with Createx (I am assuming you’re mixing Createx and Varathane) was that I couldn’t get a thin or smooth color coat. I laid down a lot of paint and it it got really orange peely. If it was just a solid color, I could have sanded it smooth, but you can’t really sand metallic finishes. (I have found that it is not ideal to sand color either, but sometimes you gotta do what you gotta do.) I used about 3/4 of a rattle can of Duplicolor Metal Specks and covered with a nice, thin layer no prob.
 
  • Like
Reactions: Fat Freddy