I was discussing how great I thought @Matt Liebenau’s idea was to use self centering “hinge” drill bits for drilling pickguard screw holes, bridge screw holes, etc , and it got me thinking about some GREAT but inexpensive tools that make building things easier, more efficient, and often more “accurate”.
“Inexpensive” means different things to different people, so for the sake of keeping things affordable in general, I think I’ll limit this to items that are $50 or less…. UNLESS it’s something a little more that truly is worth the few extra $$
I’ll be using the format of:
What is it?
What do I use it for ?
Approximate price at time of posting this.
Amazon or other link to product
I’ll start, but please… I encourage you to add to the list !!!
*****************************
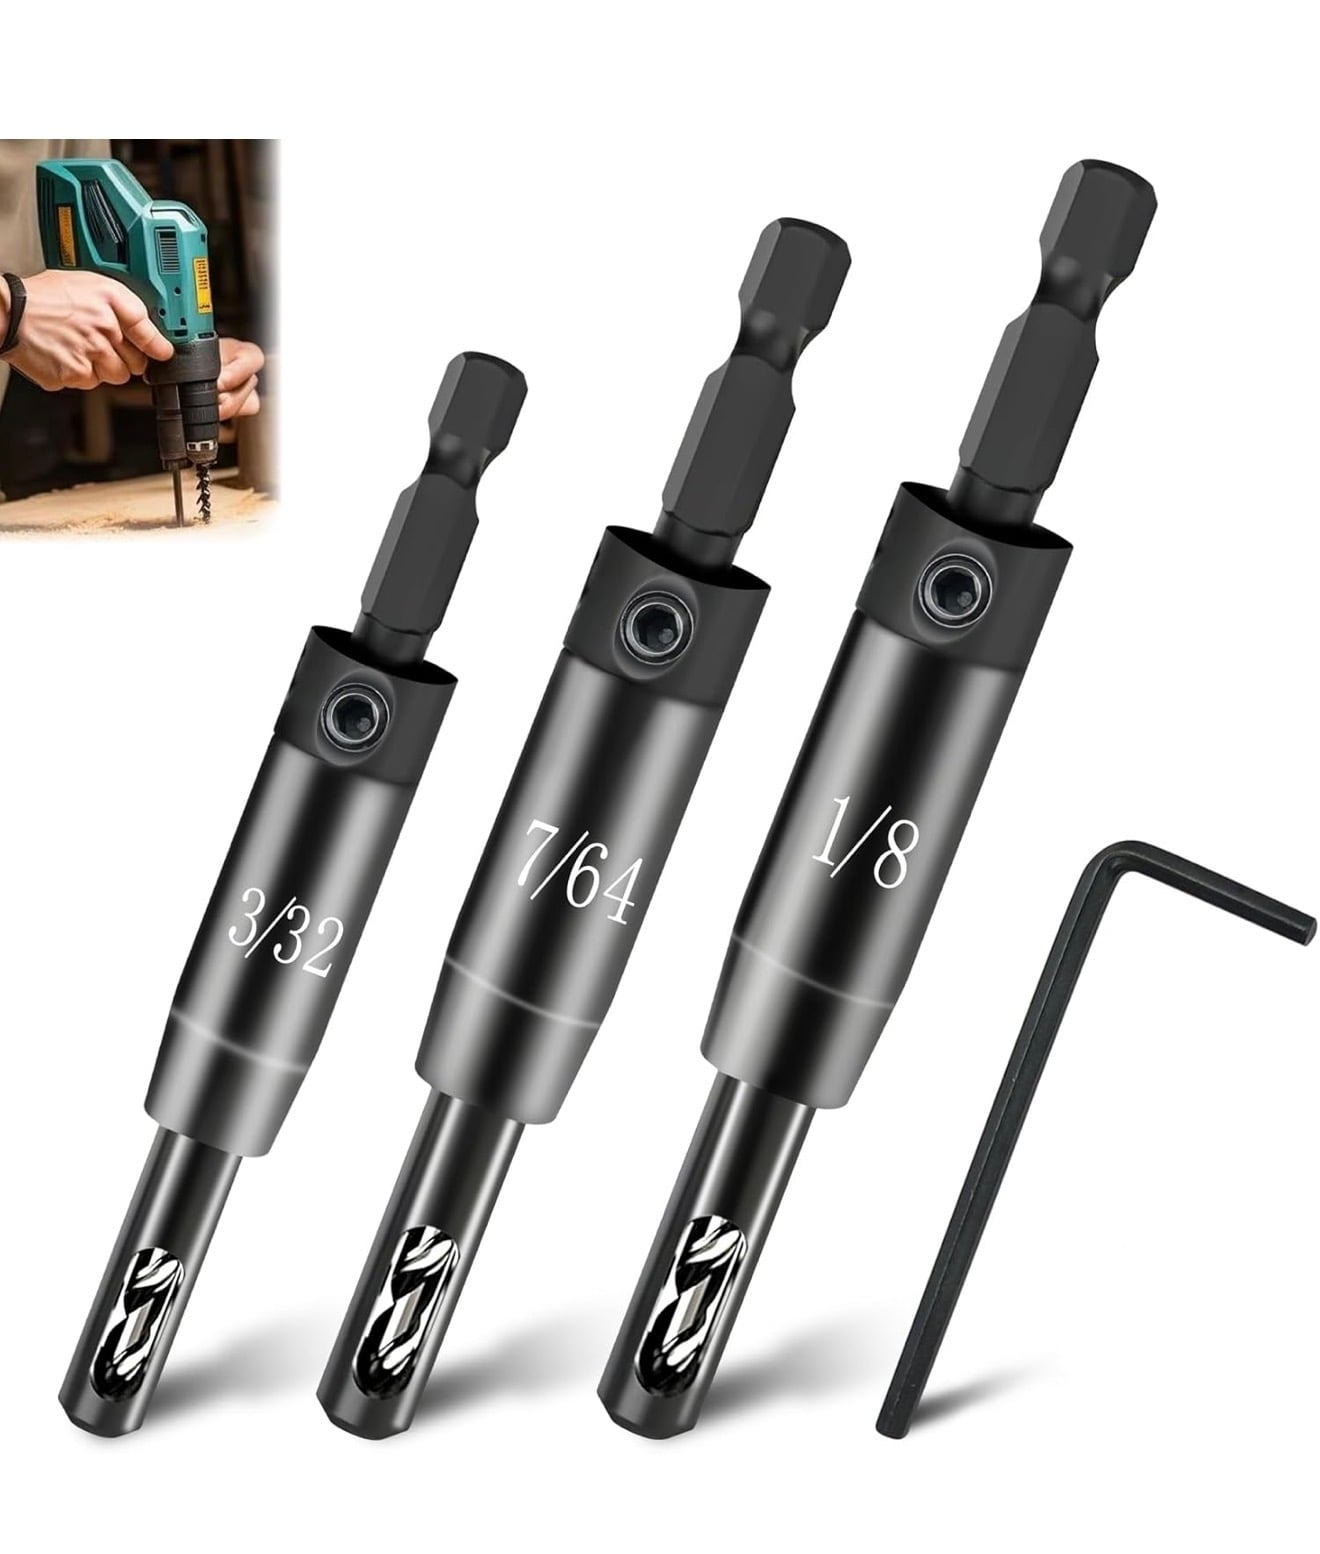
SELF CENTERING HINGE BITS
Used to make accurate screw holes for bridges, control plates, pickguard screws, etc.
I just ordered these for $9.99 on Amazon. They review well. I’m not sure which ones Matt uses
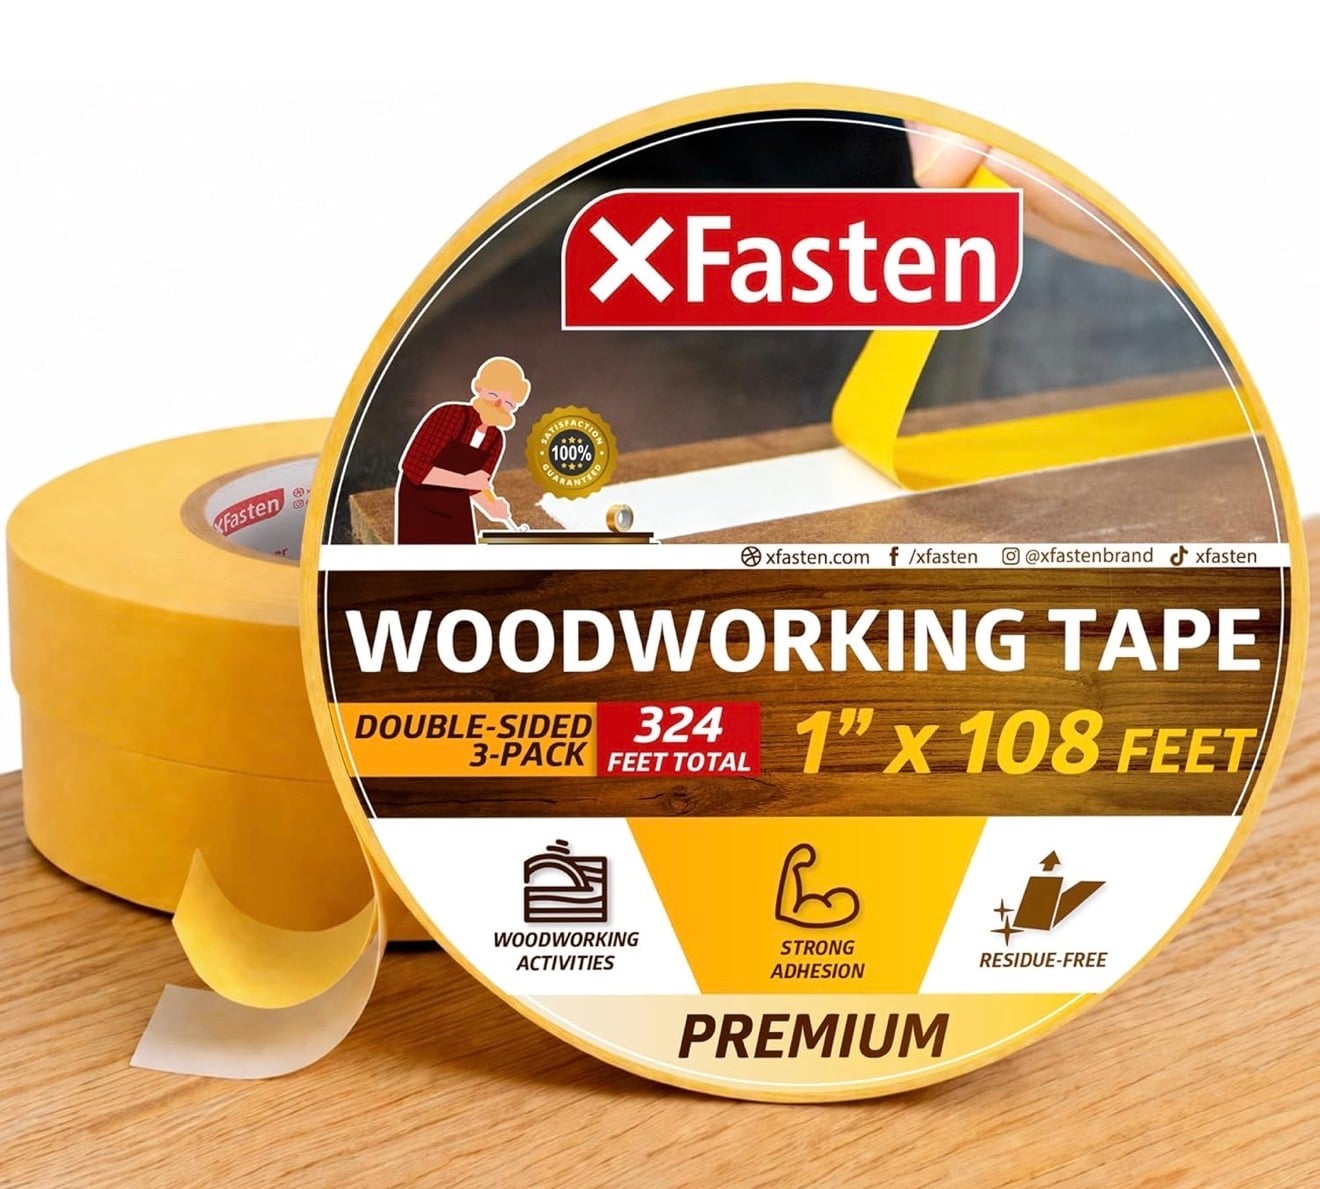
DOUBLE SIDED TEMPLATE / WOODWORKING TAPE
Used to hold routing templates in place. Also used to hold things like fretboards in place while radiusing, basically anything that needs to “stay put” while being worked on. It holds things firmly in place, without having a nearly impossible to remove “death grip” on items like a double sided carpet tape might.
Currently under $20 for THREE rolls ! (I’ve used less than half a roll in 6 months)
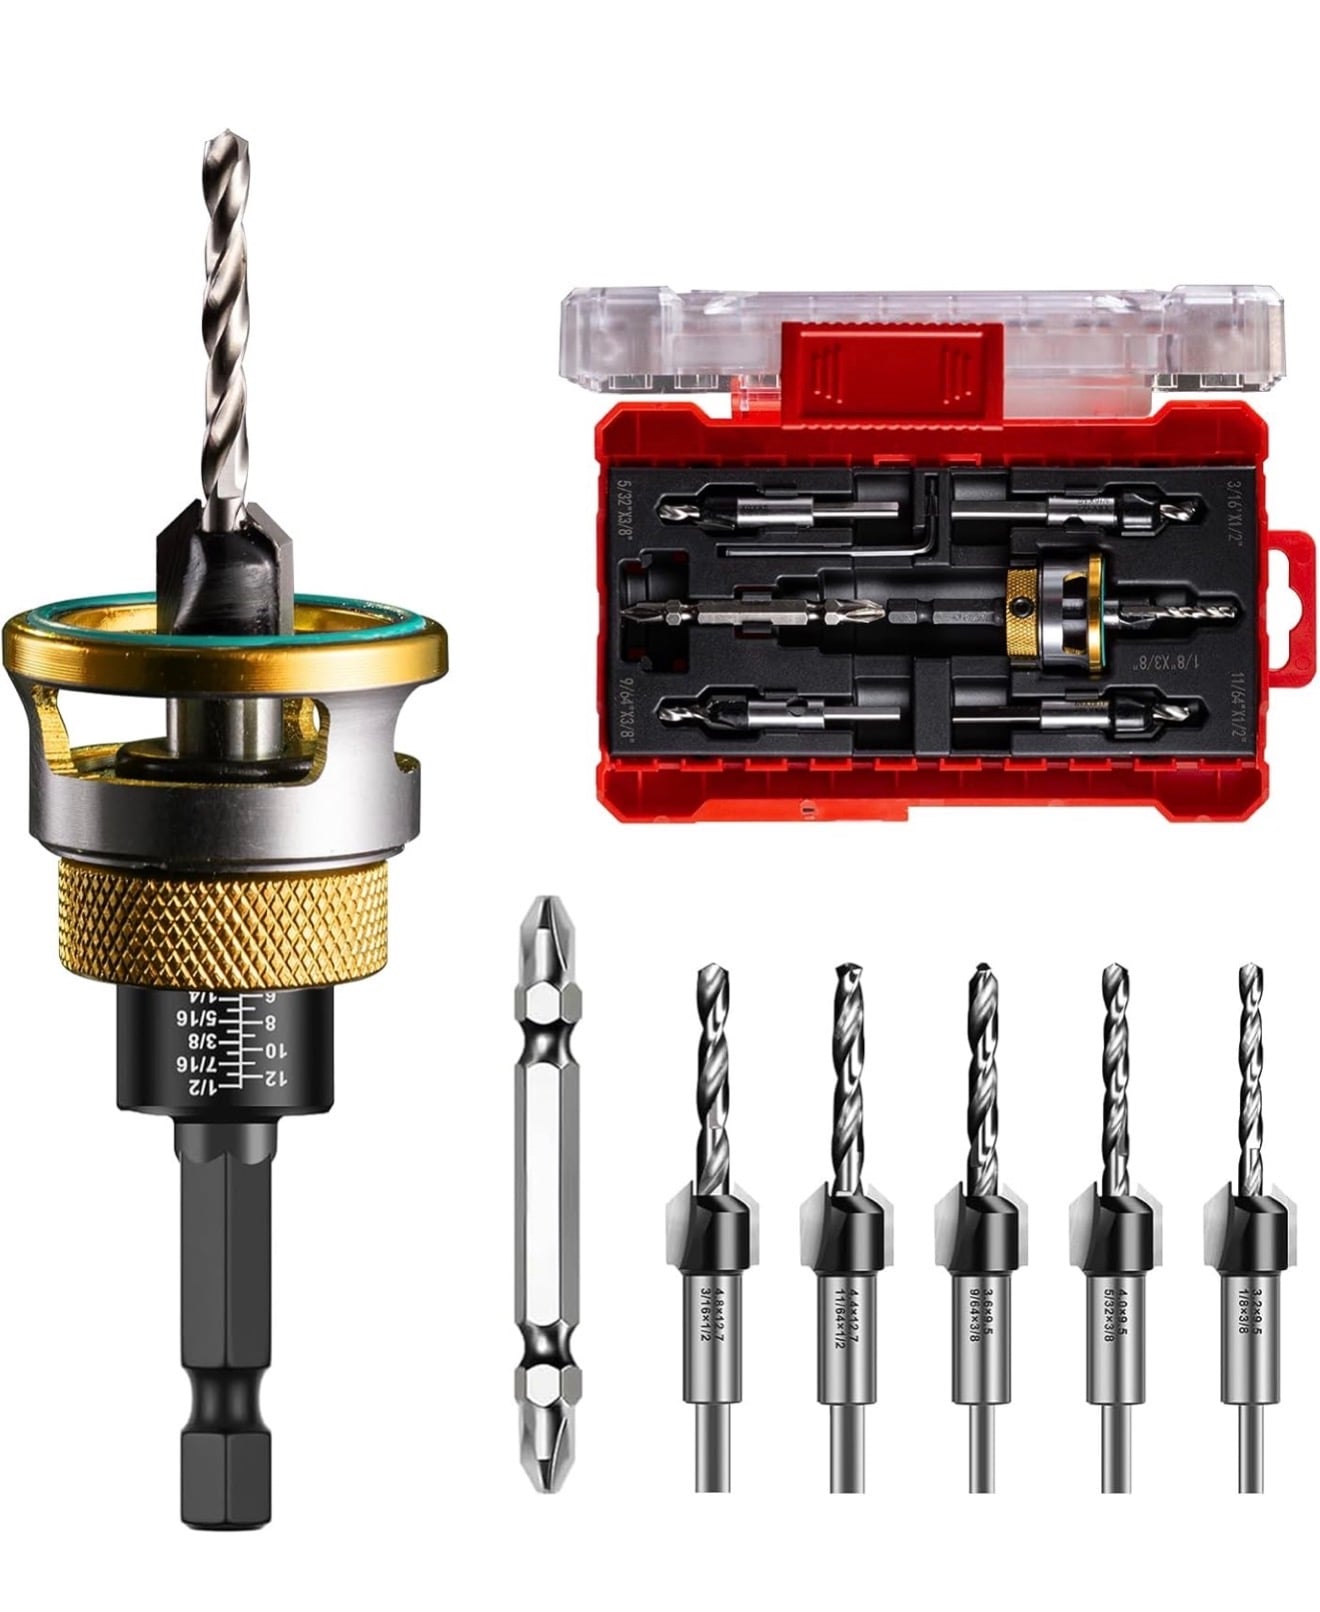
COUNTERSINK DRILL BIT KIT
Used for anything you need a countersunk hole on…. Typically like when you make a pickguard and want to recess the hole a bit so the screw sit more flush. This but set is fully adjustable, has been reliable for the year I’ve had it, and it speeds up the process since you are drilling the hole and doing the countersink at the same time !
$25 for the kit currently
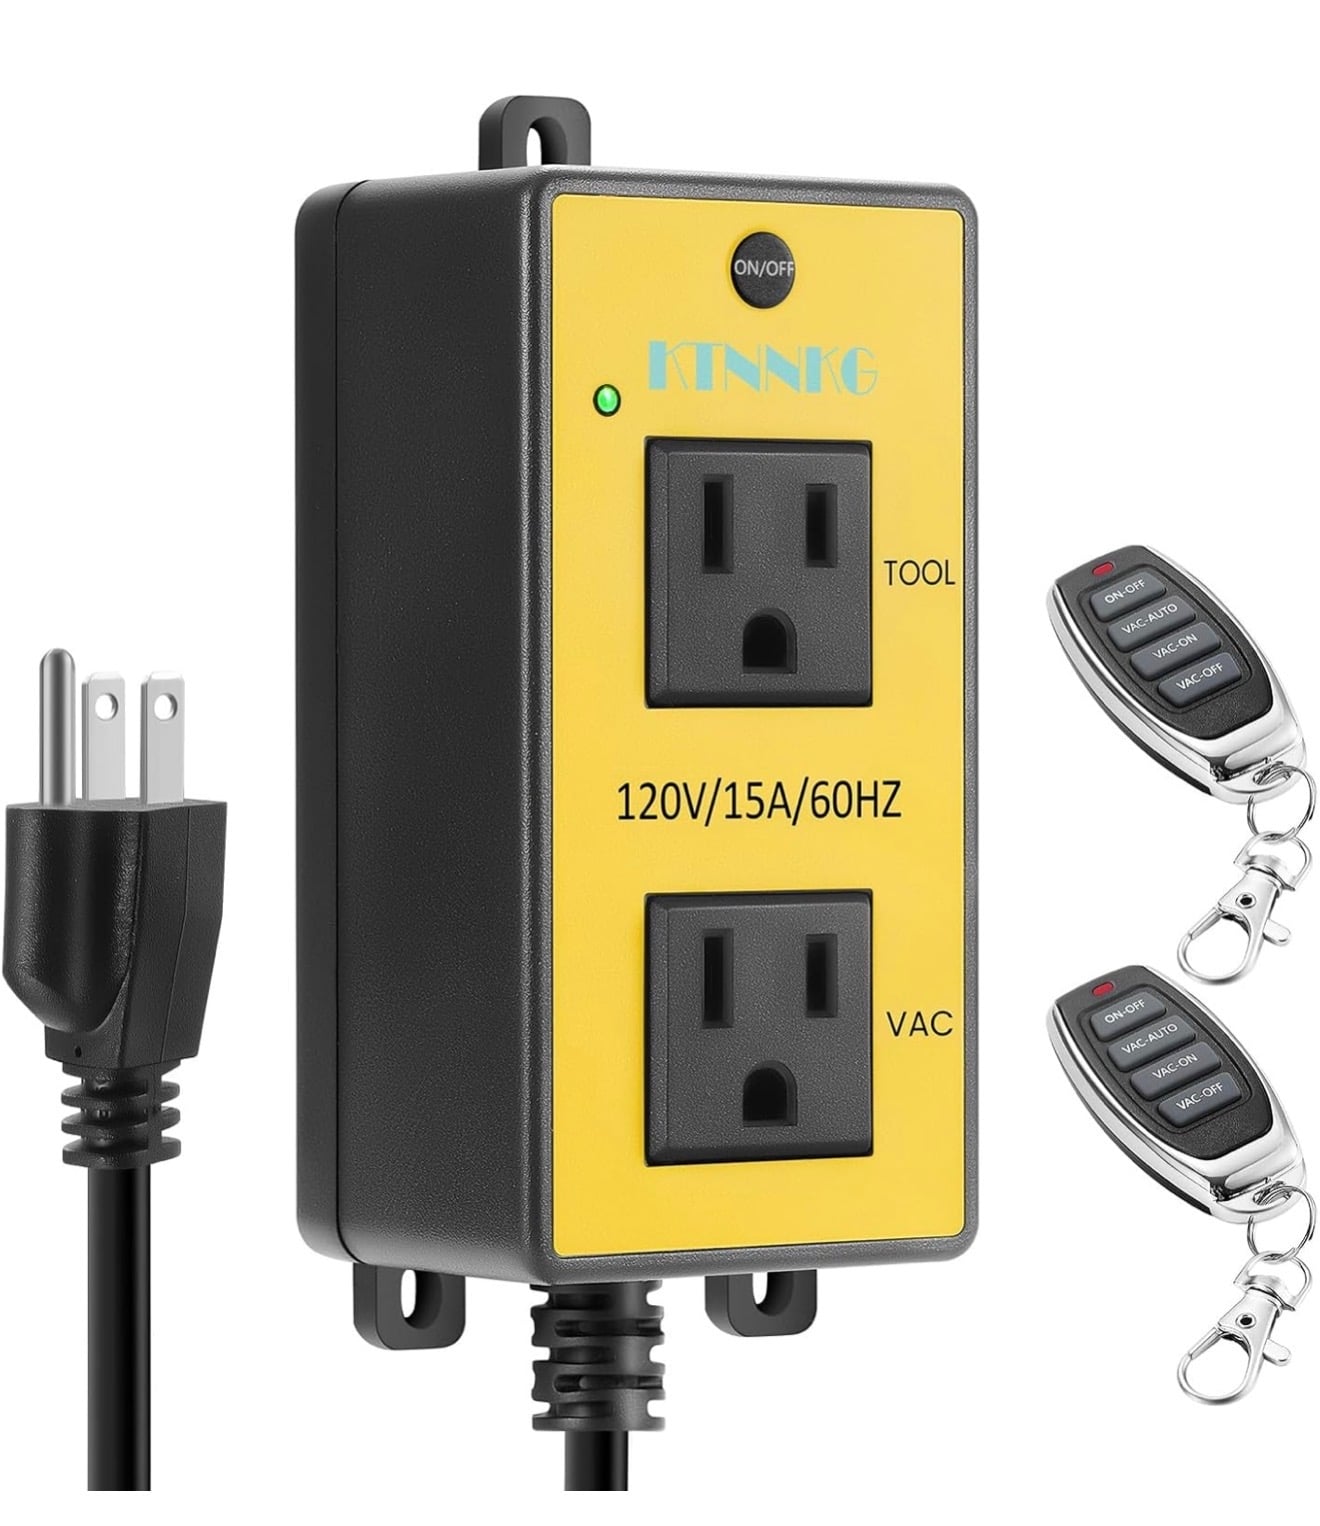
REMOTE VACUUM SWITCH OUTLET
I use this to turn on my dust collection remotely. I can be anywhere in my shop and press the remotes button to activate the collector. Saves time in walking back and forth. Can be used for many other things as well, like “adding” remote control to air filters, fans, etc .
$40 at the time of writing
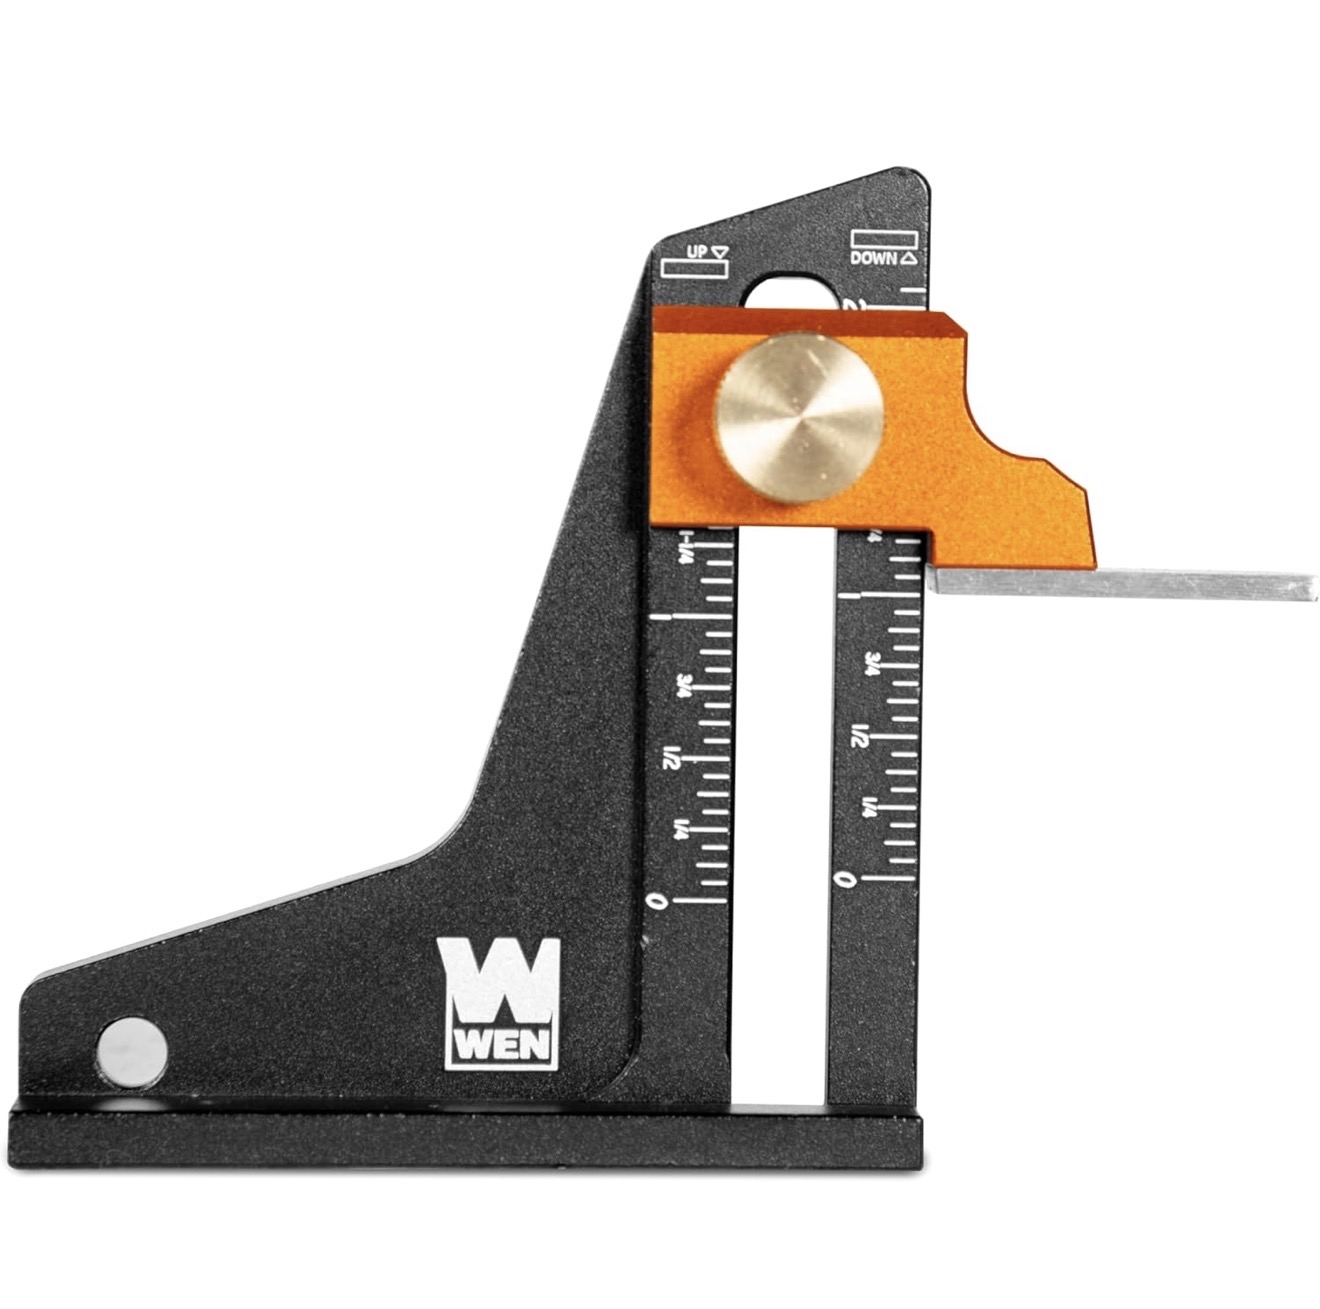
WEN 2” DUAL SCALE HEIGHT /DEPTH SETUP TOOL
This thing makes it SO easy to set up router bit depths. I use it all the time. Great for making sure that your cuts and routes are accurate.
$17 on Amazon right now
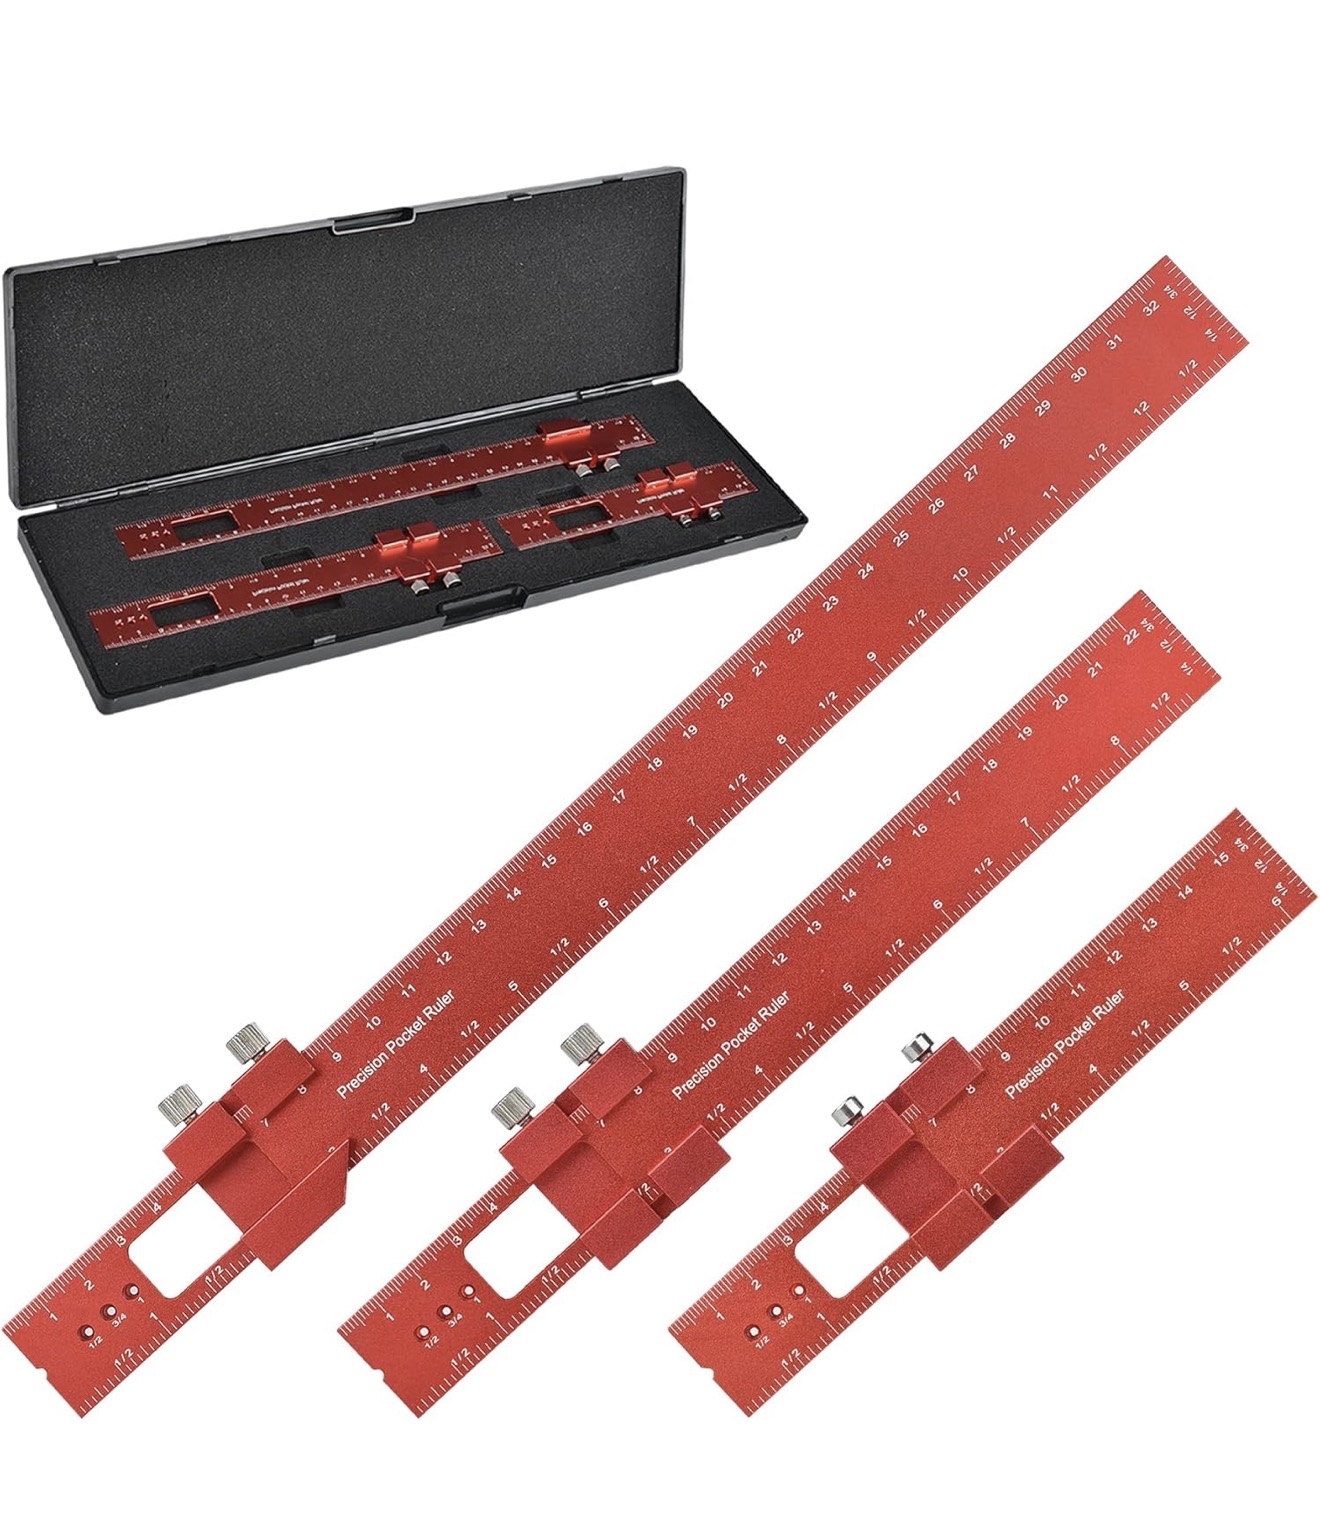
3 PIECE MARKING RULER SET
These make it super easy to accurately mark things for cuts. The pencil notch keeps the pencil in line while marking. I love rulers and measuring equipment, and this gets used quite a bit.
$26 for the set at this time !
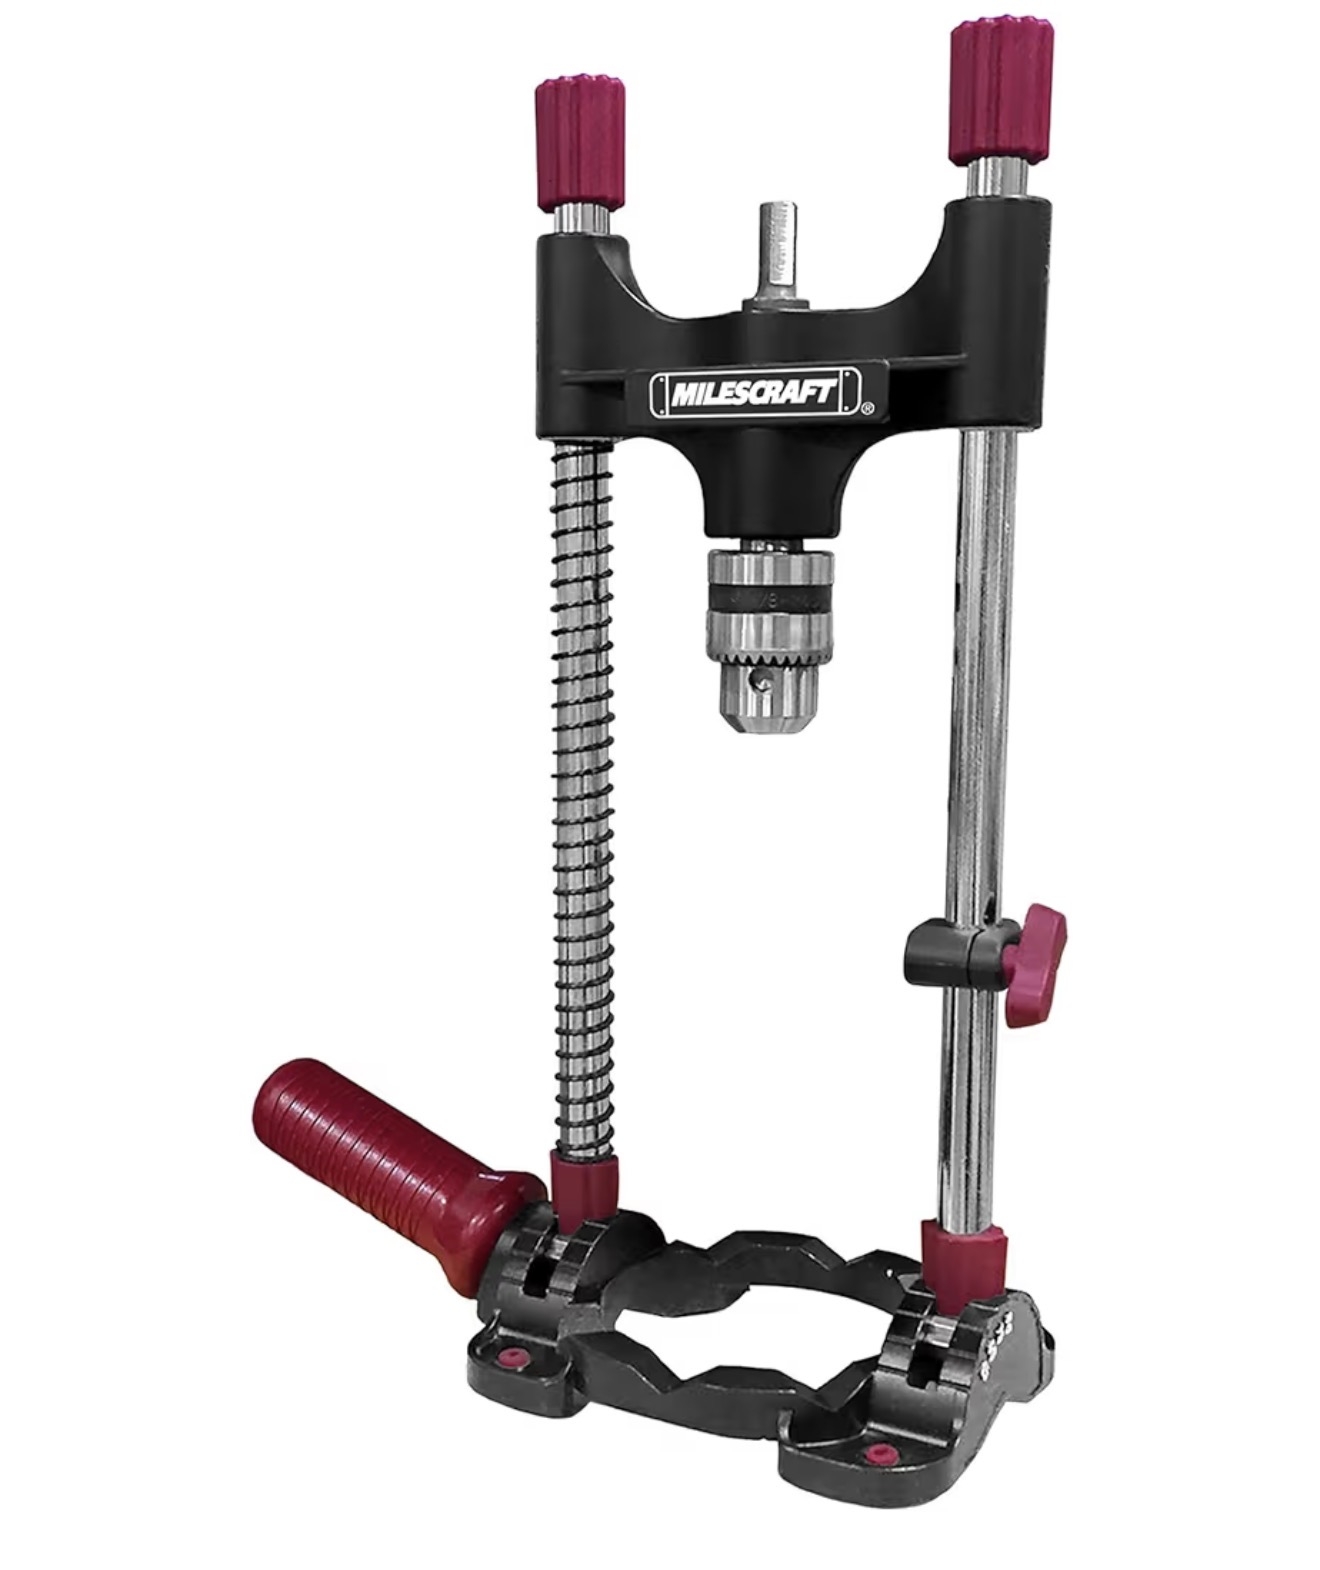
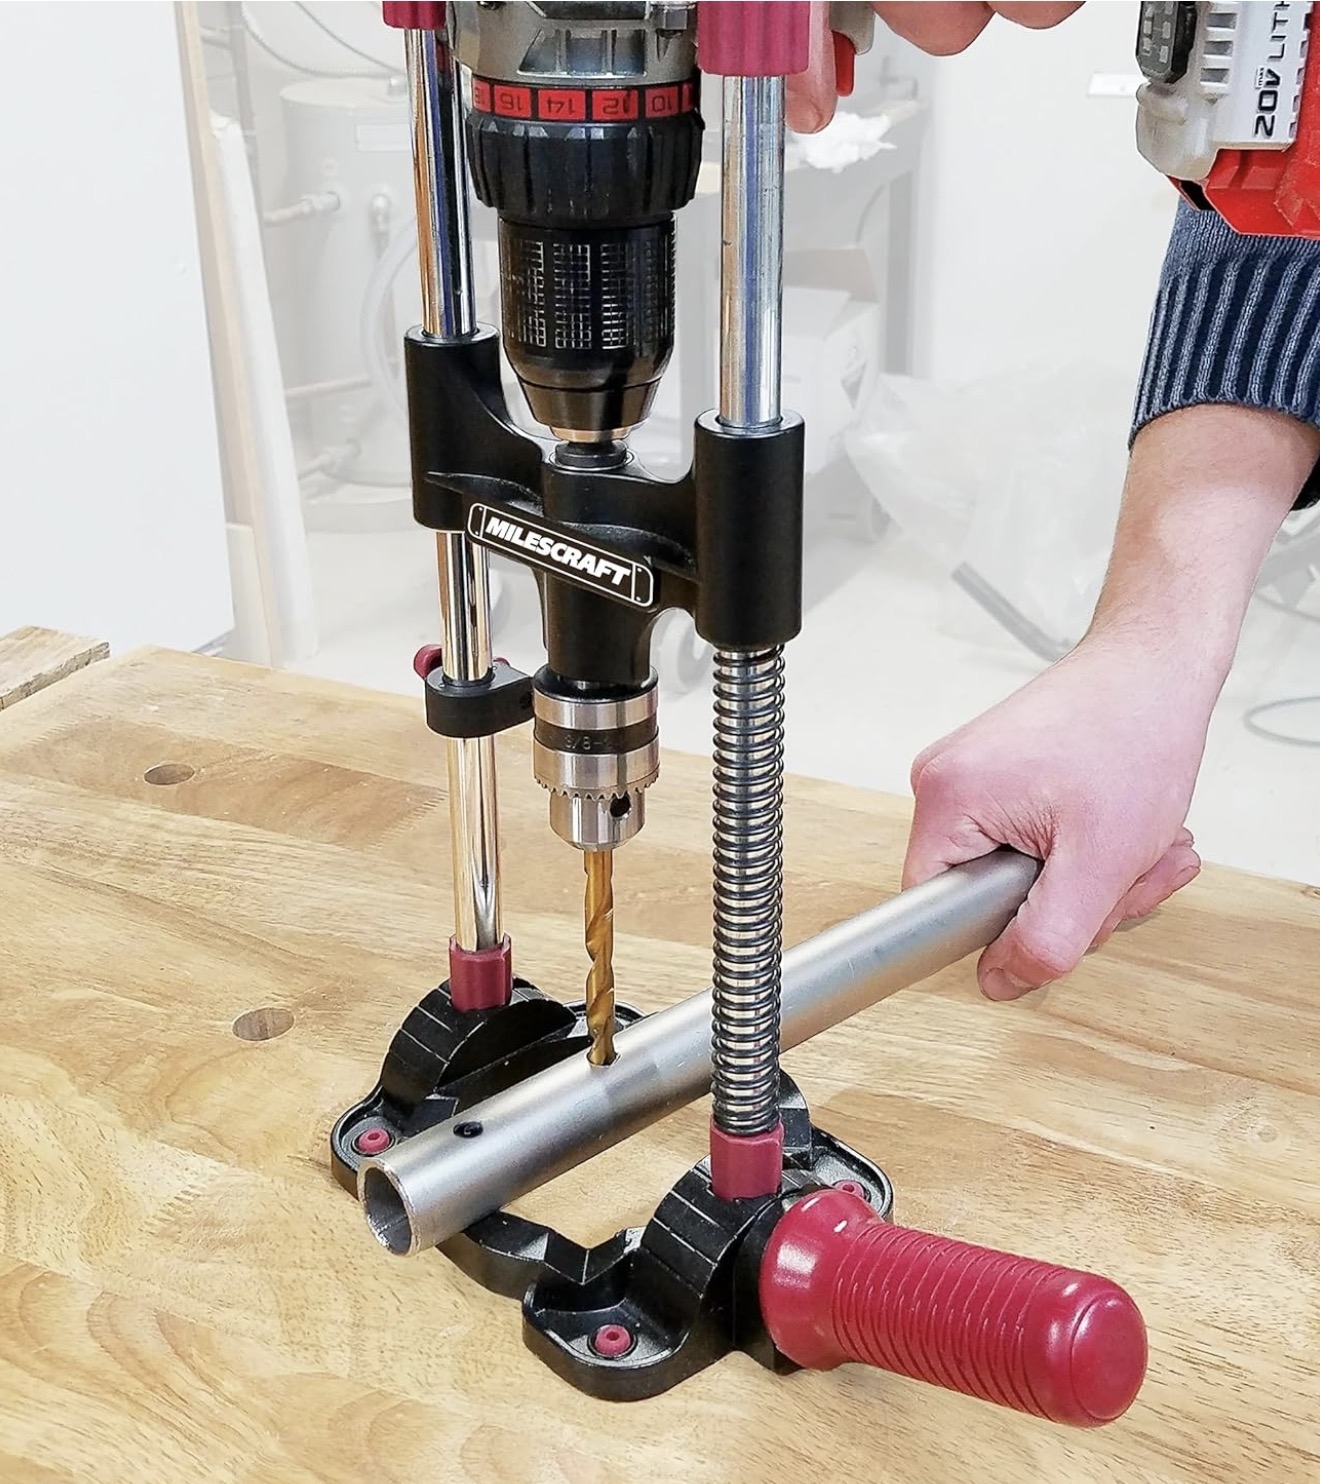
MILESCRAFT DRILLMATE PORTABLE DRILLING GUIDE
Need a vertical (or 45 degree…or 33.76886 degree..or whatever) hole drilled, but either your drill press won’t reach, or you don’t have a drill press ? This basically turns your handheld drill into a drill press. On things like drilling “string thru” hold on telecaster bodies, this is indispensable if you don’t have a LARGE drill press. Portable, accurate, and reasonably priced.
$50 is the current price
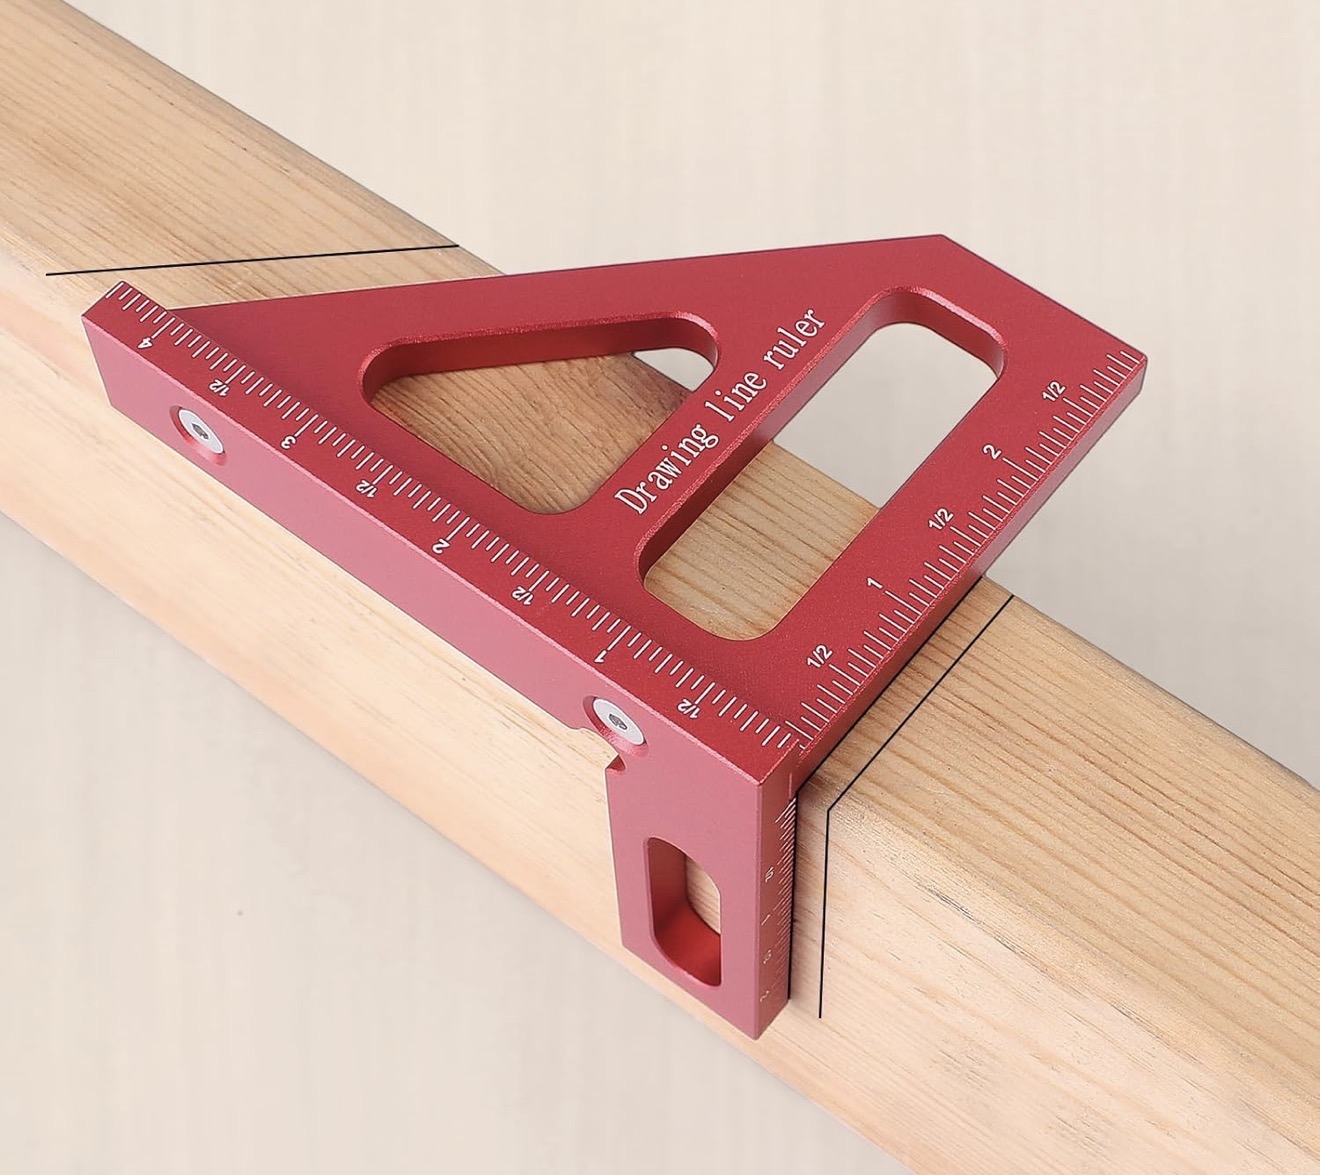
3D MULTI-ANGLE RULER
Super useful for marking centerlines on the edges of bodies, templates, etc. Just a useful and inexpensive tool that is great to have around.
$14 on Amazon right now !
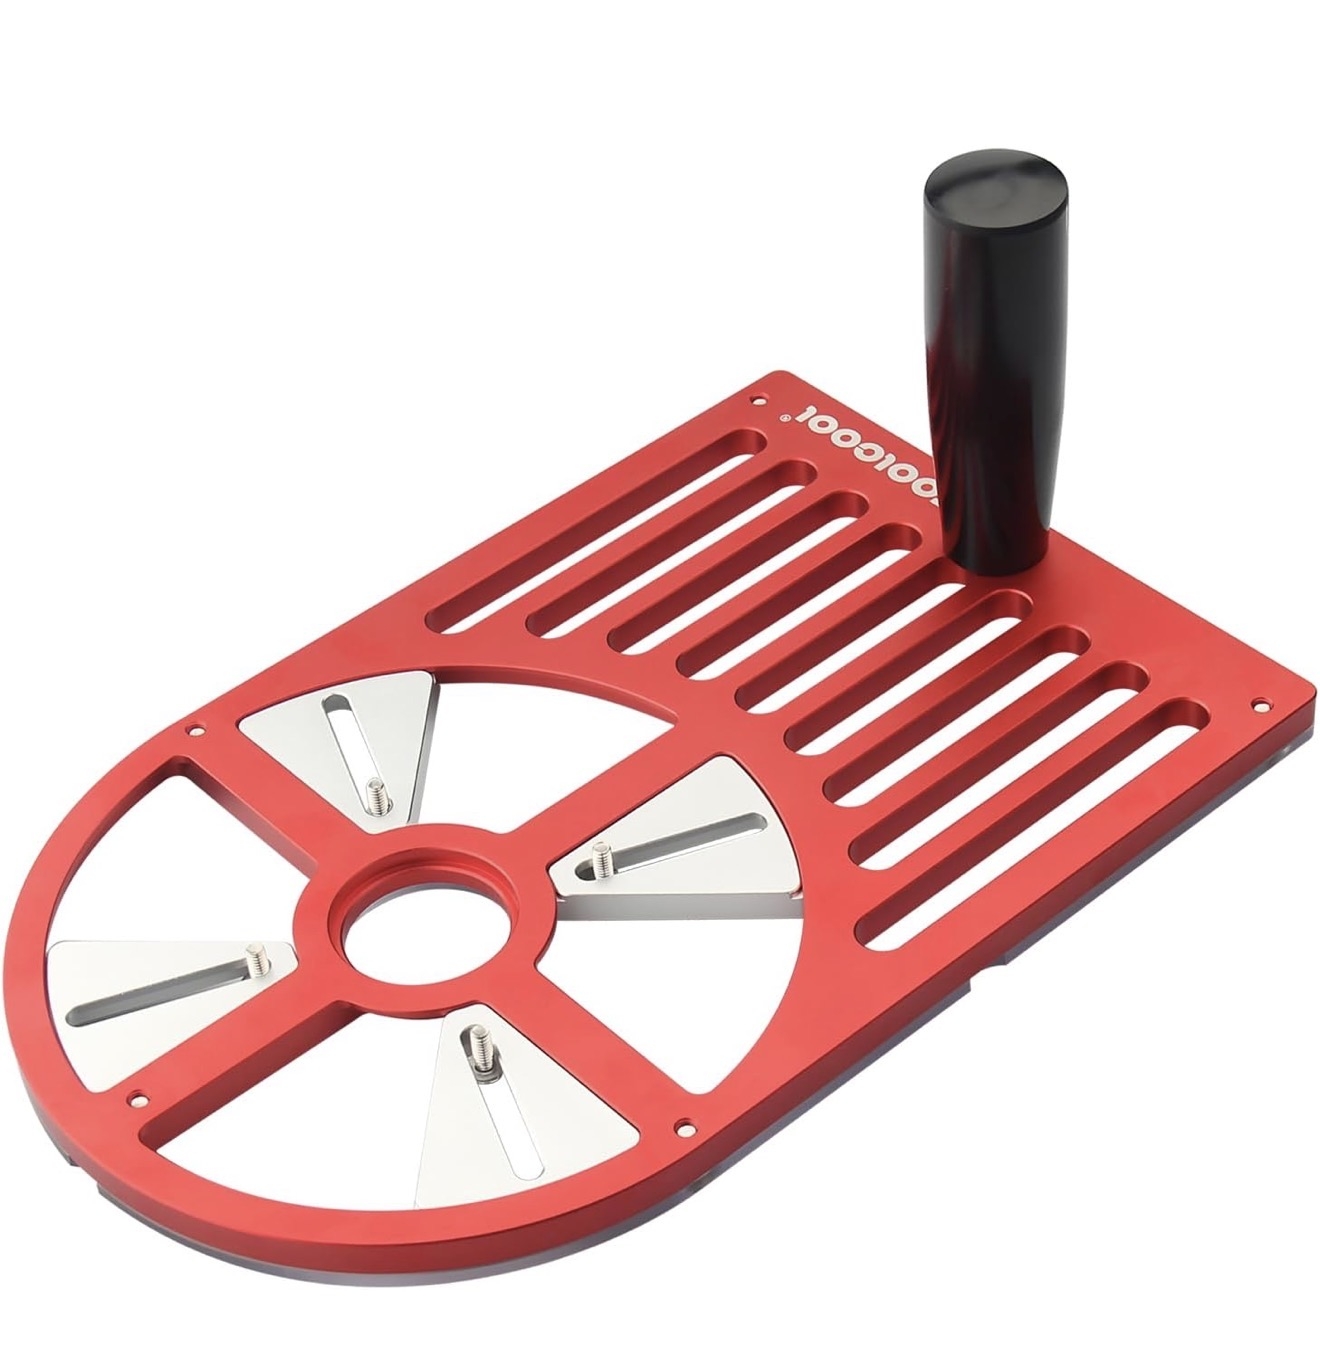
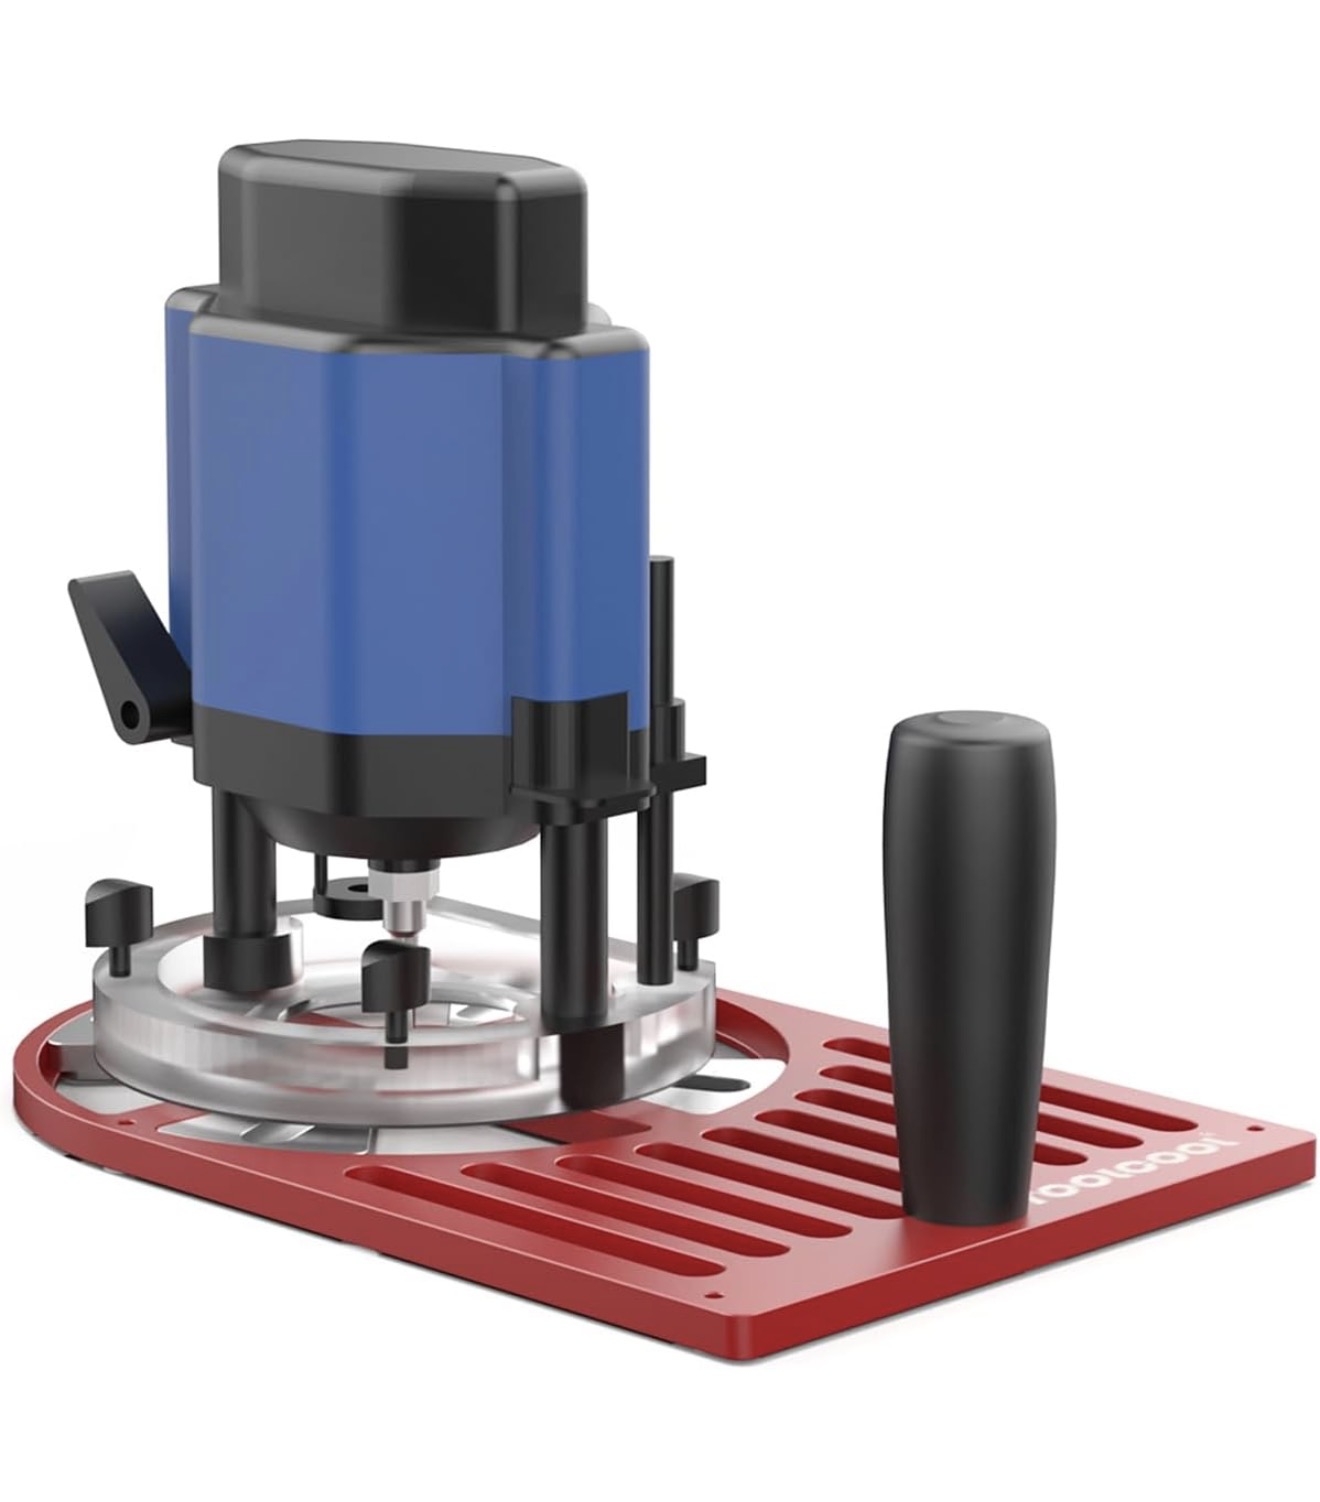
UNIVERSAL TRIM ROUTER BASE PLATE
Added to your trim router, it makes it MUCH more stable when routing edges, pickup cavities, etc
Just $36 right now !!!
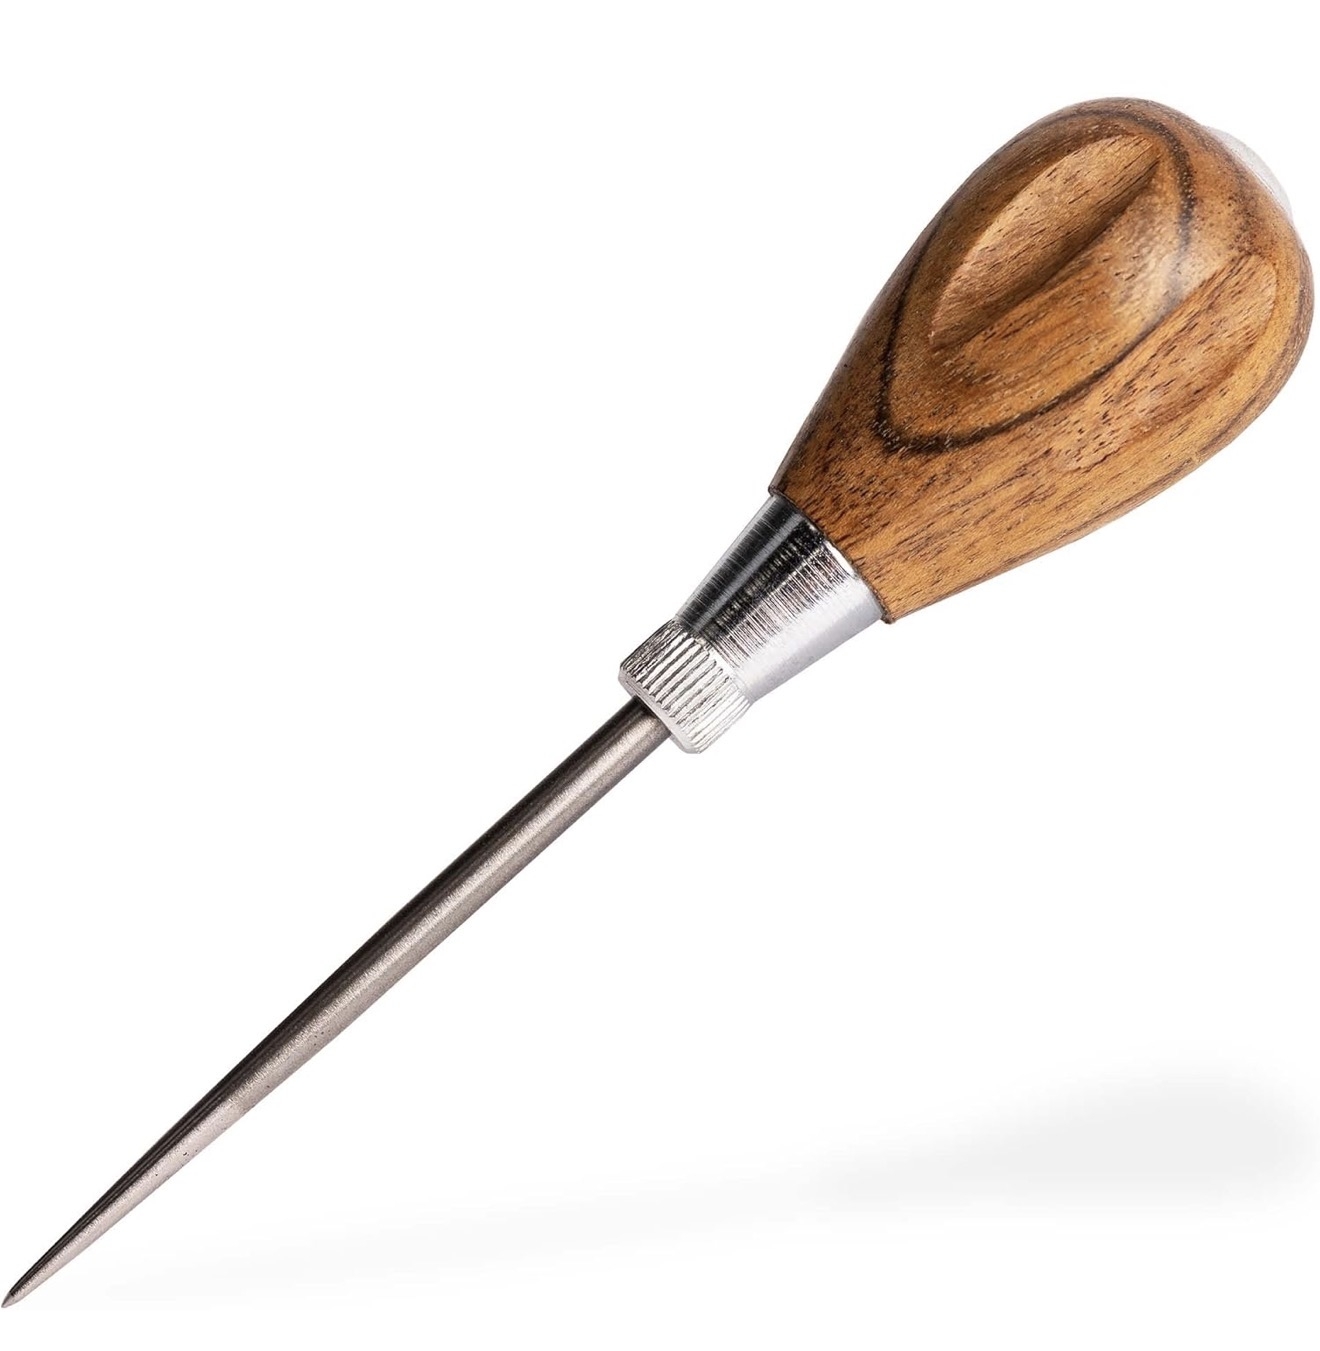
GENERAL TOOLS SCRATCH AWL
Super useful for marking centerlines/ starting drill holes so that your bit doesn’t wander from its intended location. Just pit the point where the hole needs to go, press (or tap with a hammer) into the wood to make a divot, and you’re good to go… grab your drill and go !!!
$7.29 right now for a quality tool !!!
Well, that’s a start !!!! I hope you find some of these items useful… I know I have !!!
Please add affordable items YOU have found useful to the thread !!!
Be kind to each other,
Andy
“Inexpensive” means different things to different people, so for the sake of keeping things affordable in general, I think I’ll limit this to items that are $50 or less…. UNLESS it’s something a little more that truly is worth the few extra $$
I’ll be using the format of:
What is it?
What do I use it for ?
Approximate price at time of posting this.
Amazon or other link to product
I’ll start, but please… I encourage you to add to the list !!!
*****************************
SELF CENTERING HINGE BITS
Used to make accurate screw holes for bridges, control plates, pickguard screws, etc.
I just ordered these for $9.99 on Amazon. They review well. I’m not sure which ones Matt uses
DOUBLE SIDED TEMPLATE / WOODWORKING TAPE
Used to hold routing templates in place. Also used to hold things like fretboards in place while radiusing, basically anything that needs to “stay put” while being worked on. It holds things firmly in place, without having a nearly impossible to remove “death grip” on items like a double sided carpet tape might.
Currently under $20 for THREE rolls ! (I’ve used less than half a roll in 6 months)
COUNTERSINK DRILL BIT KIT
Used for anything you need a countersunk hole on…. Typically like when you make a pickguard and want to recess the hole a bit so the screw sit more flush. This but set is fully adjustable, has been reliable for the year I’ve had it, and it speeds up the process since you are drilling the hole and doing the countersink at the same time !
$25 for the kit currently
REMOTE VACUUM SWITCH OUTLET
I use this to turn on my dust collection remotely. I can be anywhere in my shop and press the remotes button to activate the collector. Saves time in walking back and forth. Can be used for many other things as well, like “adding” remote control to air filters, fans, etc .
$40 at the time of writing
WEN 2” DUAL SCALE HEIGHT /DEPTH SETUP TOOL
This thing makes it SO easy to set up router bit depths. I use it all the time. Great for making sure that your cuts and routes are accurate.
$17 on Amazon right now
WEN 2-Inch Dual-Scale Tool Setup and Height Gauge for Band Saws, Table Saws, Router Tables, and Woodworking Equipment (ME522G): Amazon.com: Tools & Home Improvement
WEN 2-Inch Dual-Scale Tool Setup and Height Gauge for Band Saws, Table Saws, Router Tables, and Woodworking Equipment (ME522G): Amazon.com: Tools & Home Improvement
a.co
3 PIECE MARKING RULER SET
These make it super easy to accurately mark things for cuts. The pencil notch keeps the pencil in line while marking. I love rulers and measuring equipment, and this gets used quite a bit.
$26 for the set at this time !
MILESCRAFT DRILLMATE PORTABLE DRILLING GUIDE
Need a vertical (or 45 degree…or 33.76886 degree..or whatever) hole drilled, but either your drill press won’t reach, or you don’t have a drill press ? This basically turns your handheld drill into a drill press. On things like drilling “string thru” hold on telecaster bodies, this is indispensable if you don’t have a LARGE drill press. Portable, accurate, and reasonably priced.
$50 is the current price
3D MULTI-ANGLE RULER
Super useful for marking centerlines on the edges of bodies, templates, etc. Just a useful and inexpensive tool that is great to have around.
$14 on Amazon right now !
UNIVERSAL TRIM ROUTER BASE PLATE
Added to your trim router, it makes it MUCH more stable when routing edges, pickup cavities, etc
Just $36 right now !!!
GENERAL TOOLS SCRATCH AWL
Super useful for marking centerlines/ starting drill holes so that your bit doesn’t wander from its intended location. Just pit the point where the hole needs to go, press (or tap with a hammer) into the wood to make a divot, and you’re good to go… grab your drill and go !!!
$7.29 right now for a quality tool !!!
Well, that’s a start !!!! I hope you find some of these items useful… I know I have !!!
Please add affordable items YOU have found useful to the thread !!!
Be kind to each other,
Andy
As an Amazon Associate, TalkBass may receive commissions from qualifying purchases made via links on this site.