

Enjoy the benefits of a premium membership!
Upgrade Account
-
TalkBass has been independent since 1998. Add your voice.
Create a free account to reply to discussions, view embedded media, and browse with fewer display ads.
Join free Log in
Want zero display ads or expanded classifieds tools? Compare plans.
You are using an out of date browser. It may not display this or other websites correctly.
You should upgrade or use an alternative browser.
You should upgrade or use an alternative browser.
The SCP - Single Cut P-Bass
- Thread starter Videojunkie
- Start date
More options
Who Replied?



I like the asymmetry in the neck laminations. That should look pretty cool.
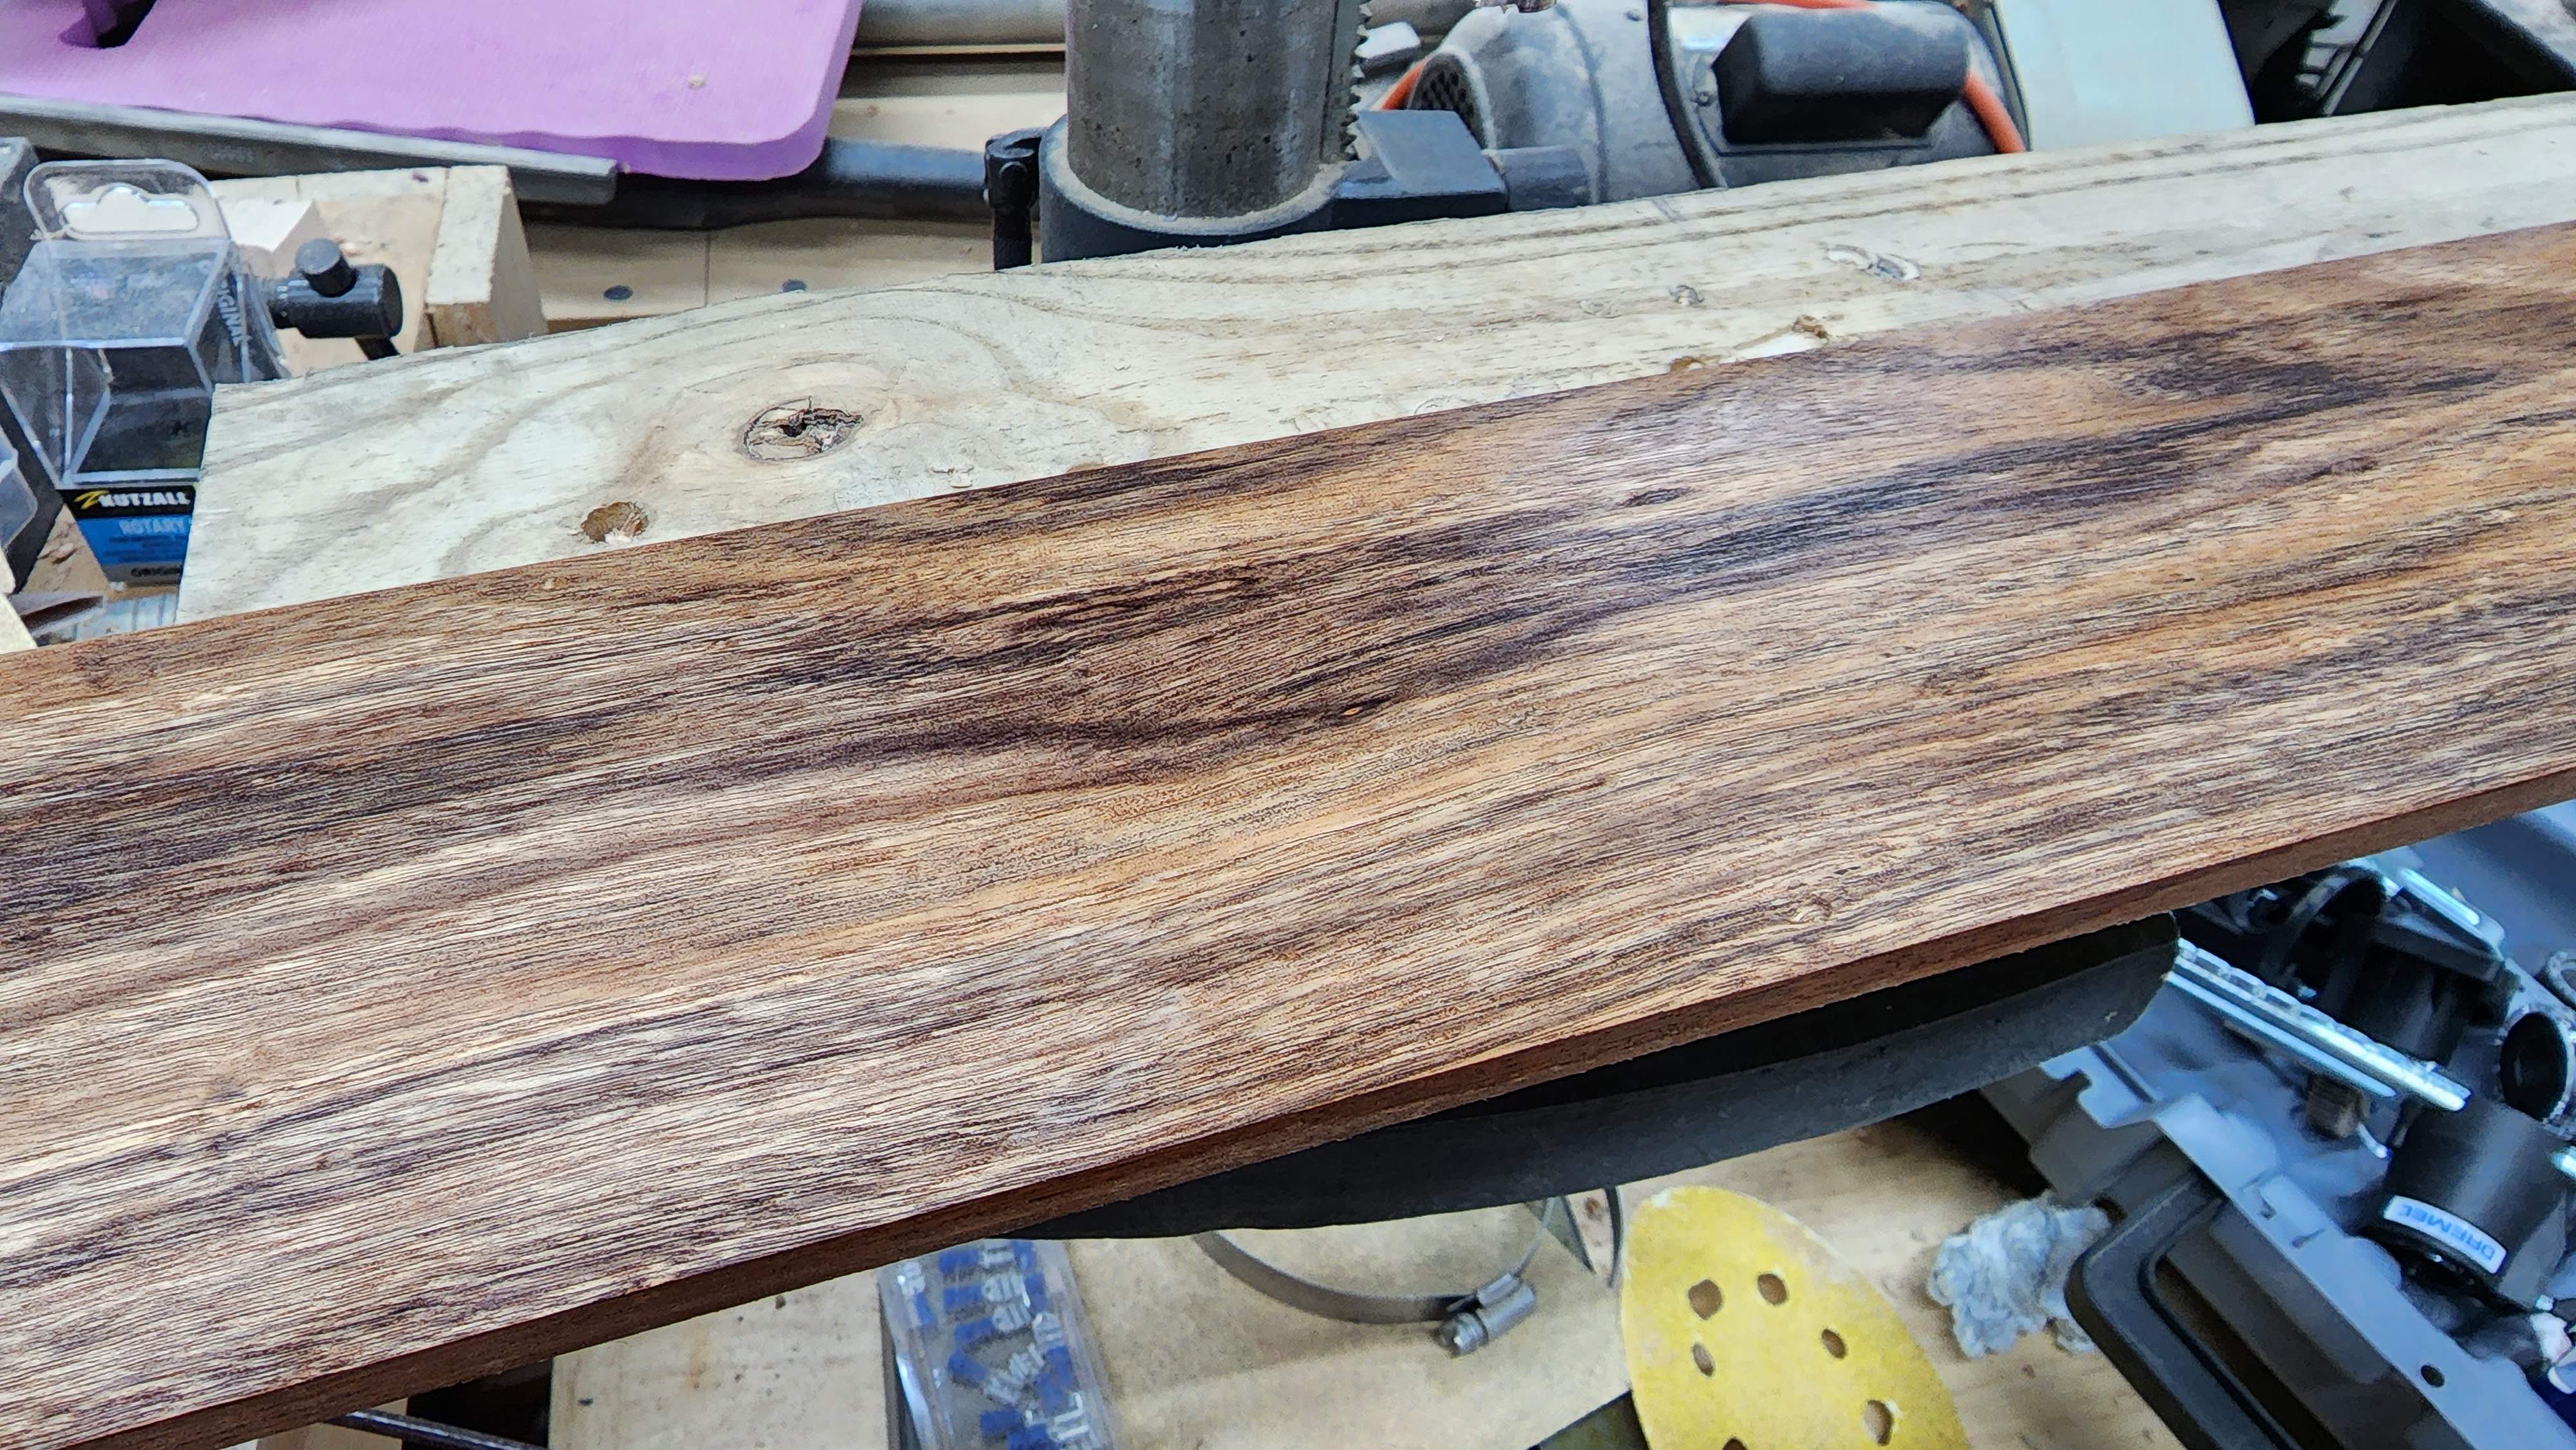
Had a few minutes tonight to split the fingerboard blank. I cut it on my bandsaw to reduce the amount of saw kerf waste. Worked like a champ! I only lost about 3/16" after running both sides through the planer. Much less than if I'd done it with my table saw. Really looking forward to this fingerboard when it's done!
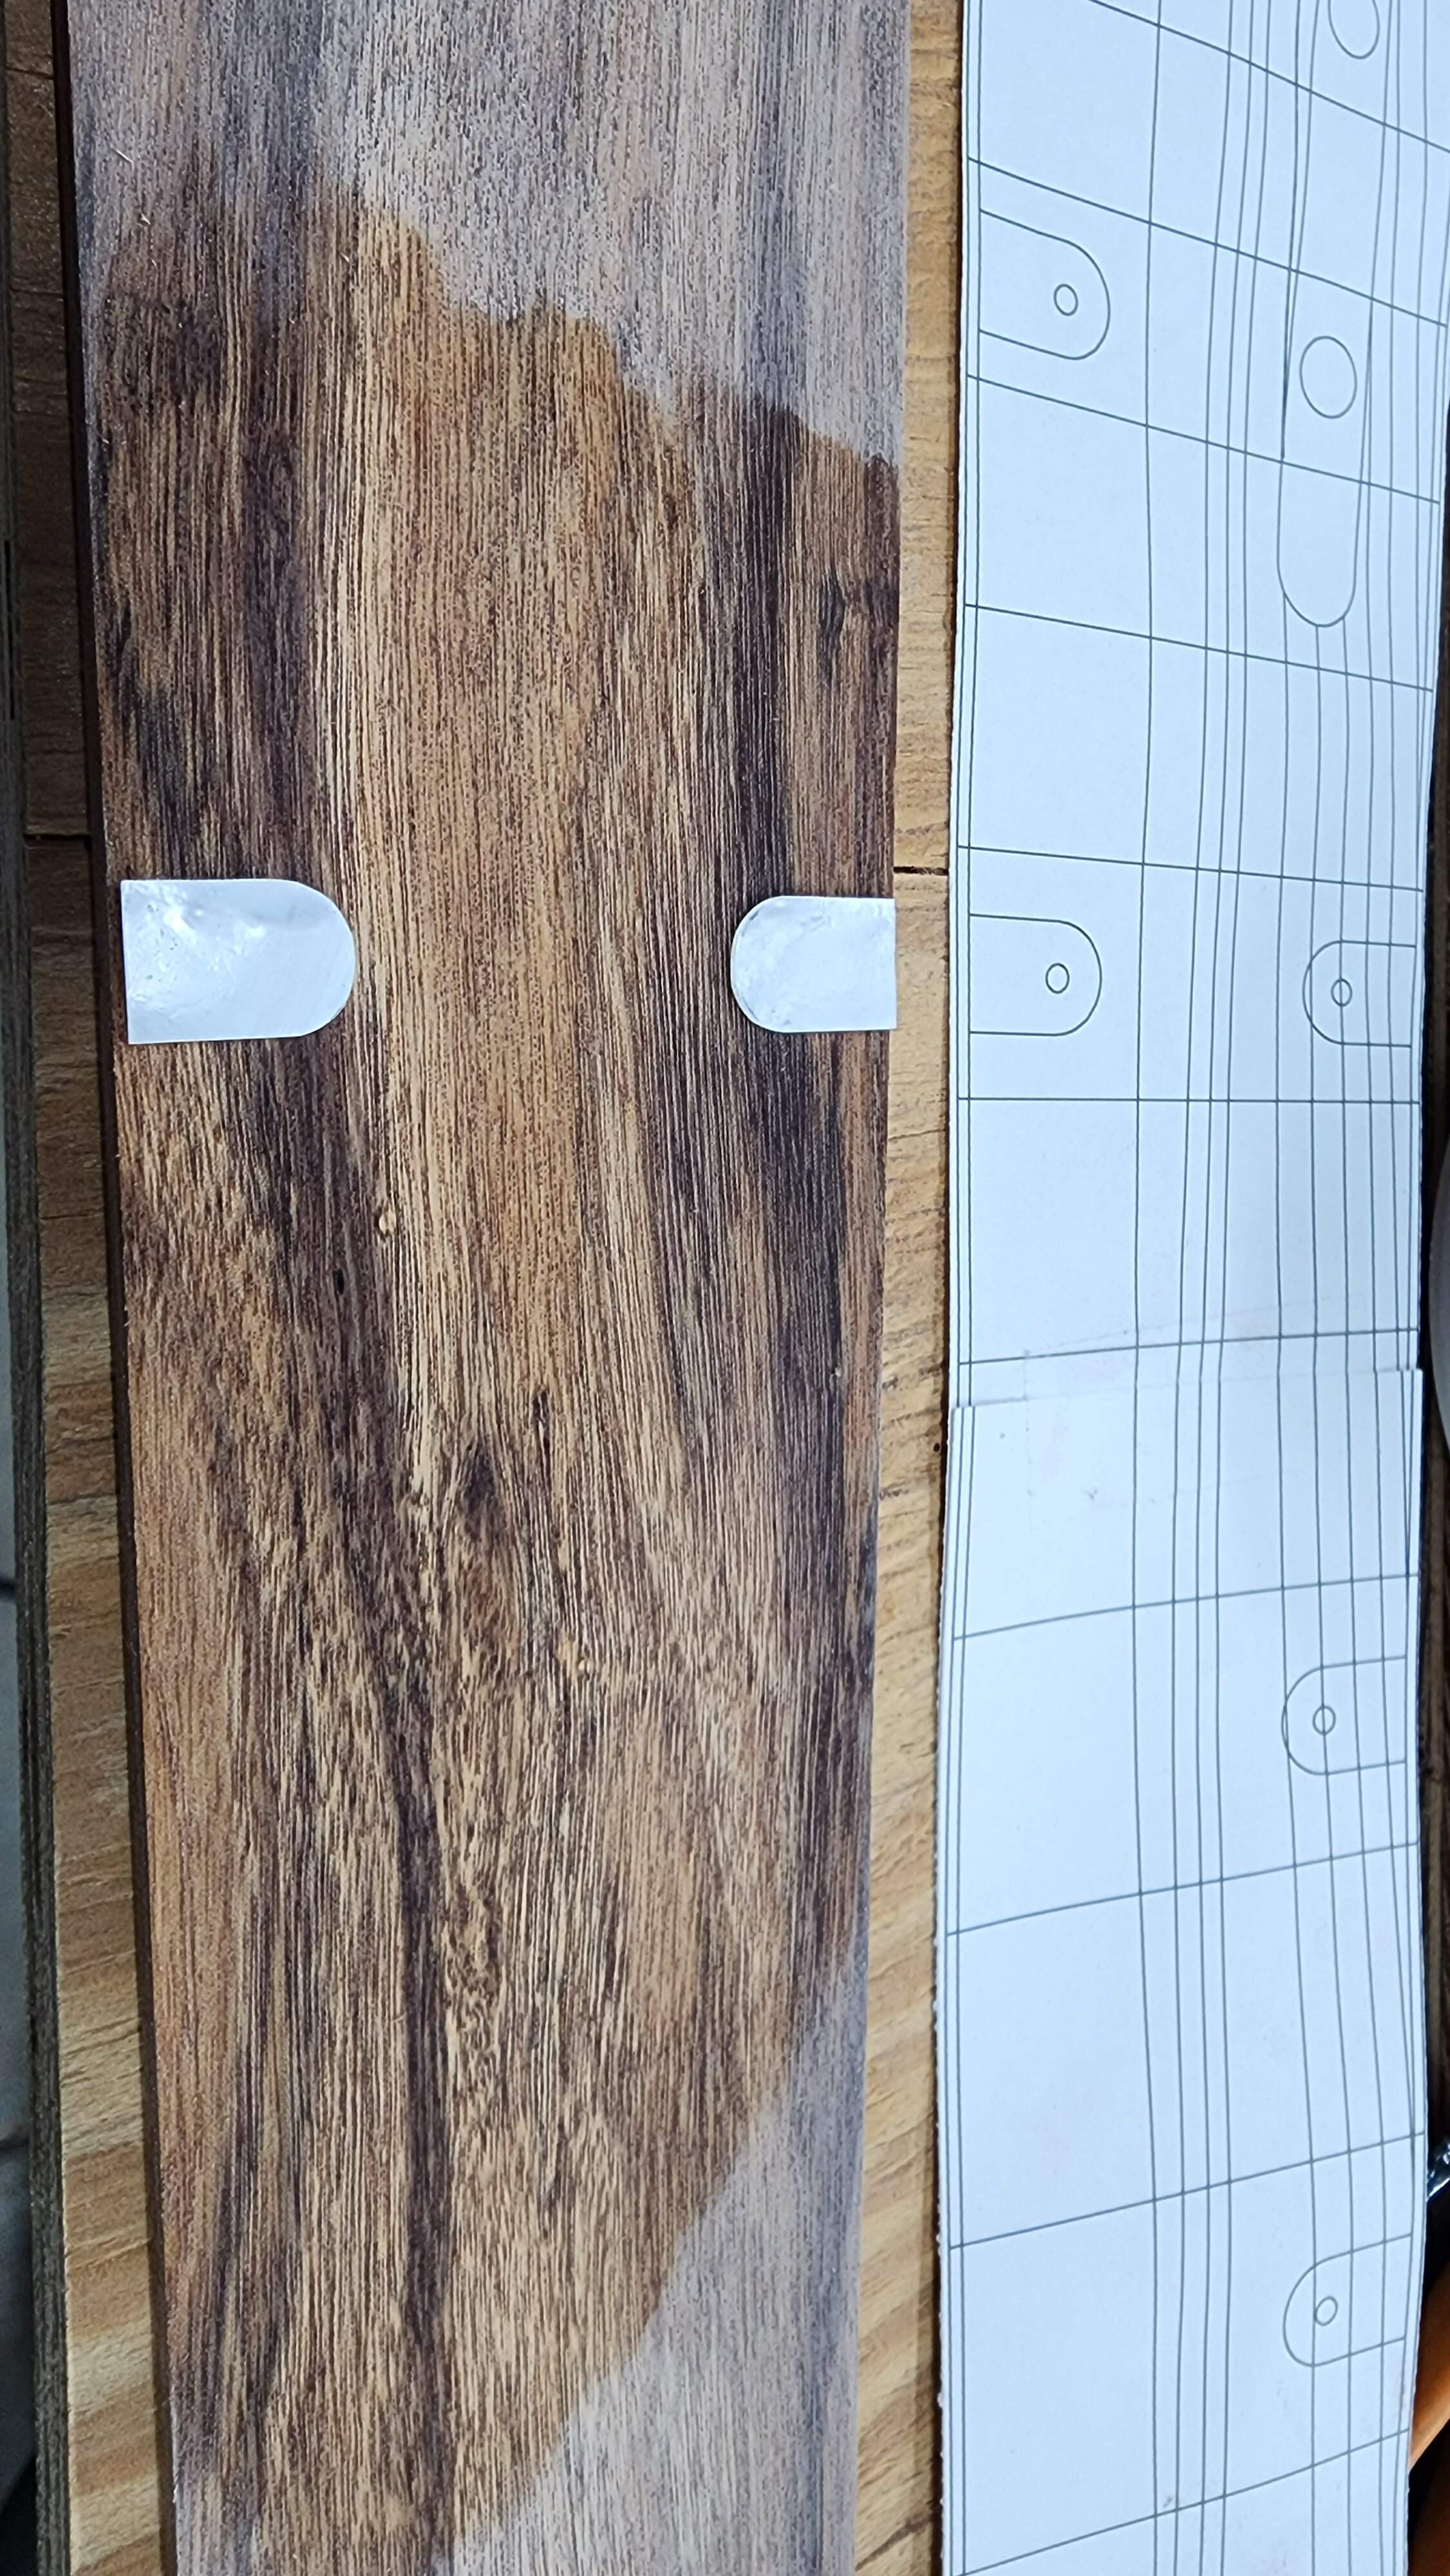
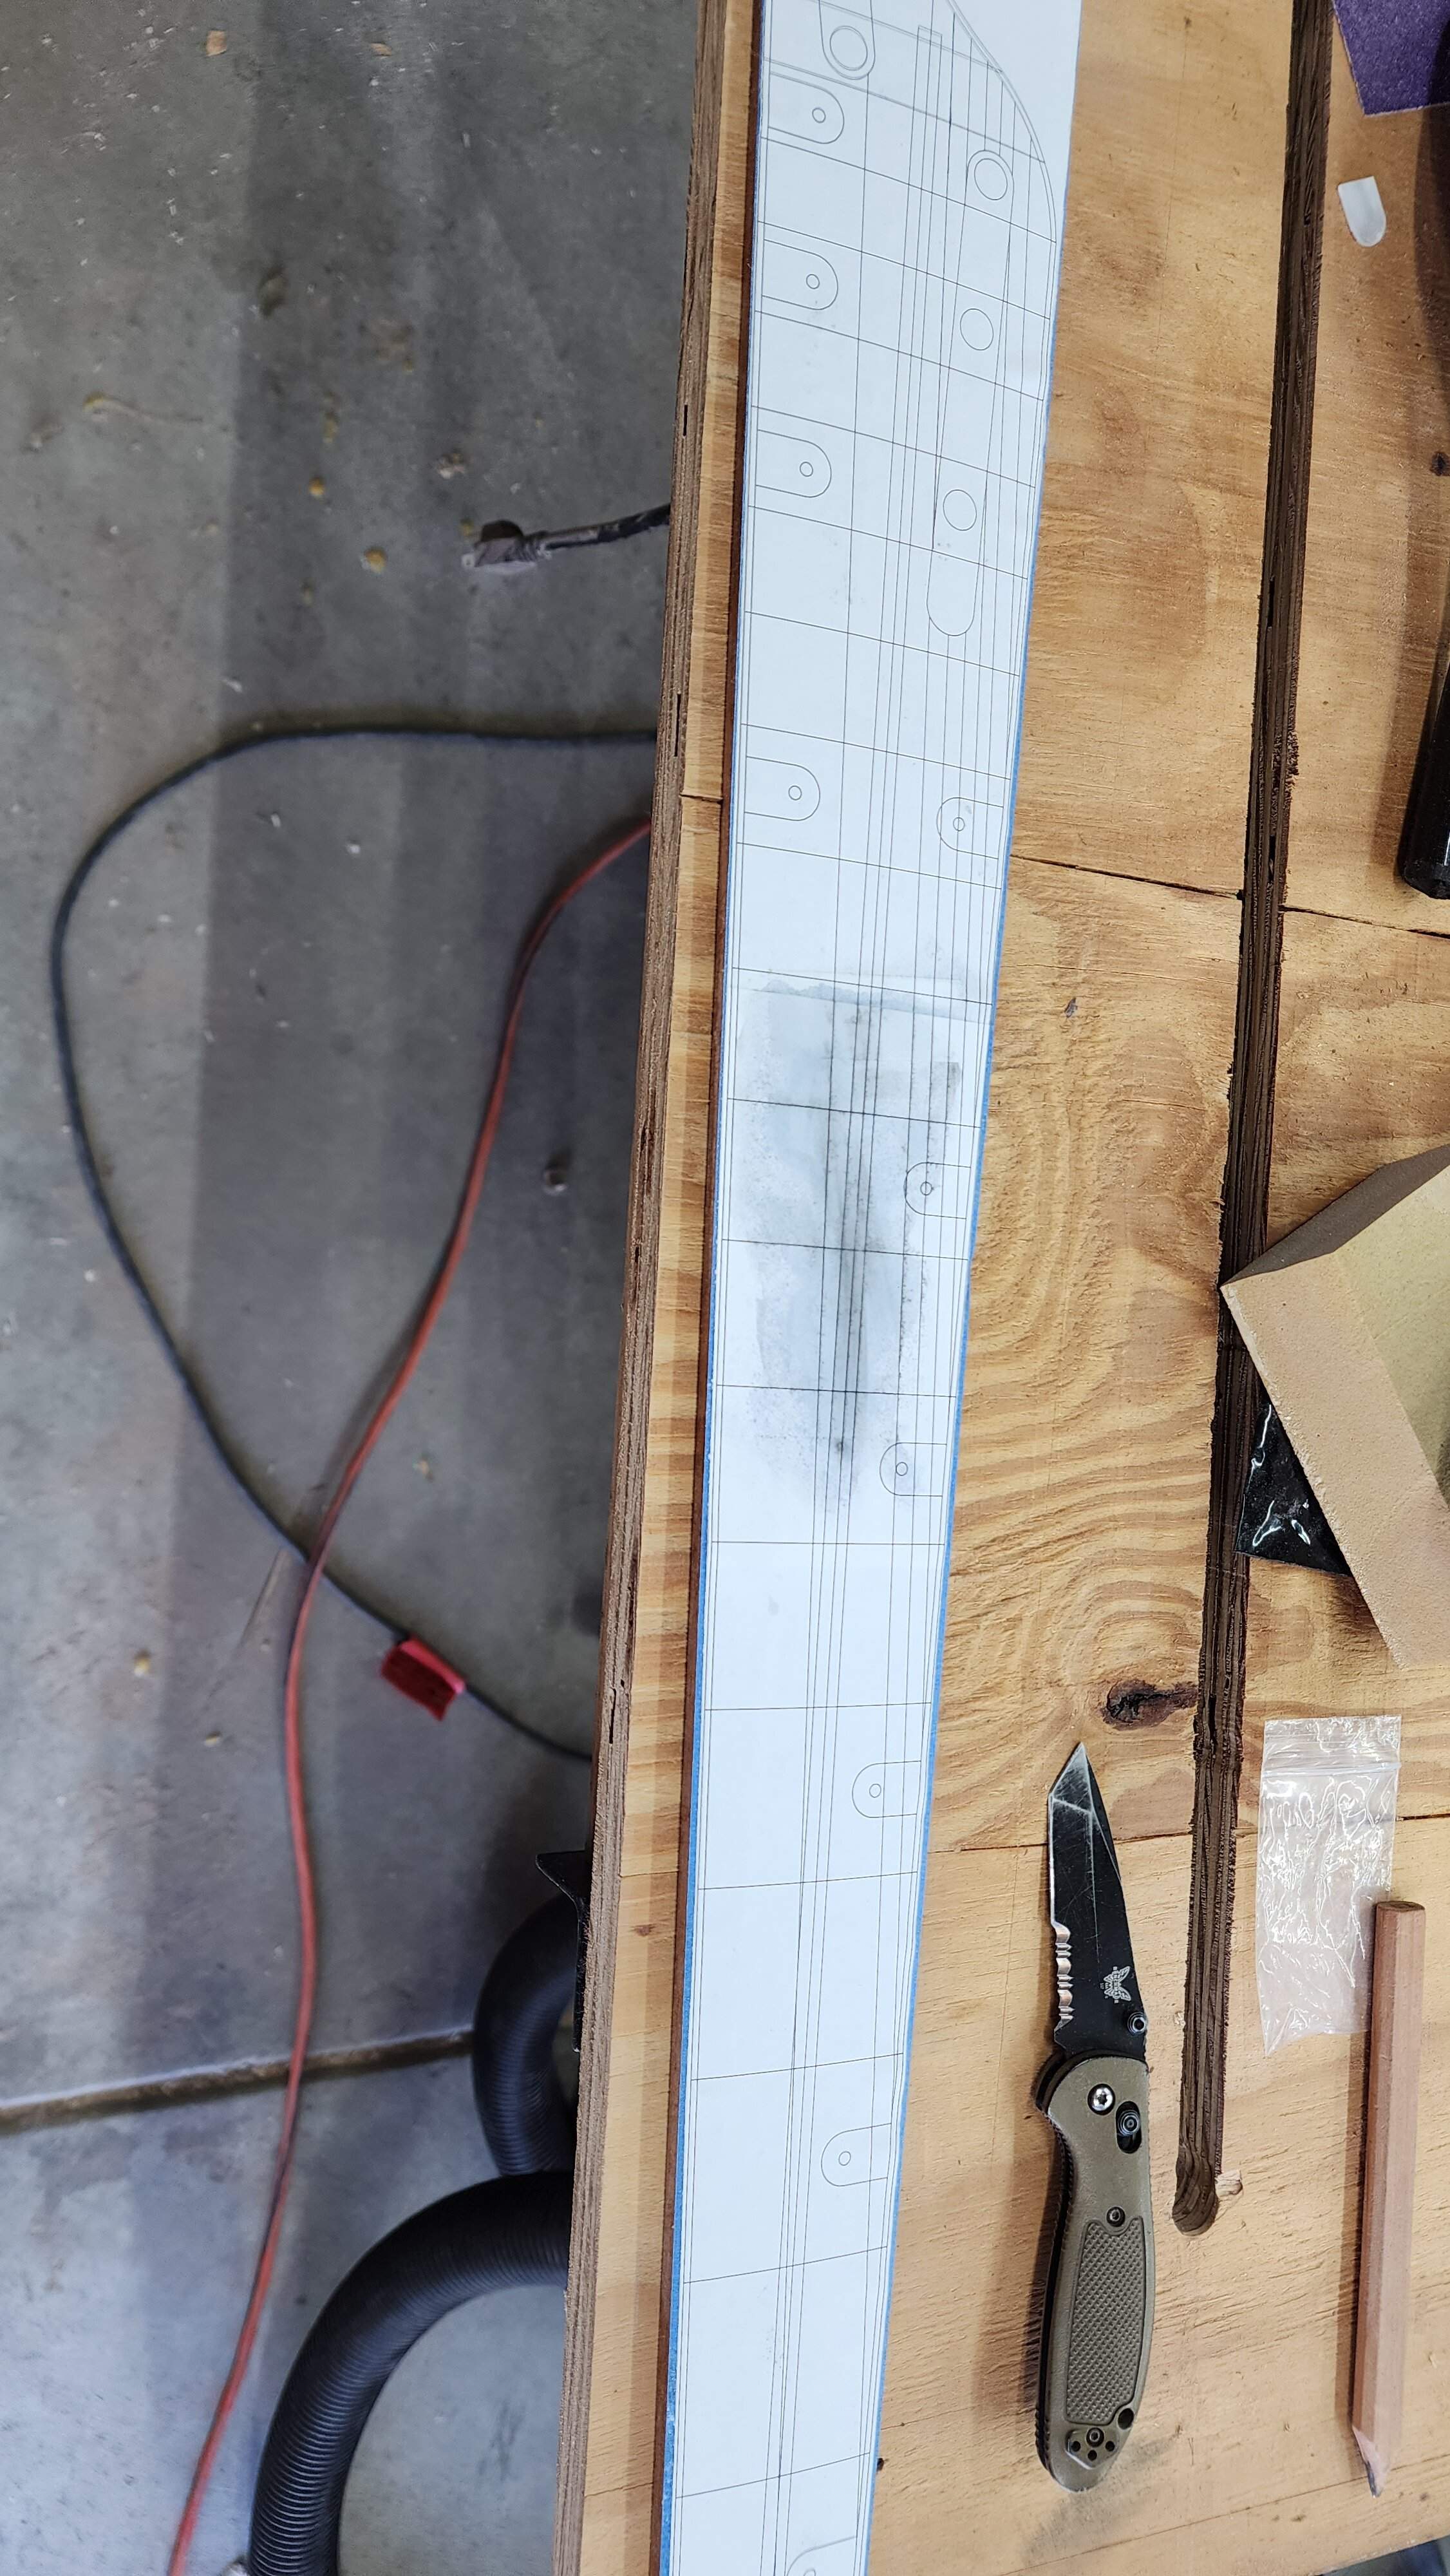
Started pulling together the fingerboard. I was able to print 100% scale templates for it. The plan is to radius the fretboard which is roughly cut to size. I will then glue the template to the fretboard and cut the inlay recesses and fret slots.

Sanded down with 80 to set the 16 inch radius. Then 120 to take the rough spots off. Shaped the first 2 of the inlays. I think this is going to look sharp! The 2mm black dots I am waiting for the material. (It's also what I'm going to use for side dots on the MOP binding)
Turns out the 1/2" dremel sanding collet is exactly the right diameter to sand the curves to on my small 1x30 belt sander. (Yes I am using a respirator!)
This wood reminds me of zebrano. It doesn't want to cut with a plane hardly at all. I was able to clean up the edges, but when I tried to take a bit off the face it tore out horribly. But my thickness planer worked like magic. Waiting to see how the dremel cuts it.
Turns out the 1/2" dremel sanding collet is exactly the right diameter to sand the curves to on my small 1x30 belt sander. (Yes I am using a respirator!)
This wood reminds me of zebrano. It doesn't want to cut with a plane hardly at all. I was able to clean up the edges, but when I tried to take a bit off the face it tore out horribly. But my thickness planer worked like magic. Waiting to see how the dremel cuts it.
Last edited:
Ironically, this is almost exactly the opposite of how I am going to do the inlays for the Rick-man....
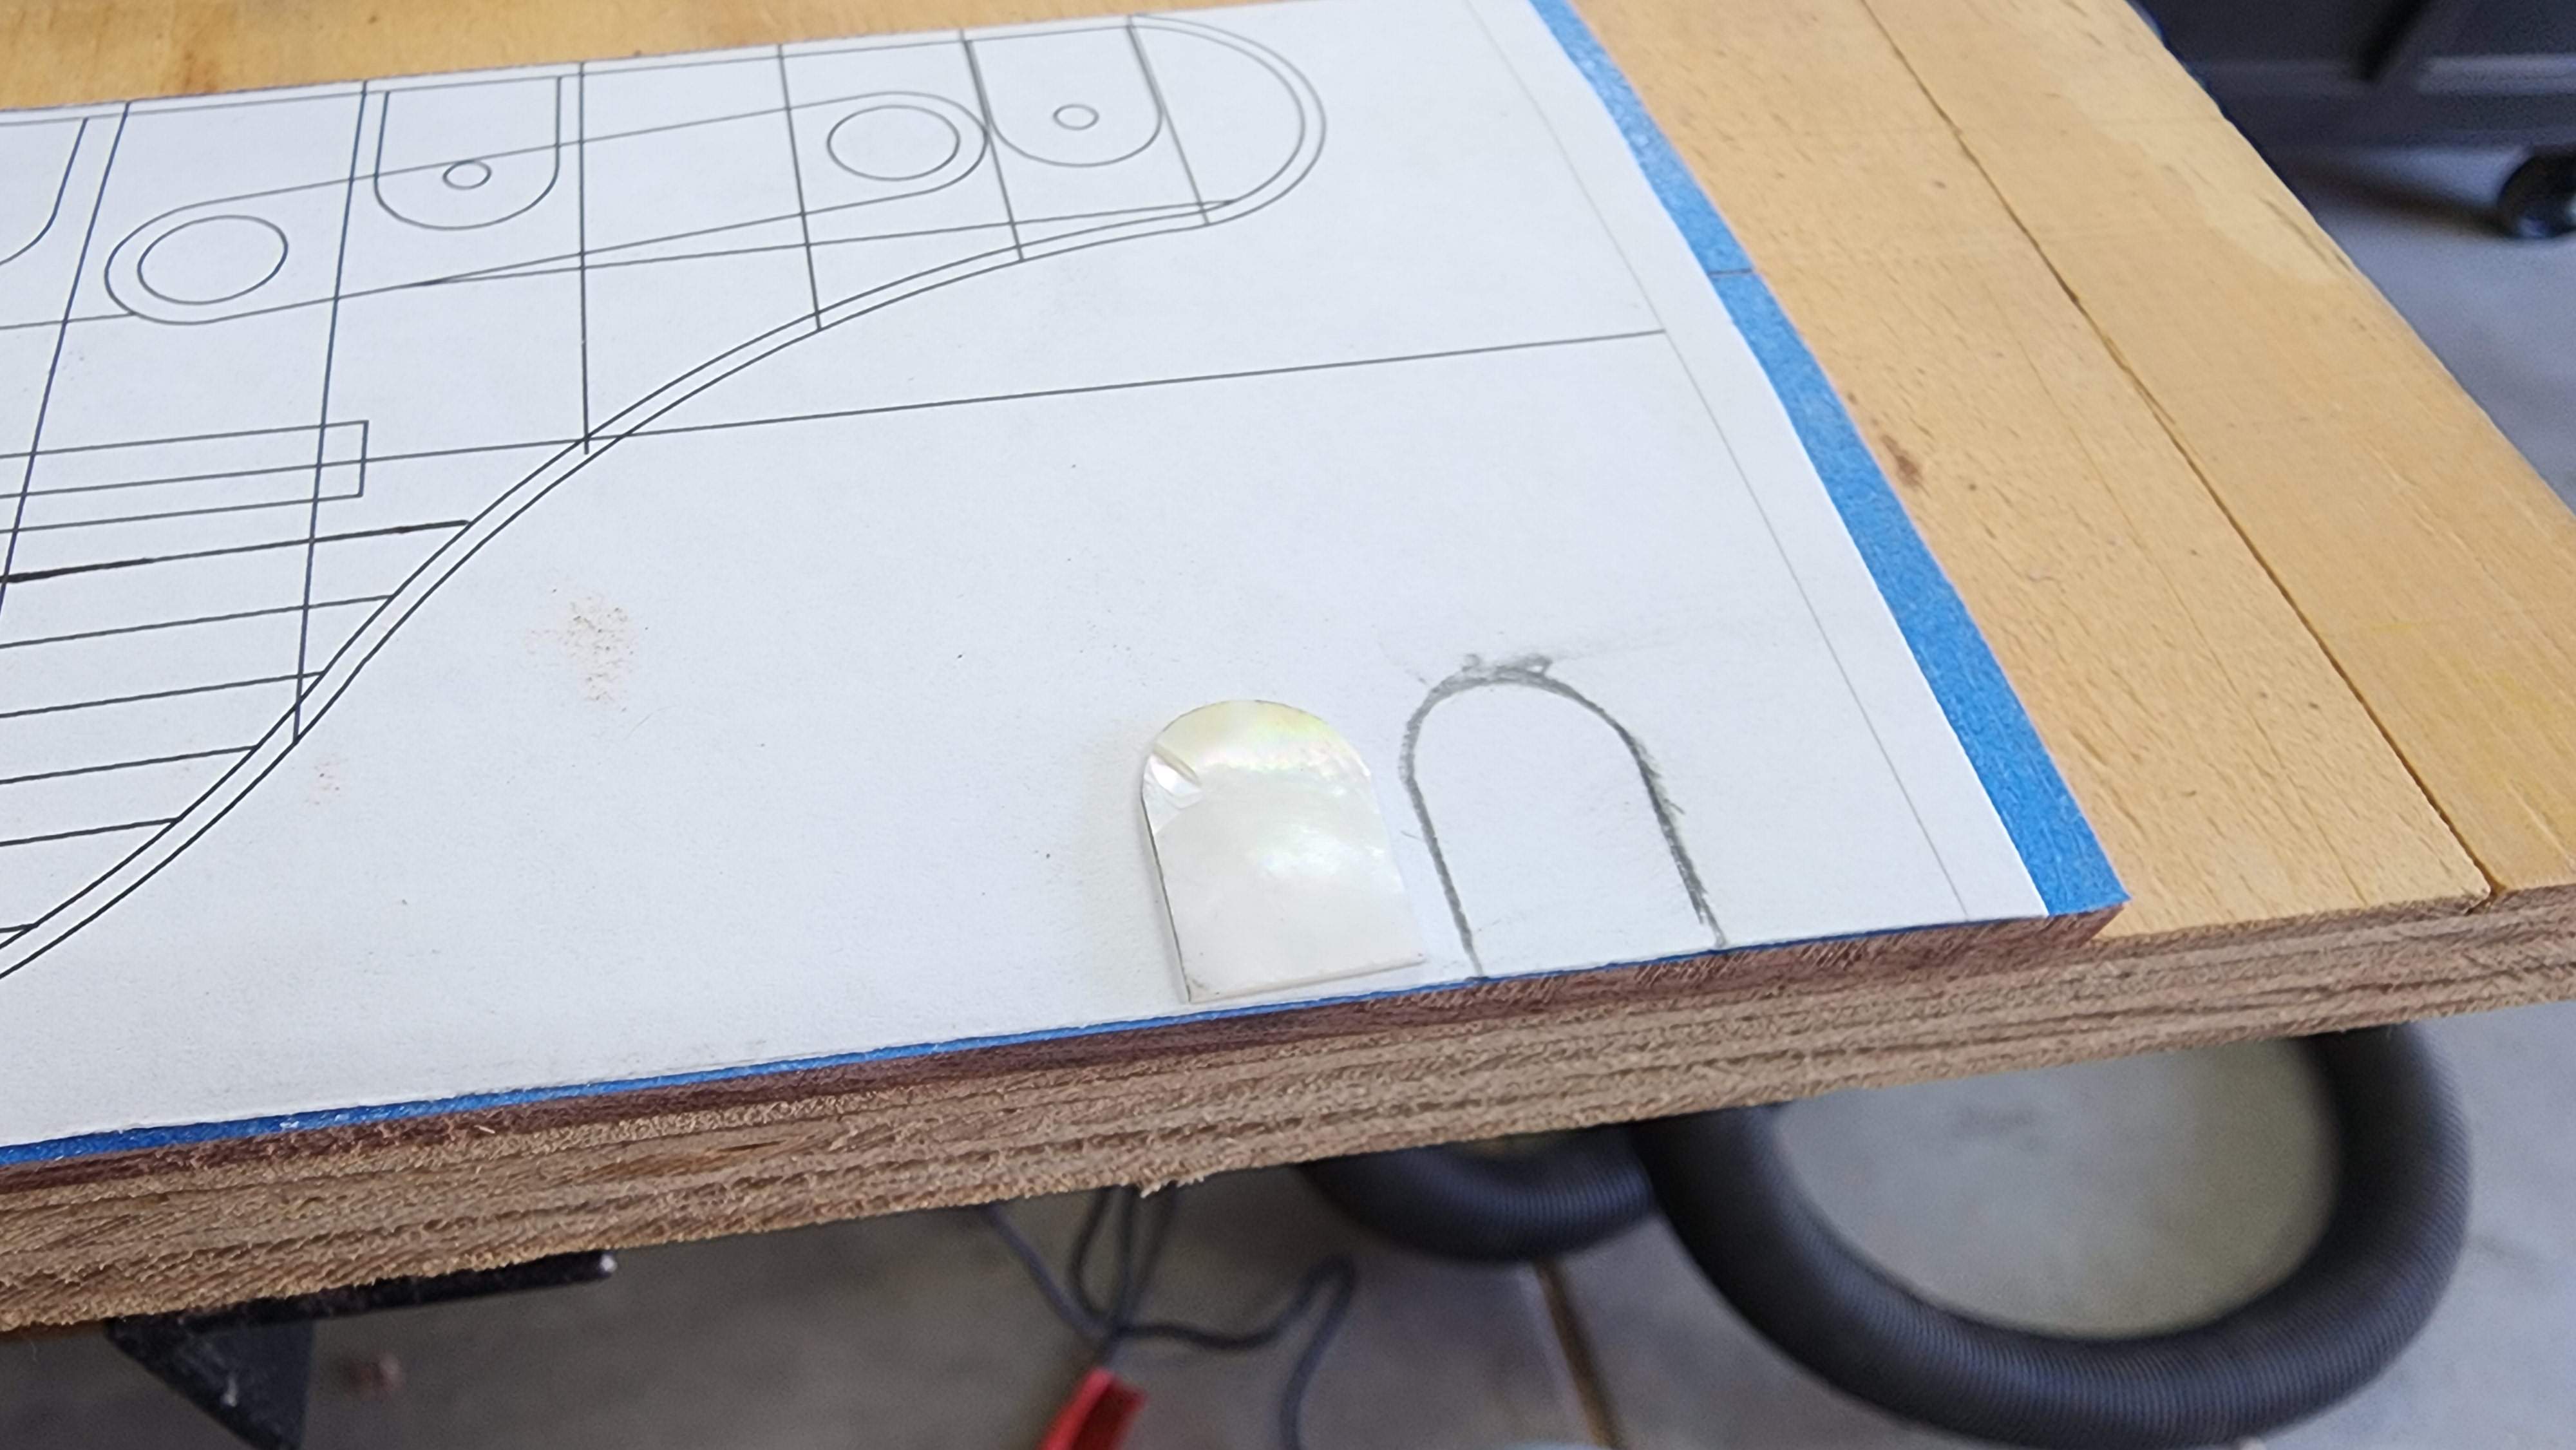
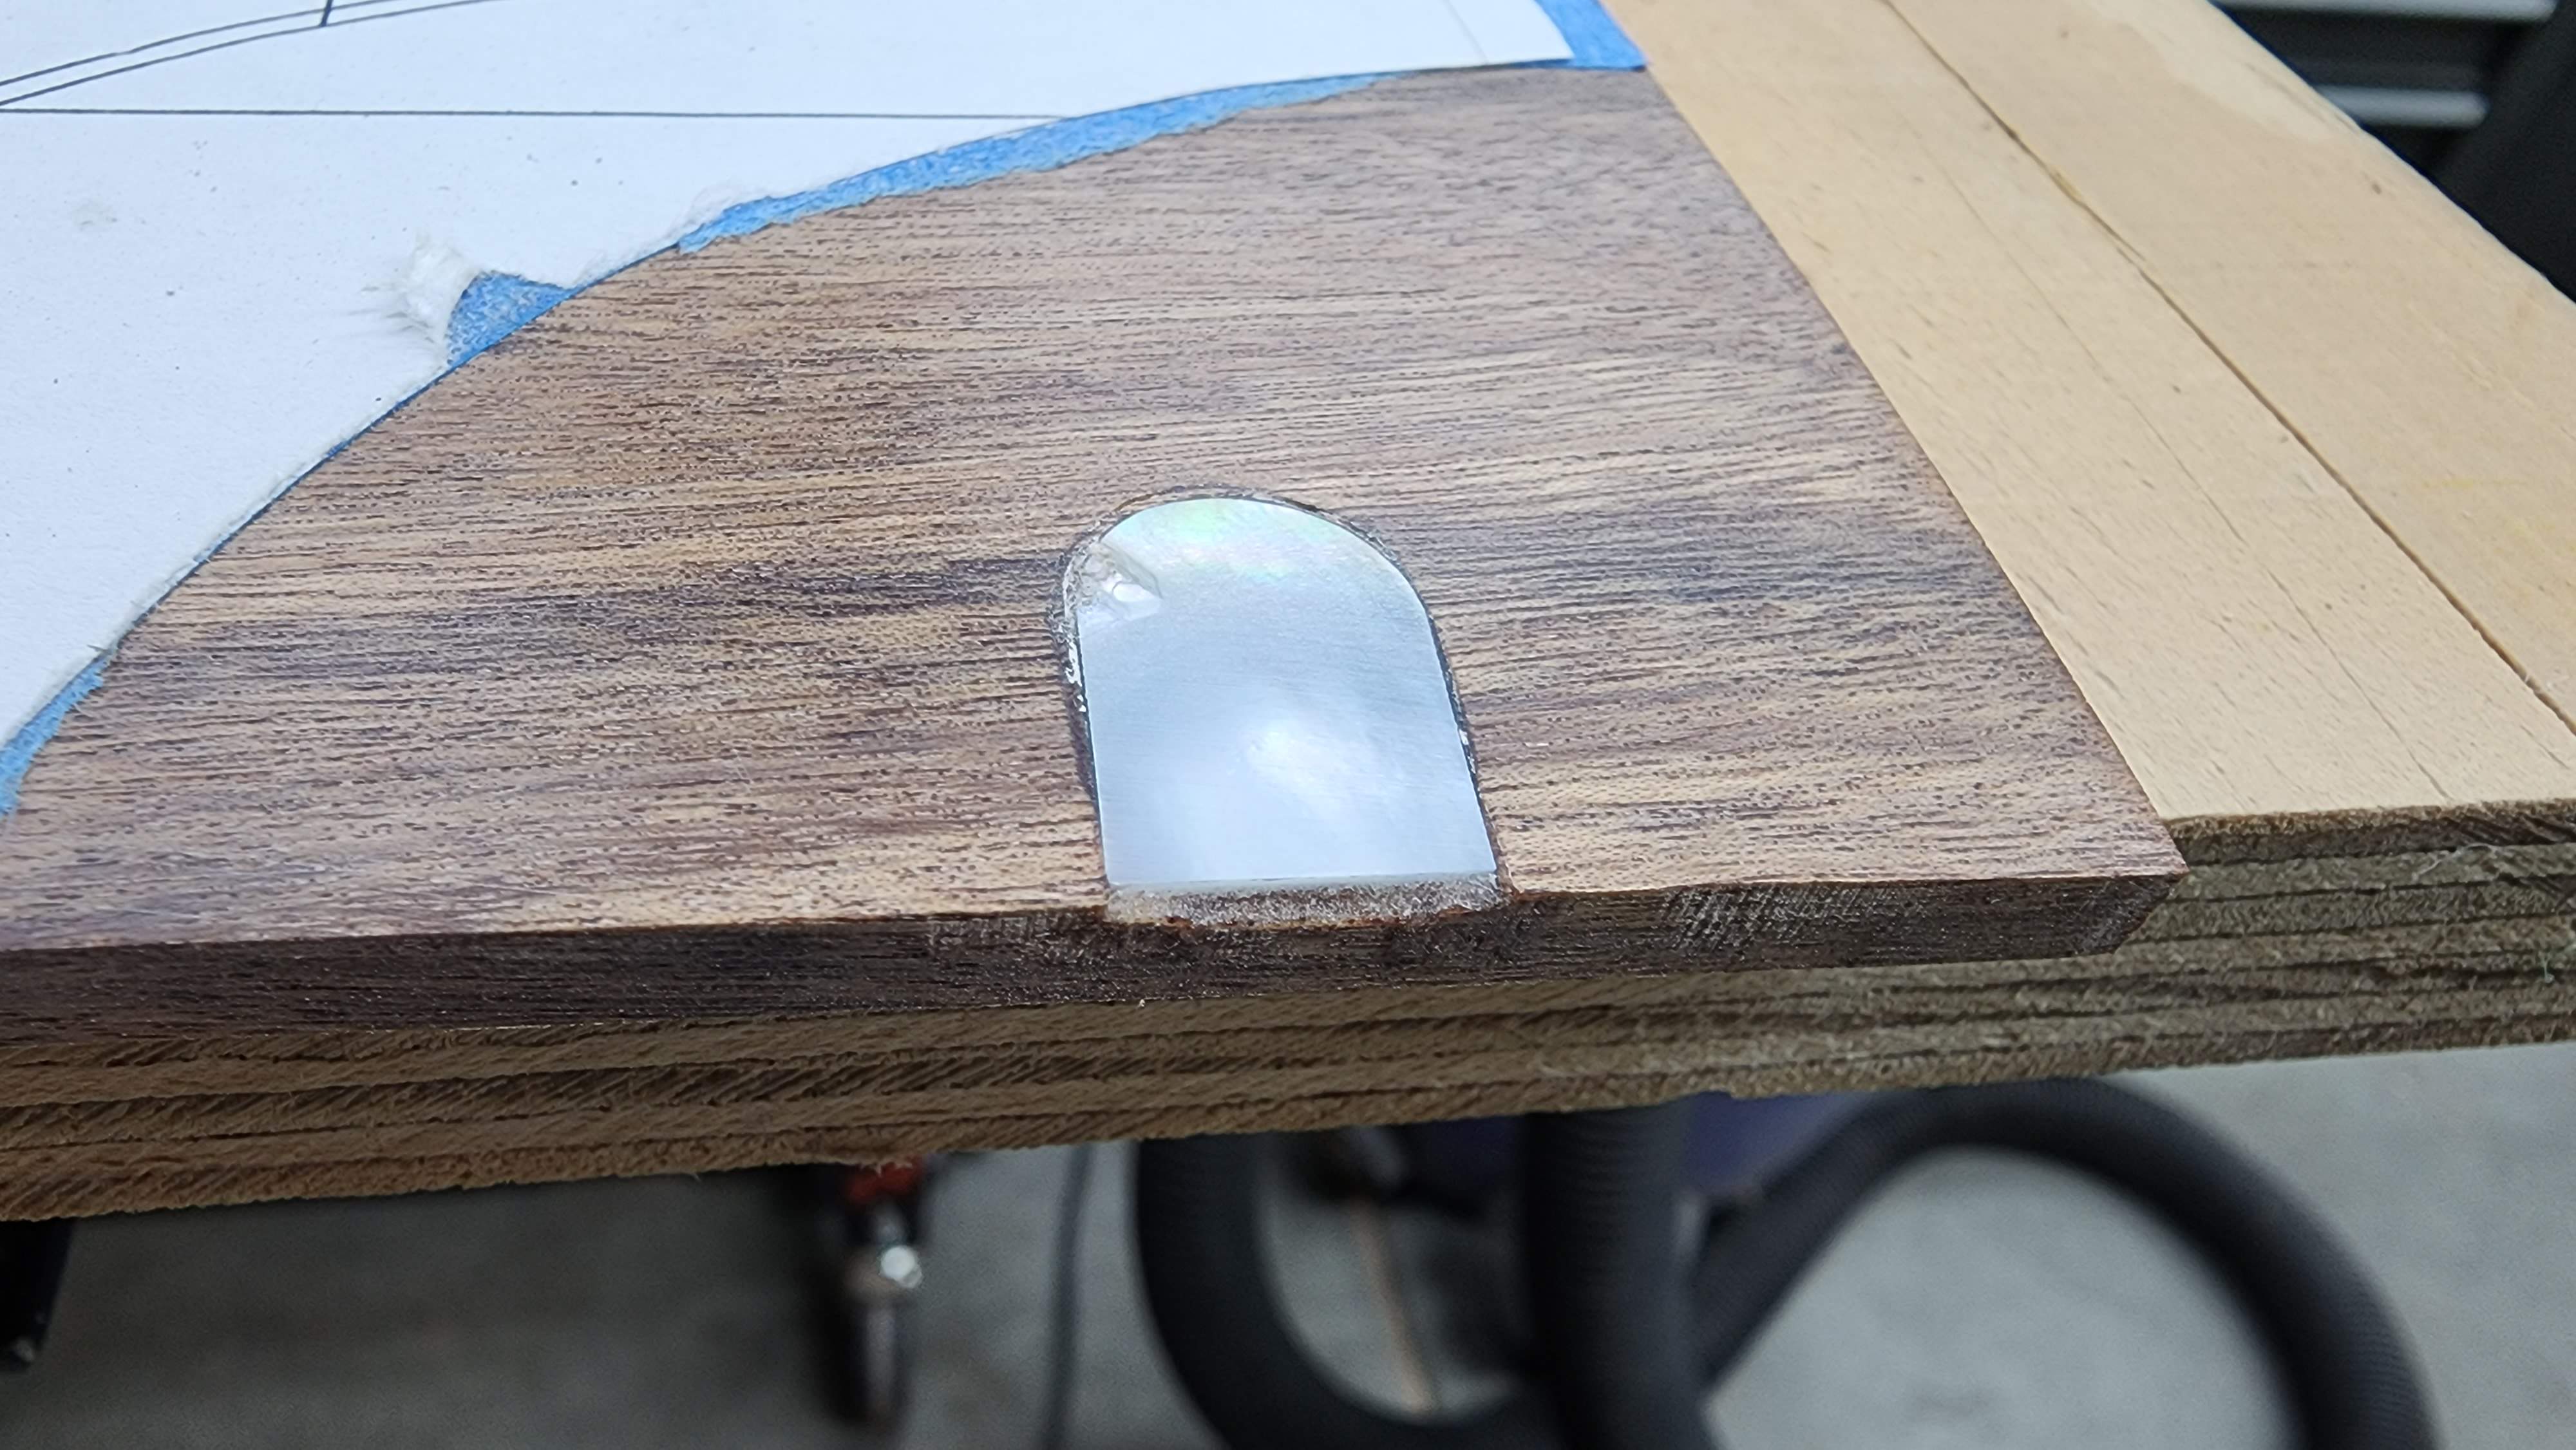
First inlay. I did a test one on the end of the fretboard I plan to cut off. I think it turned out pretty good. I tried using a knife to cut around the inlay, but I think I can skip that step on the real ones.
Used a small machinists square to cut the inlay pieces in half.
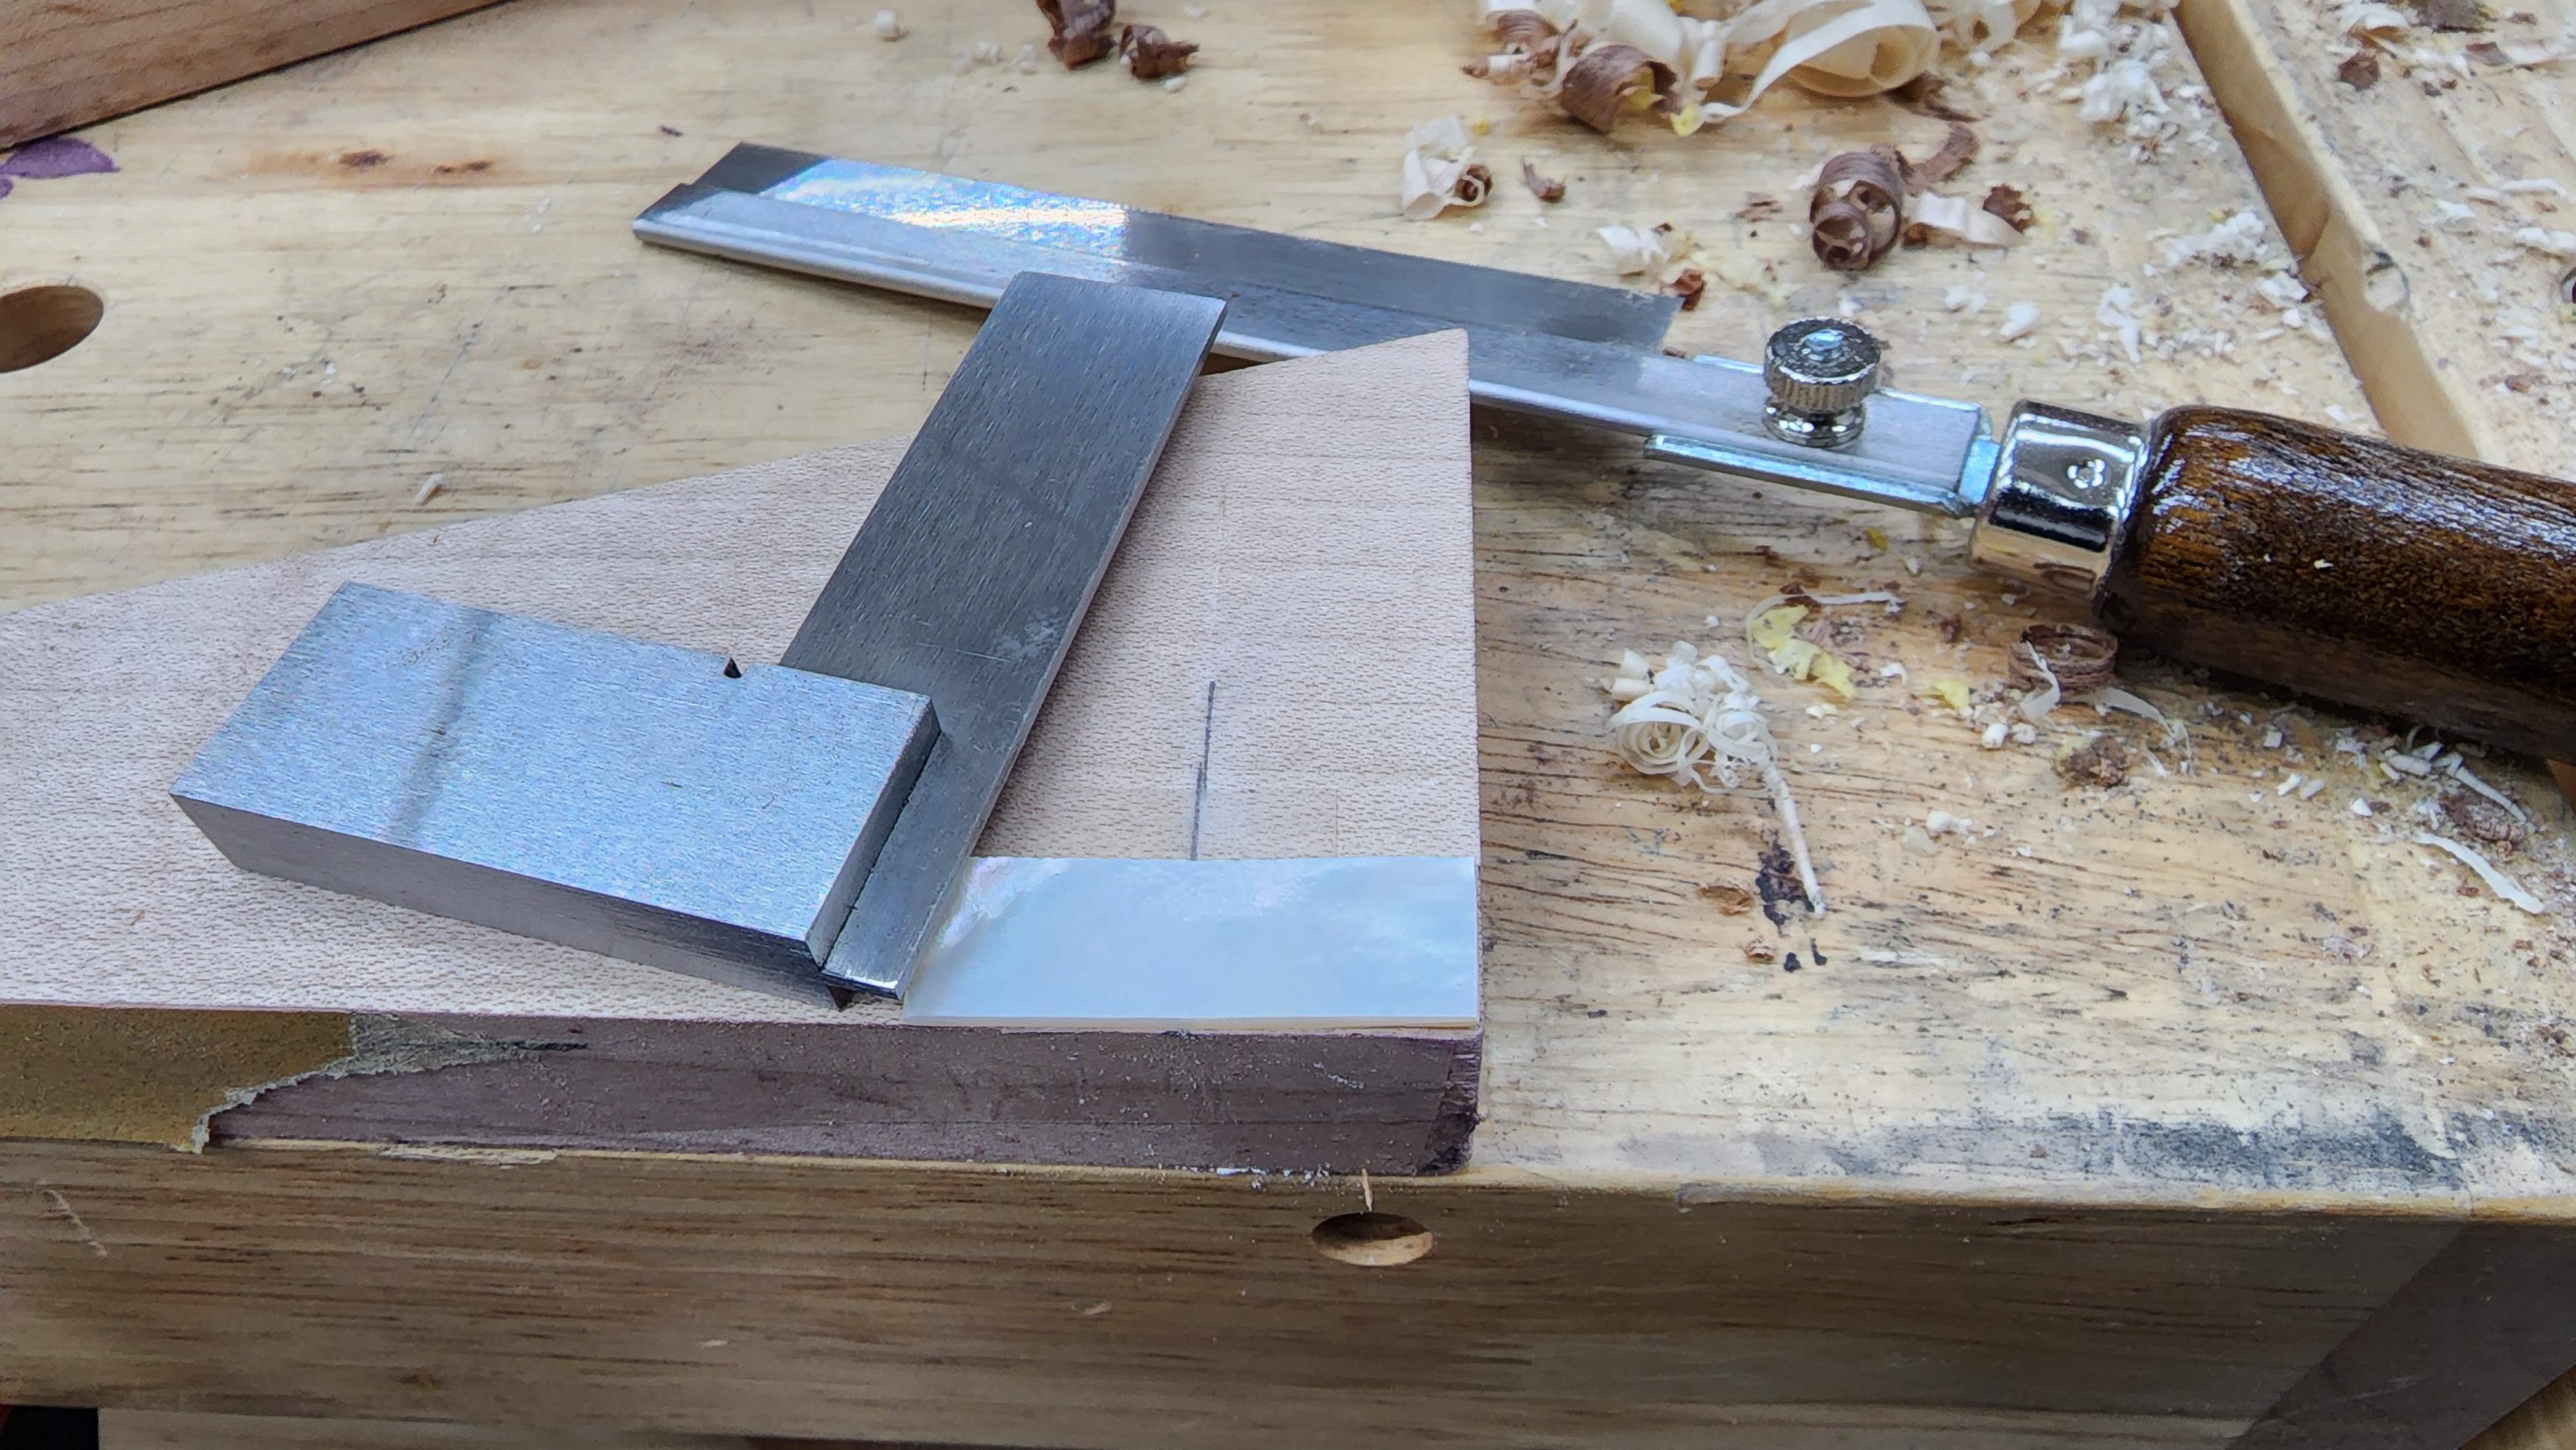
Laid them out to see how it's going to look for real
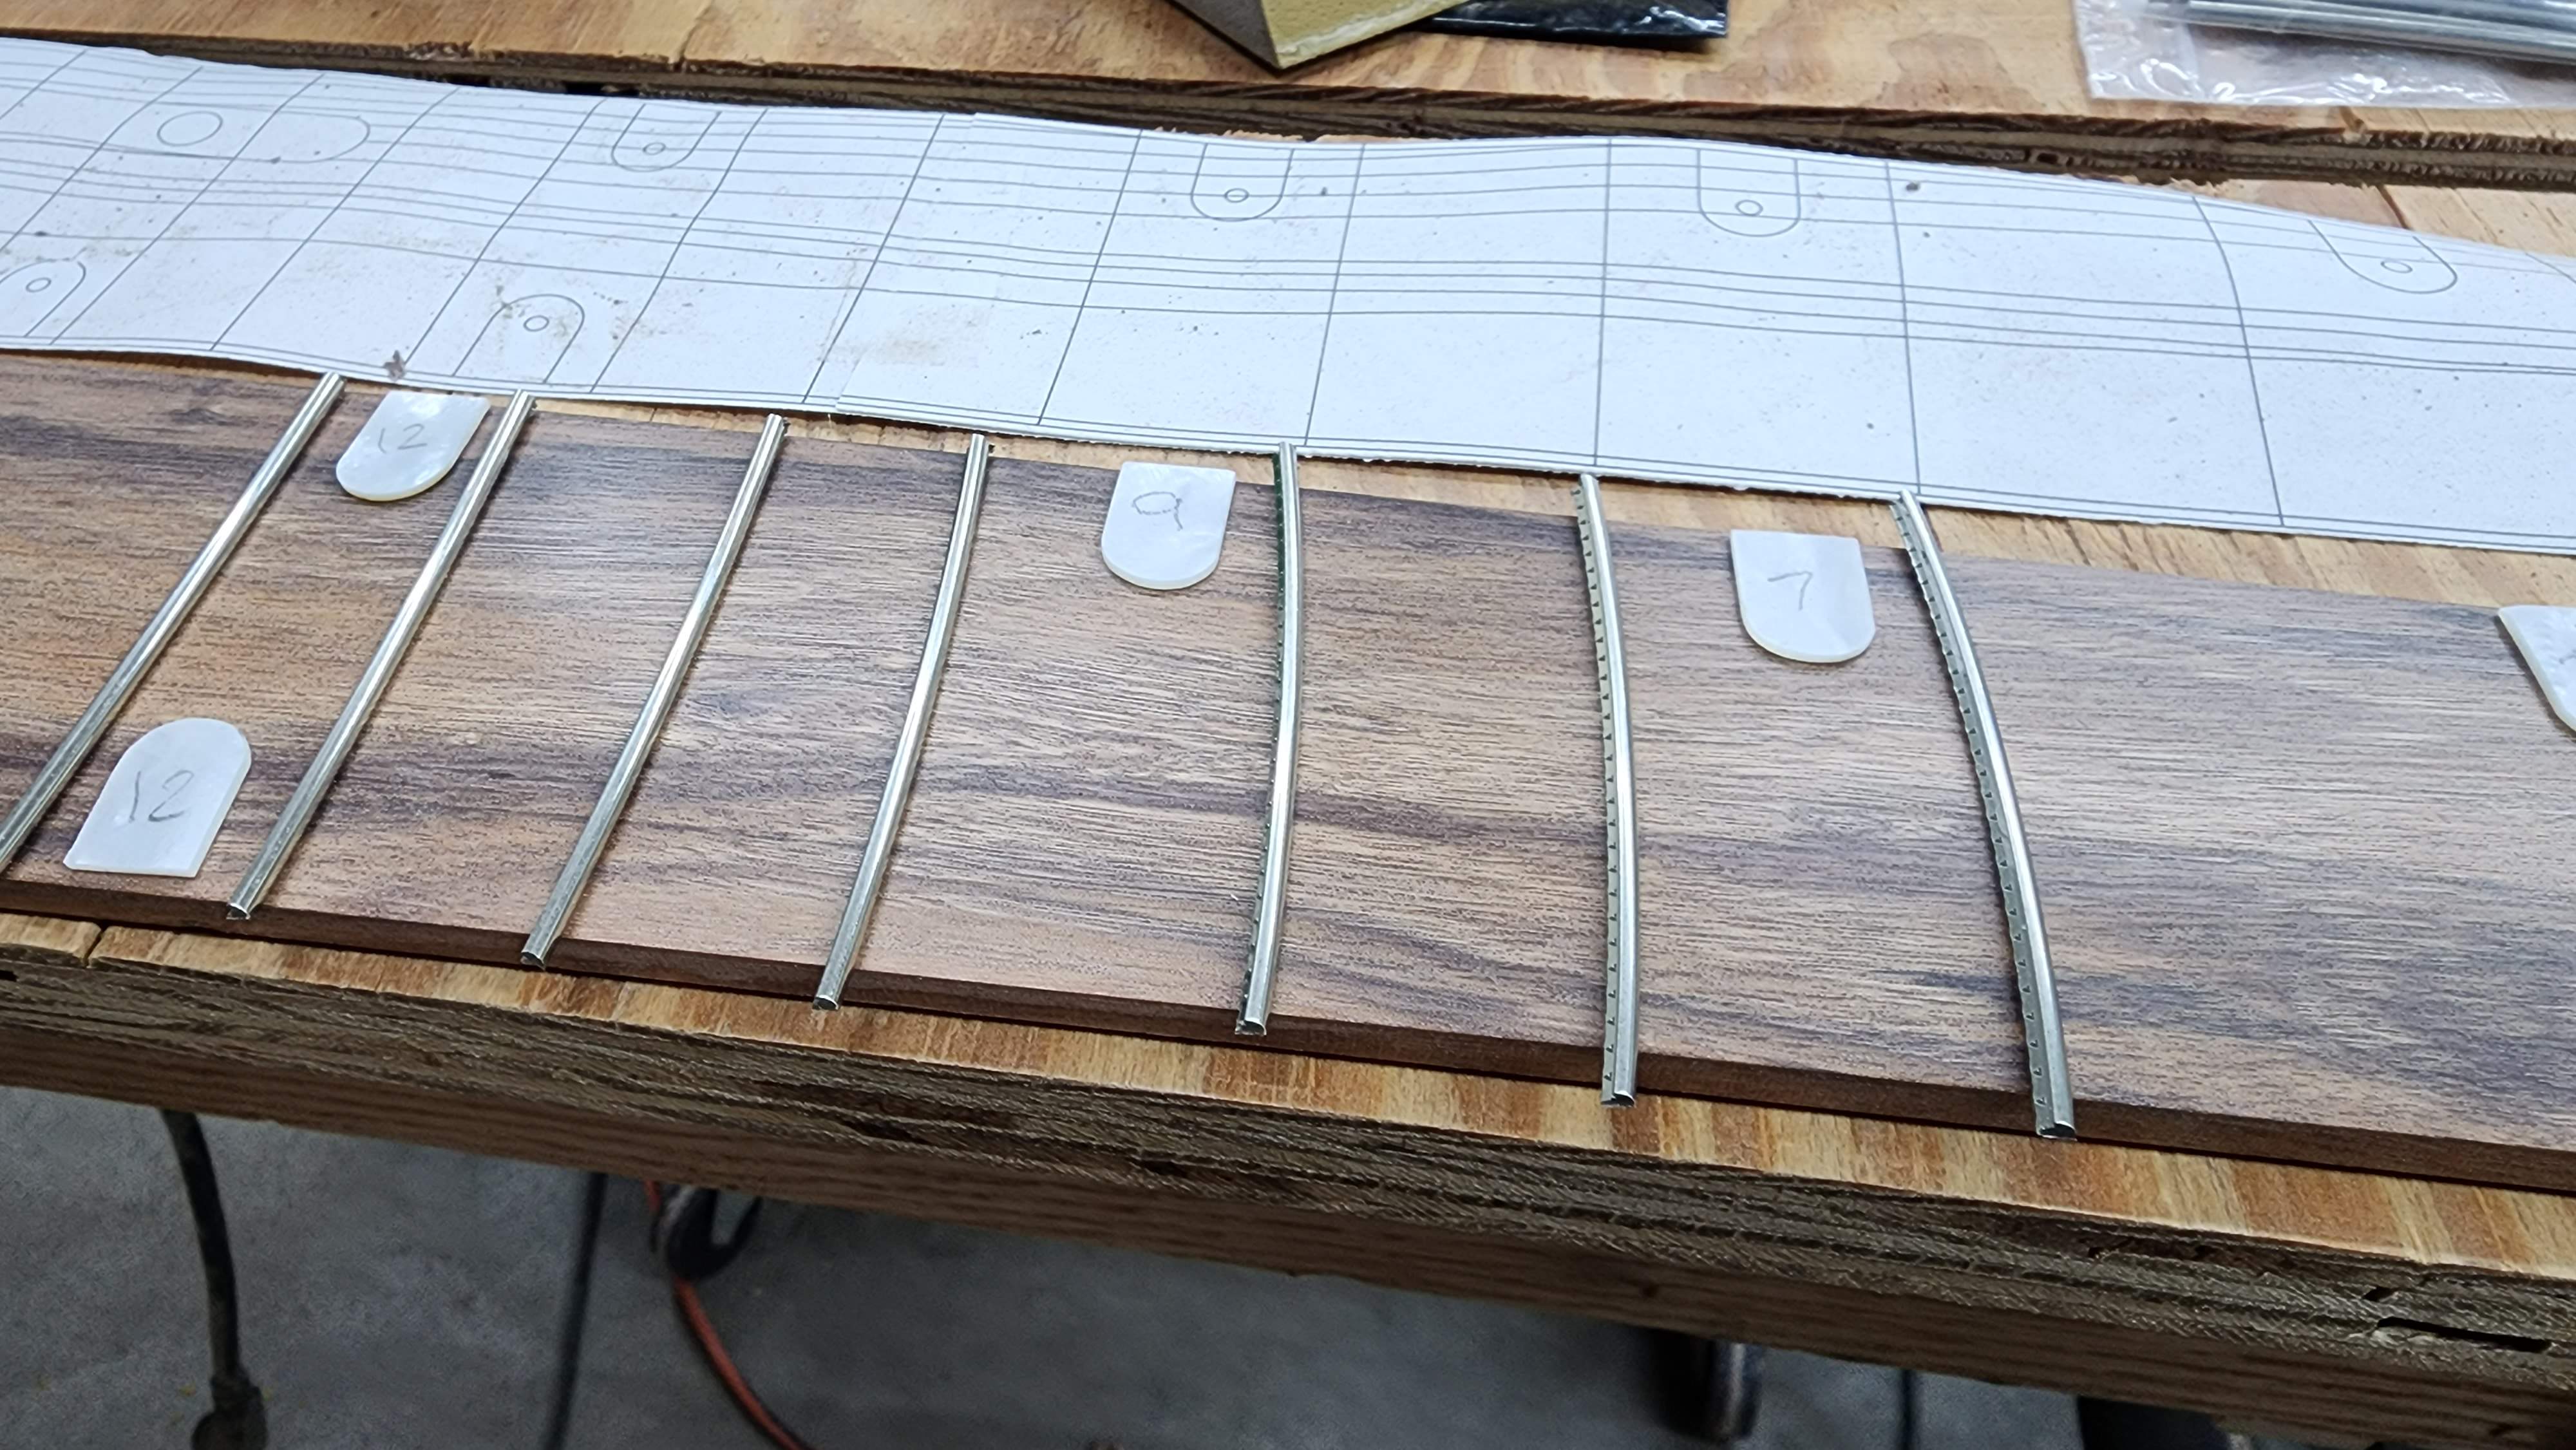
I covered the fretboard in blue tape before attaching the template. I brought it up to a pretty high polish first, so the tape will protect the surface from the spray adhesive I used.
Here's the before and after shots for the inlay.
Used a small machinists square to cut the inlay pieces in half.
Laid them out to see how it's going to look for real
I covered the fretboard in blue tape before attaching the template. I brought it up to a pretty high polish first, so the tape will protect the surface from the spray adhesive I used.
Here's the before and after shots for the inlay.
Attachments


Yeah, there's a crack in it. That's part of why it's the spare...Is that a damaged inlay? Or is that a trick of the light?
... Or should I call it a feature?
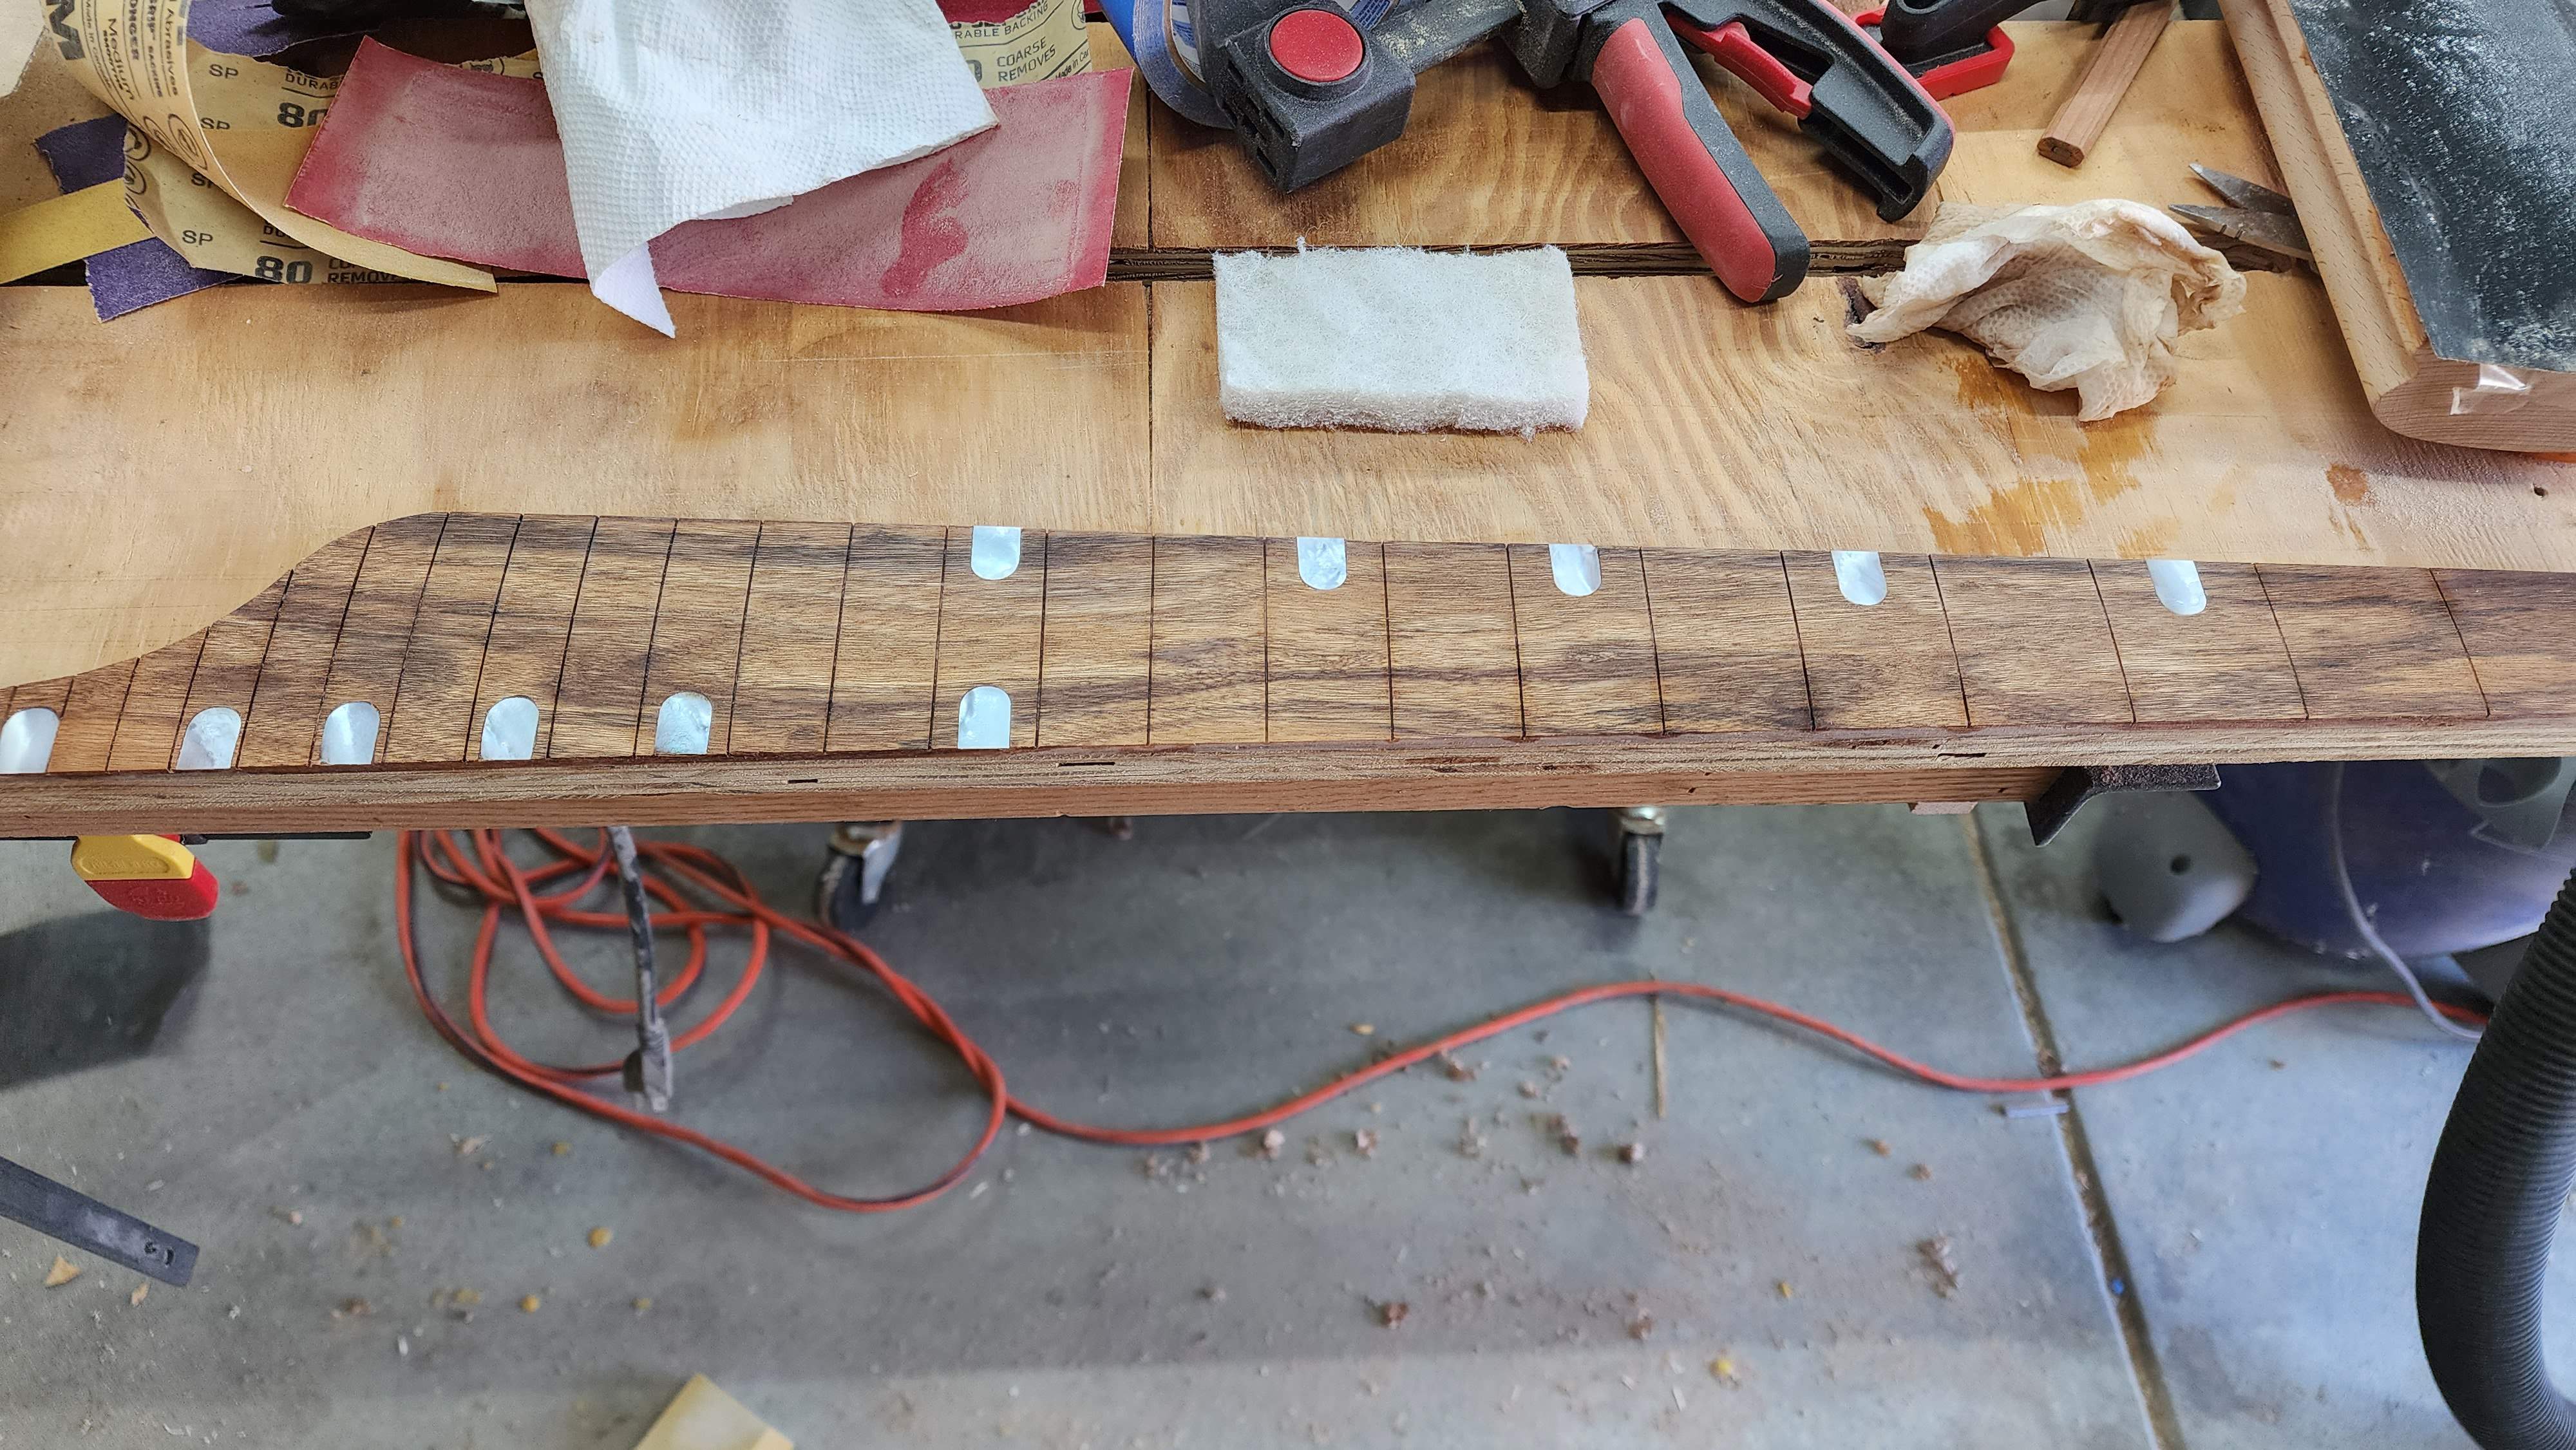
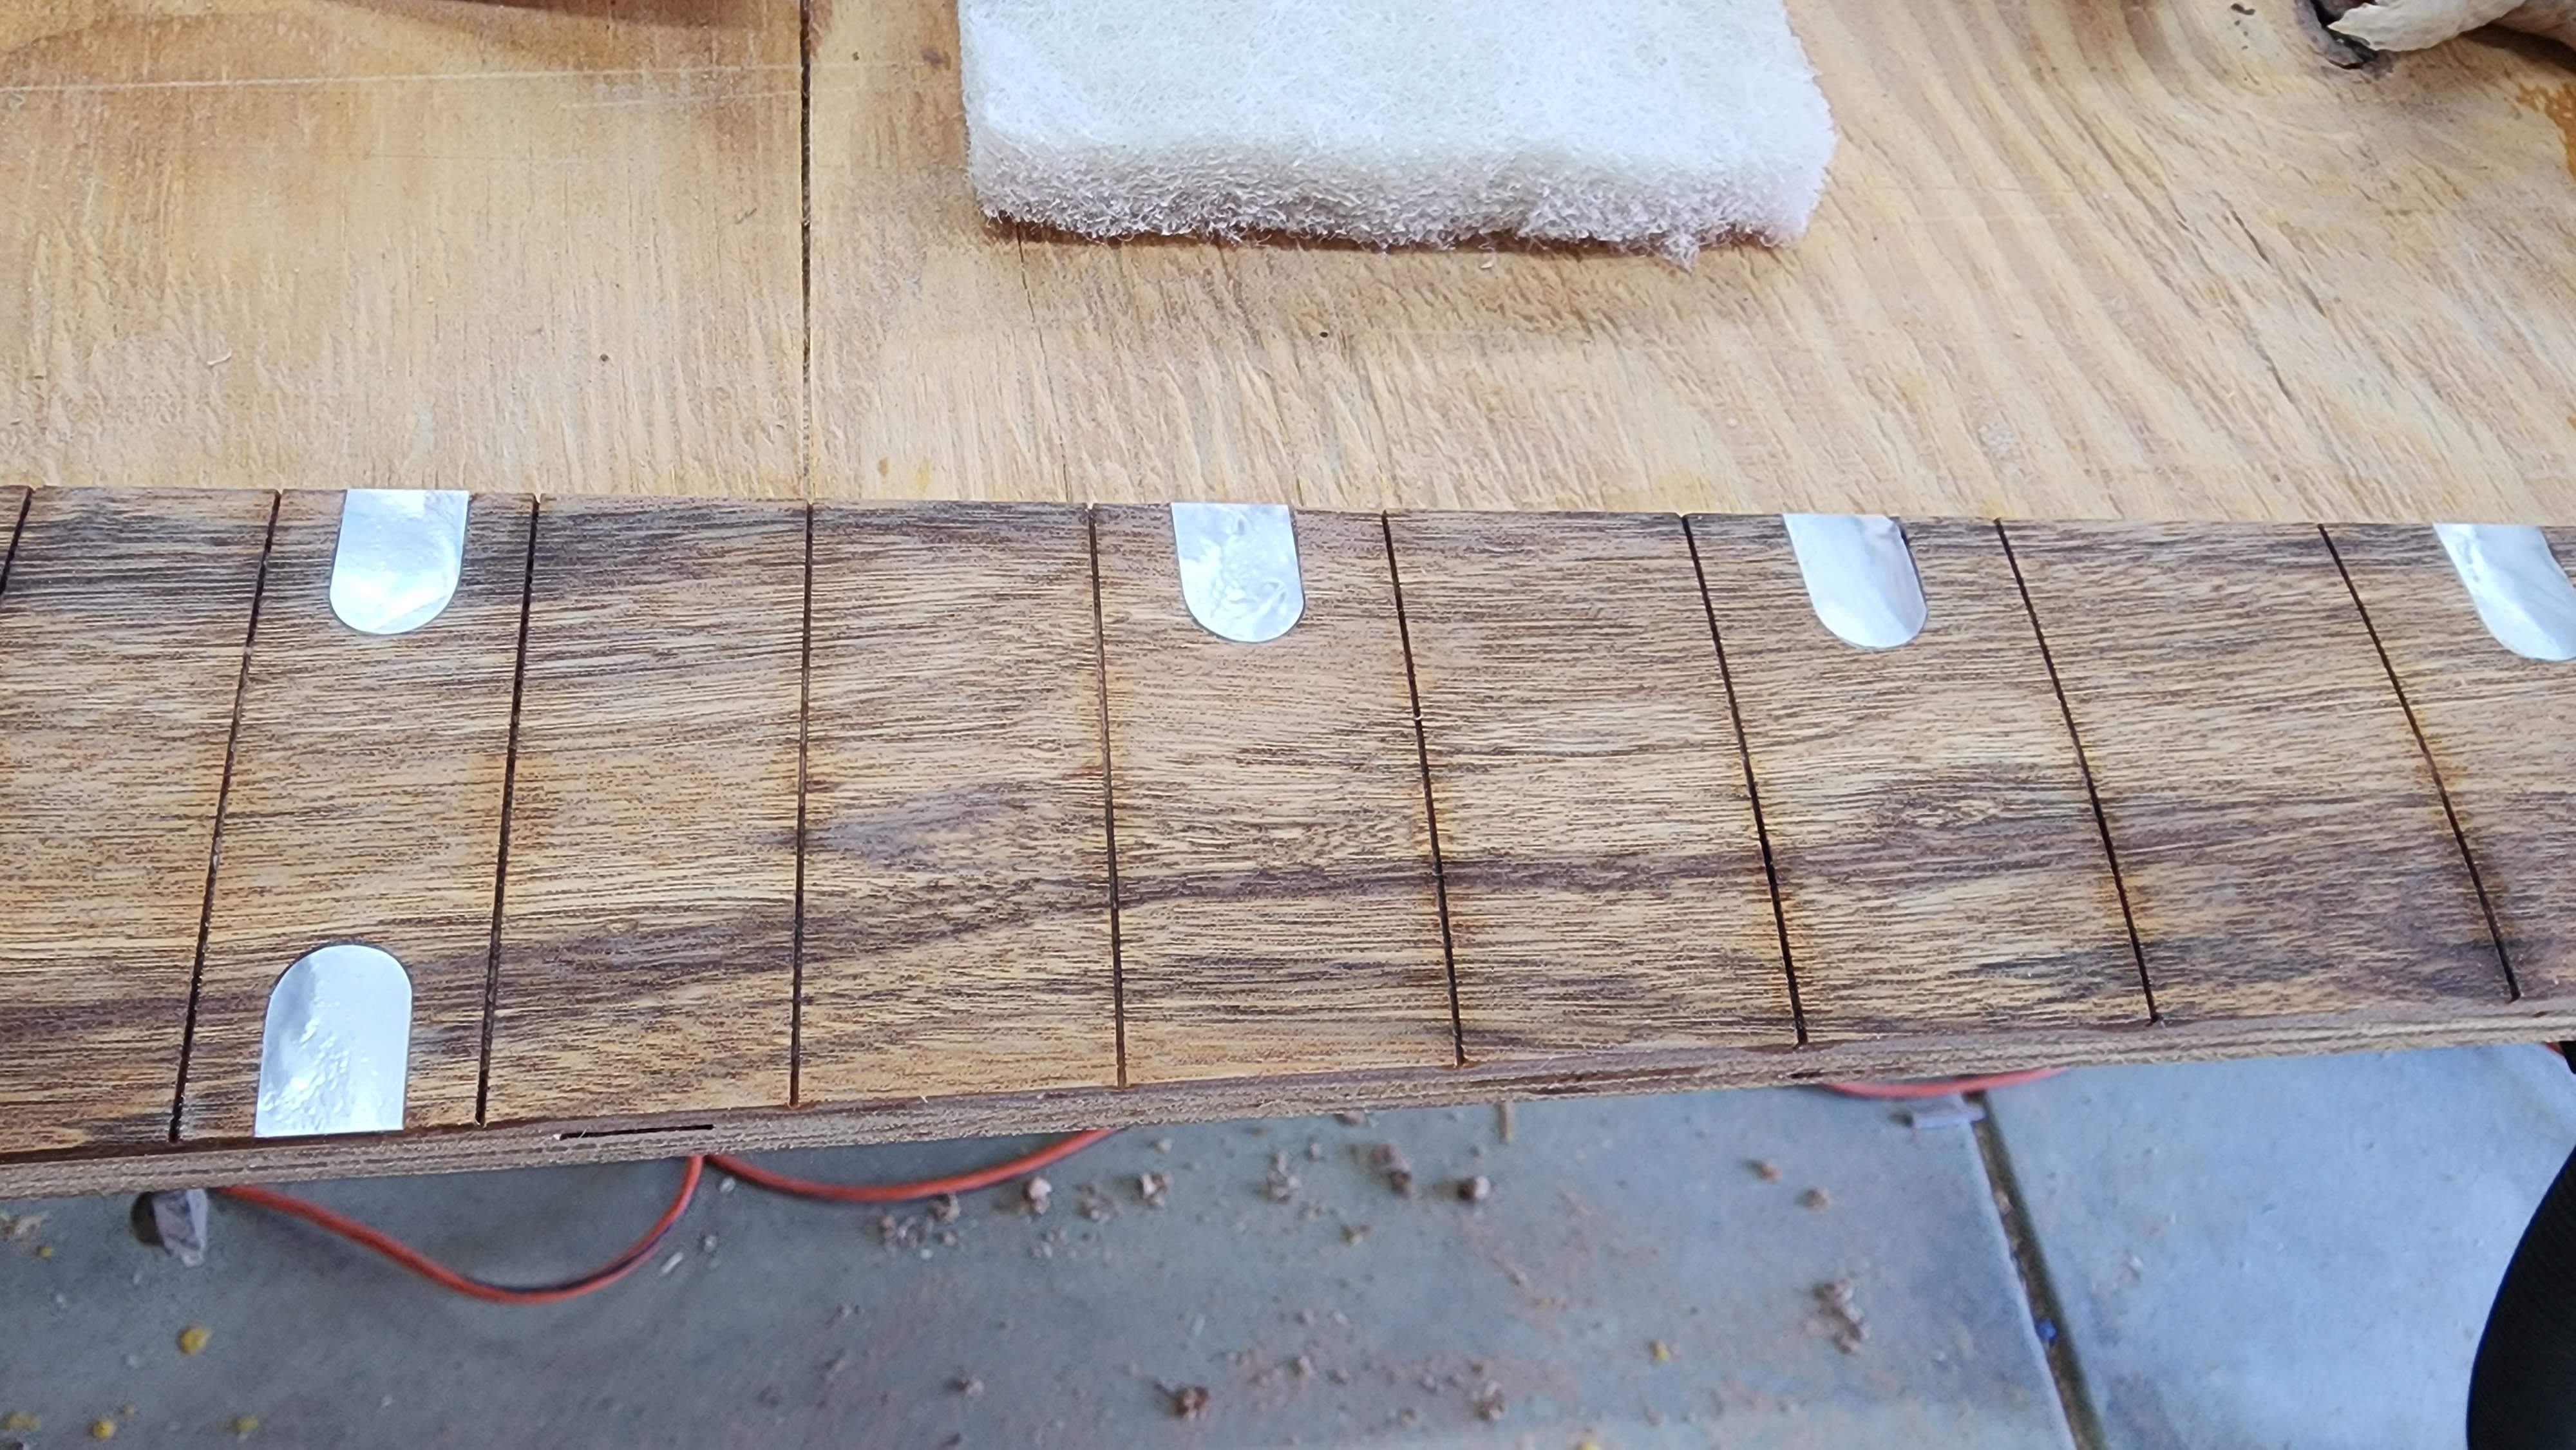
And this, boys and girls, is where we leave off tonight. 1 inlayed and slotted fretboard. I have to wait for the binding material to go any farther.
Last edited:
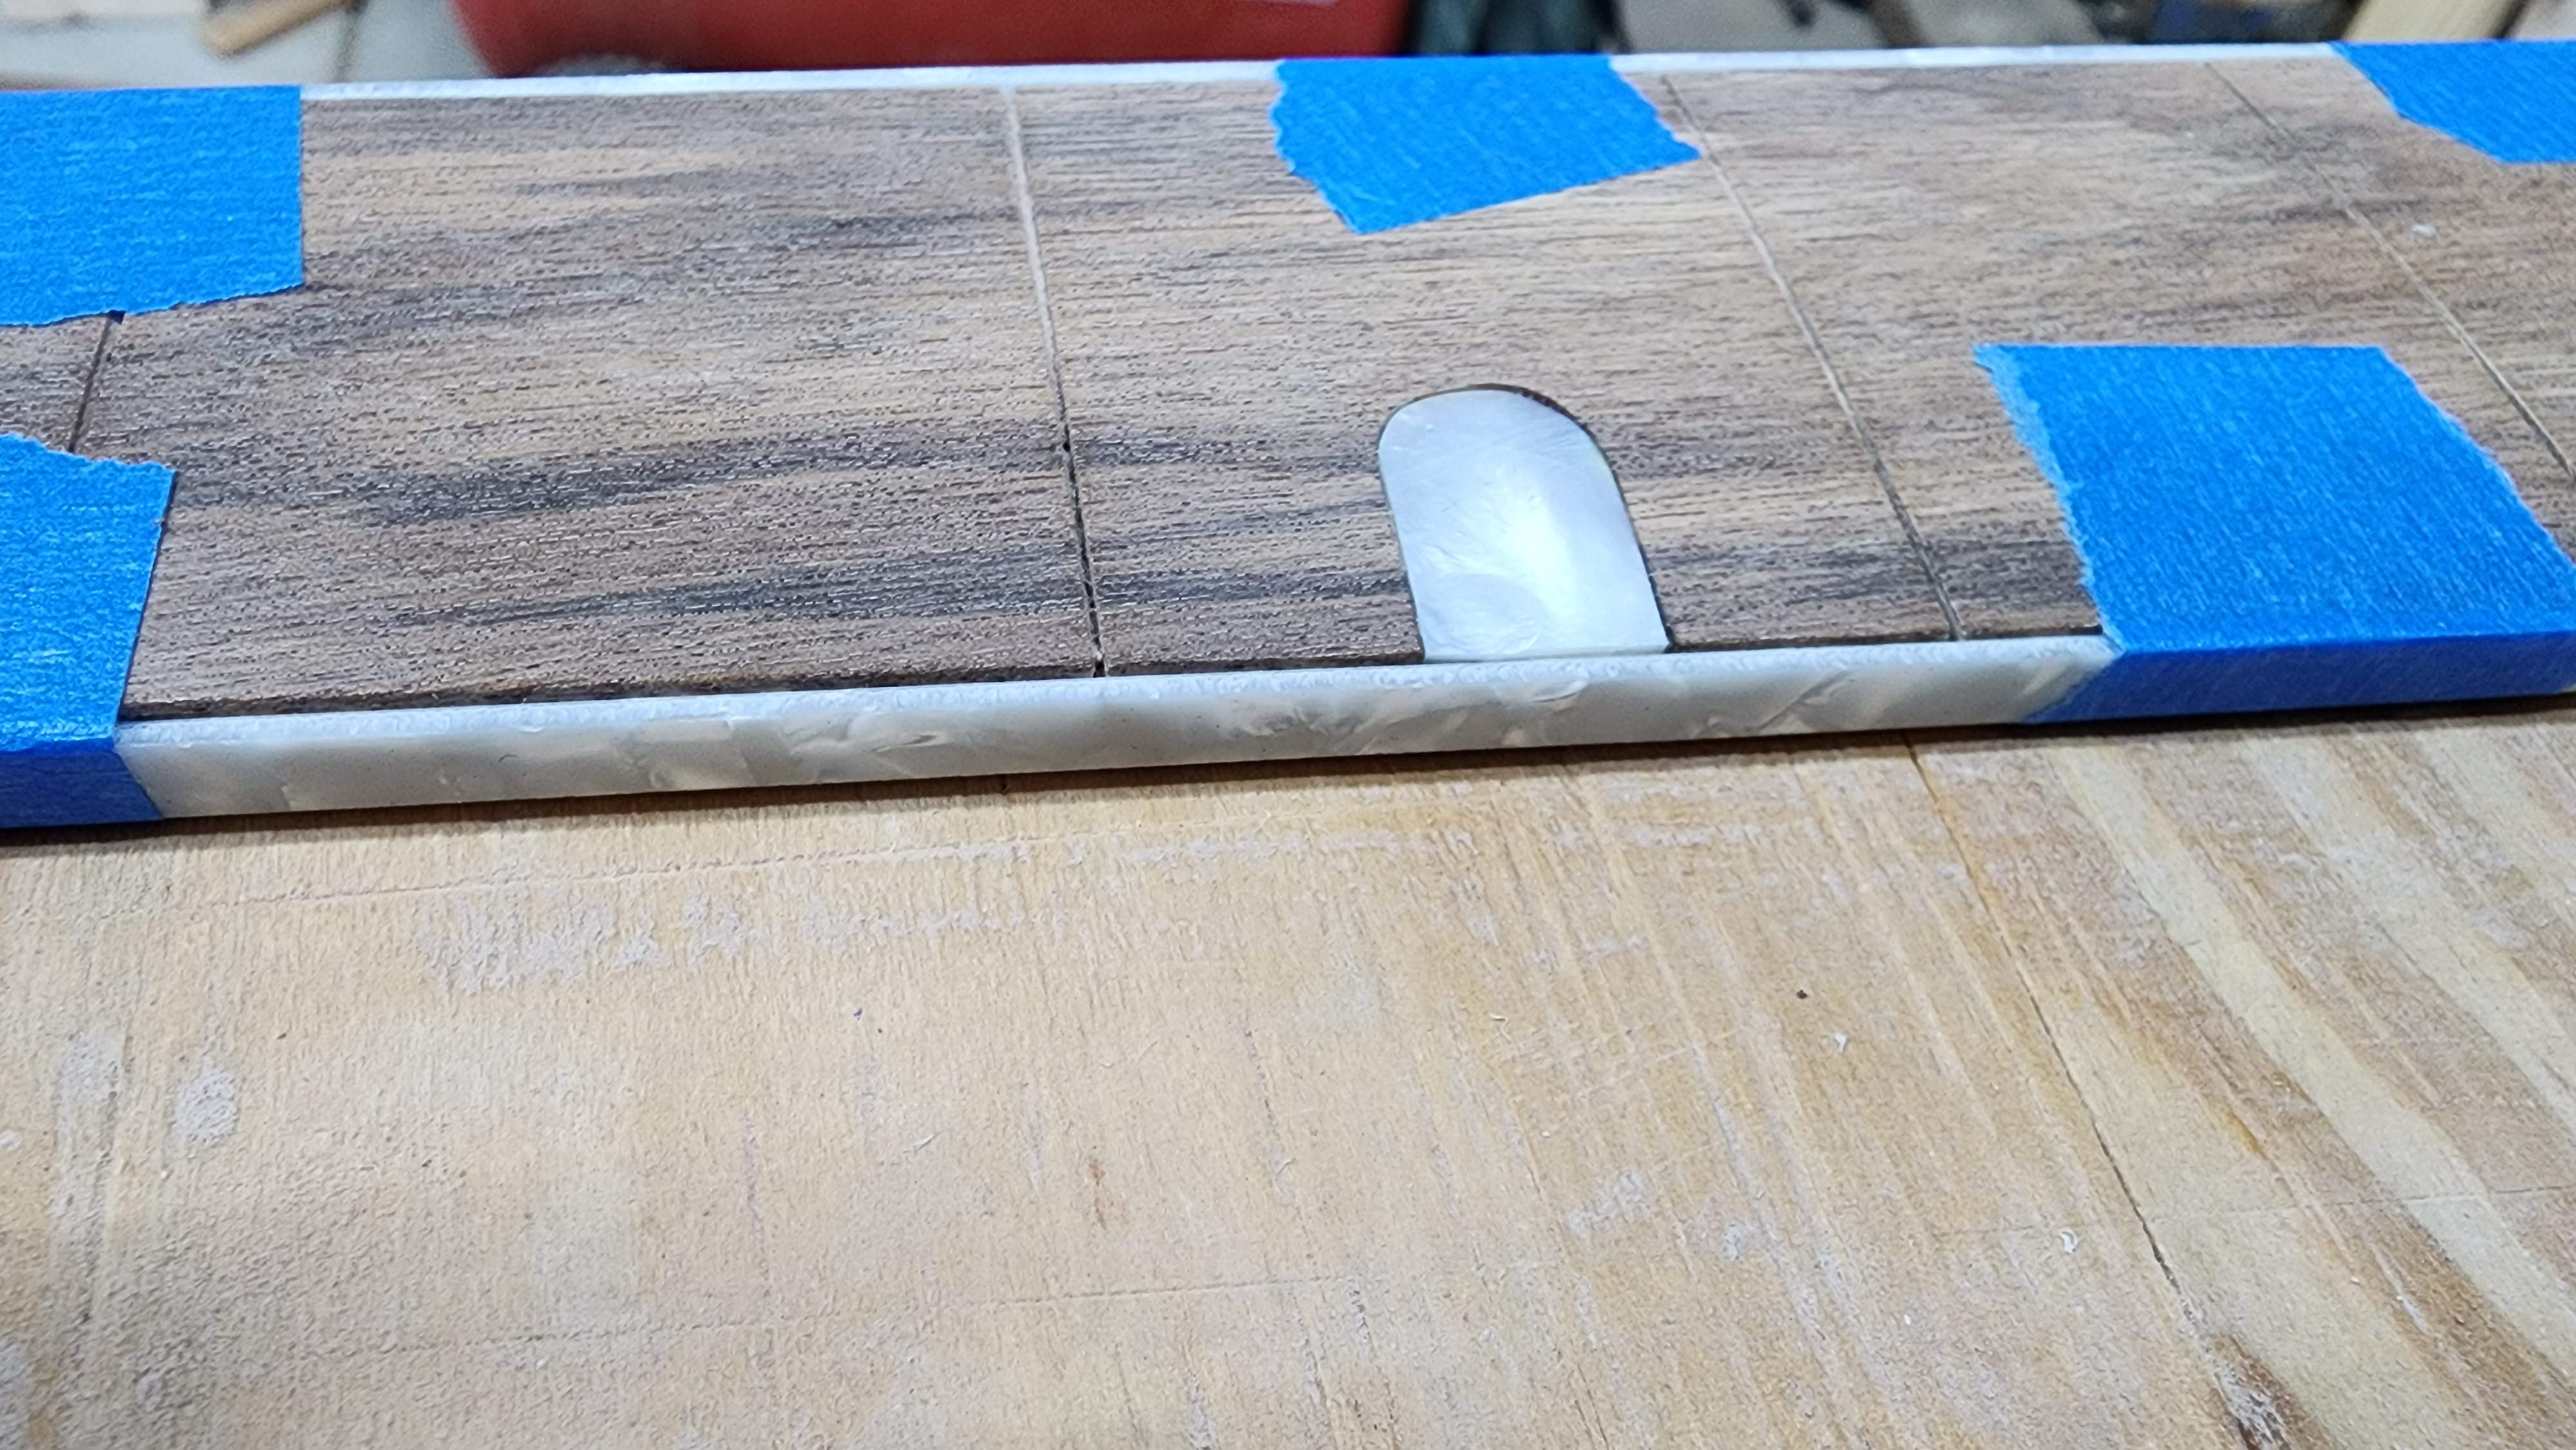
The binding showed up, so I had to take a look at it. I think it will work just fine..
The only potential problem is that the binding material is a fraction of a mm too narrow to cover the entire thickness of the fretboard. I think I will wind up running the back of the board over my jointer to make up the difference.
The only potential problem is that the binding material is a fraction of a mm too narrow to cover the entire thickness of the fretboard. I think I will wind up running the back of the board over my jointer to make up the difference.
Question for the hive-mind, do I:
1, fret this now, leaving plenty of overhang, but being sure to file the tangs flush on any potential overhang before installing the binding.
Or.
B. Install the binding, then install the frets after filing all the tangs flush.
I'm feeling like #1 is correct, but I am not sure.
My concern is getting the bindings as flush with the top edge of the fretboard as possible. My concern with #1 is that sanding the top edges of the binding will suck. My concern with plan B is that hammering the frets will knock the binding loose.
1, fret this now, leaving plenty of overhang, but being sure to file the tangs flush on any potential overhang before installing the binding.
Or.
B. Install the binding, then install the frets after filing all the tangs flush.
I'm feeling like #1 is correct, but I am not sure.
My concern is getting the bindings as flush with the top edge of the fretboard as possible. My concern with #1 is that sanding the top edges of the binding will suck. My concern with plan B is that hammering the frets will knock the binding loose.

Yeah, the order that makes sense to me is binding then frets unless maybe you’re going for Gibson style “nubs”’on the binding.

Question for the hive-mind, do I:
1, fret this now, leaving plenty of overhang, but being sure to file the tangs flush on any potential overhang before installing the binding.
Or.
B. Install the binding, then install the frets after filing all the tangs flush.
I'm feeling like #1 is correct, but I am not sure.
My concern is getting the bindings as flush with the top edge of the fretboard as possible. My concern with #1 is that sanding the top edges of the binding will suck. My concern with plan B is that hammering the frets will knock the binding loose.
I would generally do it like "B". However, I will also point out that my kid has a custom guitar done Gibson style with the celluloid binding put on after the frets and then trimmed, apparently with a router and a template bit, so the binding covers the entire end of the fret. Ex:

Odd, but seems to work OK.
I would generally do it like "B". However, I will also point out that my kid has a custom guitar done Gibson style with the celluloid binding put on after the frets and then trimmed, apparently with a router and a template bit, so the binding covers the entire end of the fret. Ex:
Odd, but seems to work OK.
Yeah, I'm not really a fan of that look. It's cool though.
I think I have concluded that this 5mm binding isn't going to work out (but I have other ideas for it). I'll order some of the 6mm binding and get back to this when it comes in...
In the mean time I've finally figured out how to do the inlays on the Rick-man. So look for updates on that build soon!
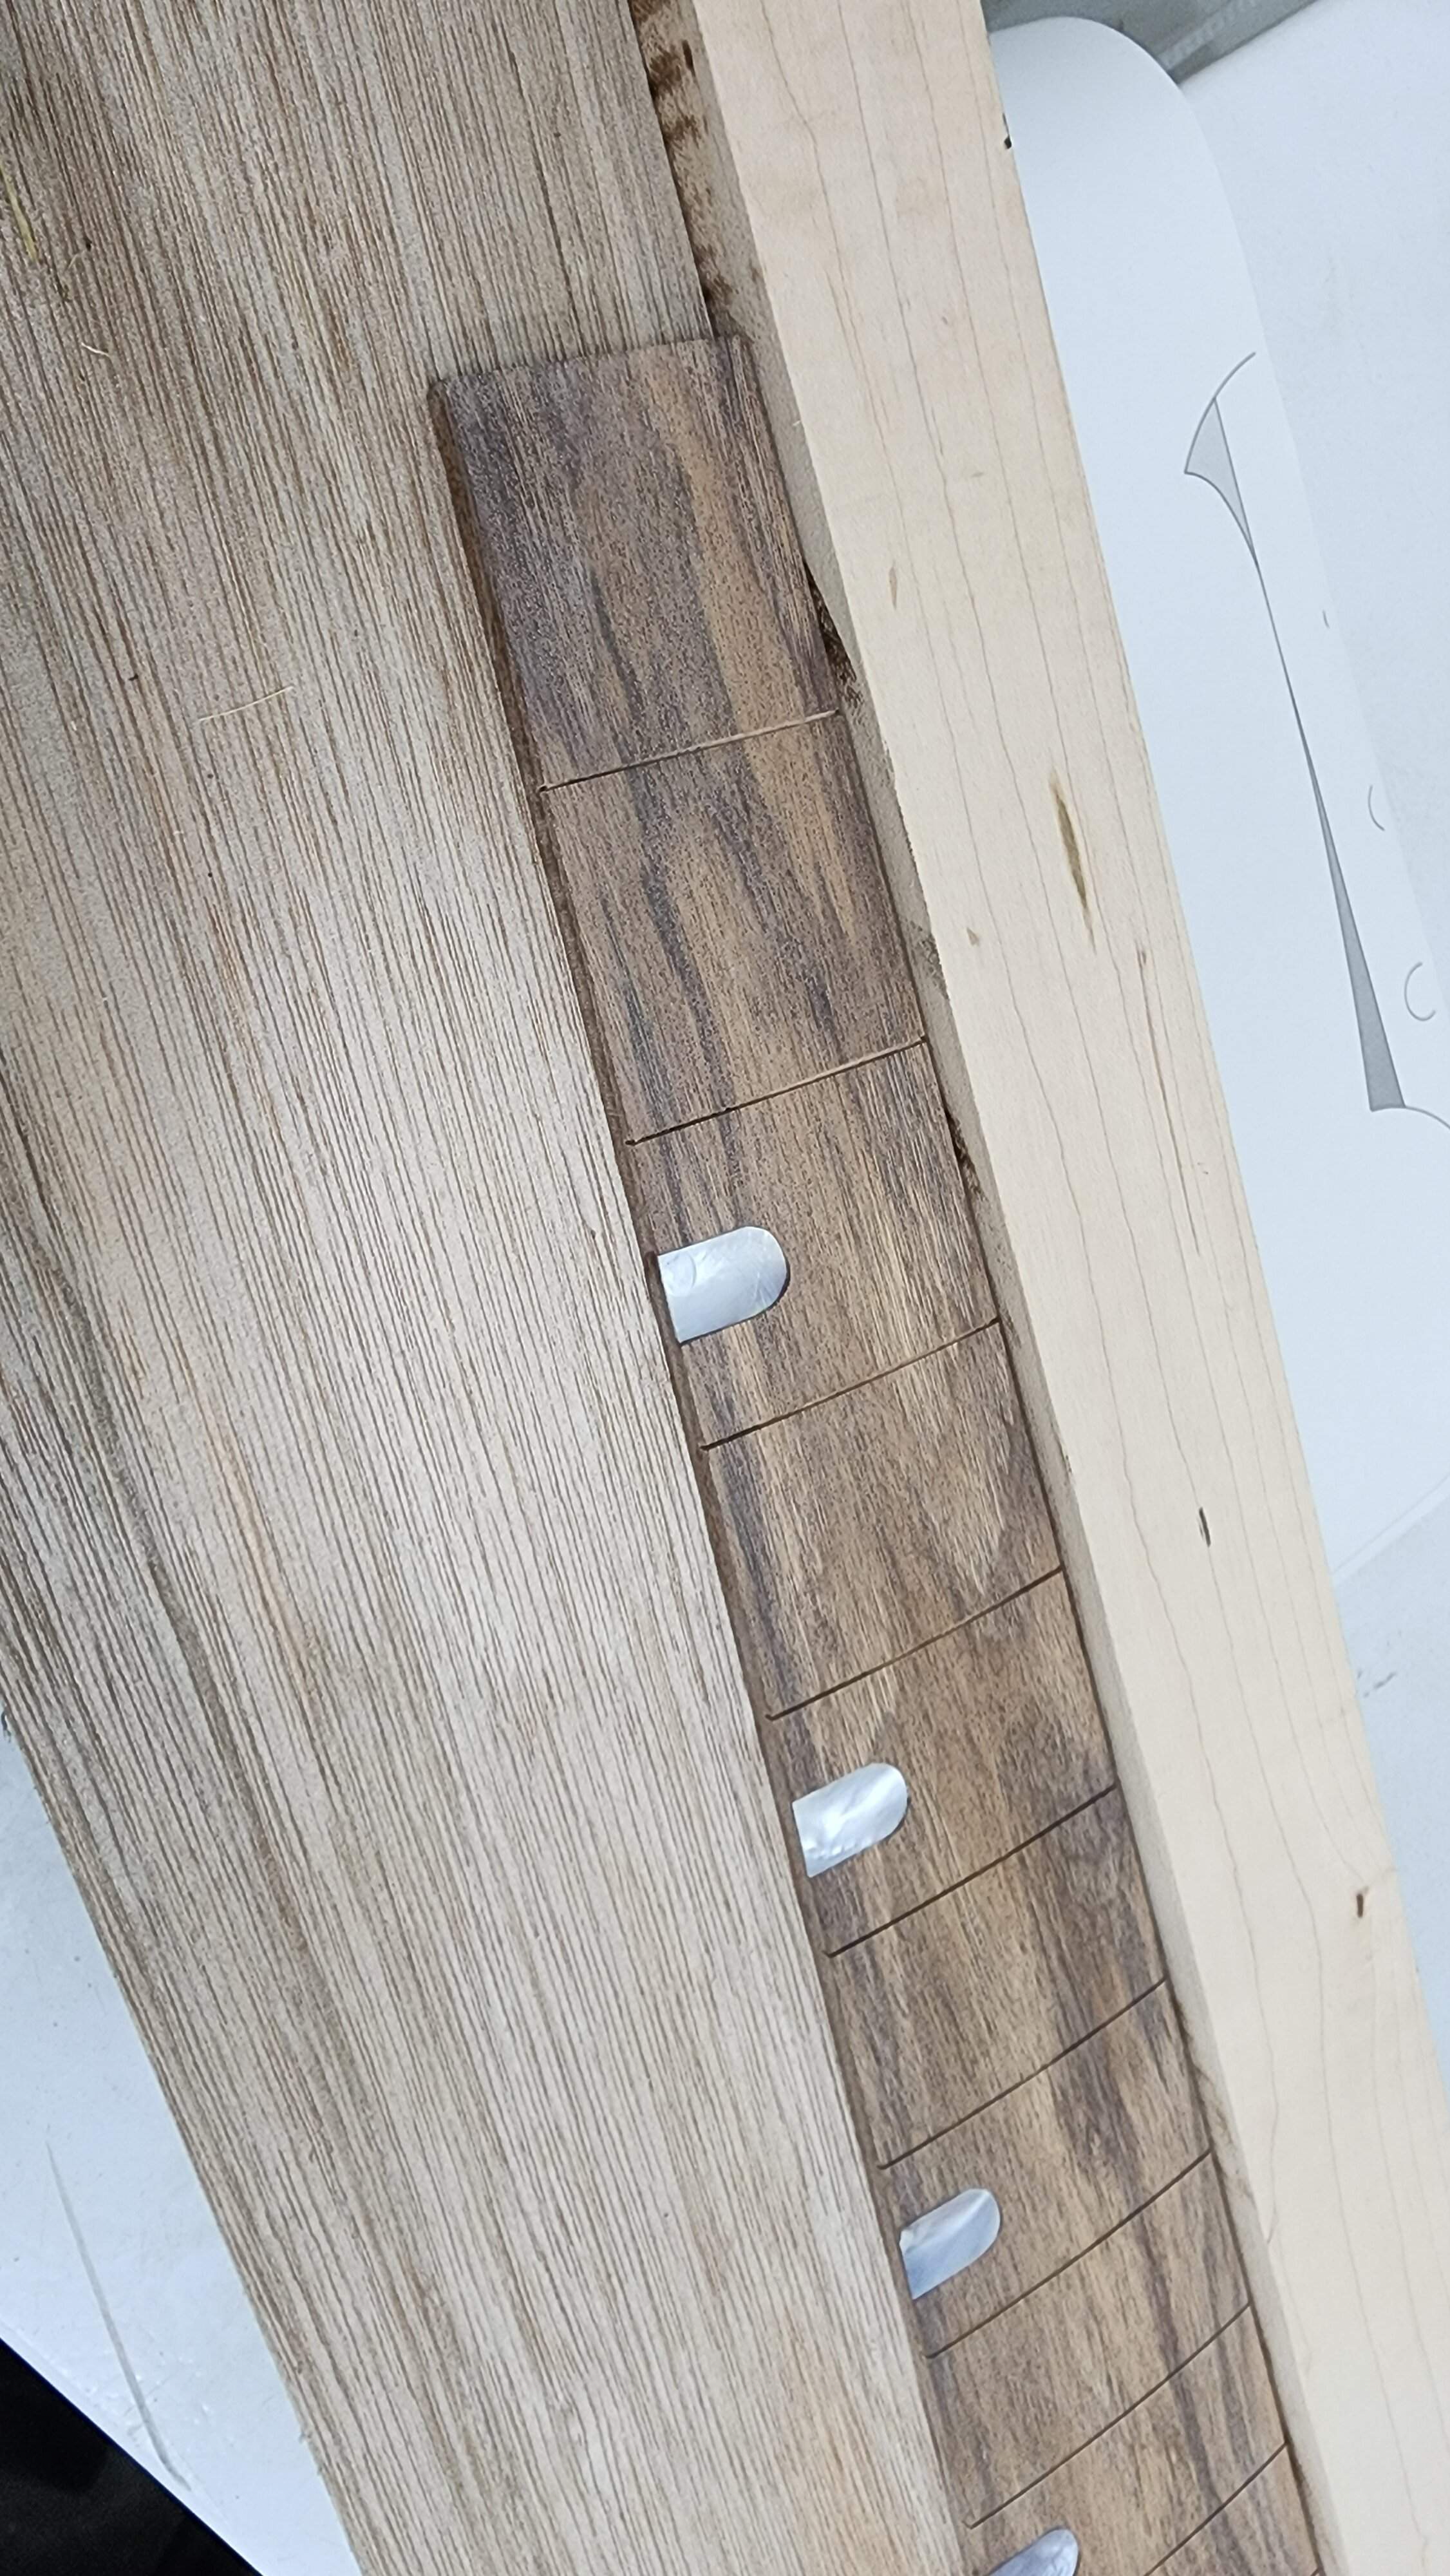
Hmm. This walnut and curupay are almost identical in color! Might have to think this through.
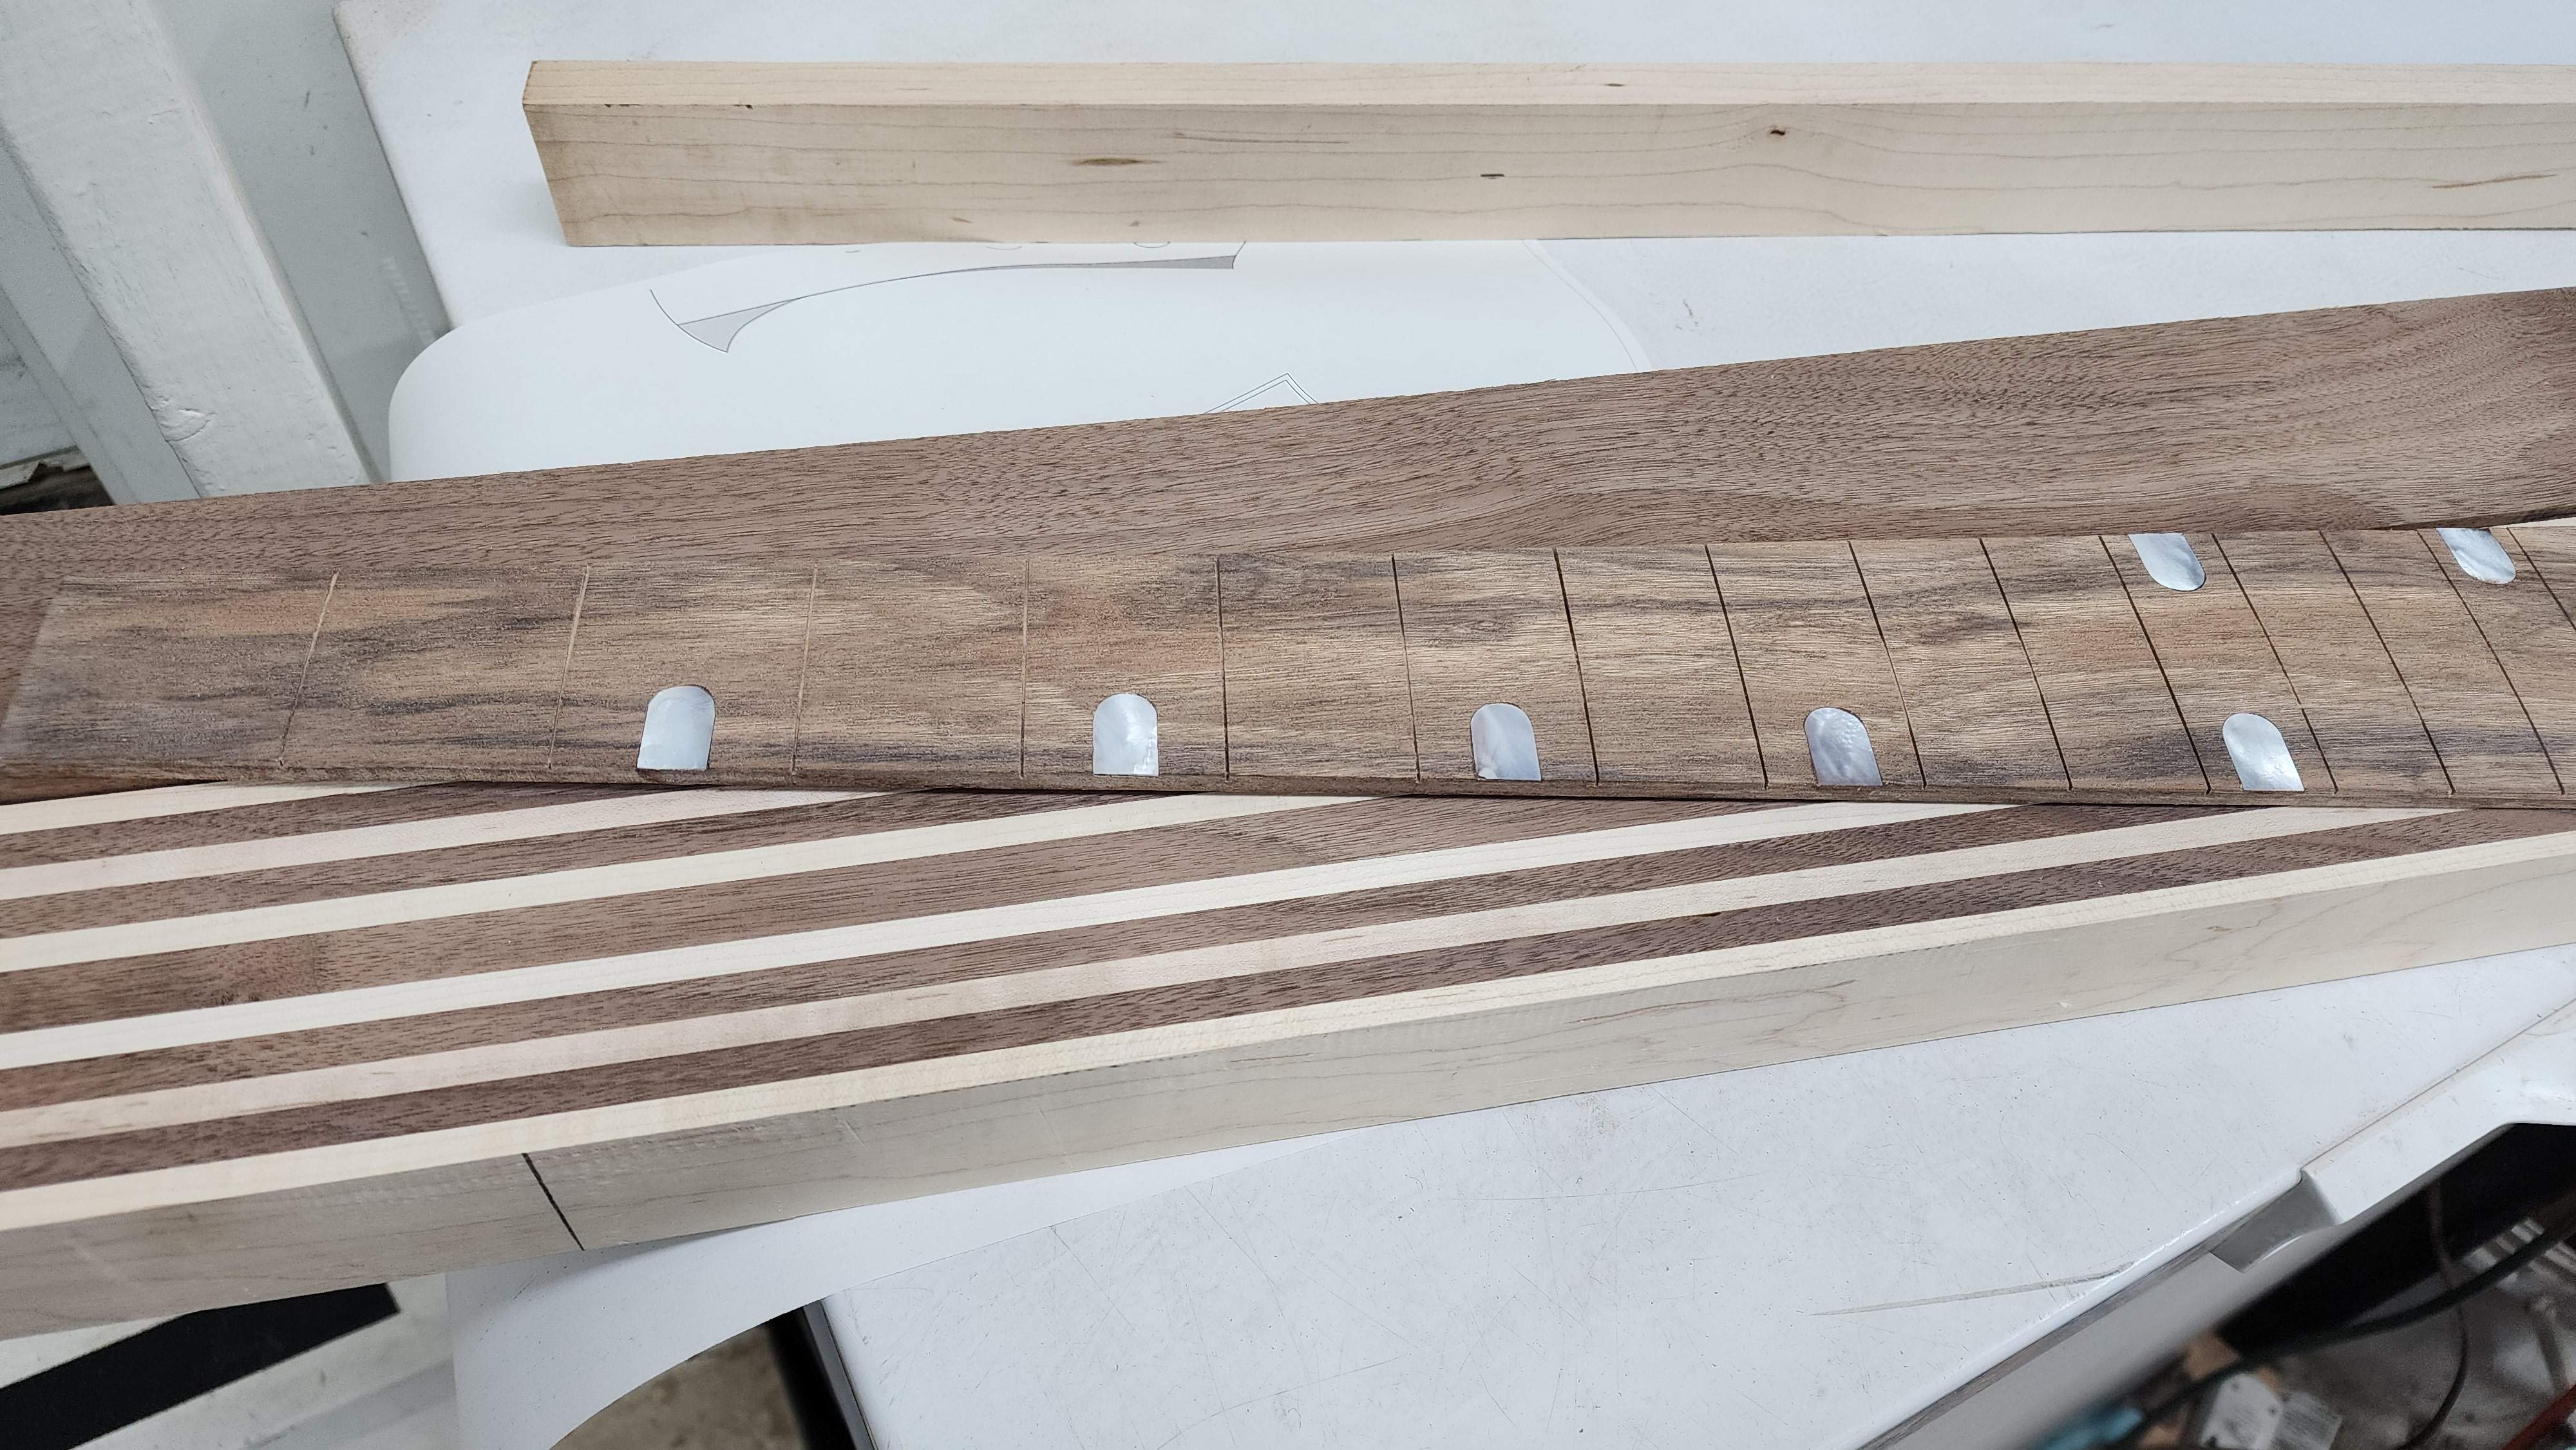
Maybe mahogany instead of the walnut for the neck?
Maybe mahogany instead of the walnut for the neck?


