

Enjoy the benefits of a premium membership!
Upgrade Account
-
TalkBass has been independent since 1998. Add your voice.
Create a free account to reply to discussions, view embedded media, and browse with fewer display ads.
Join free Log in
Want zero display ads or expanded classifieds tools? Compare plans.
You are using an out of date browser. It may not display this or other websites correctly.
You should upgrade or use an alternative browser.
You should upgrade or use an alternative browser.
Trace Elliot 210 Cabinet Restoration
- Thread starter Dean N
- Start date
More options
Who Replied?
Any more news on this project...?
Yes and no... sorry... nothing too exciting to report. Cold weather = projects slow down. I got the handles repainted, and I'm happy with how they came out. I wanted to repaint the baffle, but it has old Tolex adhesive on it... and since it's MDF, I'm not about to solvent/scrape/sand it. An attempt to paint it was a disaster.. the adhesive, unsurprisingly, kept on reacting with the paint.
My solution was to cut a thin piece of MDF to fit over the baffle, cut appropriate holes, paint, and mount. I got a little bit of the paint done, and then the weather changed. My workspace is not climate controlled, so paint is done till spring (or a freakishly warm day).
I also got Tolex and new hardware, but the Tolex can't be done either (too cold for Weldwood).
If I have time, I'll post pics tonight of the minimal progress... sorry for the lack of updates!
And MNIM, yes, JD Weld could be called MacGyver Glue.

Update pics:
Repainted handles:
Link Removed
Repainted grille:
Link Removed
Link Removed
Everything looks kind of grungy in the pics, but it all came out nice, especially the grille. I'm really hoping to catch a break with the weather so I can make some more progress. This thing is taking way longer than I intended it to.
Repainted handles:
Link Removed
Repainted grille:
Link Removed
Link Removed
Everything looks kind of grungy in the pics, but it all came out nice, especially the grille. I'm really hoping to catch a break with the weather so I can make some more progress. This thing is taking way longer than I intended it to.
Finally, some progress. This thread has probably been forgotten by now..
Batting stapled in:
Link Removed
Extra anal bonus: Batting behind the baffle.
Link Removed
Edit: I fount this diagram online, which shows the actual run of wires (i.e., not just a schematic) for parallel wiring:
Link Removed
My goal with this thread is to show a cab restoration by someone with no experience (or clue) so that others can do the same thing with good result; that's why I'm including the basics like this.
I'm figuring Tolexing should be done before soldering (to avoid damaging the drivers, and also to avoid adding weight to the cab while flipping it in 100 different directions during Tolex glue-up). A pic of the Tolex from Mojotone:
Link Removed
Hopefully I'll finish up with Tolex and solder this week and have a final result to show.
Batting stapled in:
Link Removed
Extra anal bonus: Batting behind the baffle.
Link Removed
Edit: I fount this diagram online, which shows the actual run of wires (i.e., not just a schematic) for parallel wiring:
Link Removed
My goal with this thread is to show a cab restoration by someone with no experience (or clue) so that others can do the same thing with good result; that's why I'm including the basics like this.
I'm figuring Tolexing should be done before soldering (to avoid damaging the drivers, and also to avoid adding weight to the cab while flipping it in 100 different directions during Tolex glue-up). A pic of the Tolex from Mojotone:
Link Removed
Hopefully I'll finish up with Tolex and solder this week and have a final result to show.
Update:
This project has pretty much been put on the back burner, but I'm nearly done with the Tolex. I tried to learn everything I could about Tolexing on the internet, but I still found it to be a trial and error experience. I did figure out a decent way to do it though.
I used the DAP Weldwood (solvent based). I had to use 2 pieces, and the best way to cut it was one piece for the top and sides, and another for the back and bottom. I put them on with about an inch overlap, with first brushing a coat of adhesive onto the cab and the Tolex, letting it cure for ~20 minutes, then brushing on a second coat on both and applying. You do get a bit of play with it if you go lightly. I then used my wife's rolling pin to mash it down, and then the hammer-and-board pounding recommended on the can. There were a bunch of spots (mostly quarter size, but one that was ~5 inche diameter) where the Tolex bubbled, but by the next day they swere totally gone, like magic. I also figured out a good way to do the seams.
I figured out where I wanted the seam, and then trimmed down one piece about 1/2 inch wide of the line. I glued it down extra 1/2 inch and all, and drew a line for the cut:
Link Removed
You can see the pen line along the blue tape.
Put two pieces of masking tape with the outside edges aligned on the line:
Link Removed
Firmly pull the other piece of Tolex up and over the line, but not forcefully enough to stretch it, and tape it down with duct tape:
Link Removed
I found masking tape wasn't strong enough here. Also, see how the inside edge of the masking tape is still visible? I put two more pieces of masking tape directly over the first two (and the Tolex and duct tape) by using those edges. I aligned the straightedge on the outside edges of the top two pieces of masking tape. I also duct taped the straightedge down to keep it in place. Sorry but I managed to lose a couple pics of the process. I used a brand new razor blade for each cut, using a lot of force to cut through everything in one pass. Not all seams were perfect, so I'm glad I used a Sharpie under the Tolex. Then, peel the layers back. Use a razor blade to carefully peel up the extra glued down Tolex from the first piece, which should cleanly lift off the cab with a little effort. Do the double brush-on for the second piece, and glue it down.
Here's a pic of a good seam (it runs bottom left to upper right):
Link Removed
Overall I'm really surprised how well I've done so far with the Tolex. I ran out of adhesive, though. Need to get more and finish up.
This project has pretty much been put on the back burner, but I'm nearly done with the Tolex. I tried to learn everything I could about Tolexing on the internet, but I still found it to be a trial and error experience. I did figure out a decent way to do it though.
I used the DAP Weldwood (solvent based). I had to use 2 pieces, and the best way to cut it was one piece for the top and sides, and another for the back and bottom. I put them on with about an inch overlap, with first brushing a coat of adhesive onto the cab and the Tolex, letting it cure for ~20 minutes, then brushing on a second coat on both and applying. You do get a bit of play with it if you go lightly. I then used my wife's rolling pin to mash it down, and then the hammer-and-board pounding recommended on the can. There were a bunch of spots (mostly quarter size, but one that was ~5 inche diameter) where the Tolex bubbled, but by the next day they swere totally gone, like magic. I also figured out a good way to do the seams.
I figured out where I wanted the seam, and then trimmed down one piece about 1/2 inch wide of the line. I glued it down extra 1/2 inch and all, and drew a line for the cut:
Link Removed
You can see the pen line along the blue tape.
Put two pieces of masking tape with the outside edges aligned on the line:
Link Removed
Firmly pull the other piece of Tolex up and over the line, but not forcefully enough to stretch it, and tape it down with duct tape:
Link Removed
I found masking tape wasn't strong enough here. Also, see how the inside edge of the masking tape is still visible? I put two more pieces of masking tape directly over the first two (and the Tolex and duct tape) by using those edges. I aligned the straightedge on the outside edges of the top two pieces of masking tape. I also duct taped the straightedge down to keep it in place. Sorry but I managed to lose a couple pics of the process. I used a brand new razor blade for each cut, using a lot of force to cut through everything in one pass. Not all seams were perfect, so I'm glad I used a Sharpie under the Tolex. Then, peel the layers back. Use a razor blade to carefully peel up the extra glued down Tolex from the first piece, which should cleanly lift off the cab with a little effort. Do the double brush-on for the second piece, and glue it down.
Here's a pic of a good seam (it runs bottom left to upper right):
Link Removed
Overall I'm really surprised how well I've done so far with the Tolex. I ran out of adhesive, though. Need to get more and finish up.
Finally, pretty much done:
Link Removed
Link Removed
Link Removed
Link Removed
Link Removed
I made a new baffle for it out of MDF and painted it silver. All screws are stainless steel except for the ones that attach the drivers. I painted the screwheads on these black since they were pretty corroded. So were the clips, so I sanded them down and coated with car wax. They now match the stainless bits perfectly.
I'm really happy with how it turned out.
A couple questions I already asked on the TE thread: Does anyone know a source for cheap skid rail? I want to put some on the back and bottom to help protect it. And - What do you guys think I should do about the TE badge? (I need to order one.) I have no problems at all with the standard black and green one but I was thinking that a different one like the simple black and silver guitar amp badge might look better on this since it's pretty modified. It'll probably be hard to source though. Opinions?
Link Removed
Link Removed
Link Removed
Link Removed
Link Removed
I made a new baffle for it out of MDF and painted it silver. All screws are stainless steel except for the ones that attach the drivers. I painted the screwheads on these black since they were pretty corroded. So were the clips, so I sanded them down and coated with car wax. They now match the stainless bits perfectly.
I'm really happy with how it turned out.
A couple questions I already asked on the TE thread: Does anyone know a source for cheap skid rail? I want to put some on the back and bottom to help protect it. And - What do you guys think I should do about the TE badge? (I need to order one.) I have no problems at all with the standard black and green one but I was thinking that a different one like the simple black and silver guitar amp badge might look better on this since it's pretty modified. It'll probably be hard to source though. Opinions?

Looks pretty snazzy, good job. Makes me want to redo my 2 cabs (2x10 wedge and 1518). But mine aren't MDF, so I imagine that would make things easier.

Nice job!
I see you had the feet, so you probably have the orginal feet cups for the "top" as well. Trace put them on the sides as far as I'm concerned, you always want the speakers vertically aligned.
Consider you hardware in light of stacking a pair of them into a 4x10 vertical for much better sound.
I think that's original. I hjave a similar box behind my jack plate in 1518. It stops the unused jacks from whistling.Looks like someone put some kind of plastic box behind the rear plate, likely to isolate the wiring for the polyester batting that was in the cab:
I see you had the feet, so you probably have the orginal feet cups for the "top" as well. Trace put them on the sides as far as I'm concerned, you always want the speakers vertically aligned.
Consider you hardware in light of stacking a pair of them into a 4x10 vertical for much better sound.

That tolex looks great. I have wanted to try a tolex update on cabs in the past, but have always been hesitant. I've never seen a great looking tolex, but yours looks very nice. That design is very eye catching. Great job!
Did you do anything special to make the seams look so..... seamless?
Did you do anything special to make the seams look so..... seamless?
Thanks everyone for the compliments.
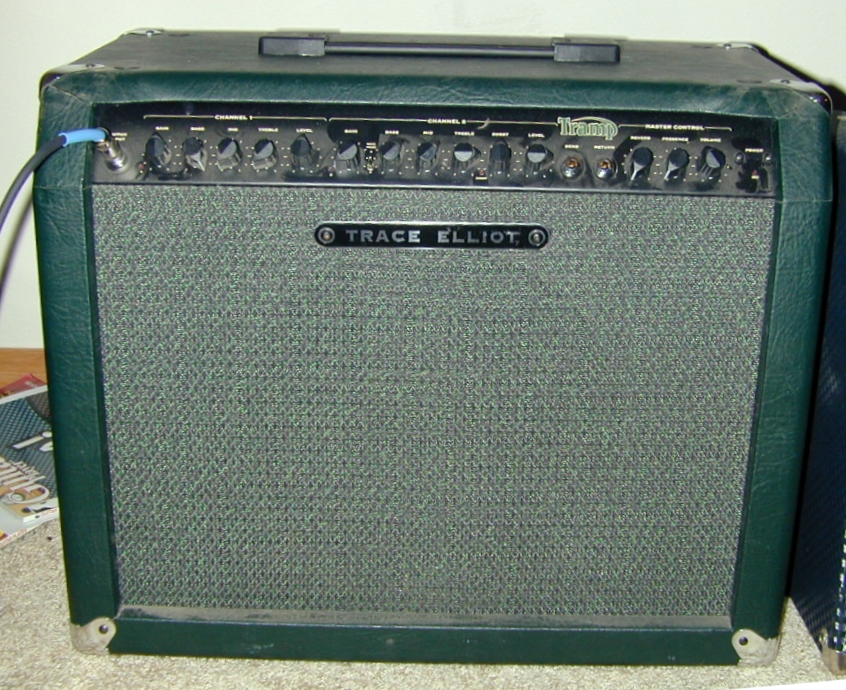
Yeah, I probably should have been a little more specific. I do like those badges, but the I was referring to is this one, which I haven't seen available anywhere. I bet BAS could hook me up though. Of the 3, I think I like this one the most.
As for the feet, I reused 4 of the old ones. I do not have the cups for the top of the amp. I'll never lay this on its side. My real goal is to get another 210 (with tweeter) to finish identically and stack vertically with this one. And then get a big old TE amp to put on top. I nearly scored a AH400 for next to nothing (fail! ) which would have been awesome overkill.
As for the Tolex, I took a long time (about 2 weeks, I think), went a little at a time and pretty much learned as I went. Some of the seams ended up looking not so good. (Use Sharpie!) As the adhesive cured, it pulled some of the seams apart a little. I strongly recommend to glue one piece down with some extra past the seam, firmly put the other down on top but without stretching (duct tape), make one cut with a very sharp knife and use a crap ton of force to make sure you get through both pieces. I'd use an Exacto and not a razor blade. I had to go back and clean up a couple cuts because the blade failed to get through both pieces, and I was using so much force I could feel the blade flexing. If you have to stretch the stuff to make a good seam, it'll probably come back apart as it cures.
Also, the pattern is directional. The seams are very obvious simply because the Tolex reflects light differently from different angles. I had to orient the 2 pieces at right angles to make them fit. If you have to have 99.99% invisible seams, pay attention to the pattern. When I saw a Bogner custom amp with this pattern (Black Comet), I knew immediately I was going to use it - I wasn't too worried about the seams on the back and bottom (but still wanted to do a good job).
British Audio Service is your friend.
Yeah, I probably should have been a little more specific. I do like those badges, but the I was referring to is this one, which I haven't seen available anywhere. I bet BAS could hook me up though. Of the 3, I think I like this one the most.
As for the feet, I reused 4 of the old ones. I do not have the cups for the top of the amp. I'll never lay this on its side. My real goal is to get another 210 (with tweeter) to finish identically and stack vertically with this one. And then get a big old TE amp to put on top. I nearly scored a AH400 for next to nothing (fail!
) which would have been awesome overkill. As for the Tolex, I took a long time (about 2 weeks, I think), went a little at a time and pretty much learned as I went. Some of the seams ended up looking not so good. (Use Sharpie!) As the adhesive cured, it pulled some of the seams apart a little. I strongly recommend to glue one piece down with some extra past the seam, firmly put the other down on top but without stretching (duct tape), make one cut with a very sharp knife and use a crap ton of force to make sure you get through both pieces. I'd use an Exacto and not a razor blade. I had to go back and clean up a couple cuts because the blade failed to get through both pieces, and I was using so much force I could feel the blade flexing. If you have to stretch the stuff to make a good seam, it'll probably come back apart as it cures.
Also, the pattern is directional. The seams are very obvious simply because the Tolex reflects light differently from different angles. I had to orient the 2 pieces at right angles to make them fit. If you have to have 99.99% invisible seams, pay attention to the pattern. When I saw a Bogner custom amp with this pattern (Black Comet), I knew immediately I was going to use it - I wasn't too worried about the seams on the back and bottom (but still wanted to do a good job).
I restored a 90's Trace Elliot 410 cabinet about 3-4 months ago. The cab itself was in great shape besides the tolex was falling off so I stripped it and actually resurfaced it with Duratex. It rolls on like paint and offers a good looking and very strong protected finish. I since sold the cab, however it was a true gem when I owned it. Great job on your tolex job though, it looks great!
If I was going to be doing a lot of gigs, I definitely would have finished it in Duratex. I think my rig will be seeing much more of the living room than the stage though.  At least it'll look nice in the house!
At least it'll look nice in the house!
Final pics with badge:
Link Removed
Link Removed
I also finally played through it. Even with a Peavey (Sessionbass) head, it definitely had Trace sound. Driver repair was a success!
Now all I need is another 210 to refinish and a big Trace head!
Link Removed
Link Removed
I also finally played through it. Even with a Peavey (Sessionbass) head, it definitely had Trace sound. Driver repair was a success!
Now all I need is another 210 to refinish and a big Trace head!
- http://www.talkbass.com/forum/f127/index2.htmlNow all I need is another 210 to refinish and a big Trace head!

adam.beauchene
Commercial User

This looks great, thanks for sharing!
I have some old Trace boxes which I might have to get onto now!
I have some old Trace boxes which I might have to get onto now!


