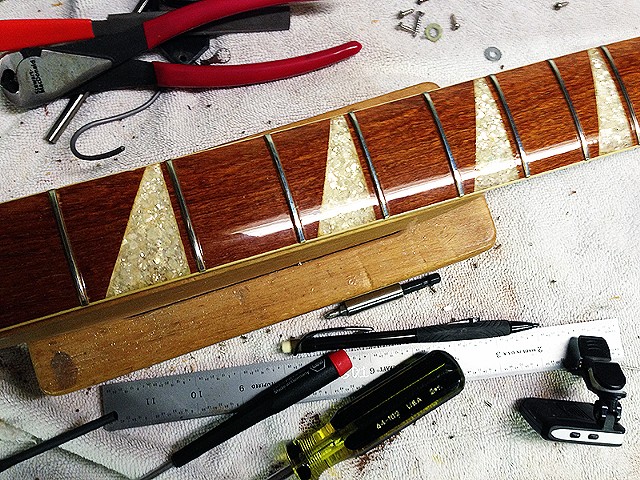
I'm taking another crack at doing the "glitter" type crushed Mica inlays used on deluxe Rickenbacker basses of the 60's-70's. This is more or less what I'm shooting for, minus the yellowing:
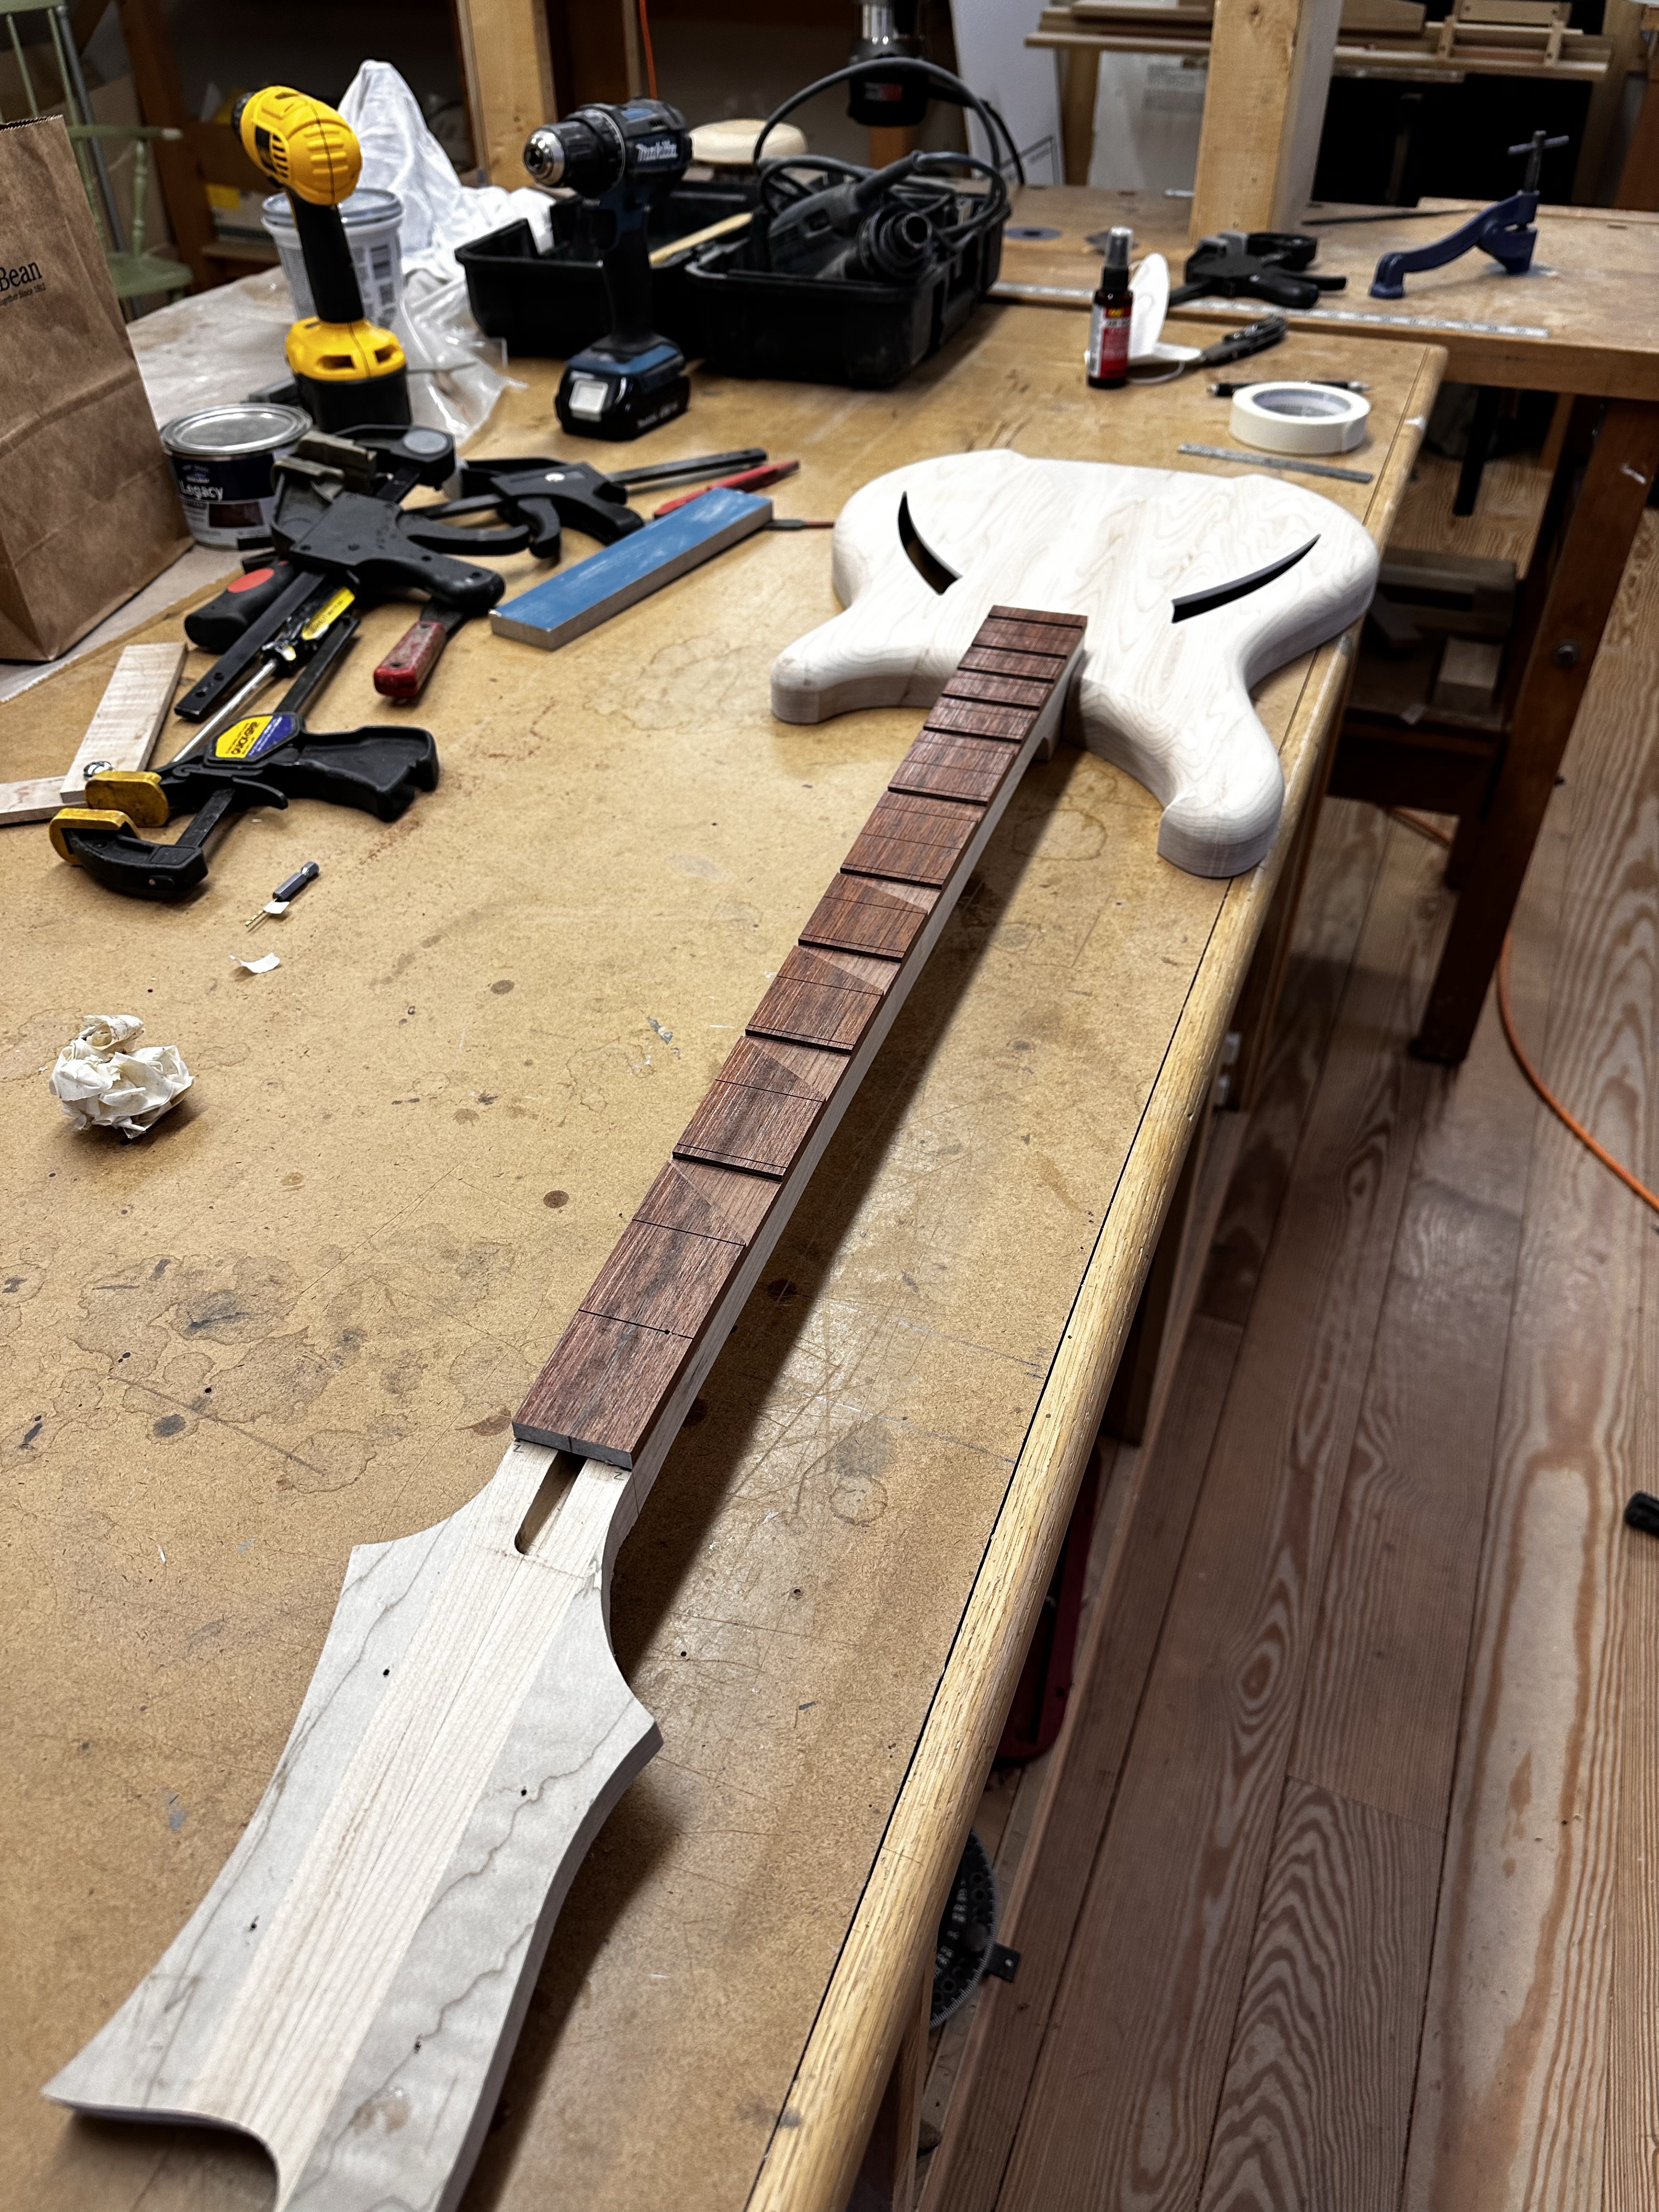
So far I've cut the fingerboard recesses to 1/8" deep, which is the recommended maximum for single pours of this type of resin pour, plus I don't want to weaken the board any more than necessary.
From what I've read, they painted the recesses with a light grey pigment and then used some kind of polyester resin pour, but the method changed repeatedly over time, I gather it's a bit of trade secret, and they only do it on limited runs now, so who knows.
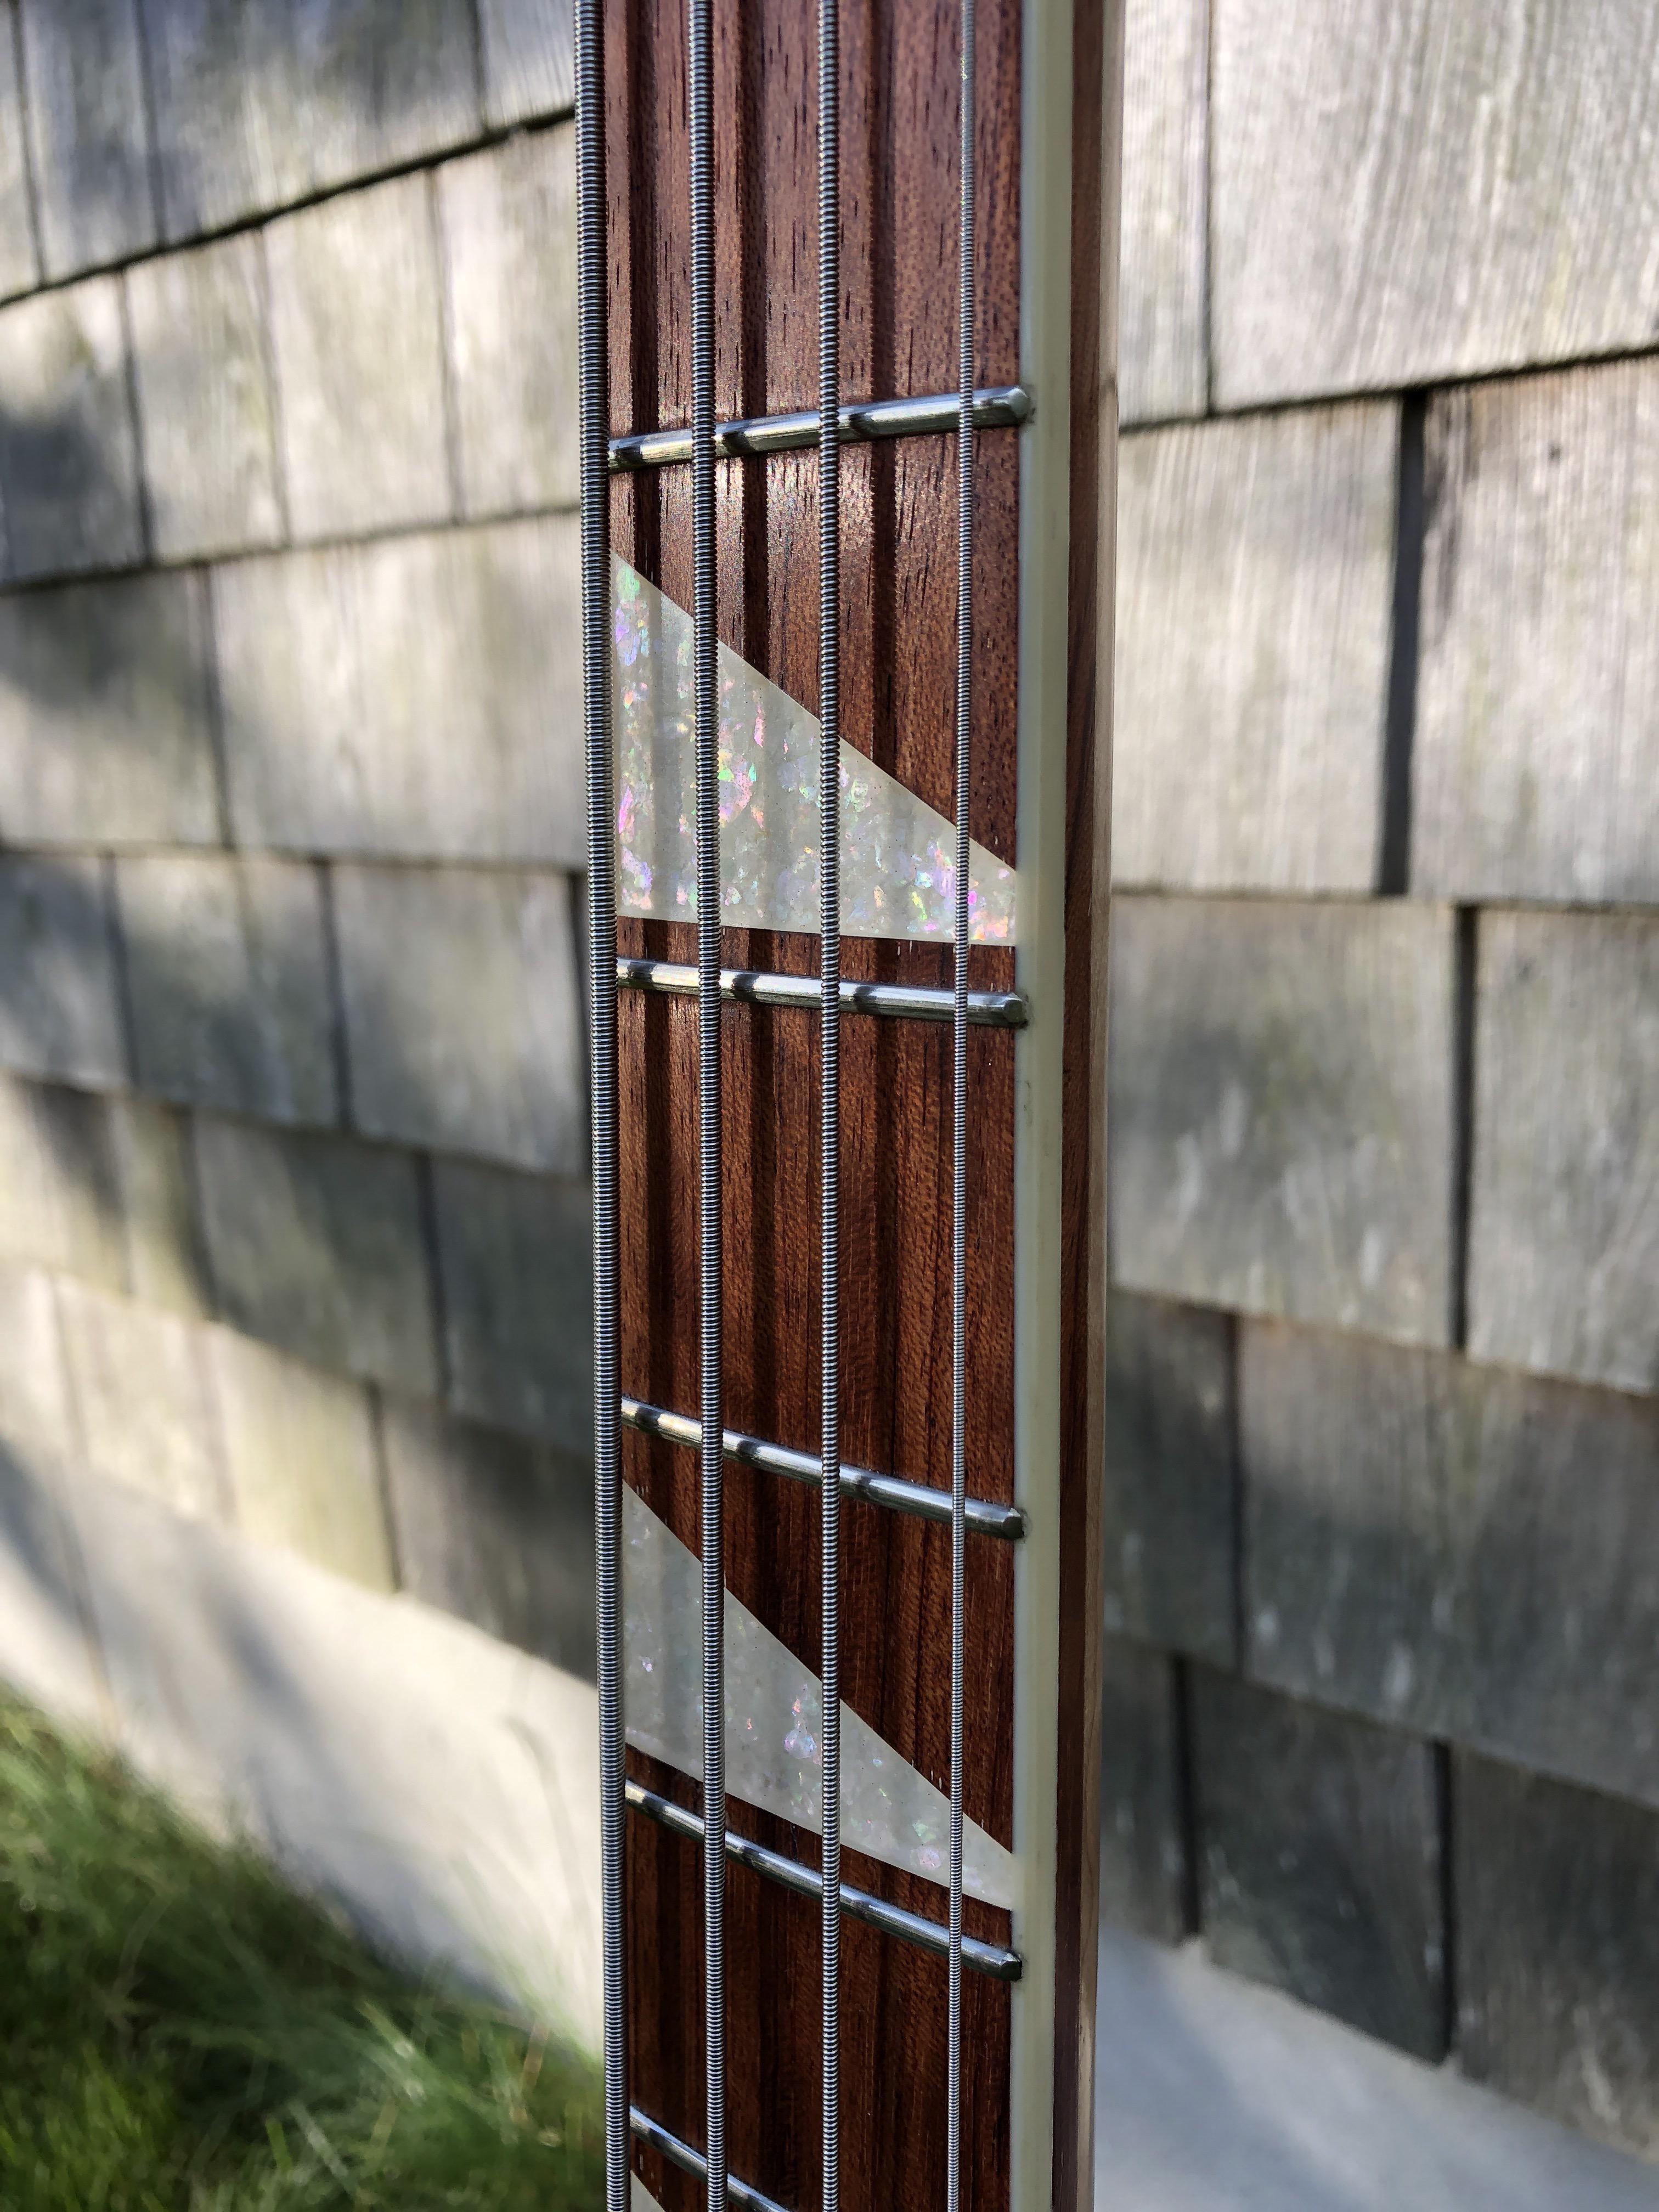
I first attempted this about 8 years ago using clear epoxy casting resin with two grades of crushed MOP as the "glitter". The initial pour was water-clear and looked great. I used a digital scale to mix the 1:1 ratio, mixed the hell out of it, etc, and it seemed to cure properly, but after fingerboard radius, sanding, and polish through ALL the micromesh grits, buffing compound, polish, etc, it never returned to water-clear, more of a transluscent. it still looks cool, but not what I was shooting for.
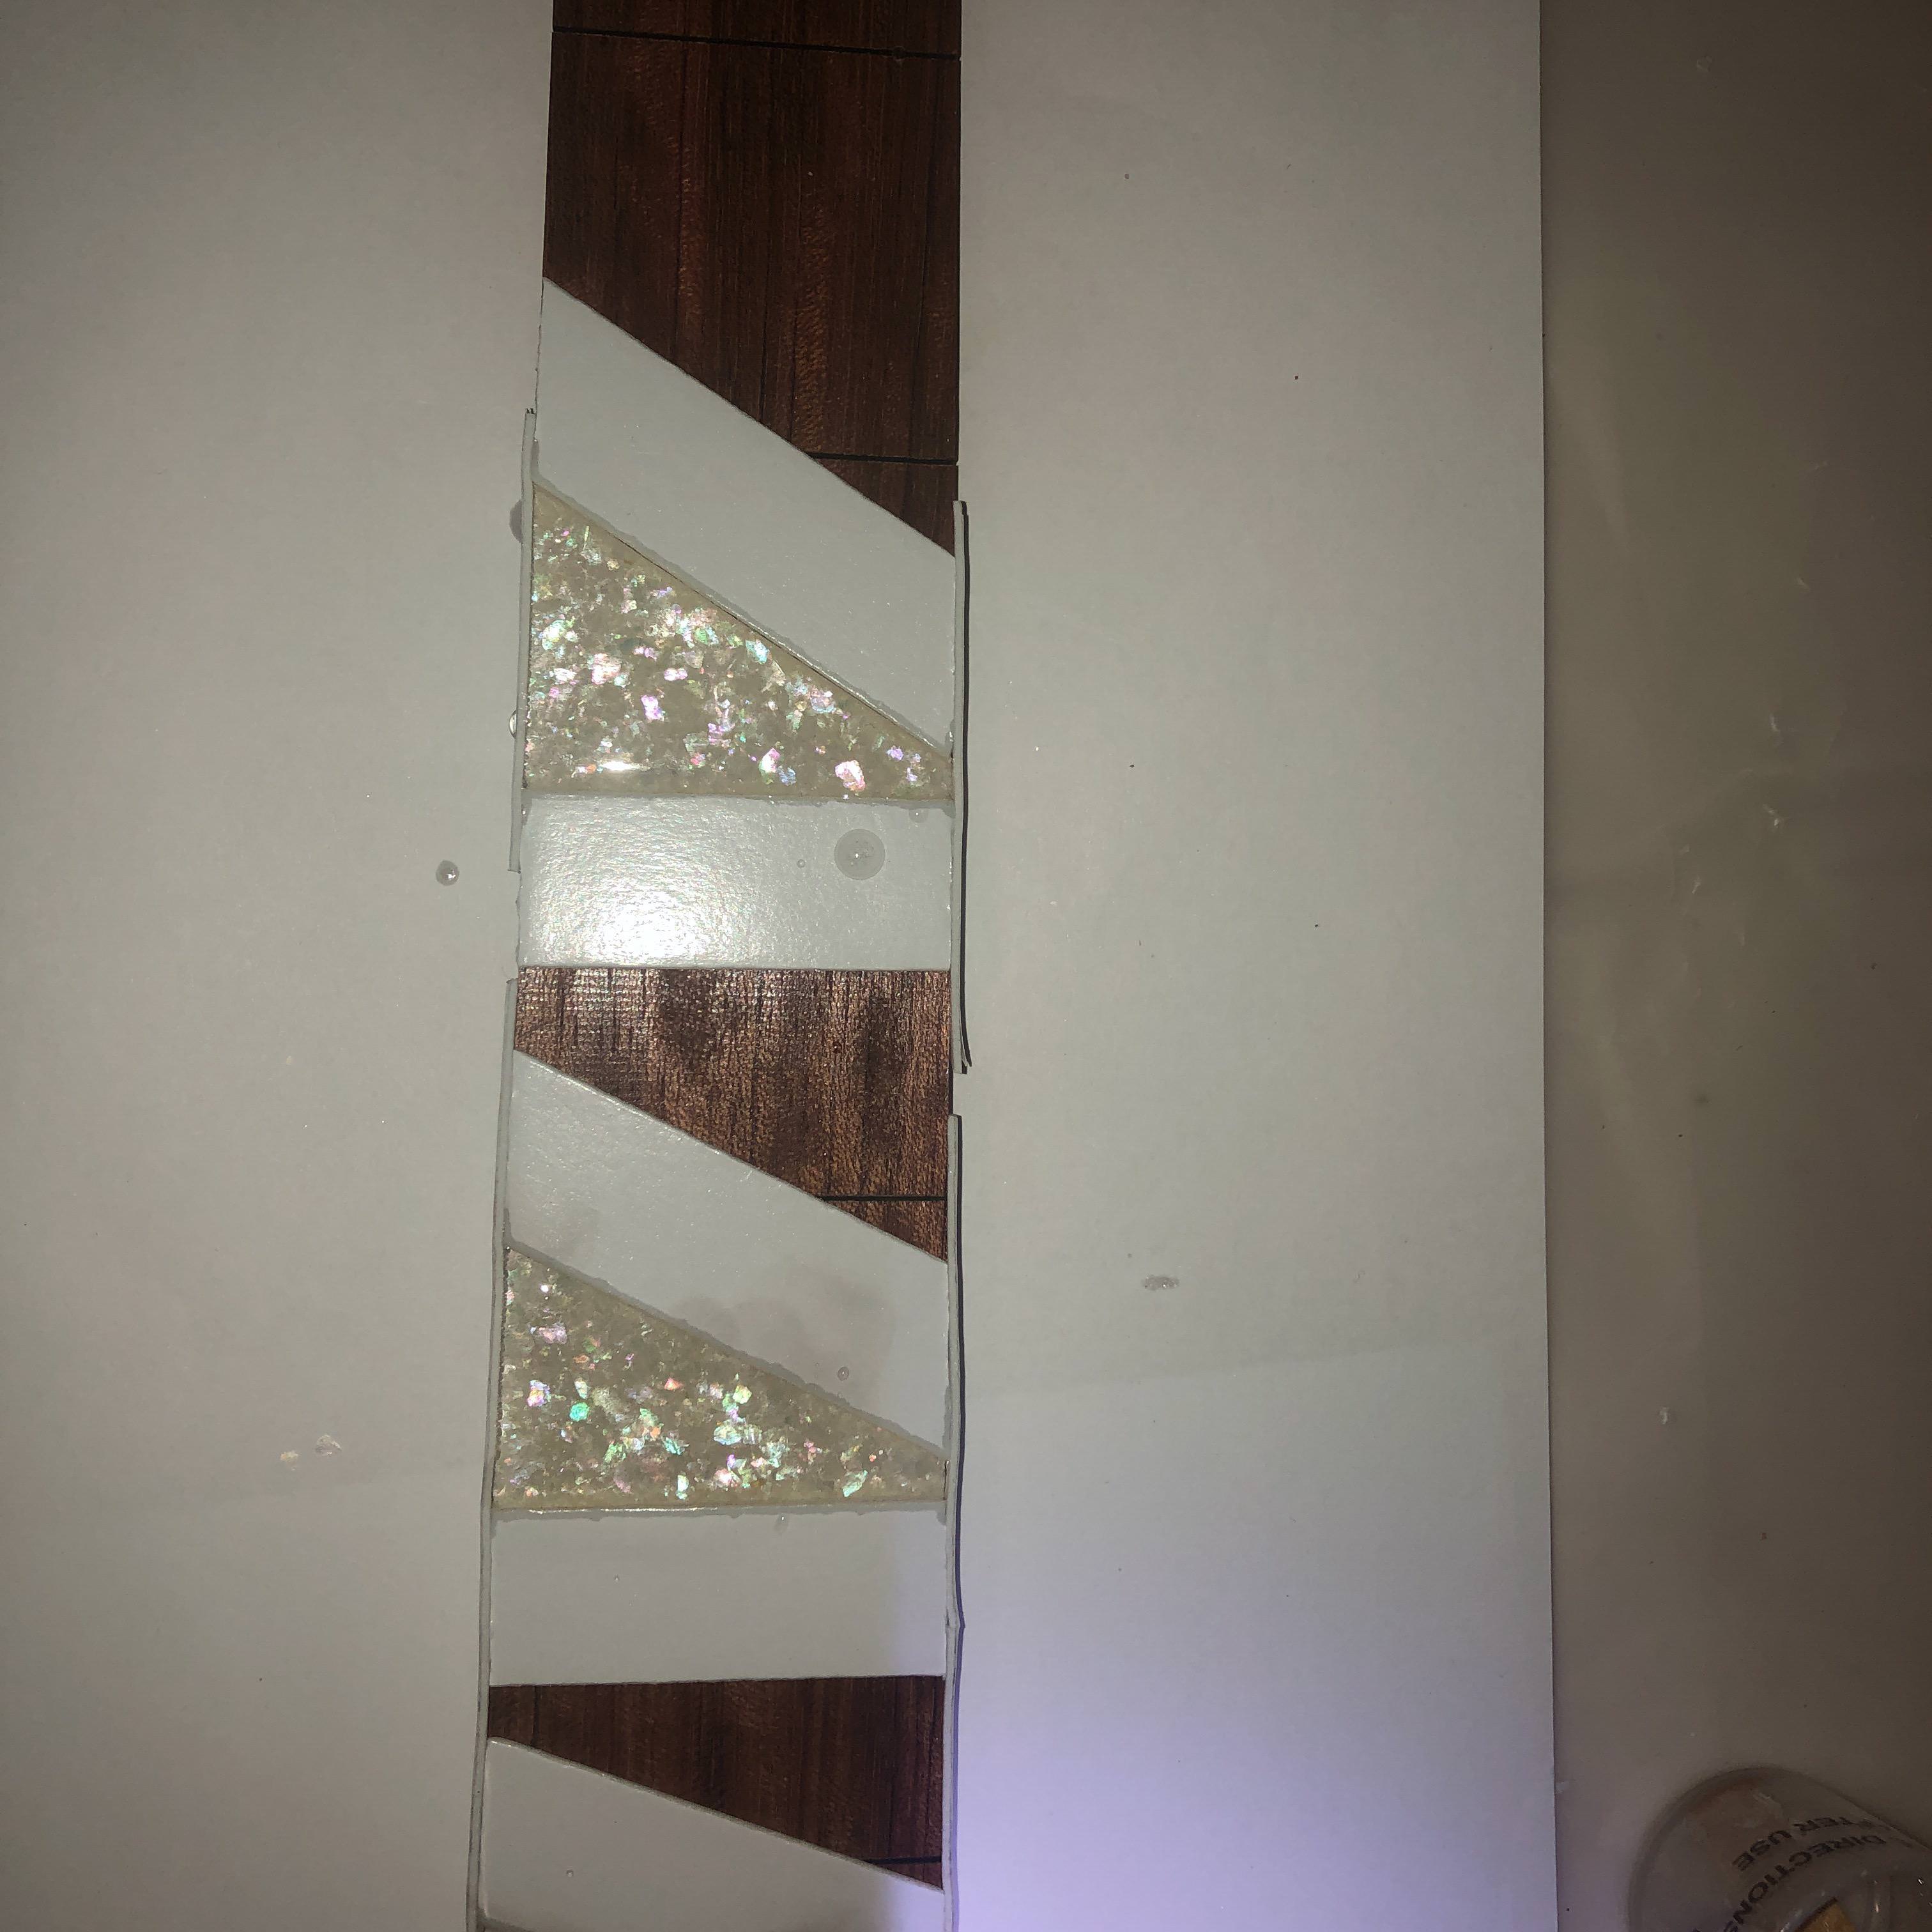
The UV Cure tech has advanced hugely over the last few years, with a lot of the "crafting" crowd adopting it for jewelry and other chatchka. the latest iterations claim to reach a Shore D hardness of 80-85, which is in line with most plastic fingerboard inlays, so it should have a similar level of scratch resistance. I ordered this Kit, , including the UV Cure lamp off Amazon, and in the Interest of Science, will post my results. If it works well, this may be a good solution for custom inlays that would be difficult or nearly impossible to cut out of something like solid MOP sheet stock. There are a couple YT videos of people using it and then machining the fingerboard radius with CNC, so it seems to machine cleanly, and supposedly can be polished up to a high gloss.
Has anyone else tried something similar? Any tips or advice appreciated.
So far I've cut the fingerboard recesses to 1/8" deep, which is the recommended maximum for single pours of this type of resin pour, plus I don't want to weaken the board any more than necessary.
From what I've read, they painted the recesses with a light grey pigment and then used some kind of polyester resin pour, but the method changed repeatedly over time, I gather it's a bit of trade secret, and they only do it on limited runs now, so who knows.
I first attempted this about 8 years ago using clear epoxy casting resin with two grades of crushed MOP as the "glitter". The initial pour was water-clear and looked great. I used a digital scale to mix the 1:1 ratio, mixed the hell out of it, etc, and it seemed to cure properly, but after fingerboard radius, sanding, and polish through ALL the micromesh grits, buffing compound, polish, etc, it never returned to water-clear, more of a transluscent. it still looks cool, but not what I was shooting for.
The UV Cure tech has advanced hugely over the last few years, with a lot of the "crafting" crowd adopting it for jewelry and other chatchka. the latest iterations claim to reach a Shore D hardness of 80-85, which is in line with most plastic fingerboard inlays, so it should have a similar level of scratch resistance. I ordered this Kit, , including the UV Cure lamp off Amazon, and in the Interest of Science, will post my results. If it works well, this may be a good solution for custom inlays that would be difficult or nearly impossible to cut out of something like solid MOP sheet stock. There are a couple YT videos of people using it and then machining the fingerboard radius with CNC, so it seems to machine cleanly, and supposedly can be polished up to a high gloss.
Has anyone else tried something similar? Any tips or advice appreciated.
Last edited:
As an Amazon Associate, TalkBass may receive commissions from qualifying purchases made via links on this site.