• TalkBass has been independent since 1998. Add your voice.
    Create a free account to reply to discussions, view embedded media, and browse with fewer display ads.
    Join freeLog in
    Want zero display ads or expanded classifieds tools? Compare plans.

WBO 2022 - Luna's Last Opus

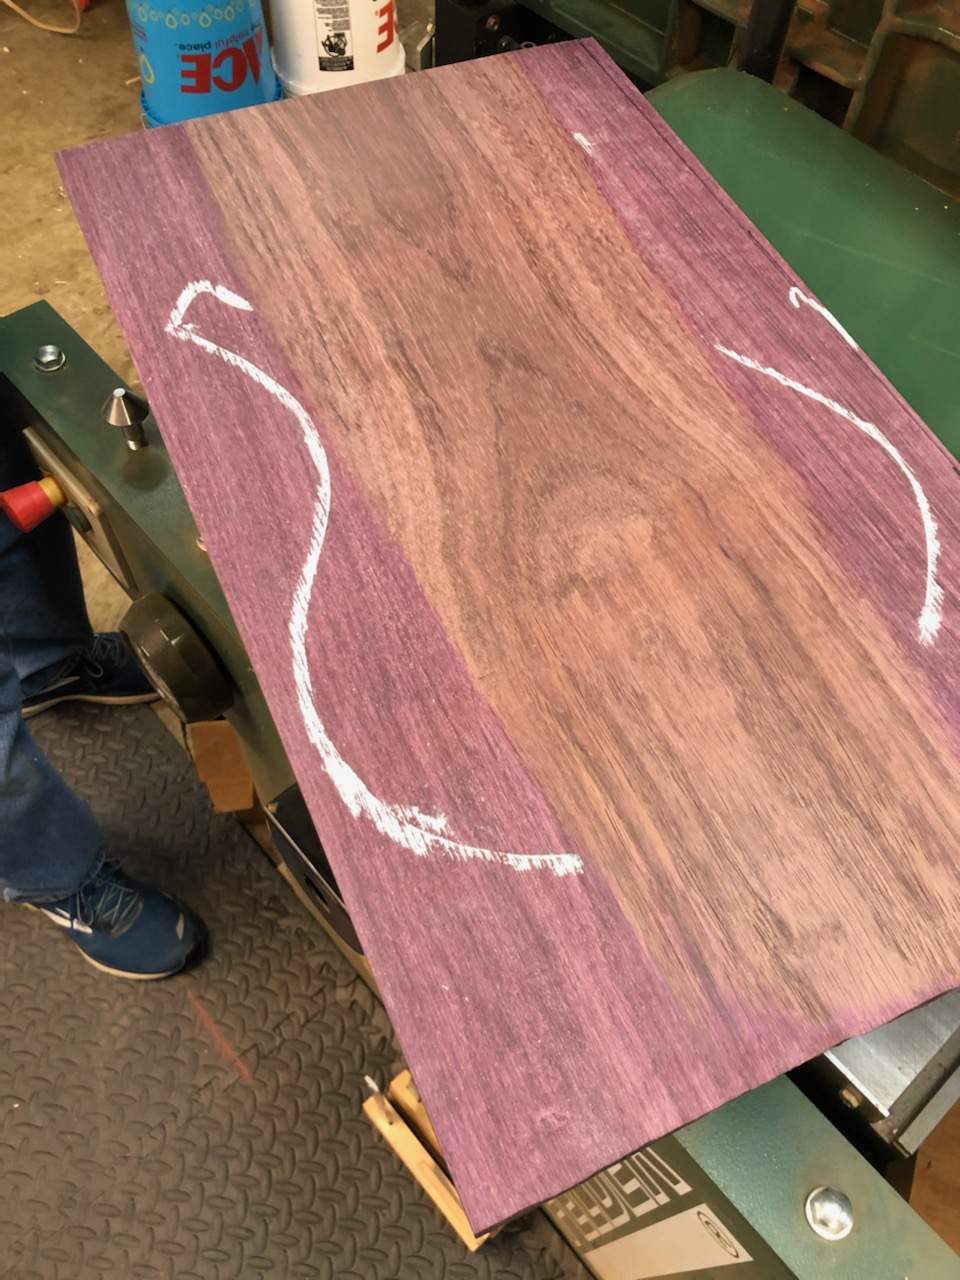
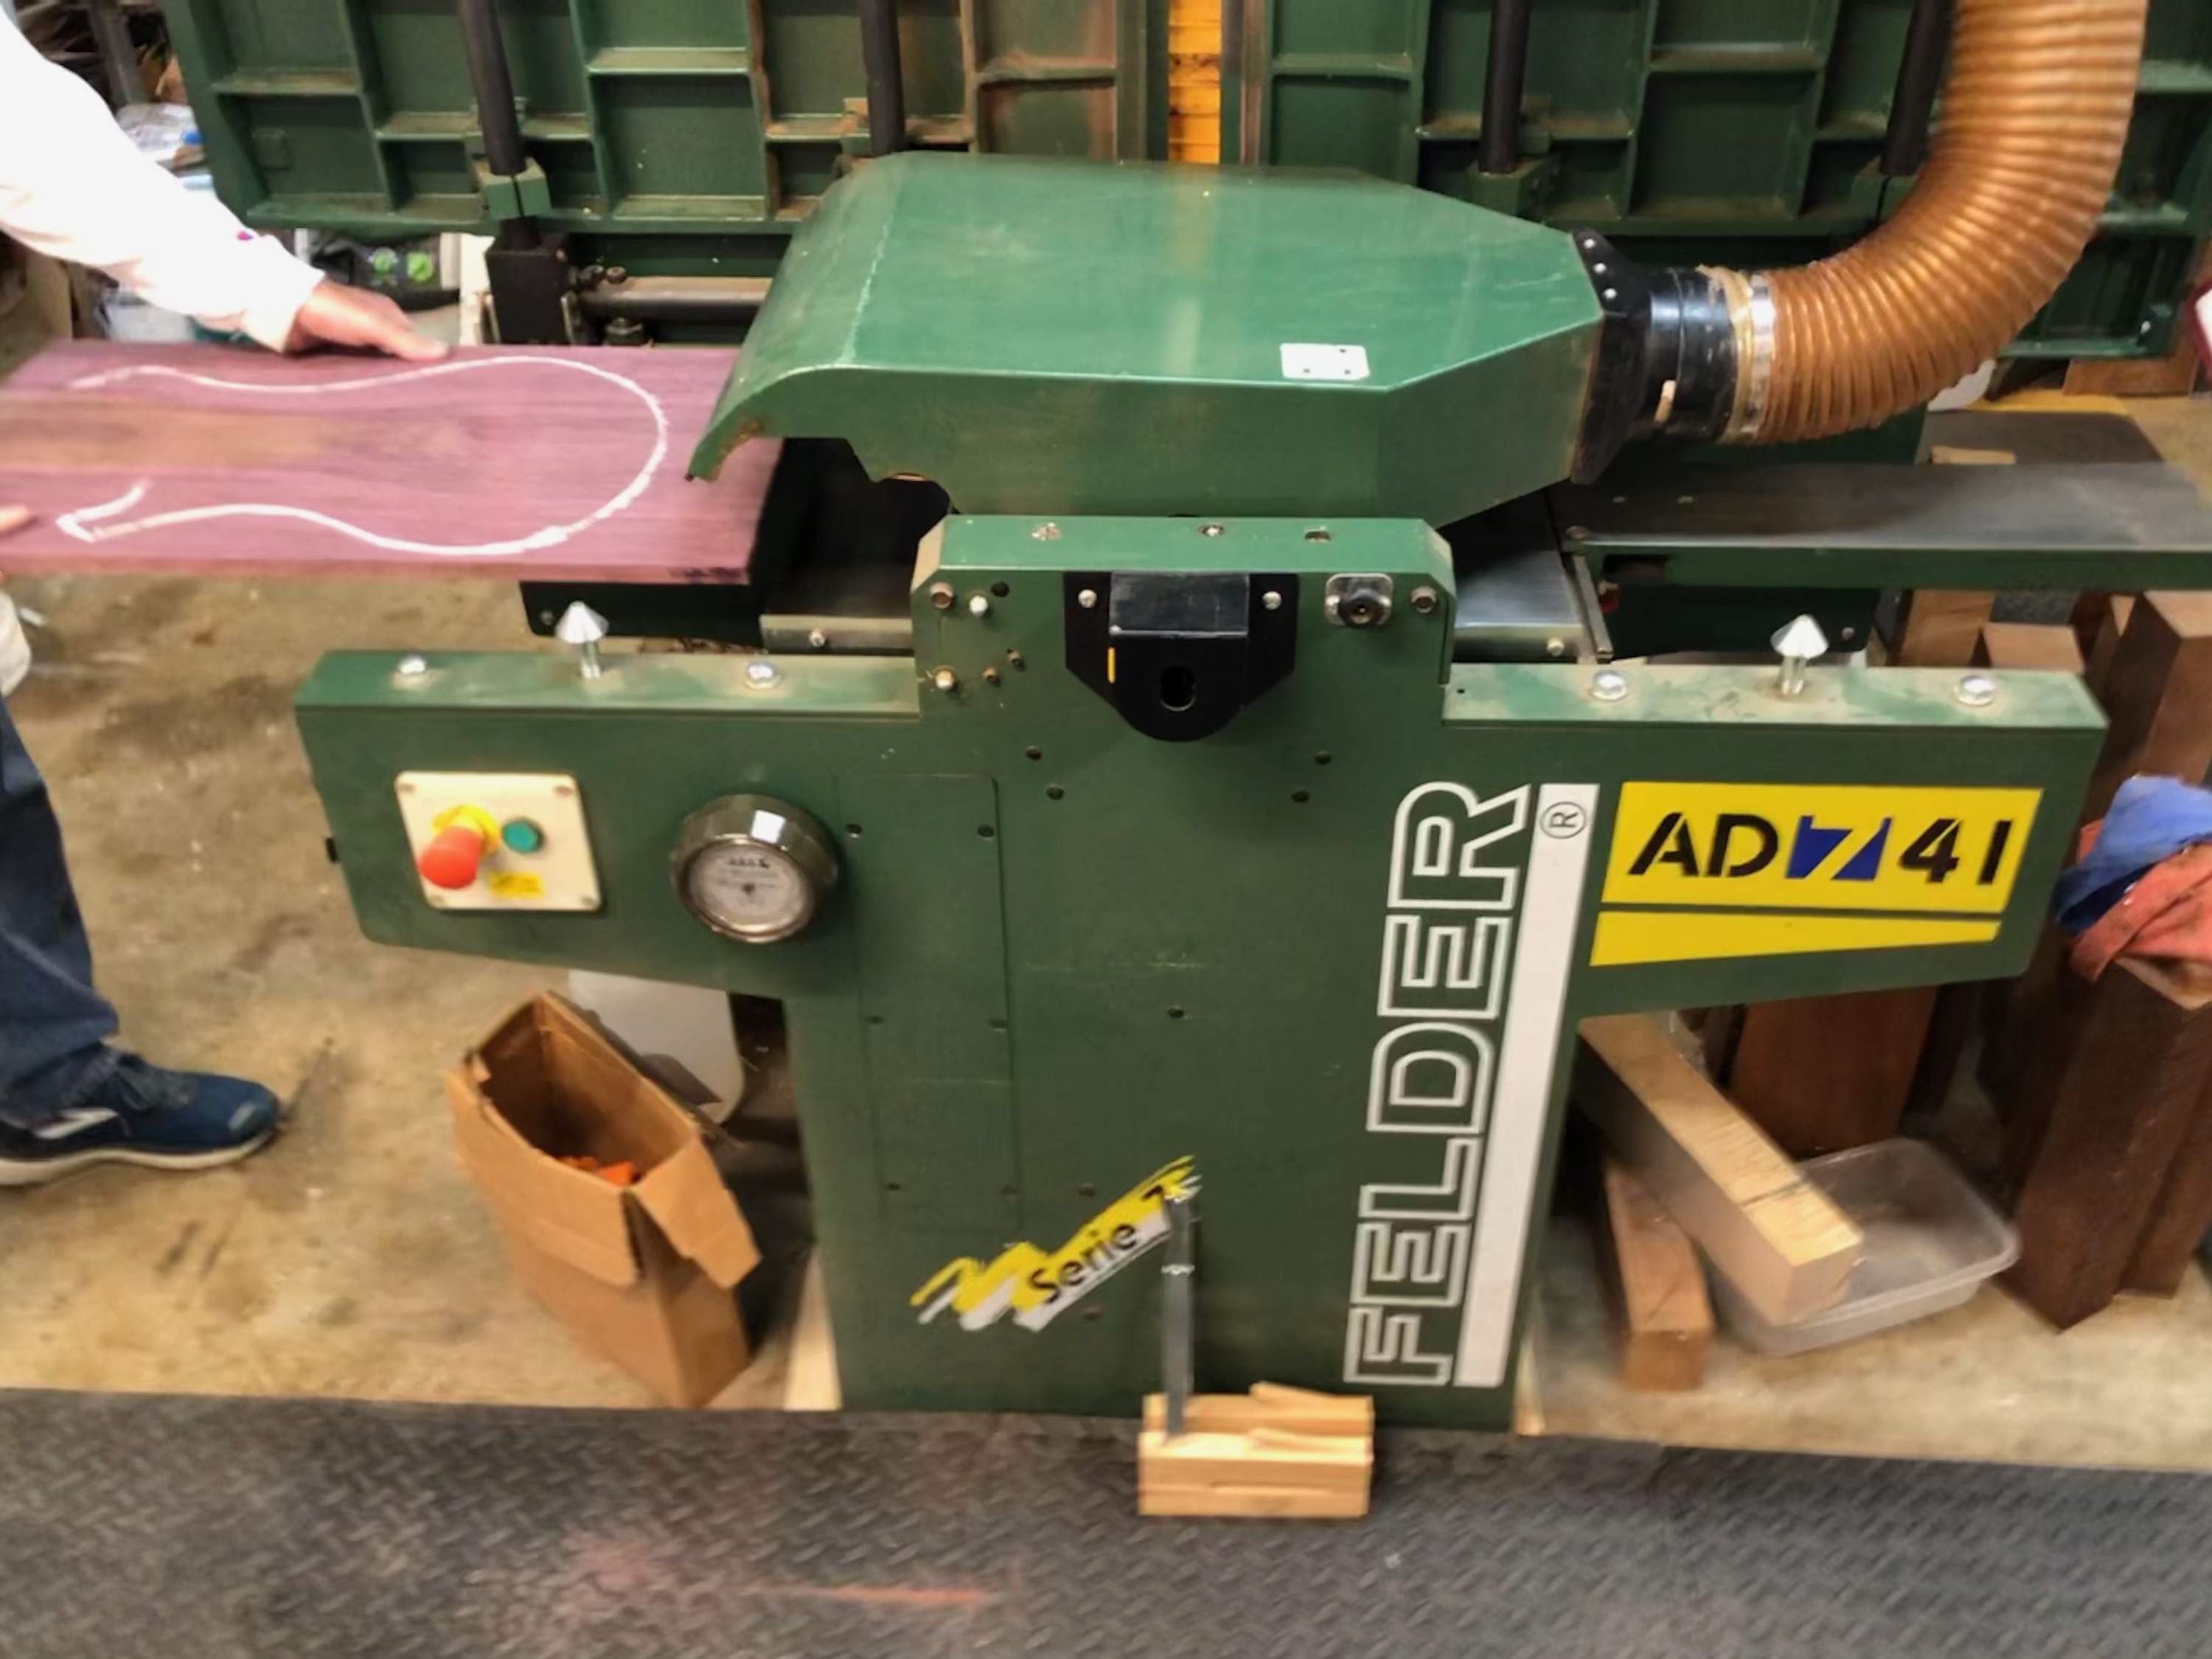
Nothing major to report on here, but I did get that purpleheart board resawn.

I was surprised how much the color changed after it was run through the sander:
FullSizeR.jpg
IMG_2371.jpg


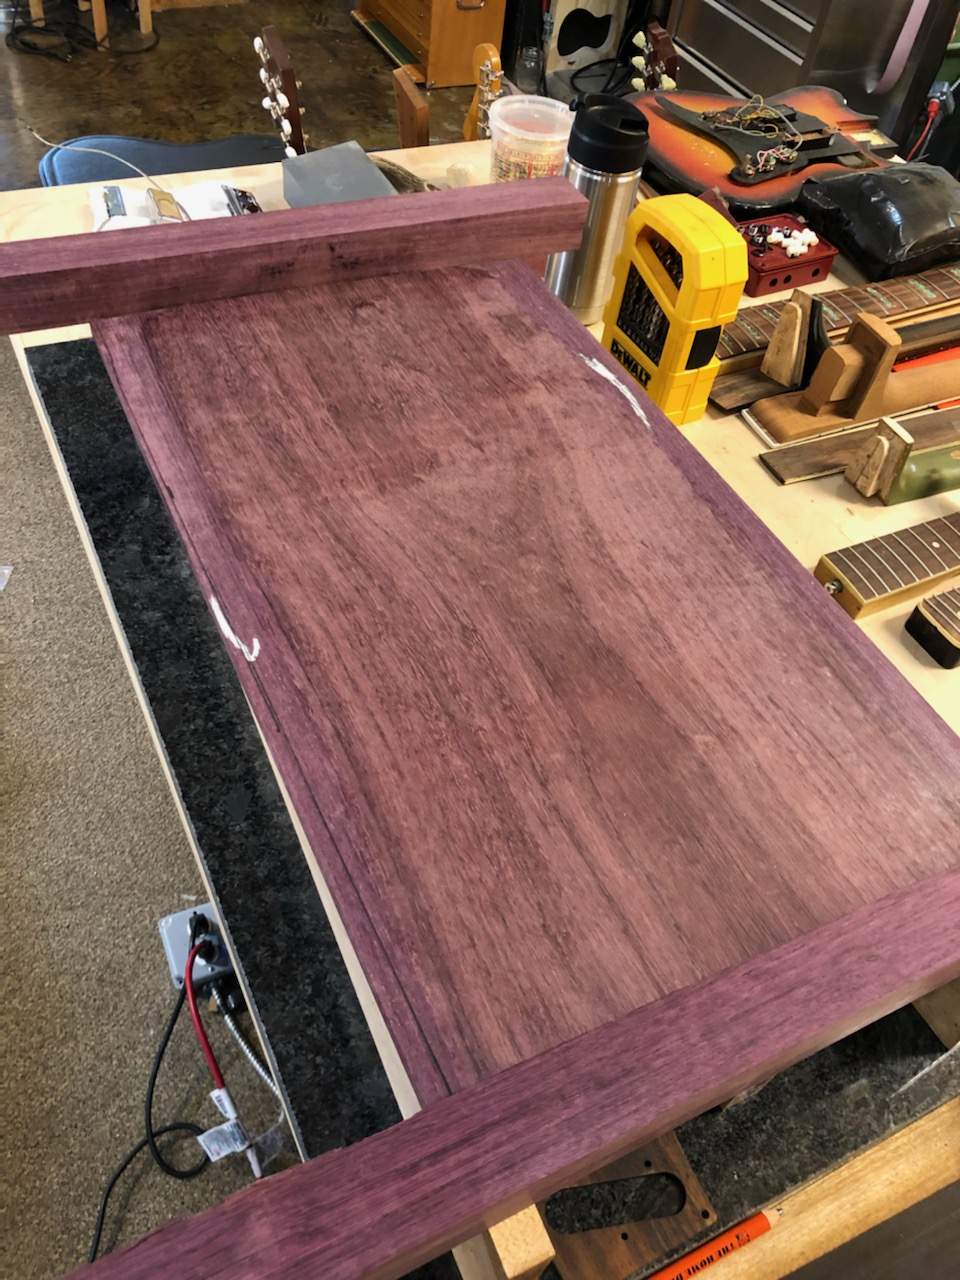
It's already started turning back purple though
IMG_2373.jpg


This slice is 1/2" thick and will be used for the rear plate.
 

Attachments

  • IMG_2373.jpg
    IMG_2373.jpg
    159.3 KB · Views: 49
At long last, I've started cutting the wood that will be part of the final instrument.

I decided on roasted flame maple with walnut stringers for the neck. I haven't glued it up yet but here it is:

20220427_163315.jpg


Not the best pic, and the laminates still need to be cleaned up before gluing. those dark streaks are burn marks from the bandsaw.

This pic of the center strip shows a bit more of the flame in the maple.

20220427_152552.jpg
 
Got a few more hours in the shop today.

Neck blank is glued up
20220510_123901.jpg


There will also be a layer of bocote at the body end, running through the length of the body. I want to add some visual impact to the neck joint.

20220510_123946.jpg


As with the purpleheart, the look of it changed quite a bit after cutting. The left piece here was run through the sander:

20220510_124008.jpg
 
Neck blank is out of clamps :hyper:
Here it is wetted down to get a look at the grain
20220520_140050.jpg


20220520_132708.jpg


Forgot to get a pic but I also glued the bocote layer to the back.
I wanted to glue the body together also but we didn't have quite enough clamps on hand. I'm gonna tackle that next weekend.

Also on the agenda is to create an adjustable miter box for slotting the fingerboard. The piece is just barely too narrow at the wide end, so it will be getting bound in ebony. It's also much longer than I need, so I think I will use the excess for headstock veneers.

I also need to work out a new gameplan for the hardware. The Nova parts are great and I don't want to split the 6-string set up. I'm working on a design for my own headless bridge hardware. After seeing @Dave Higham 's build, I feel inspired to try my hand at it.
 
Last edited:
Got about 80% of the way done with the fret slotting jig.

20220610_174726.jpg


Just need to finish the wiper and make the cuts to allow the for the blade.

Also, here's the a pic of the bocote back plate on the neck:

20220610_174809.jpg


As you can see, one of the pieces of the pieces of roasted maple has a dark streak in it. I was hesitant about using it at at all initially but it has grown on me. I consider it a beautiful imperfection.
 
As per usual...small, incremental progress.

20220728_141304.jpg


20220728_140336.jpg

Truss rod has been installed, I went with a custom length due to the extended scale length. The access hole with be at the end of the headstock, and the fingerboard wood will extend all the way to end of the headstock.

also got around to gluing together the Sitka Spruce and the Purpleheart backplate. Pictured here is damn near every clamp in the shop:
20220721_132225.jpg


It feels good to finally be at a stage where things will start getting shaped to their final dimensions :hyper:
Finishing the fretboard and routing out the body cavities is the next task.
 

Attachments

  • 20220721_104341.jpg
    20220721_104341.jpg
    905.8 KB · Views: 35
Cut out the body yesterday!
20220815_153225.jpg


20220815_153235.jpg


20220815_153301.jpg


20220815_153249.jpg

This was pretty nerve-wracking, I only had one shot at this and I've got limited experience with a bandsaw. The inside curves were especially awkward.

Took it to the spindle sander to clean up the edges, After the top is glued on, the whole thing will get flush cut on the router using the template as a guide.

Before that though, I need to devise a plan for routing out the body cavities and neck pocket. It will be neck-thru, but the neck will be under the top. The part that goes through the body will have a shelf routed into it to allow this to happen.
 
Last edited:
Looks like you did a great job shaping the body! :thumbsup: :cool:
...Before that though, I need to devise a plan for routing out the body cavities and neck pocket. It will be neck-thru, but the neck will be under the top. The part that goes through the body will have a shelf routed into it to allow this to happen.
So.....there's lots of neck-thru build threads on TB. When I do mine, I glue the body wings to the neck blank first, then add the top later.
I sorted out all the stuff like that, making sure the "top surface" was flat and true across the neck-thru section before gluing the top on to the whole thing. I also doweled the body wings so that I could take them off and put them back on to check things and do minor shaping. Not a "have to", but it did make it handy. You just have to pay attention to where your dowels are located so you don't get into pickup cavities or anything like that. It was easy on my Diva build because it's just a single pickup so I had plenty of extra space.
Anyways, my suggestion is, body wings to neck first, then top. You might be painting yourself in a corner if you glue the top to the body and then try to rout out a channel for the neck-thru to sit in.
 
Looks like you did a great job shaping the body! :thumbsup: :cool:

So.....there's lots of neck-thru build threads on TB. When I do mine, I glue the body wings to the neck blank first, then add the top later.
I sorted out all the stuff like that, making sure the "top surface" was flat and true across the neck-thru section before gluing the top on to the whole thing. I also doweled the body wings so that I could take them off and put them back on to check things and do minor shaping. Not a "have to", but it did make it handy. You just have to pay attention to where your dowels are located so you don't get into pickup cavities or anything like that. It was easy on my Diva build because it's just a single pickup so I had plenty of extra space.
Anyways, my suggestion is, body wings to neck first, then top. You might be painting yourself in a corner if you glue the top to the body and then try to rout out a channel for the neck-thru to sit in.

I've read through at least one of your build threads before, awesome stuff!

Originally I considered doing it the "traditional" way, as you described. But aesthetic considerations came into play. I wanted to keep the sitka spruce as one piece and that's why it will be routed out with a pocket for the neck.

Admittedly, it may be an unnecessary complication and figuring it all out has given me a headache multiple times over. But I have a vision for what I'd like the completed product to look like already.

I took a lot of inspiration primarily from Stradi, as well as the Fodera Anthony Jackson signature bass, Veillette, and Adamovic just to name a few.

The spruce body center is fairly light, but will still get hollowed out as much as I can to reduce the weight.
Actually the only reason I decided to use it in the end is because the purpleheart slab was extremely heavy. I wanted a thicker body but 2 inches of purpleheart, even hollowed out, would have just made for too heavy of a bass.
 
20220830_131545.jpg

Got the neck pocket routed out. It may be hard to tell in the photos but there is a slight taper that goes partly through the body.

The first version of the router jig that incorporated the taper in one piece didn't work out. I tried to cut it with the angle and then sand the edges
to be flat and straight, along both sections, but that was a losing battle.

In the end, I decided to create the angle using two smaller sections of MDF for each side, as pictured. Not perfect, but it worked well enough.

20220826_141604.jpg


Got a slight bit of tearout at the body end:
20220830_131610.jpg


This area will be carved out for the tuner knob access, so no big deal there.
This gap here does concern me somewhat. I want the neck to fit as snugly as possible, so I'll have to brainstorm on this. Suggestions are welcome

20220830_131627.jpg
 

Attachments

  • 20220830_155221.jpg
    20220830_155221.jpg
    906.6 KB · Views: 34
  • 20220830_155624.jpg
    20220830_155624.jpg
    849.1 KB · Views: 35
Last edited:
Top jointed and glued together:
20220830_155224.jpg


Since the top was fairly thin, rather than relying only on clamps, it was placed on a flat piece of wood and ~1.5" nails were driven in at an angle. To force the bookmatched pieces together, the nails were then bent over towards the middle.

Clamps were still put to use to ensure it was laying flat
20220830_155624.jpg
 
I spent a lot of time trying to figure out how best to make the moon piece for the "headstock", as seen in the rendering here:
Screenshot_20220206-222930_Fusion 360.jpg

The original plan was to have the moon part and the string retainer be one piece. Eventually I realized I could save myself a headache if I made them separate parts. The cost of having this done with CNC was prohibitive.

I do have access to a lathe and mill, though admittedly I have no clue how to use them. So my buddy Brandon with Brough Guitar Engineering is gonna help me with the rest of the hardware, as well as custom pickups. He's the guy that works in the other half of the guitar shop (Haga Guitars in Norfolk, VA for those who are curious).

Sam Haga is the one who builds guitars, Brandon is the restoration and repair specialist. The shop hasn't been open but a couple years but they've already gained a reputation as the go-to place for vintage guitar repairs locally. Something cool walks through the door every time I'm there working on my build;
20220217_173359.jpg20210708_173450.jpg20210805_171435.jpg
All these aside from the Gretsch were built by Sam. His specialty is acoustic guitars but he builds a fine electric also. He usually sticks with more traditional shapes and building methods though, so we've had to make up a lot of this as we go.
20210914_151245.jpg20211103_180102.jpg

Anyways, I elected to have the moon piece laser cut. Only cost me $30 for two of em from sendcutsend.com
20220831_155306.jpg


I had them cut out of 1/8’ thick brass. They were ordered without mounting holes because I wasn't sure what size/type of screw I'd be using just yet. And having them drill or tap holes adds to the processing time as well. For 30 bucks and a ~1 week turnaround time, I'm pretty happy. They even let you track your order like a Domino's Pizza!
 
Last edited: