I wasn't going to participate this year, I just had a long mental block about what to mash up. I spent days looking at pictures of every bass you can imagine and couldn't come up with anything. I threw in the towel, then was prodded/shamed by the nice folks here on LC to think about it one more time.
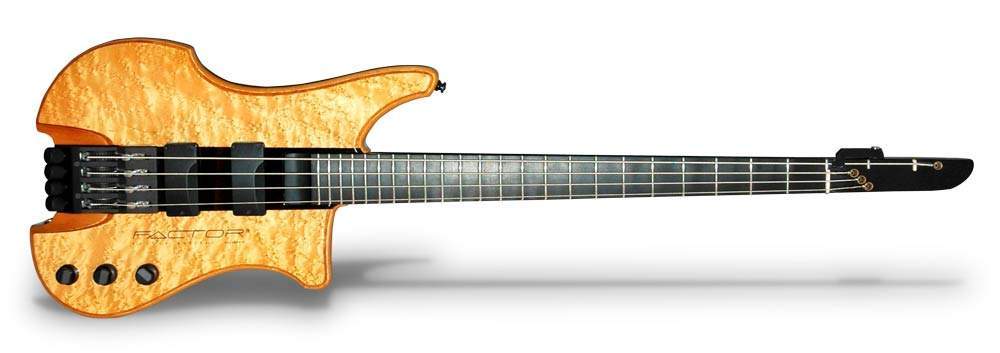
The second time, instead of looking at random pictures I thought about basses that I've lusted over. I came up with two, the first one I can't explain - the Kubiki Factor bass. I just remember seeing this in a magazine at one point and thinking it was the coolest bass I had ever seen. So that's part number 1, this is especially apropos because I'm now a headless convert (I'm doing a five string so I won't be replicating that detune thing on the headstock):
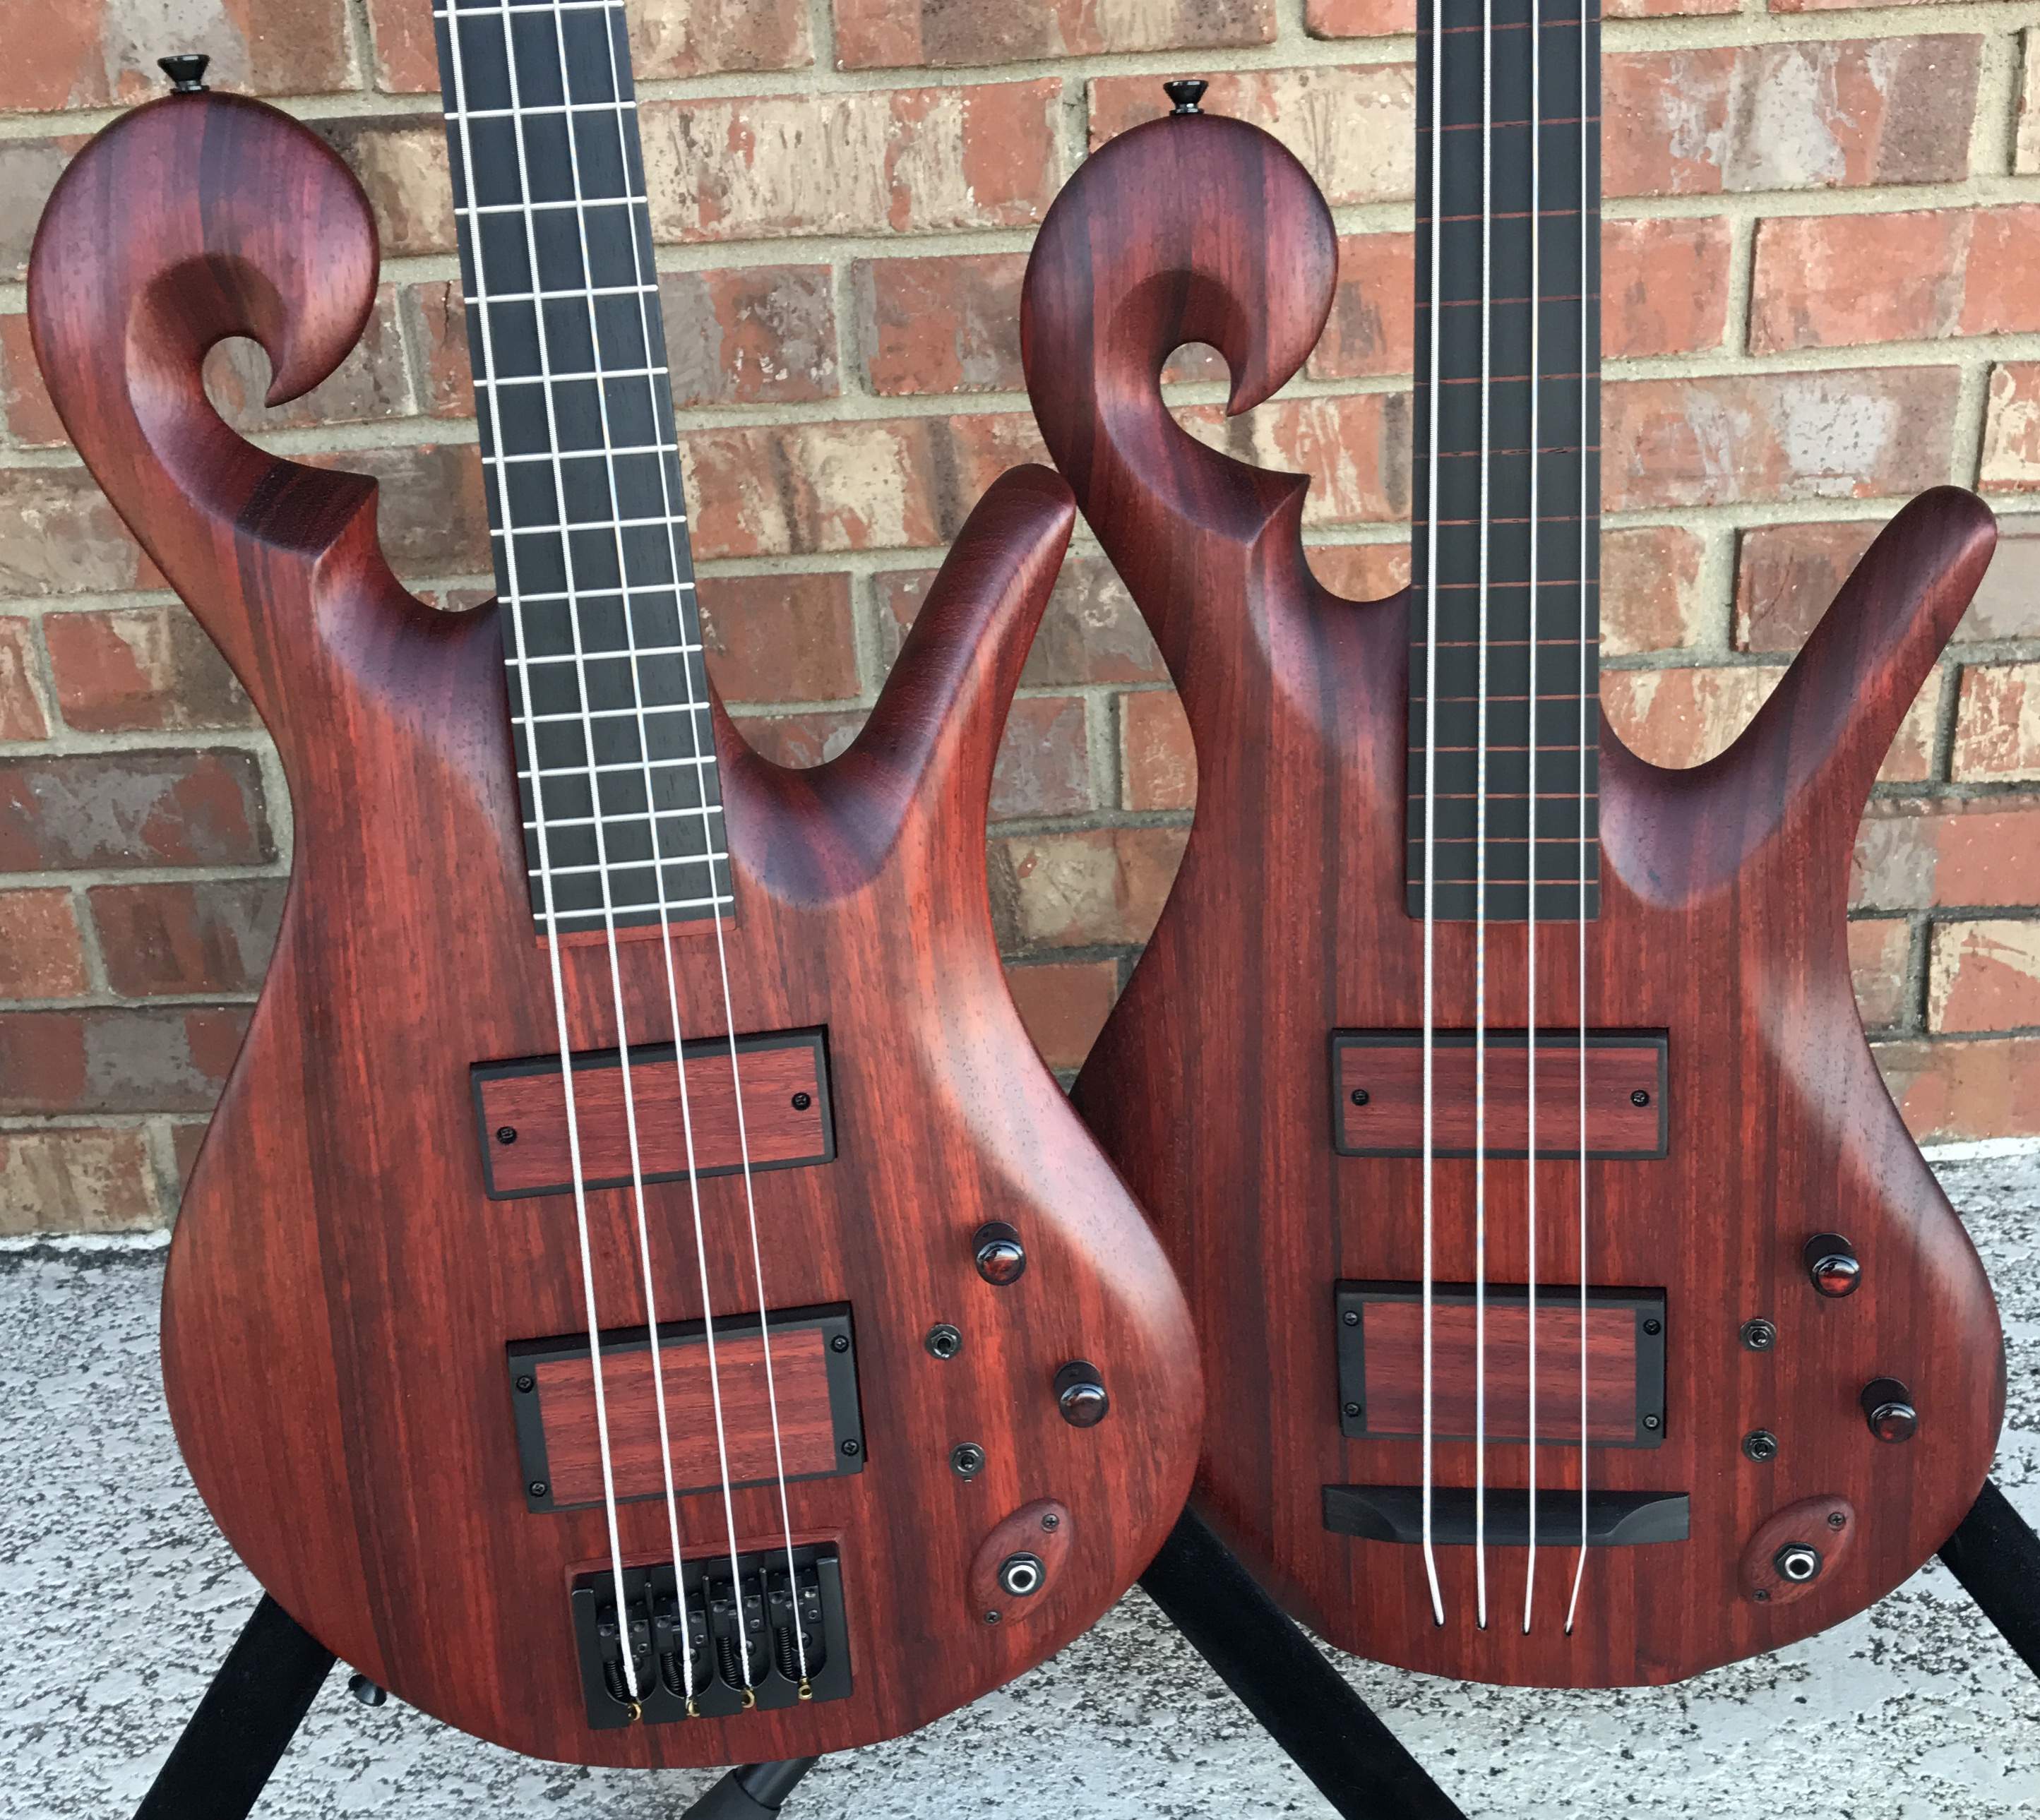
The second one is probably pretty easy to understand. The first thing I did after I got home from seeing Primus the first time was to figure out what bass he was playing, such a cool instrument, never mind how he plays it. So the second is Carl Thompson. I think the "twins" are some of the best examples of Carl's work, so I'll use that as the second half of this build:
Here's the raw mash up, and it's pretty raw!
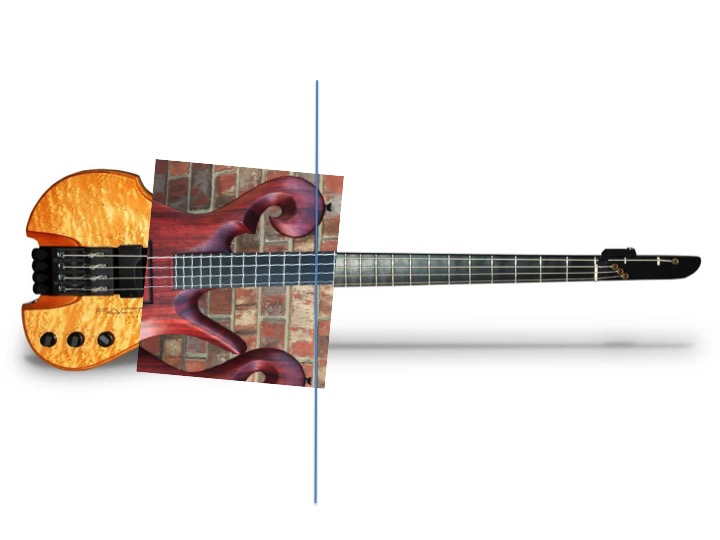
From there I derived an outline in powerpoint (luddite I know):

The details of the bass:
I've got another build in the final stages, I'll probably glue up the neck blank today, but the rest of it will probably not really get rolling until after Xmas.
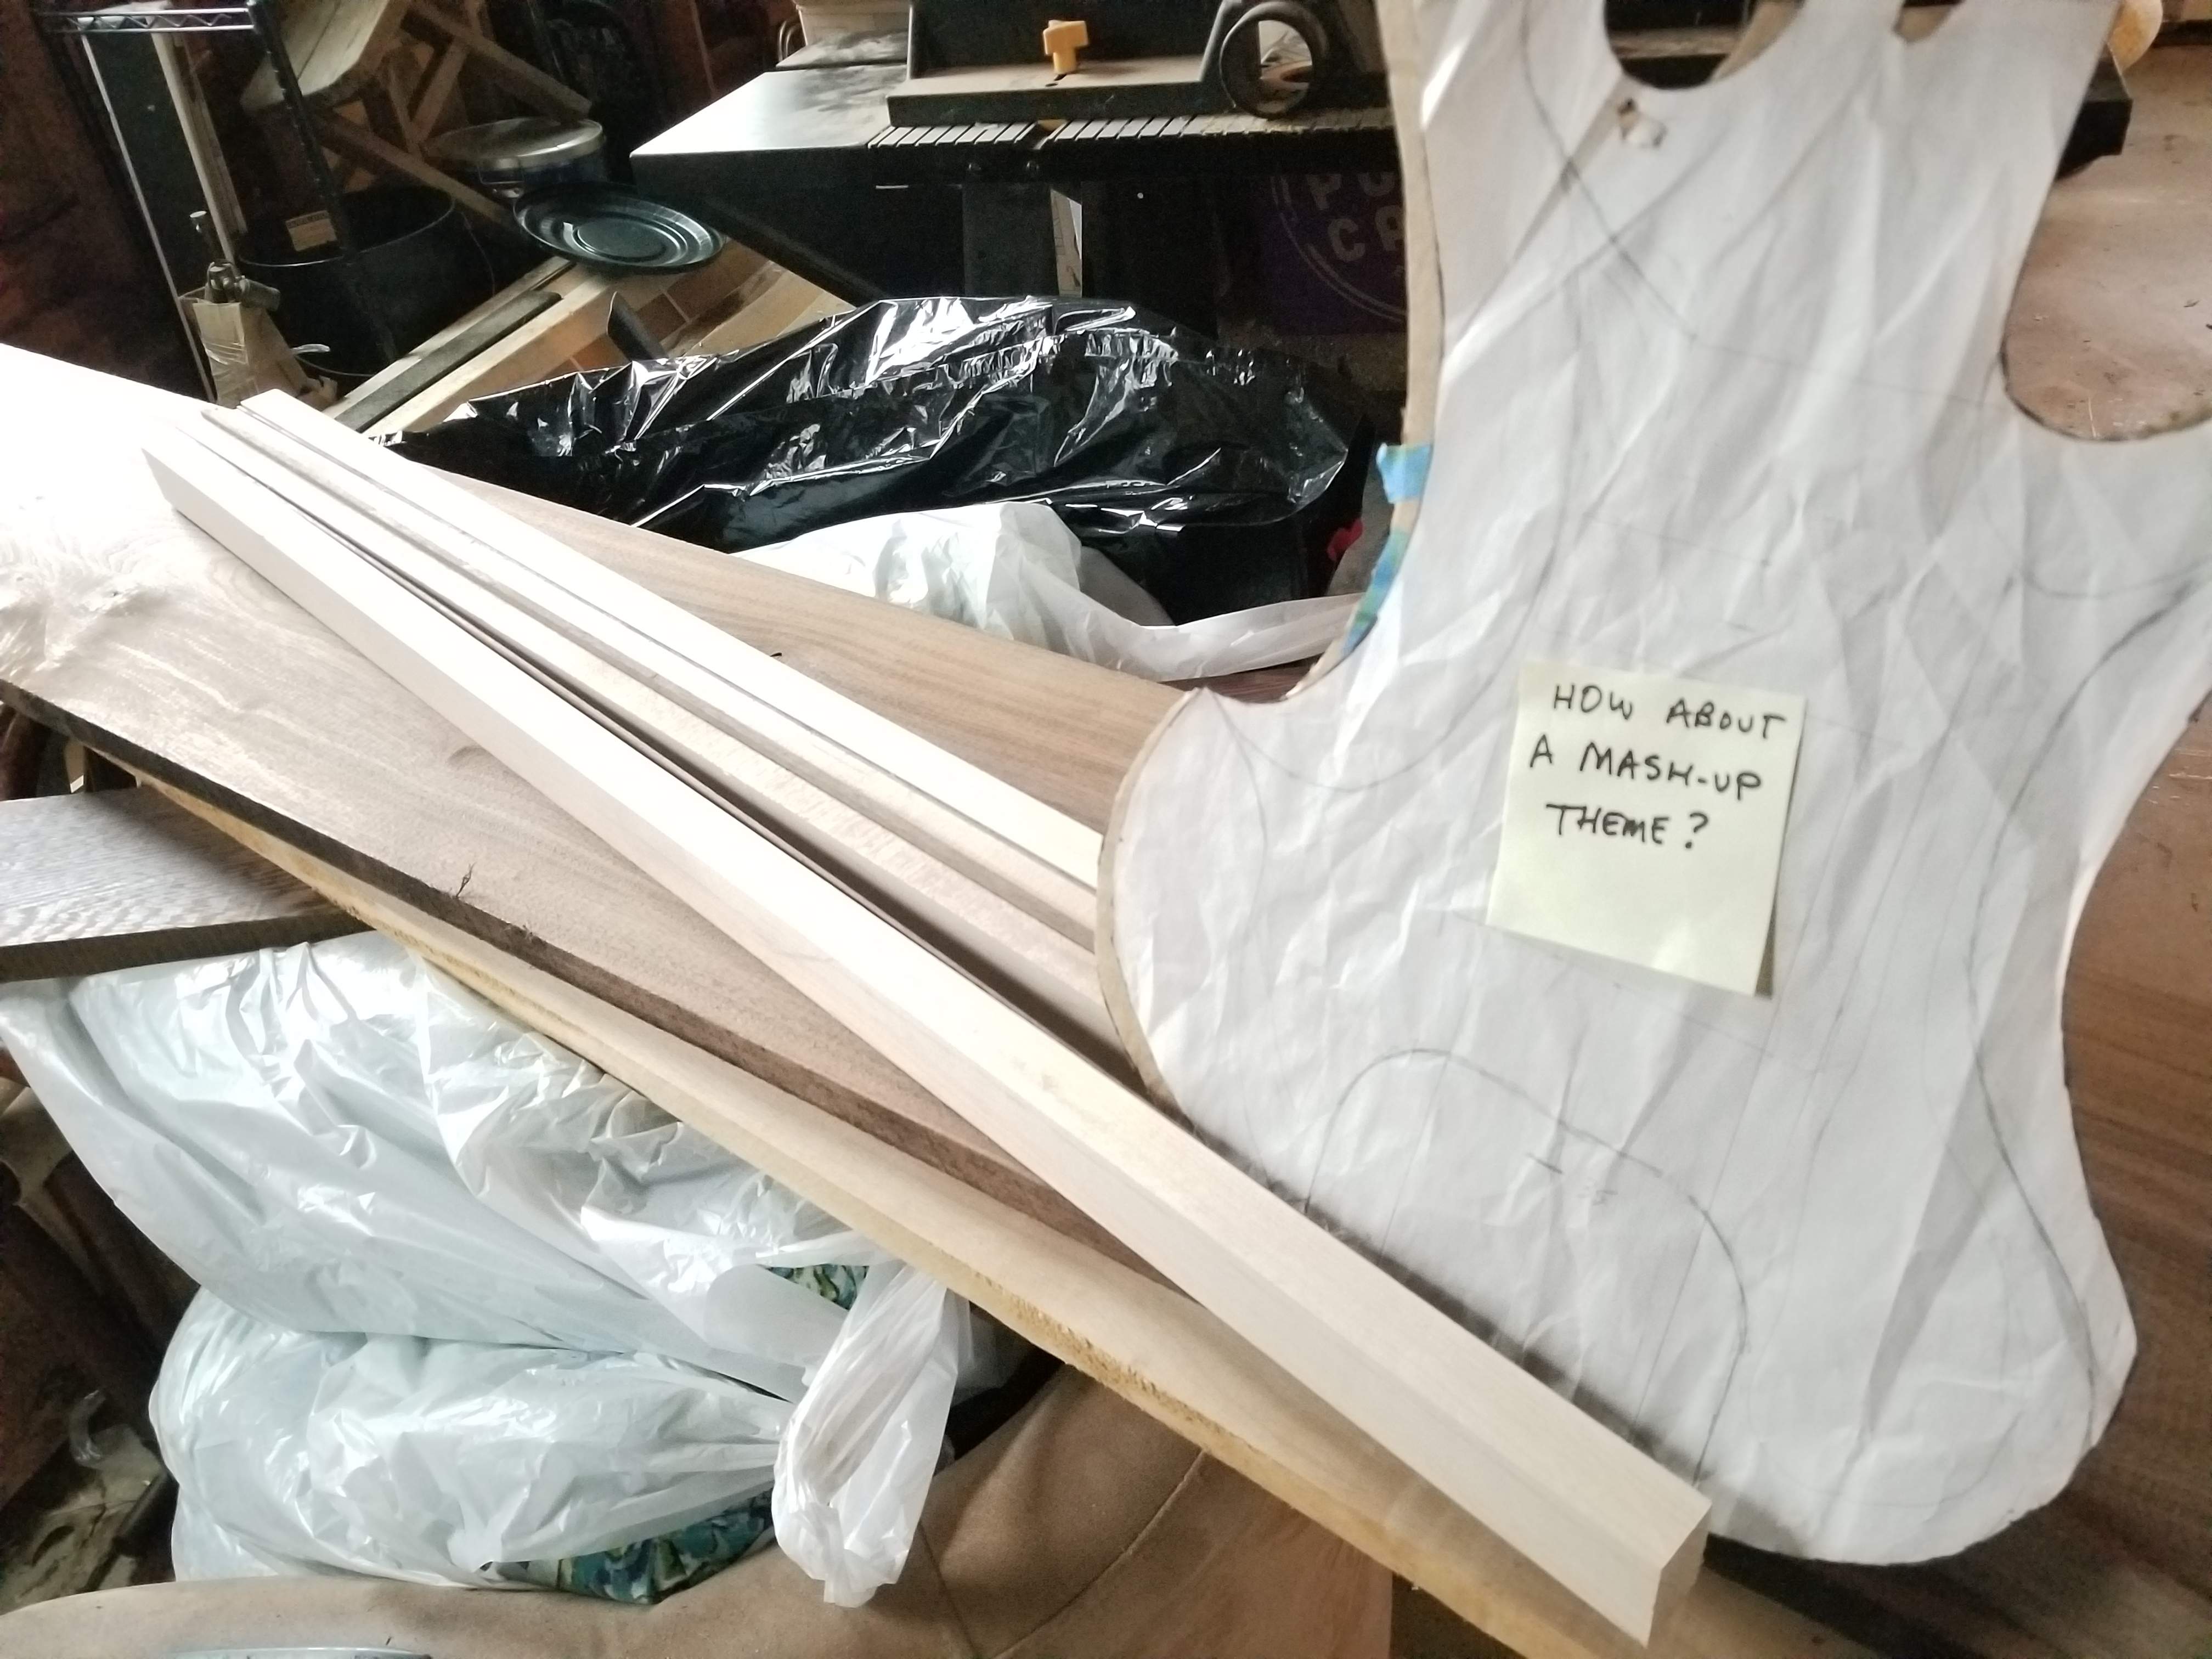
In the wood pile below from the bottom up I've got wenge, anigre, walnut boards with the dimensioned neck wood on top. I've never built with anigre before, it's got some awesome grain and figuring on it, I'll find some cool sections so it shows through the carving. It's got a nice warm brownish coloring that should look good against walnut. Overall I'm looking for a bass with very muted colors, but lots going on with all the carving. I saw some awesome reviews of the Honeybadger pickups, but I haven't ever heard them live, they are very heavy, if that means anything. So the sound is a bit of an unknown factor at this point. I got them used, but they appear to be pretty new.
The second time, instead of looking at random pictures I thought about basses that I've lusted over. I came up with two, the first one I can't explain - the Kubiki Factor bass. I just remember seeing this in a magazine at one point and thinking it was the coolest bass I had ever seen. So that's part number 1, this is especially apropos because I'm now a headless convert (I'm doing a five string so I won't be replicating that detune thing on the headstock):
The second one is probably pretty easy to understand. The first thing I did after I got home from seeing Primus the first time was to figure out what bass he was playing, such a cool instrument, never mind how he plays it. So the second is Carl Thompson. I think the "twins" are some of the best examples of Carl's work, so I'll use that as the second half of this build:
Here's the raw mash up, and it's pretty raw!
From there I derived an outline in powerpoint (luddite I know):
The details of the bass:
- Neck through five string headless/fretless with side fret lines
- 35" scale
- Honeybadger 5 string pickups
- Audere preamp
- Brazilian bridge/tuner set up (never used this one before)
- 7 piece laminate neck (maple/walnut)
- Fingerboard will likely be tiger maple with a wenge binding, coated with UV resin
- Heavily carved body will be a hippy sandwich of walnut/anigre/walnut with wenge strips in the body
- wood covers over the pickups
- chambered body
I've got another build in the final stages, I'll probably glue up the neck blank today, but the rest of it will probably not really get rolling until after Xmas.
In the wood pile below from the bottom up I've got wenge, anigre, walnut boards with the dimensioned neck wood on top. I've never built with anigre before, it's got some awesome grain and figuring on it, I'll find some cool sections so it shows through the carving. It's got a nice warm brownish coloring that should look good against walnut. Overall I'm looking for a bass with very muted colors, but lots going on with all the carving. I saw some awesome reviews of the Honeybadger pickups, but I haven't ever heard them live, they are very heavy, if that means anything. So the sound is a bit of an unknown factor at this point. I got them used, but they appear to be pretty new.
Last edited: