
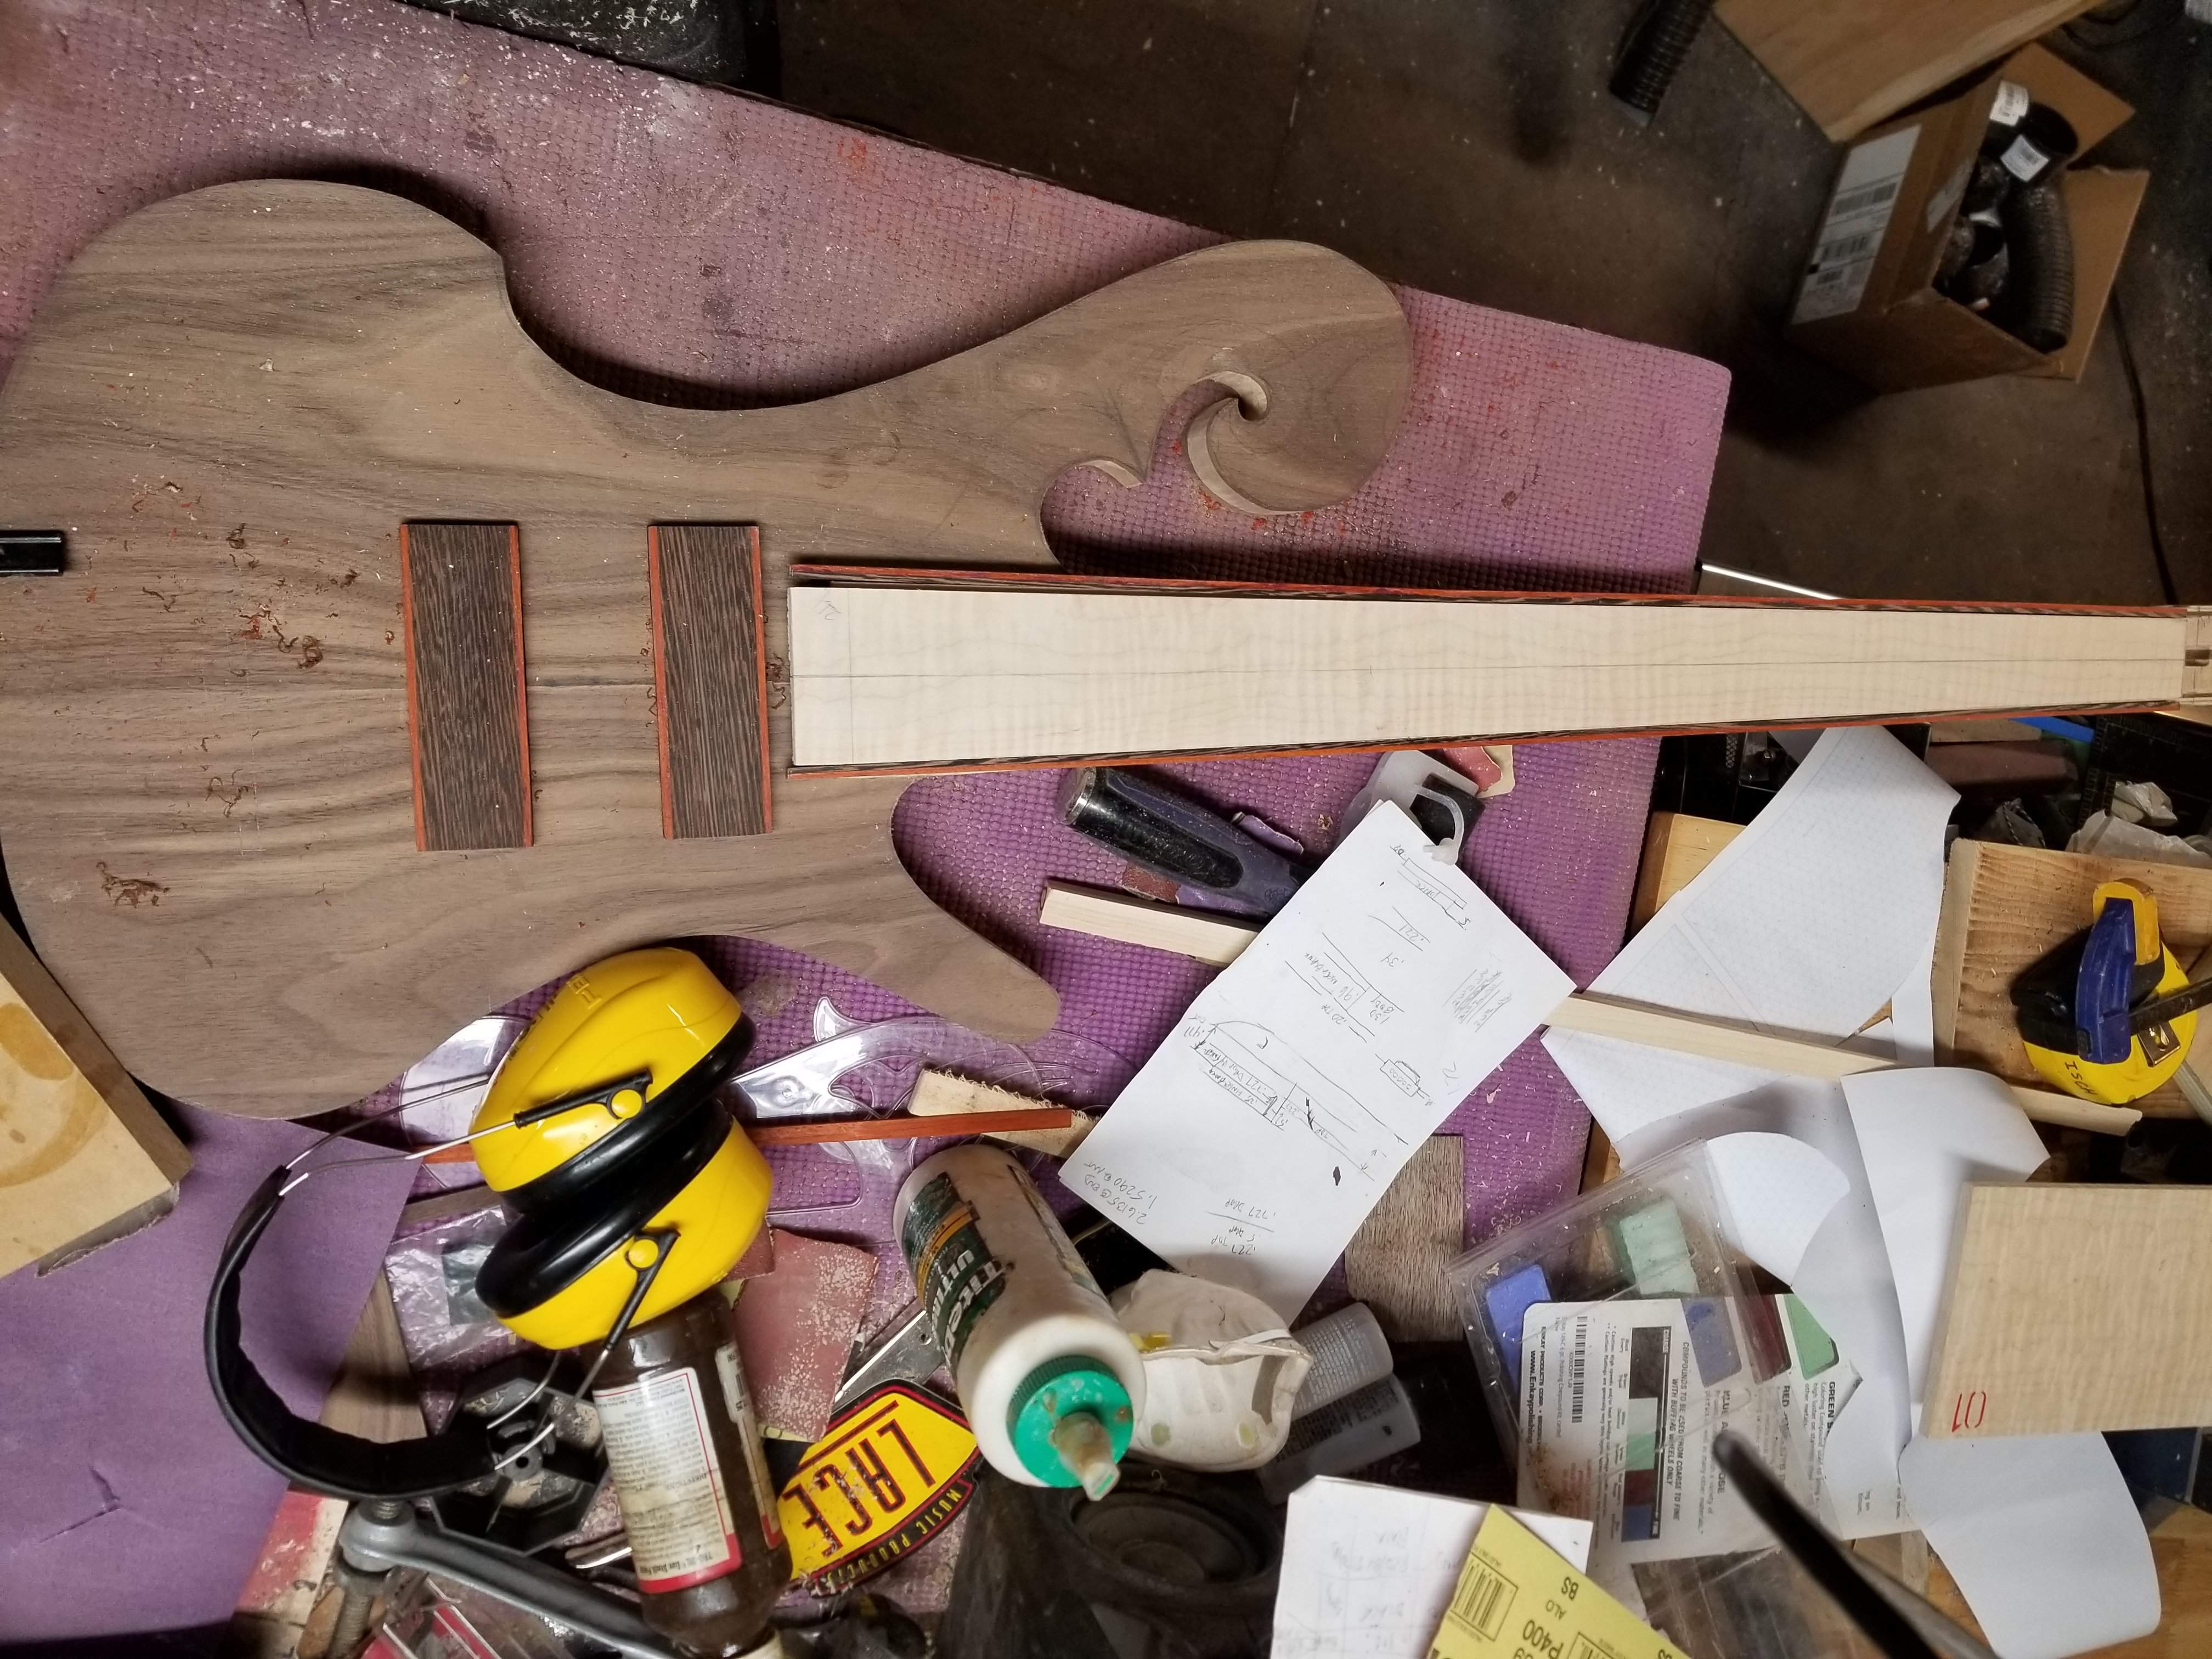
That maple is really nice, I don't think I'd put anything on it.I got some work done on the fingerboard. I don't like lines on fretless boards, but the wenge fingerboard is interesting. Hmmm.
Here's where I'm at now:
I glued up the binding, I suspect these will be throw aways, I figured out better ways to do each step after I did them poorly, but who knows, maybe I'll get lucky
View attachment 3266045 and I roughed in the fingerboard
View attachment 3266046
Off for another ride.

Enjoy the benefits of a premium membership!
Upgrade Account
-
TalkBass has been independent since 1998. Add your voice.
Create a free account to reply to discussions, view embedded media, and browse with fewer display ads.
Join free Log in
Want zero display ads or expanded classifieds tools? Compare plans.
You are using an out of date browser. It may not display this or other websites correctly.
You should upgrade or use an alternative browser.
You should upgrade or use an alternative browser.
Winter 2019 Build Off - The Carl Factor
- Thread starter Jisch
- Start date
More options
Who Replied?

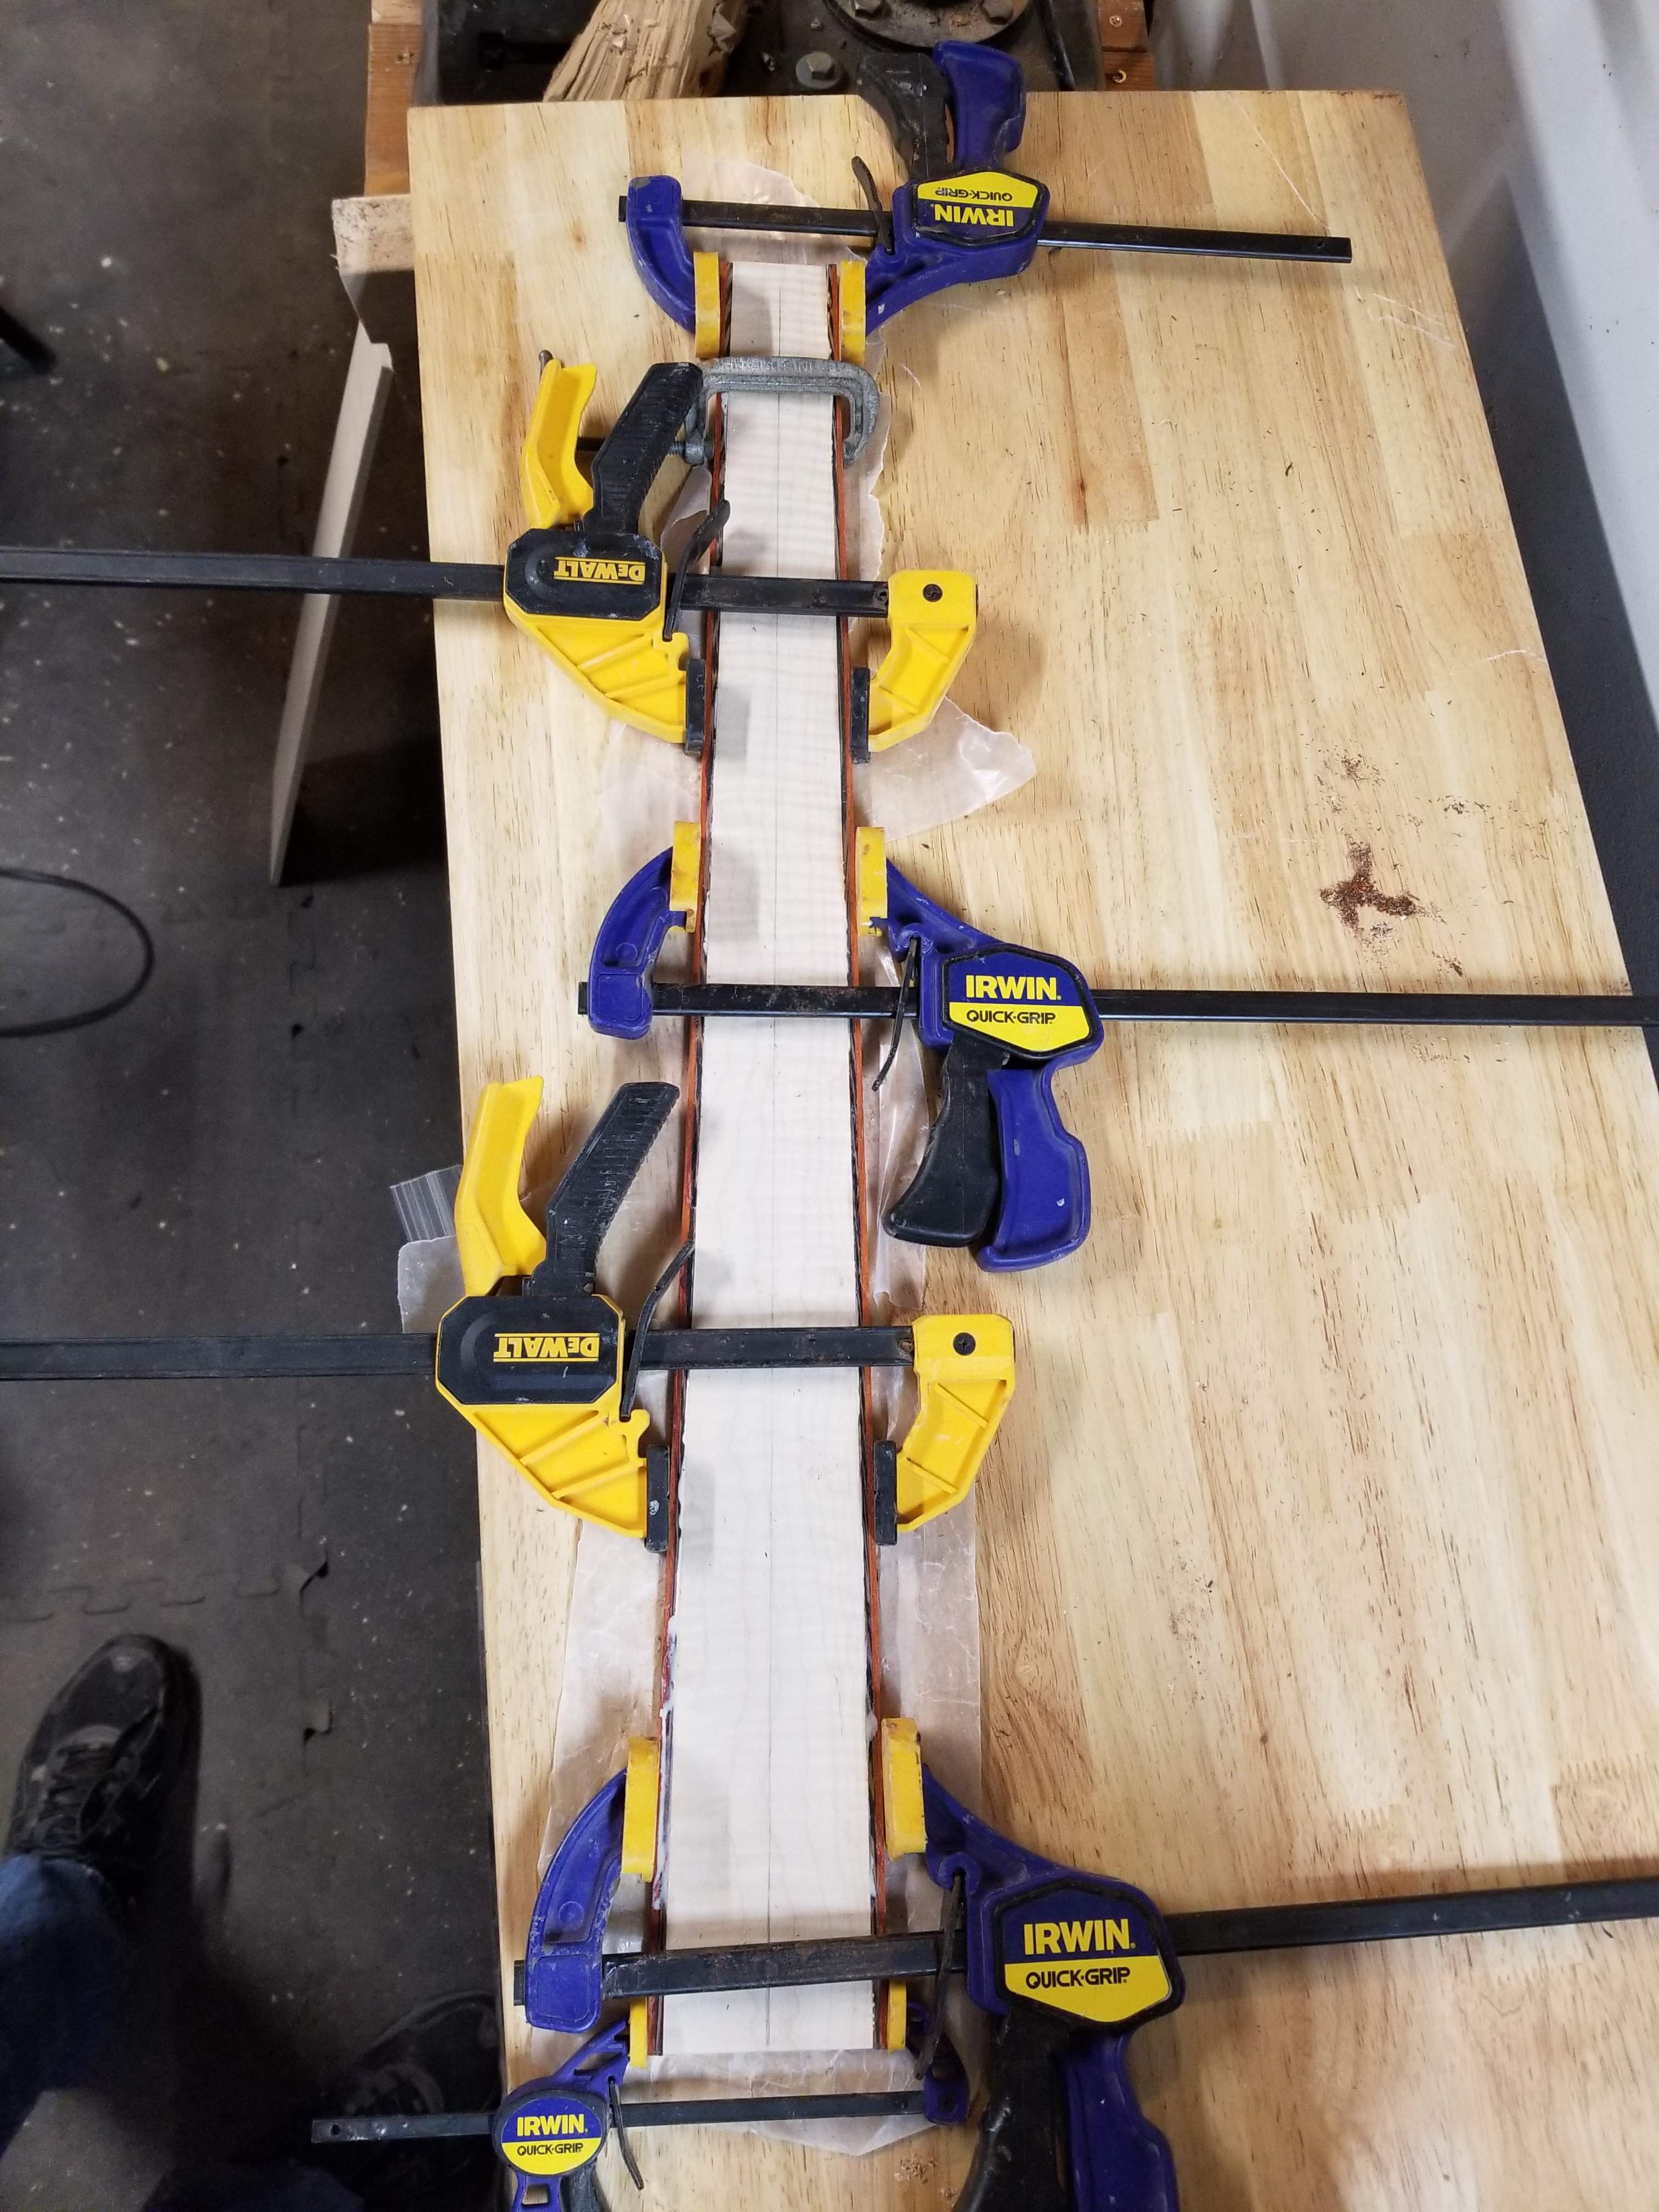
I thinned down the fingerboard to allow for the binding. Amazingly the binding I glued up this morning looks good, so I'm going with it. I think it looks really good.
I got the binding glued onto the fingerboard. This was a bit of a nervous clamp job, after taking this pic I changed to using some cauls on the sides.
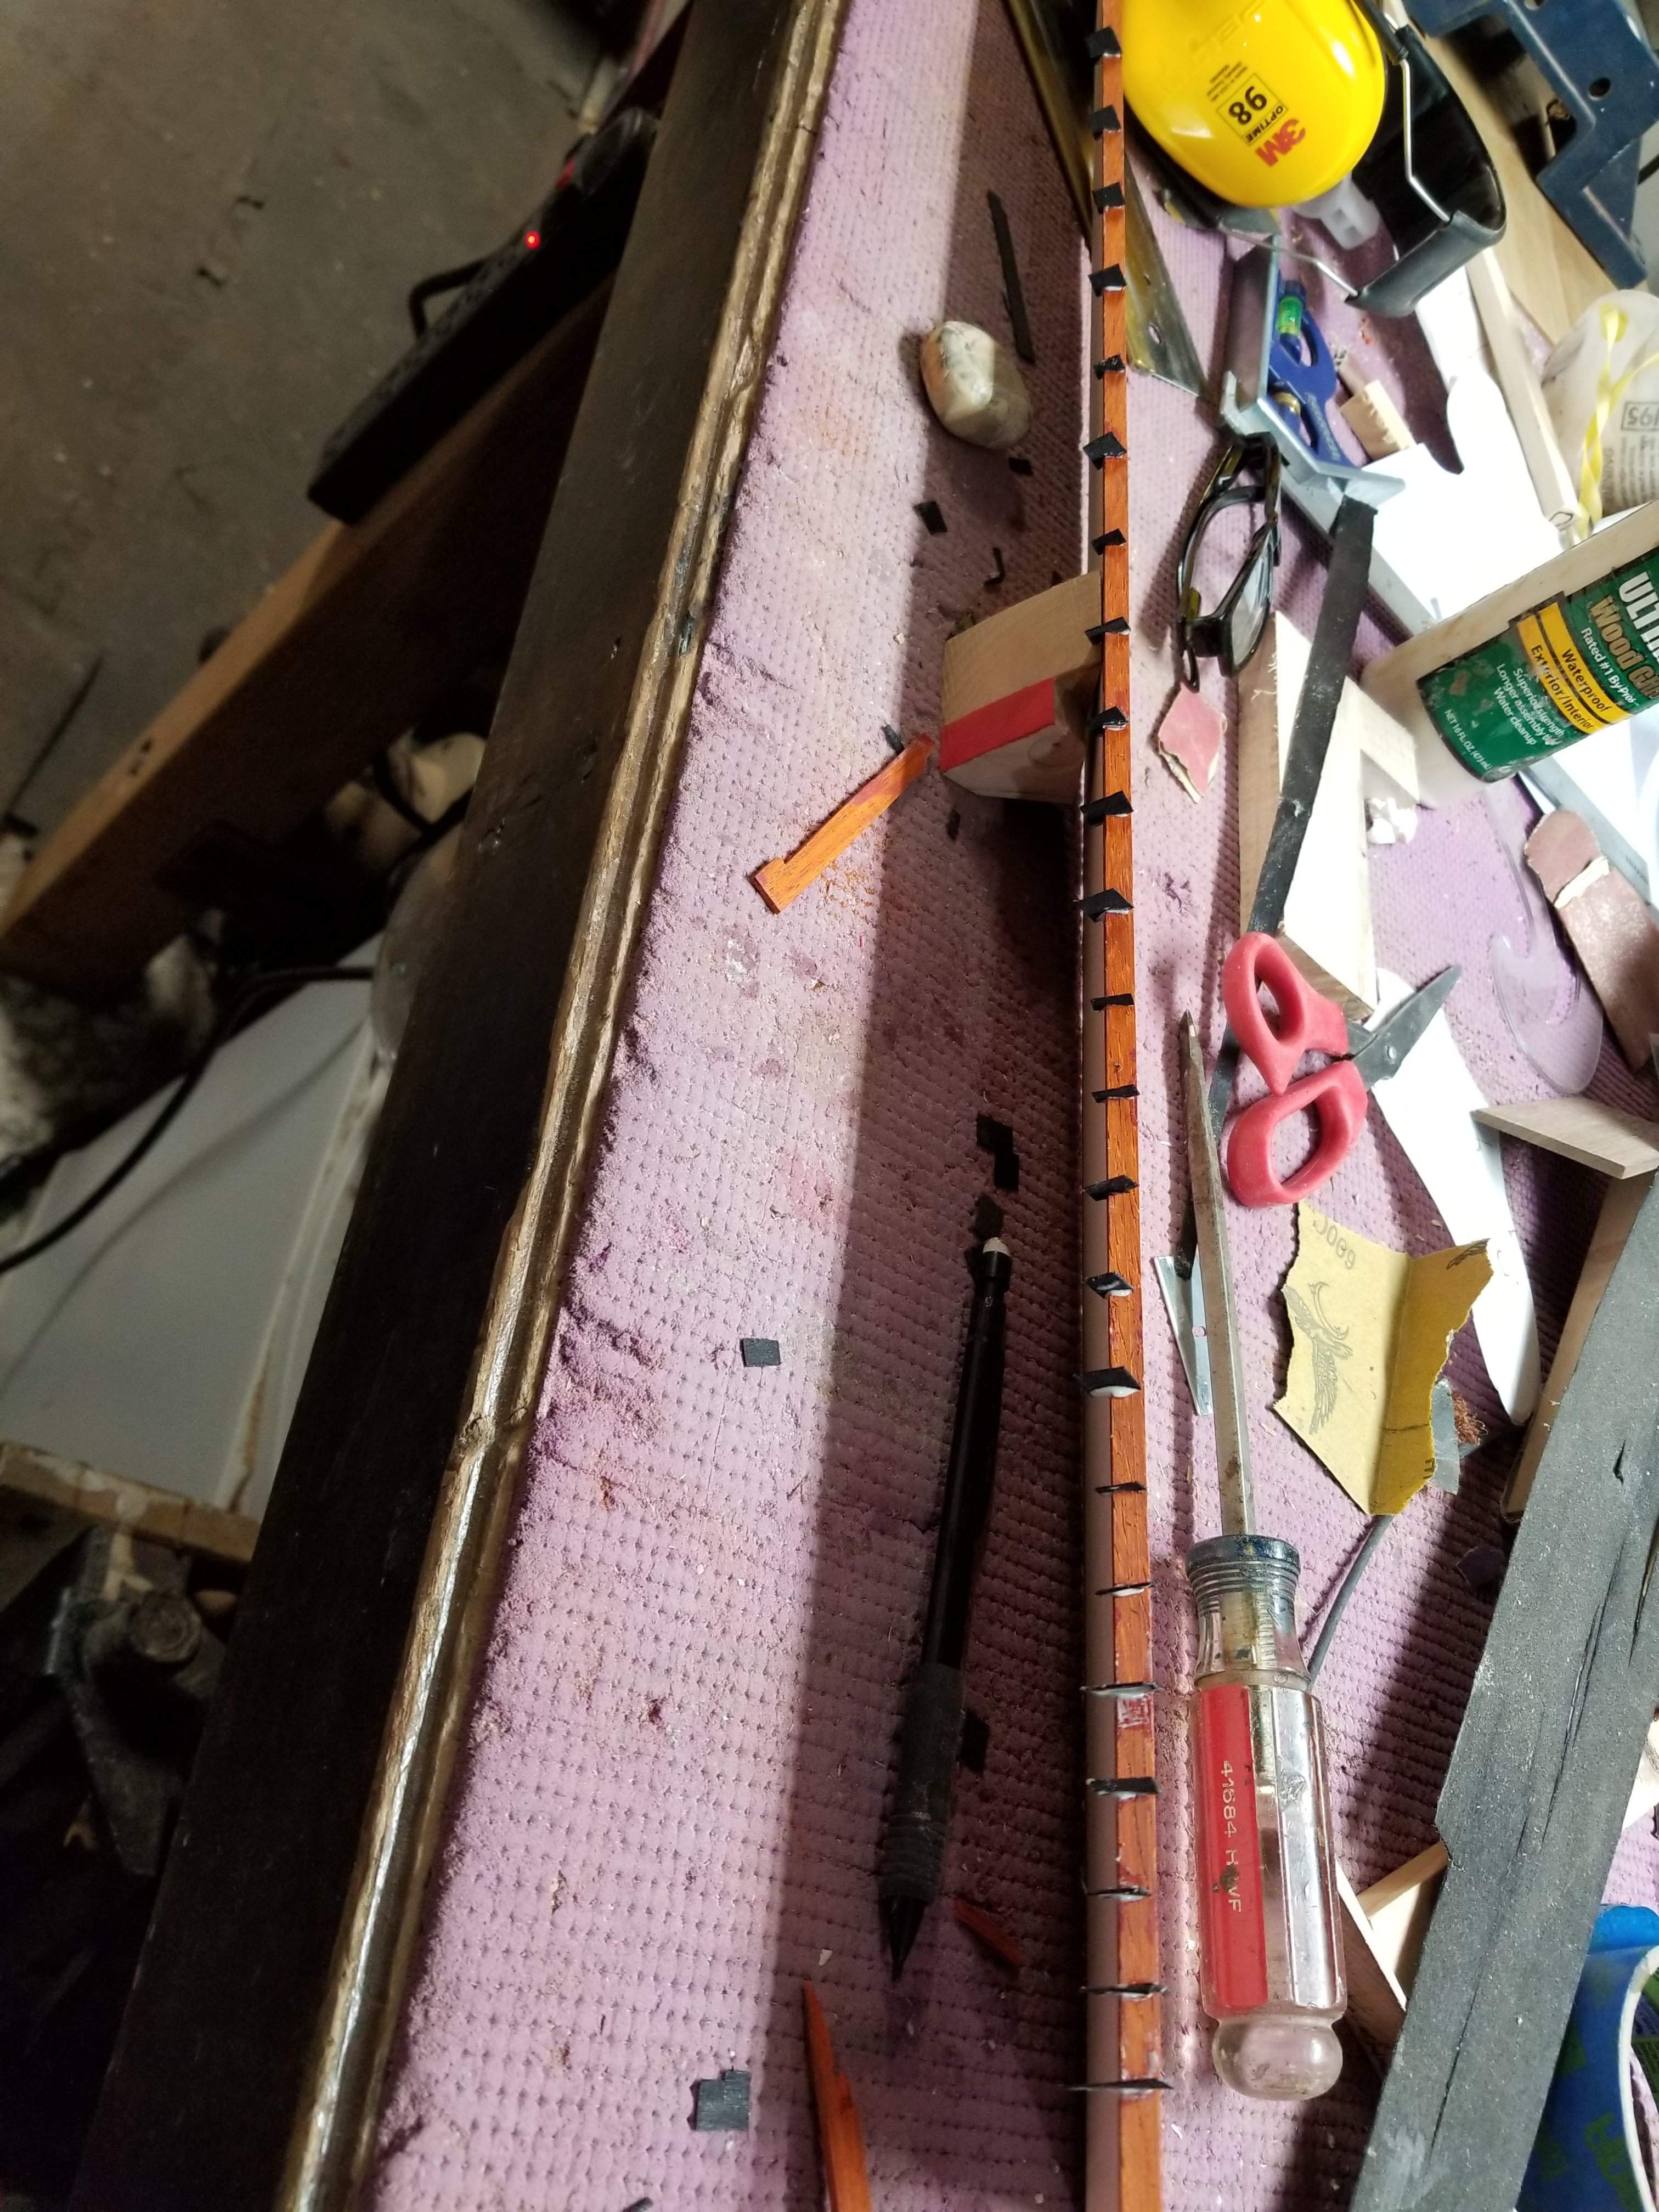
I worked on the neck for the other build for a couple of hours then I put the fingerboard through the sanding planer (only took off a very small amount). Then I transferred the fretlines from the back of the fingerboard onto the sides, marked a line where the fretlines would end and cut the slots. I glued in some black laminate material, It was either this or white and I thought black looked better with the wenge. I hope there's enough contrast with the padauk once it's got oil on it. FYI: side fret lines are much easier to install than frets.
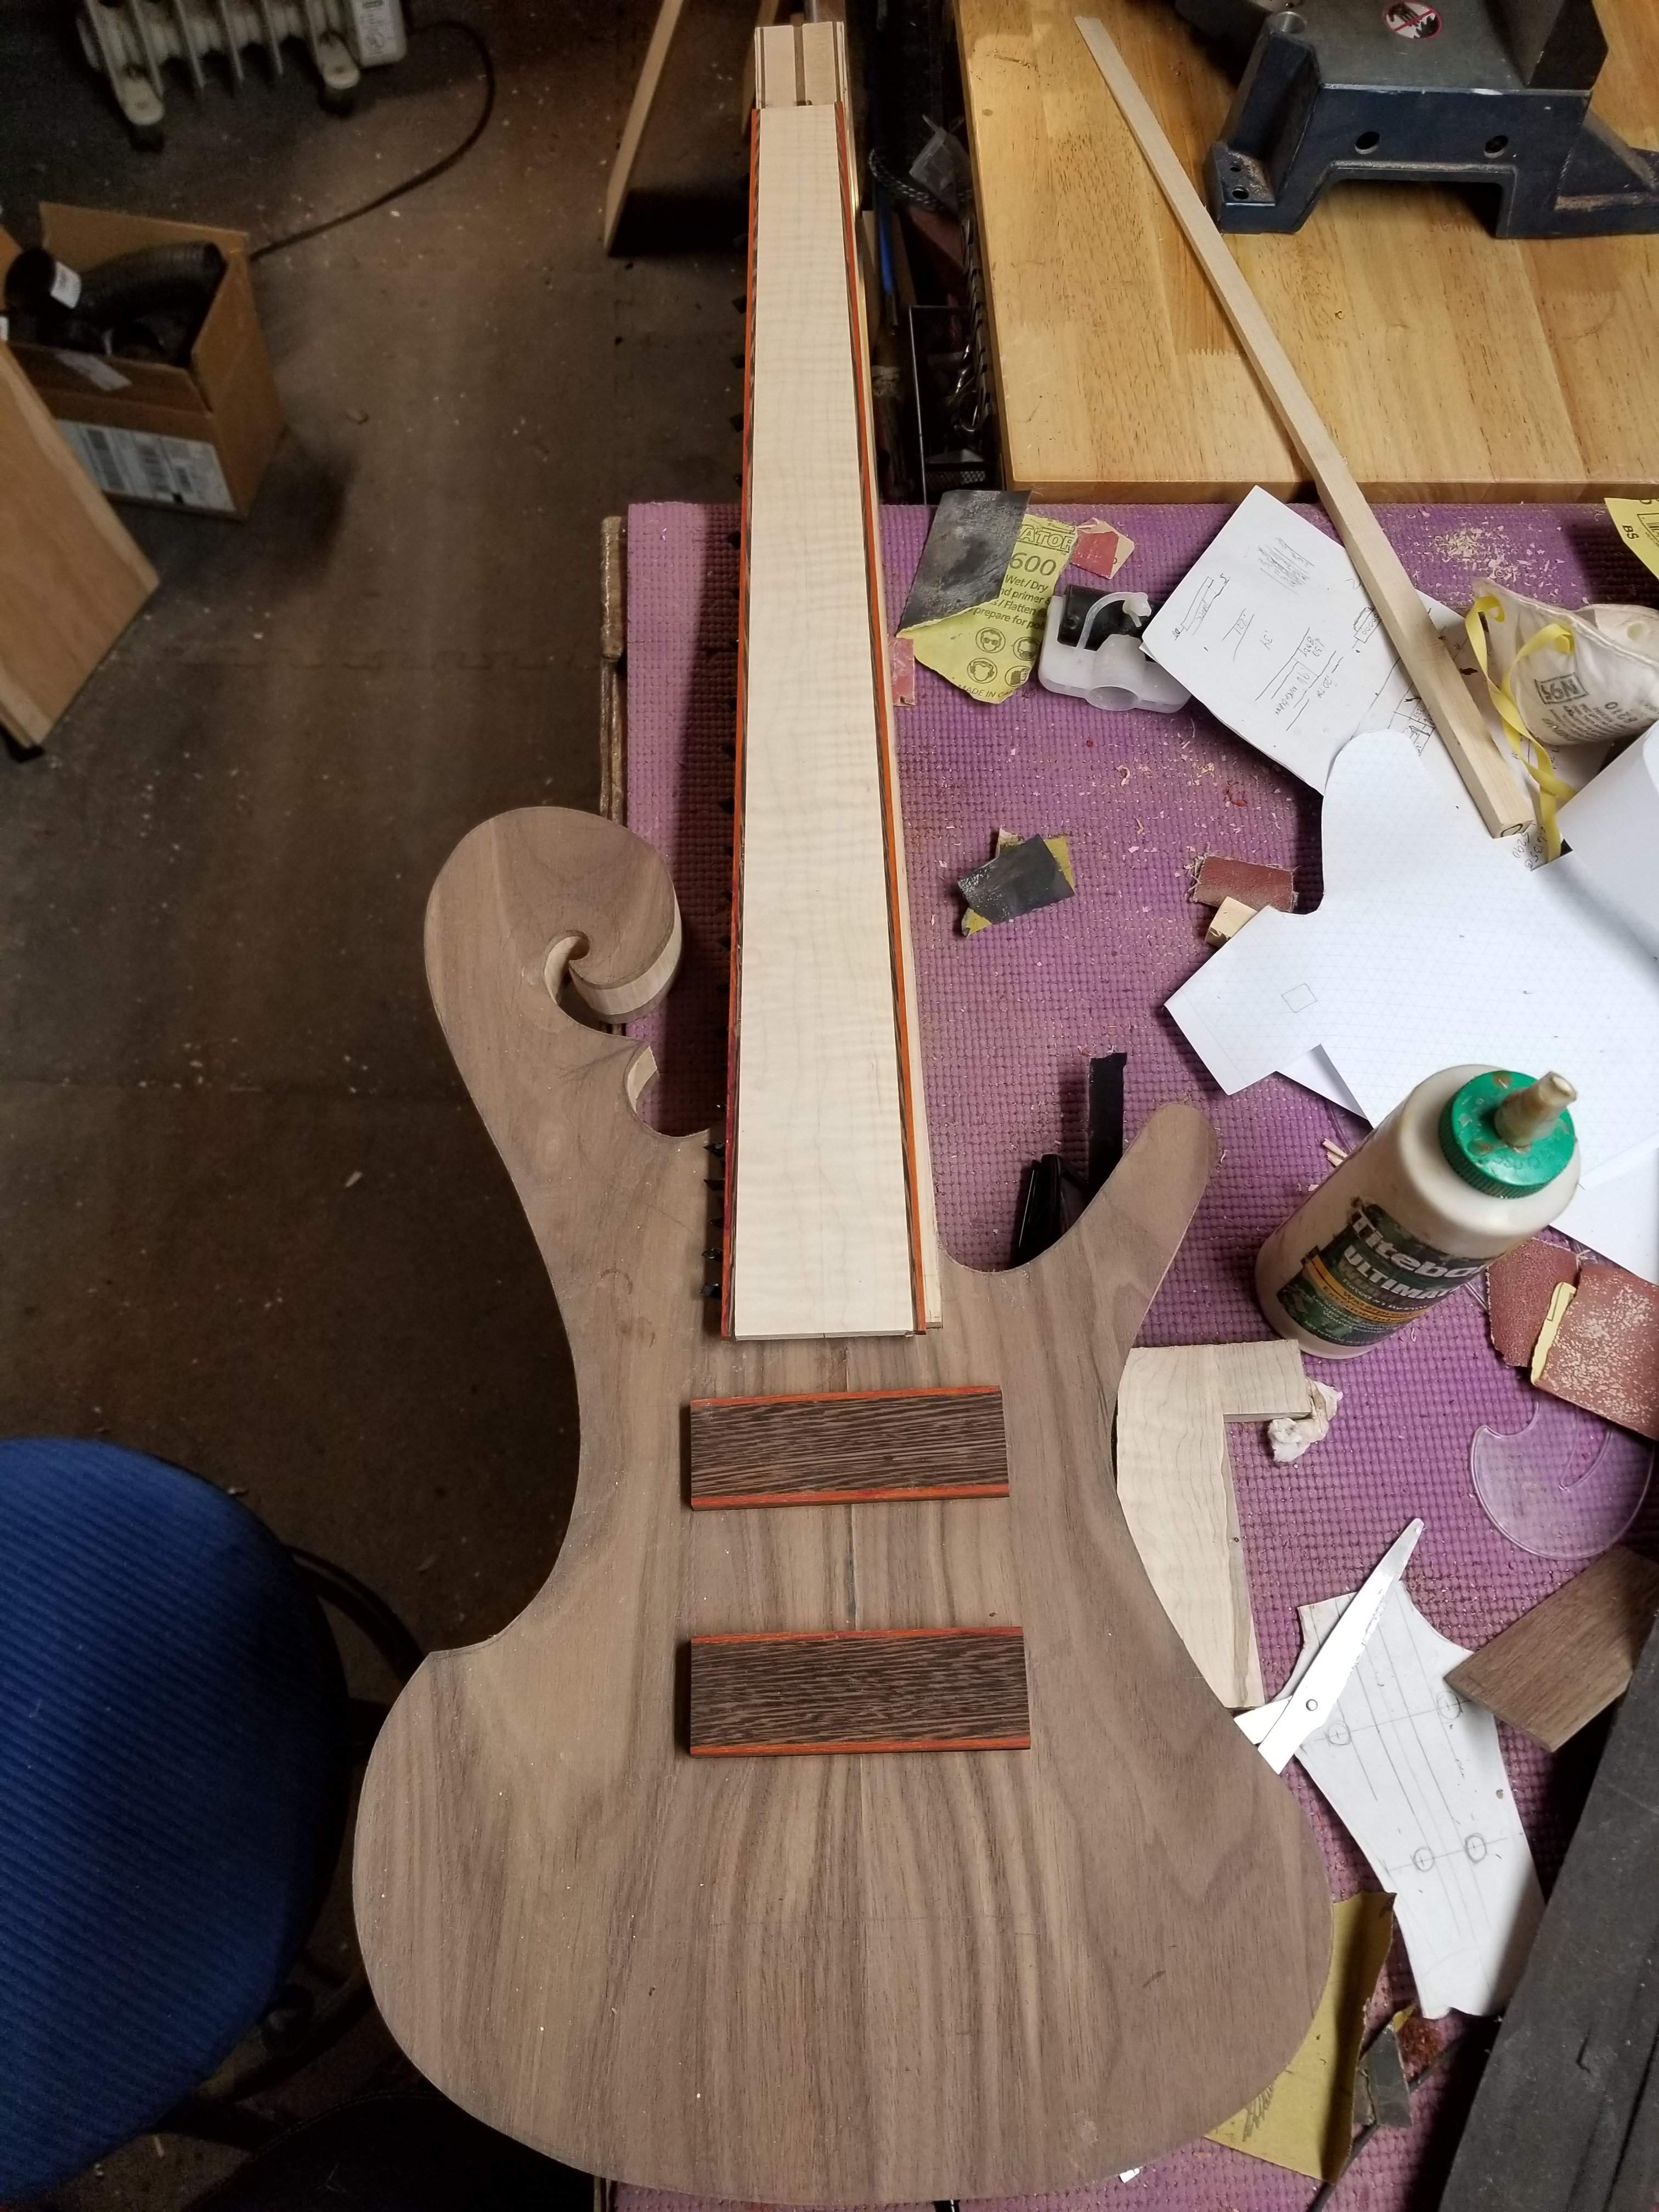
The glue's not dry yet, but I had to take a look at how it all looks together, pretty sweet!
I worked on the neck for the other build for a couple of hours then I put the fingerboard through the sanding planer (only took off a very small amount). Then I transferred the fretlines from the back of the fingerboard onto the sides, marked a line where the fretlines would end and cut the slots. I glued in some black laminate material, It was either this or white and I thought black looked better with the wenge. I hope there's enough contrast with the padauk once it's got oil on it. FYI: side fret lines are much easier to install than frets.
The glue's not dry yet, but I had to take a look at how it all looks together, pretty sweet!
I got the fingerboard cleaned up

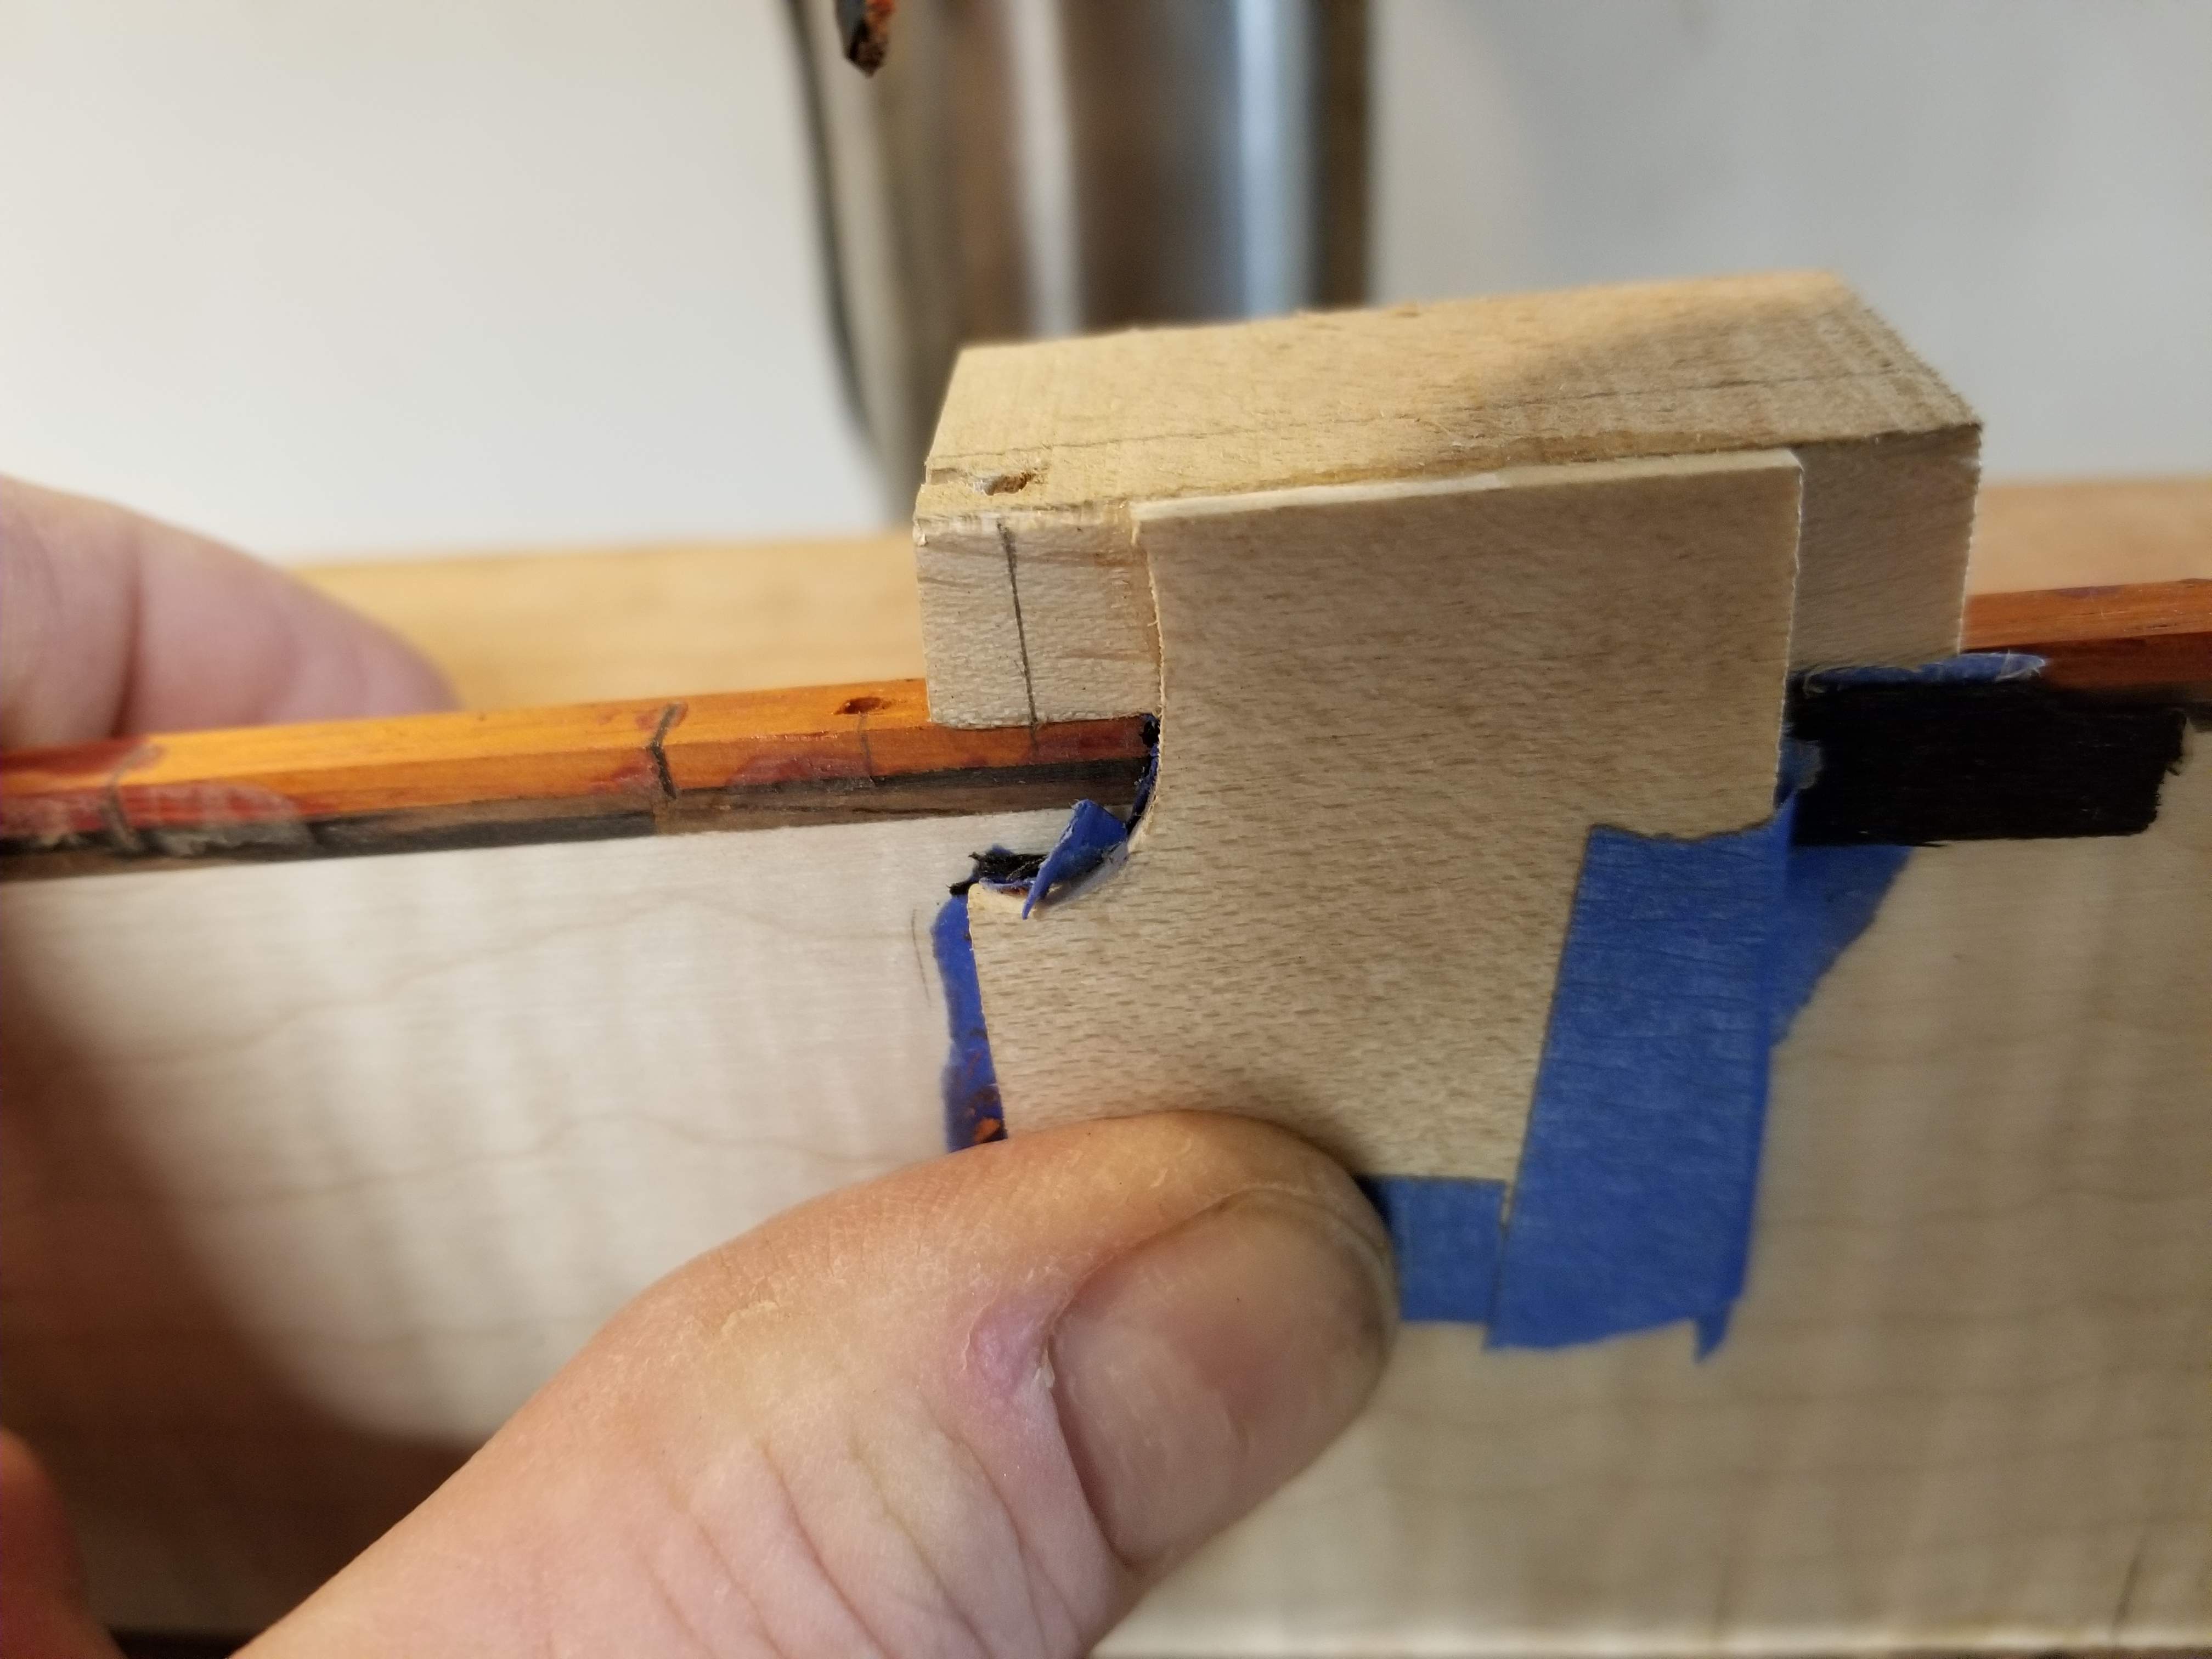
and then I added side dots. I'm sure everyone has some version of this little gadget, but it's the easiest way I have found to get the dots lined up properly. It works well. In this case I wanted the dots a bit lower so I added some spacers to the inside (blue tape + thin laminate).
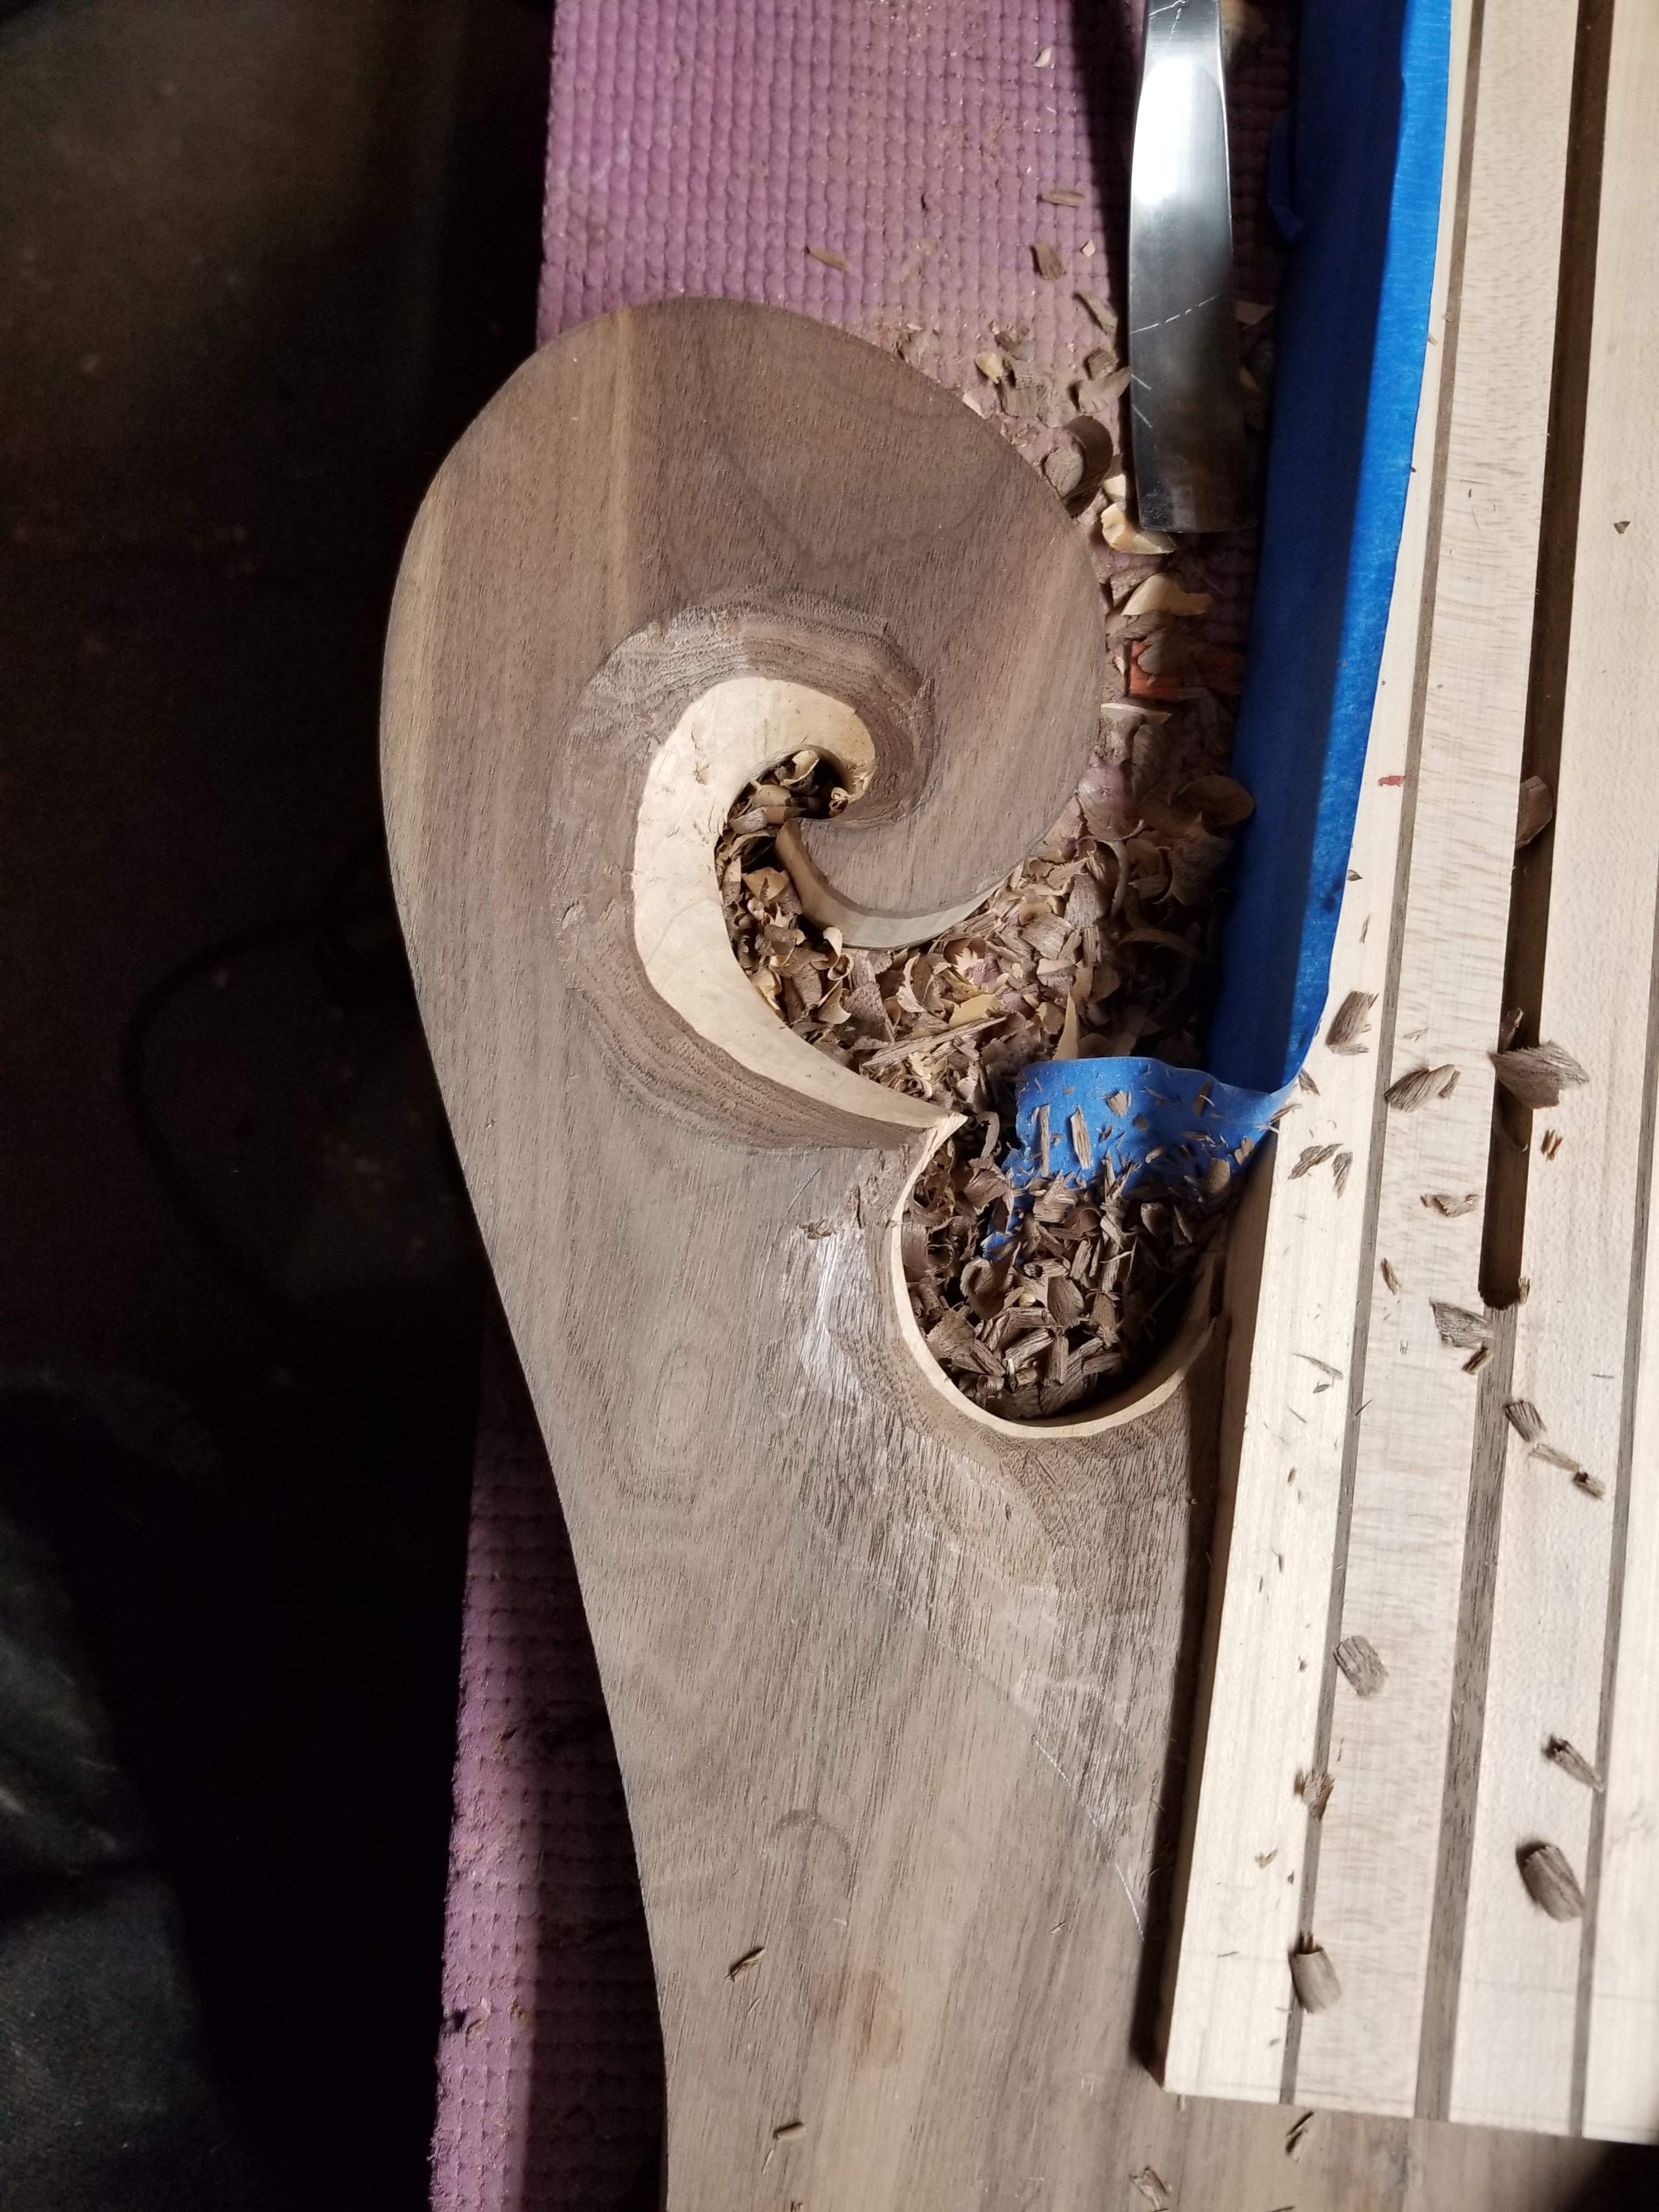
Then I spent an hour staring at the carving on the Thompson bass, redrew the lines and started at it with a gouge, I had one yucky split out, but I will recover. Lots more to go, but I'm getting the idea. The underside of that point is problematic from a grain perspective, I'll be sanding that area as the gouge grabs the grain and chips off huge pieces.
and then I added side dots. I'm sure everyone has some version of this little gadget, but it's the easiest way I have found to get the dots lined up properly. It works well. In this case I wanted the dots a bit lower so I added some spacers to the inside (blue tape + thin laminate).
Then I spent an hour staring at the carving on the Thompson bass, redrew the lines and started at it with a gouge, I had one yucky split out, but I will recover. Lots more to go, but I'm getting the idea. The underside of that point is problematic from a grain perspective, I'll be sanding that area as the gouge grabs the grain and chips off huge pieces.


Very cool build.
I thought this was kind of funny; glancing at these early layout pics, the soft edged shadows from your cardboard template created a 3D illusion, making the blanks look like they already had carving work done on them. I really had to look again to see what was really going on with the different layers.
Yeah, I see that now! NOW it's carved (see below)Very cool build.
I thought this was kind of funny; glancing at these early layout pics, the soft edged shadows from your cardboard template created a 3D illusion, making the blanks look like they already had carving work done on them. I really had to look again to see what was really going on with the different layers.
Thanks! same back atcha!lookin' good, Jisch! And happy new year to you and yours!
Long carving session this afternoon. I used a combination of gouge, scrapers, shinto and files to rough in the shape, it will take a lot more refining, but I'm happy with the progress. I probably could have used a round over bit on some of this, but I did it all by hand. Full disclosure: I did use a flap wheel on the angle grinder to remove quantities of material on the neck heel.
Generally speaking anigre (the body core wood) is about as hard as the walnut, but it's a lot easier to tear along the grain when using the gouge. It wasn't terrible, but I had to be careful in certain areas.
Usually I have so much chambering that carving like this is hazardous, no mishaps today, but his body isn't chambered nearly as much as others I've done.
Top of the lower horn
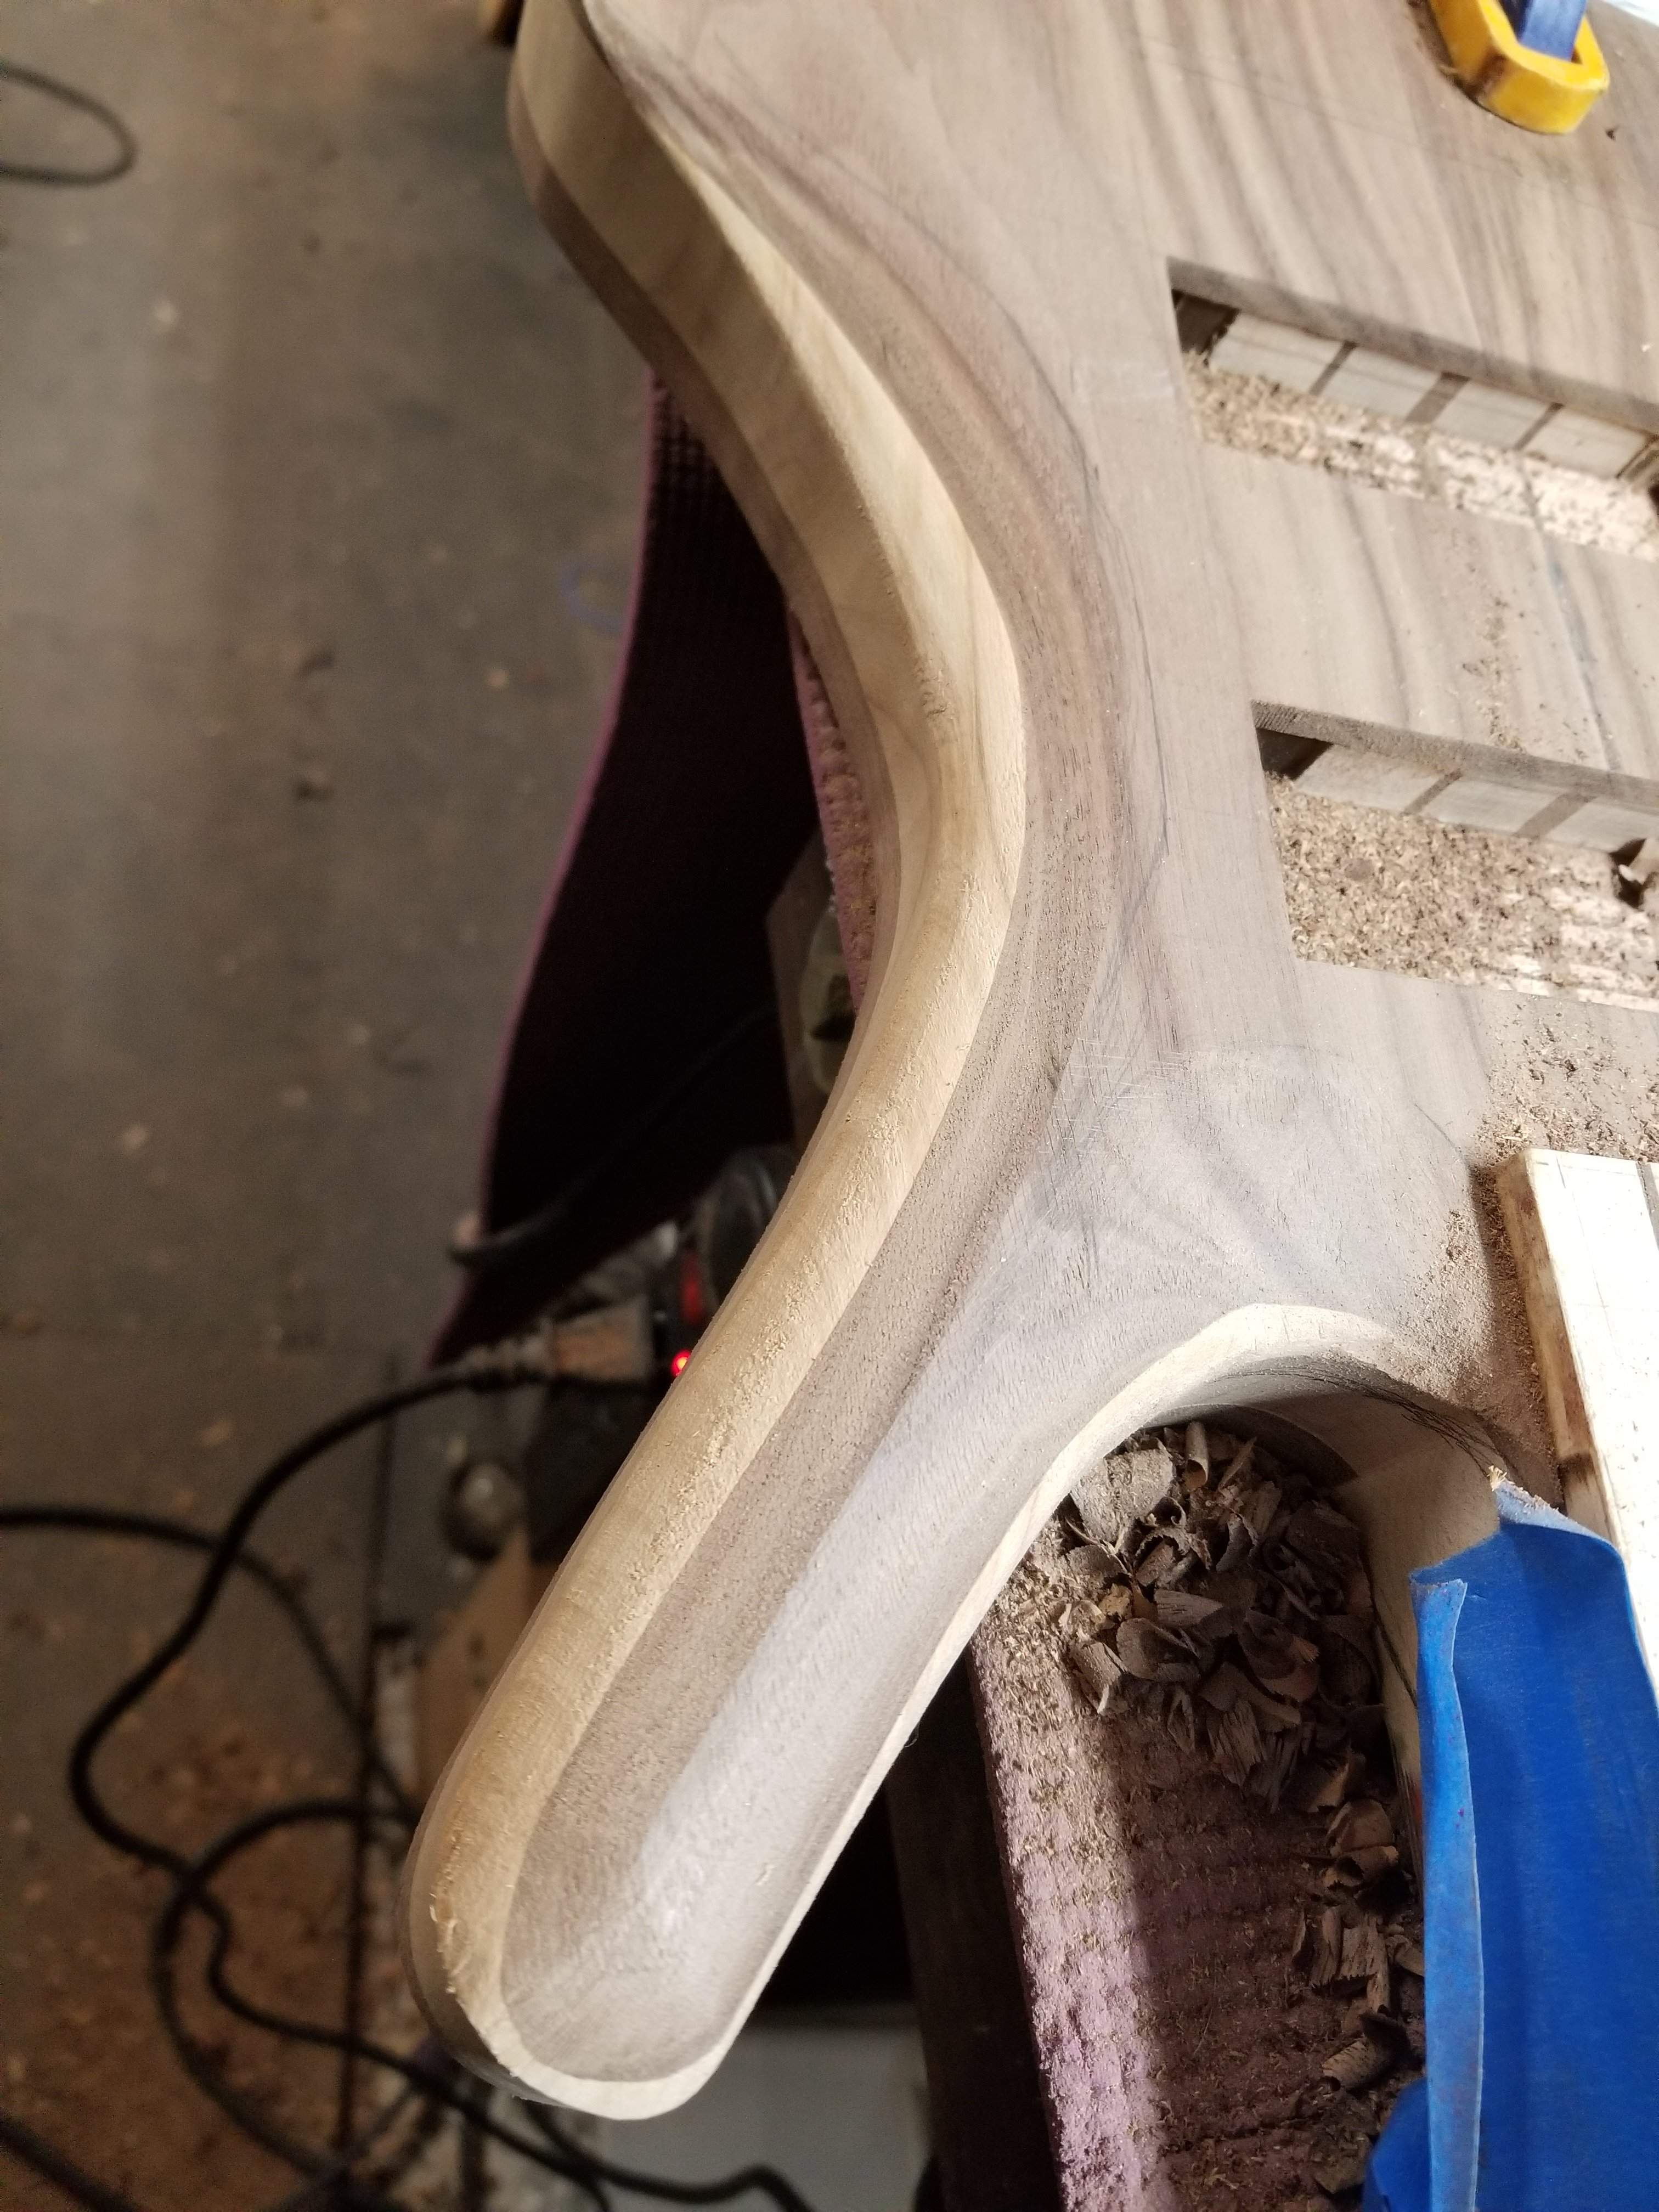
Top, after the first go around
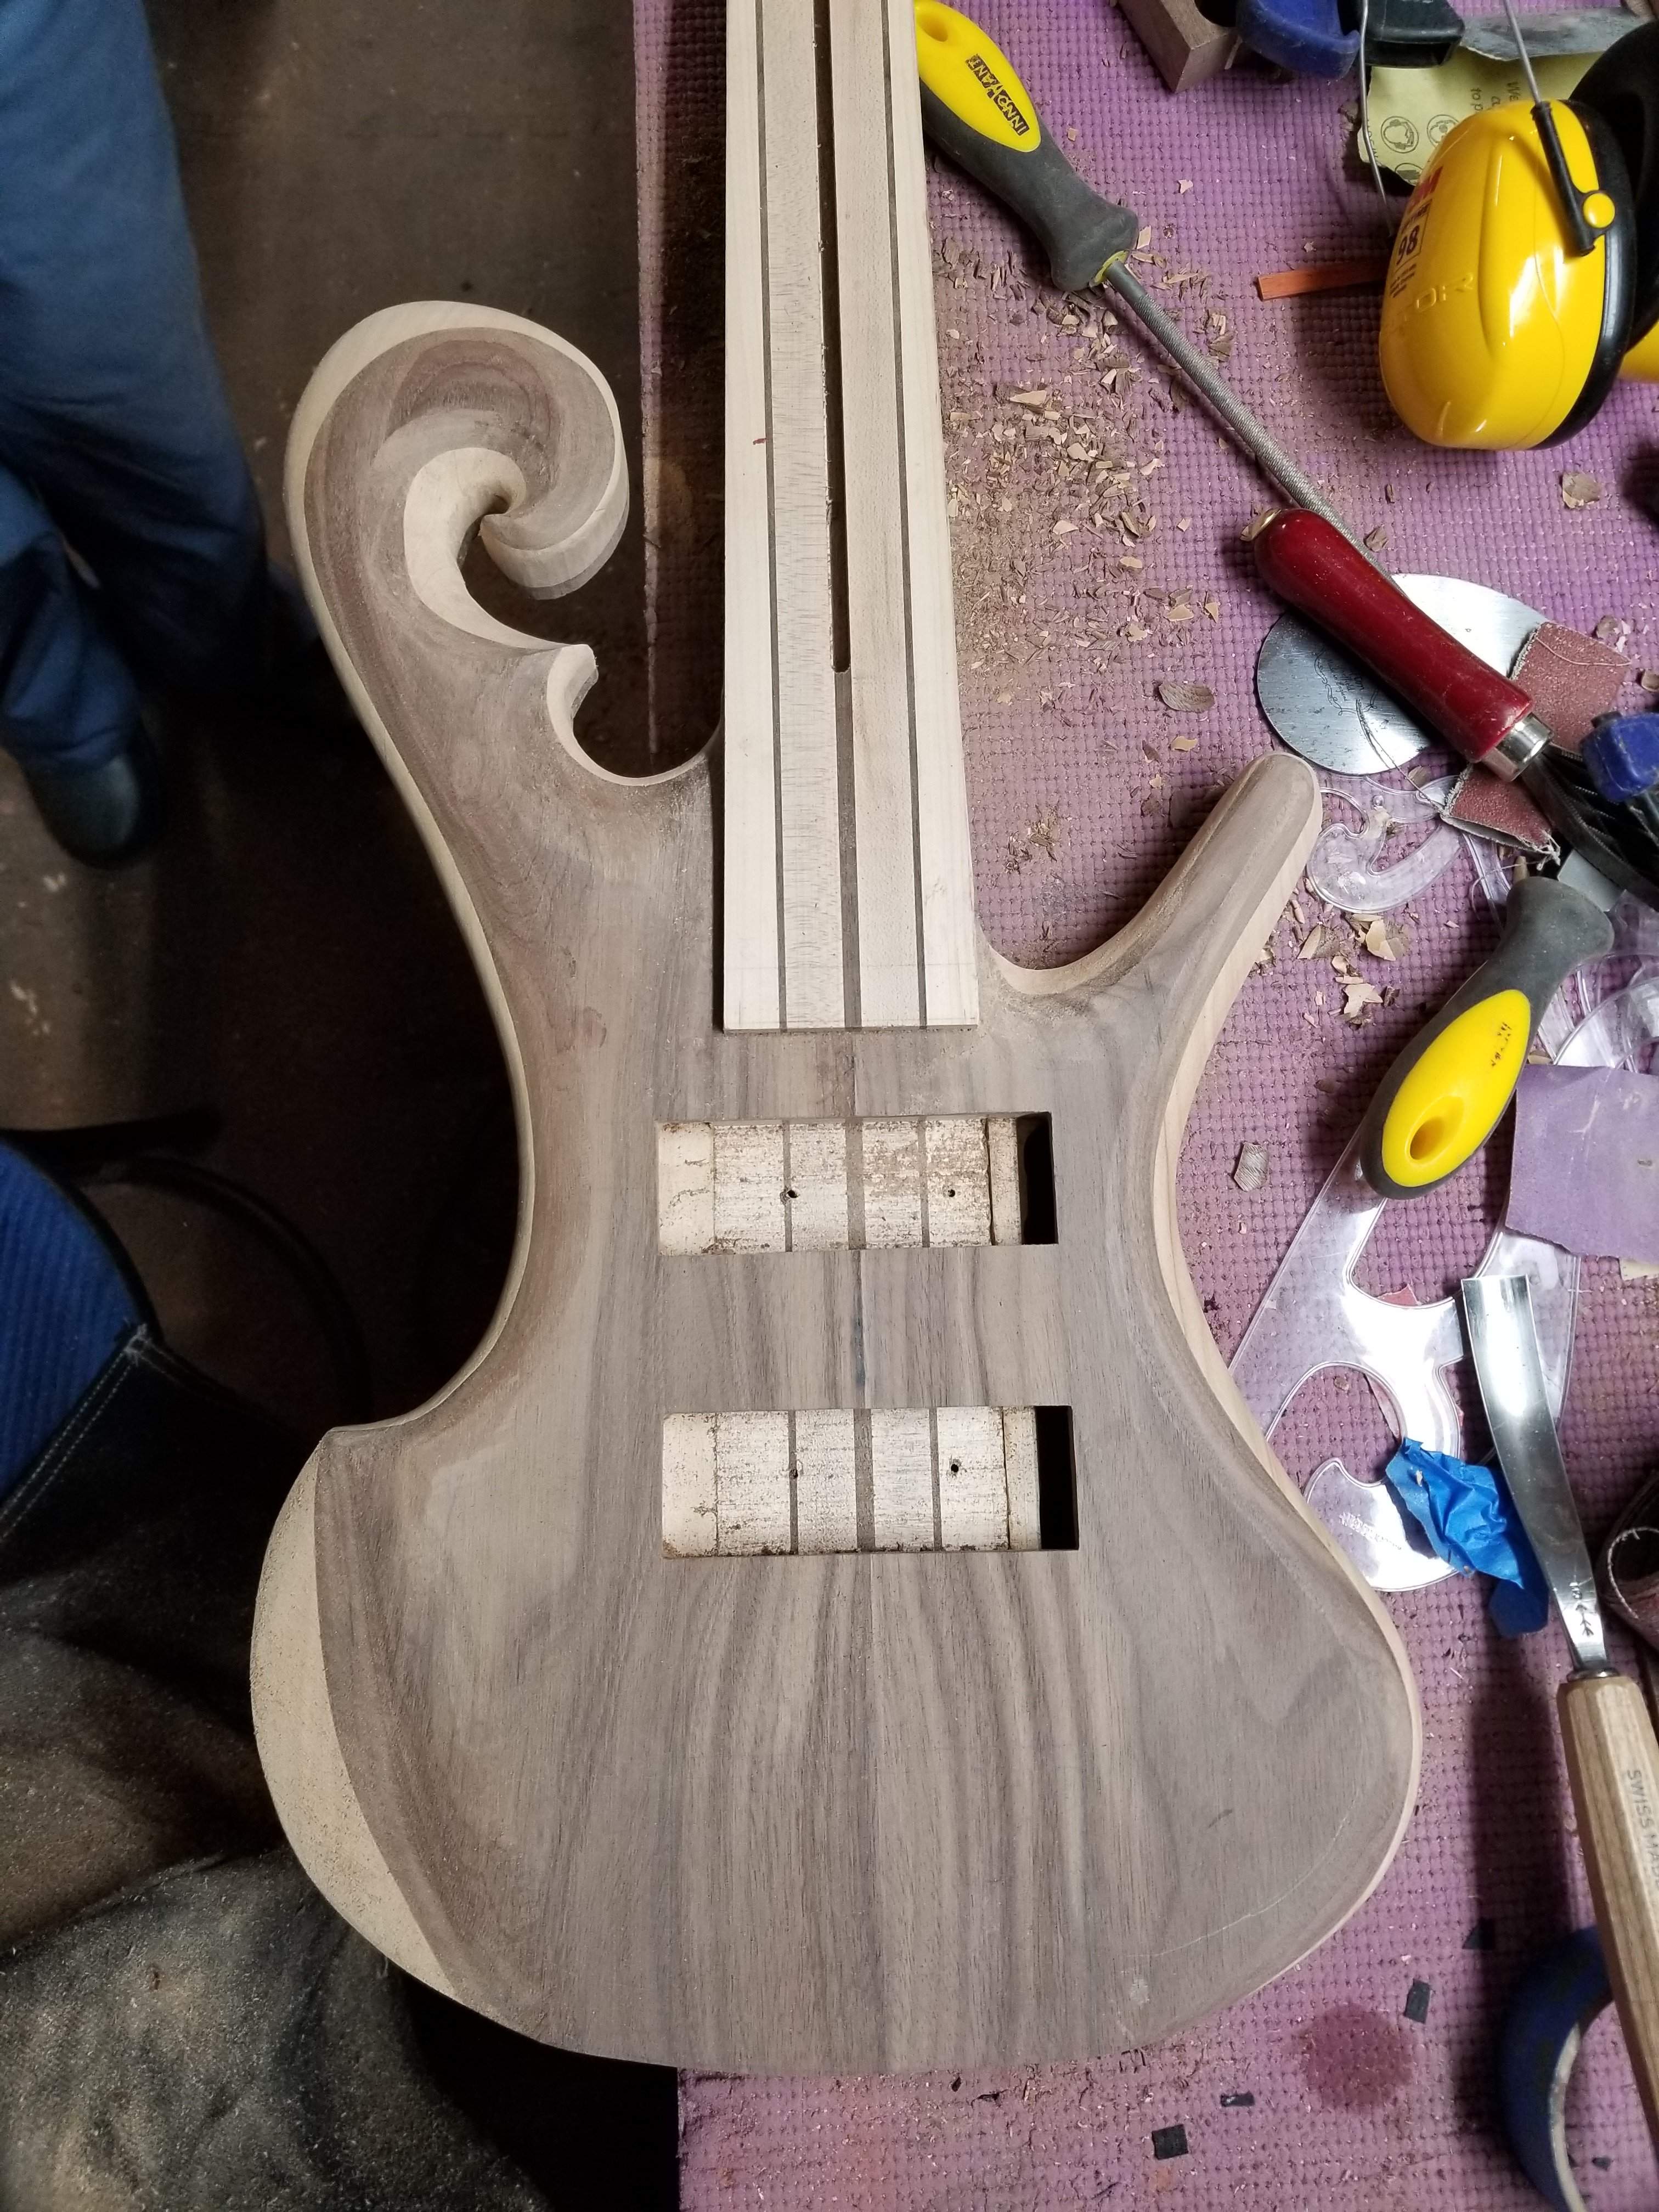
After all that work on the front I flip the body over and start all over again, it's pretty much the same carving on the front and back:
After a couple more hours and a LOT of sawdust/chips, it's looking pretty good:
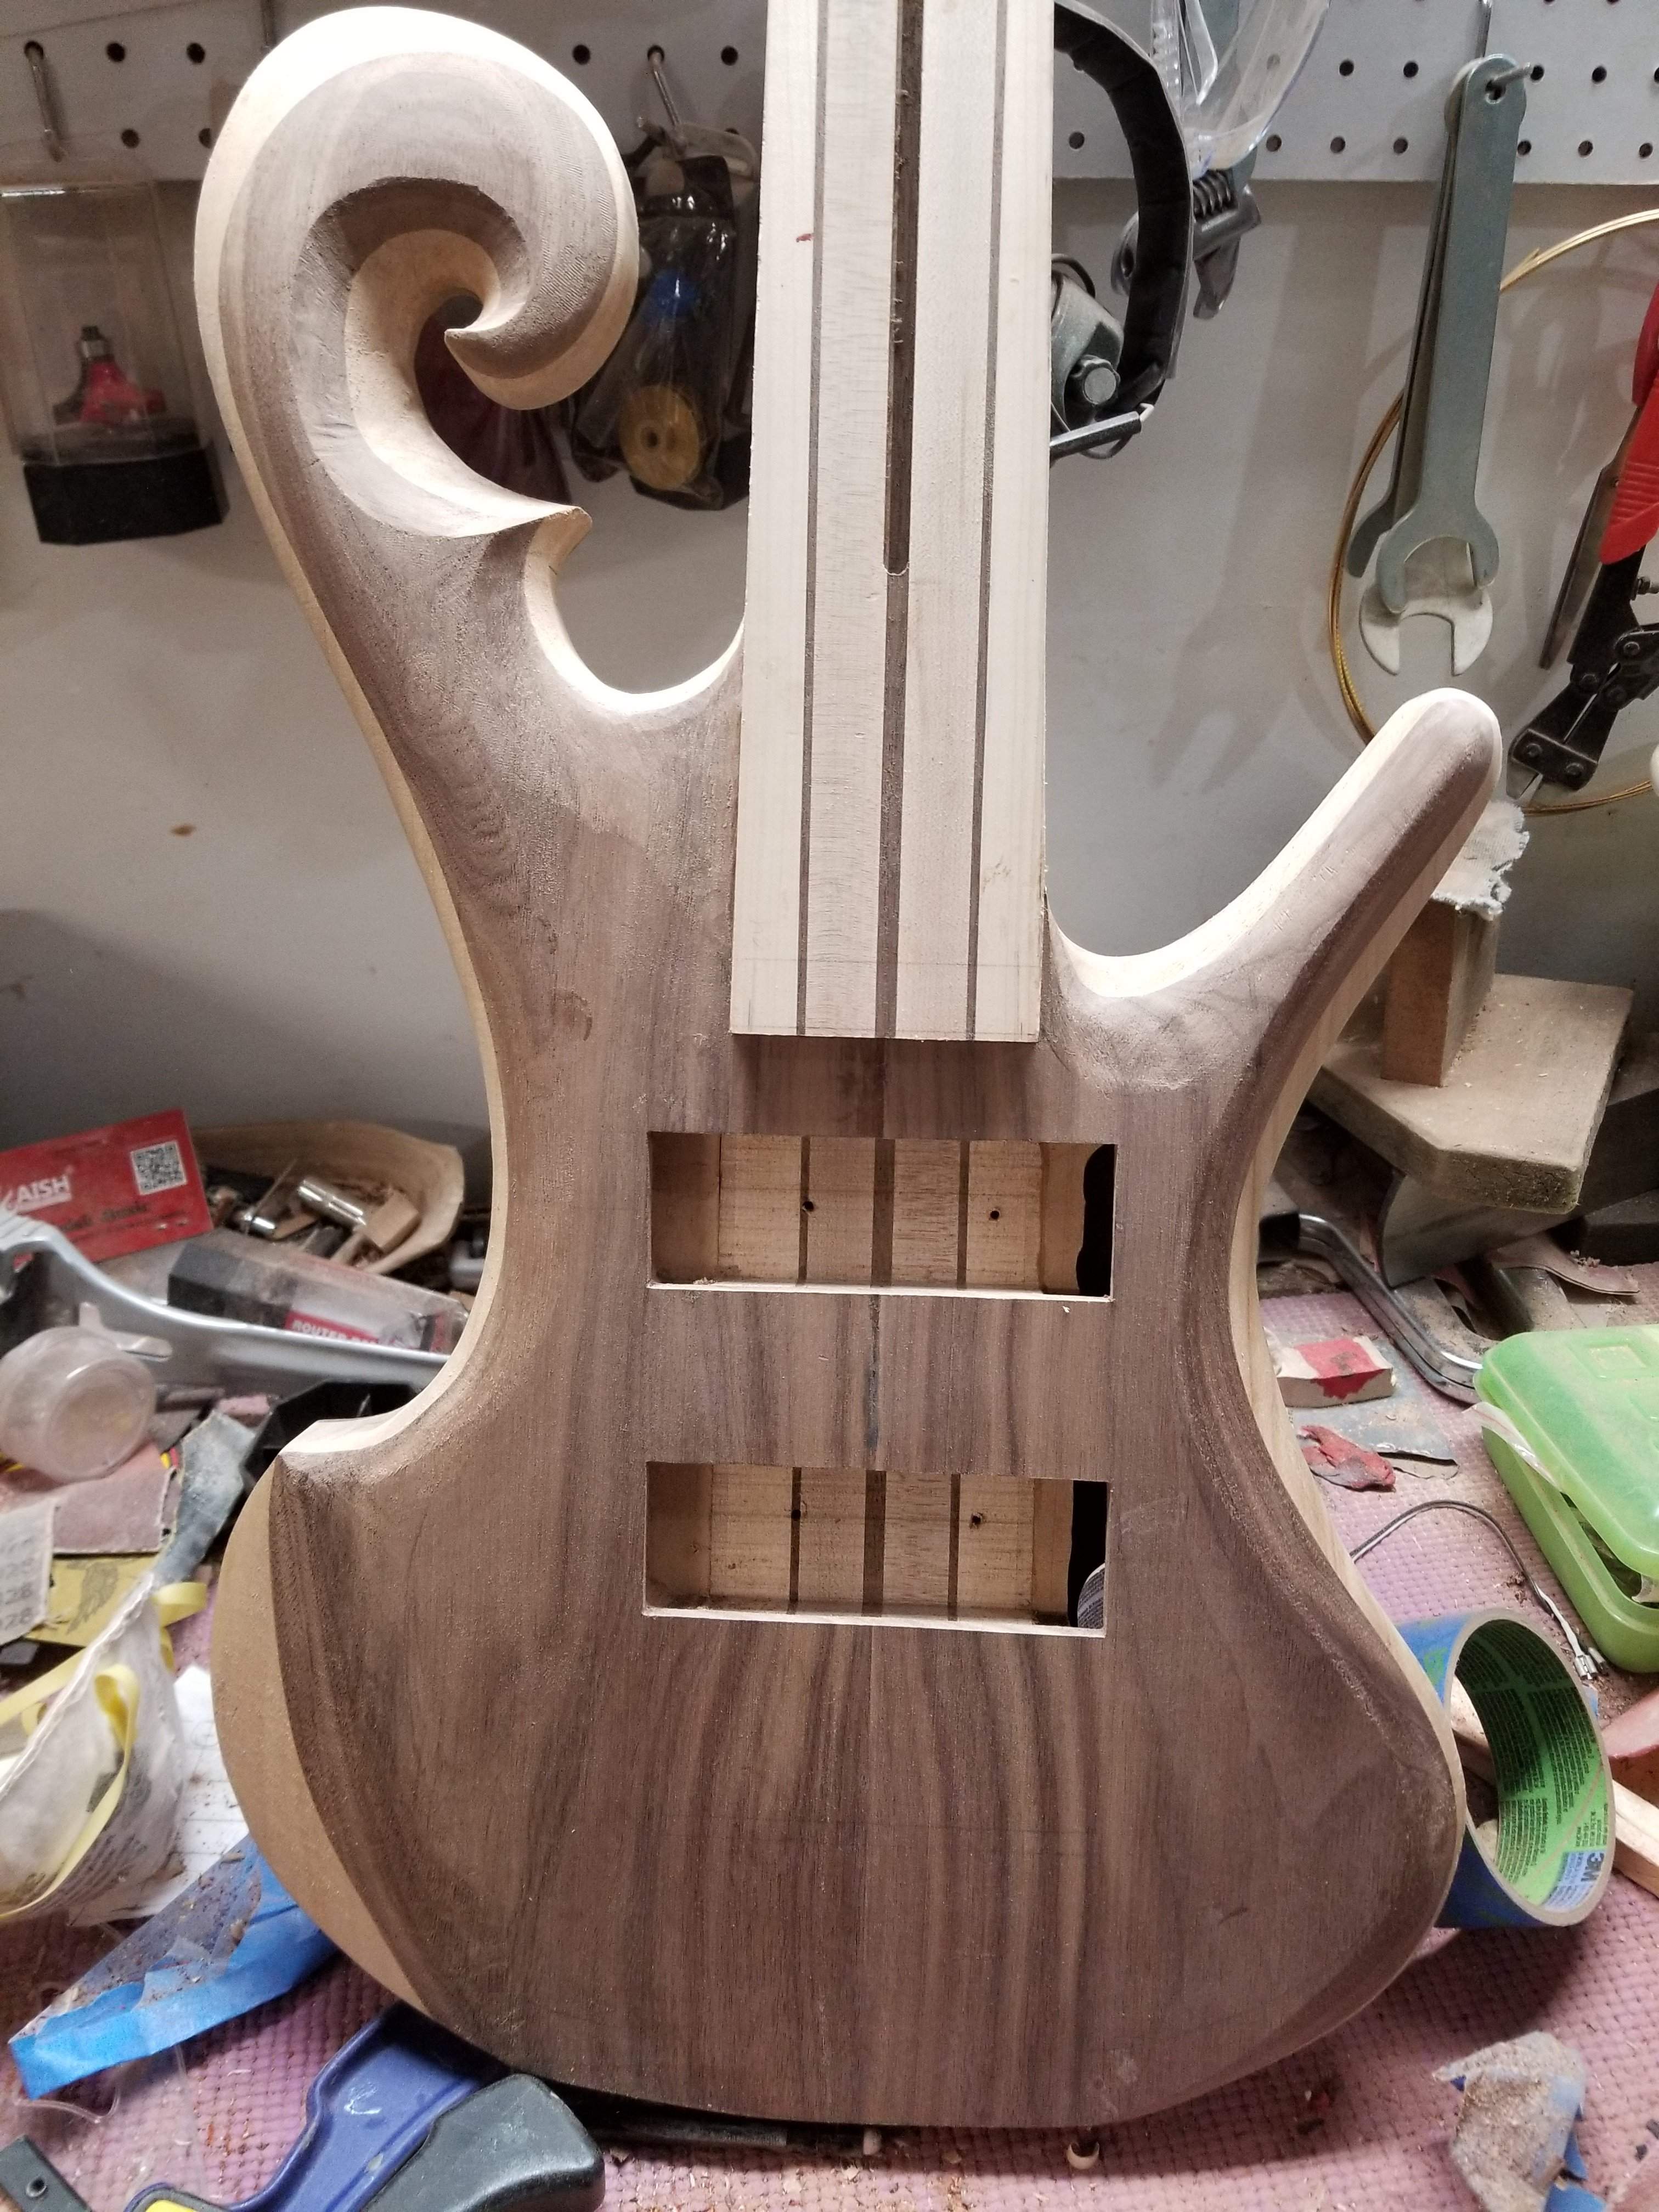 That neck heel will need a lot more work but I need to get the neck carved first.
Next up I will route for the bridge, then get the fingerboard glued up, back to work tomorrow, not sure how much progress I will make before the weekend.
Generally speaking anigre (the body core wood) is about as hard as the walnut, but it's a lot easier to tear along the grain when using the gouge. It wasn't terrible, but I had to be careful in certain areas.
Usually I have so much chambering that carving like this is hazardous, no mishaps today, but his body isn't chambered nearly as much as others I've done.
Top of the lower horn
Top, after the first go around
After all that work on the front I flip the body over and start all over again, it's pretty much the same carving on the front and back:
After a couple more hours and a LOT of sawdust/chips, it's looking pretty good:
Next up I will route for the bridge, then get the fingerboard glued up, back to work tomorrow, not sure how much progress I will make before the weekend.
Yes, the bridge will be recessed a bit, my initial measurements said .1", but I have to measure the fingerboard after I get it all planed down, I lost a little height when I added the binding. That said, most of the routing for the bridge is to allow for free access to the tuning knobs.Is the bridge gonna get recessed like the factor?
I don't know how much of this morning's work will show up in the pics, but I spent an hour or so refining things and fixing issues. Taking pictures under this overhead light shows stuff that's harder to see when it's laying down, so this is as much for me to see what to work on as it is to show progress. As an example at the 2:00 position on the upper horn you cans see that the arc isn't consistent. After taking this pic I used my french curve to annotate that with pencil, I'll fix it next session.
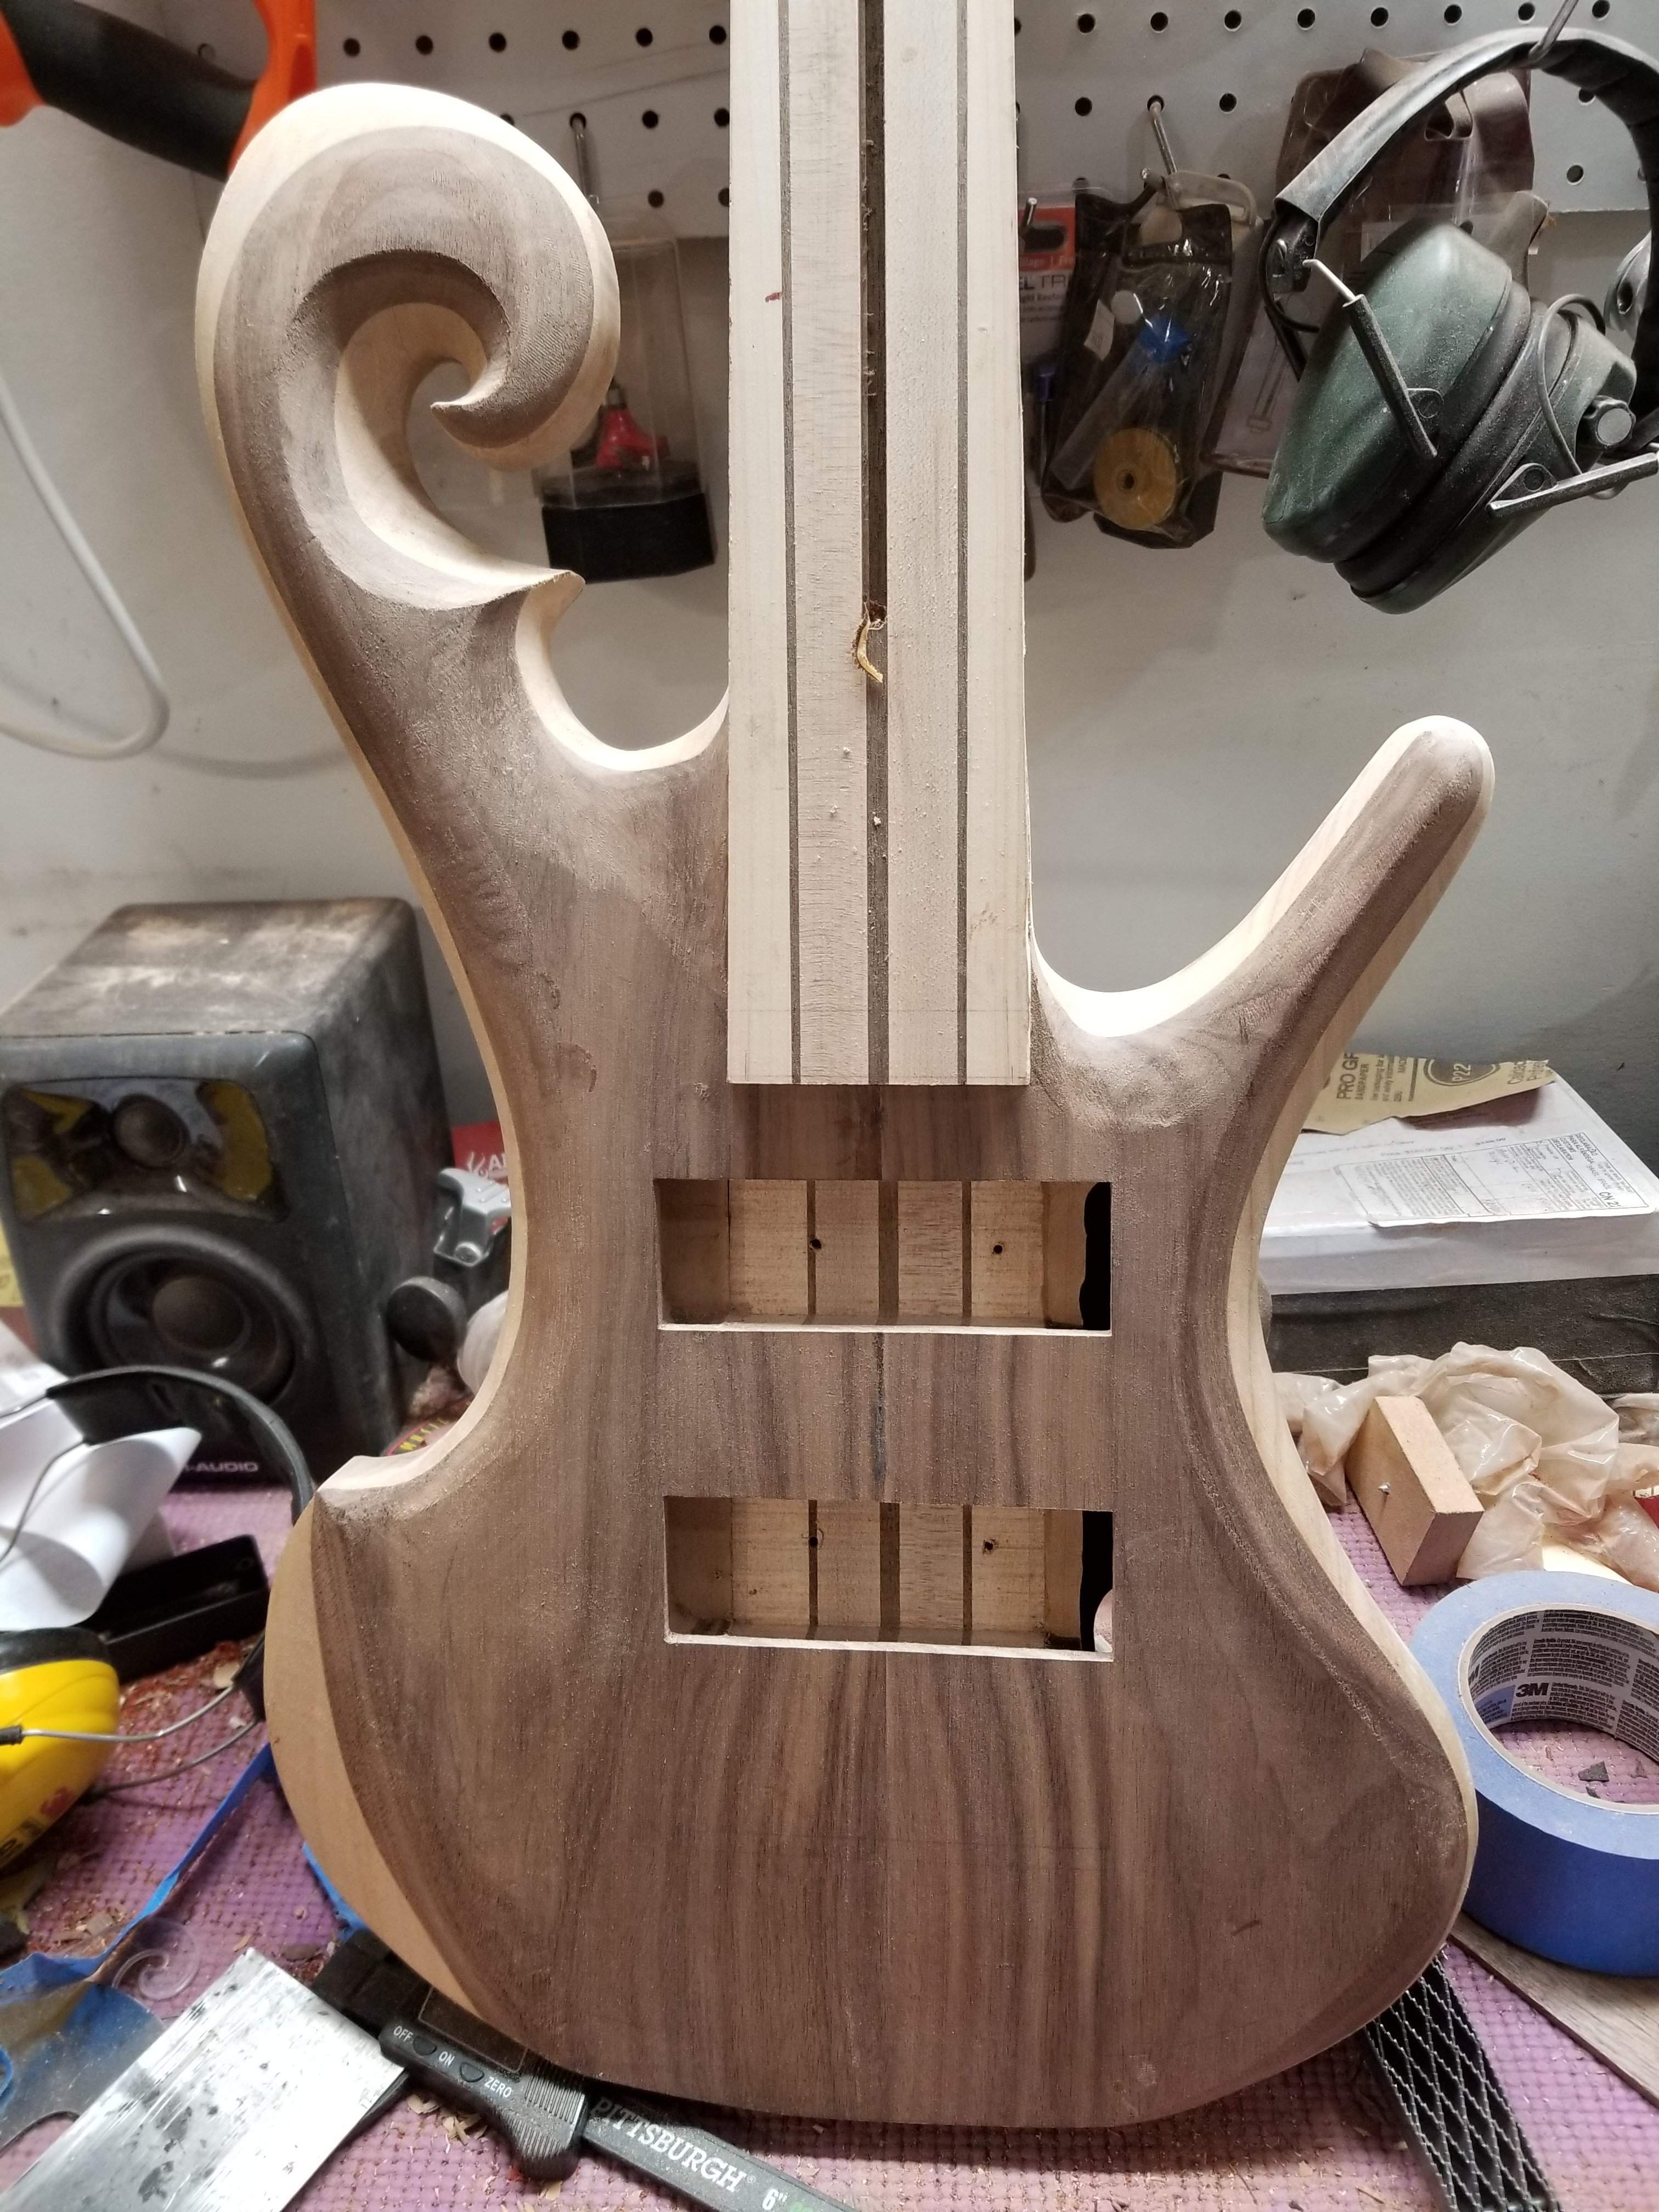
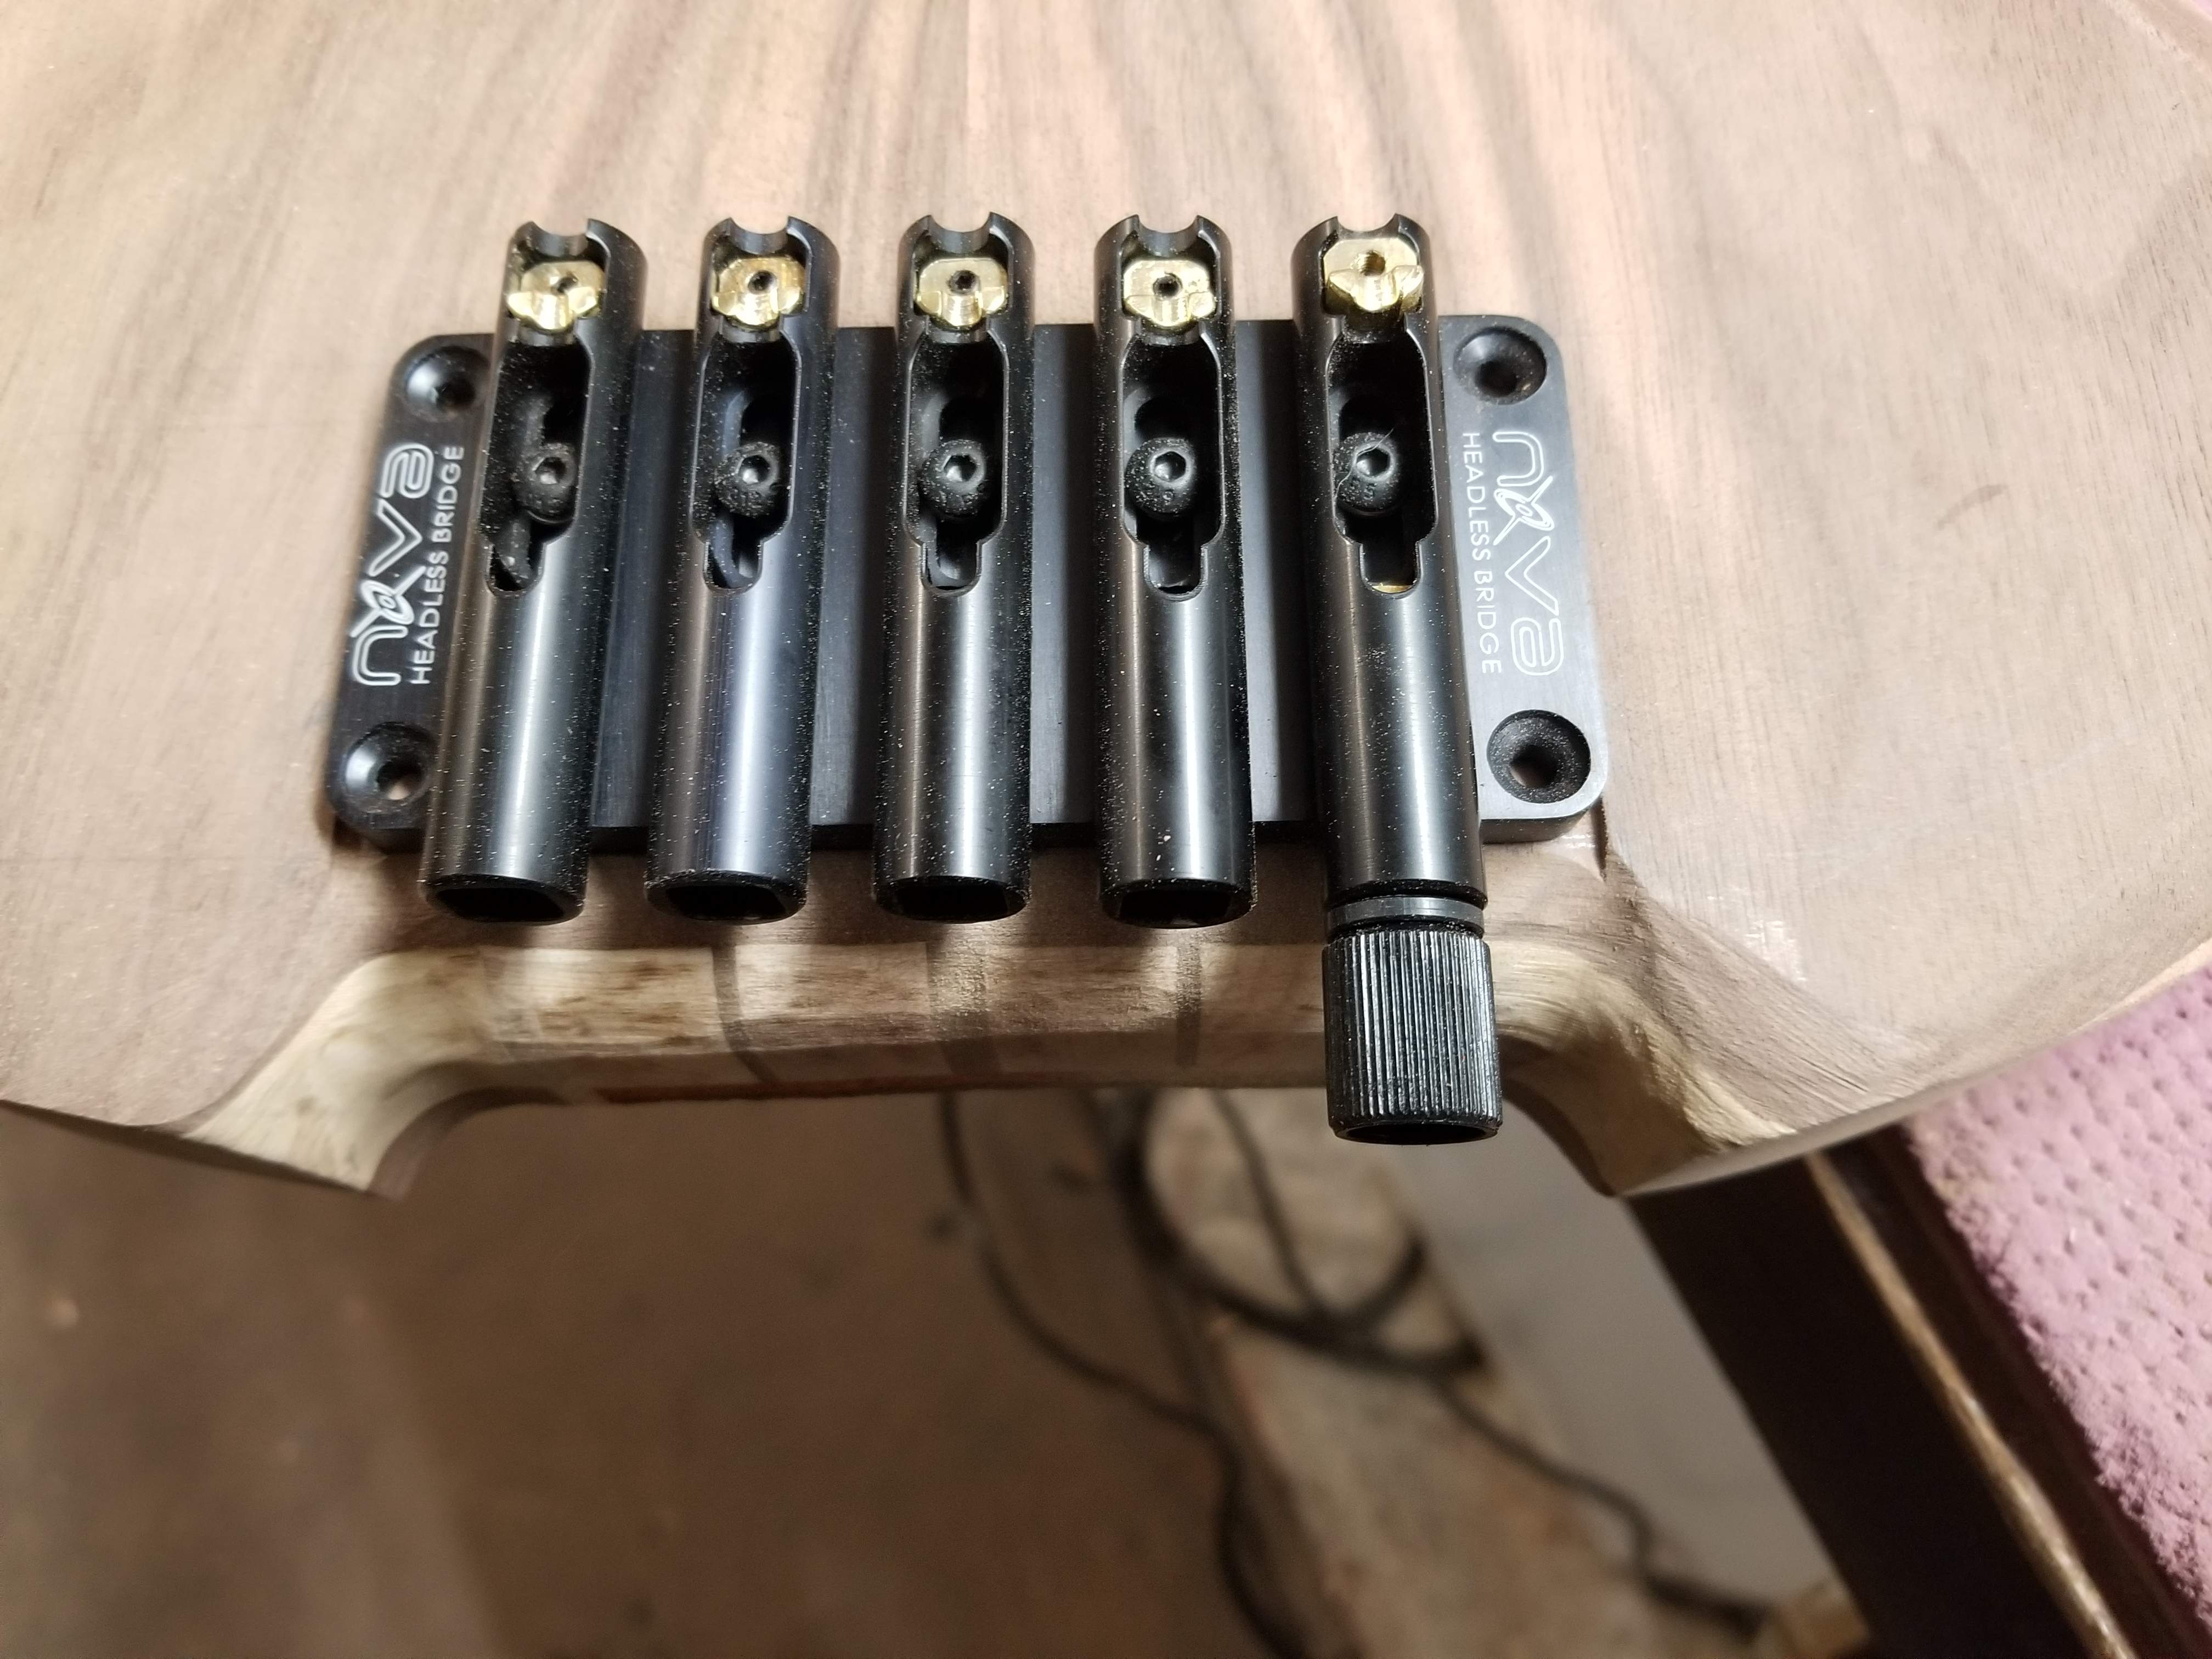
It's time to start working on Factor end of things here. I want to incorporate as much of the headless bridge carve out from the Factor as possible, but my body is a bit more compact.
I routed for the bridge plate, which only needed a .080" or so drop. I think I got the rest figured out, I'll try to get it done in the morning.
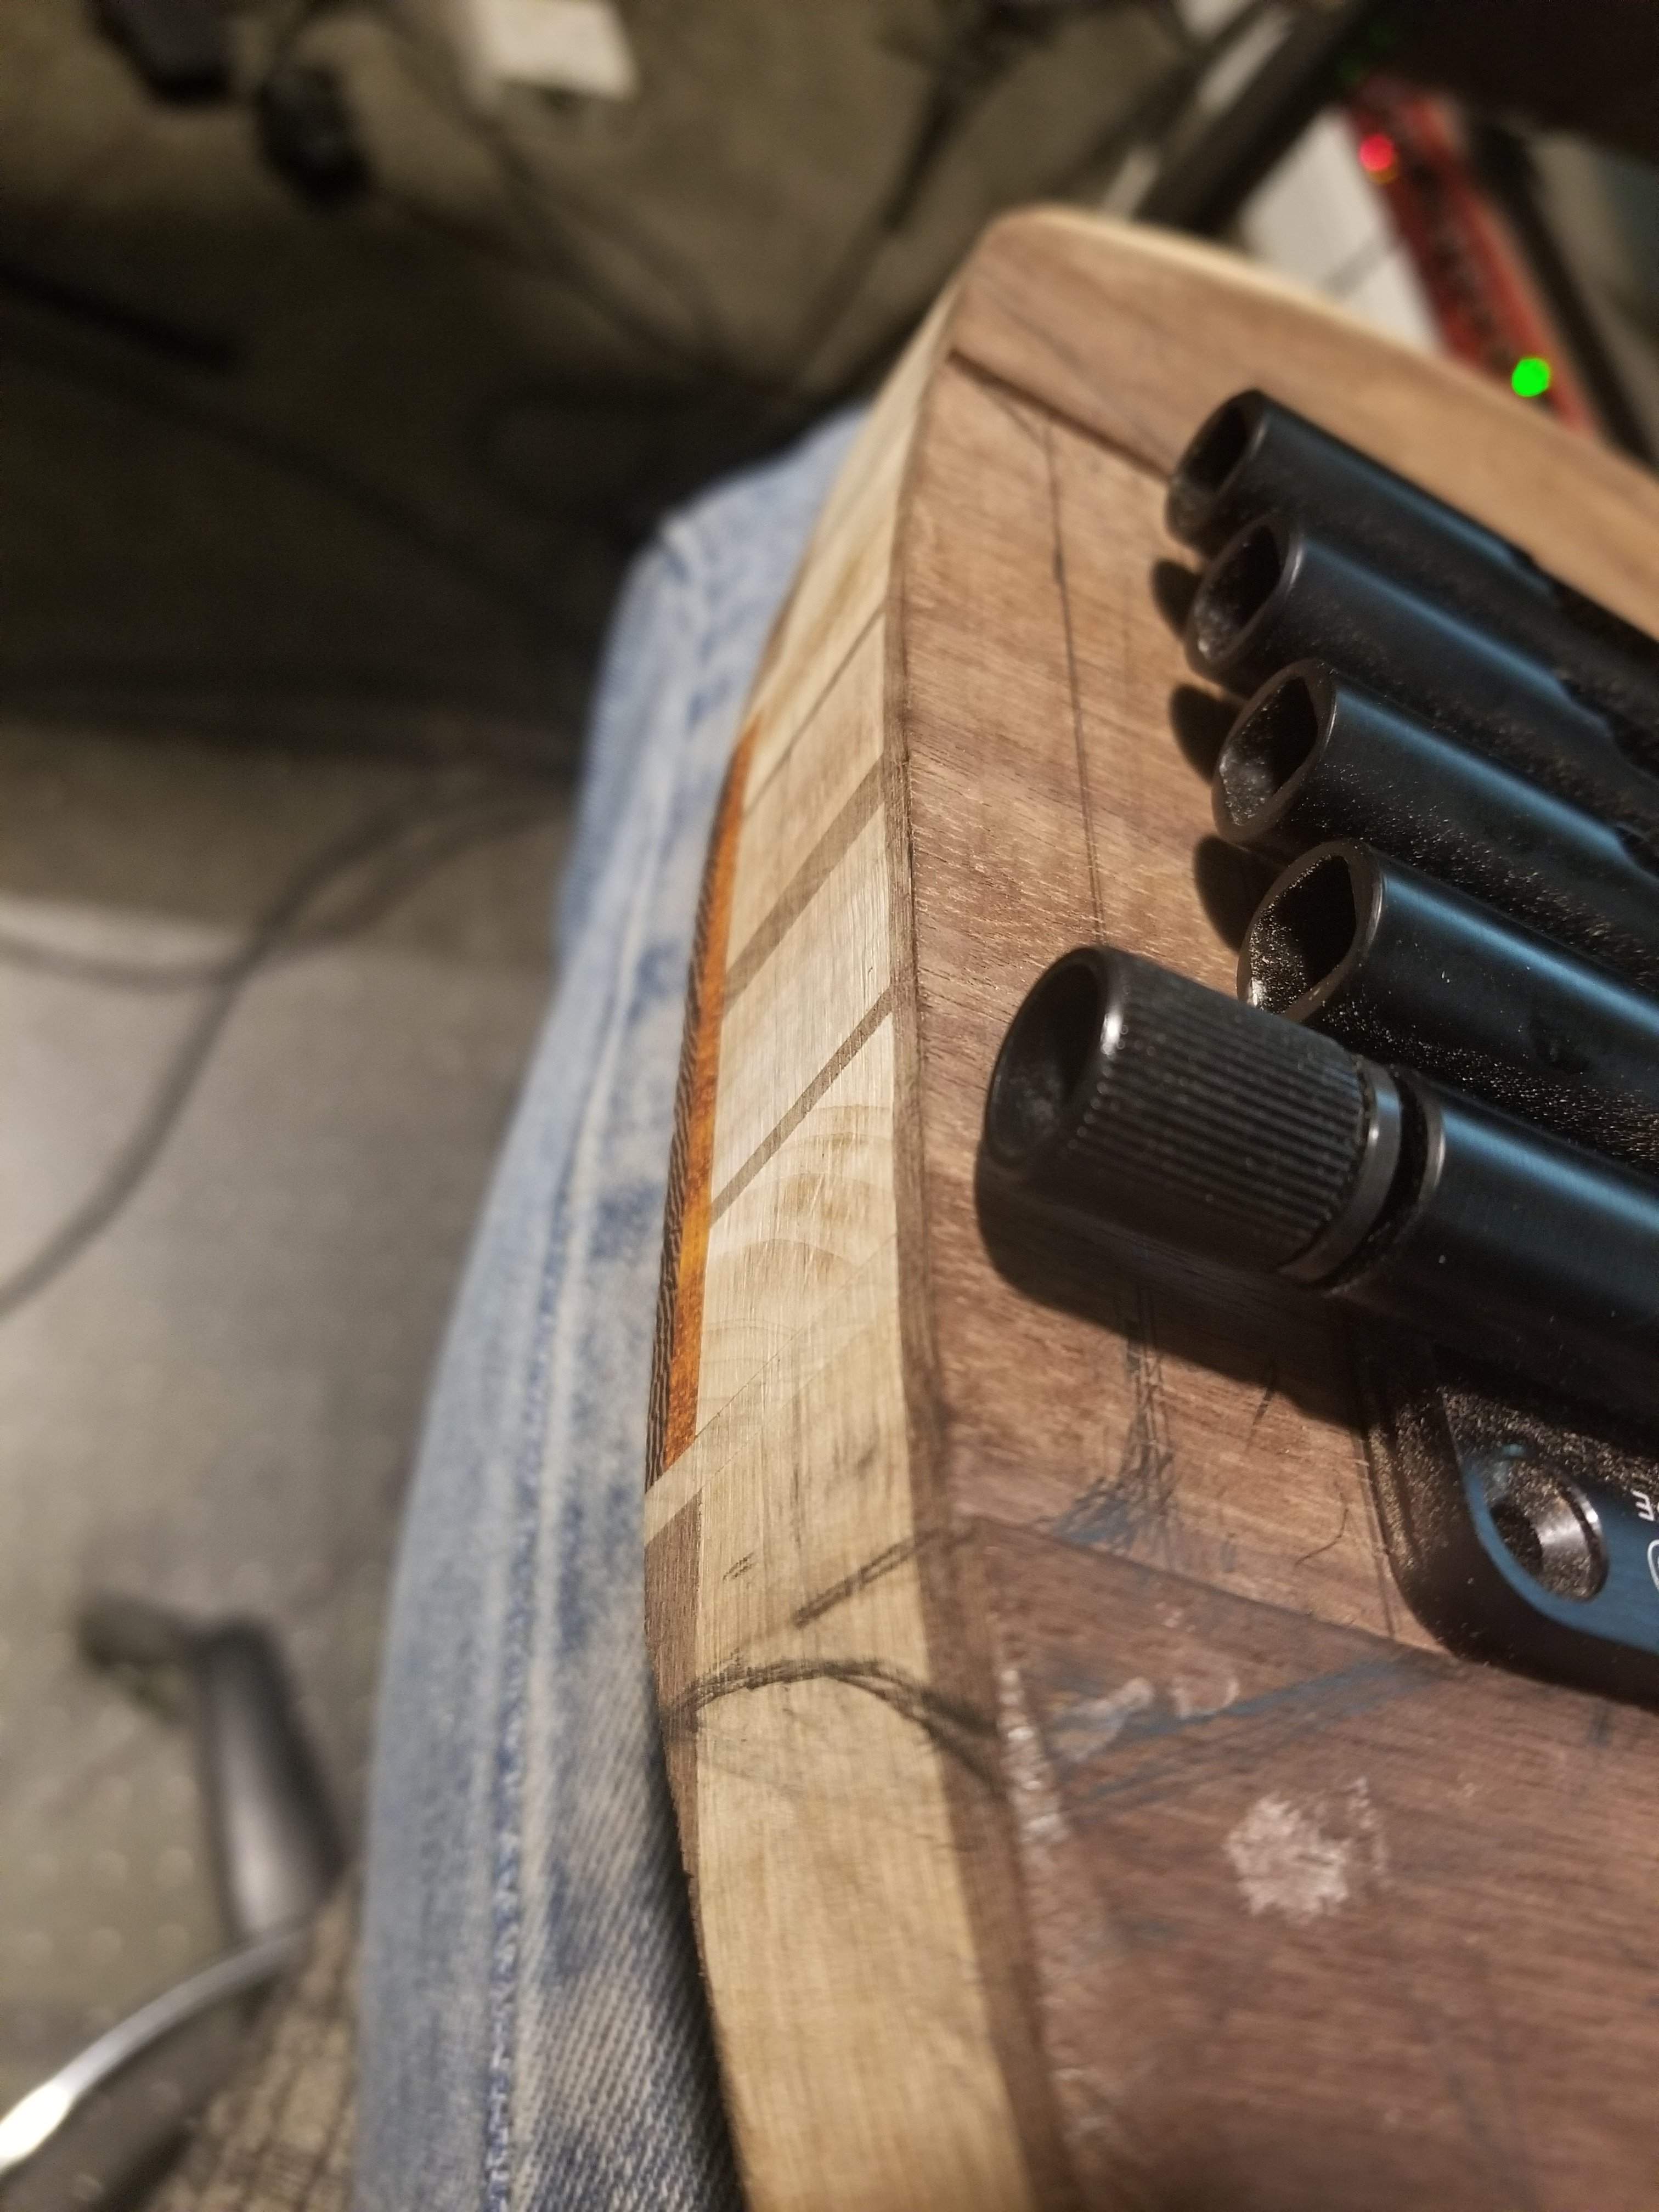
I routed for the bridge plate, which only needed a .080" or so drop. I think I got the rest figured out, I'll try to get it done in the morning.
Yes, to some degree. I don't have as much room behind the bridge as the Factor has.Are you gonna notch the body under the back of the bridge like the factor?
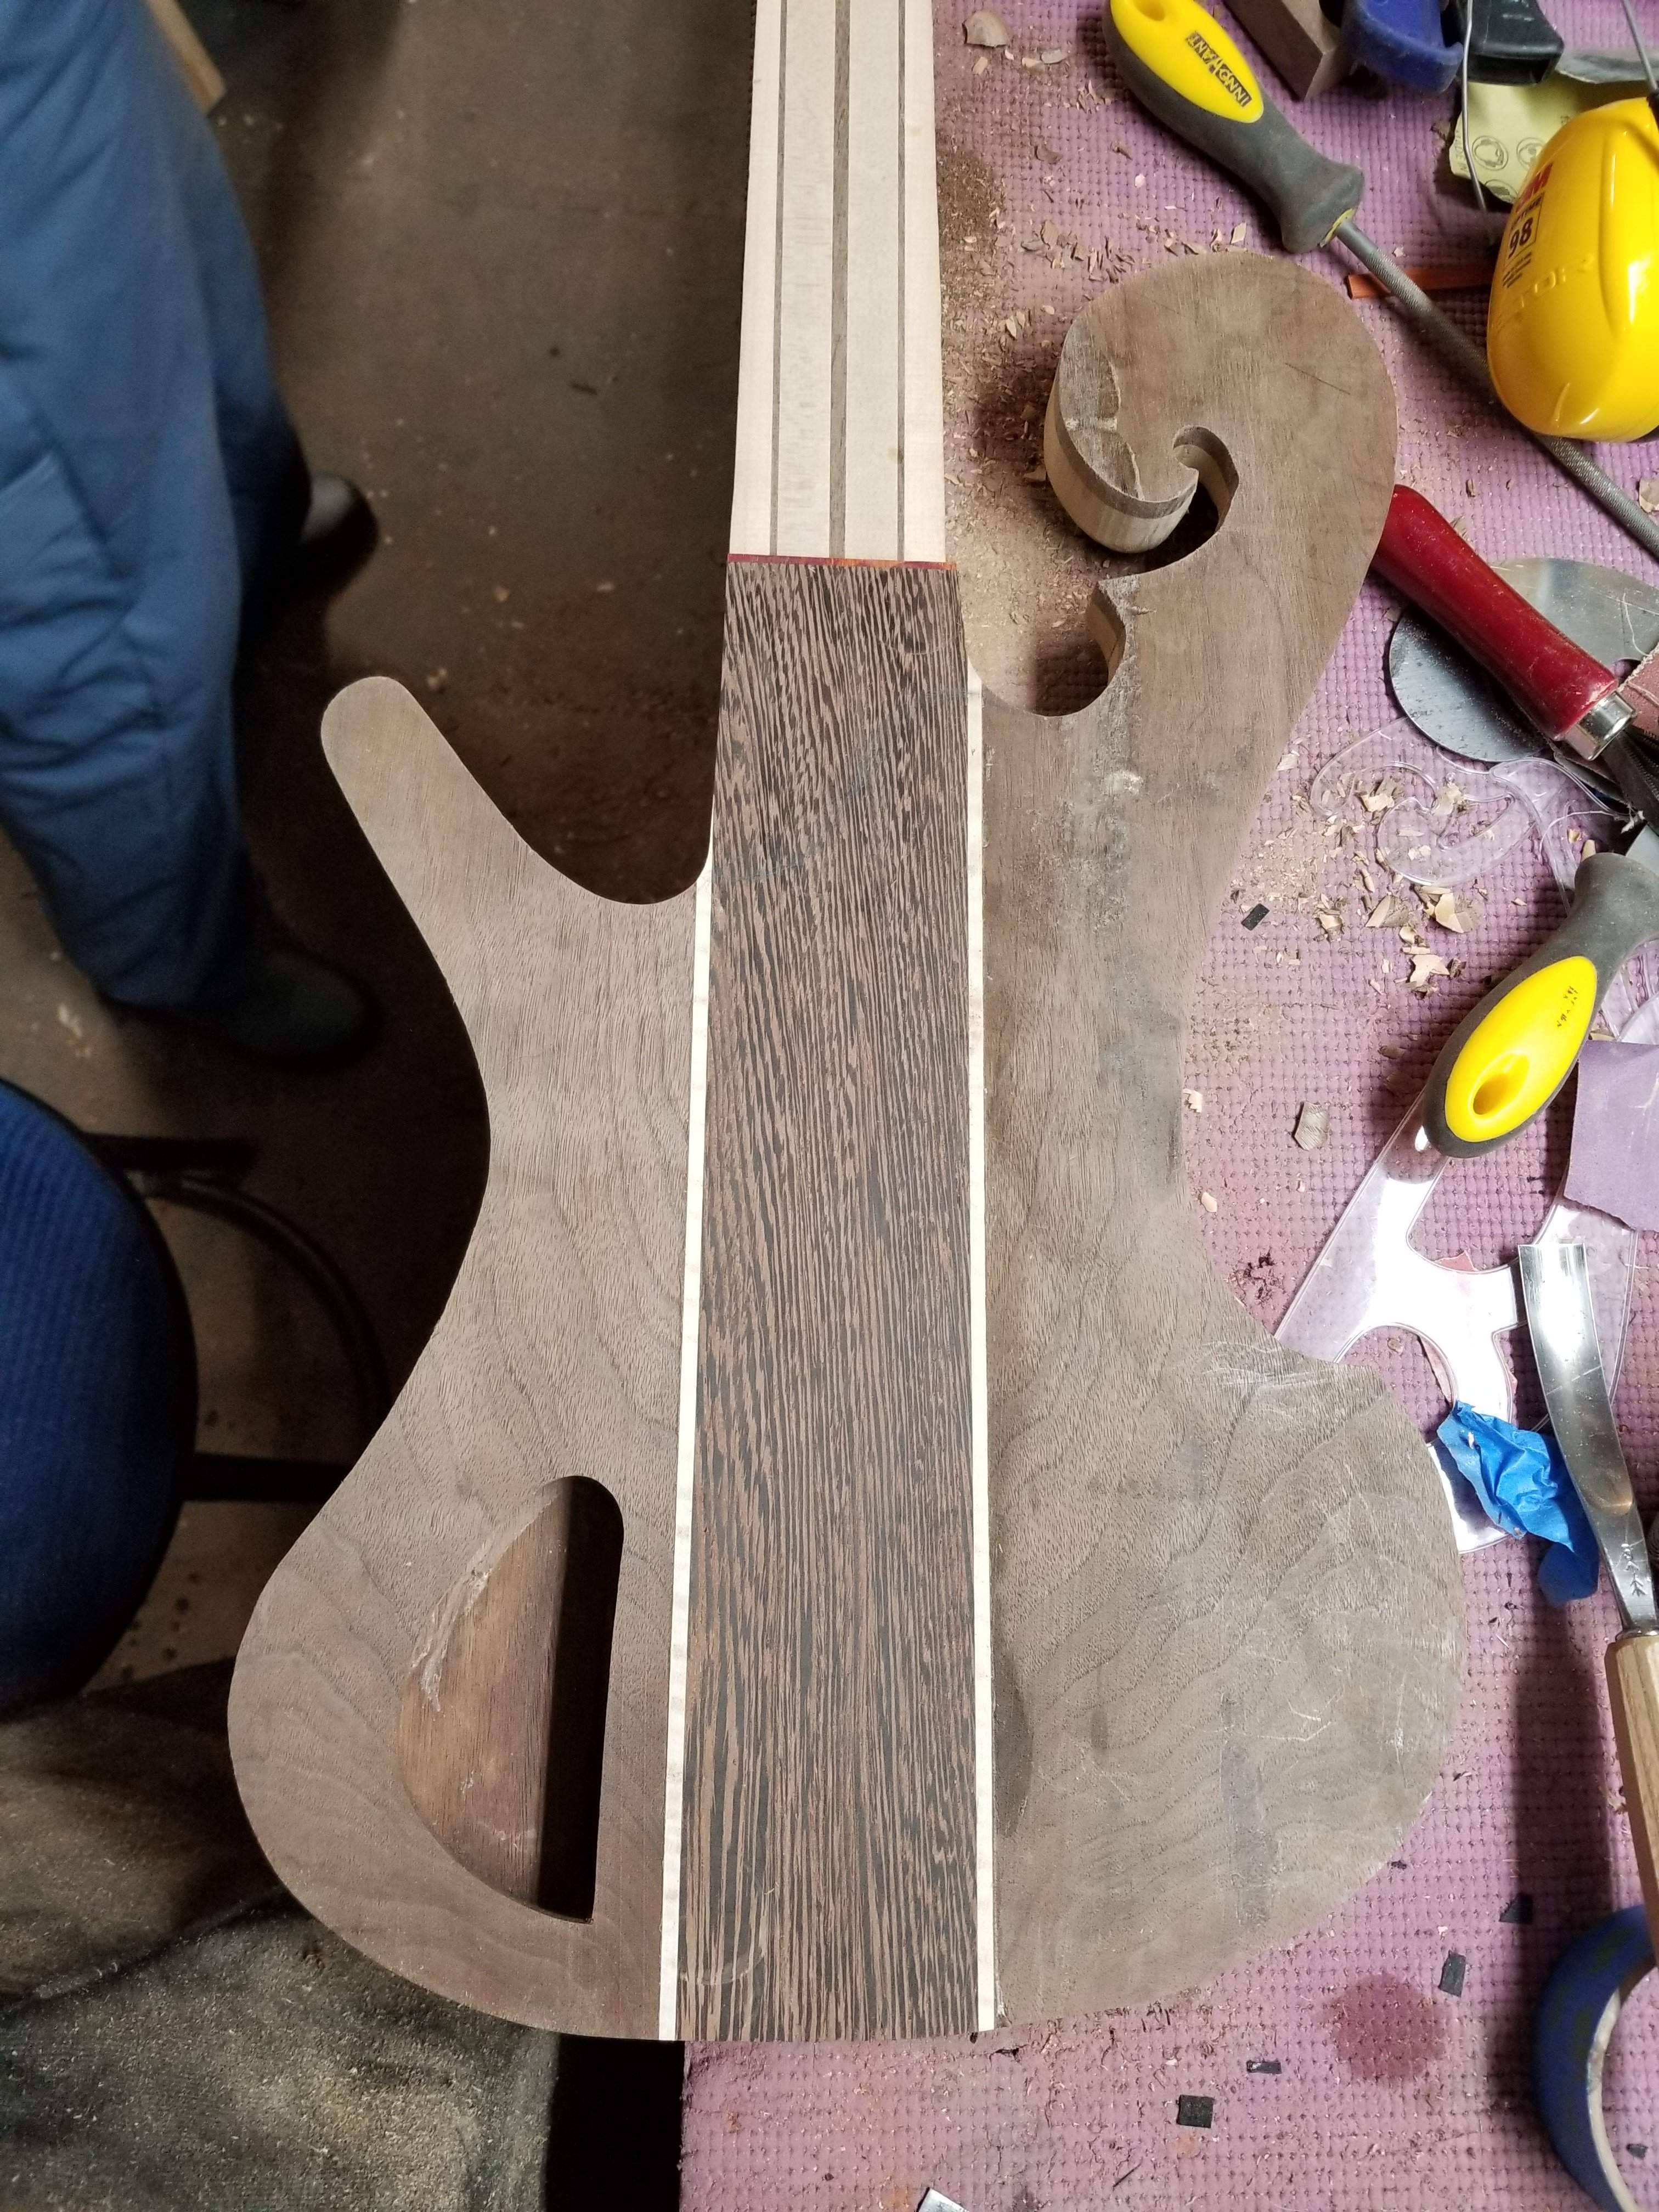
View attachment 3270647
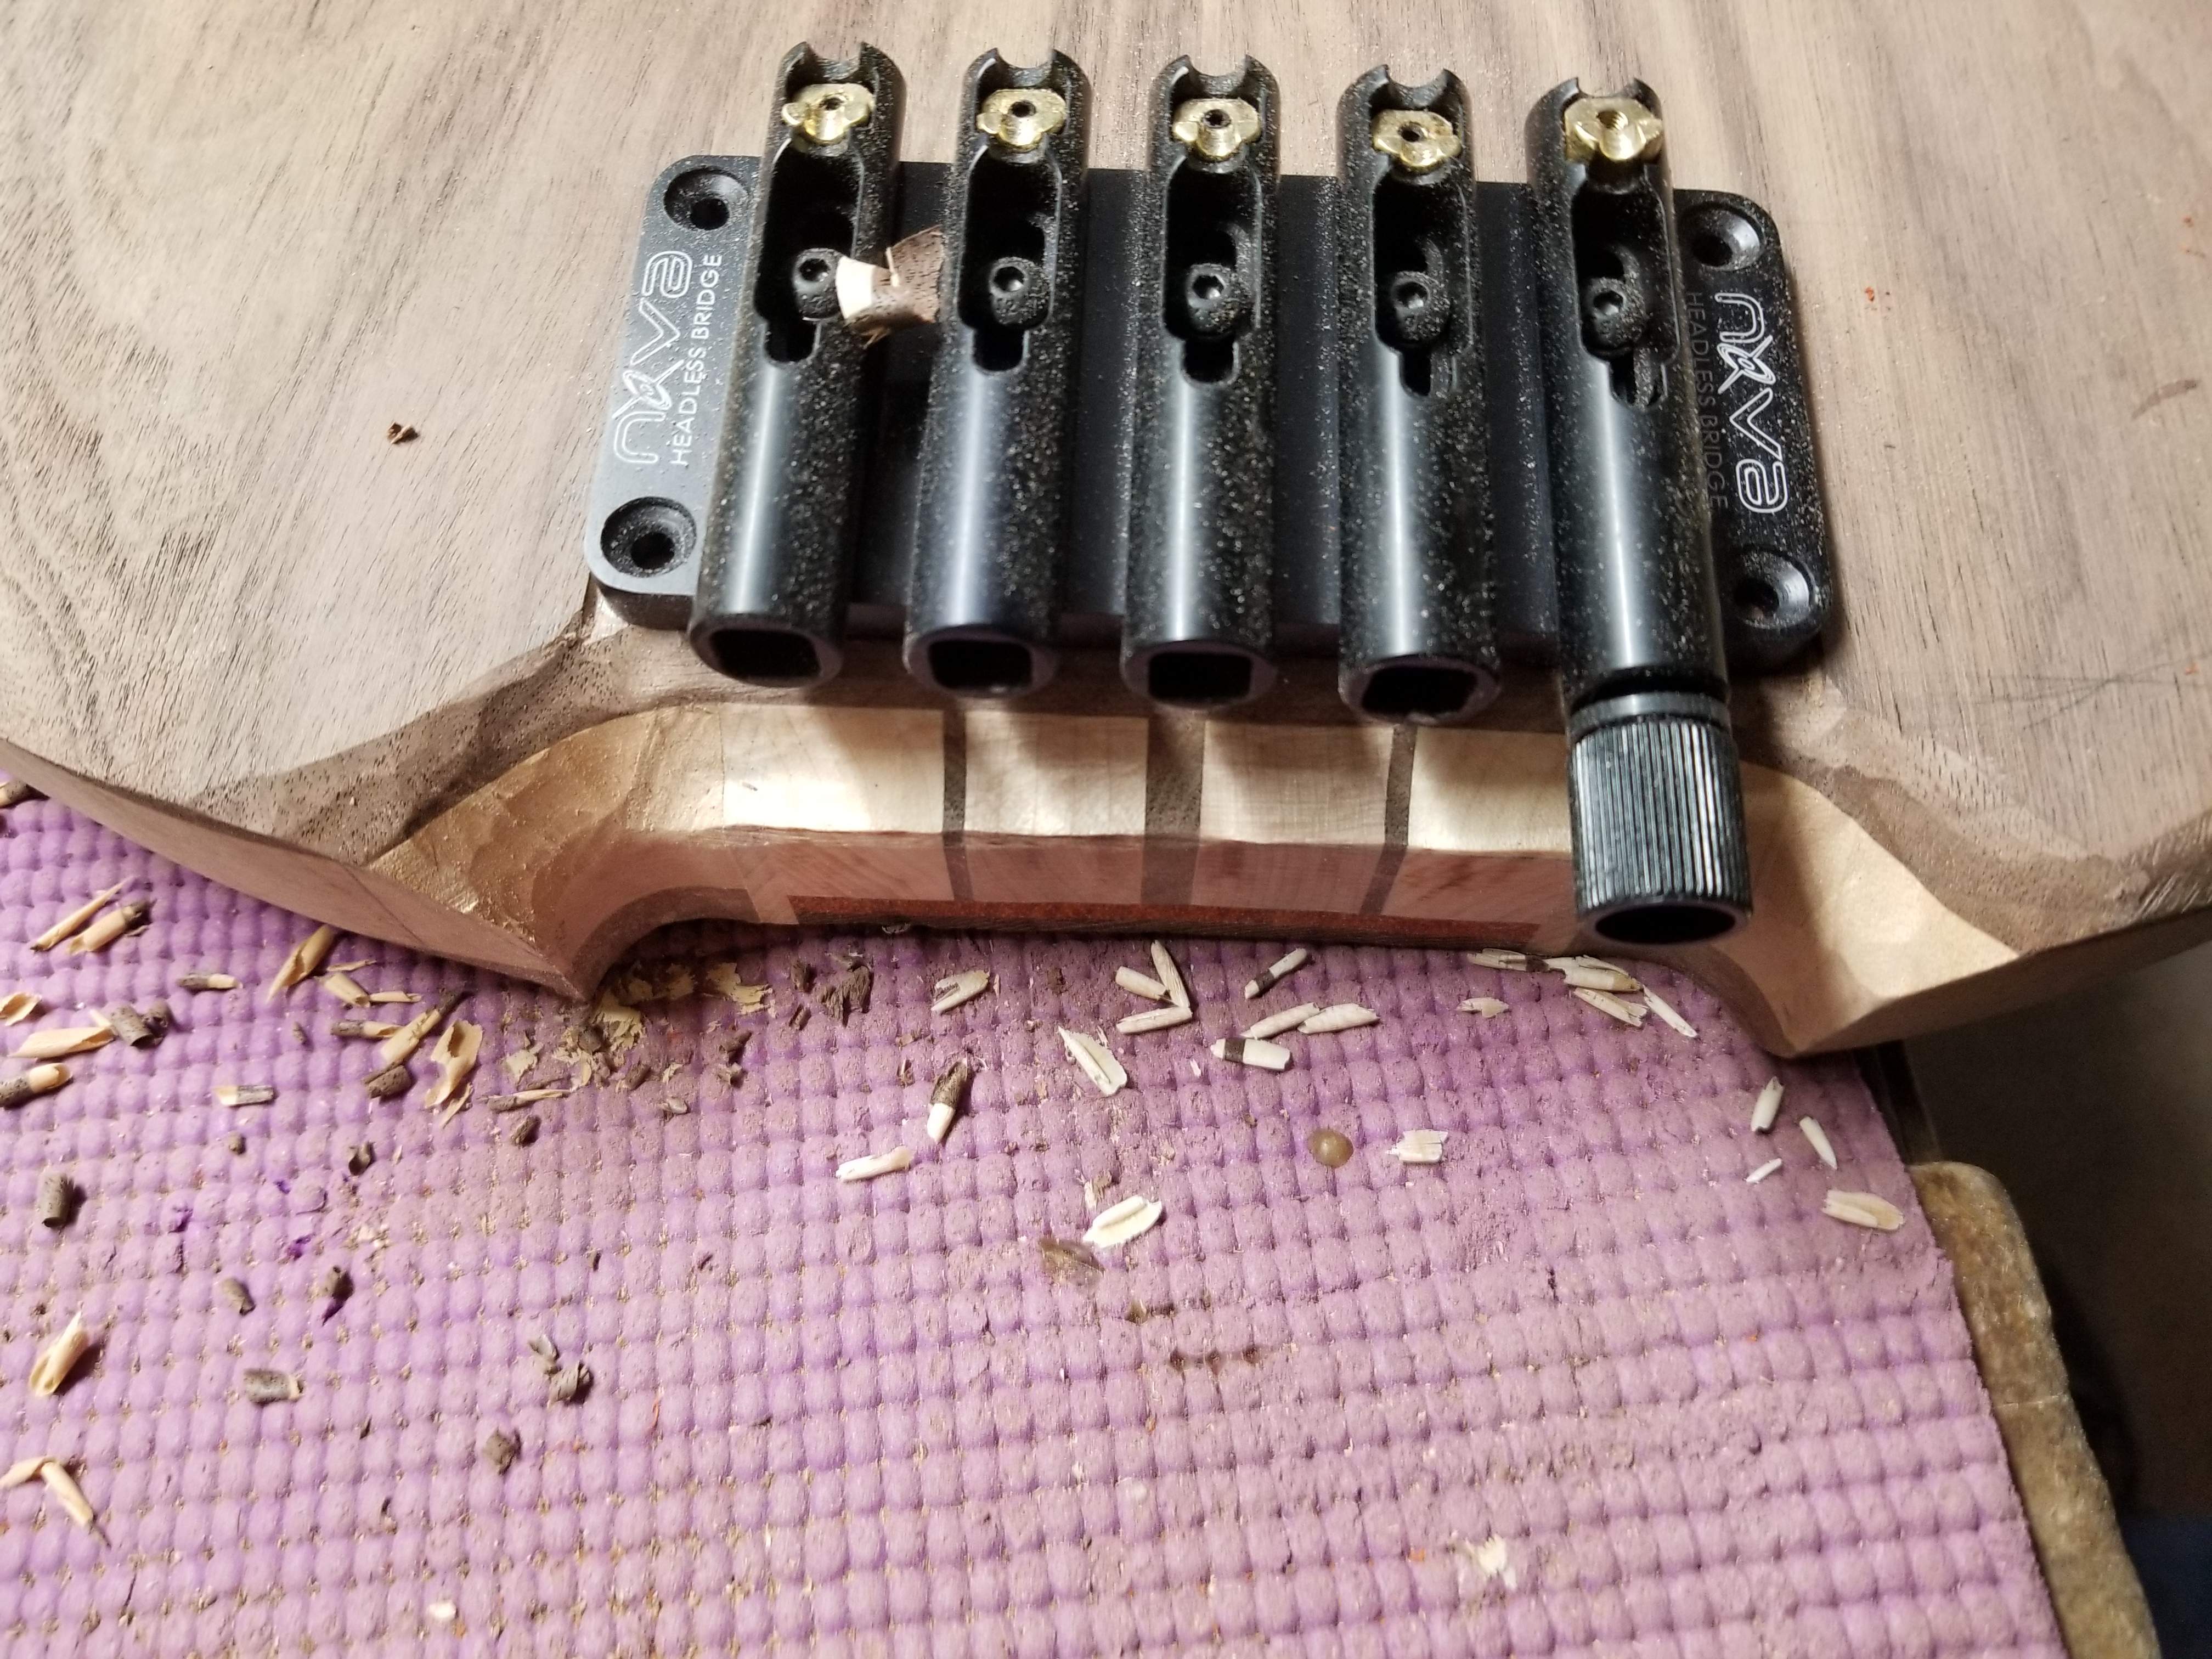
I did my best to replicate the Factor notch given my space restrictions. Now some would say I should have made the back end big enough to replicate this, but others would say (me) that it would make the body too damn big and out of scale with the rest of the body. Compromises were made.
I cut out the end with the bandsaw then straightened it out with the oscillating drum sander
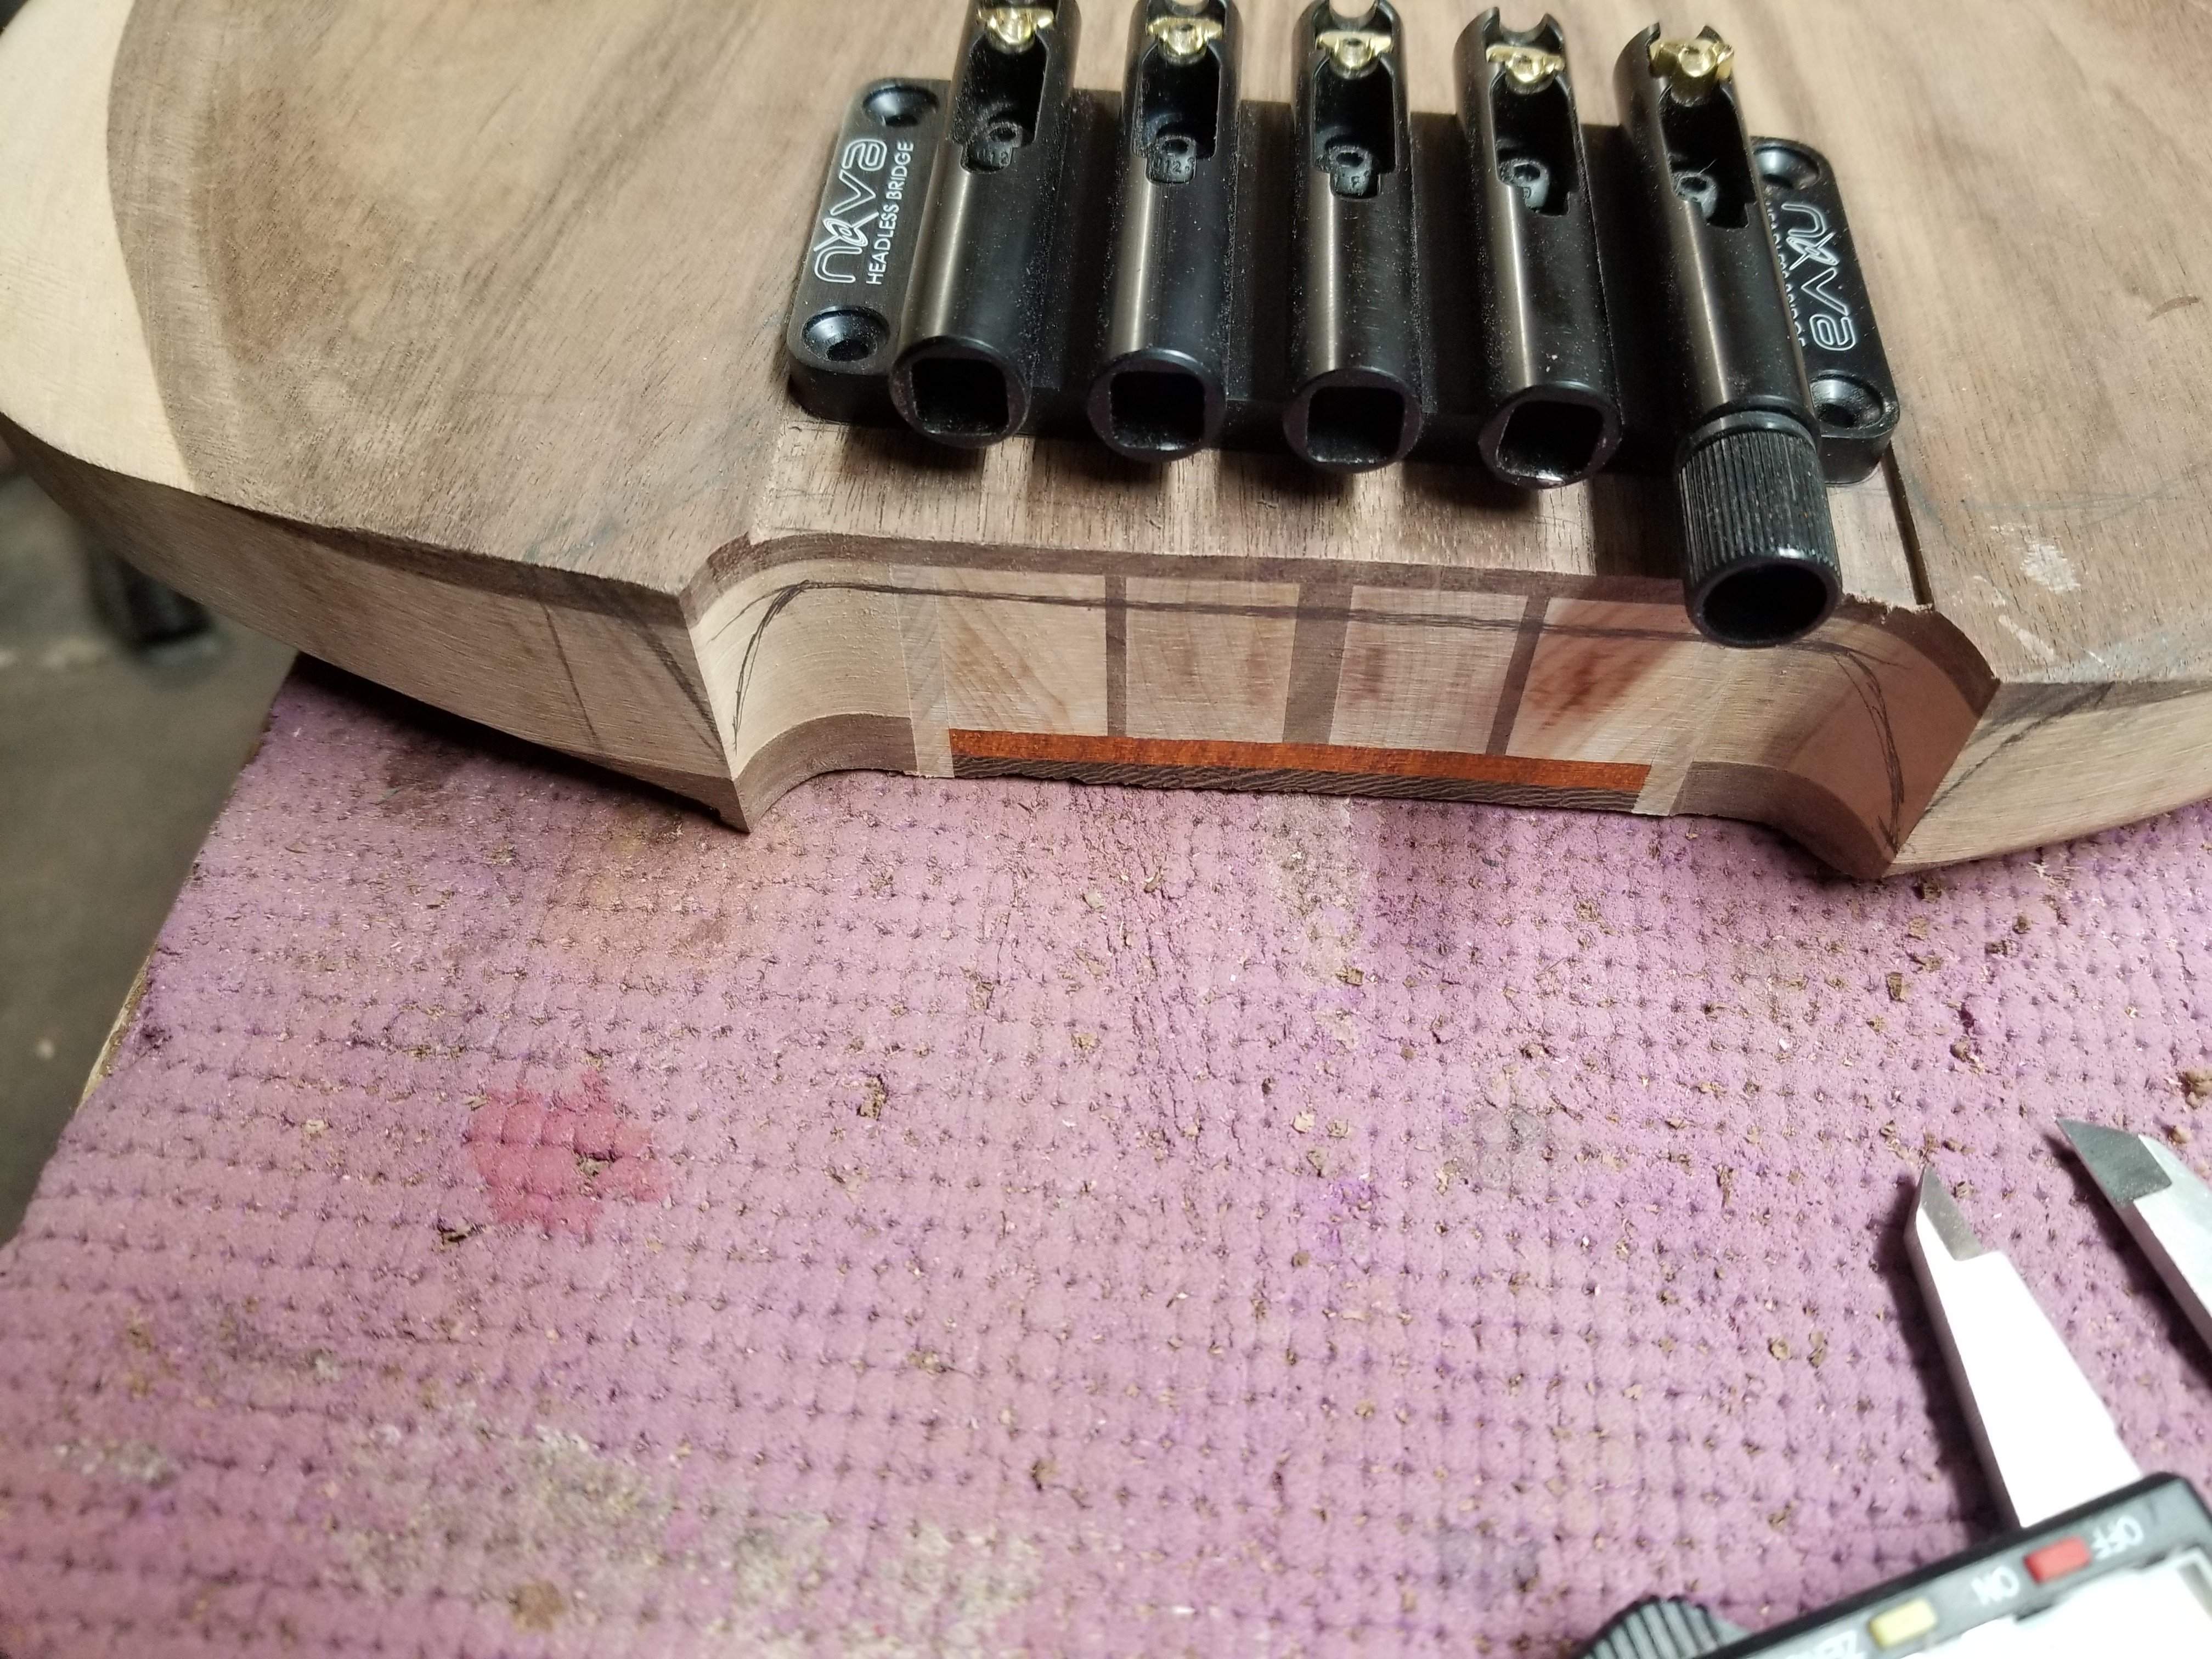
then I contoured with a gouge and sanding cylinder on a dremel. This is version 1, I'll see how far I want to go and obviously I need to balance out left and right sides. I ran out of time. I will make this a bit more dramatic than it is right now, it looks way too utilitarian right now.
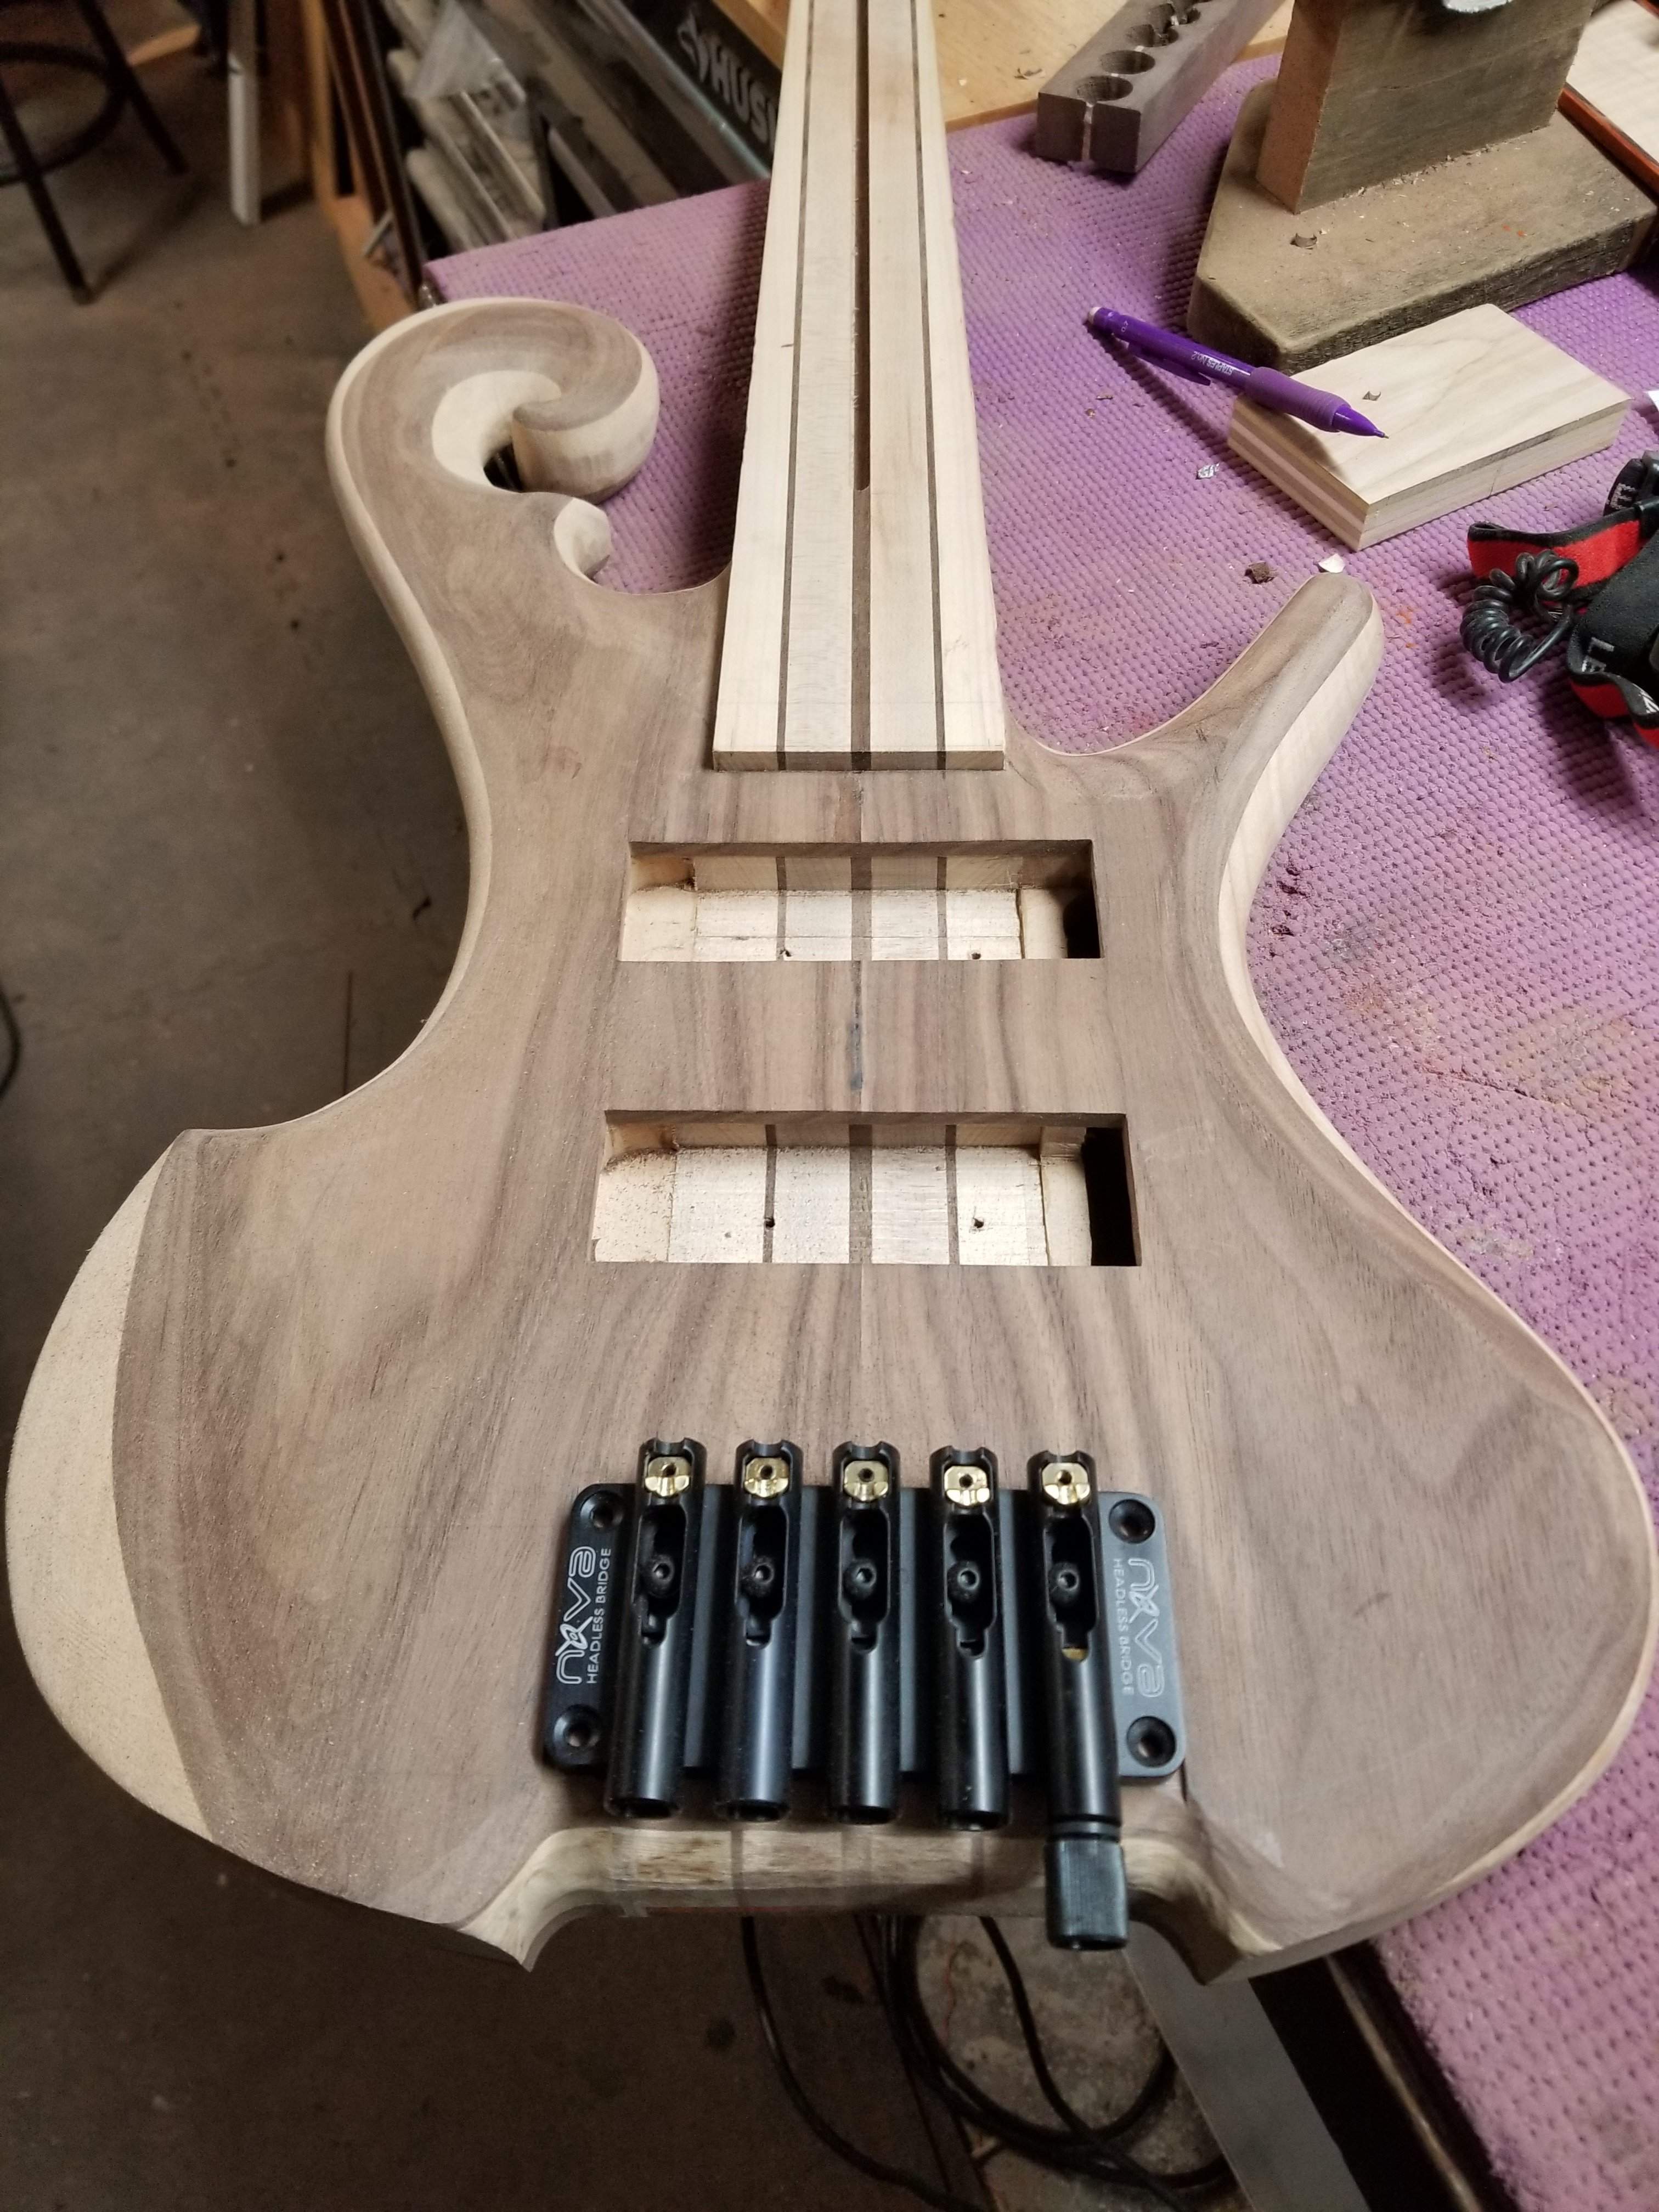
I cut out the end with the bandsaw then straightened it out with the oscillating drum sander
then I contoured with a gouge and sanding cylinder on a dremel. This is version 1, I'll see how far I want to go and obviously I need to balance out left and right sides. I ran out of time. I will make this a bit more dramatic than it is right now, it looks way too utilitarian right now.
Last edited:
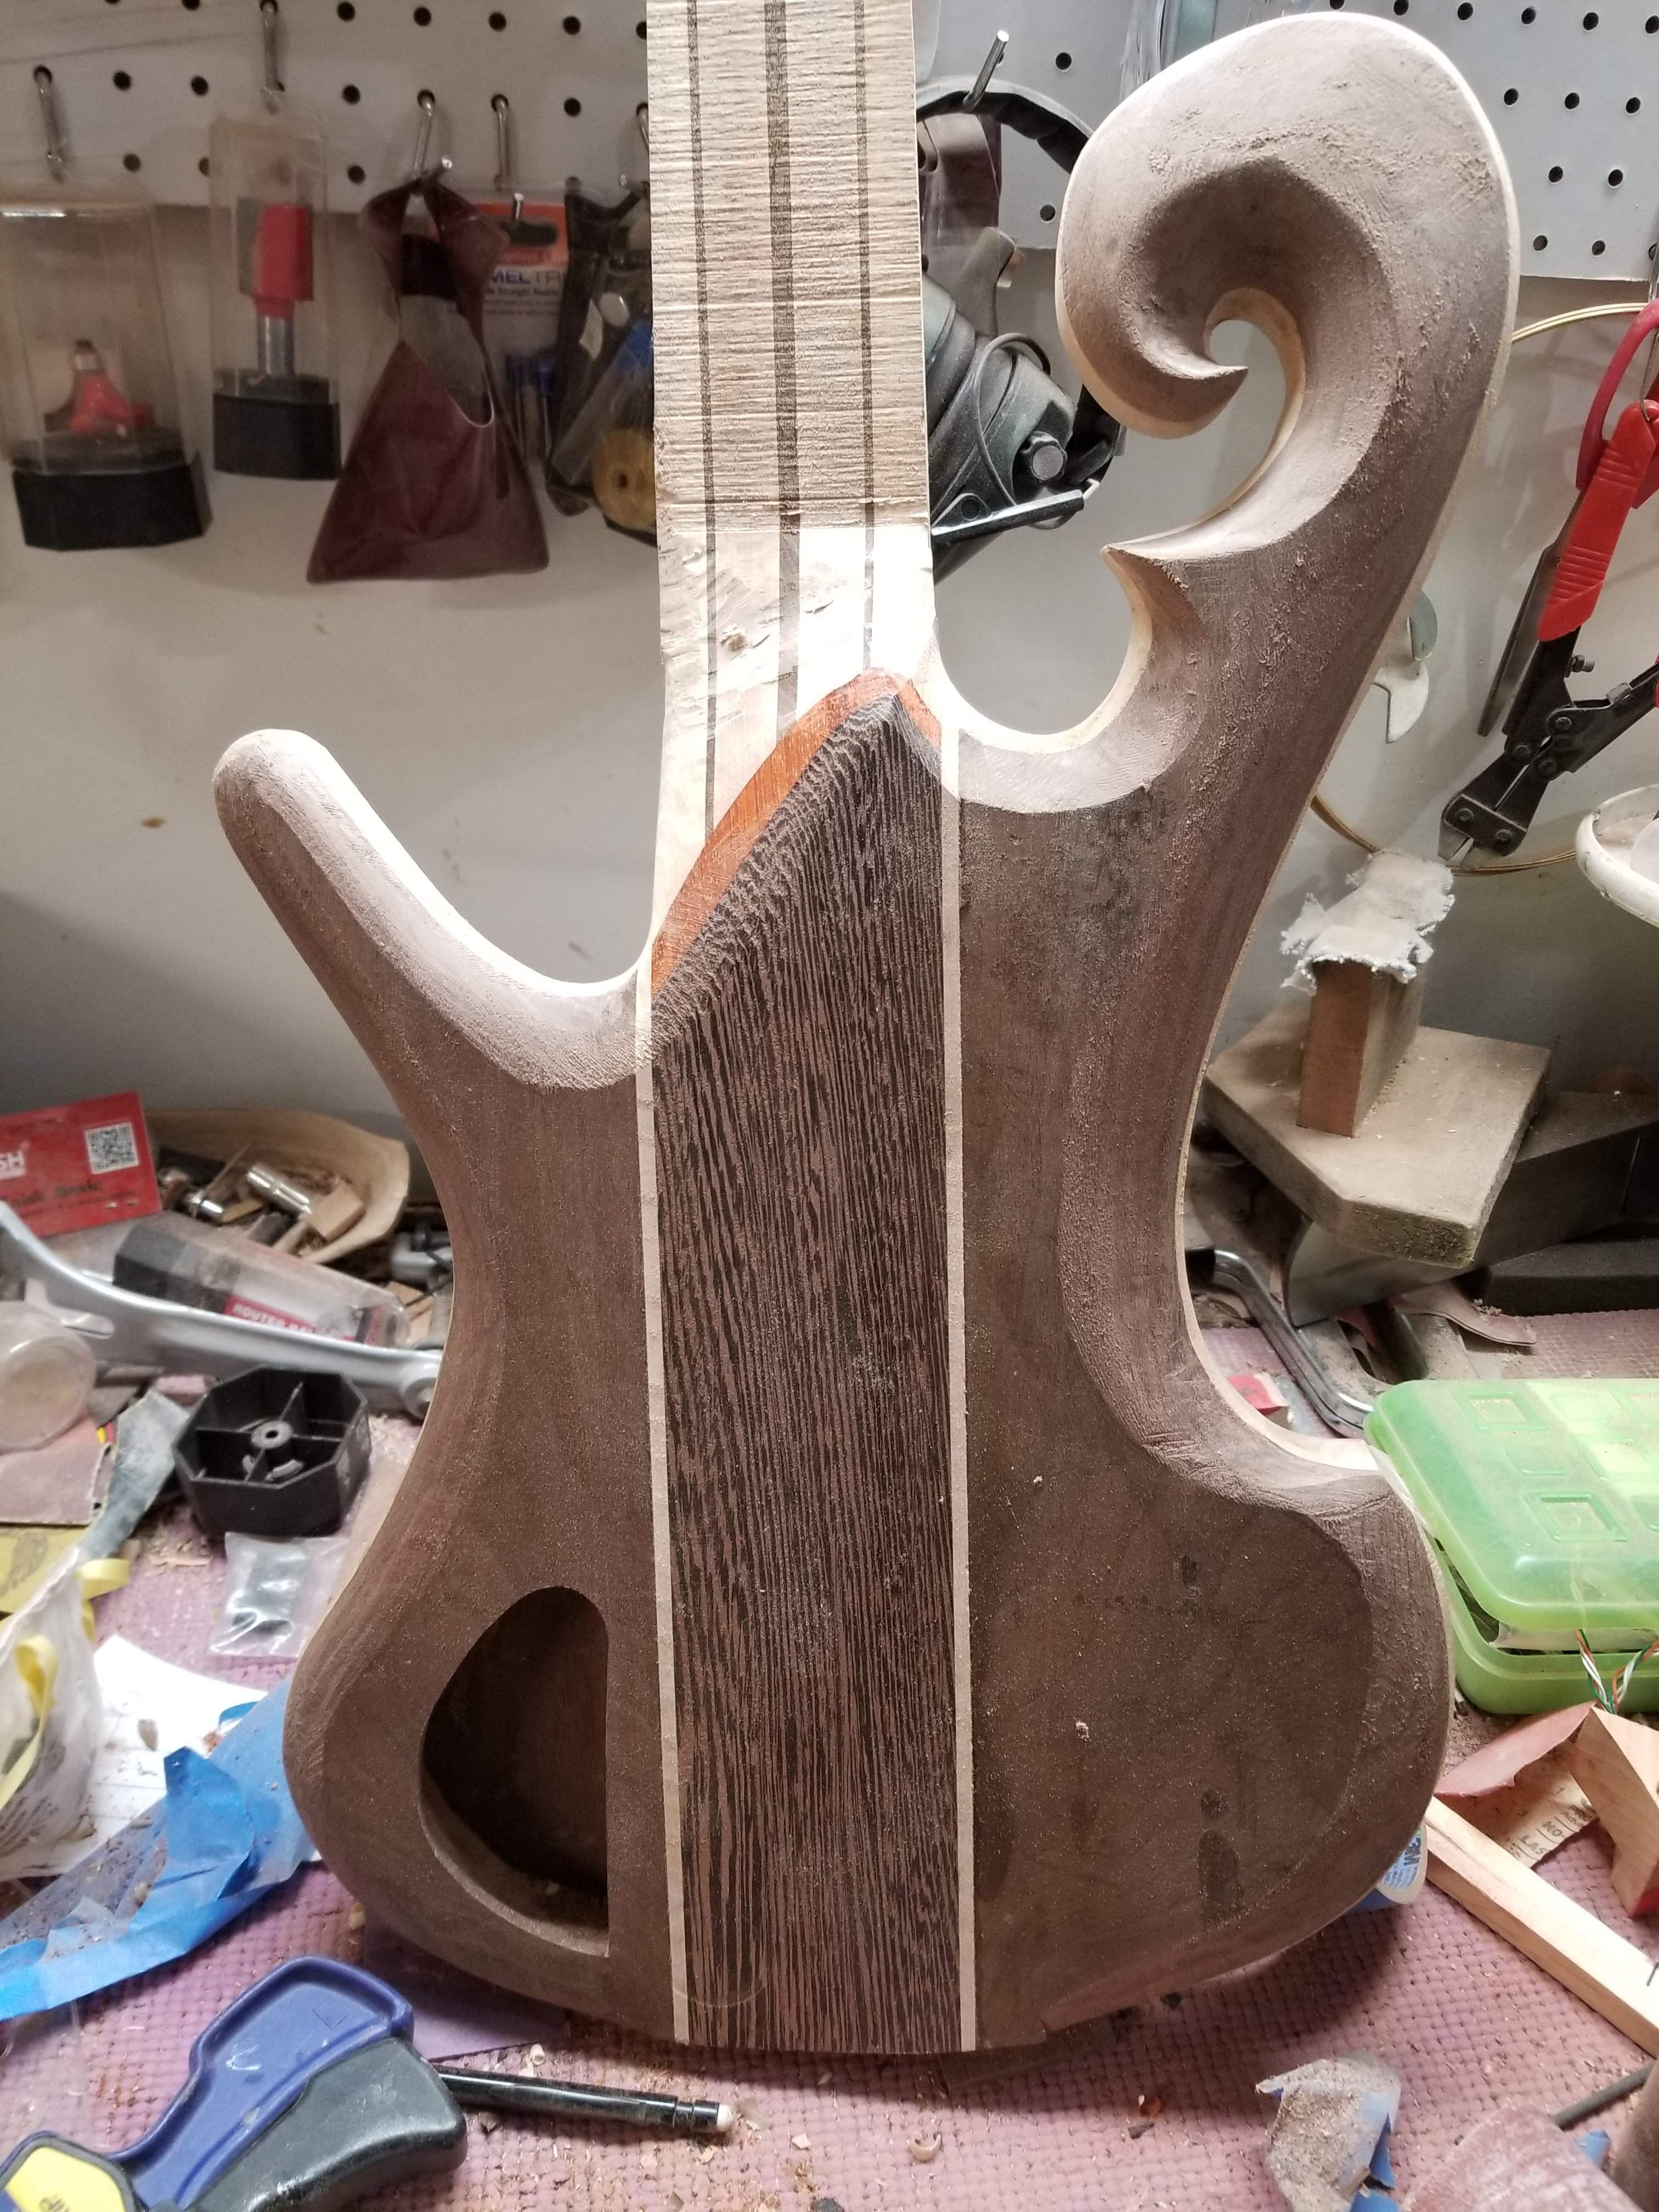
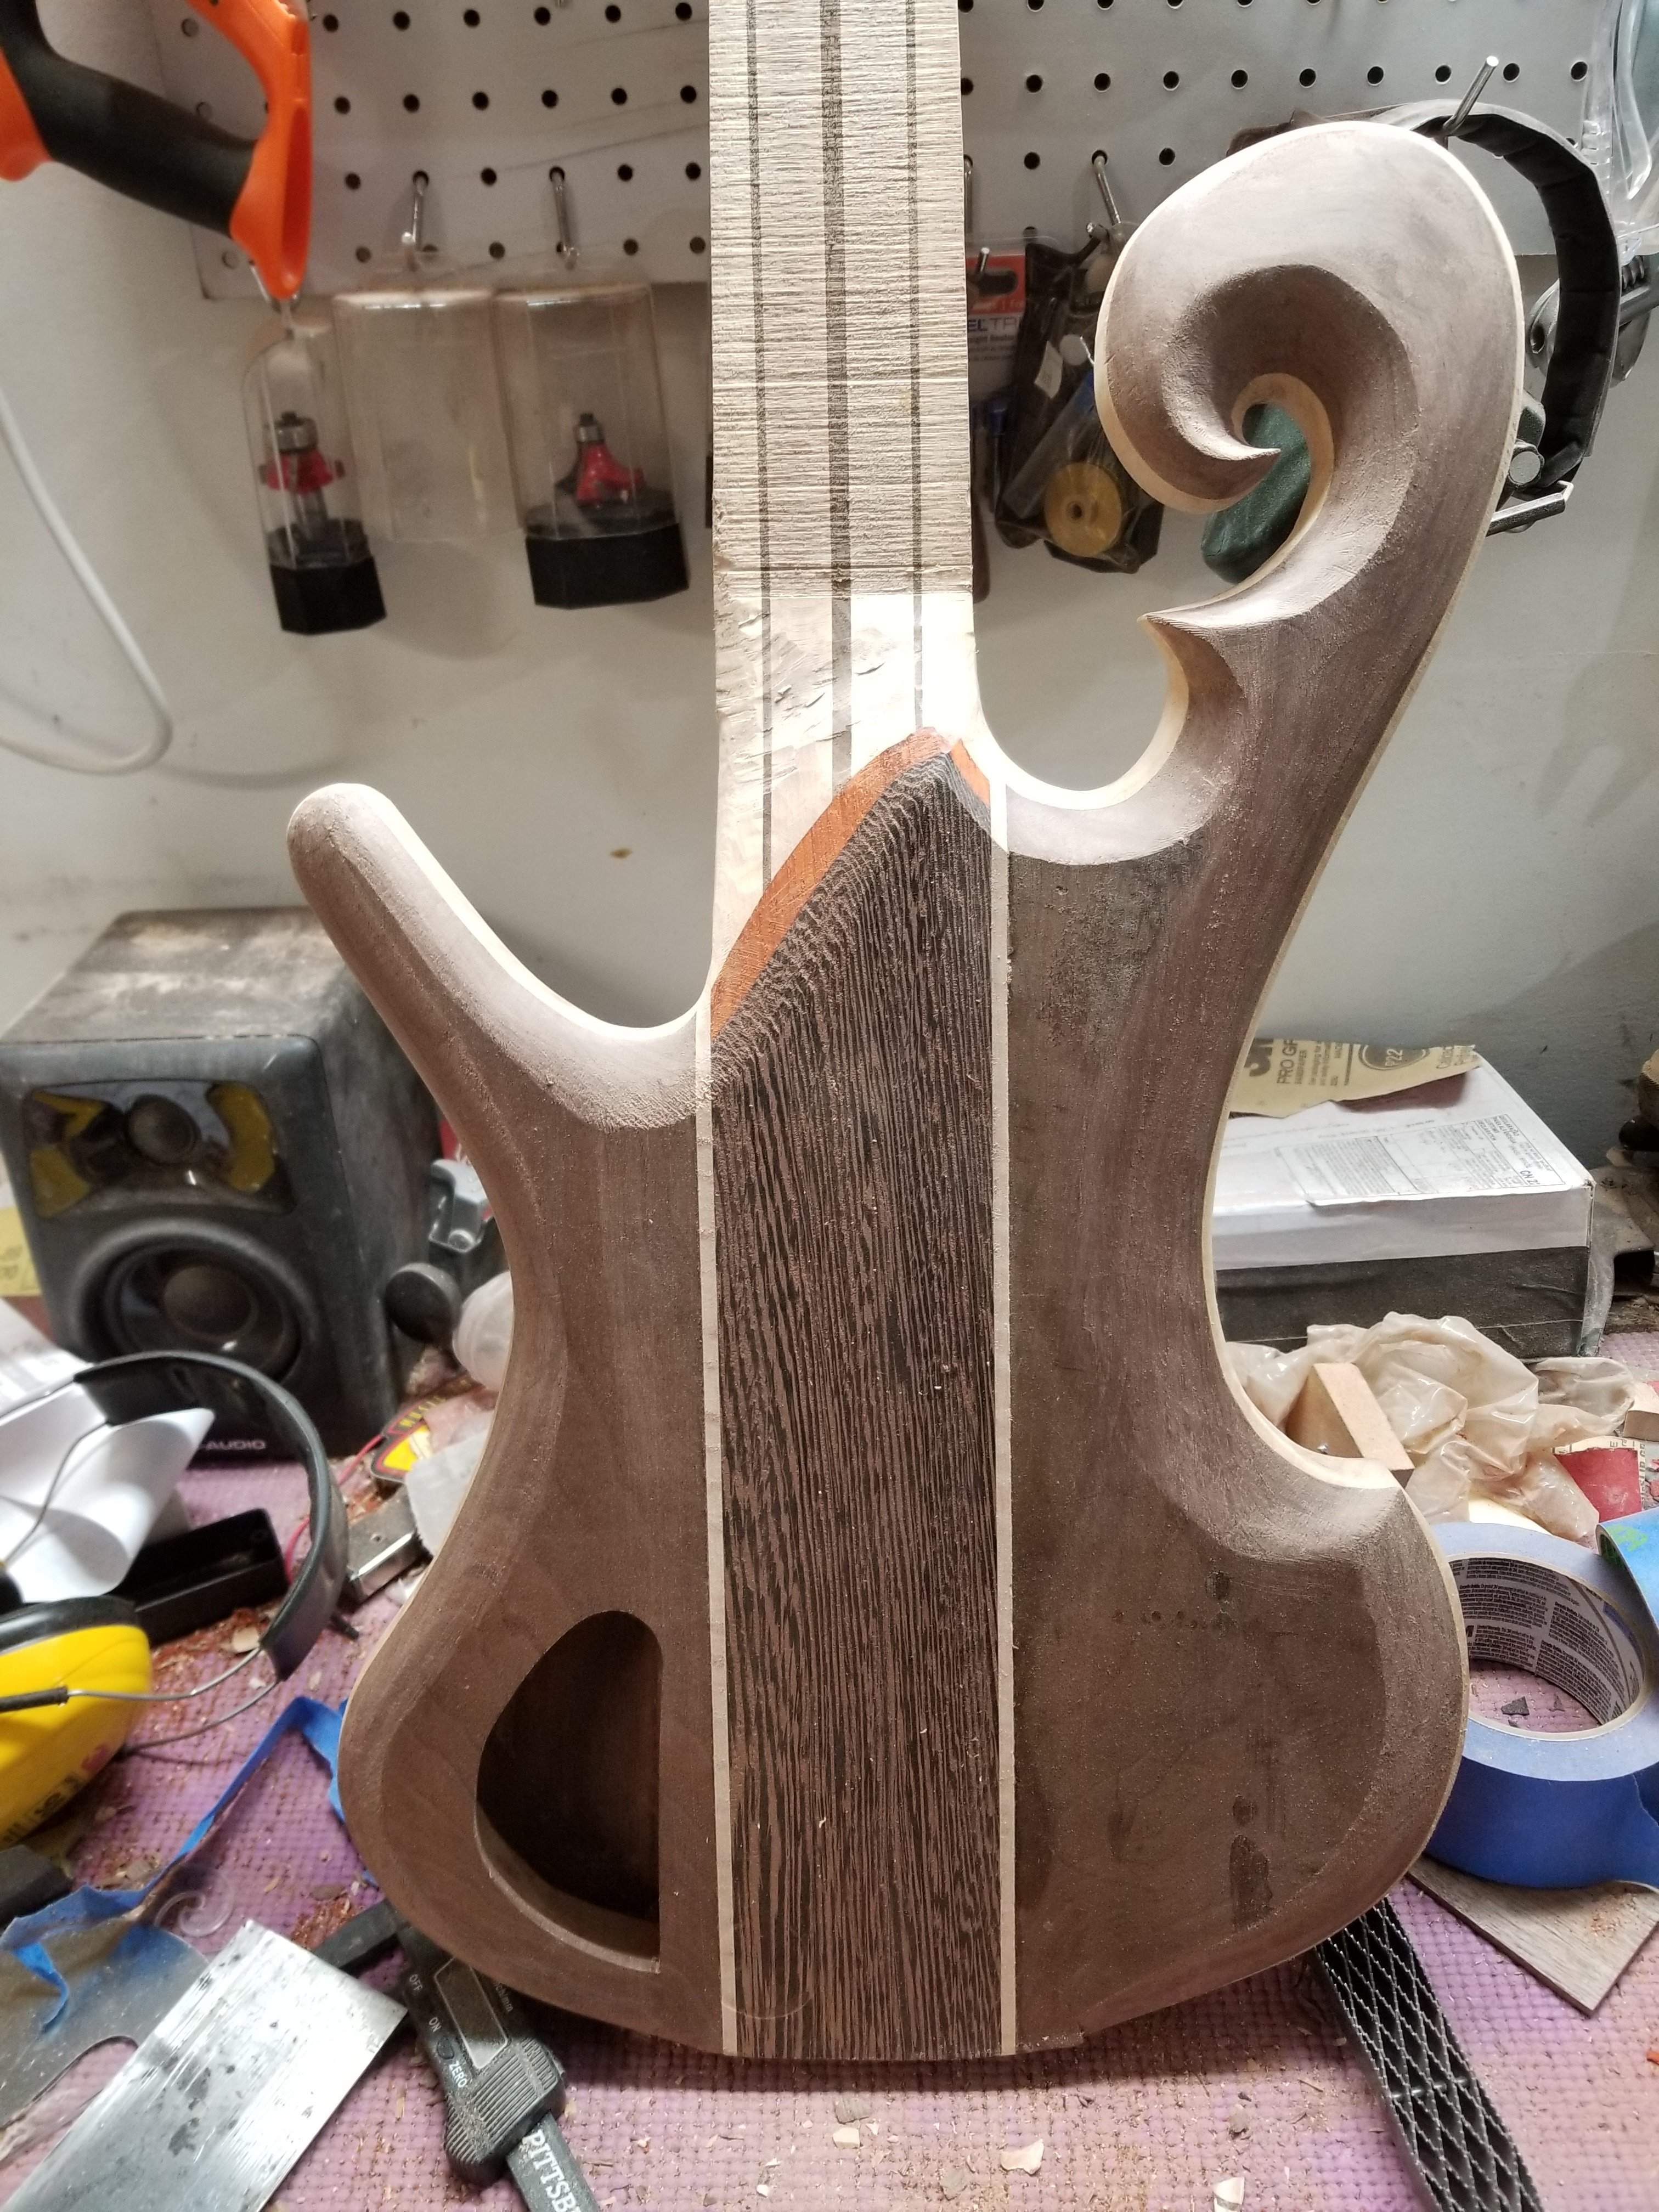
A few minutes of gouge work, it's getting better, needs a bit more drama
I've been sneaking in the workshop for a few minutes at a time, I think this is getting close.
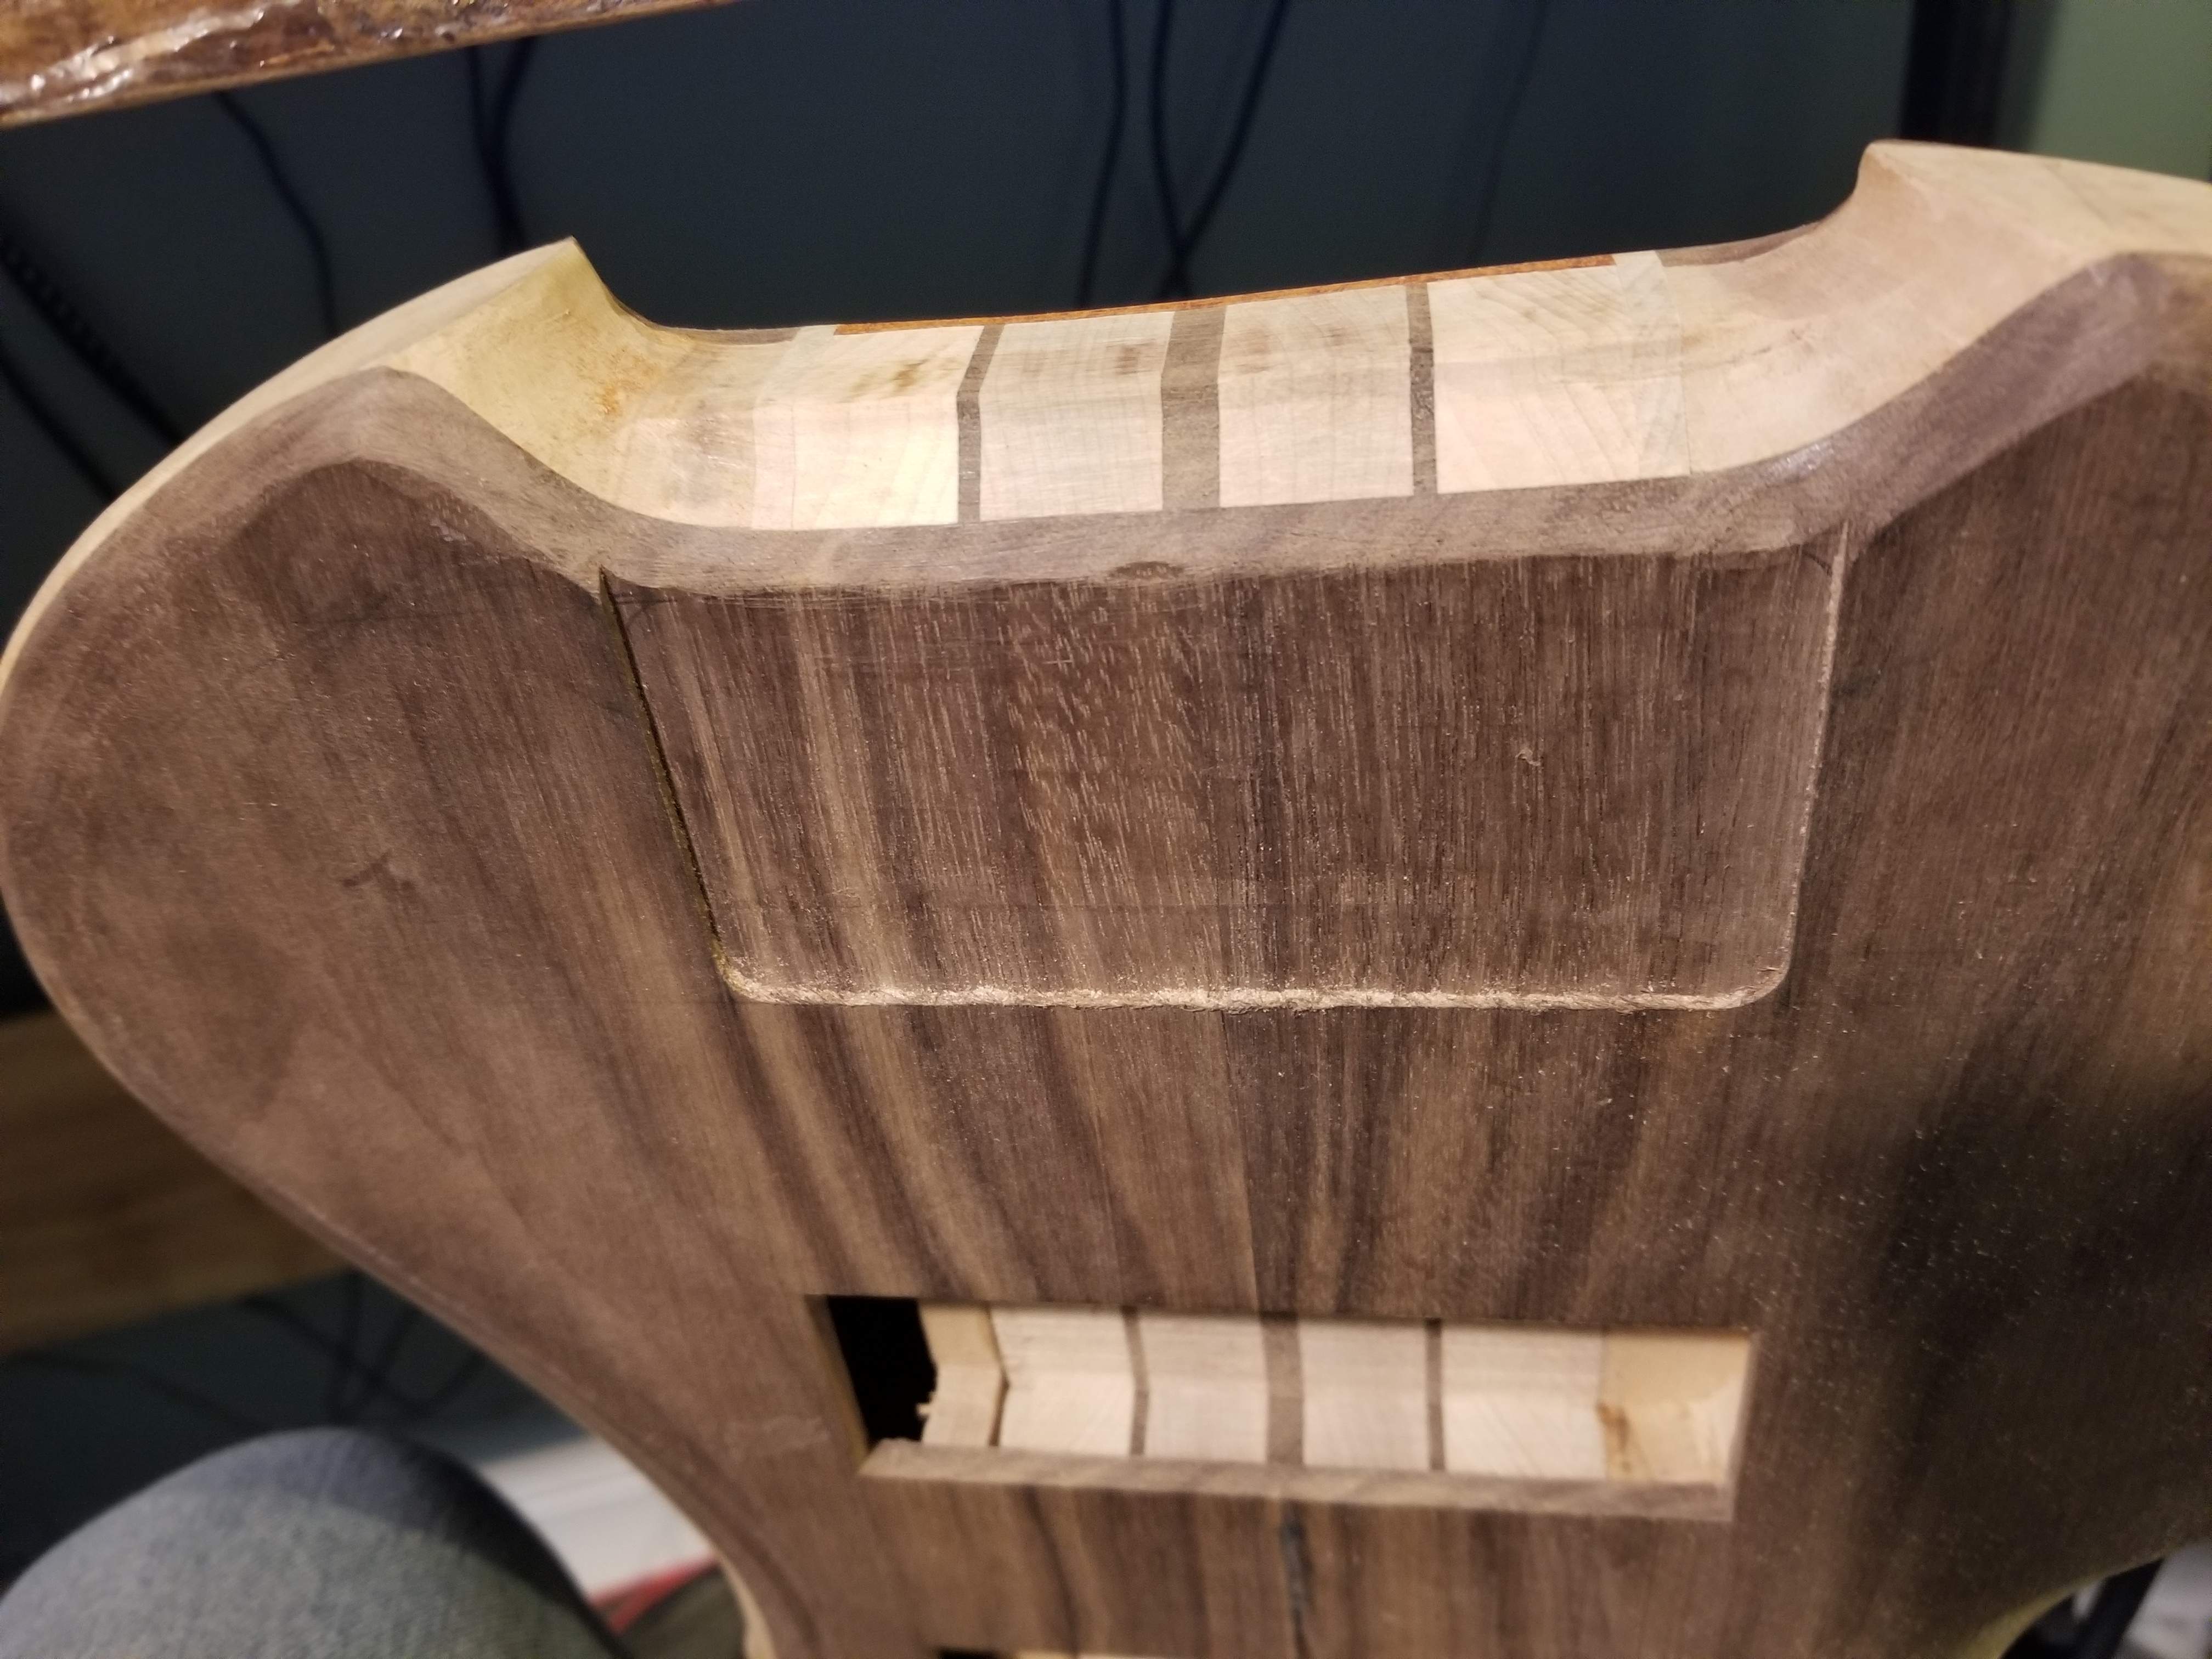
What I didn't see until just now is there was a pretty big tearout in the back on the wenge from when I cut it with the bandsaw. I have a pretty aggressive blade on there right now and it did bad things. After doing a little shaping, you can't see it at all.
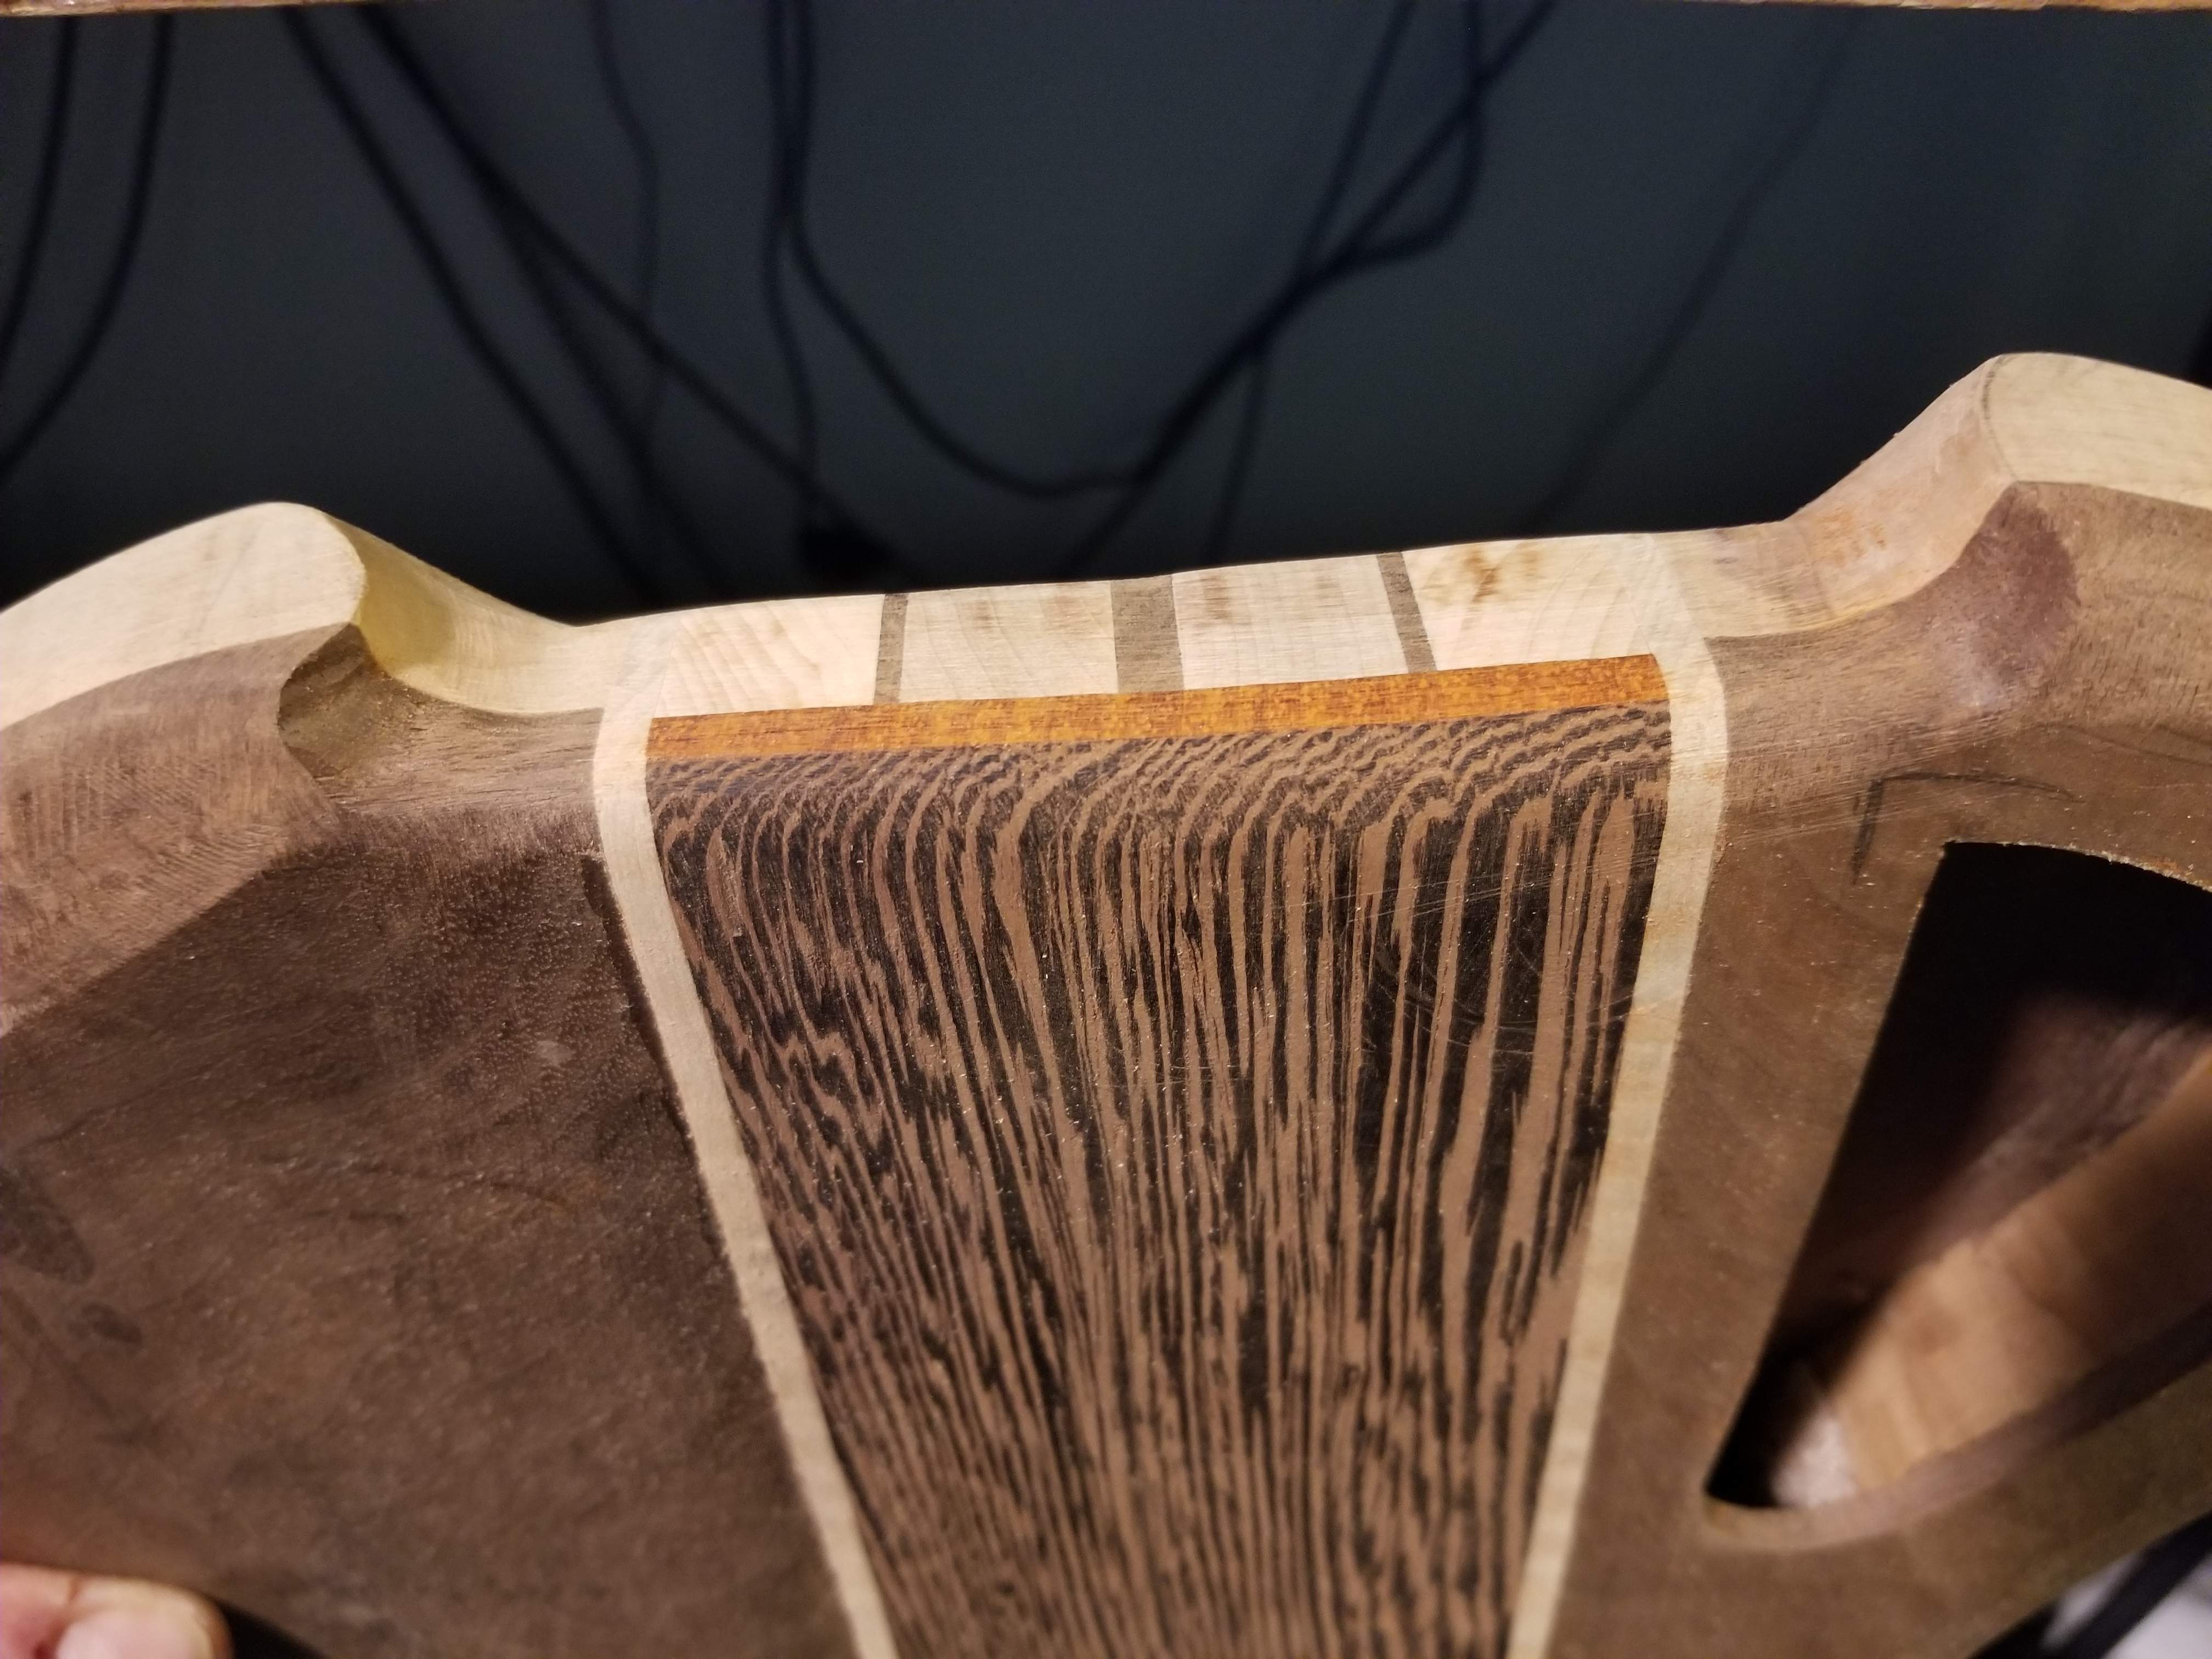
It's far from finished, but I feel like it's getting closer. I've got to work out all the tool marks then make the two sides look the same.
Next up I've got to go the other end of the neck and figure out how the headpiece gets mounted, hopefully no surprises there.
What I didn't see until just now is there was a pretty big tearout in the back on the wenge from when I cut it with the bandsaw. I have a pretty aggressive blade on there right now and it did bad things. After doing a little shaping, you can't see it at all.
It's far from finished, but I feel like it's getting closer. I've got to work out all the tool marks then make the two sides look the same.
Next up I've got to go the other end of the neck and figure out how the headpiece gets mounted, hopefully no surprises there.


- Apr 18, 2008
- 16,016
- 1
- 31,730
- Disclosures
- I'm highly opinionated and extremely self-assured
You do realize that you have another 2 1/2 months, right?


