• TalkBass has been independent since 1998. Add your voice.
    Create a free account to reply to discussions, view embedded media, and browse with fewer display ads.
    Join freeLog in
    Want zero display ads or expanded classifieds tools? Compare plans.

Winter 2019 Build Off - The Carl Factor

I spent the week out in LA for work. I did get a little time one afternoon for some sightseeing. I go to LA often for work, this is the first time I've done anything touristy. Fun, but you all have too many people living out there.

20190110_133845.jpg

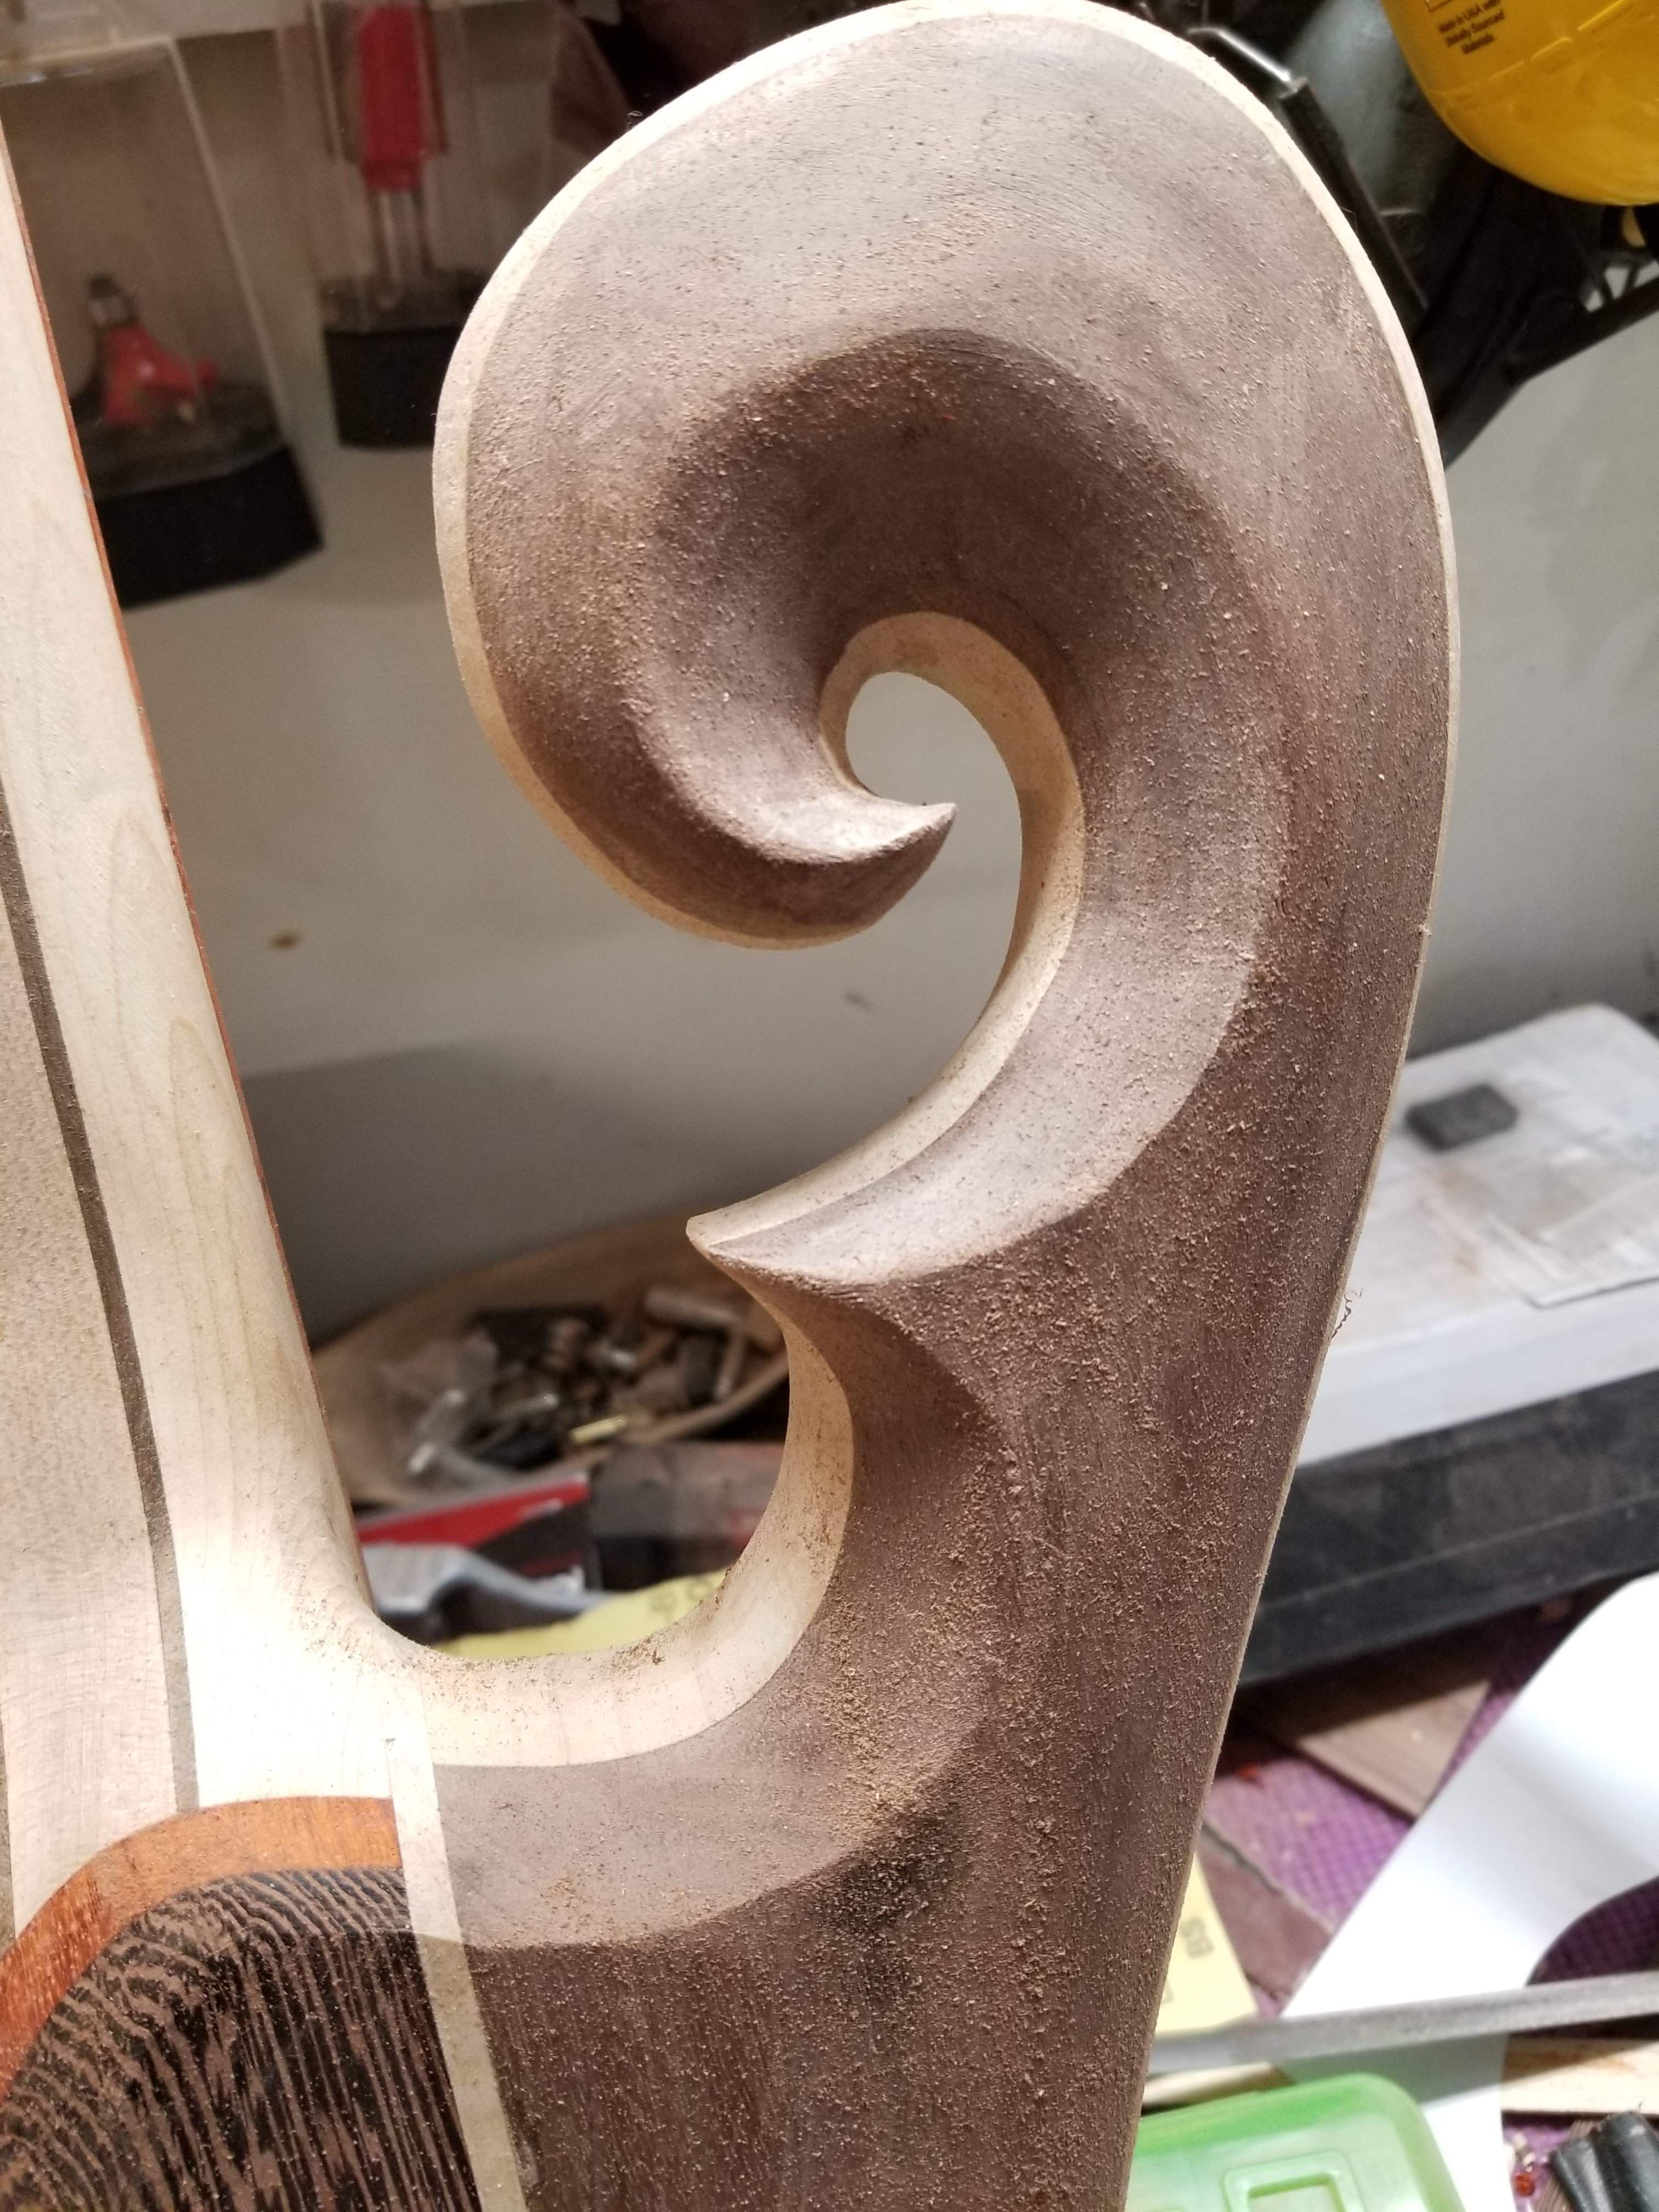
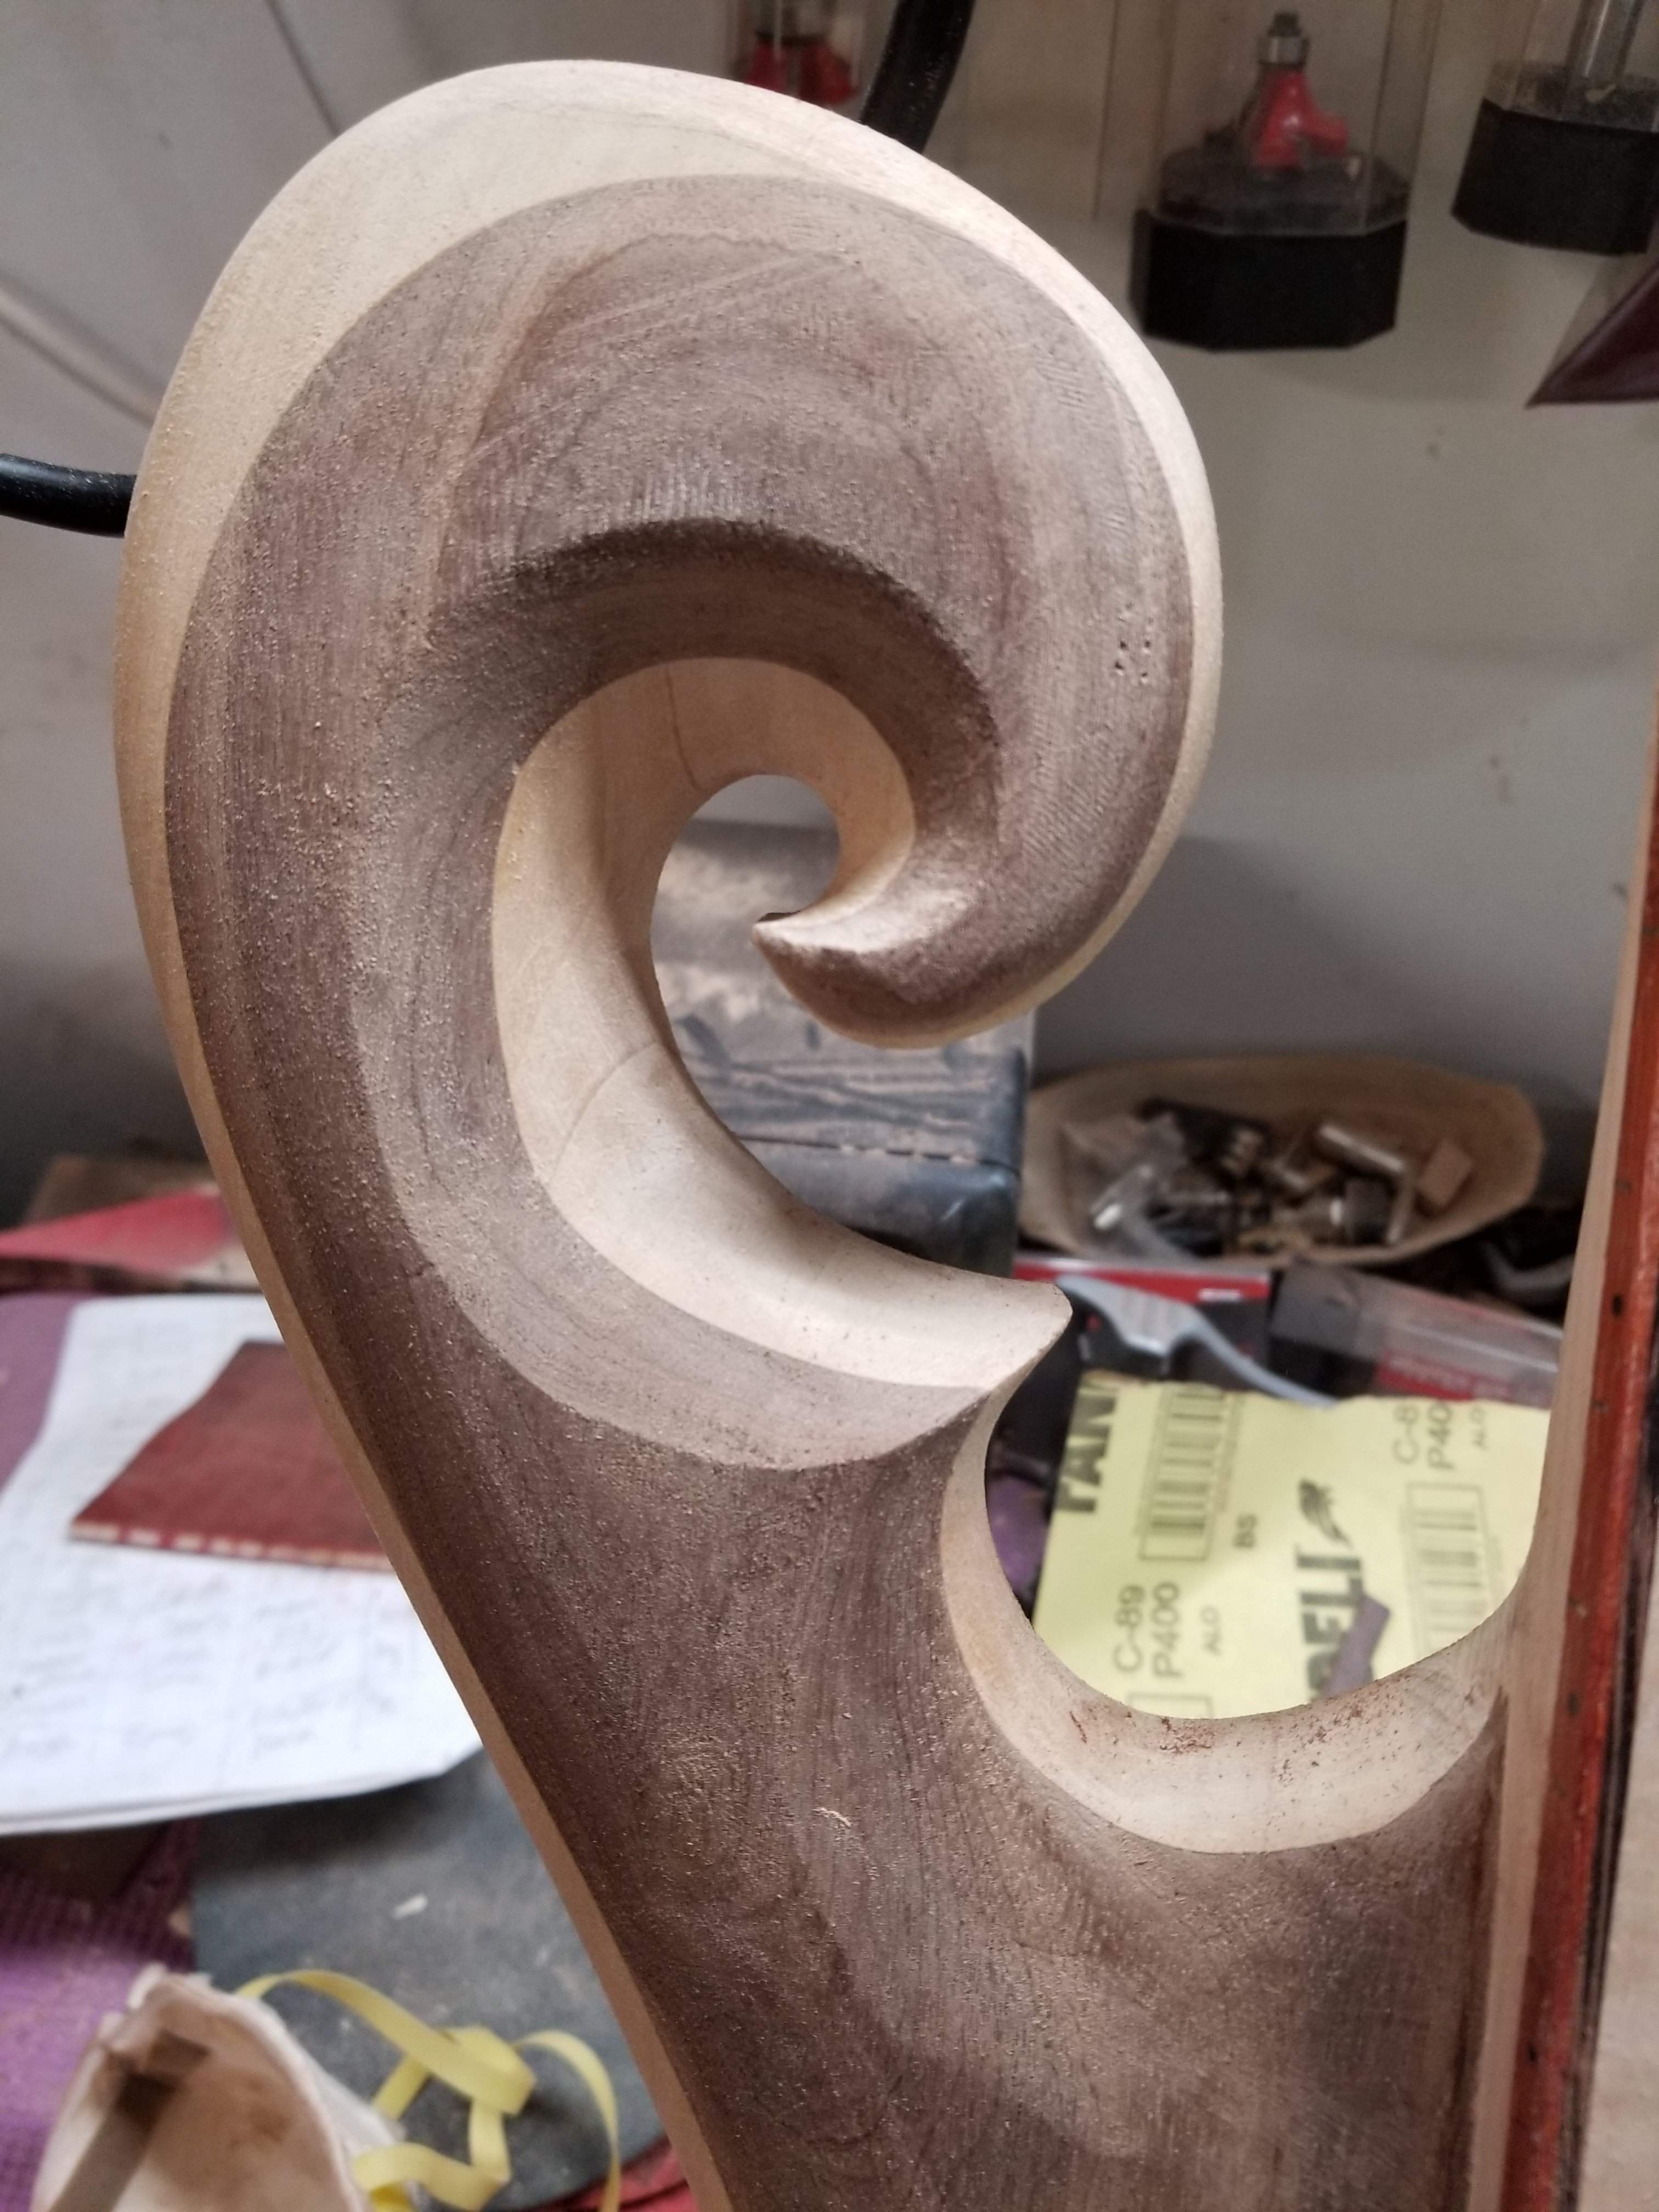
I got an hour in the shop this morning, I started with the neck/body interface, I had a bit of ugliness there that I took care of with with the dremel then scrapers. No pics, but not much to see anyway. After that I moved on to the scrolls, I am using a razor blade as a scraper in the scroll, this will take a lot more, but it looks a ton better than it did when I picked it up.
20190112_090602.jpg
20190112_090547.jpg

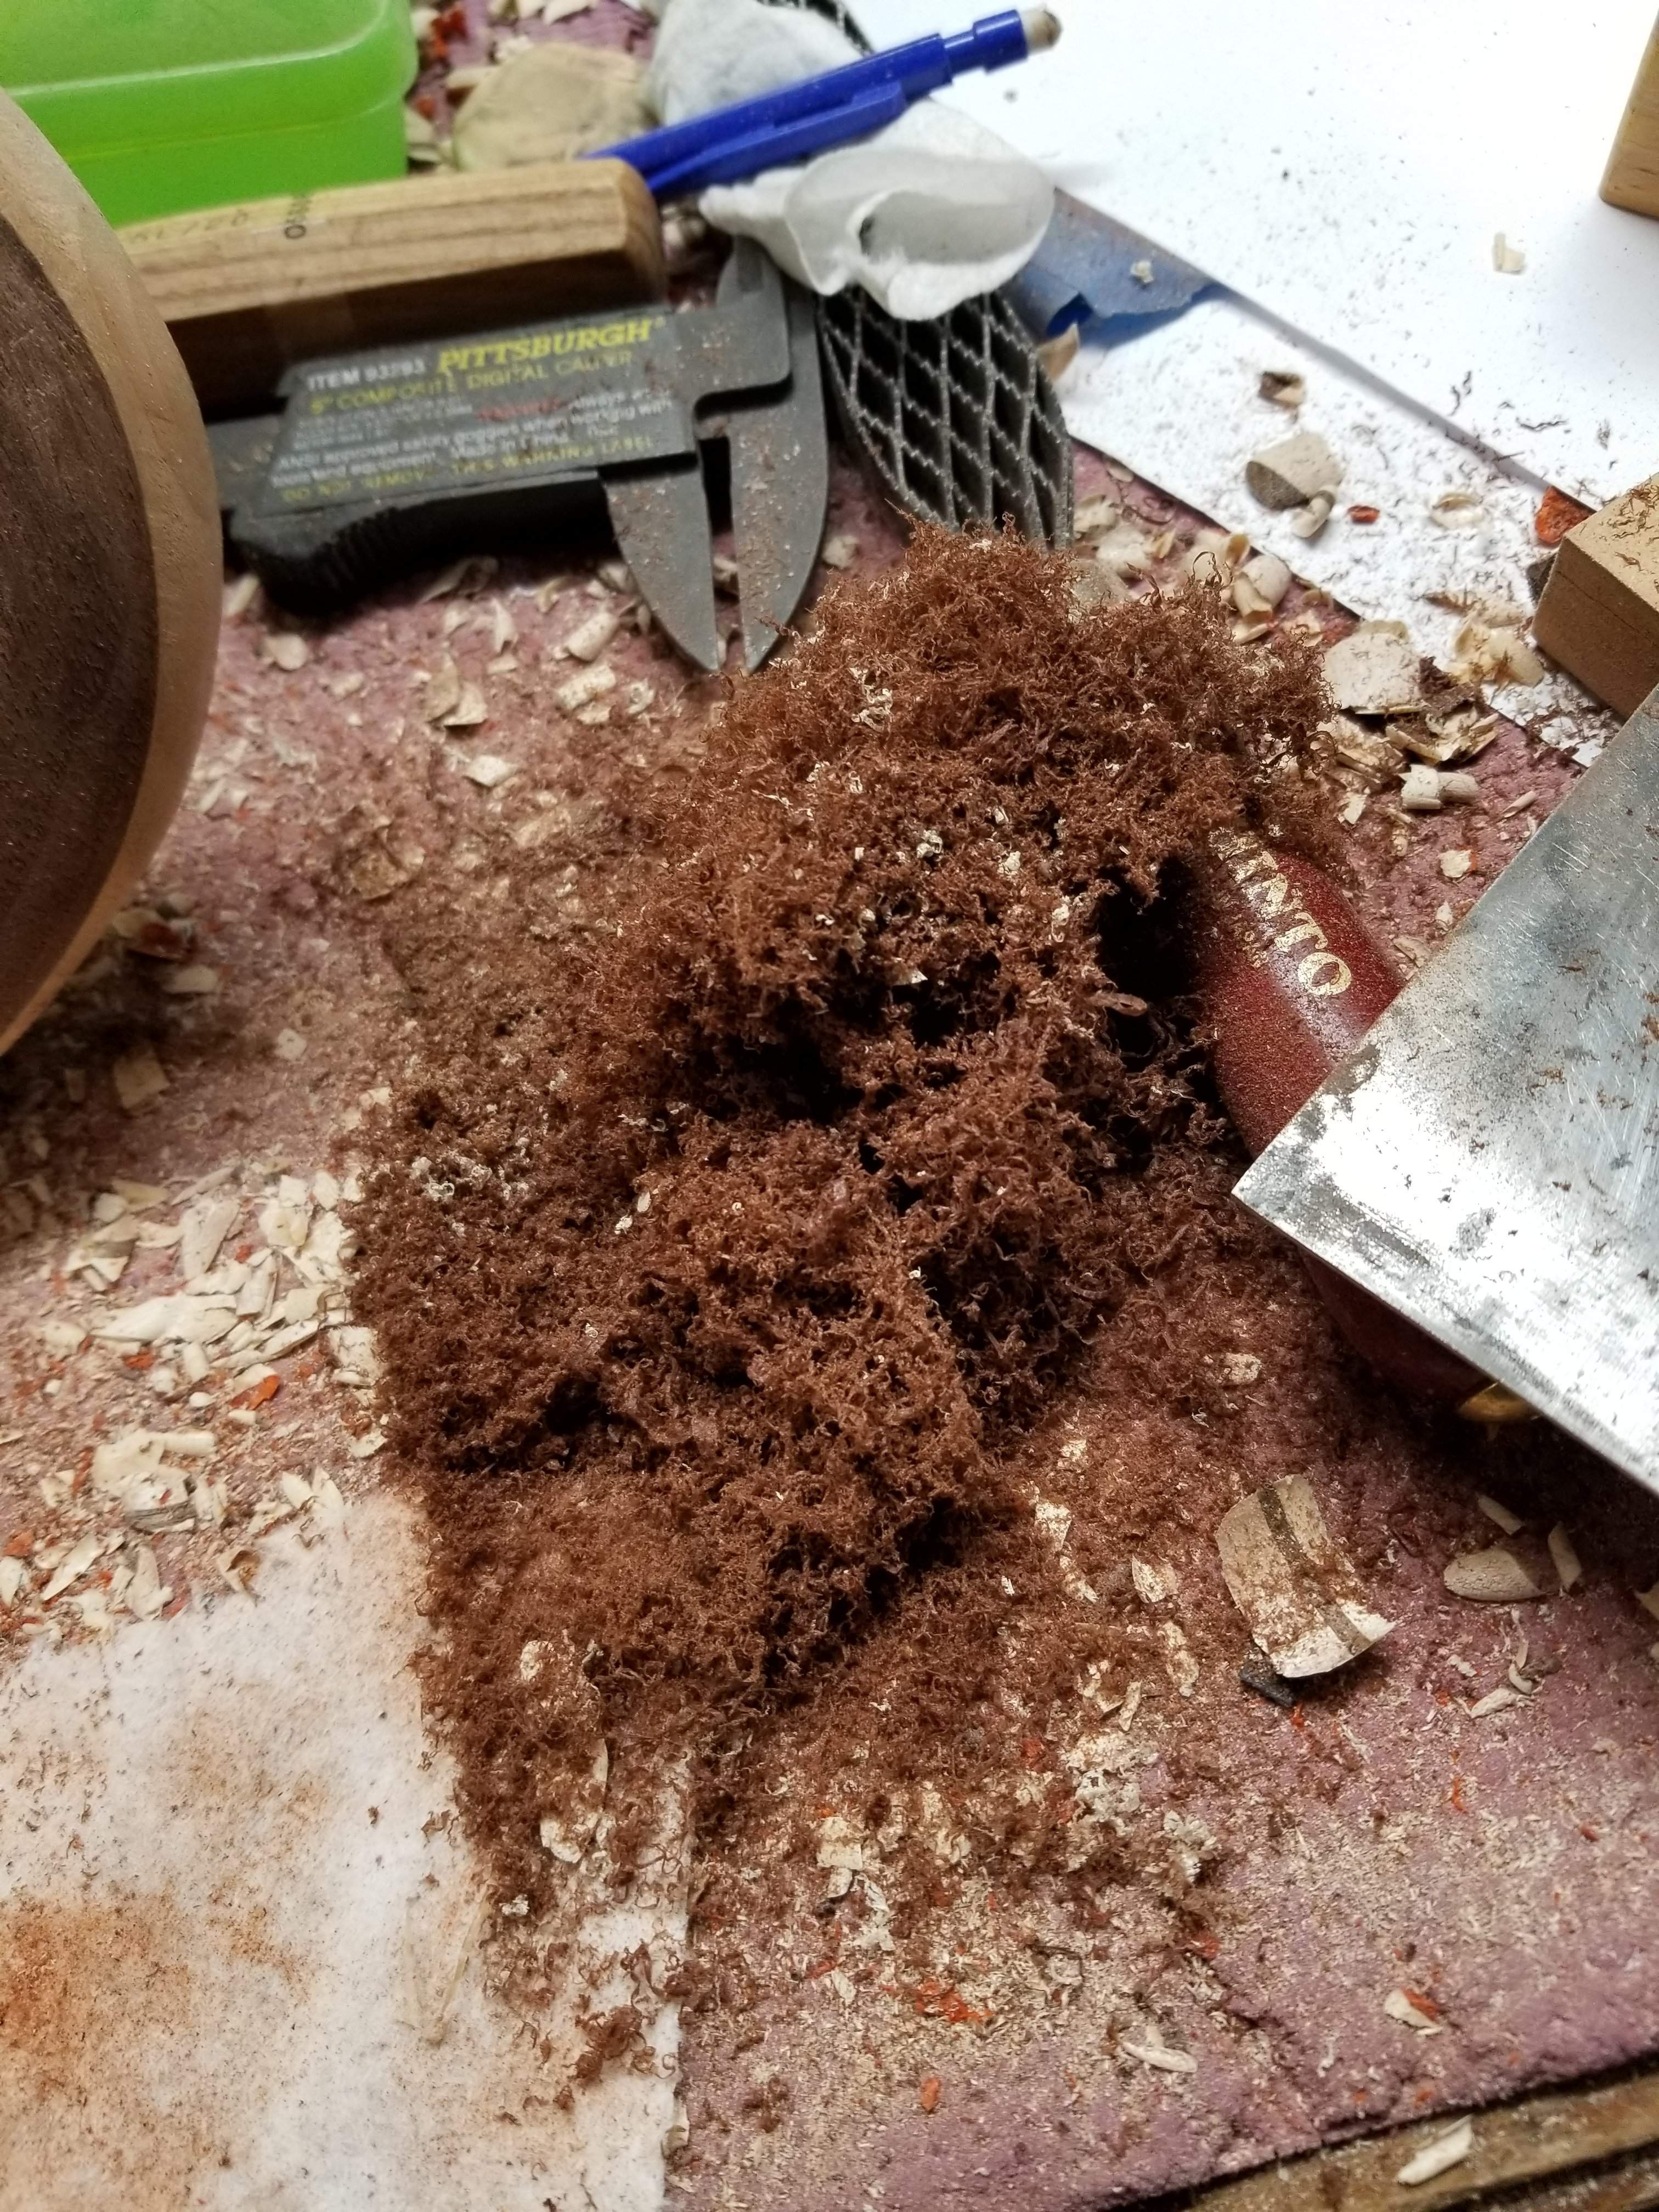
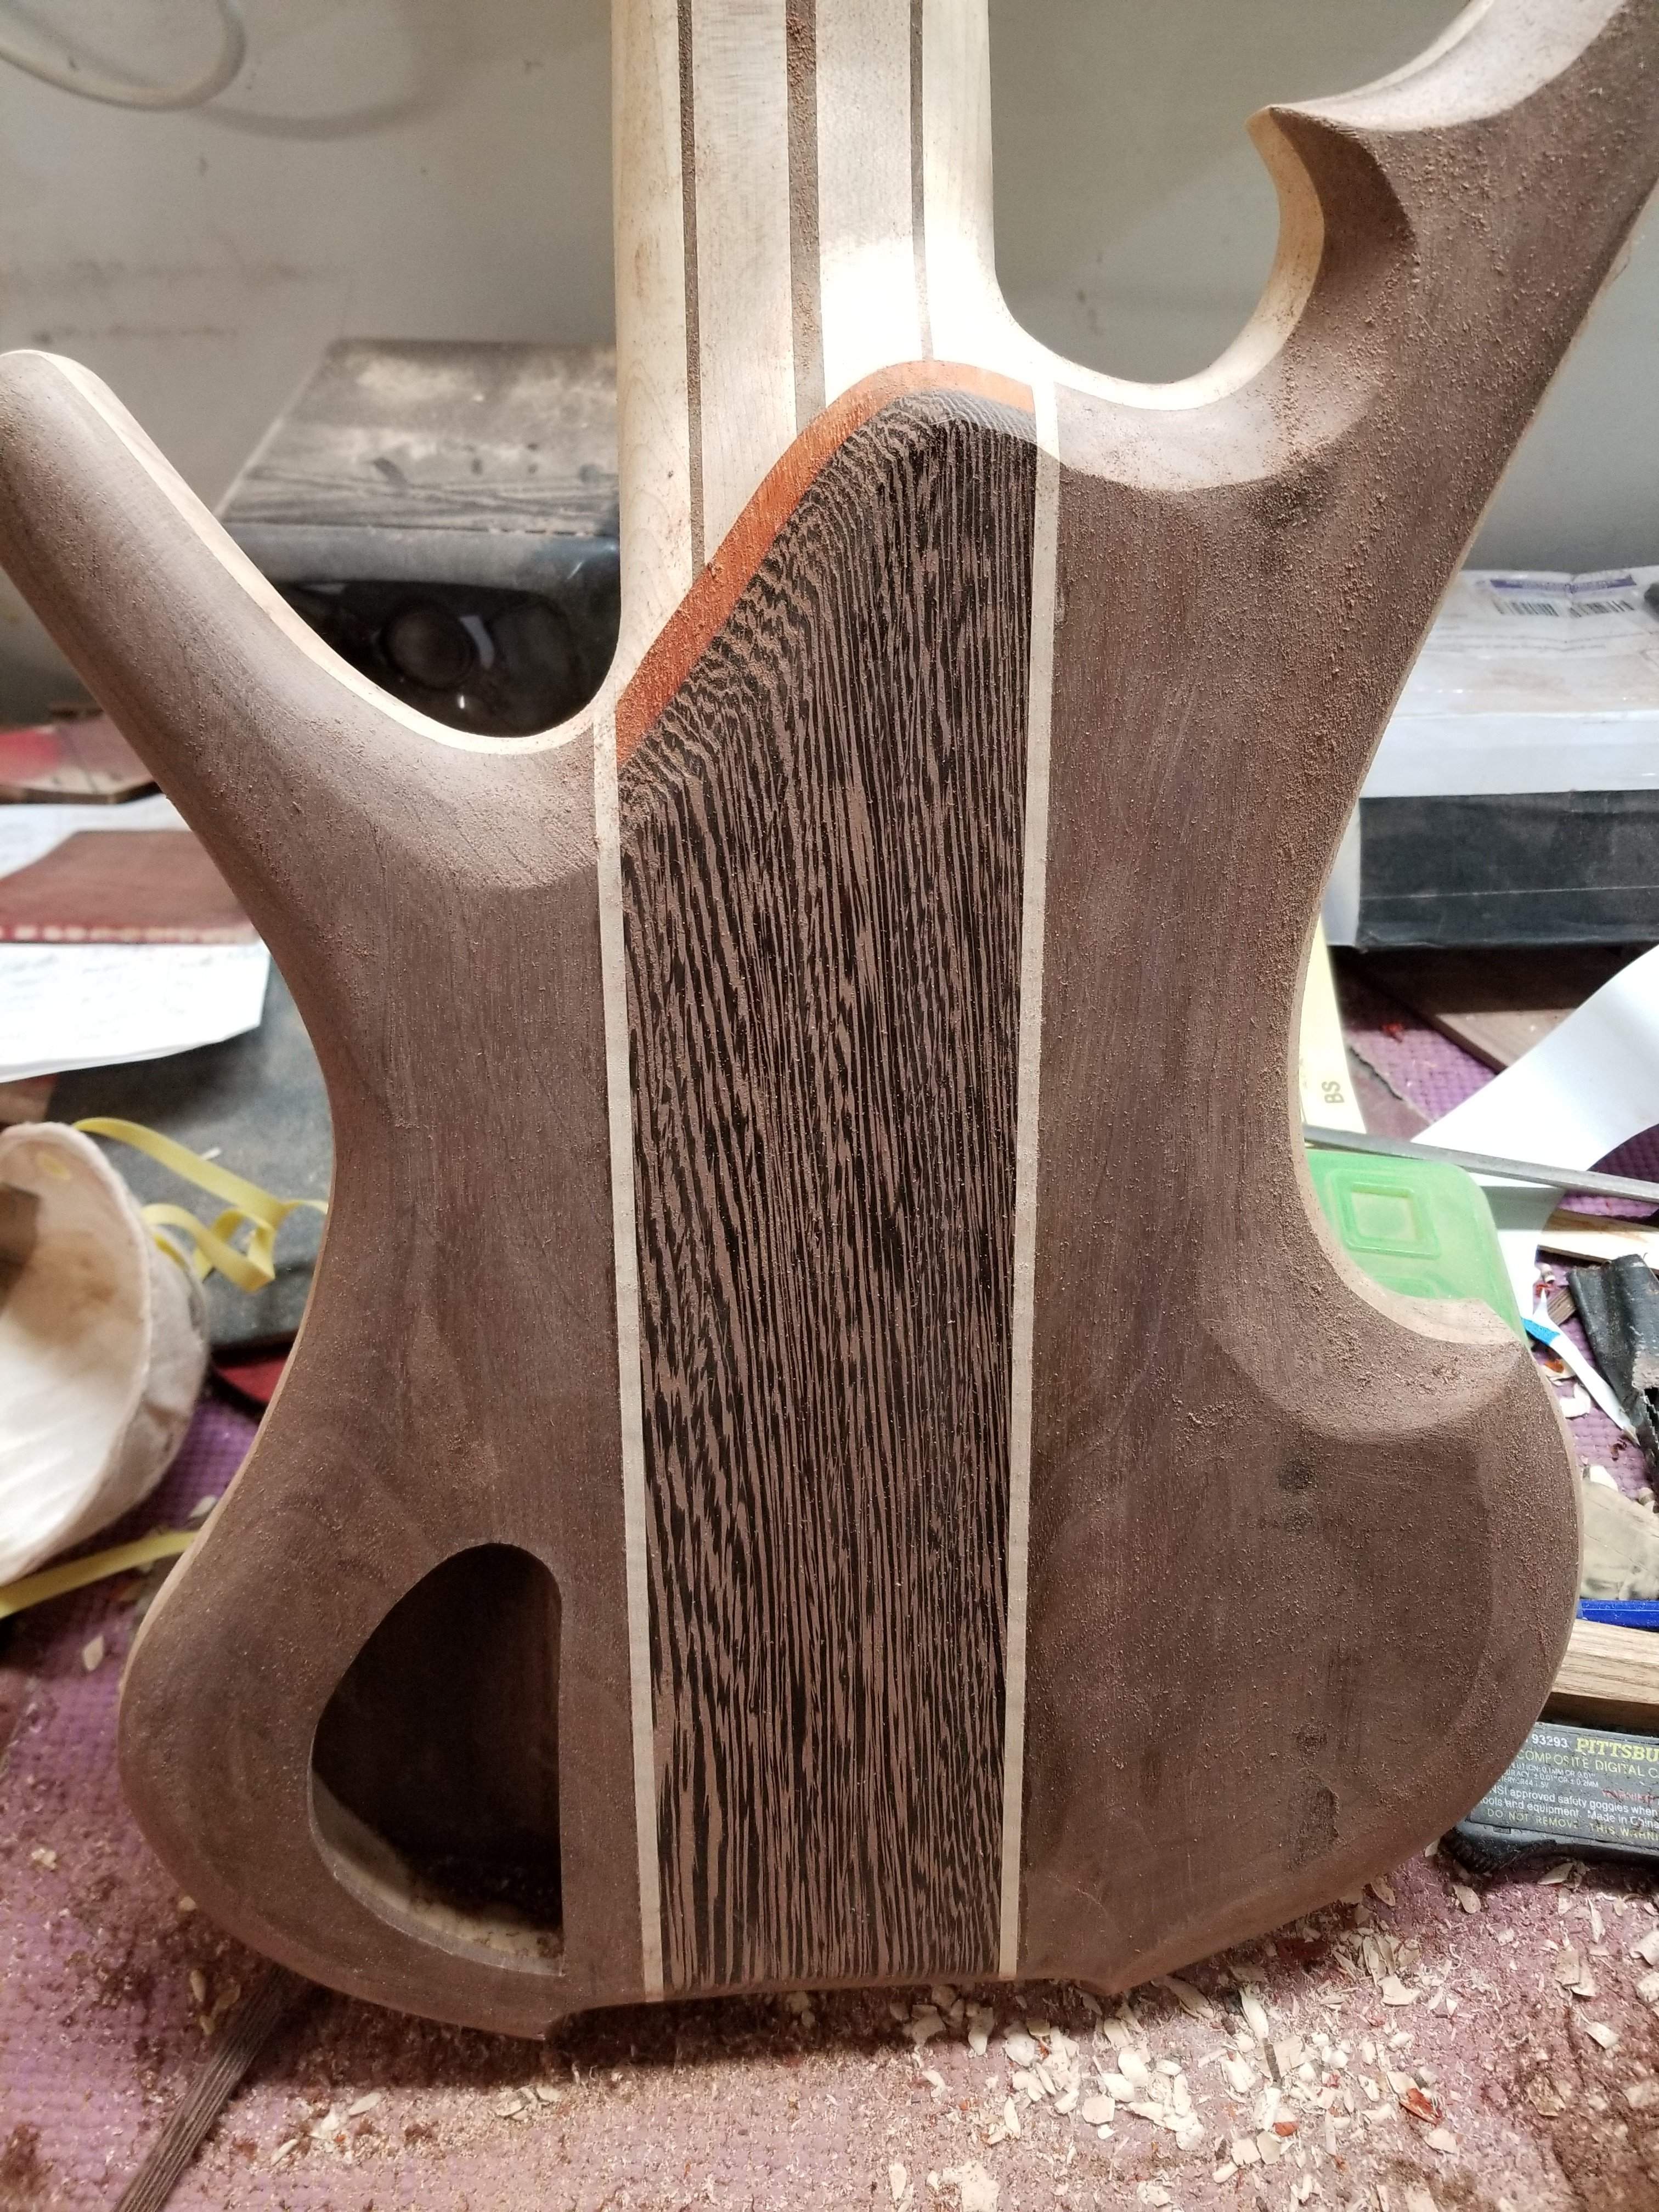
The center section of the back (wenge/maple) was slightly raised up, so once my fingers were too tired to scrape with the razor blade I moved on to the card scraper and scraped down the back until it was flush. After scraping the contrast between wenge and maple looks really nice.

Nice pile of scrapings
20190112_090608.jpg
and the back as it stands now. I still have a bit more flattening to do on the bottom of the neck there.
20190112_090551.jpg

I have to get the headpiece mounted, prove out the string paths then mount the bridge, but the ground is frozen and riding should be great this morning.
 
Conditions were awesome for a ride this morning, but jet lag reared its head toward the end of the ride, all good, just slow.

I got a couple of hours in this afternoon, but it's all tuning and little things, most of which won't show up in pics. I love doing this stuff though. When I get sick of one thing, I just move to another, on and on.

The things you can see:

I finalized the pickup covers. I had to sand out the inside a bit for a looser fit and then I scraped and sanded them clean and flat, then rounded off the corners a bit. I need to drill holes in them to hold them onto the body. I'm not sure which screws I'm going to use yet, so I'm waiting until I make that decision.
20190112_162147.jpg

I mounted the bridge and headpiece. Surprise! The control cavity is under where one of the bridge screws. I glued in a maple block.
20190112_152020.jpg

Then I got the control cavity cover set. I did a bit of a different process this time, it was so much easier and better results. Once I got the block size and magnet hole done, I glued the magnet in with the block upside down, then glued the block into the cavity. Up until now I've been gluing the magnet in once the block was in the body, it just easier to deal with the magnets outside the cavity, no jumping around.
20190112_170816.jpg

The cover ended up slightly cockeyed, I've never had that happen before, but I can see how it could happen. I'll put a small ramp on the bottom of the cover to push the top side over a bit. I can move it back, but the magnets pull it back so it looks like this. I've got to fill the drill hole too.
20190112_170824.jpg

and while I had the headpiece on I shaped the end of the neck to match. The screws that came with the headpiece were long. I'm not sure how you could use them that long unless you left a bump at the end of the neck or the neck was over an inch thick. I cut about .25" off each screw. I have a bit more shaping to do. There's not much material left below the screws though, so there's not much room to be creative with the end of the neck.
20190112_172711.jpg

The rest was shaping stuff that you can't really see in a pic. It's looking pretty good overall. String paths look perfect both side to side and height.

and I had to see what it looked like with the pickup covers in place.
Next I'm going to put the UV kick resin on the fingerboard, I've got a lot of work to do on the fingerboard to get to that point though. I might wait until Tuesday to do that though, as I'm traveling for work again so that will give it a couple days to harden without me being tempted to work on it. I have another hour or two of sanding/scraping, then I could be doing Tru Oil. With work travel that, realistically, is next weekend or later. Oh and I guess I need to drill for knobs too.
 
This is where things slow down, as I've said before. I spent an hour in the shop this afternoon. I fixed the control cavity cover. I added a tiny piece of walnut to the inside of the cover to push that side over a little. The side benefit is the cover is a lot tighter now as the magnets are pulling the cover against the shim I installed. I also filled in the drill hole.
20190113_181457.jpg

I have this test piece I did with the UV resin a few months back, right after I kicked it with the sun I tried polishing it up, but I couldn't get it beyond the "haze" stage and I could dent it with my fingernail. It has definitely gotten harder over time, I can't dent it with my fingernail or a #2 pencil. Before I committed to this as a fingerboard coating, I wanted to test out polishing it up and make sure I could get it where I wanted. I sanded with 400, then up through Abralon pads before finishing with anti-swirl. It looks awesome (although I didn't do any real sanding before putting the first coat on so you can see the scratches in the wood). This makes me think I've found a good alternative to CA glue.
20190113_175820.jpg

I started working on the fingerboard, it's supposed to be sunny tomorrow afternoon, so I'll do that next. I leveled it out (it actually didn't need much/anything there), then polished it up using 220, 400 grit then Abralon pads. Of course this picture doesn't do it justice. After I took this picture I put tape around the edges then added a dam of tape to that. I don't expect to have any problems with it, but it can't hurt to be cautious.
20190113_175338.jpg

I've got a lot more sanding to do on the body, especially the flat part on the front, that will be the next few hours of work.
 
As the weather guys promised the sun came out right around noon time. I took some time at lunch to put some resin on the fingerboard. I have no experience with this other than the small test piece, so this is a bit of a guess. I made sure the bass was perfectly level then I put enough resin on to give it some flow. I pulled back the dams on the side a bit to make sure the resin was getting all the way to the edge. The surface tension was not allowing that unless I kind of spread it out to the edges. I don't see it flowing under the dams before I expose it to UV. I used a foam brush which I half expected to disintegrate, but it didn't. I pulled out any dust or other stuff that got in the goopy resin. That's how I would describe its viscosity: goopy. I guess it's similar to the viscosity of epoxy. It smells a bit, but nothing too bad, if you smelled it, you'd say it smells like resin. No eye watering or irritation of any kind though.

It's cool that you can mess around with this stuff for as long as you like, until it gets hit by UV, it won't harden.

I'll let this settle for 20 minutes then carefully carry it up the stairs, take it outside and expose it to UV. It's impossible to say for sure, but I think I have about 1/16" or so of resin down. I turned on the heater in the shop too, I don't know if temperature makes a difference for flowing, but it can't hurt.

You can see the last part I spread on the bottom and how it looks before it settles. Even the part further up the neck was a lot flatter in the amount of time it took me to go from the top to the bottom.

Keep your fingers crossed!
20190114_124247.jpg
 
A mid-settle update: I noticed that there were what appeared to be small "pinch spots" in the surface. When I looked closer some were caused by dust, which I removed, but most of them were trapped air bubbles. I took a clean piece of wood and gently pushed down on the spots and the bubbles rose to the surface and the irregularities disappeared. I just found one spot without coverage, I'll let that settle out and see where I'm at.
 
  • Like
Reactions: ReasonablyHappy
Well I guess that was a fairly quick and painless failure. I was pulling off the tape and some of the edges lifted up a bit, to the point where it was pretty much ruined. I tugged at one of the points that was pulled up and the whole thing just peeled off. There was no adhesion between the wood and the resin, it was just sitting on top. Might be back to the CA fumathon. I don't know if it was the cold or the fact that I buffed up the surface as much as I did. I always do that with CA, but CA soaks into the wood, even if it's buffed, obviously this stuff did not. I'll have to try peeling the finish off that test piece (that was likewise kicked on a cold day, but that I didn't buff to nearly this smooth).
20190114_142706.jpg
bass still looks good though!
20190114_142712.jpg
 
I'm going to submit this for the "fastest recovery" part of this contest (that's a thing right?).

I had a long conference call where I had to listen, but really didn't have to contribute, so I turned on the overhead fan, put on my glasses and mask and went to town. This was definitely the fastest I've ever done a CA fingerboard, one thing I realized this time is there is a magic grit for sanding CA, it's 120. 80 is too coarse and 220 is not coarse enough. 120 takes it down perfectly.

I got about 8 coats done with thin viscosity CA hitting it with accelerator after every 3 or so coats and sanding when required. It went on relatively smooth and I ended up with a nice result. I could buff this up super shiny, but I'm going to leave it as it is right now, it's shiny, but not high gloss. I think it looks good. I pulled the tape off, there is a lot of sanding and scraping to get the glue residue off the edges (as usual), but I'm pretty happy with how this came out.
20190114_165724.jpg
 
Last edited:
Nice save! Looking fantastic. Is the fingerboard totally flat? Did I overlook this somewhere?
Three out of the last four builds I've done I've left the fingerboard flat. Perhaps I'm not perceptive enough, but I don't notice any difference between one with a radius and one without. Flat boards are a lot easier to build overall.

So long story short, this is a flat fingerboard.
 
I cleaned up the sides, it looks great. I taped over the fingerboard and started working on the back of the neck and the body. I won't get much more done before the weekend, another business trip gets in the way of progress
View attachment 3283605
Says the guy who builds at 8x the rate I do... :D This is really looking good (drool), and excellent save on the solarez. You finished the piece, had a catastrophic failure, and then fully recovered and finished it again before I even opened the thread, and I'm on here daily! I don't think your progress is at risk... :laugh::roflmao:
 
Says the guy who builds at 8x the rate I do... :D This is really looking good (drool), and excellent save on the solarez. You finished the piece, had a catastrophic failure, and then fully recovered and finished it again before I even opened the thread, and I'm on here daily! I don't think your progress is at risk... :laugh::roflmao:
yeah, well there's the pace I'm going at and the pace at which I wish I could go :smug:
 
  • Like
Reactions: Beej
I'm in CT too, and yes there is great mountain biking. I do that often. I was hoping you were going to say trail riding with your dirt bike. I've been trying to find some places to ride mine. CT is not so great for that!
 
I used to ride MXers when I was in high school. I have a few mountain bike friends who are former MXers, many converted just because there's nowhere to ride them here. I think the only legal place is in Thomaston, unless you're on private land. A lot of people ride up MXers at Shenipsit Forest in Somers, but it's illegal and everyone who is not an MXer hates them. :)