• TalkBass has been independent since 1998. Add your voice.
    Create a free account to reply to discussions, view embedded media, and browse with fewer display ads.
    Join freeLog in
    Want zero display ads or expanded classifieds tools? Compare plans.

Winter Build Off 2020 - F1 Walnut Fretless

rojo412

Sit down, Danny...
Supporting Member
Feb 26, 2000
10,914
15,078
46
Cleveland, OH.
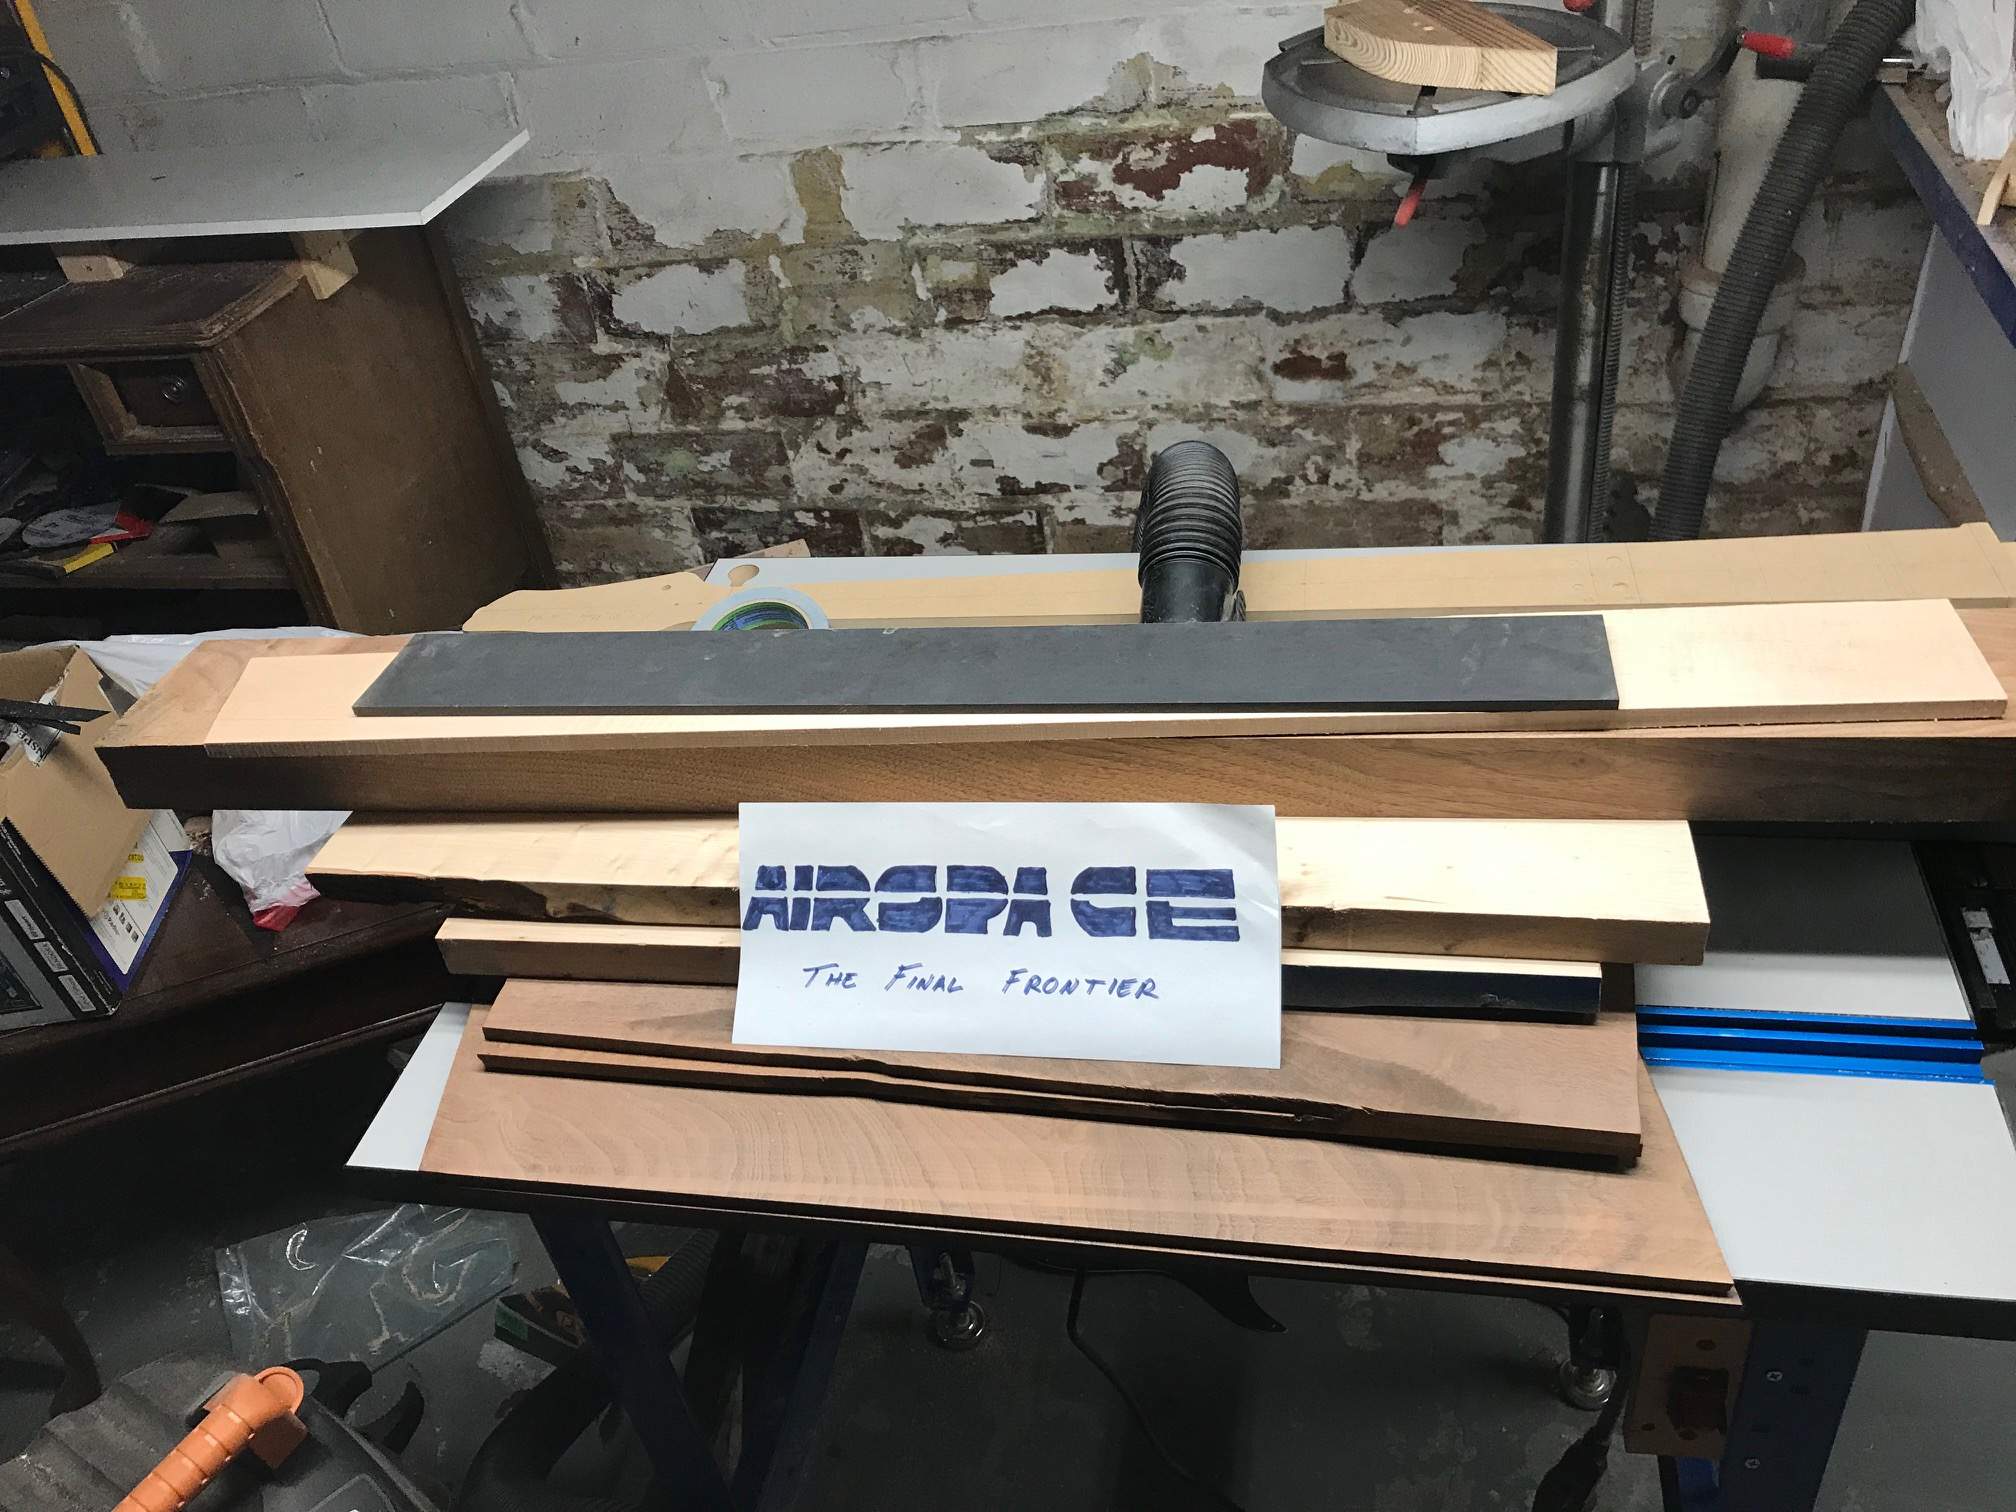
My first entry into the Build-Off this year will be a fretless bass, which was based off of another build I'd done called "P3". The new owner of P3, @brstma likes it so much, he wants something kind of like it, but in a fretless design. And since this all coincided with the build-off (an event which keeps me on a tight timeline), we thought it would be fun and functional to make it an entry into the competition.

The ACF F1 WALNUT FRETLESS


IMG_6015.jpg

Specs:
- Walnut crotch top and back
- Birdseye maple core, chambered thoroughly
- 5-piece walnut/maple neck, tiltback headstock
- Lined fretless richlite fingerboard, 33.5" scale
- Delano dual J pickup
- Passive controls
- Hipshot D bridge, string through
- Hipshot UL tuners

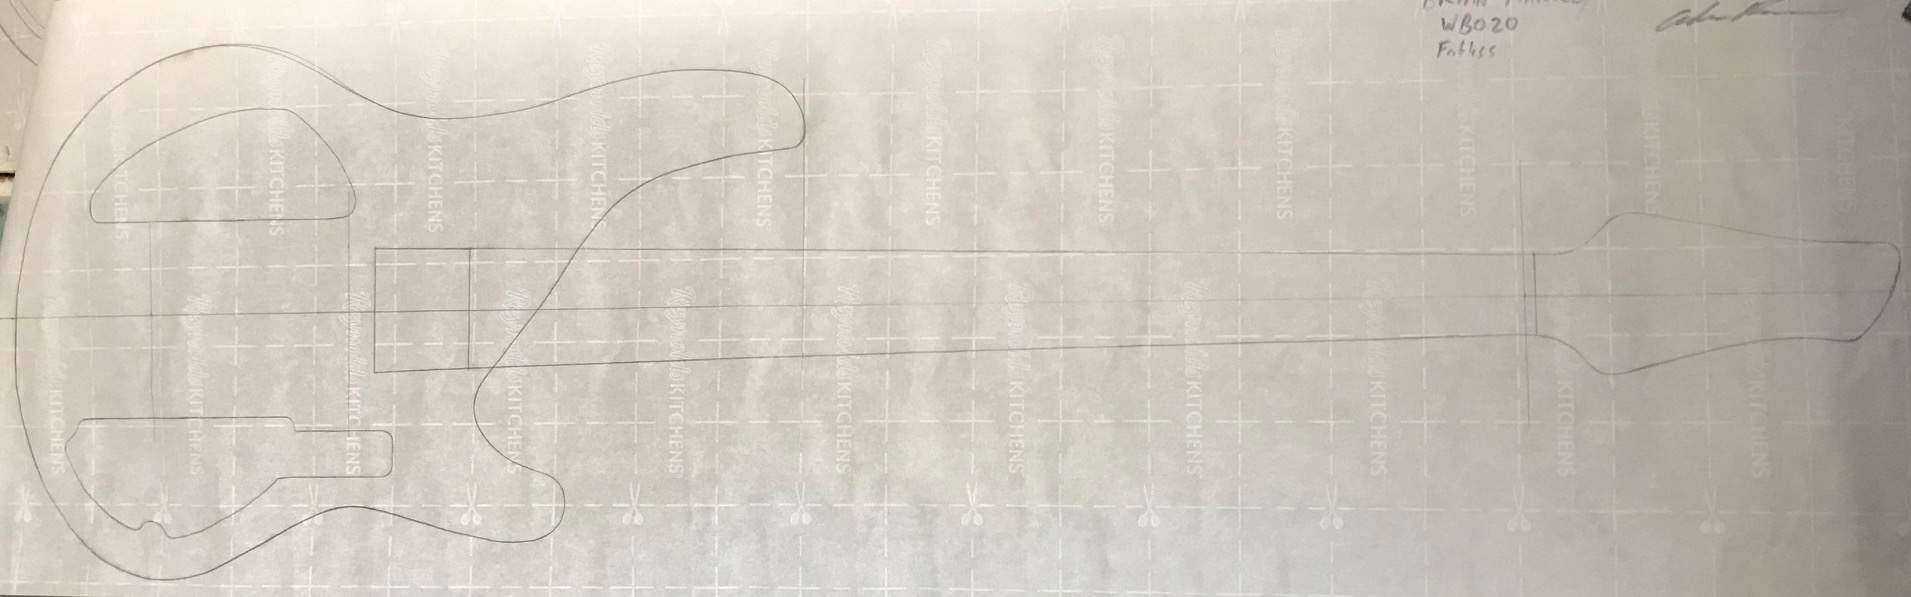
Here's a rough sketch of the plan so far:
IMG_6007.jpg
 
Starting with the core. Squared up edges, tapped in some tacks to avoid slippage, and glued up the panel.

IMG_6017.jpg

IMG_6018.jpg

All of the surface will be sanded off, so no worries about that test finish there. It will be gone in so many ways.
And in case anyone wants to ask "Why use birdseye for the core?"
- It was the only 5/4 I had
- It's a light piece
- I already cut tops from other parts of the board
- It's gonna look hot!
 
Betcha thought I gave up on this! :laugh:

Chambered the core and it's crazy light now:
IMG_6085.jpg

Plotted the back pieces:

IMG_6082.jpg

Put those through the planer (brand new set of knives today, by the way) on this anti-snipe sled:
IMG_6086.jpg

Then trimmed it up a bit, set up the top for epoxy and glued the back to the middle.

IMG_6088.jpg

I don't think I'm in the running for most clamps with this, but definitely have a variety :thumbsup:
When this cures, I'll trim it up and figure out the top and hole arrangement(s).

IMG_6011.jpg
 
Neck blank is done. This was a chunky one! And I got a chance to use just about every trick I had to make it go from a bunch of thick cut, kinda craggy pieces to this fine specimen.

IMG_6186.jpg

IMG_6187.jpg


Lotsa support.
IMG_6188.jpg

IMG_6189.jpg

We're gonna powwow on some ideas for the "semi hollow window hole thing of sorts". More on that as it unfolds. But here's the more trimmed up top, pre-glue up:

IMG_6191.jpg
 
We figured out the hole arrangement and neck specs, so here's where things land:

Clamp Henge Cleveland-

IMG_6330.jpg

IMG_6329.jpg

Drew up the lines on the board, glued it, cut to basic shape. We're doing only white markers along the edges to keep the middle section extra dark -

IMG_6331.jpg


And the nut will be here -

IMG_6332.jpg

I'm really stoked to see this one come to fruition. It's gonna be quite a beautiful bass.
 
Up to this point, I've been working around the uncut headstock blank. And frankly, it was getting heavy. So today was headstock time.
Unfortunately, I didn't take pics of the initial work. But let me paint a picture with words...

Using the bandsaw, I started trimming the angle to the face and back of the headstock. Nothing close enough to the lines to be dangerous because I had other plans for the final thickness. Not far into the trimming, my bandsaw had a slight blade mishap, as it came off the top wheel. But no worries, I shut it off and it wasn't in danger of hurting the neck.
Bummer was, I had to re-setup the bandsaw. But no biggie, took me a few minutes.
Trimmed as much as I could and then began the process of figuring out how to flatten a now-angled face.
The solution: planing jig.
That said, I was planing a face that forced the neck angle below the table's bottom. With some crafty clamping, I managed to set up the neck in a way that the face was now in a plane with the router sled. Cautiously, I went to work on it and it was working very well! So well in fact, I was able to get the face flat enough for hand tools.

That's where I picked up the camera again :thumbsup:

IMG_6360.jpg

The router managed to get it pretty nicely flat. All I'd need is a little block plane action to smooth it further.

IMG_6361.jpg

And that is fun. But... I couldn't resist busting out "Old No. 7"

Screen Shot 2020-02-05 at 12.16.15 AM.png


NO, not that "Old No. 7" (damn autocorrect)...

IMG_6362.jpg

This old no. 7. It cuts like a dream. And you bet it made short work of this.
After getting it nice and smooth, I hit it with the card scraper and got it damn near shiny.

IMG_6363.jpg

With a perfectly flat face, I was able to attach a "head only" template for the shaping with the router.
But I forgot the pics.
Long story short, made the template, attached it to the face, took it to the saw and router and shaped the headstock.

With that done, I now had a flat surface to mount to the jig bottom. With the face being double-sided taped to the jig, I supported all of it and went to work with the router sled.

IMG_6364.jpg

IMG_6365.jpg

VOILA!

IMG_6366.jpg

Tomorrow is volute time and probably fret line markers as well.

NOW... I can hit up the other Old No.7.
(Well, truth be told - I'm more into Makers or Knob Creek)
 
The last couple posts on this thread just reminded me to ask my dad about his antique plane collection which probably includes a No 7. Here's my question - was there a reason why you needed to specifically use the No. 7 on the headstock?
 
Up to this point, I've been working around the uncut headstock blank. And frankly, it was getting heavy. So today was headstock time.
Unfortunately, I didn't take pics of the initial work. But let me paint a picture with words...

Using the bandsaw, I started trimming the angle to the face and back of the headstock. Nothing close enough to the lines to be dangerous because I had other plans for the final thickness. Not far into the trimming, my bandsaw had a slight blade mishap, as it came off the top wheel. But no worries, I shut it off and it wasn't in danger of hurting the neck.
Bummer was, I had to re-setup the bandsaw. But no biggie, took me a few minutes.
Trimmed as much as I could and then began the process of figuring out how to flatten a now-angled face.
The solution: planing jig.
That said, I was planing a face that forced the neck angle below the table's bottom. With some crafty clamping, I managed to set up the neck in a way that the face was now in a plane with the router sled. Cautiously, I went to work on it and it was working very well! So well in fact, I was able to get the face flat enough for hand tools.

That's where I picked up the camera again :thumbsup:

View attachment 3695709
The router managed to get it pretty nicely flat. All I'd need is a little block plane action to smooth it further.

View attachment 3695710
And that is fun. But... I couldn't resist busting out "Old No. 7"

View attachment 3695719

NO, not that "Old No. 7" (damn autocorrect)...

View attachment 3695711
This old no. 7. It cuts like a dream. And you bet it made short work of this.
After getting it nice and smooth, I hit it with the card scraper and got it damn near shiny.

View attachment 3695712
With a perfectly flat face, I was able to attach a "head only" template for the shaping with the router.
But I forgot the pics.
Long story short, made the template, attached it to the face, took it to the saw and router and shaped the headstock.

With that done, I now had a flat surface to mount to the jig bottom. With the face being double-sided taped to the jig, I supported all of it and went to work with the router sled.

View attachment 3695713
View attachment 3695714
VOILA!

View attachment 3695715
Tomorrow is volute time and probably fret line markers as well.

NOW... I can hit up the other Old No.7.
(Well, truth be told - I'm more into Makers or Knob Creek)


Auto-correct is the worst.. :D

This is shaping up to a be a sweet bass!
 
  • Like
Reactions: rojo412