• TalkBass has been independent since 1998. Add your voice.
    Create a free account to reply to discussions, view embedded media, and browse with fewer display ads.
    Join freeLog in
    Want zero display ads or expanded classifieds tools? Compare plans.

Winter Build Off 2020- The ♾

MPU

Sep 21, 2004
3,703
10,692
56
Valkeala Finland
Here’s my entry, The ♾
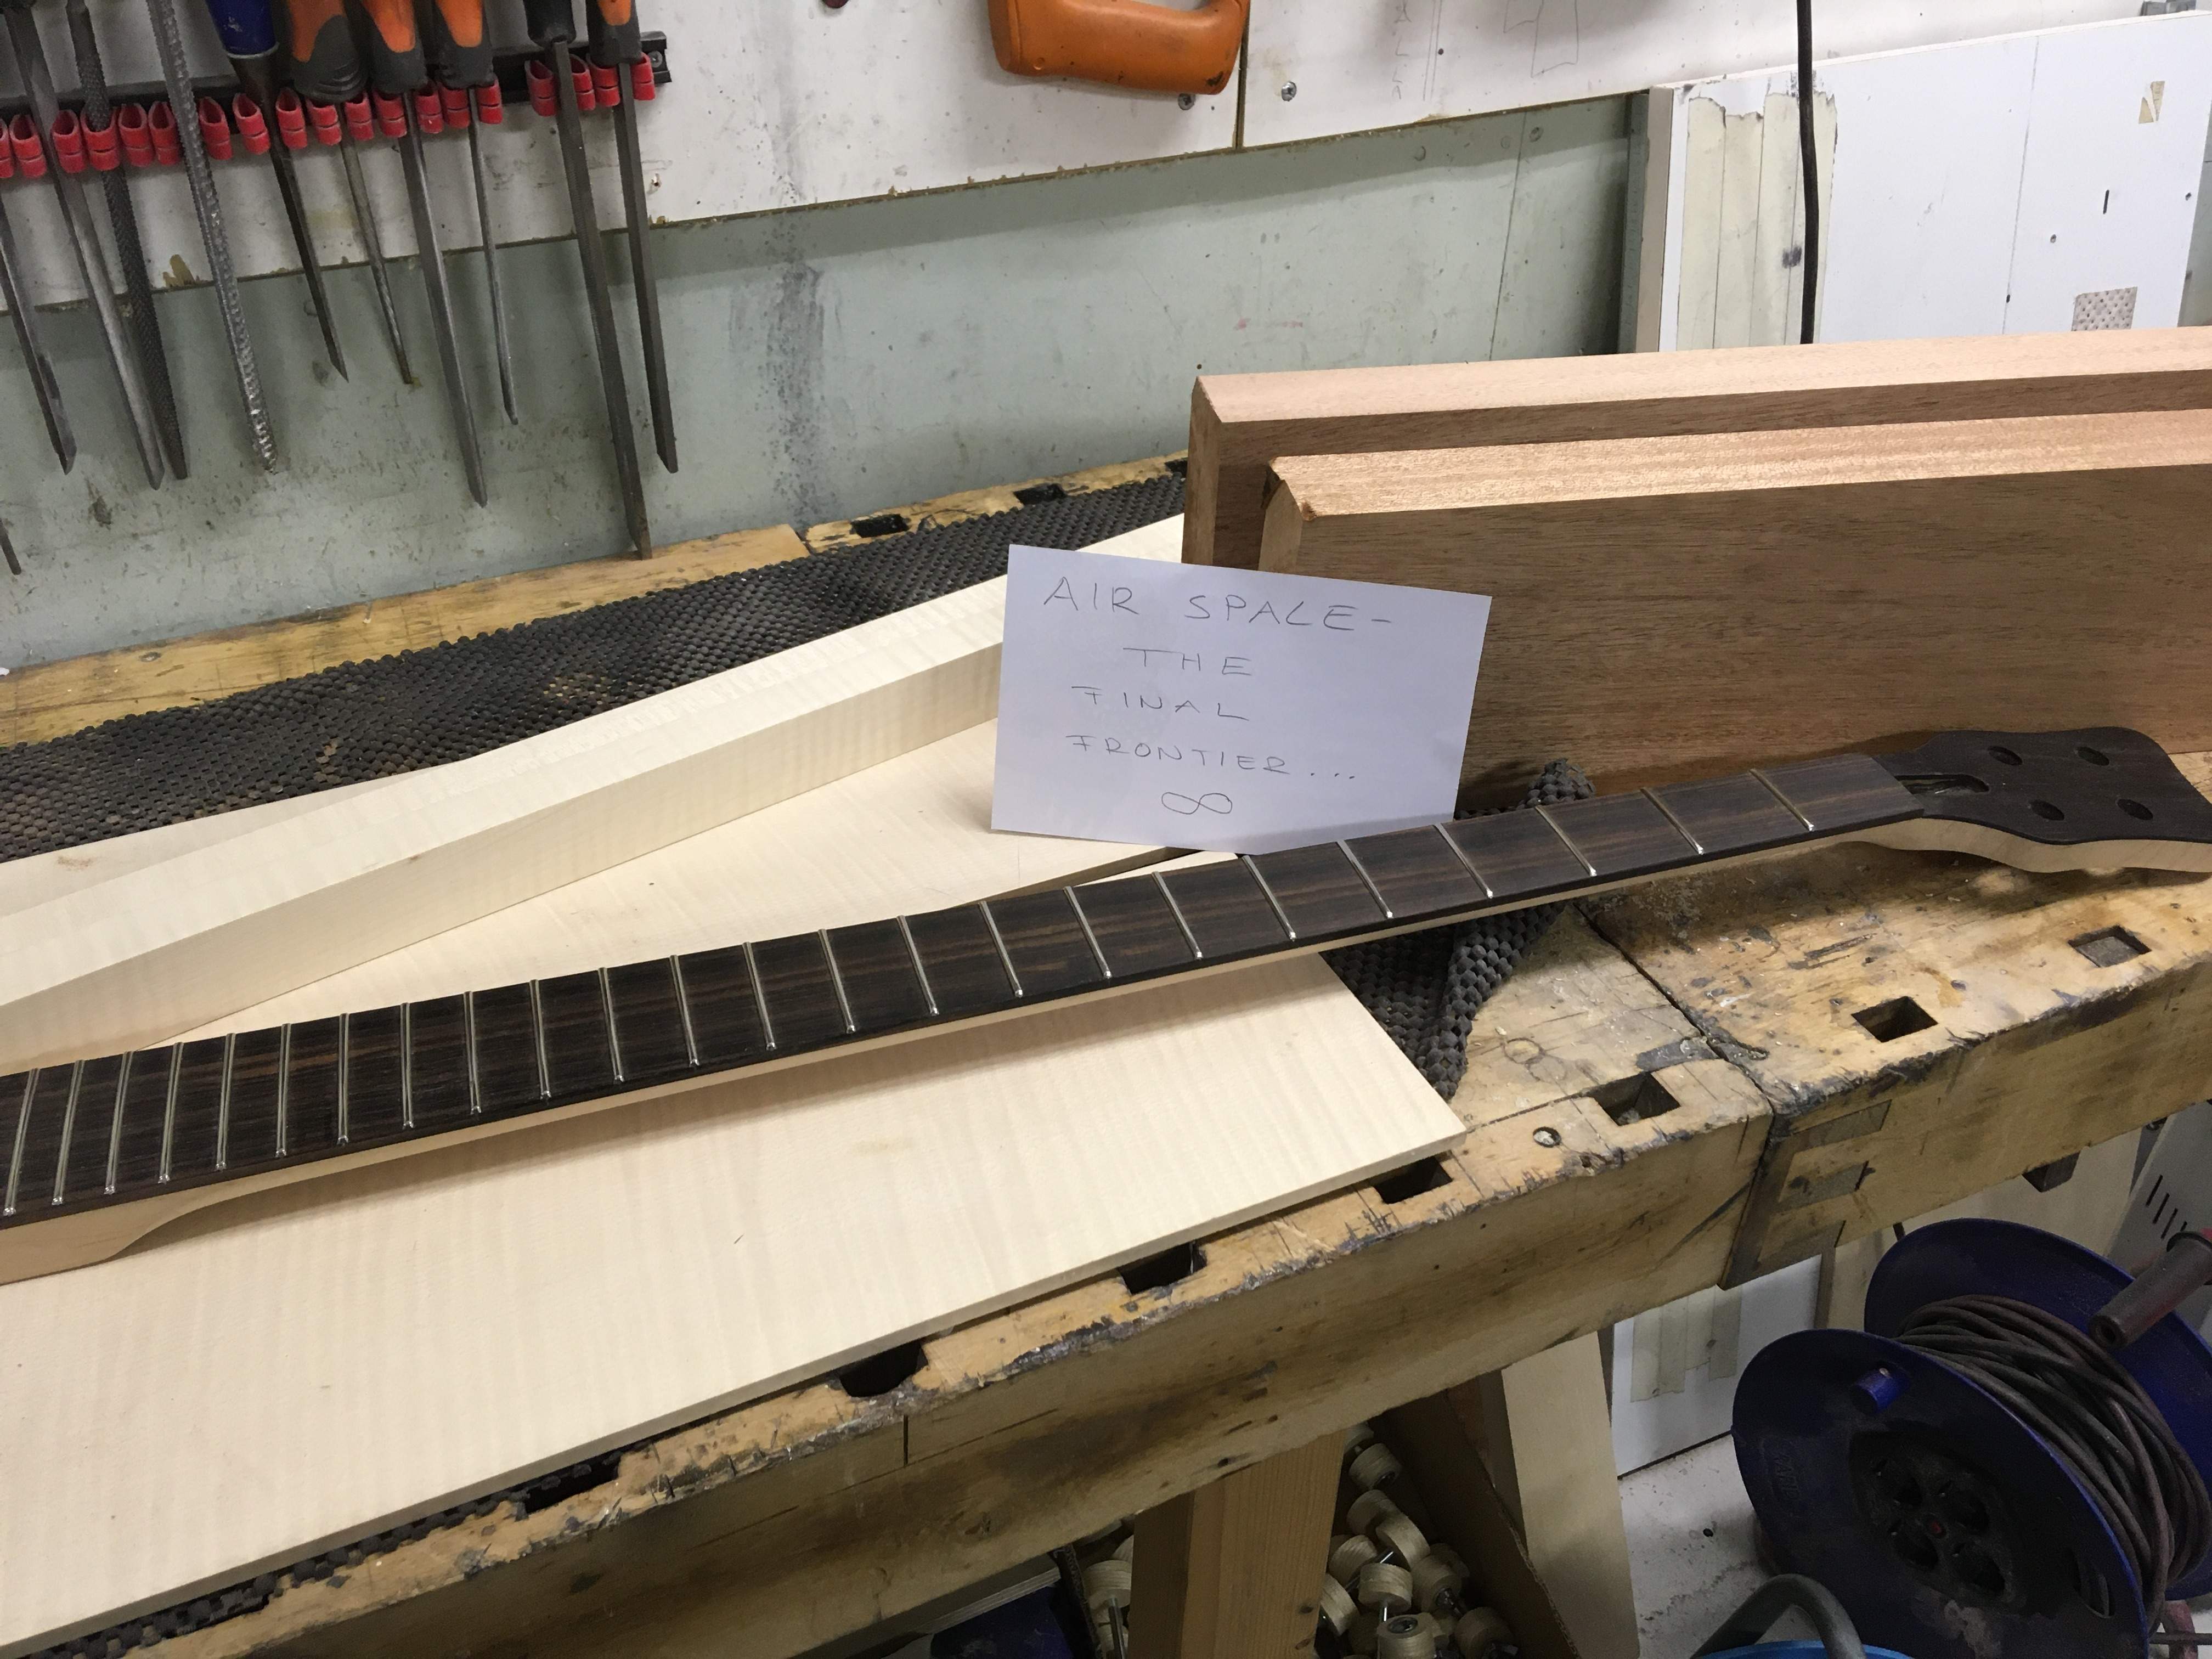
Mahogany/flame maple body
Warwick RB maple/rosewood neck
Warwick/Schaller hardware
MEC pickups
Here are the woods
398B2B92-0A24-4DF1-889D-674A62214109.jpeg
 
6329B75B-5D74-4CE2-8AF2-D6C32E2B13FB.jpeg

After planing with hand plane I use radius sanding block to radius the front to 1500mm radius.

A20B73E4-C4EC-4A4C-BC57-66D28F2C64F8.jpeg

Front looks good, it's time for the back.

6DF4A364-F52B-437C-96DC-E627D7D6D7F8.jpeg

First I routed steps on the back.

1D95A8D0-A4E6-4338-88DA-21981C22B7B5.jpeg

Then unbelievably fine tool; Ibex violin plane. Cuts very easily and suprisingly fast for it's size.

6C2E75BD-95B0-46DE-831C-6CC1200ED6A5.jpeg

Radius block again, now the other side.

F22052C2-C830-45B3-A74B-206A77BC5CFA.jpeg

And here we have it, radiused body blank ready for routing chambers.

20DE0CCD-457A-415F-ACF6-3DDE5CA892E2.jpeg


136A03B6-B8AF-47DD-8E47-5C24534860C8.jpeg

Last thing before Xmas, joining the top.
 
Last edited:
BE0C9AB2-DF81-4738-8D6A-03BC5152751A.jpeg


Back in the workshop. Cavities drilled with Forstner bit. Template is made of 4mm plywood and held in place with double sided tape.

7D7A0E2D-2DFC-4B51-A6A7-8ACA177EEAE1.jpeg


I made a curved sled from the sanding block. I wanted to make both back and front equal thickness. That meant that the cavities must have curved bottom.

6AF1FA08-2D1D-4B3F-927E-E2B0BE975FDB.jpeg


Cavities routed. I routed with 8mm bit to final depth, then routed with 20mm round shape bit to get rounded corners in the cavities. A bit of sanding and cavities are ready for staining.

B401AB77-37EA-4AFA-A6C2-0EE092BCC66E.jpeg


I stained the cavities dark brown before gluing the top. Before gluing I roughed the body and top to shape. There's around 3mm to sand after the glue has cured.


FC1979D5-9286-405F-B5EA-76D6FA908899.jpeg


In the clamps. Here's also my entry to the Most clamps- contest. I'm hoping to route the neck pocket this evening and tomorrow morning I'm going to go to work to sand the body to shape.
 
Last edited: