

Enjoy the benefits of a premium membership!
Upgrade Account
-
TalkBass has been independent since 1998. Add your voice.
Create a free account to reply to discussions, view embedded media, and browse with fewer display ads.
Join free Log in
Want zero display ads or expanded classifieds tools? Compare plans.
You are using an out of date browser. It may not display this or other websites correctly.
You should upgrade or use an alternative browser.
You should upgrade or use an alternative browser.
Winter Build Off 2022: 5 String Fretless Neck Through
- Thread starter Gary_M
- Start date
More options
Who Replied?


That's is great work.Qüïmsgëfääërdën ÏÏ (rëvïsïtëd) Hëädstöck Wïng Dëtäïl
I took a few days of PTO so that I can (hopefully) make some rapid progress on this bass. With that deadline looming, I'm like a deer in the headlights.
This morning I tackled the headstock wing detail. This was a feature that I wanted to implement on the first version of the design. But due to not allowing for the tuner washers, I could not execute it to the full extent. Instead of explaining it all, I'll just show you.
I mounted some elevation blocks near the nut area.
View attachment 4607351
I made a copy of the center headstock template and cut off the tip (Mazel tov!) so that I had a hinge point. I carefully aligned the template and mounted it using the trick.
View attachment 4607352
Next, I inserted an extra piece as a brace to keep it from flexing.
View attachment 4607353
I used my Colt router with a 3/8" by 1/2" deep bit and took shallow passes.
View attachment 4607354
View attachment 4607355
View attachment 4607356
I did some initial cleanup with chisels and sandpaper... this will need some additional fairing of course.
View attachment 4607357
View attachment 4607358
Neato.
View attachment 4607359
View attachment 4607360
View attachment 4607361
I will be fitting additional contrasting laminates in the little wingies. I'm just happy to have this part done... made me a little nervous, mmm hmmm.
More soon.


This afternoon I started getting the body wings processed. I'm going to try to get the wings prepped and glued to the neck ASAP. It does makes the bass more cumbersome to work on with the wings attached, but I can be working on finishing up the headstock and carving the volute while the wing joints dry. 
I marked out and rough cut the bass wing. Yes, I know, very exciting stuff indeed.
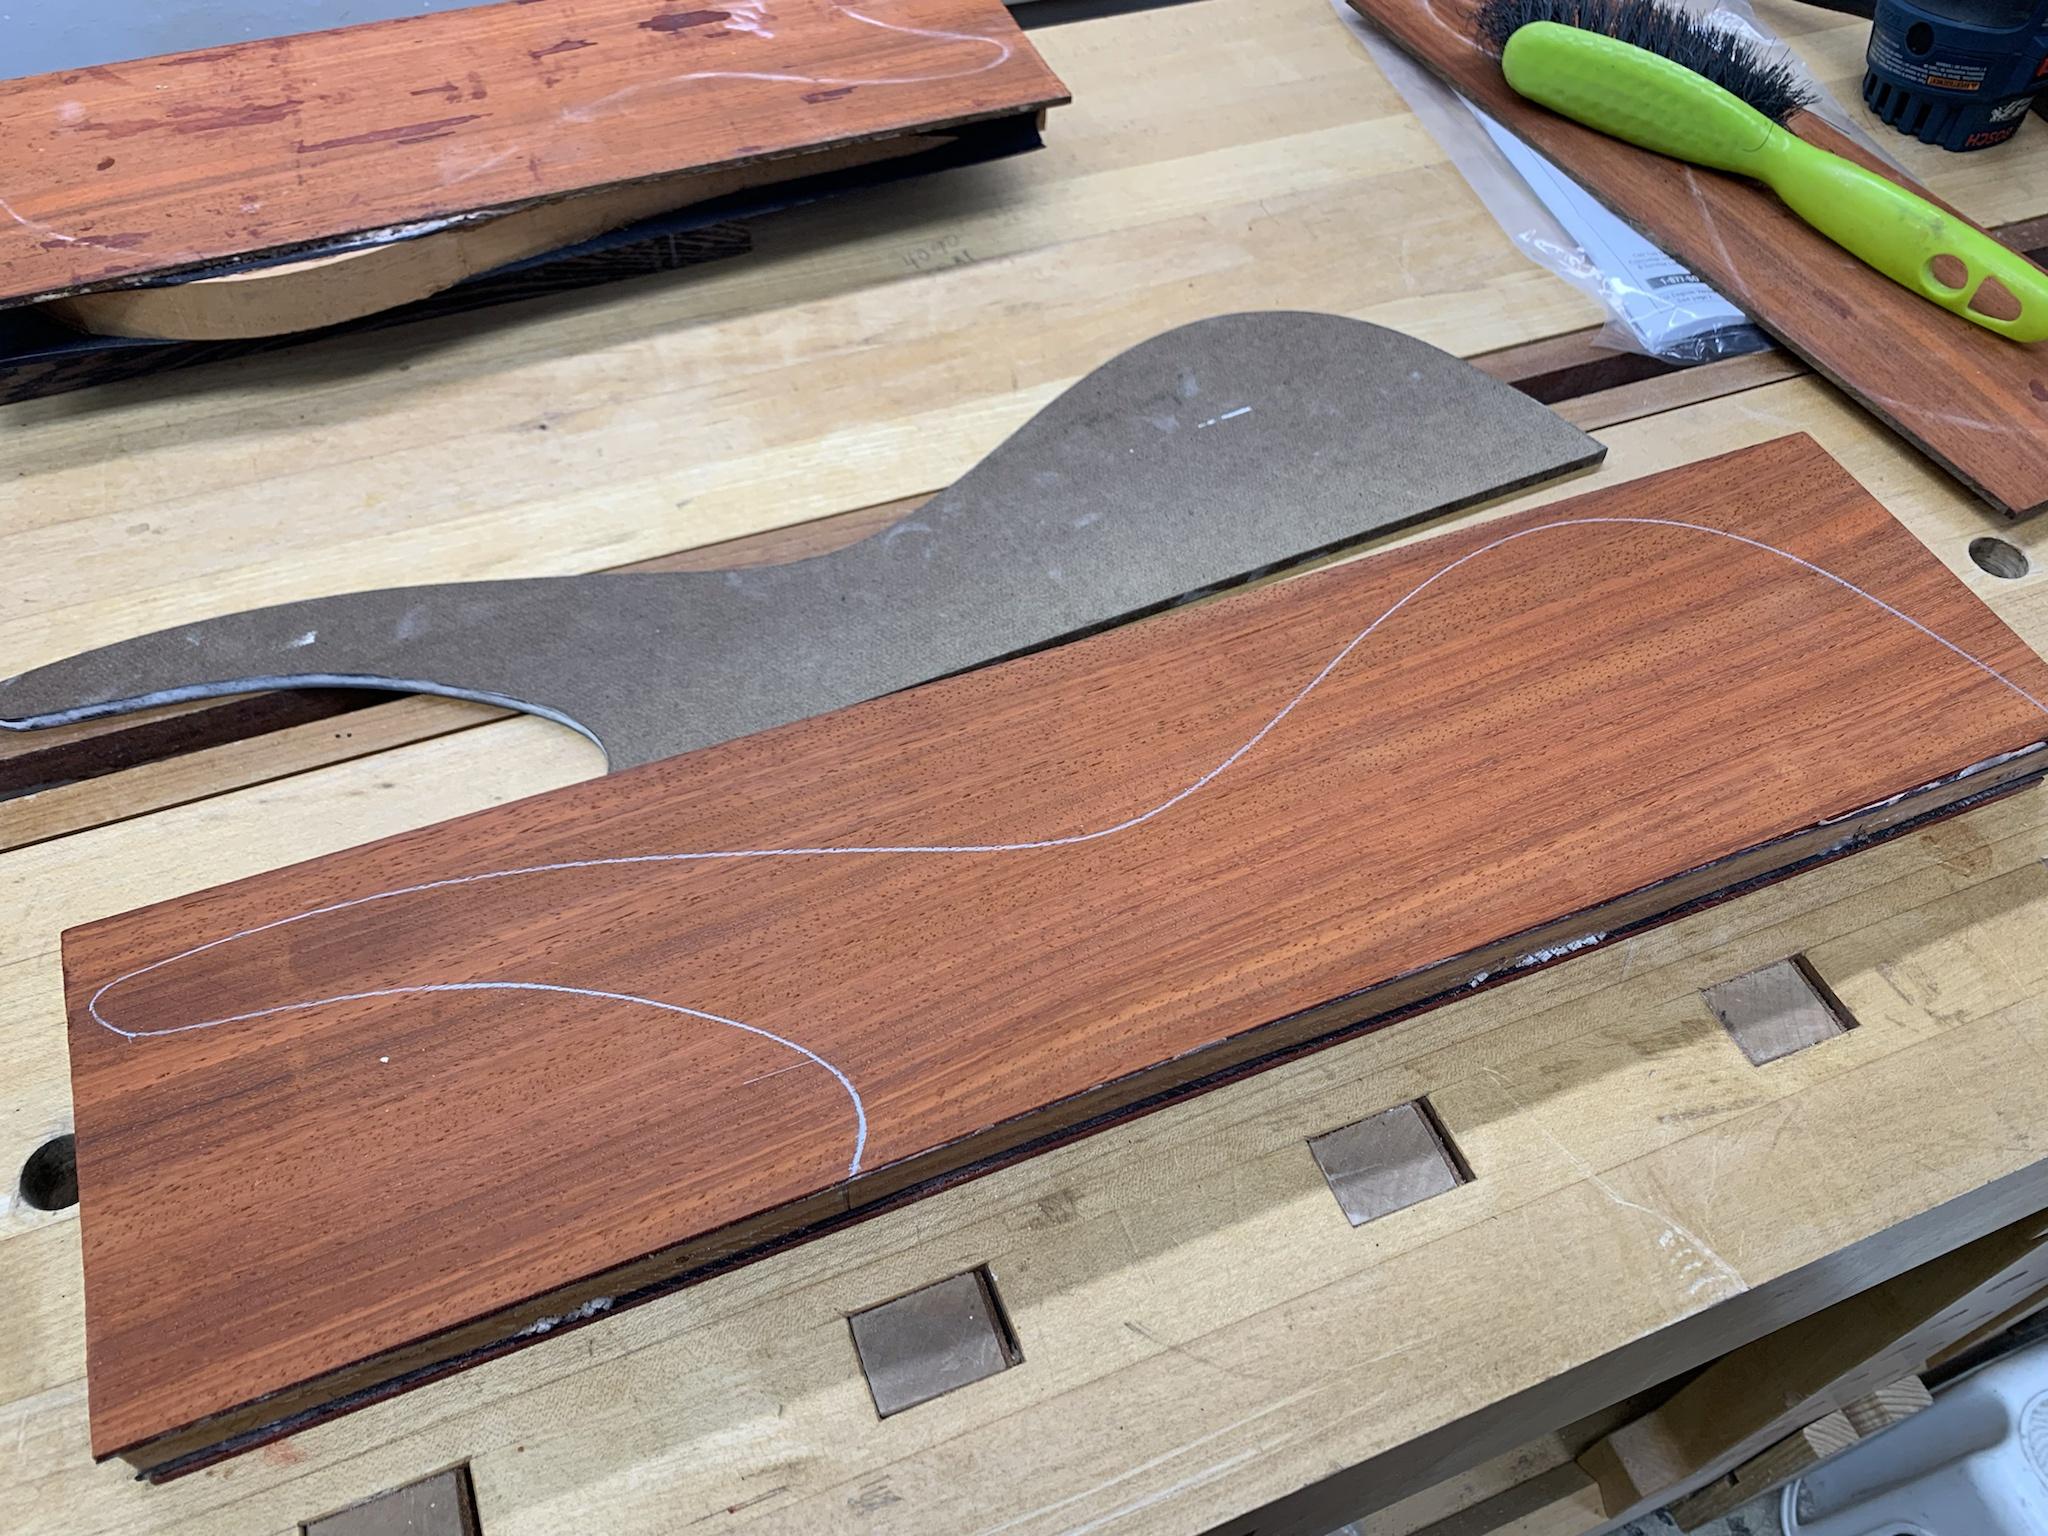
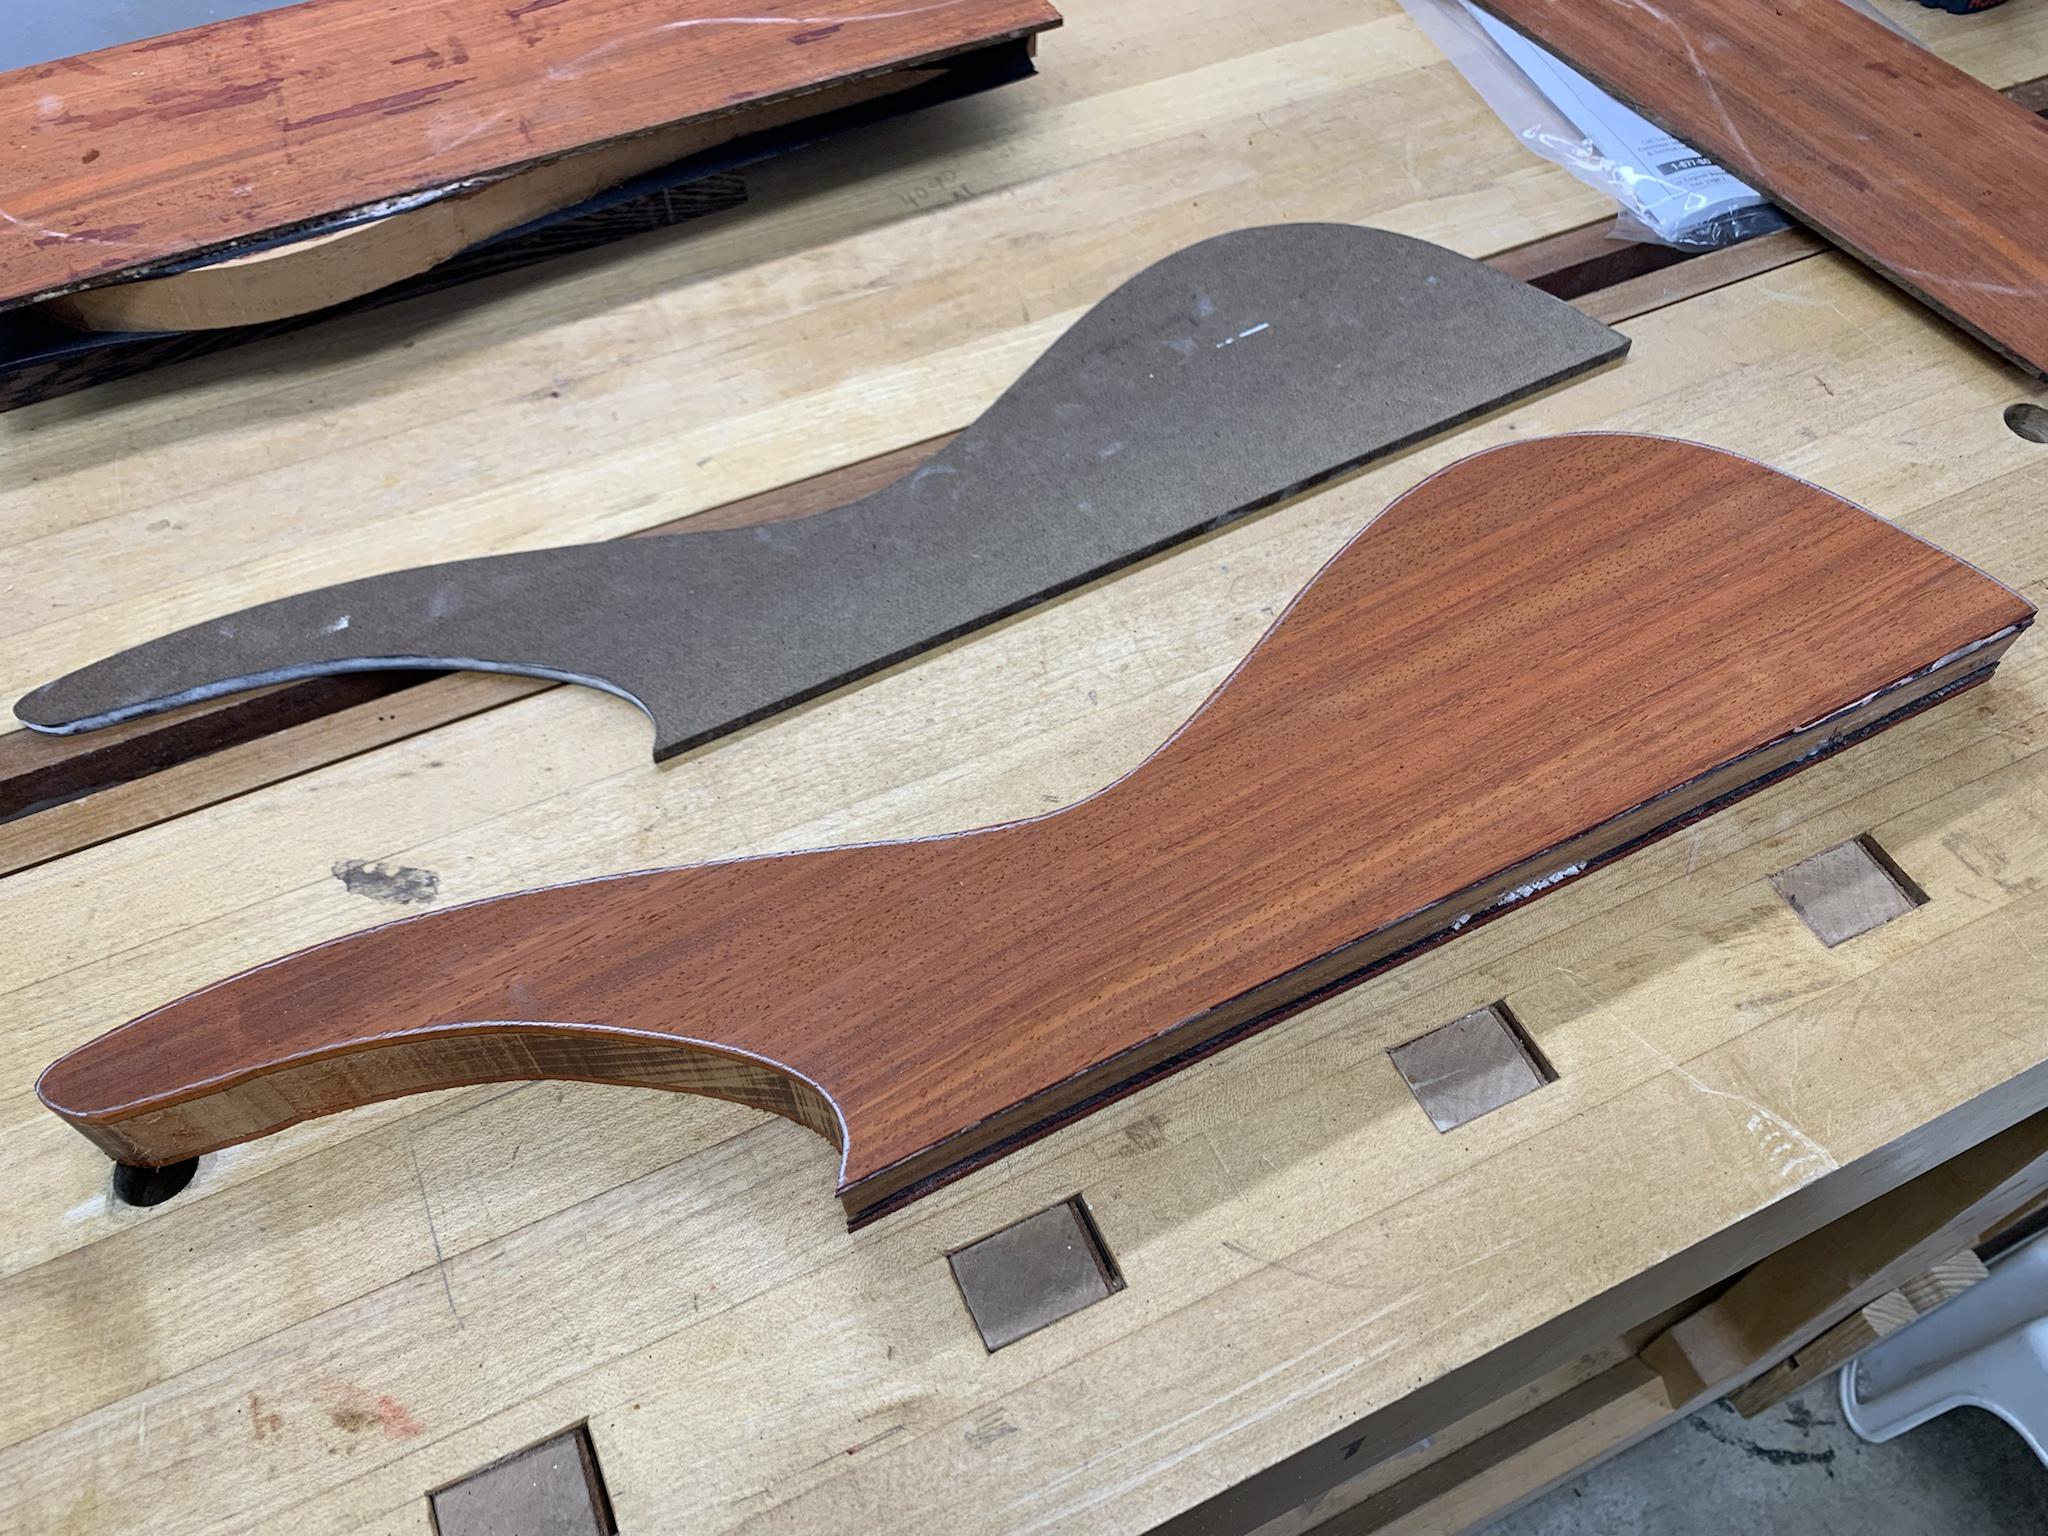
Next, I worked on planning the alignment of the control cavity and the rear laminate with the (hopefully) grain-matched cover. This is something that I didn't plan too well the last time, and I really struggled with alignment and order of operations.
This time I put matching holes in my templates and then drilled corresponding holes in the back side of the treble wing and on the inside face of the rear laminate. This will serve 2 functions. 1, it will align both templates precisely on the blank. 2, it will also align the rear laminate when it comes time to glue it to the wing... no more "eyeballing" it and hoping for the best.
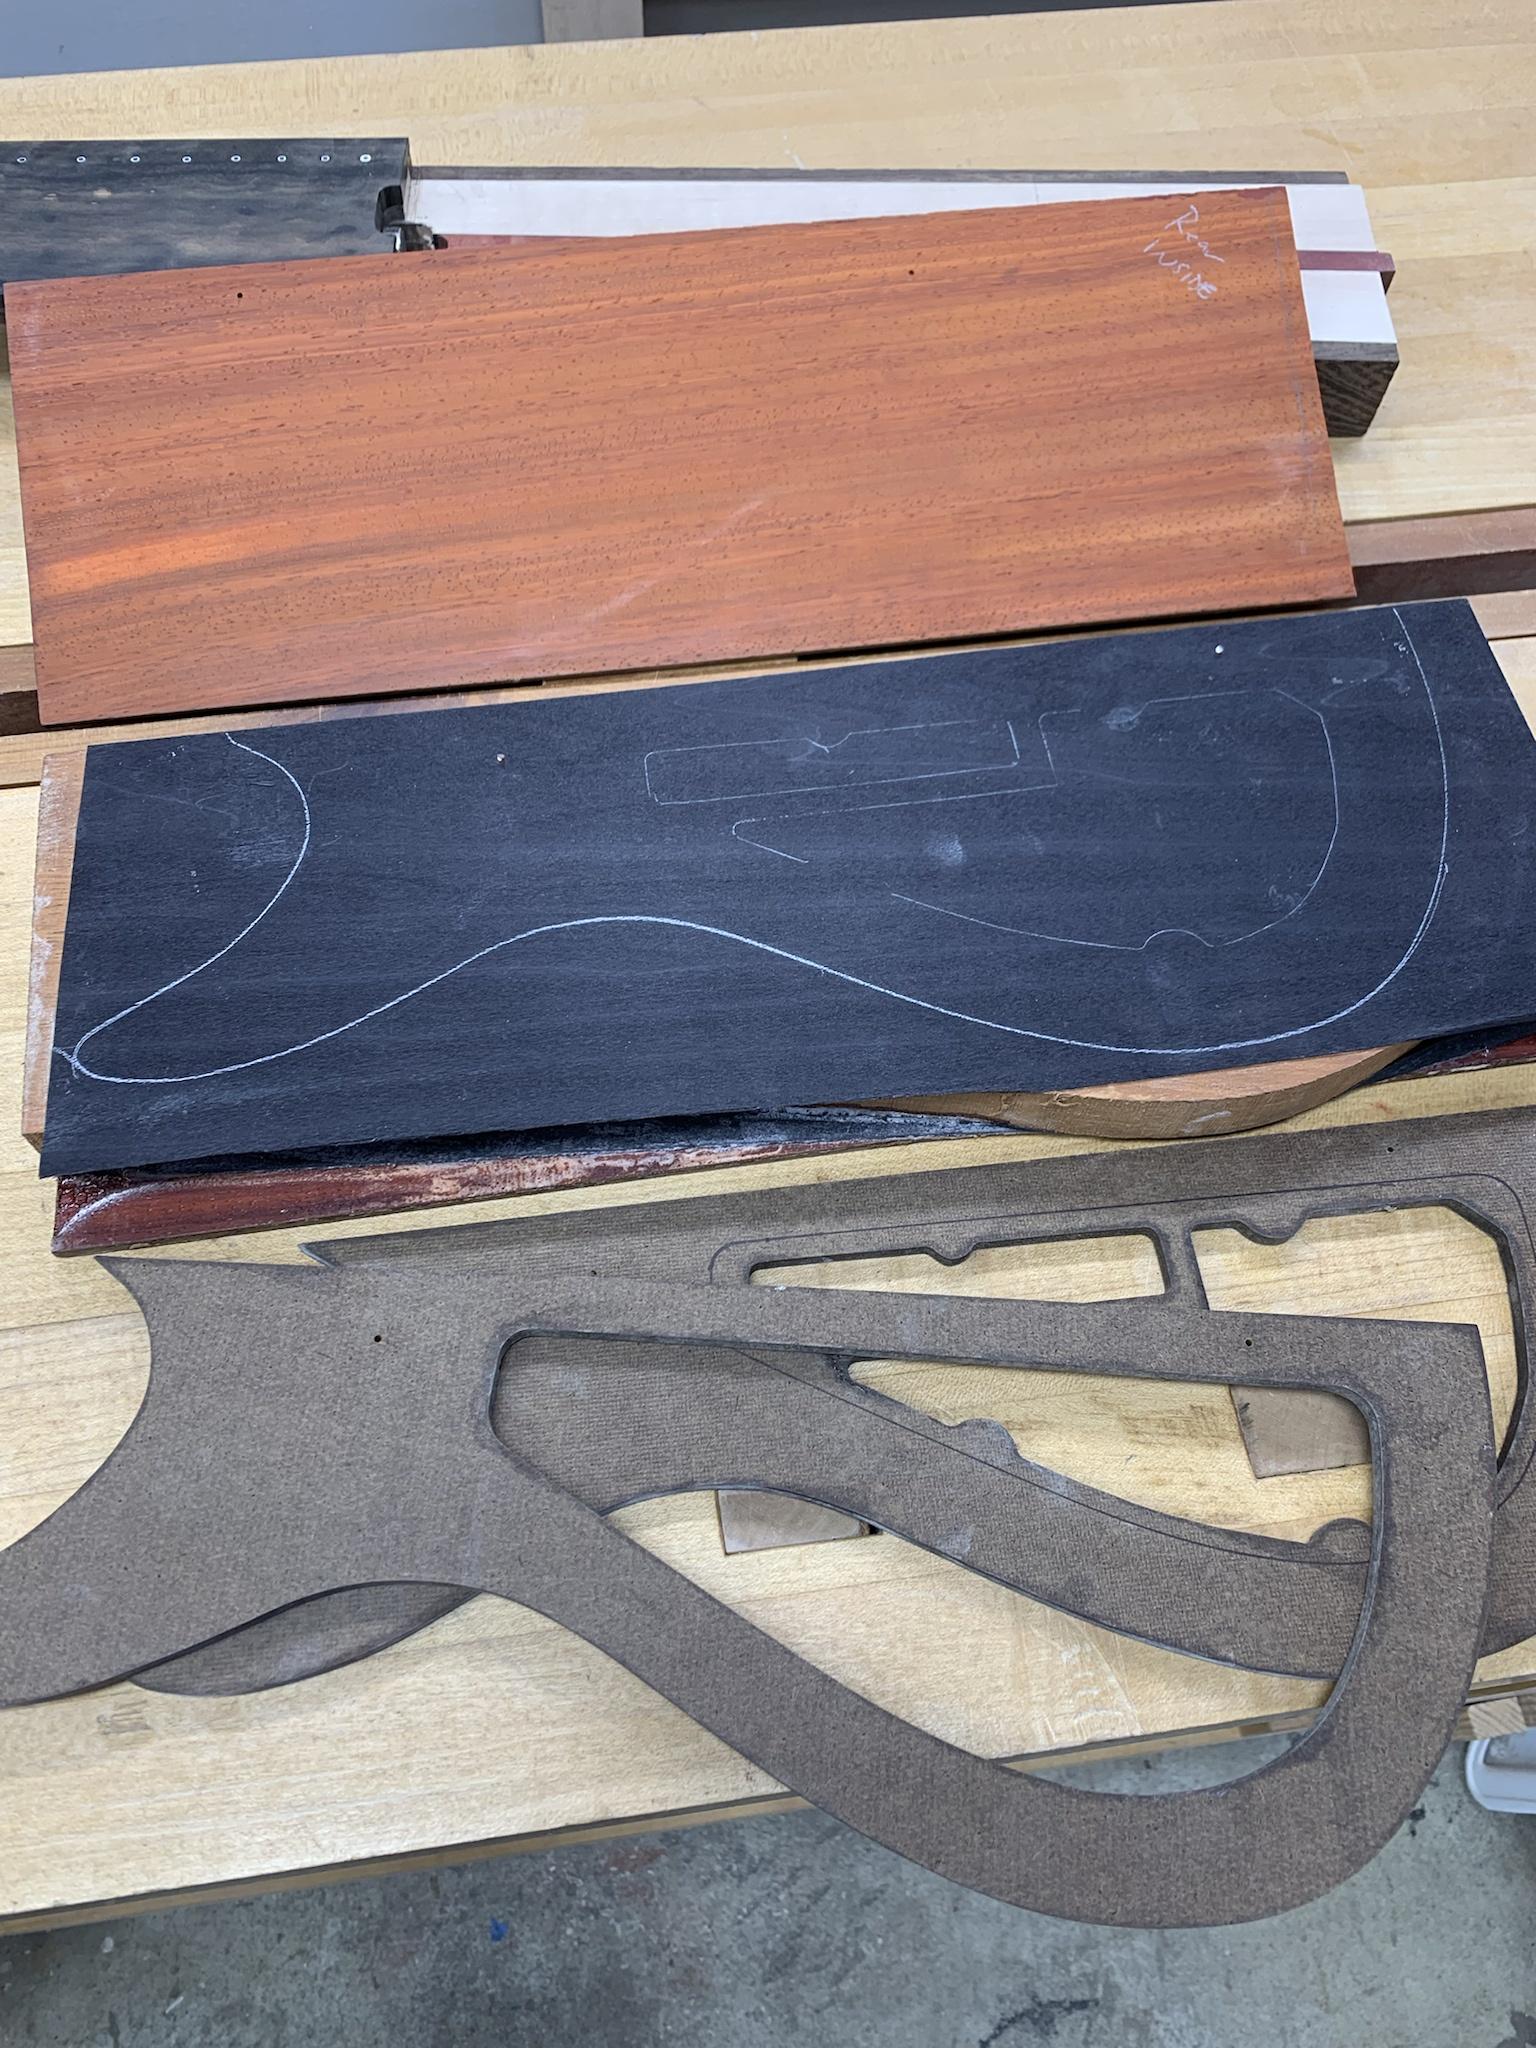
The pins are wire staple legs driven into the holes and snipped off.
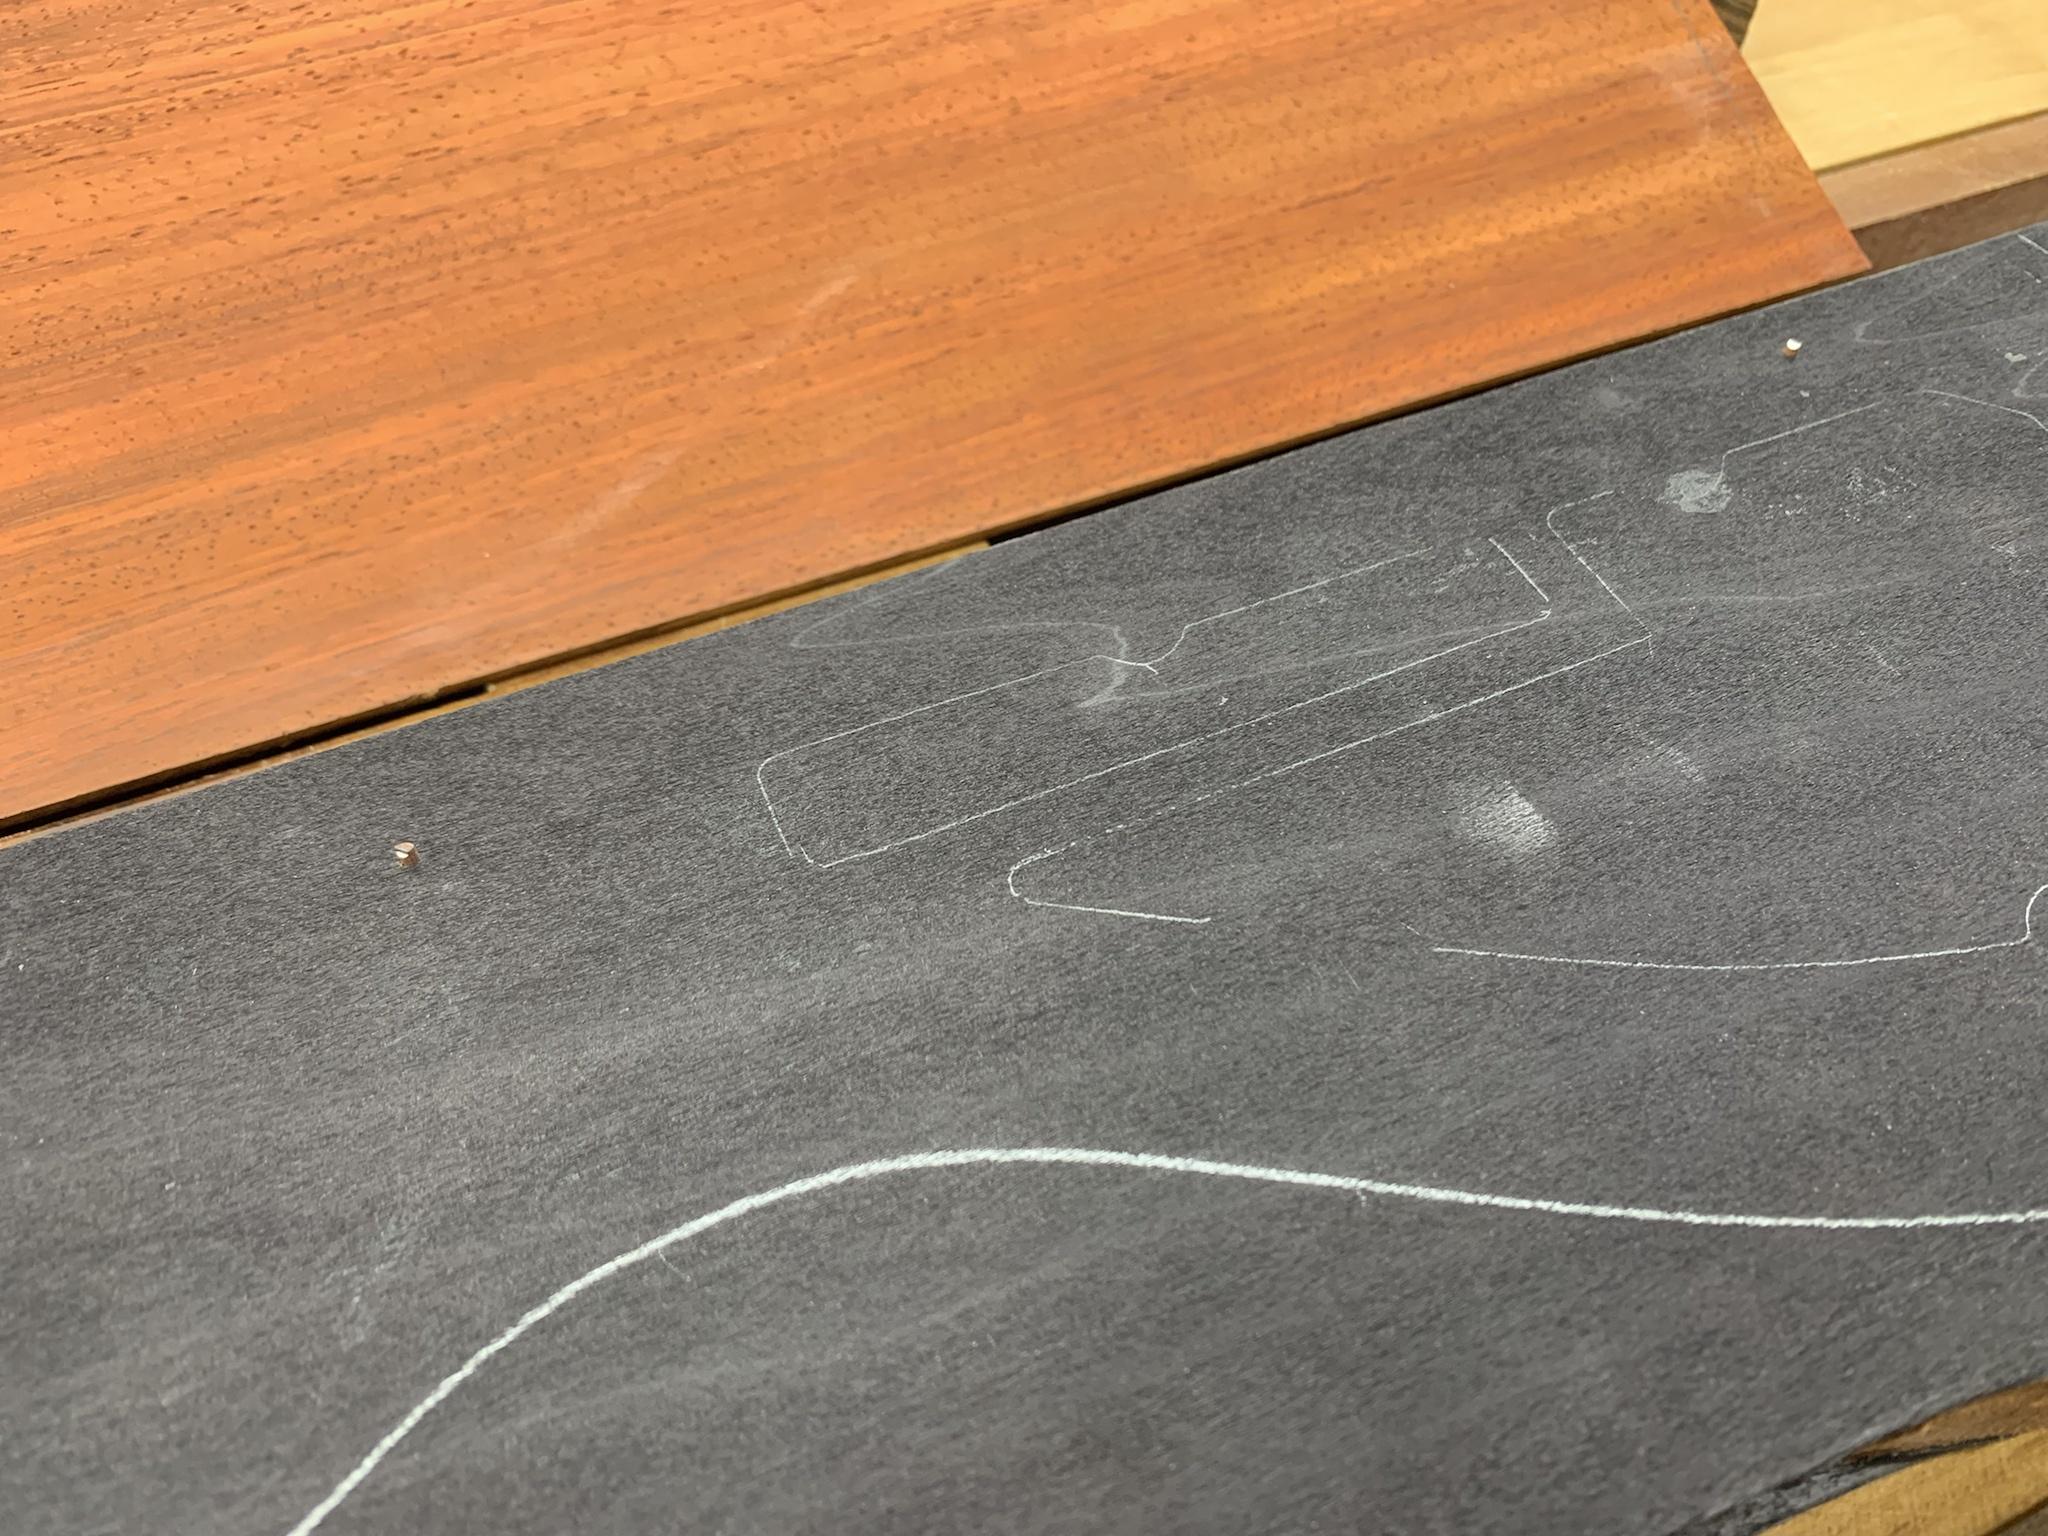
And here is the treble wing blank with a template snapped into place and fastened using the trick... just after completing the control cavity route. I'll leave the blank full sized until after the rear laminate has been glued on.
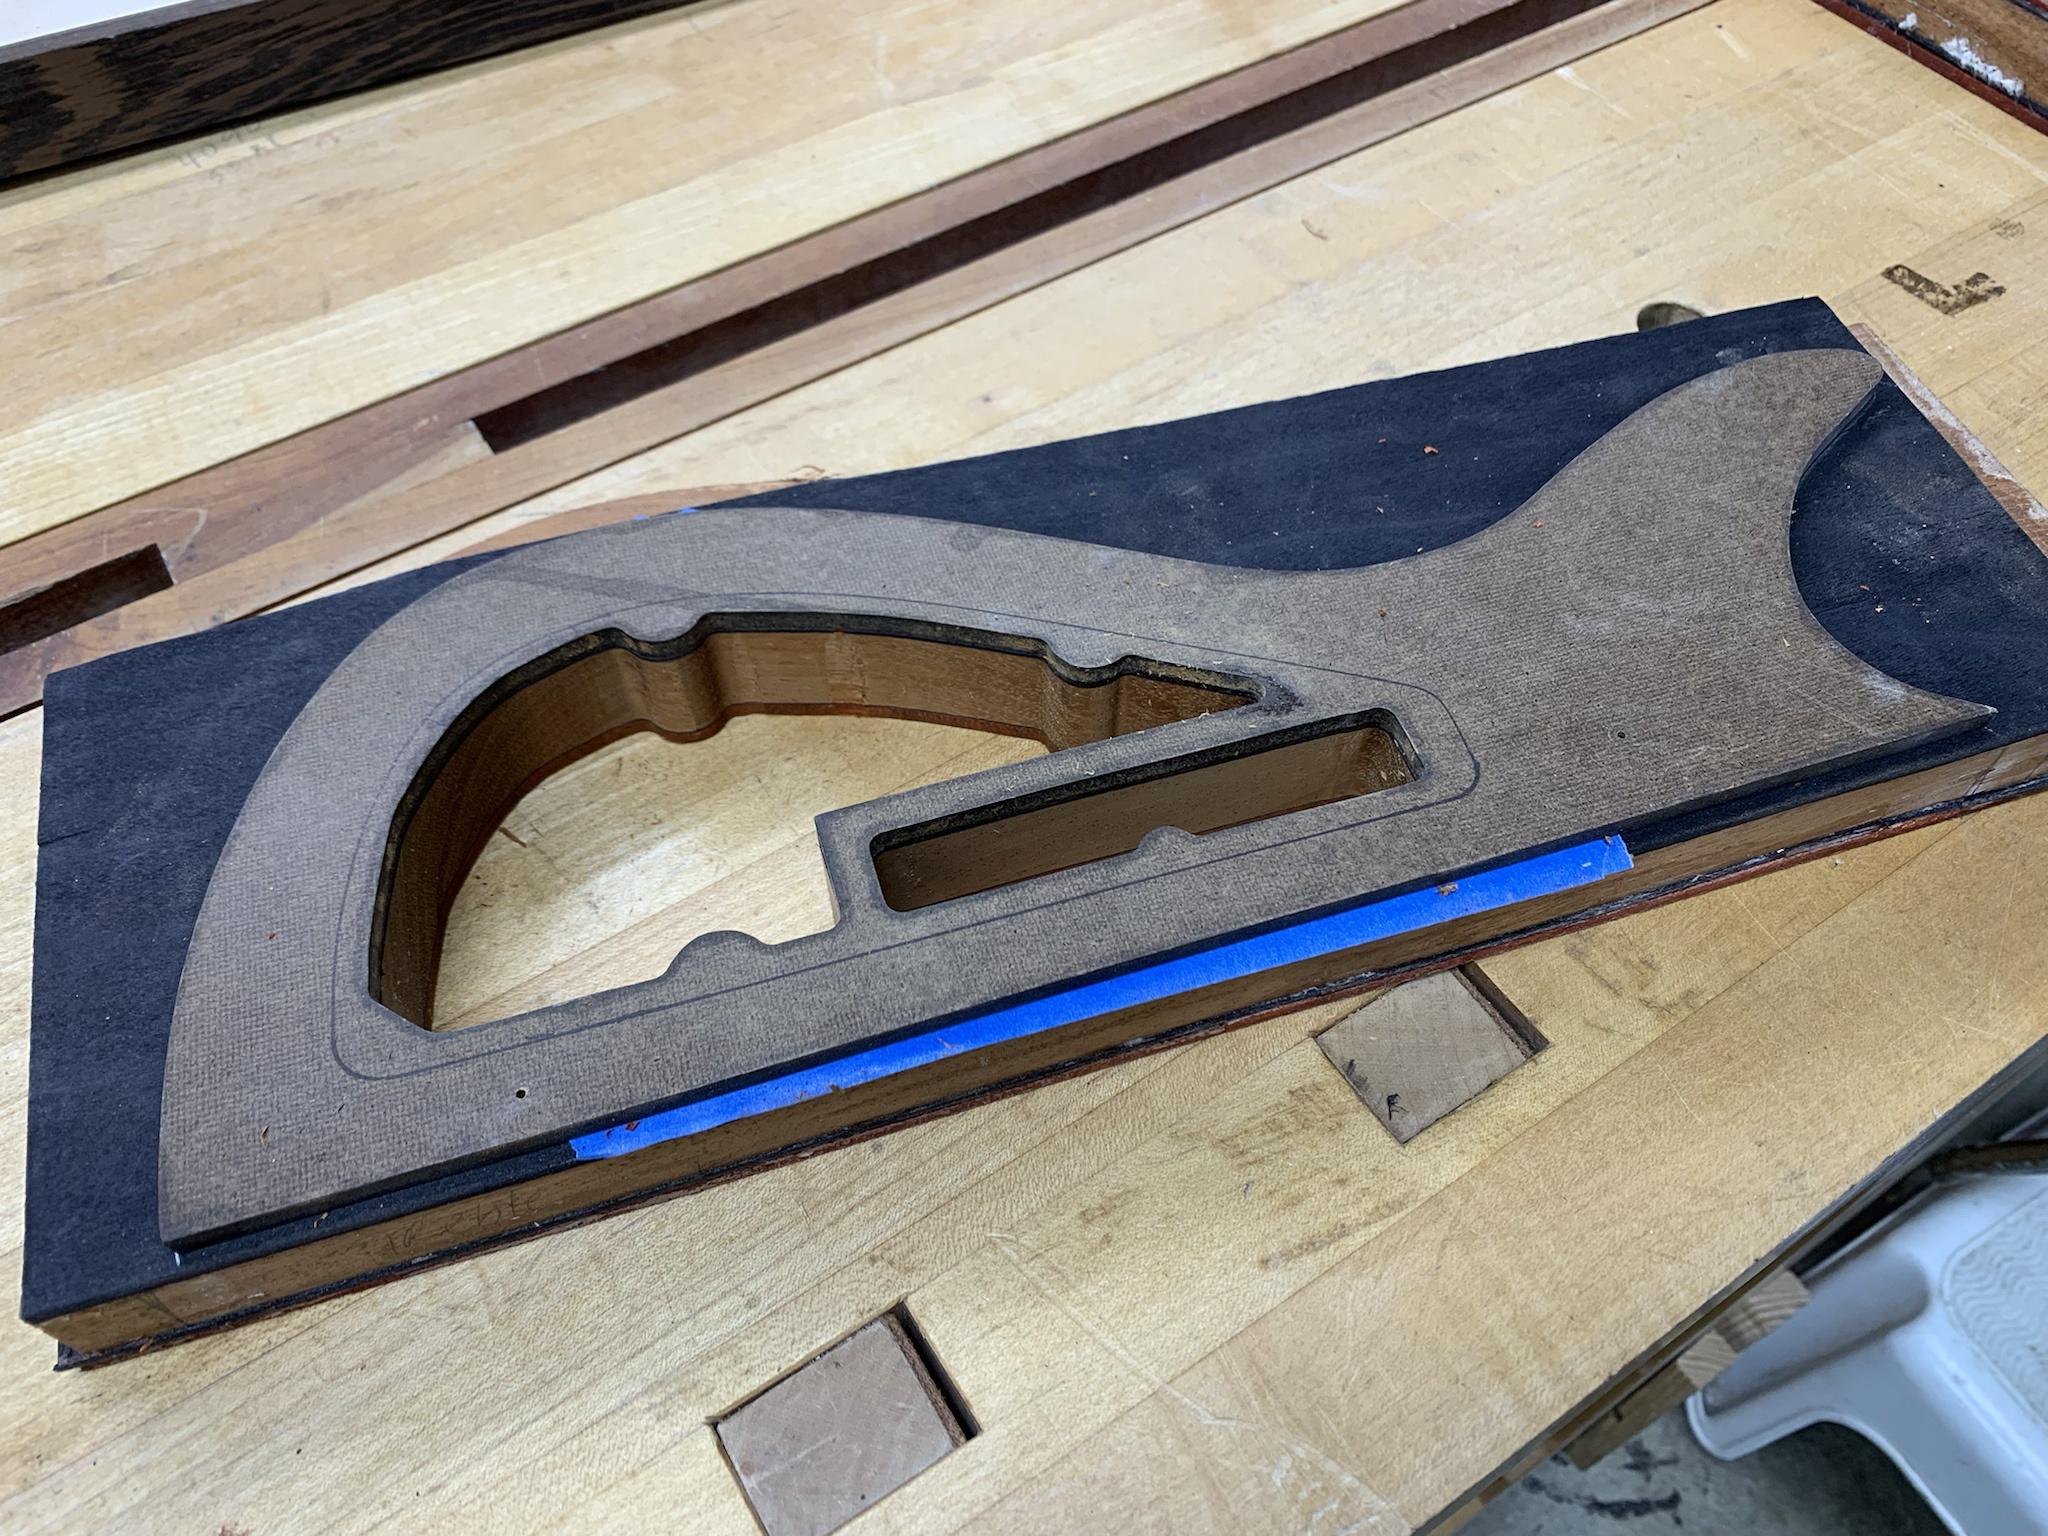
It doesn't seem like much progress for working on it most of the day, but there are a lot of little operations that just don't justify photographing and documenting.
More tomorrow.
I marked out and rough cut the bass wing. Yes, I know, very exciting stuff indeed.
Next, I worked on planning the alignment of the control cavity and the rear laminate with the (hopefully) grain-matched cover. This is something that I didn't plan too well the last time, and I really struggled with alignment and order of operations.
This time I put matching holes in my templates and then drilled corresponding holes in the back side of the treble wing and on the inside face of the rear laminate. This will serve 2 functions. 1, it will align both templates precisely on the blank. 2, it will also align the rear laminate when it comes time to glue it to the wing... no more "eyeballing" it and hoping for the best.
The pins are wire staple legs driven into the holes and snipped off.
And here is the treble wing blank with a template snapped into place and fastened using the trick... just after completing the control cavity route. I'll leave the blank full sized until after the rear laminate has been glued on.
It doesn't seem like much progress for working on it most of the day, but there are a lot of little operations that just don't justify photographing and documenting.
More tomorrow.
That's slick. Makes the headstock look more substantial while actually reducing mass.
Thanks! This is one of those details that I just love to add. I was hoping it would look cool and I've been waiting since I drew it in 2018 to see it in real life.
 I think it's gonna look pretty OK.
 Beautiful work!
Damn... well done! <insert "slow clap" emoji here>
That's is great work.
Thanks for the kind words, everyone.
Earlier today I worked on cutting the control cavity door from the rear laminate. I attached the template and taped it down for good measure then scored around the inside of the door opening.
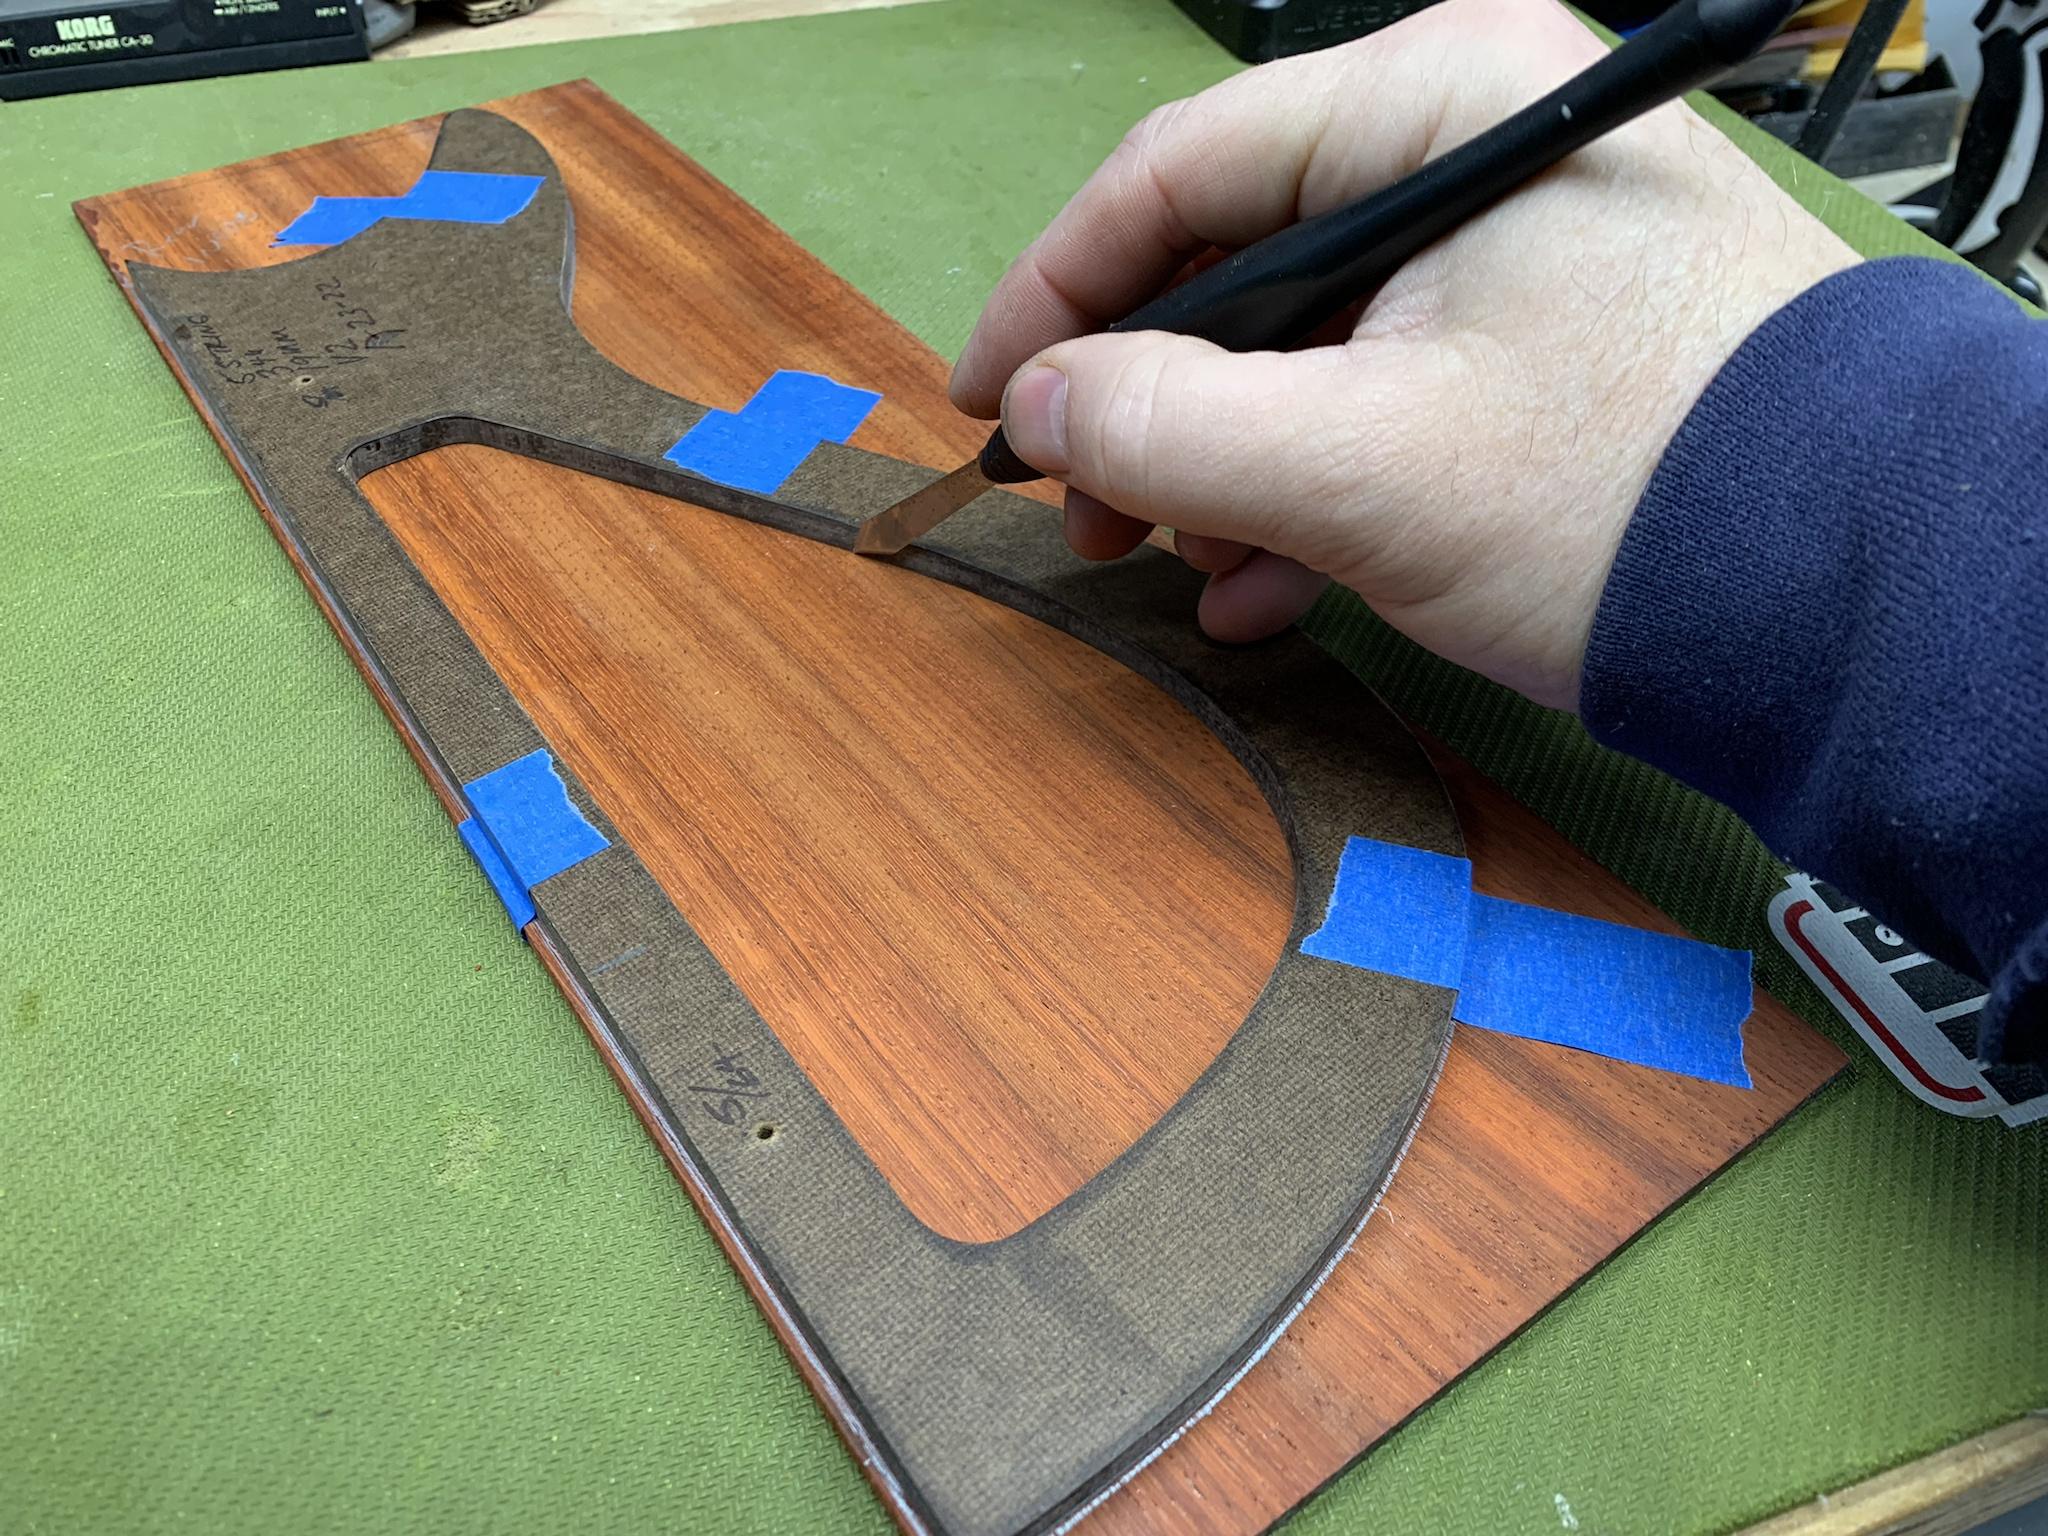
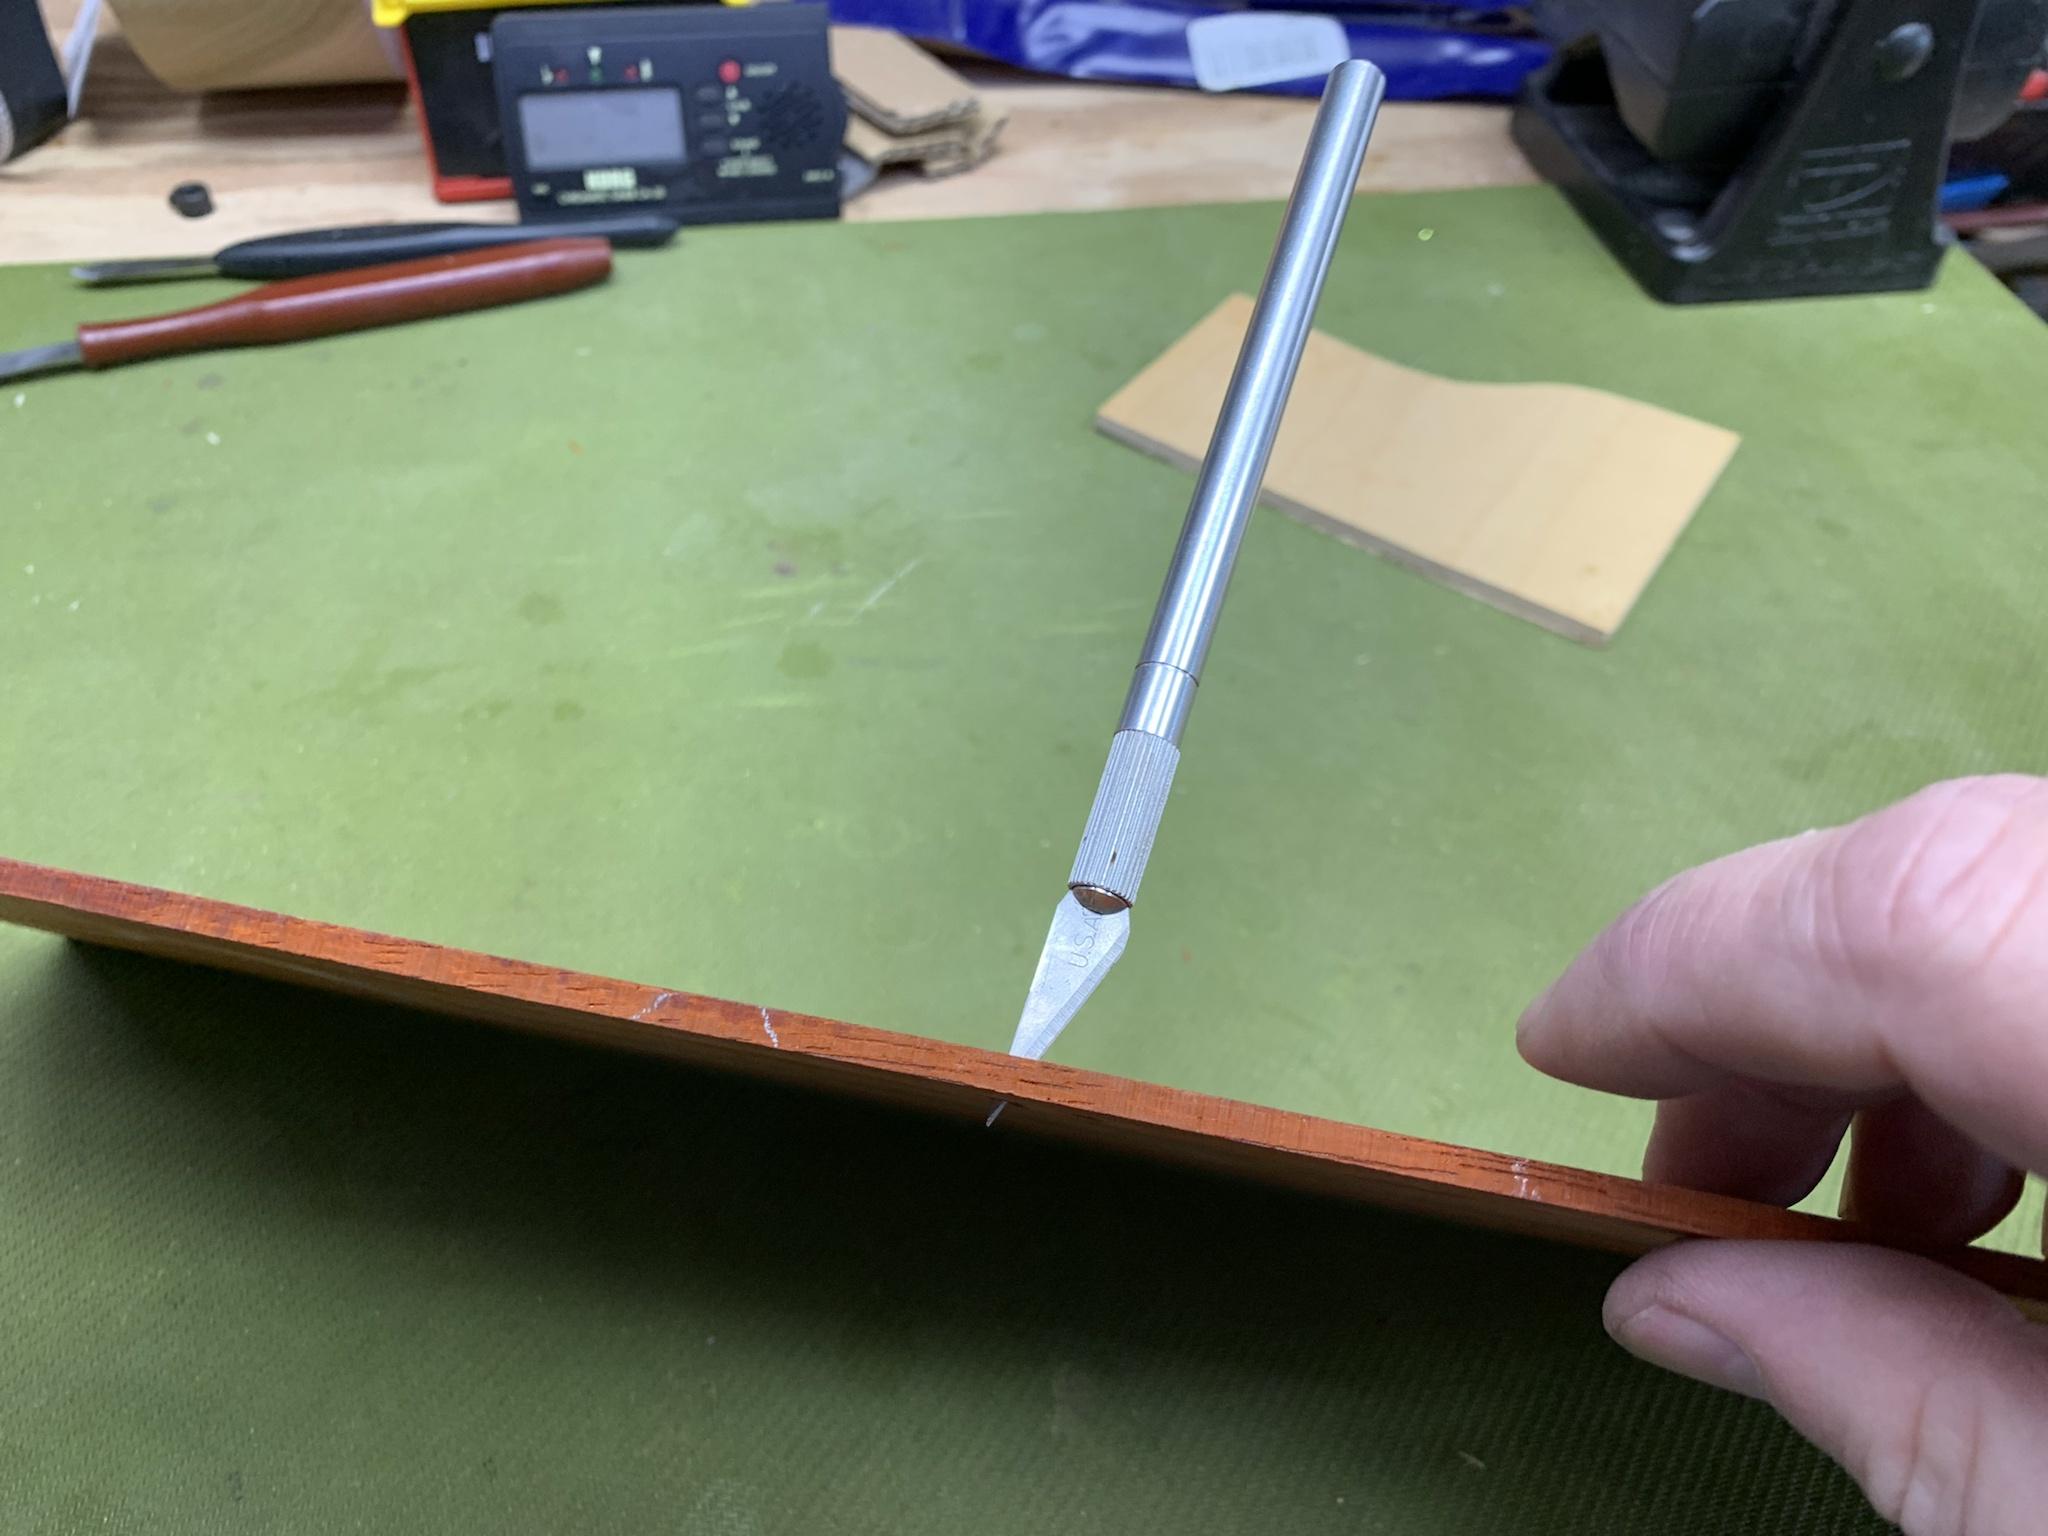
I scored one section heavily until I could punch through with a hobby knife.
I threaded a thin scroll saw blade through the slot and carefully cut out the door.


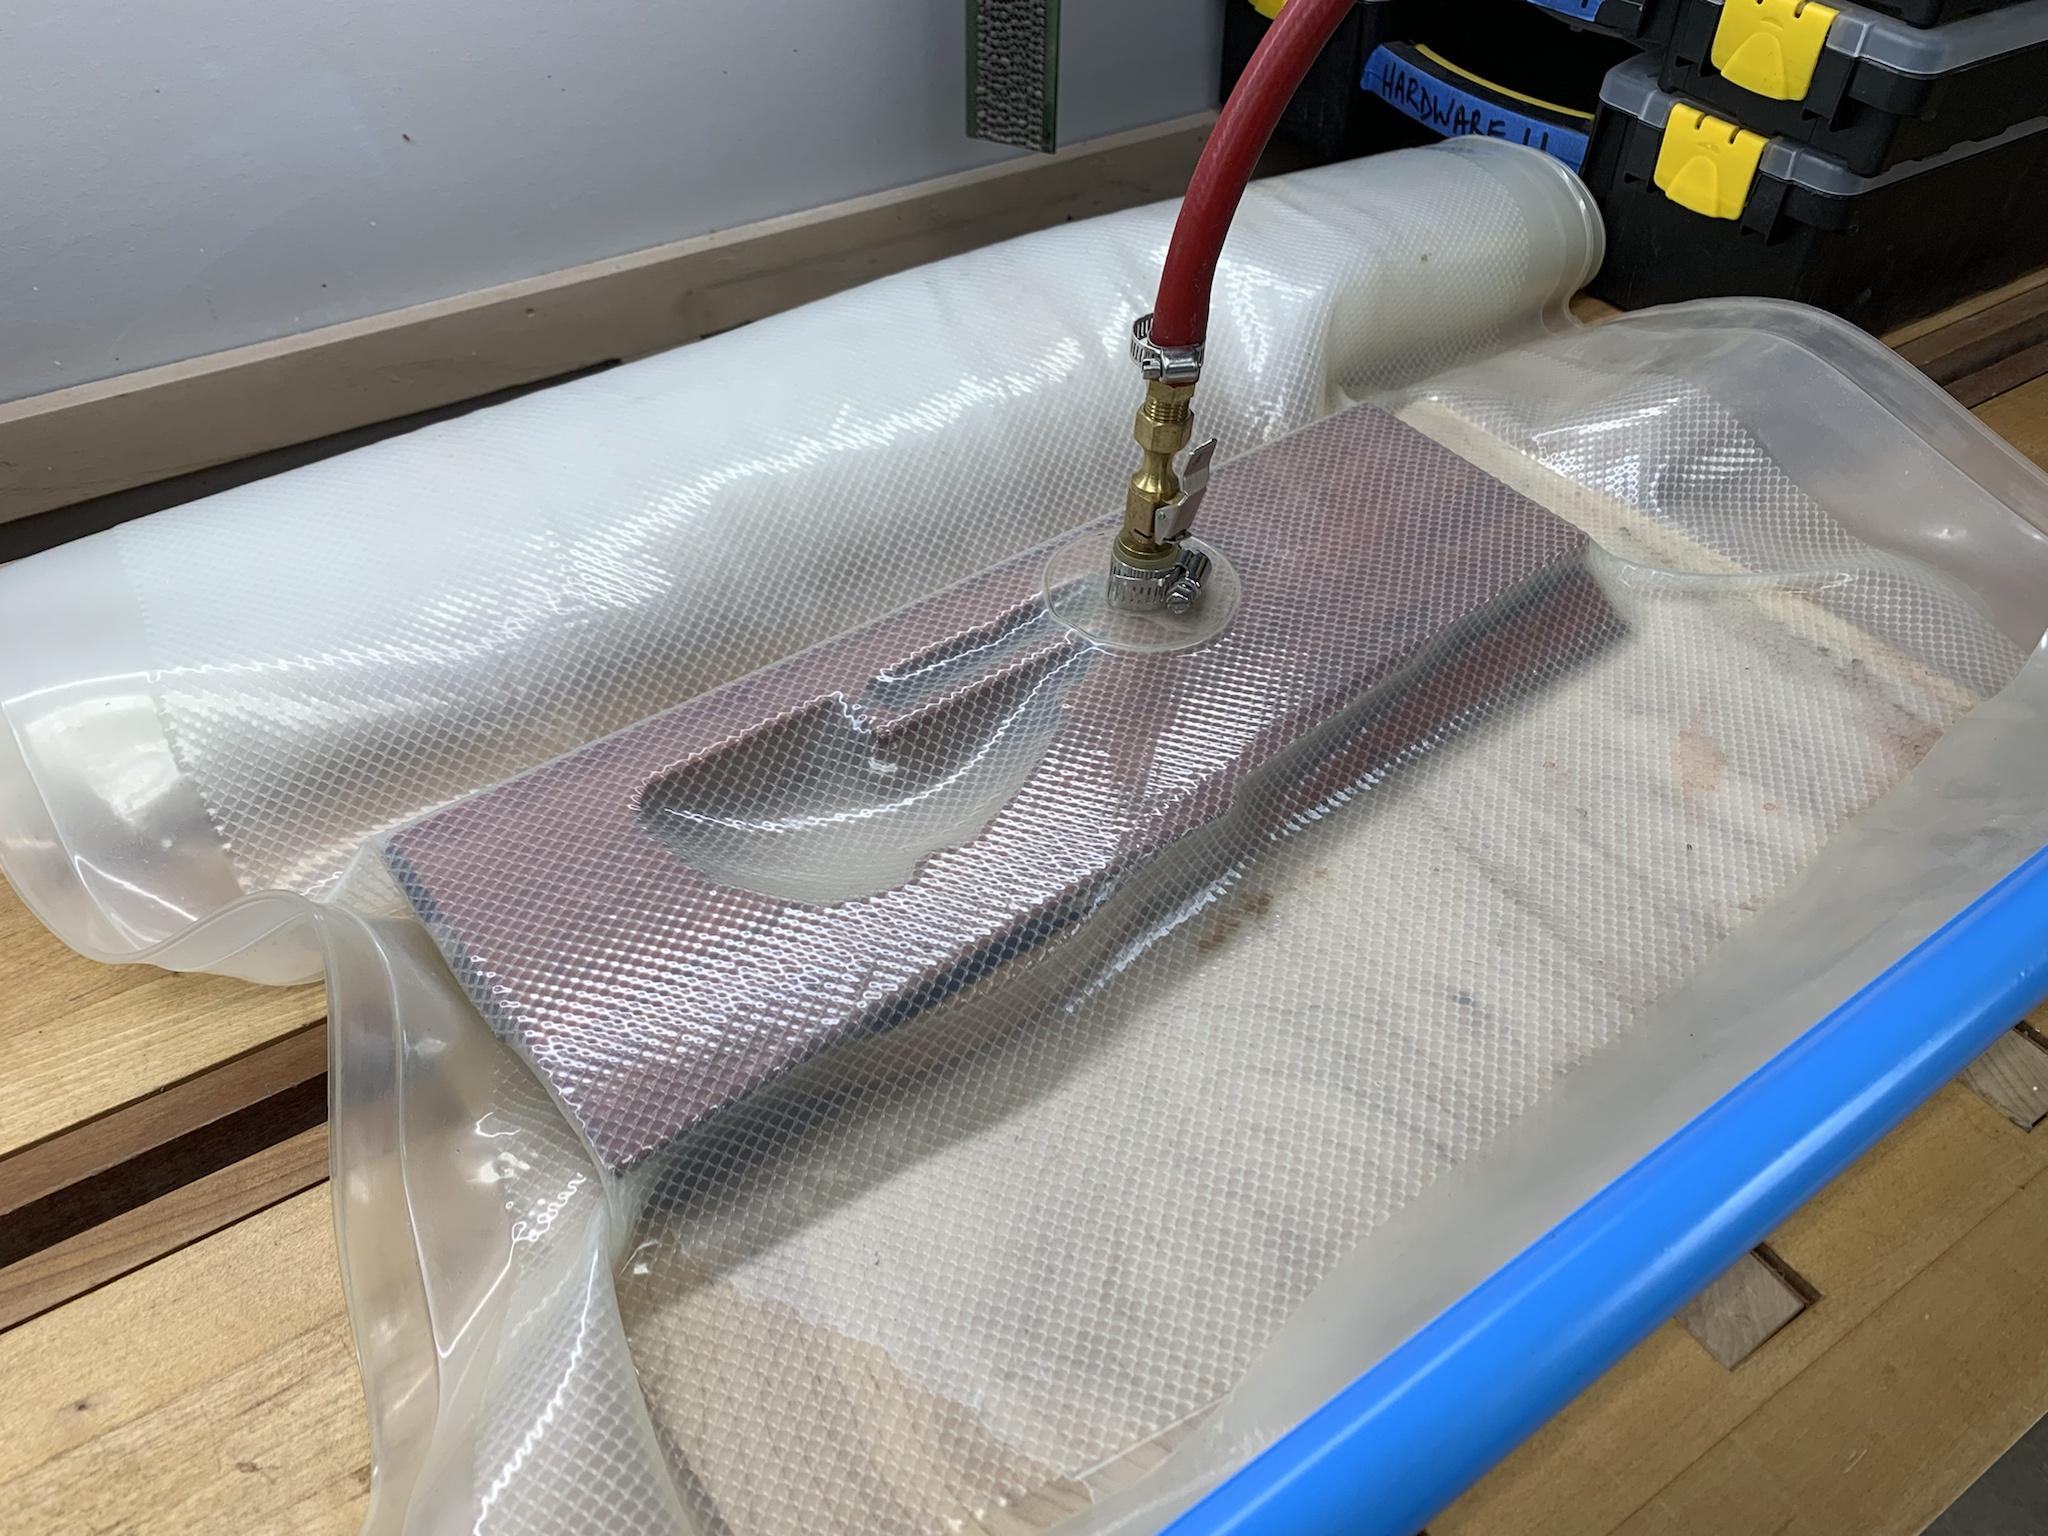
For ease of cleanup, I used hot hide glue to attach the rear laminate, then it went into the vacuum bag.
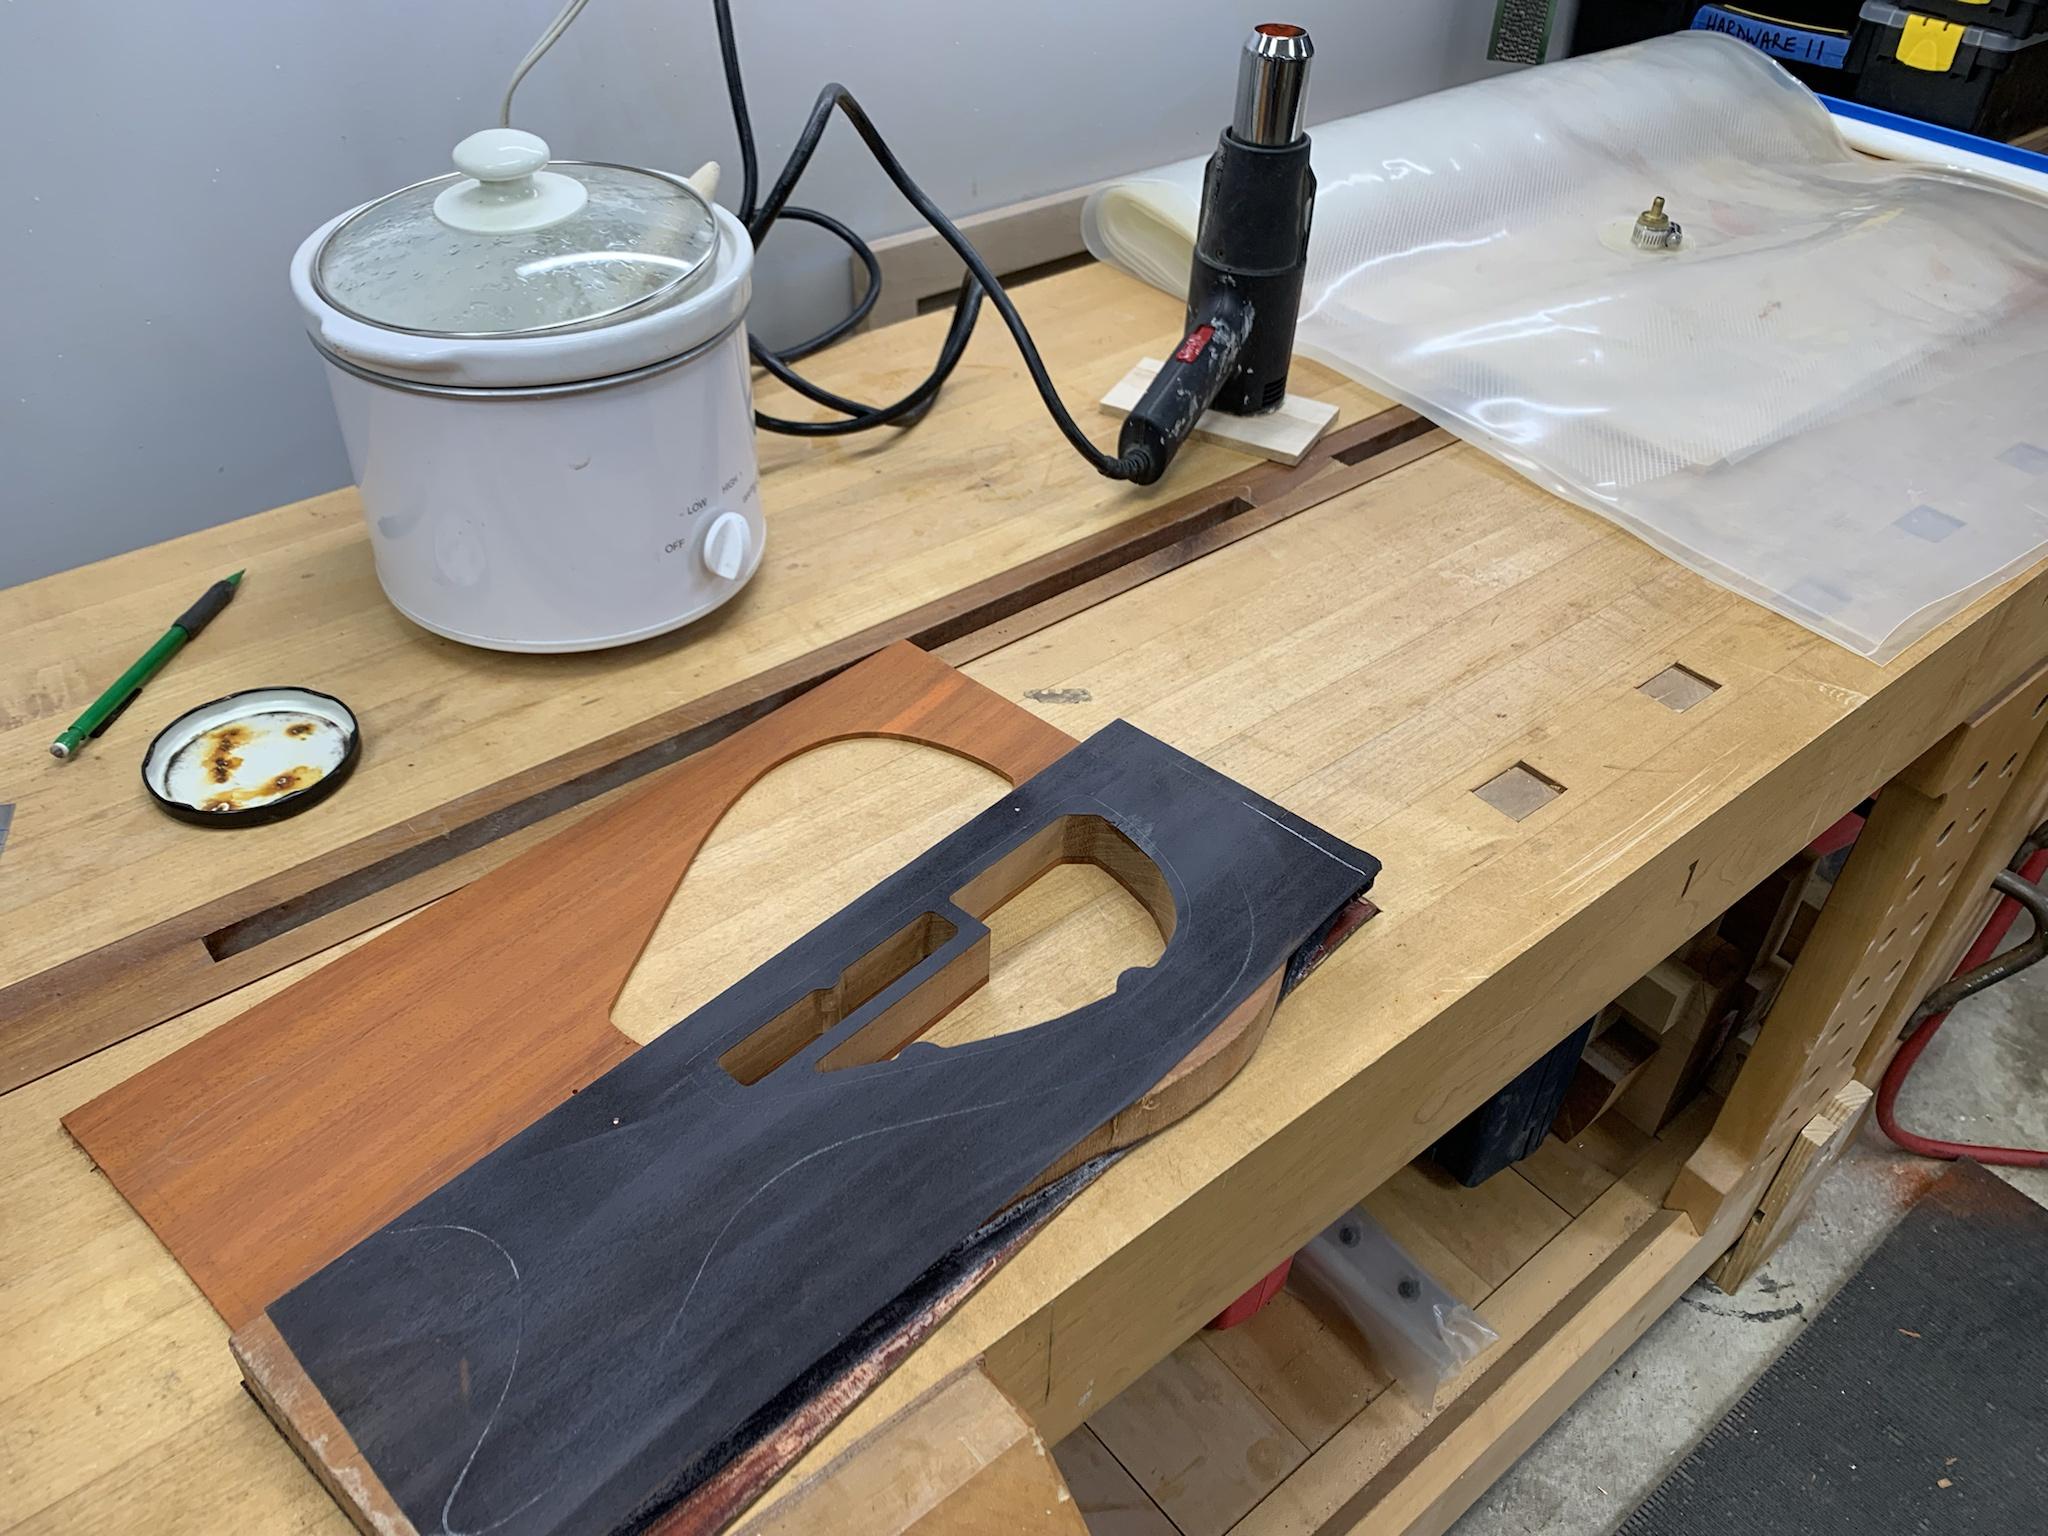
More soon.
I scored one section heavily until I could punch through with a hobby knife.
I threaded a thin scroll saw blade through the slot and carefully cut out the door.
For ease of cleanup, I used hot hide glue to attach the rear laminate, then it went into the vacuum bag.
More soon.

I'm super jelly of your scroll saw skillz. Also, of your scroll saw itself. I really need to fix mine. And then learn to use it.
I'm super jelly of your scroll saw skillz. Also, of your scroll saw itself. I really need to fix mine. And then learn to use it.
Thanks, Tim. I really wish there were more things that I could use it for. It doesn't come out often, but when it does it's pretty handy. The thing that helps me to follow that line is scoring it pretty heavily first and wearing magnifying glasses... plus going very slowly with a pretty tight blade so that it doesn't wander.
Qüïmsgëfääërdën ÏÏ (rëvïsïtëd) Hëädstöck Wïnglët Lämïnätës
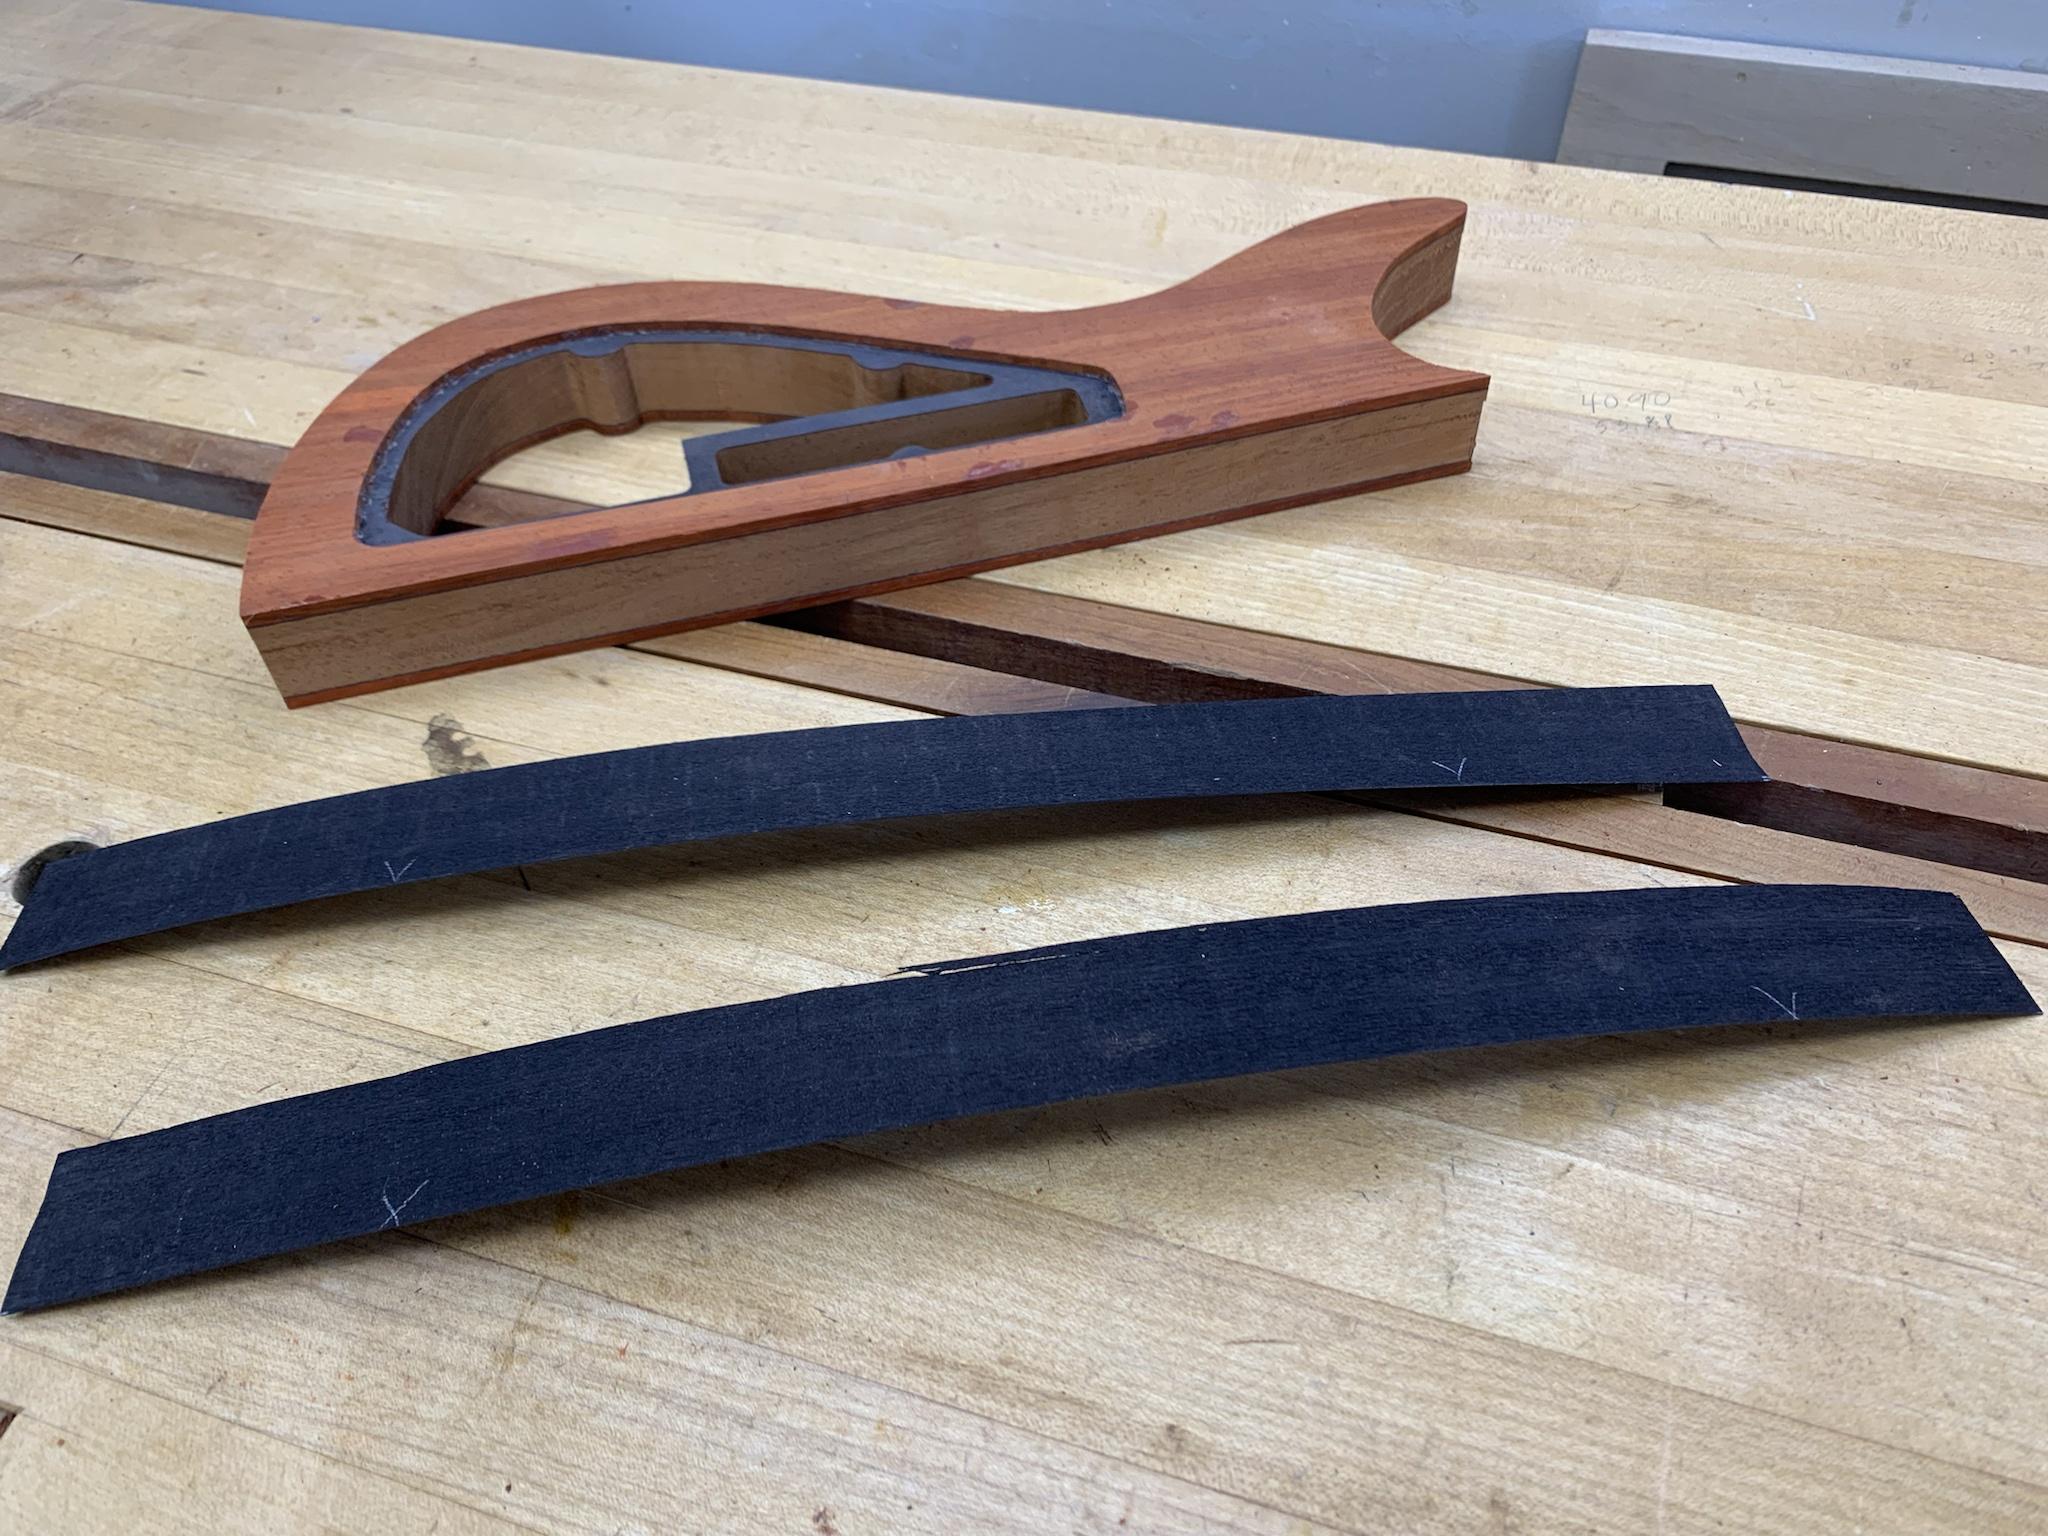
The next step that I worked on was the little contrasting laminates that go on the winglets. I chose to use padauk and black poplar for this.
I started by CA gluing some black poplar to a padauk offcut.
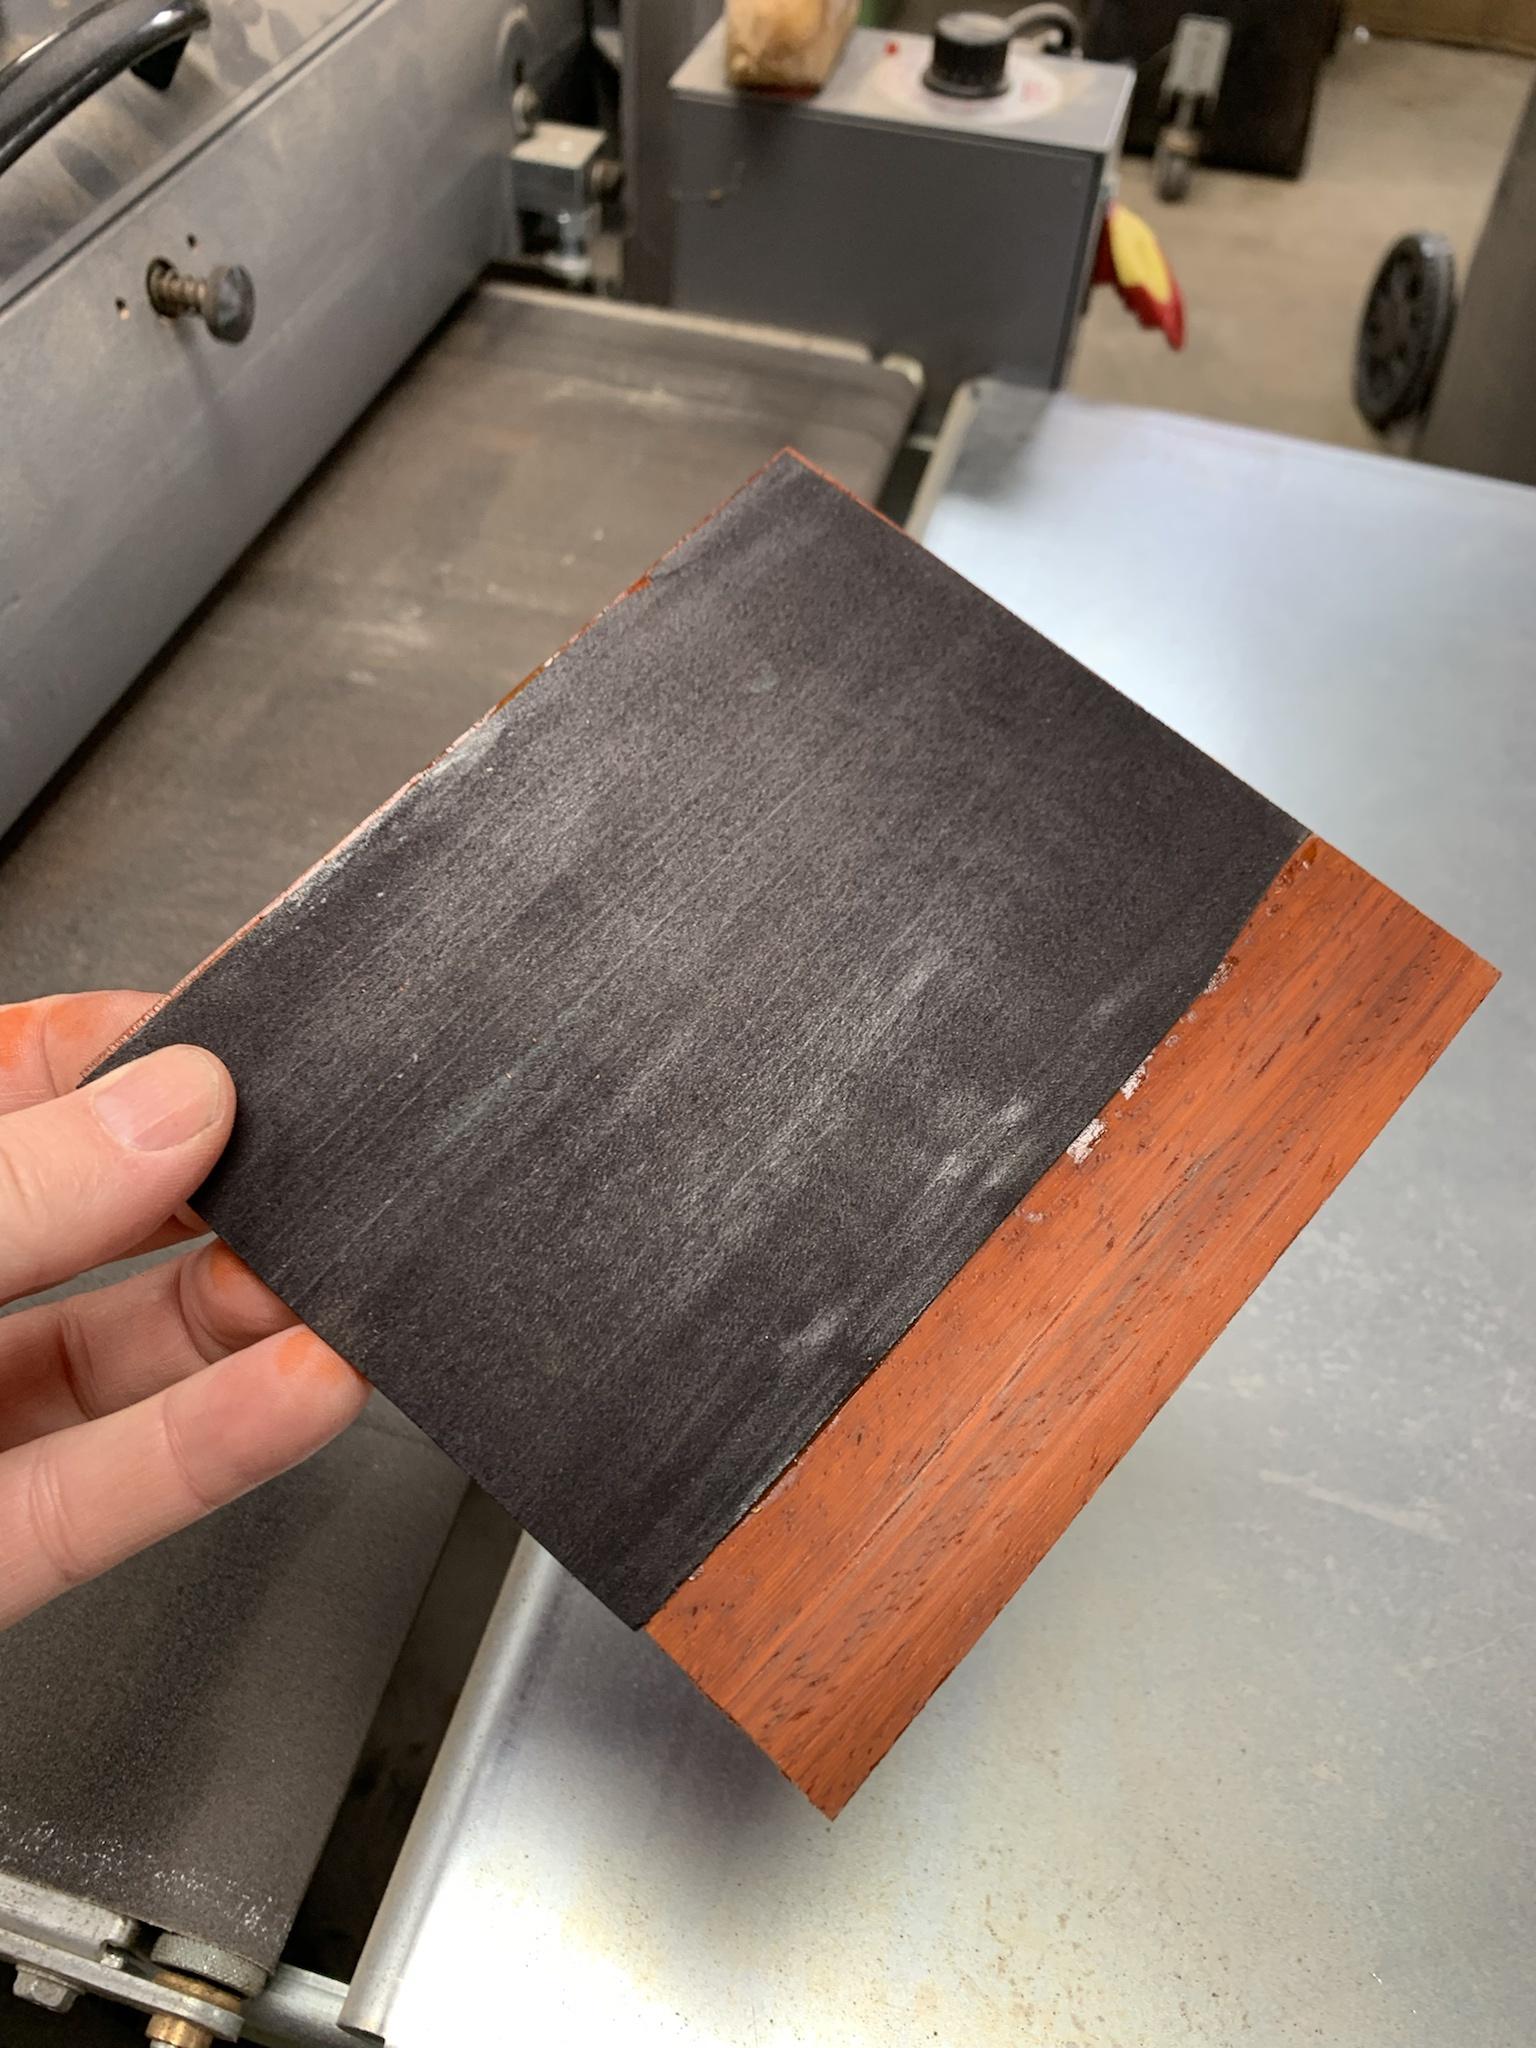
Then I ran that through the drum sander.
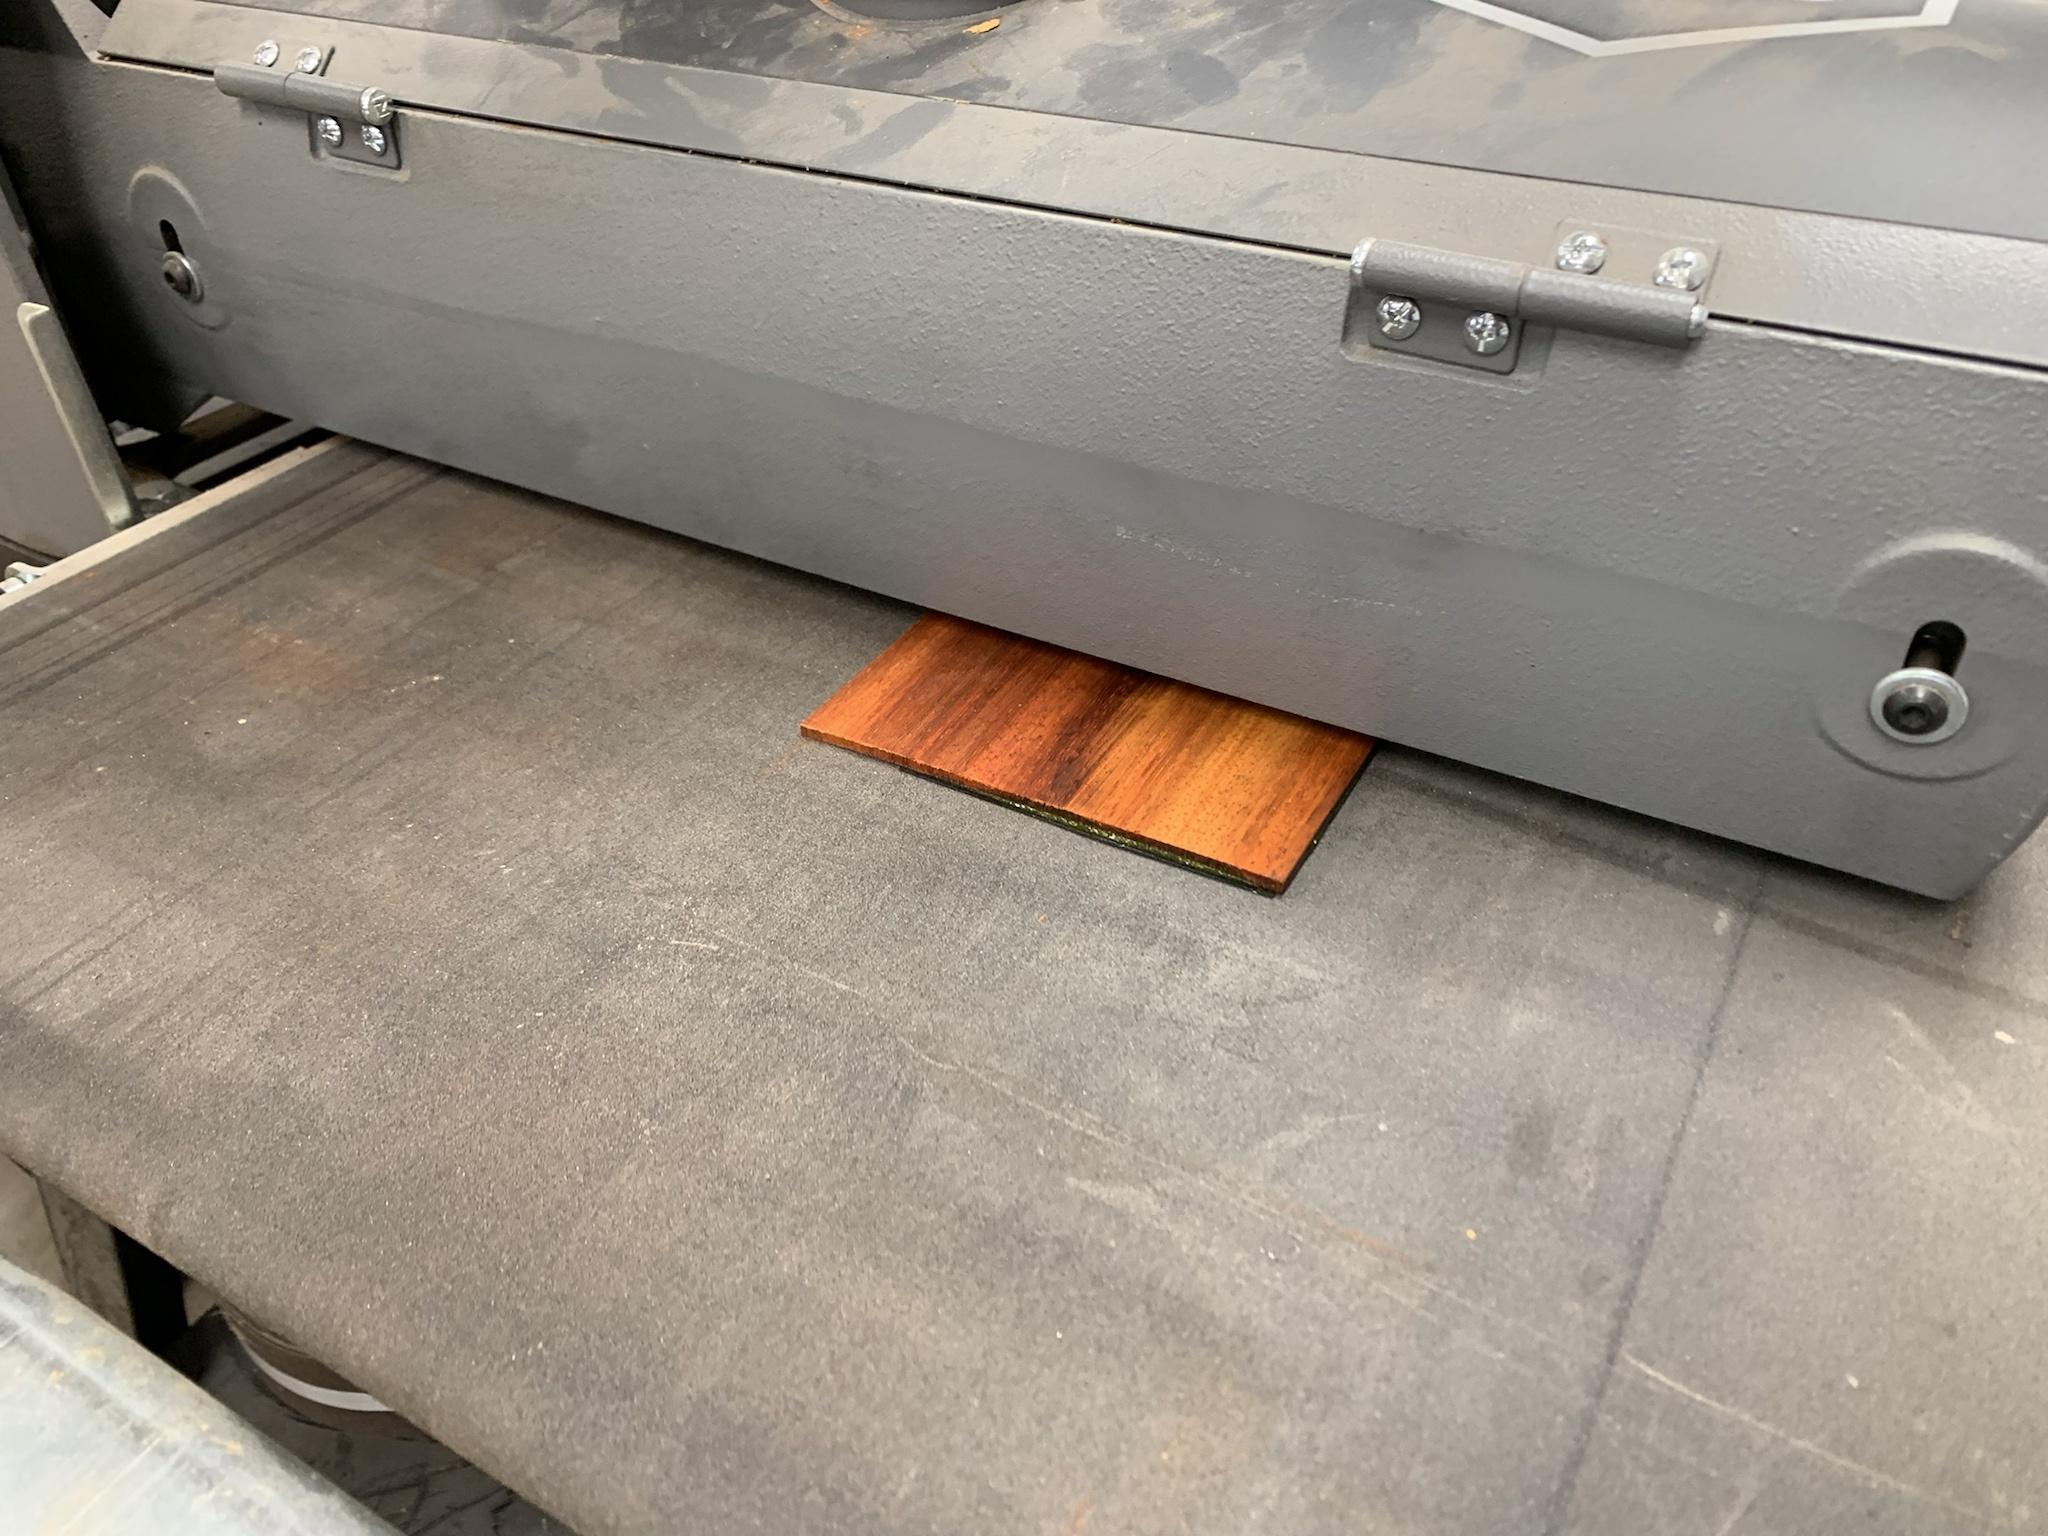
I got it thinned down very nicely.
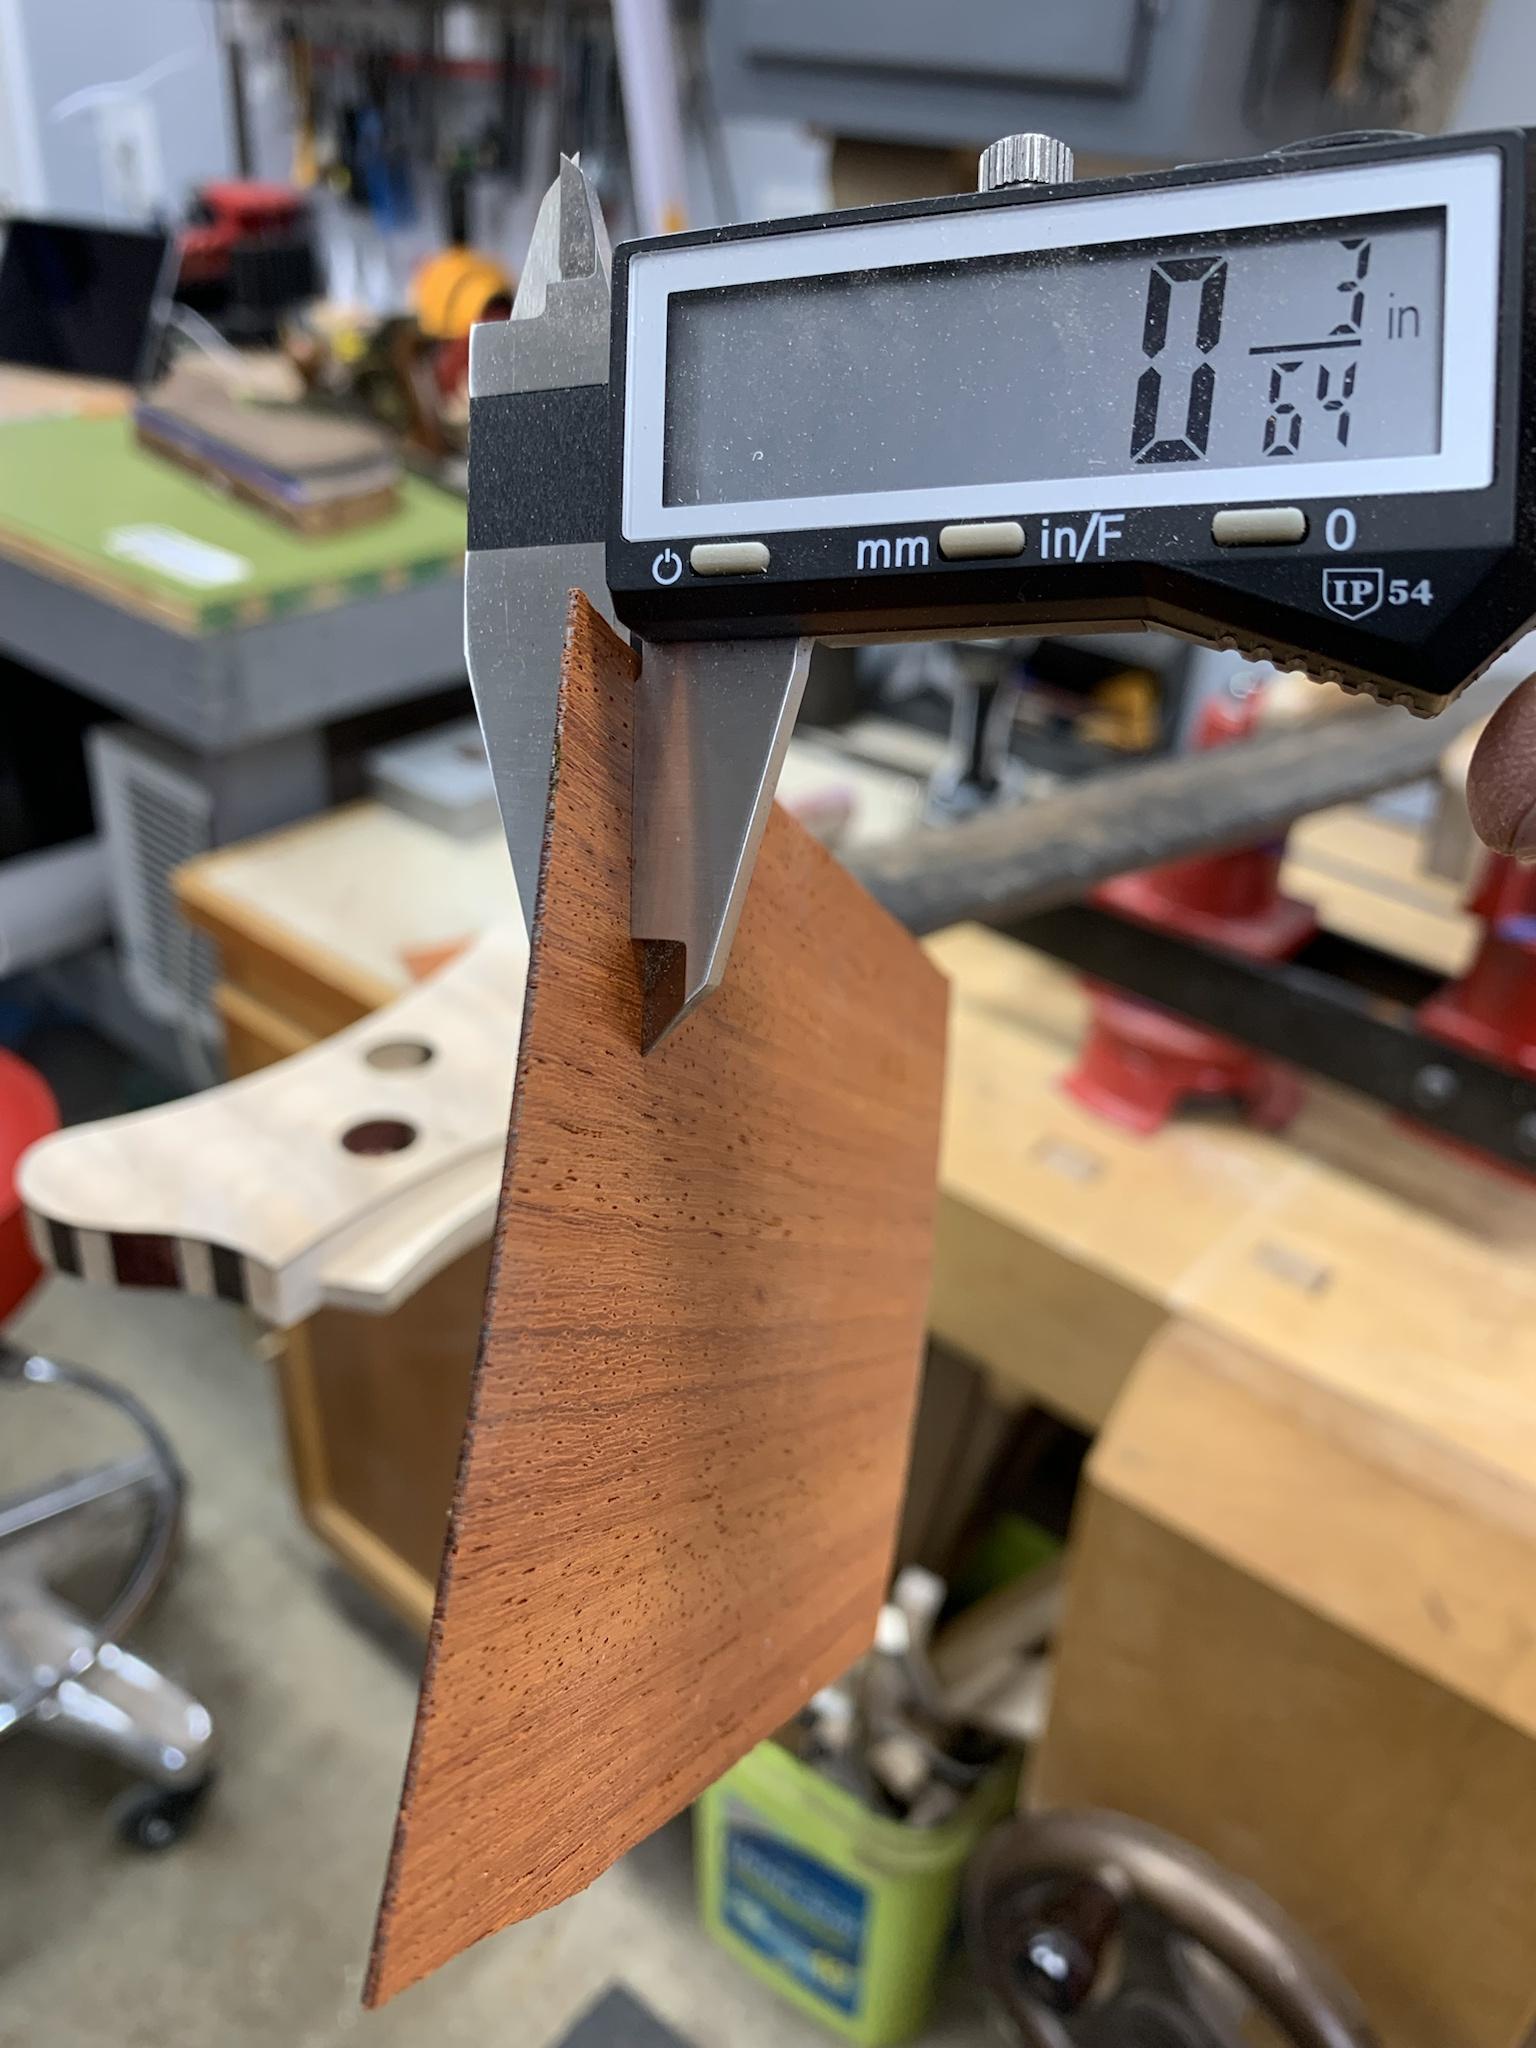
Yep, looks about right.
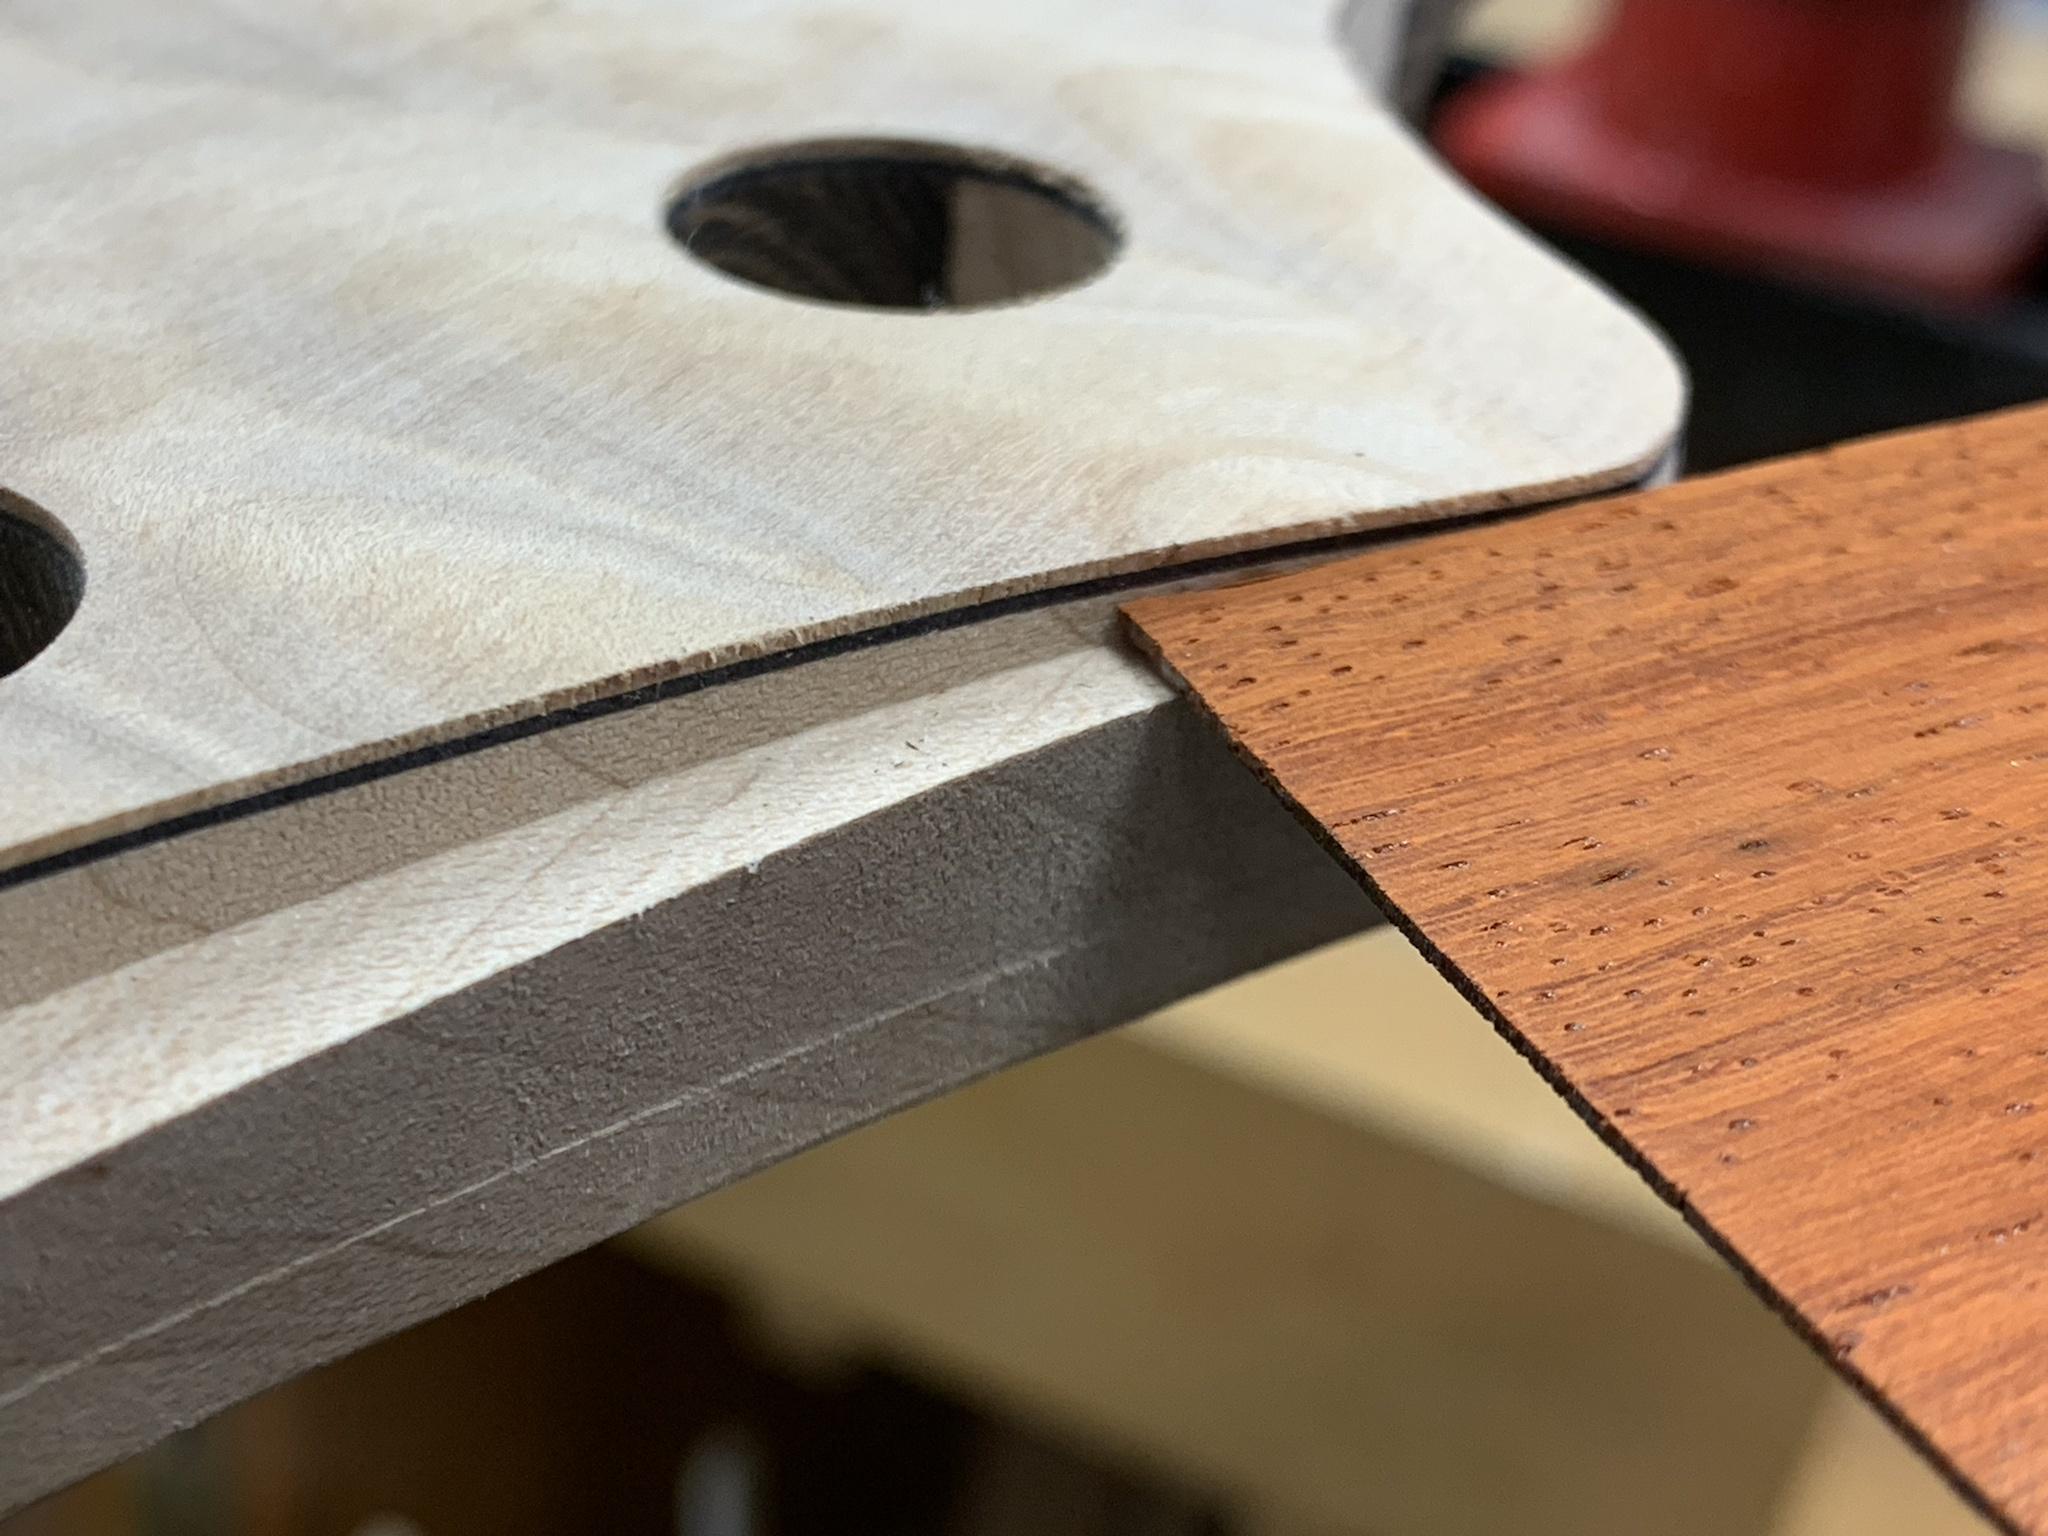
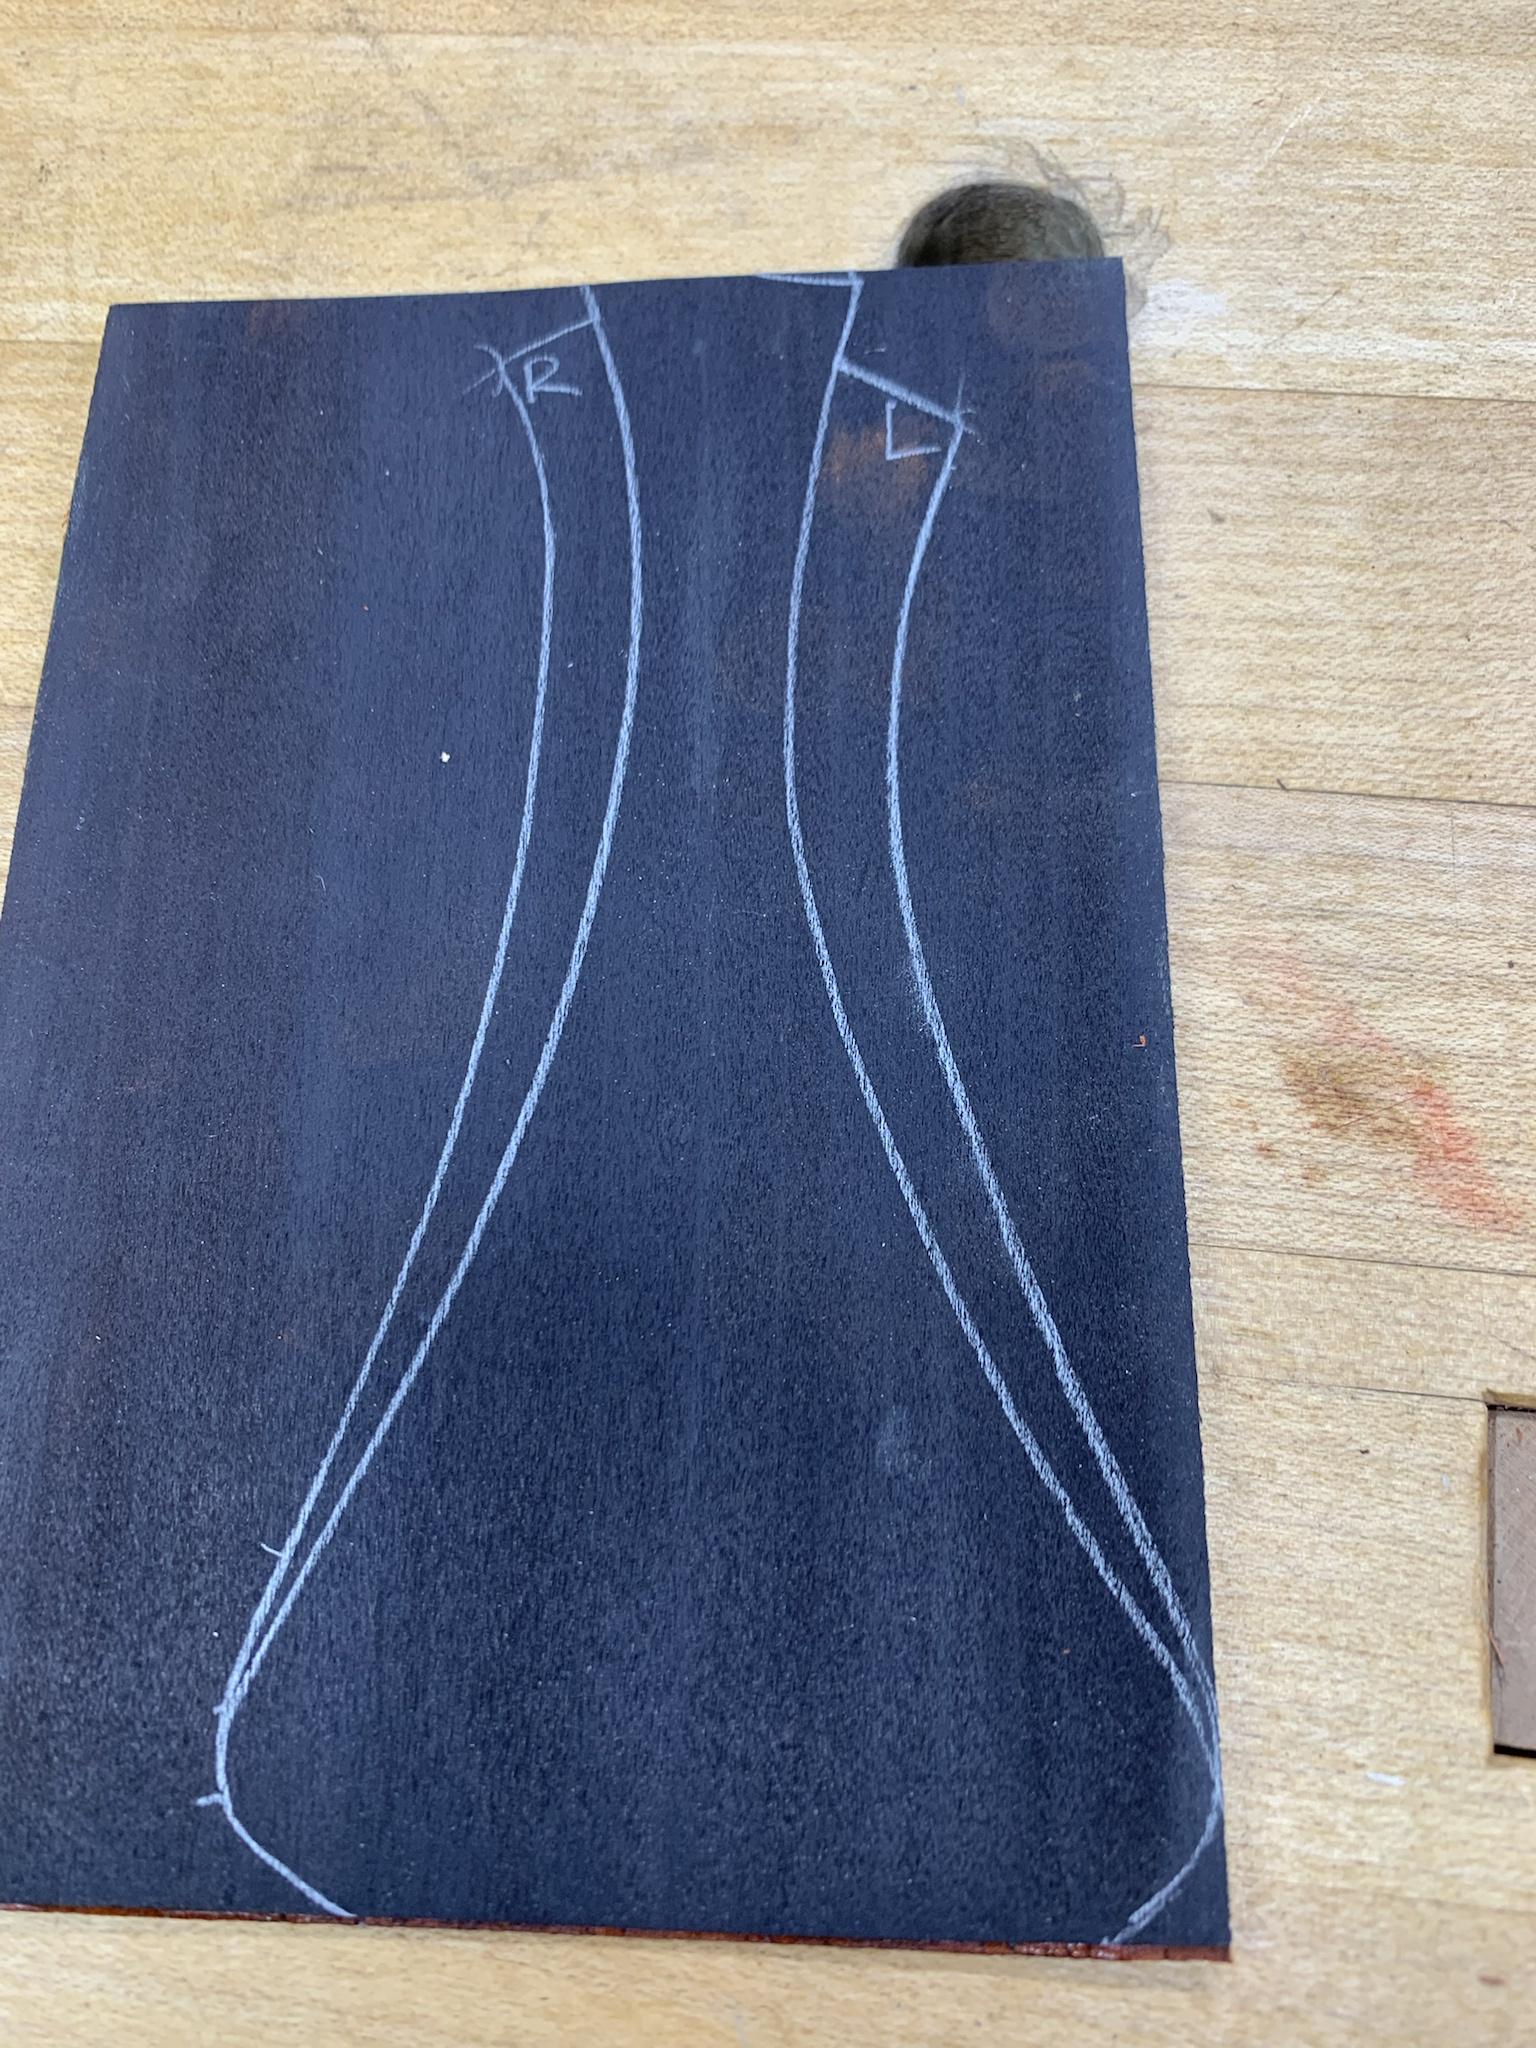
I marked out from the backside and cut them out.
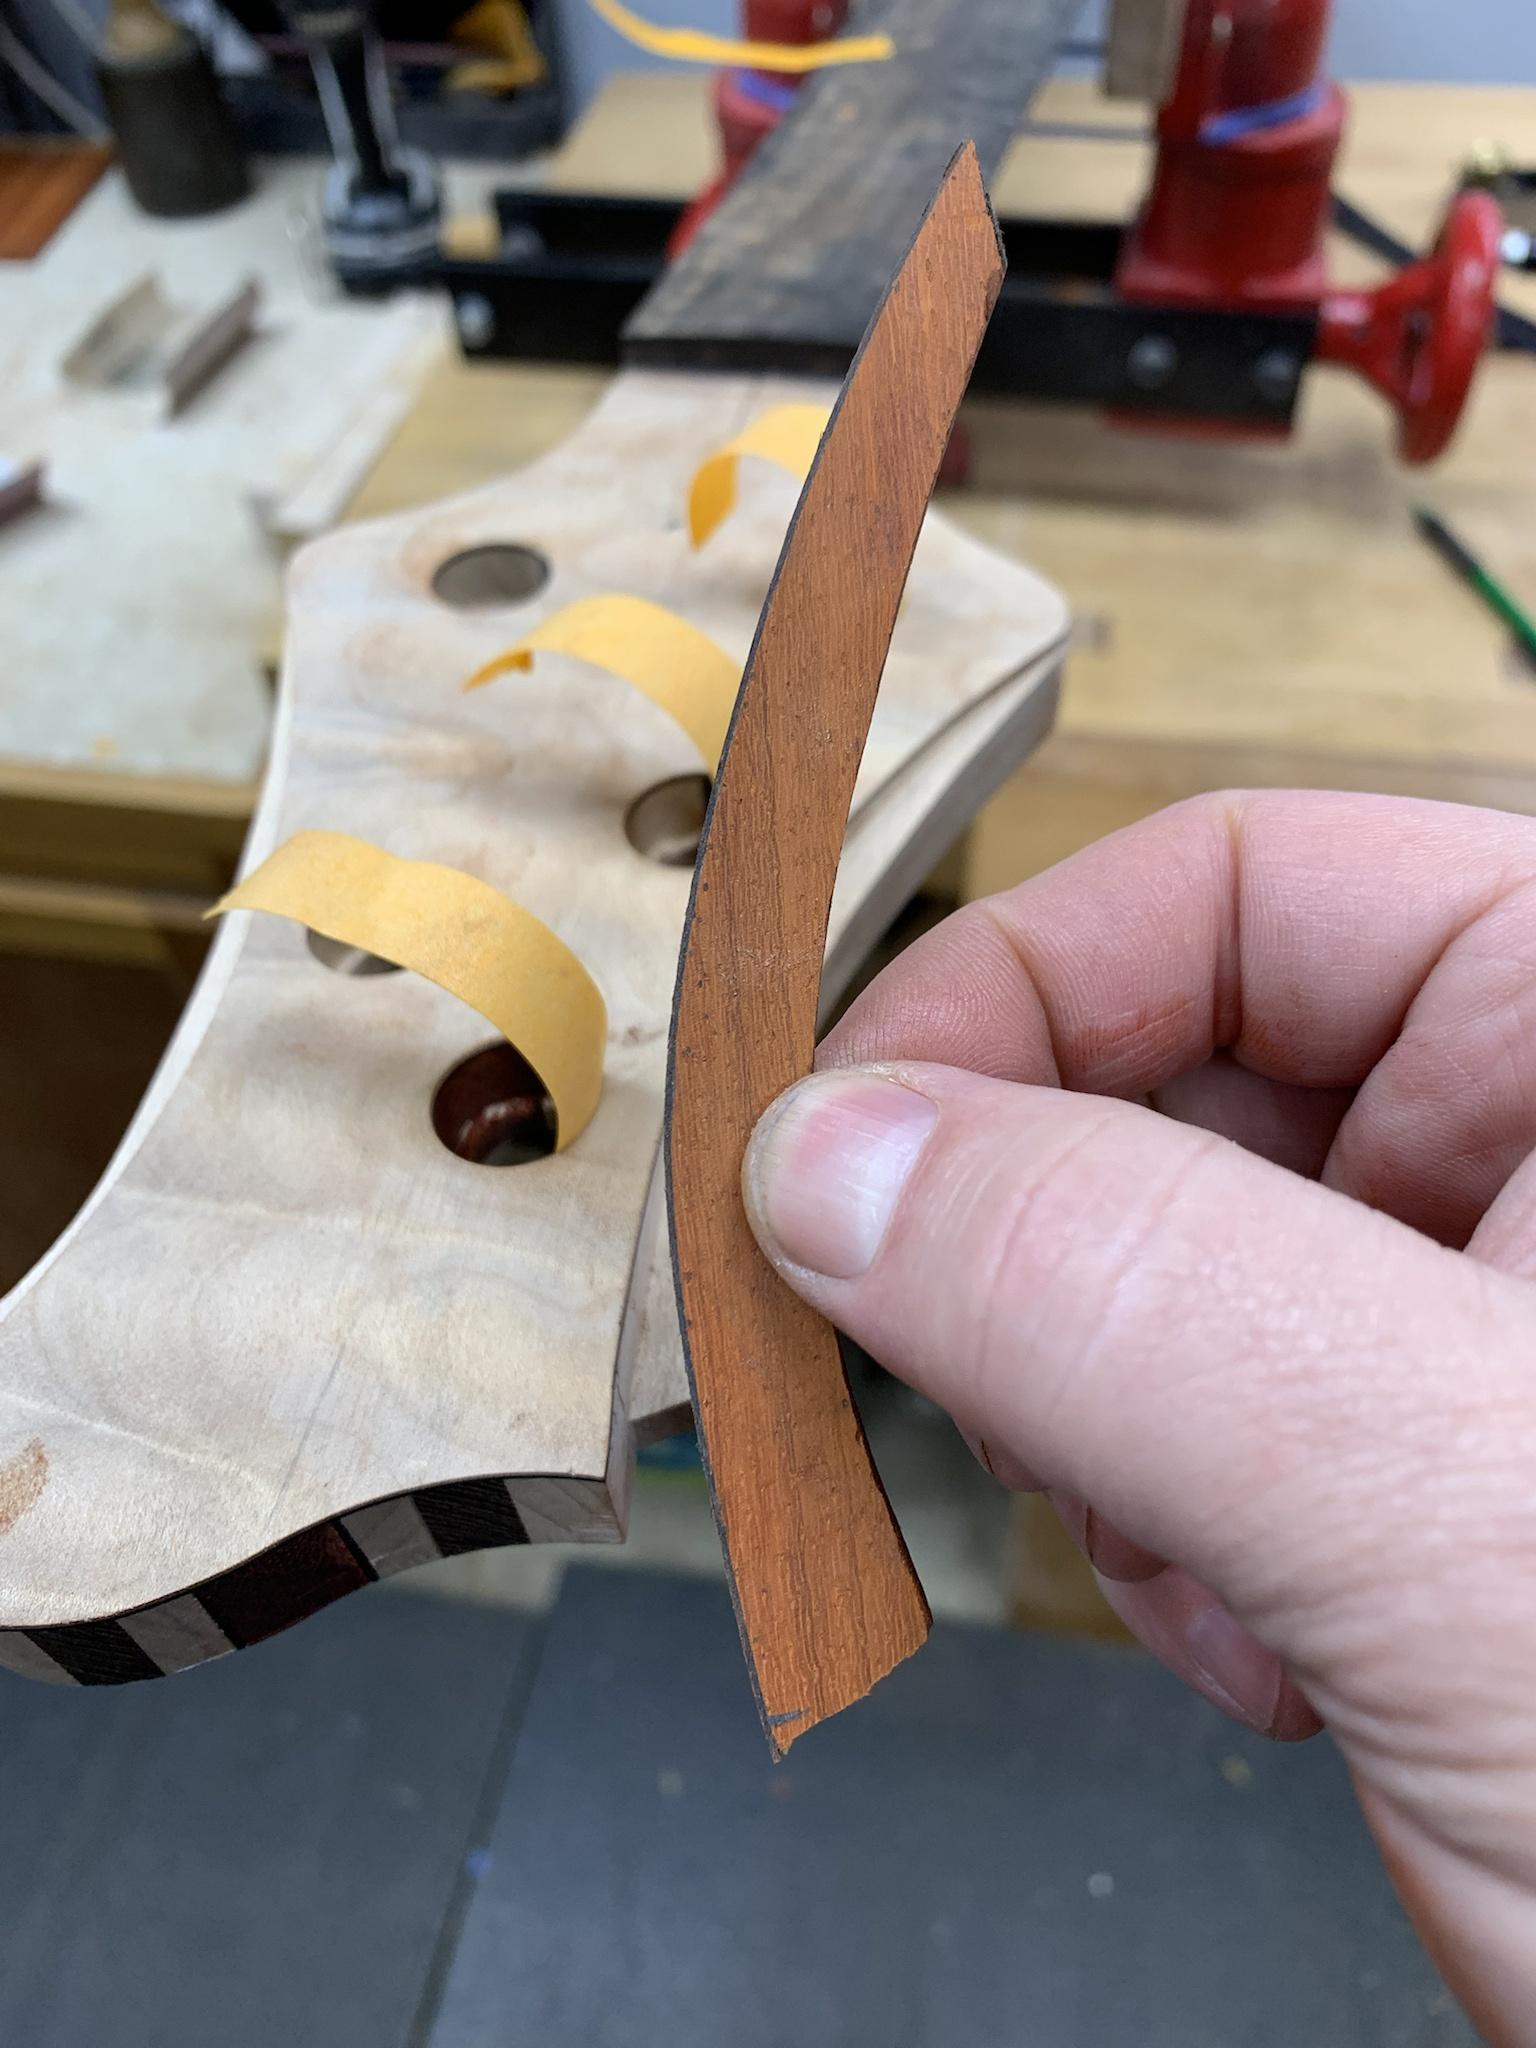
After a lot of fiddly sanding and fitting, I glued an extra strip of black poplar to the inside edge of the pieces and sanded everything flush.
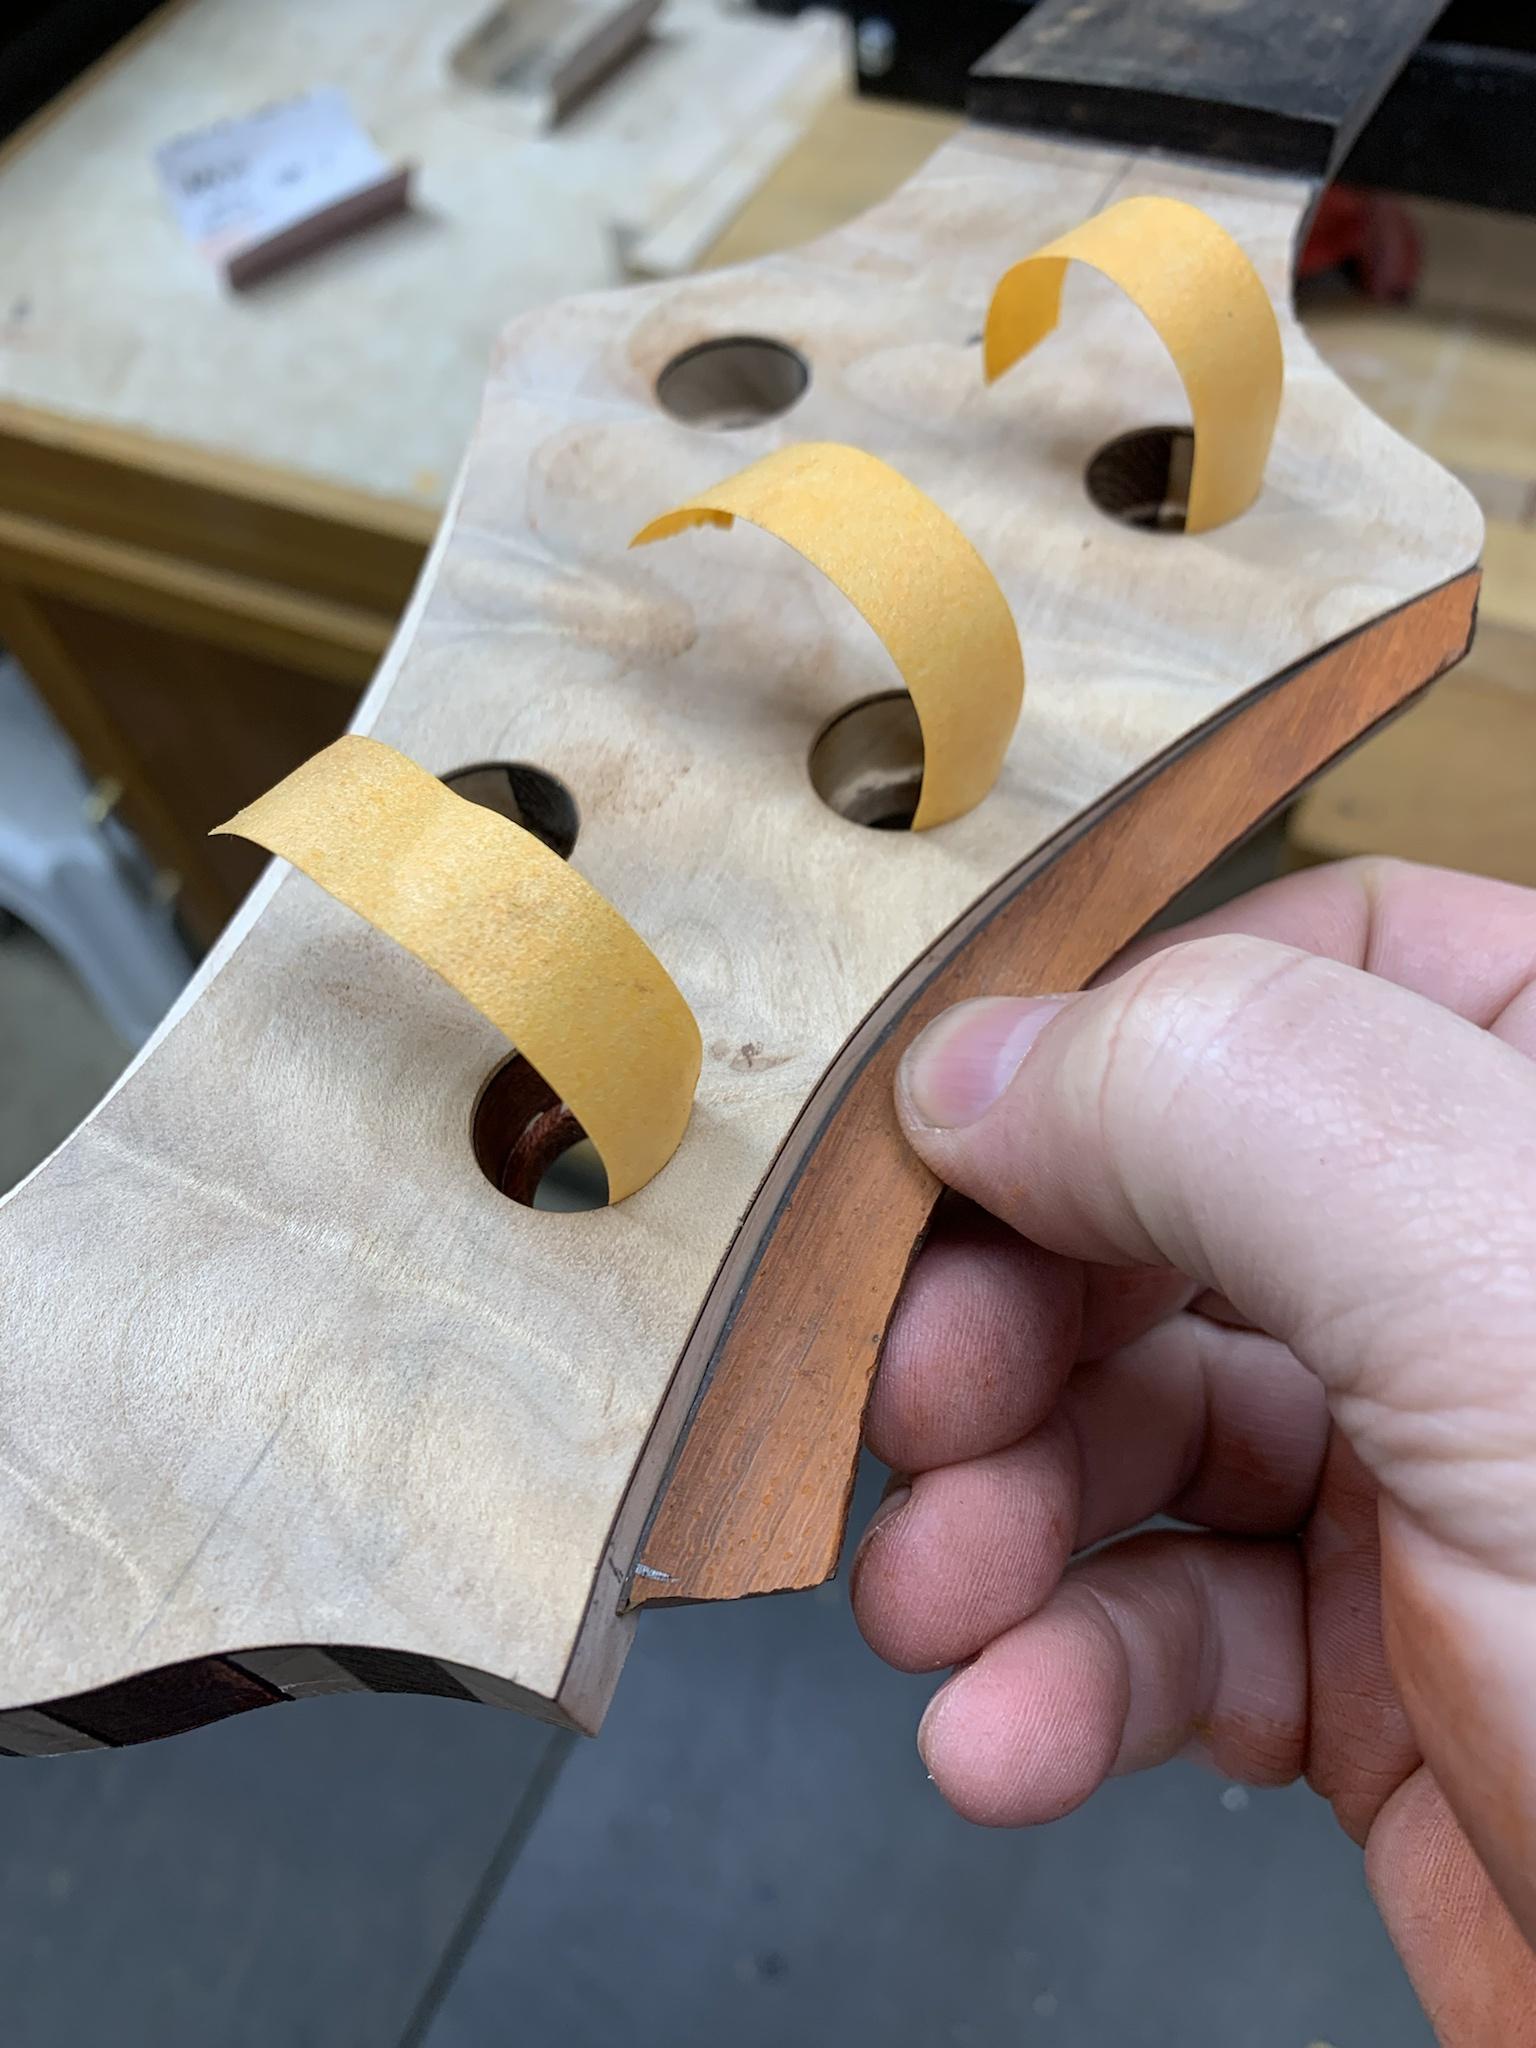
I used hot hide glue with a rub joint to attach the pieces. The tape isn't really needed, but it made me feel better. I took it off after about 20 minutes.
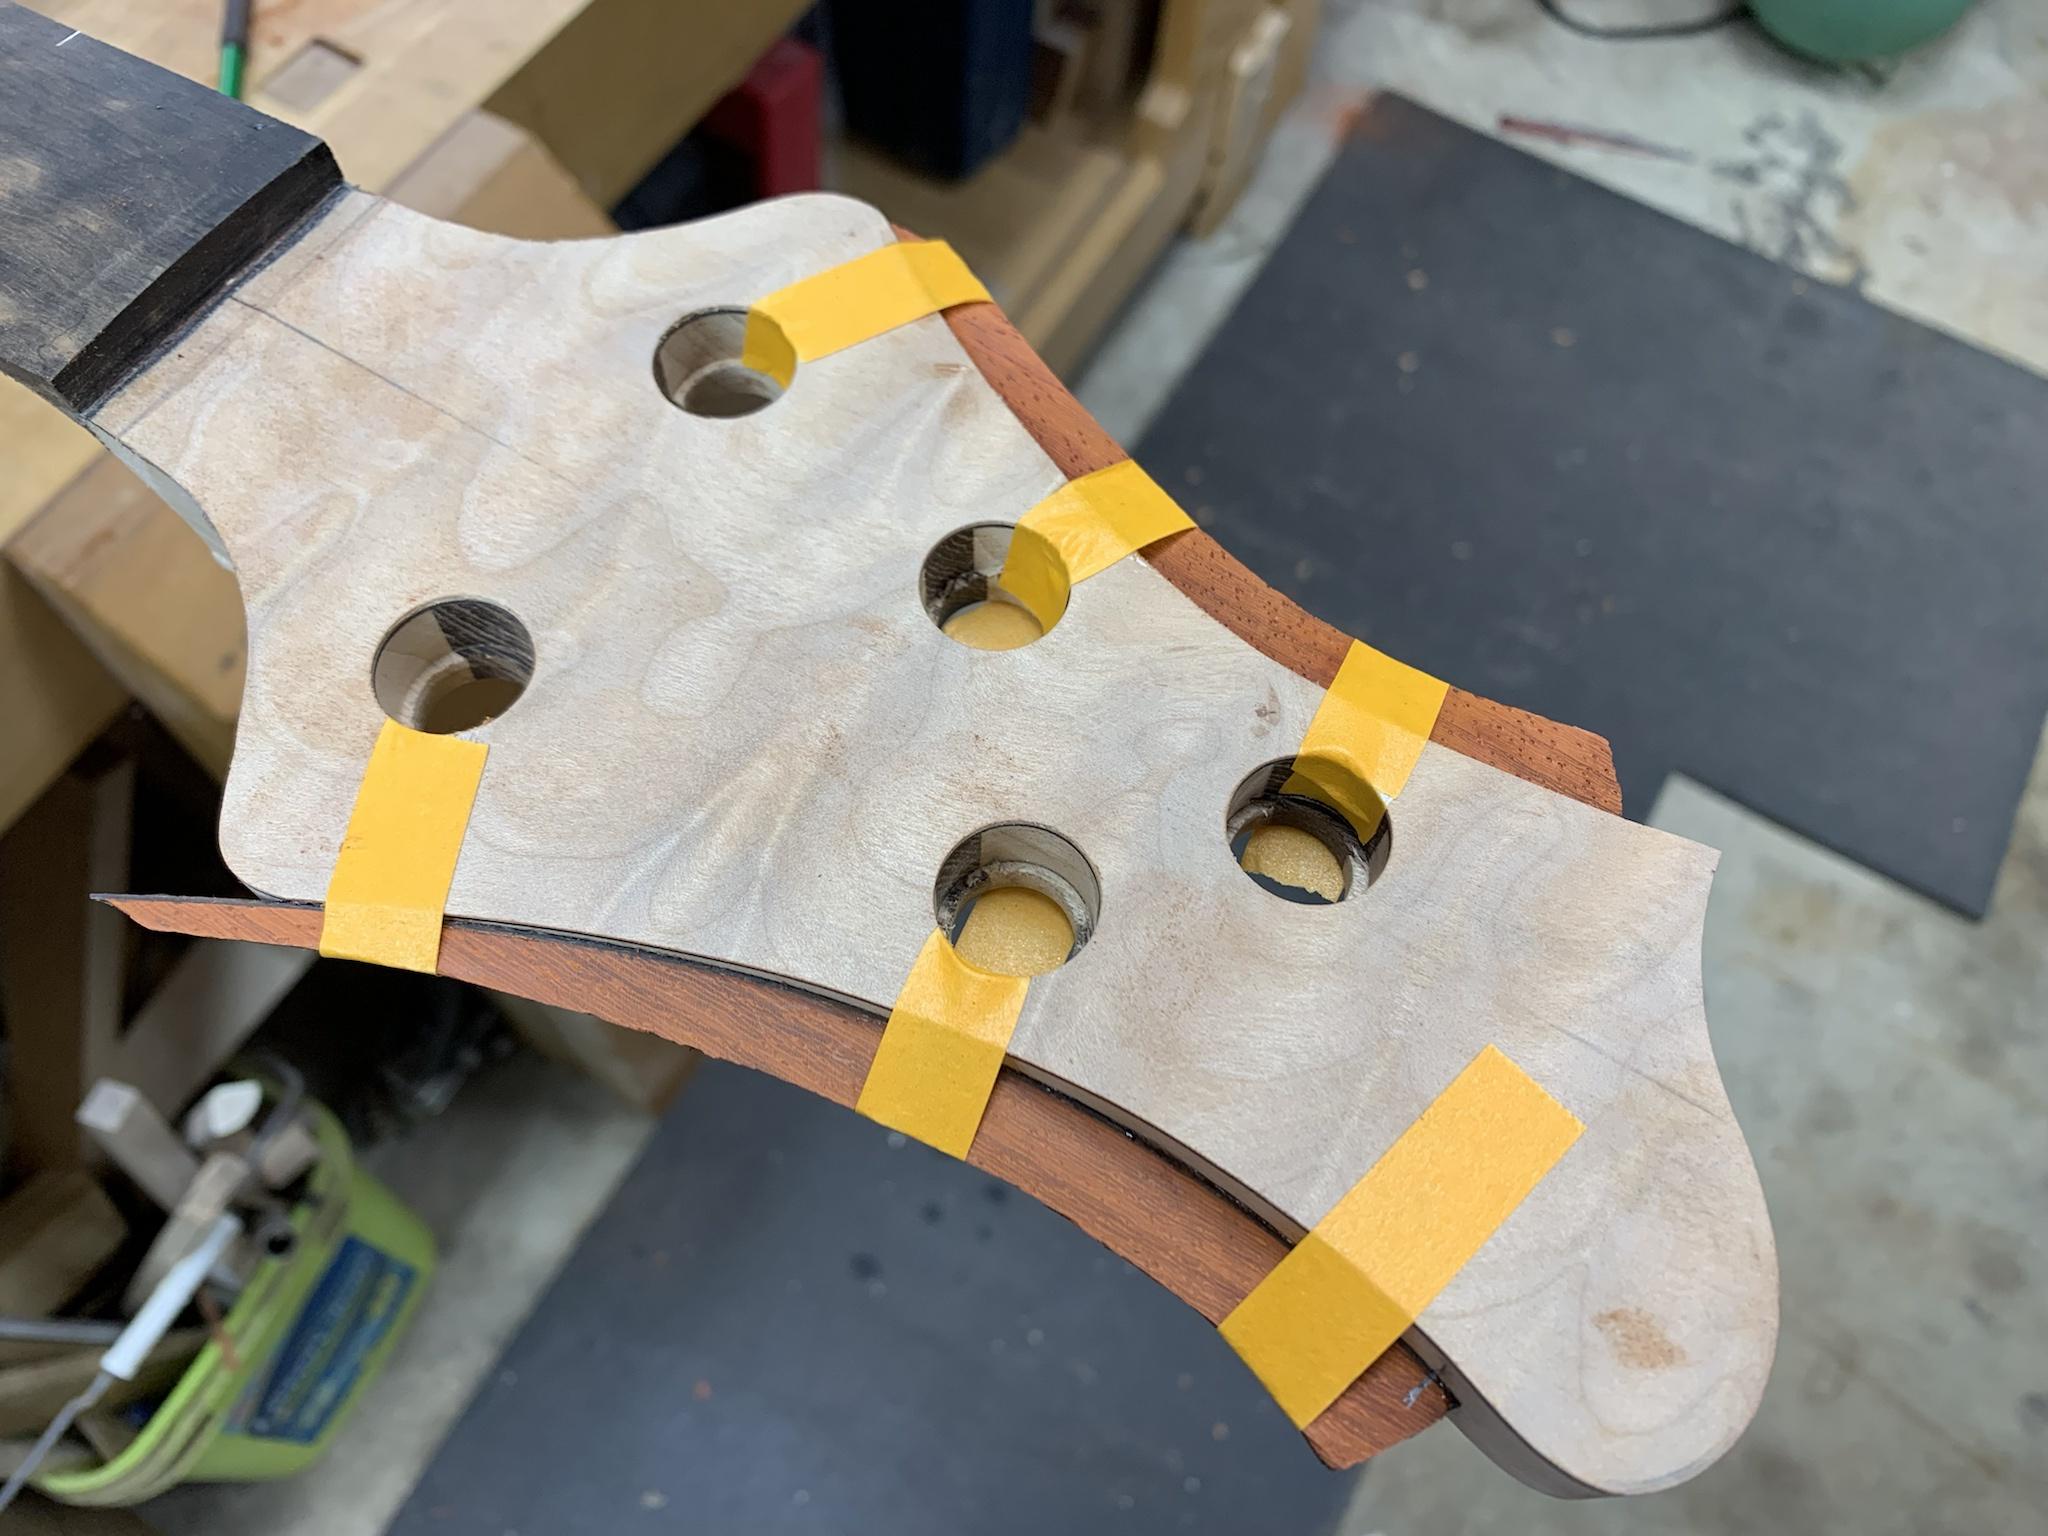
That should look pretty cool when it's all cleaned up.
Lots of exciting progress happening now, it will soon look like a BSO!
The next step that I worked on was the little contrasting laminates that go on the winglets. I chose to use padauk and black poplar for this.
I started by CA gluing some black poplar to a padauk offcut.
Then I ran that through the drum sander.
I got it thinned down very nicely.
Yep, looks about right.
I marked out from the backside and cut them out.
After a lot of fiddly sanding and fitting, I glued an extra strip of black poplar to the inside edge of the pieces and sanded everything flush.
I used hot hide glue with a rub joint to attach the pieces. The tape isn't really needed, but it made me feel better. I took it off after about 20 minutes.
That should look pretty cool when it's all cleaned up.
Lots of exciting progress happening now, it will soon look like a BSO!
Now you're just showing off.Qüïmsgëfääërdën ÏÏ (rëvïsïtëd) Hëädstöck Wïnglët Lämïnätës
The next step that I worked on was the little contrasting laminates that go on the winglets. I chose to use padauk and black poplar for this.
I started by CA gluing some black poplar to a padauk offcut.
View attachment 4609366
Then I ran that through the drum sander.
View attachment 4609367
I got it thinned down very nicely.
View attachment 4609368
Yep, looks about right.
View attachment 4609369
I marked out from the backside and cut them out.
View attachment 4609370
After a lot of fiddly sanding and fitting, I glued an extra strip of black poplar to the inside edge of the pieces and sanded everything flush.
View attachment 4609371
View attachment 4609372
I used hot hide glue with a rub joint to attach the pieces. The tape isn't really needed, but it made me feel better. I took it off after about 20 minutes.
View attachment 4609373
That should look pretty cool when it's all cleaned up.
Lots of exciting progress happening now, it will soon look like a BSO!


I don’t know how I haven’t seen this until tonight but…wow. Please, go on.

That's insane, you know that right?After a lot of fiddly sanding and fitting, I glued an extra strip of black poplar to the inside edge of the pieces and sanded everything flush.
Also incredibly impressive. And pretty....

Now you're just showing off.
That's insane, you know that right?
Also incredibly impressive. And pretty....
Thanks folks. So, these winglets on the headstock are something that I've been wanting to see come to life since I drew them up in 2018.
Here's the original drawings (I can't find the pencil drawing of the face) showing the original idea. Of course, if you look closely, you can see why this didn't work that way that I had hoped.
I had only accounted for the tuner posts, and not the washers... so, in the first version, I had to abandon the 3D routing aspect and just left the winglets flush to the top face of the headstock.
And here is the old drawring next to the revised version for this build.
I probably shouldn't be as excited as I am, but I was so pissed at myself the last time... well you get the point.
Earlier today I rough cut the treble side wing at the band saw.
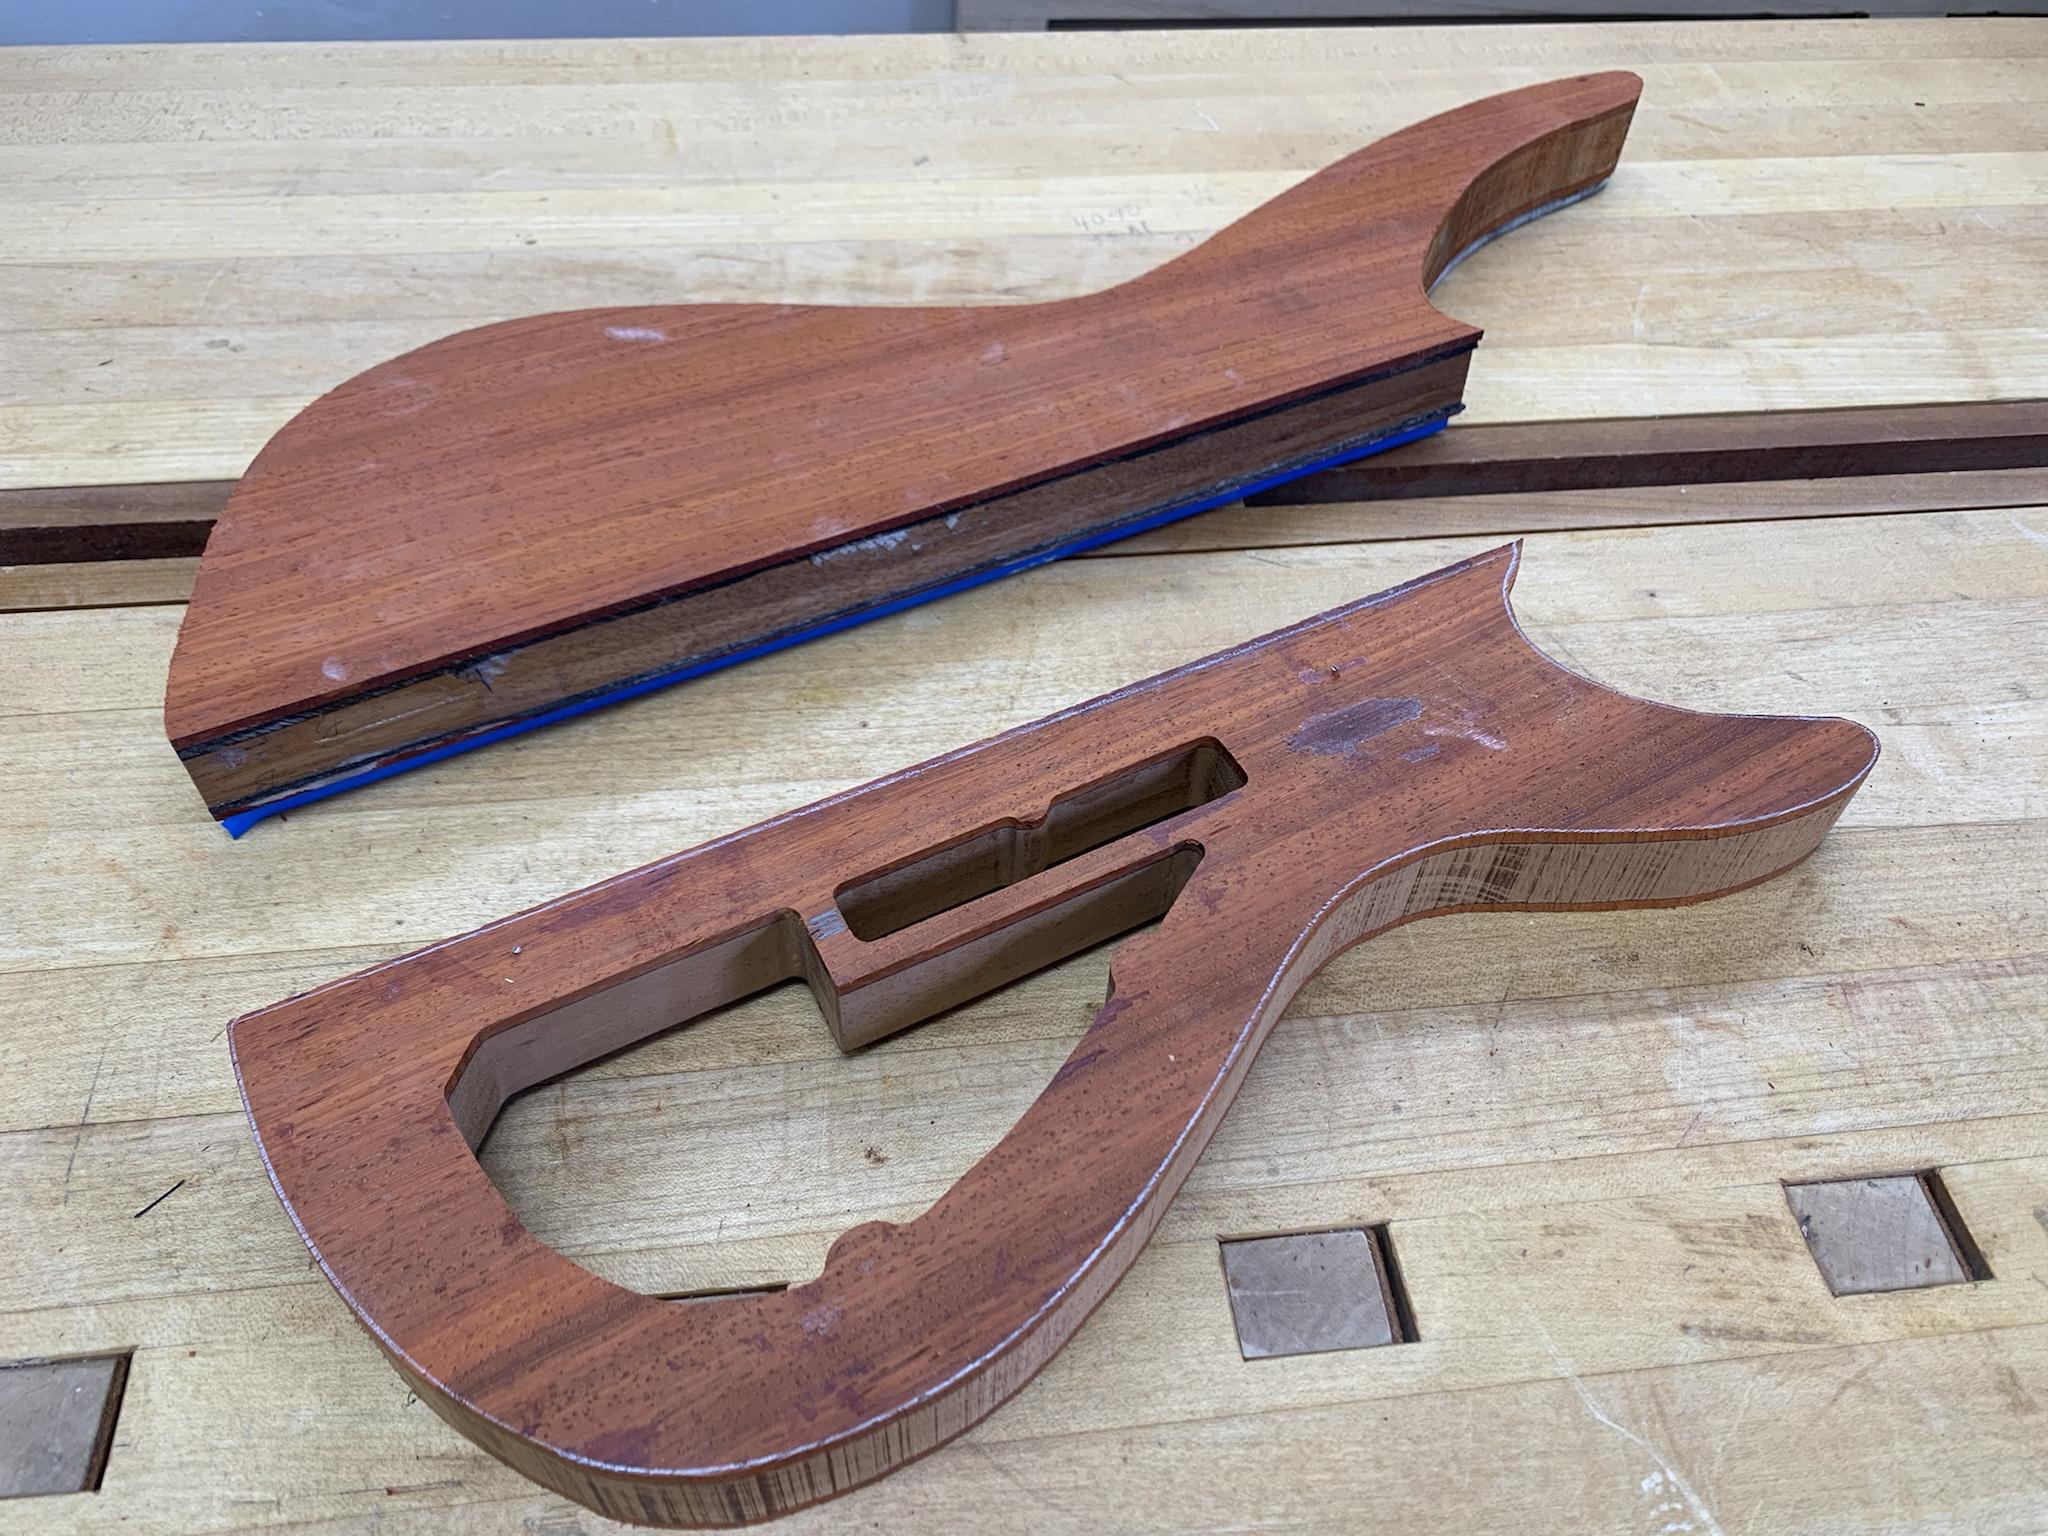
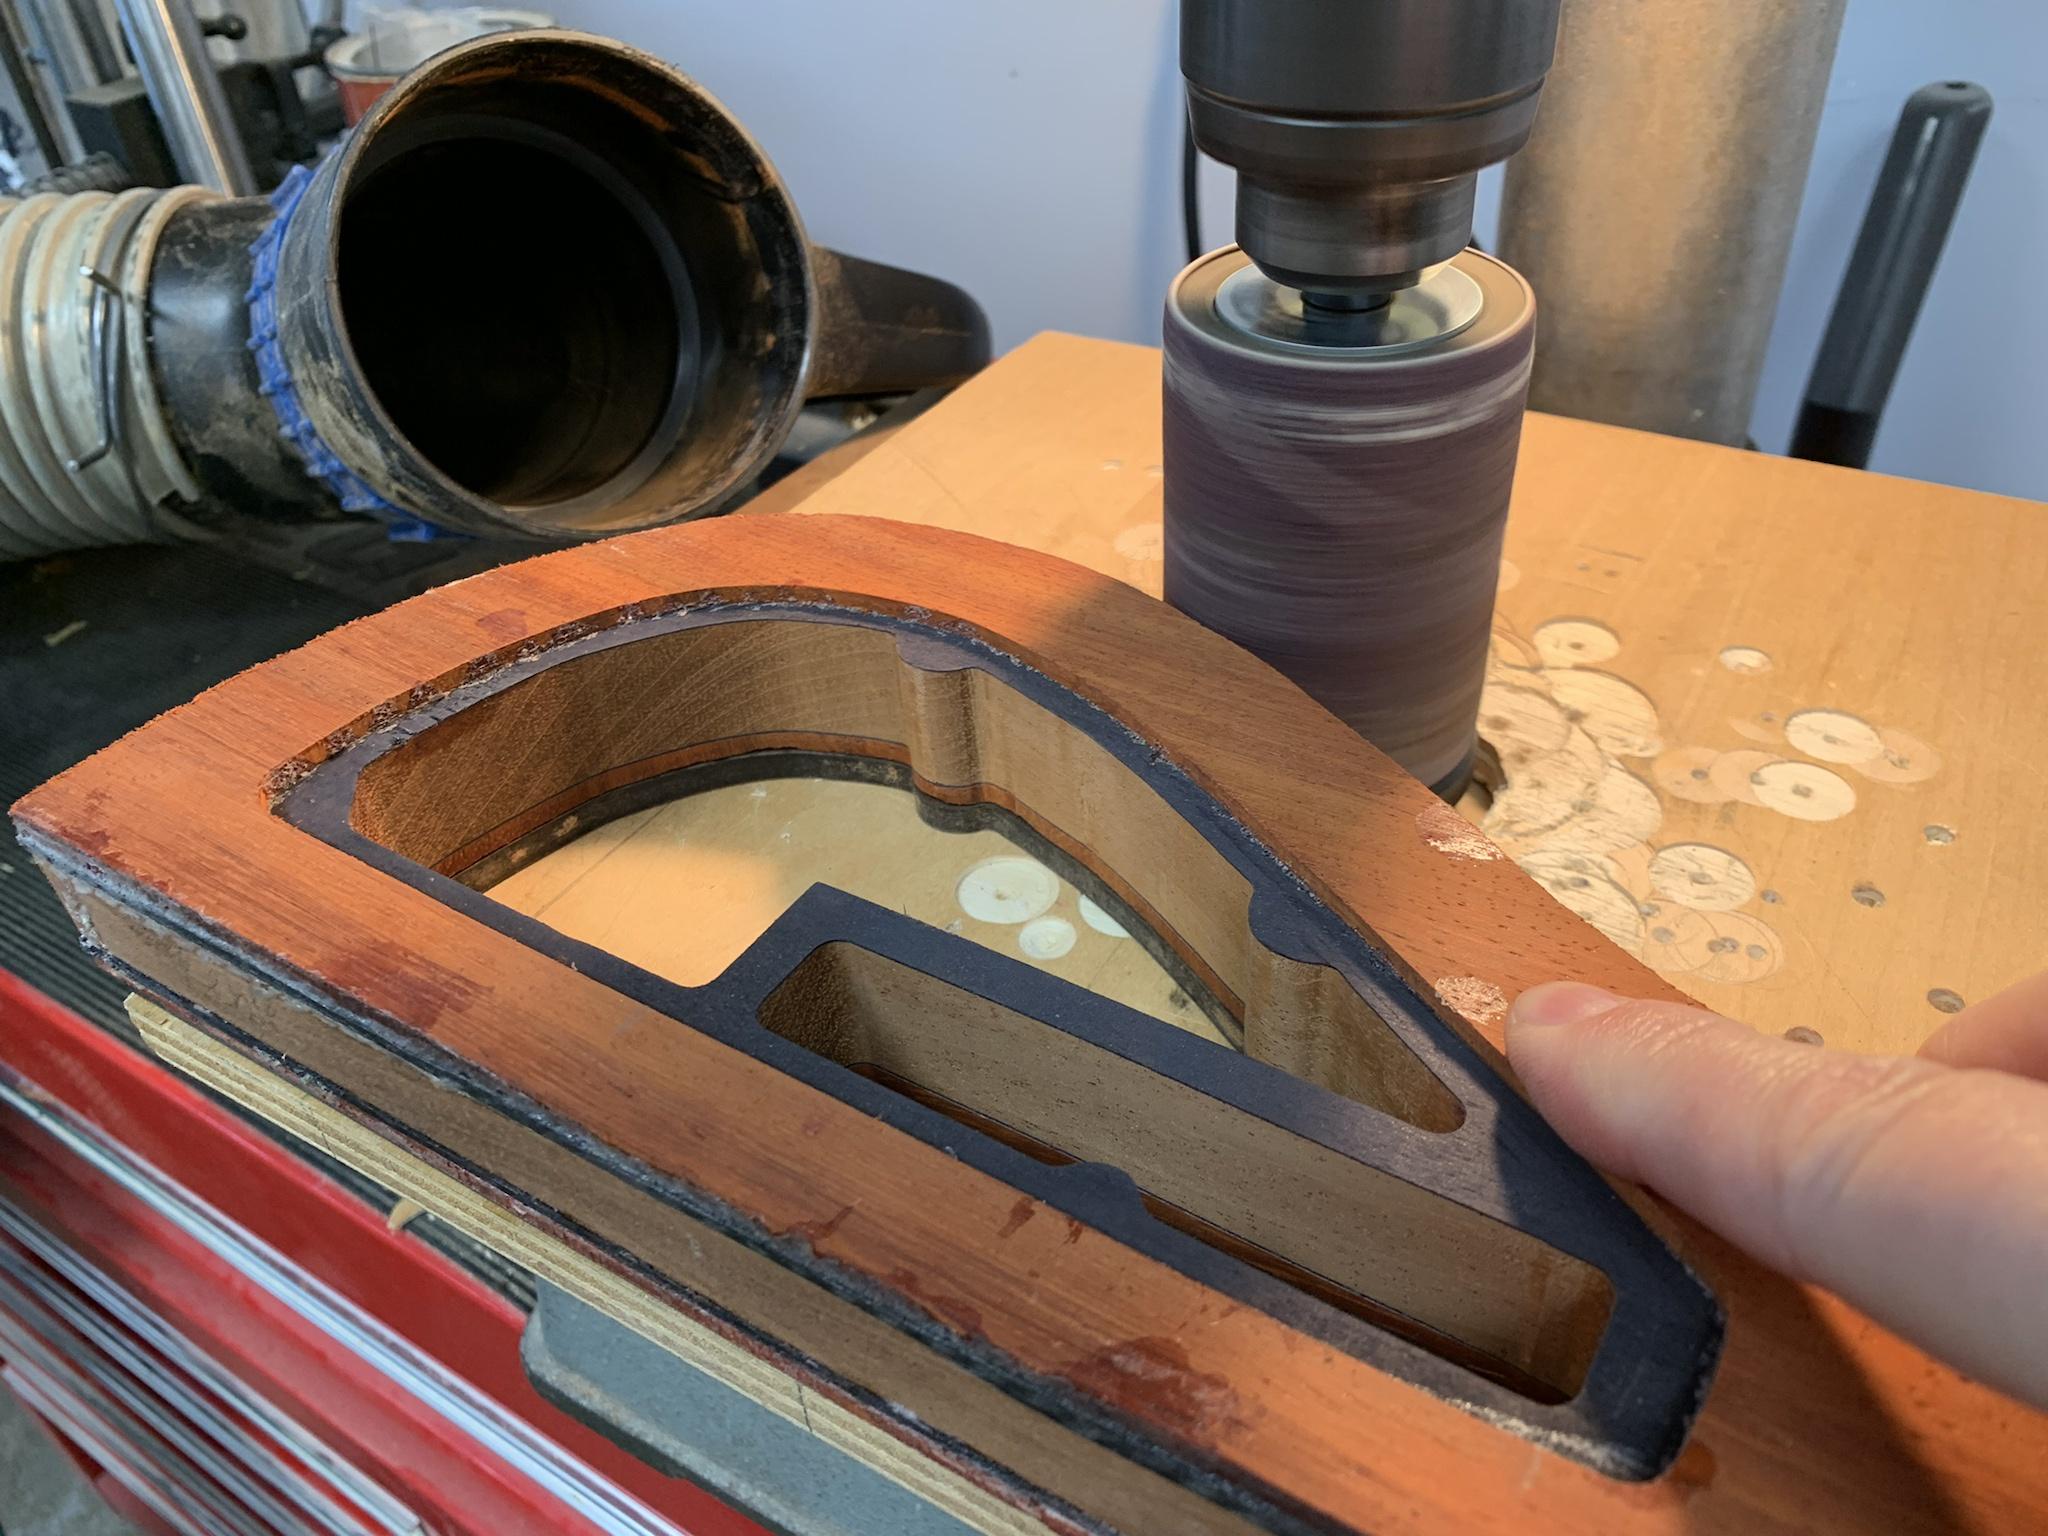
I attached the templates and took the wings to the drill press where I sanded them down closer to the final shape using the Robosander.
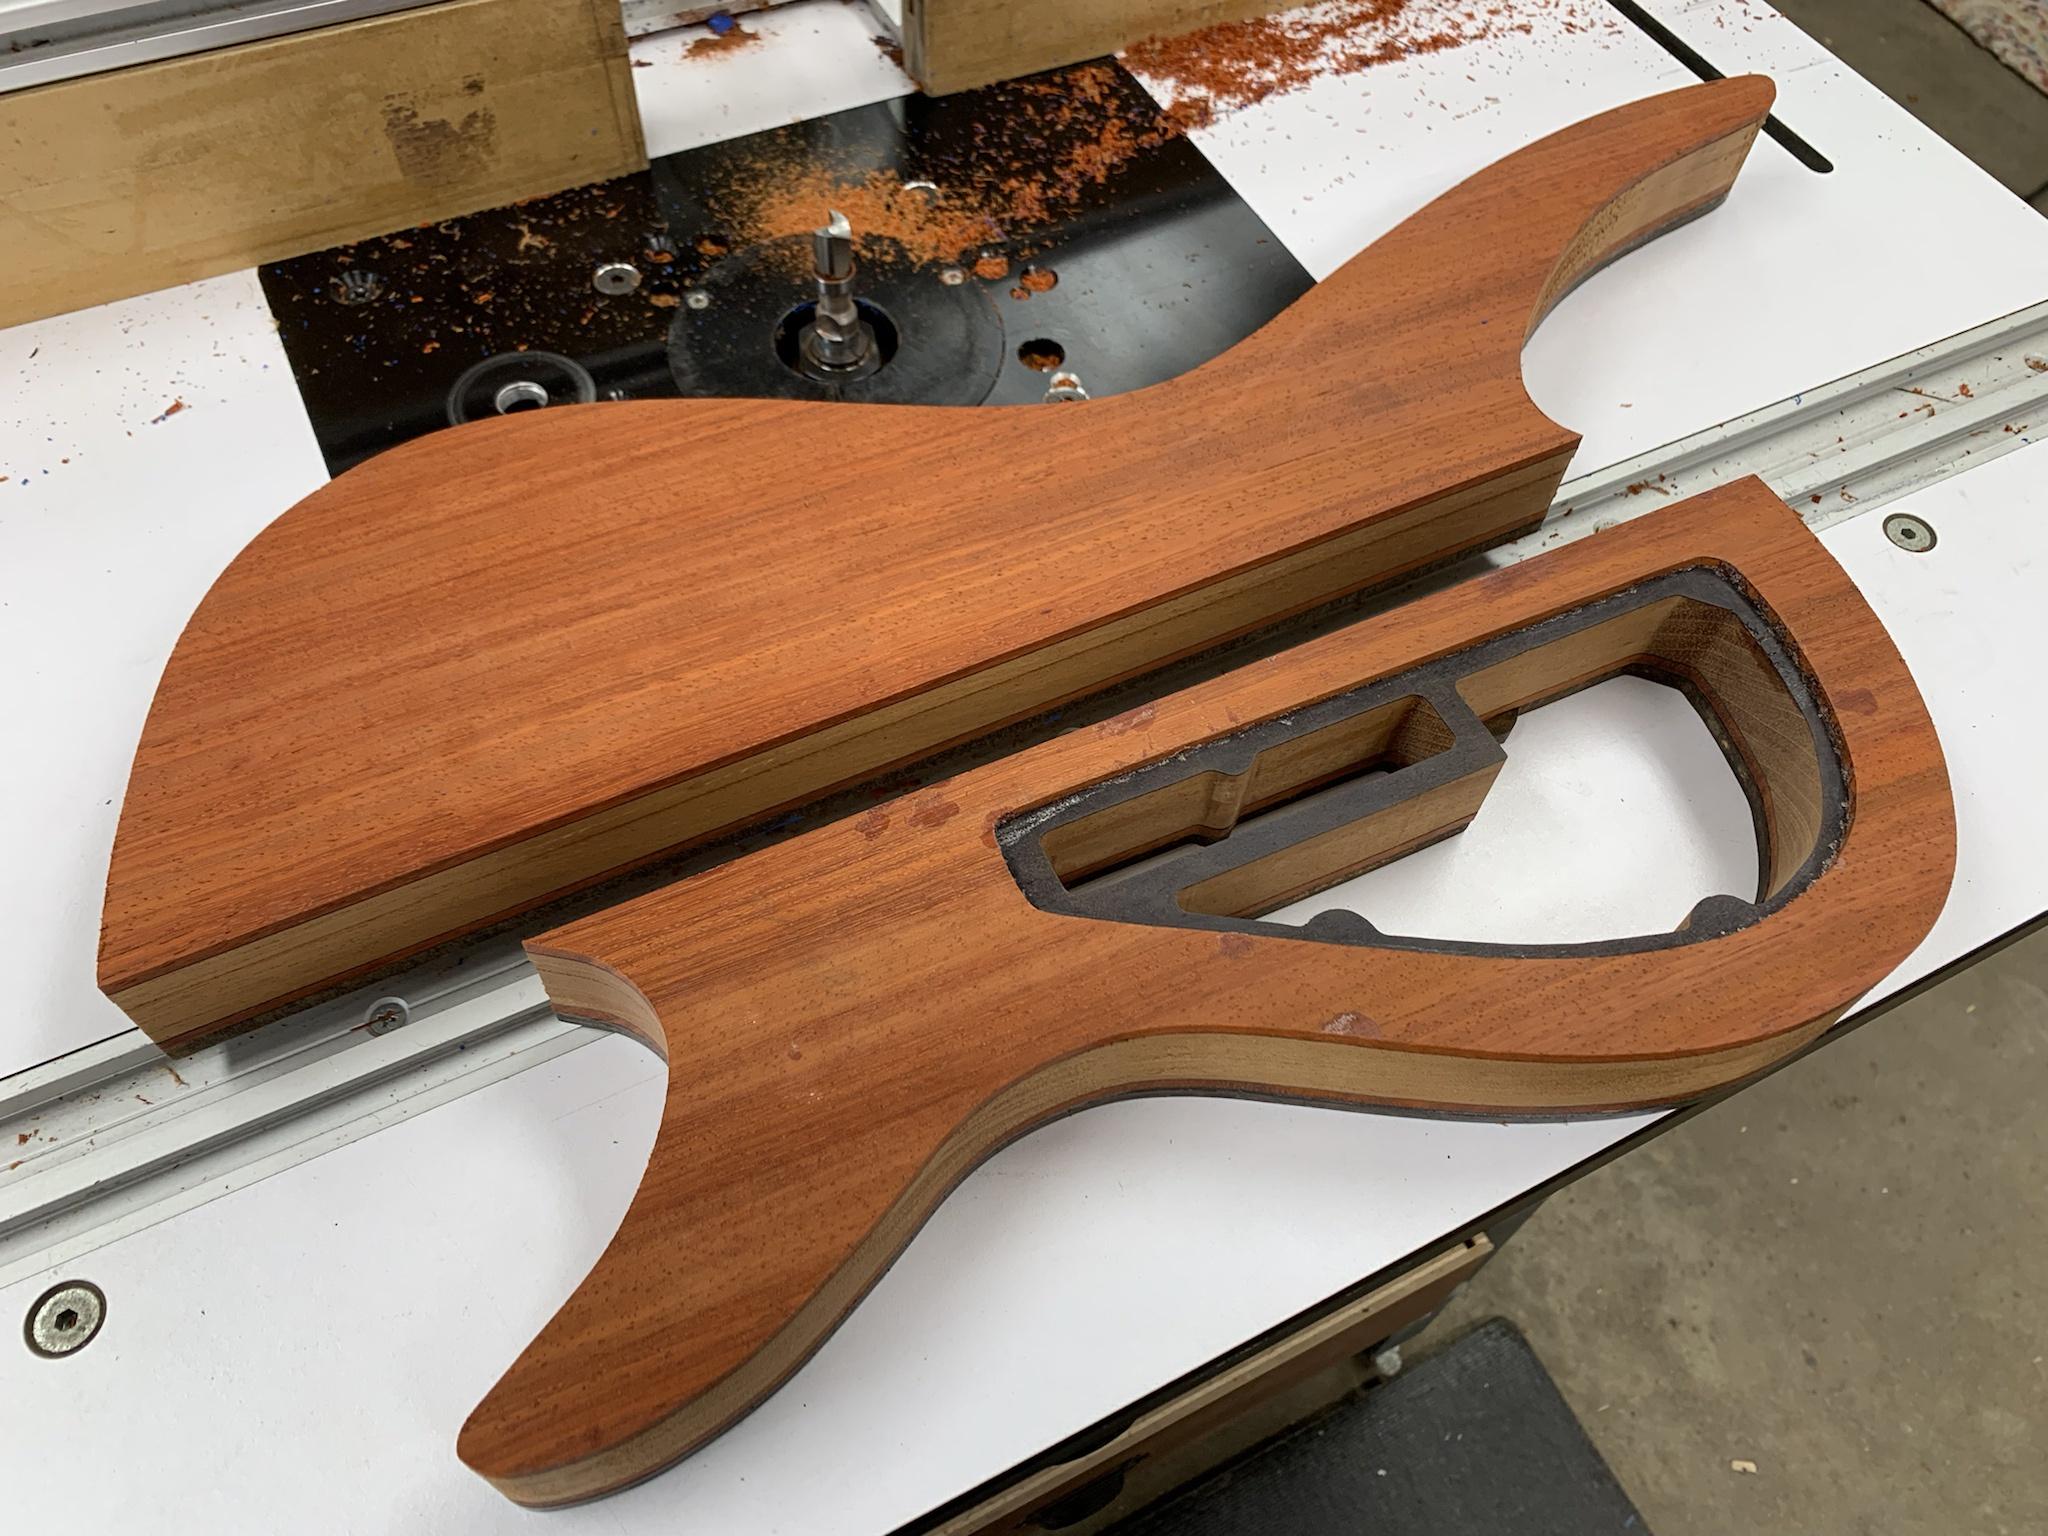
I took the wings to the router table and in 3 passes, routed the wings to their final outline profile.
I attached the templates and took the wings to the drill press where I sanded them down closer to the final shape using the Robosander.
I took the wings to the router table and in 3 passes, routed the wings to their final outline profile.
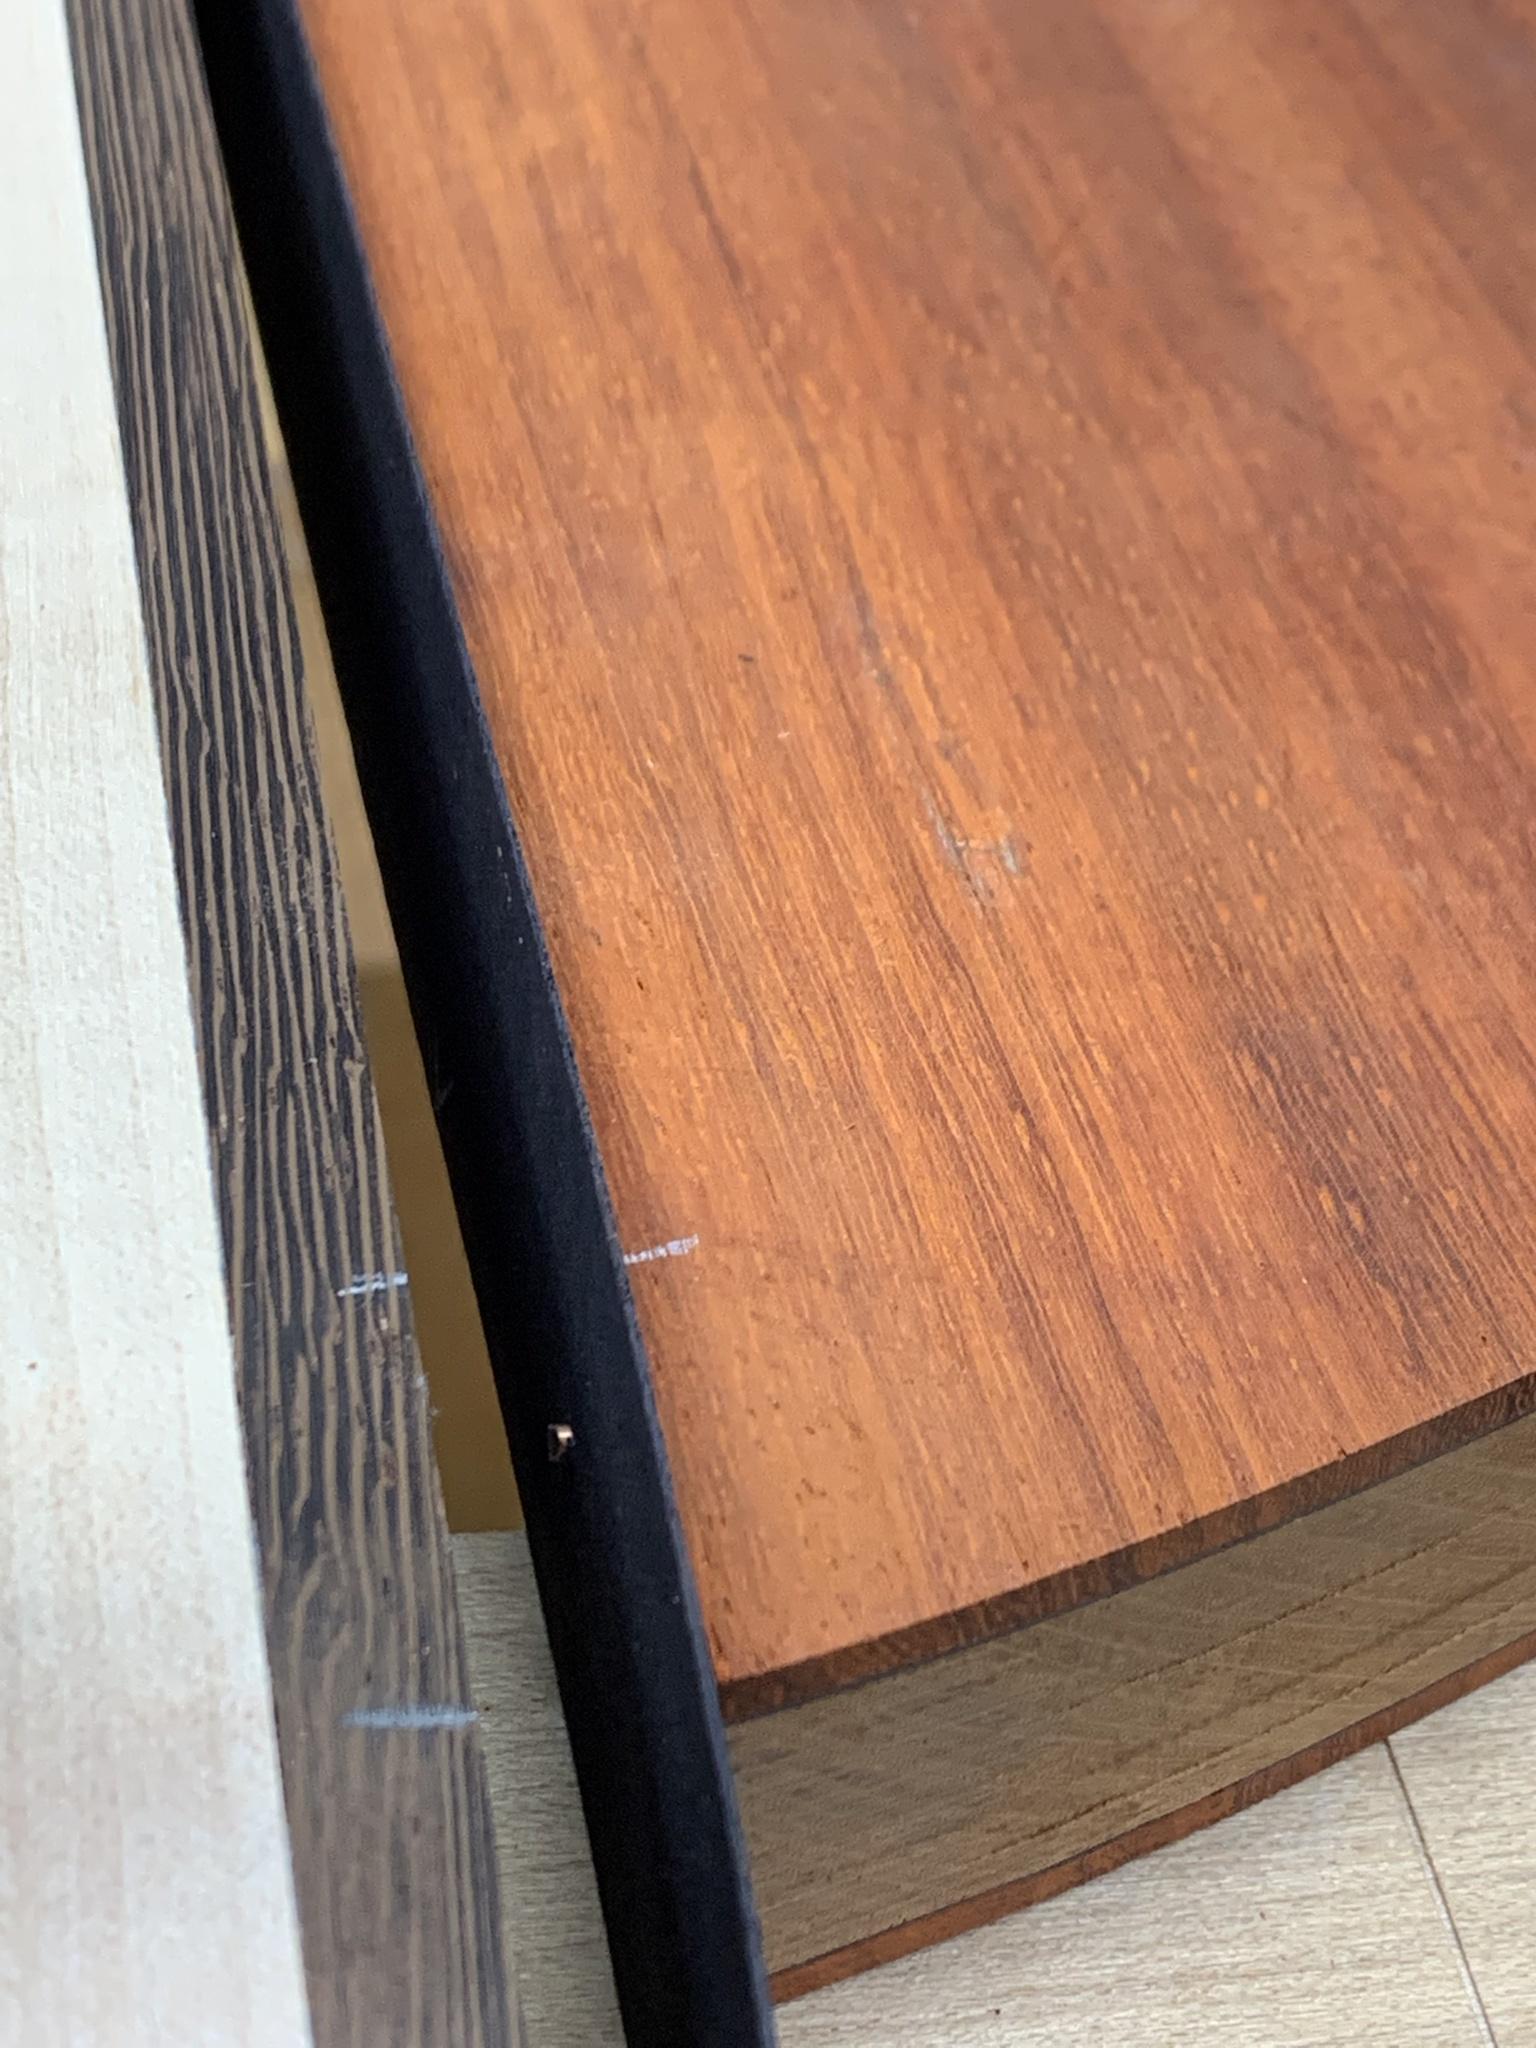
Next up I cut some black poplar strips to use as additional accents between the wings and the body.
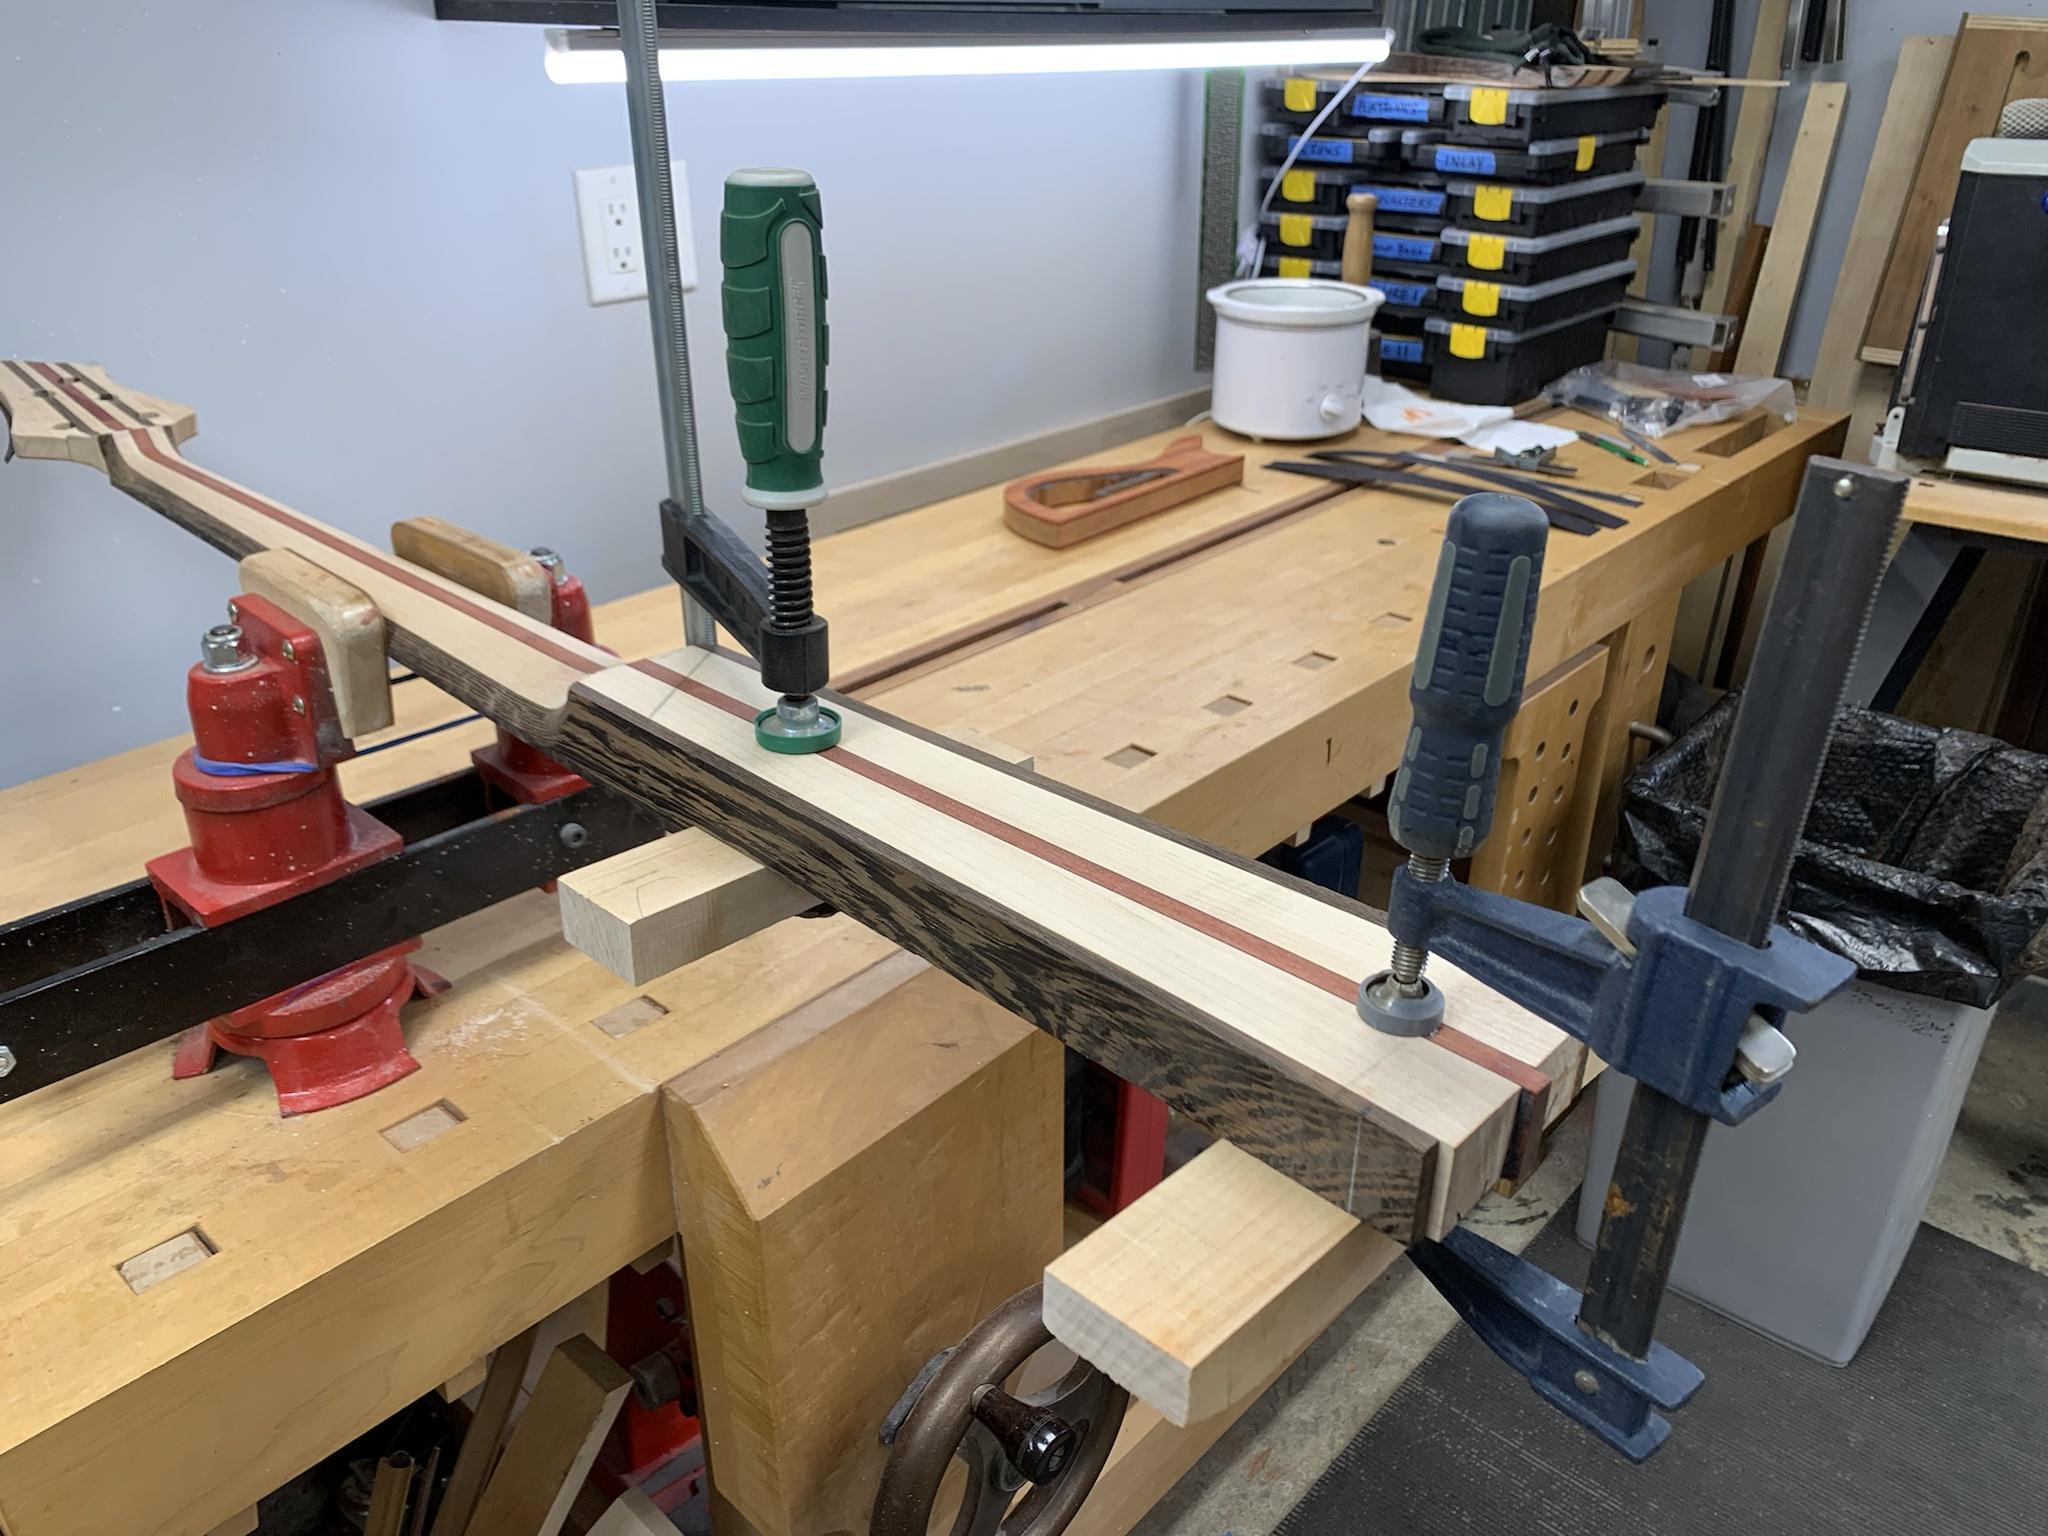
I double checked the body portion of the neck beam for squareness and, well, straightness... whatever. Then I clamped on some straight boards so that I could register the wings to the top face of the neck beam. Any error can run out to the back of the body and be corrected later. I want minimal hassle to the front side since that's where I'll be gluing the top. Oh, I did think ahead and I did add some wax paper between those registration boards and the neck beam so that the glue doesn't stick.
I trued up the glue surfaces of the wings with a hand plane.
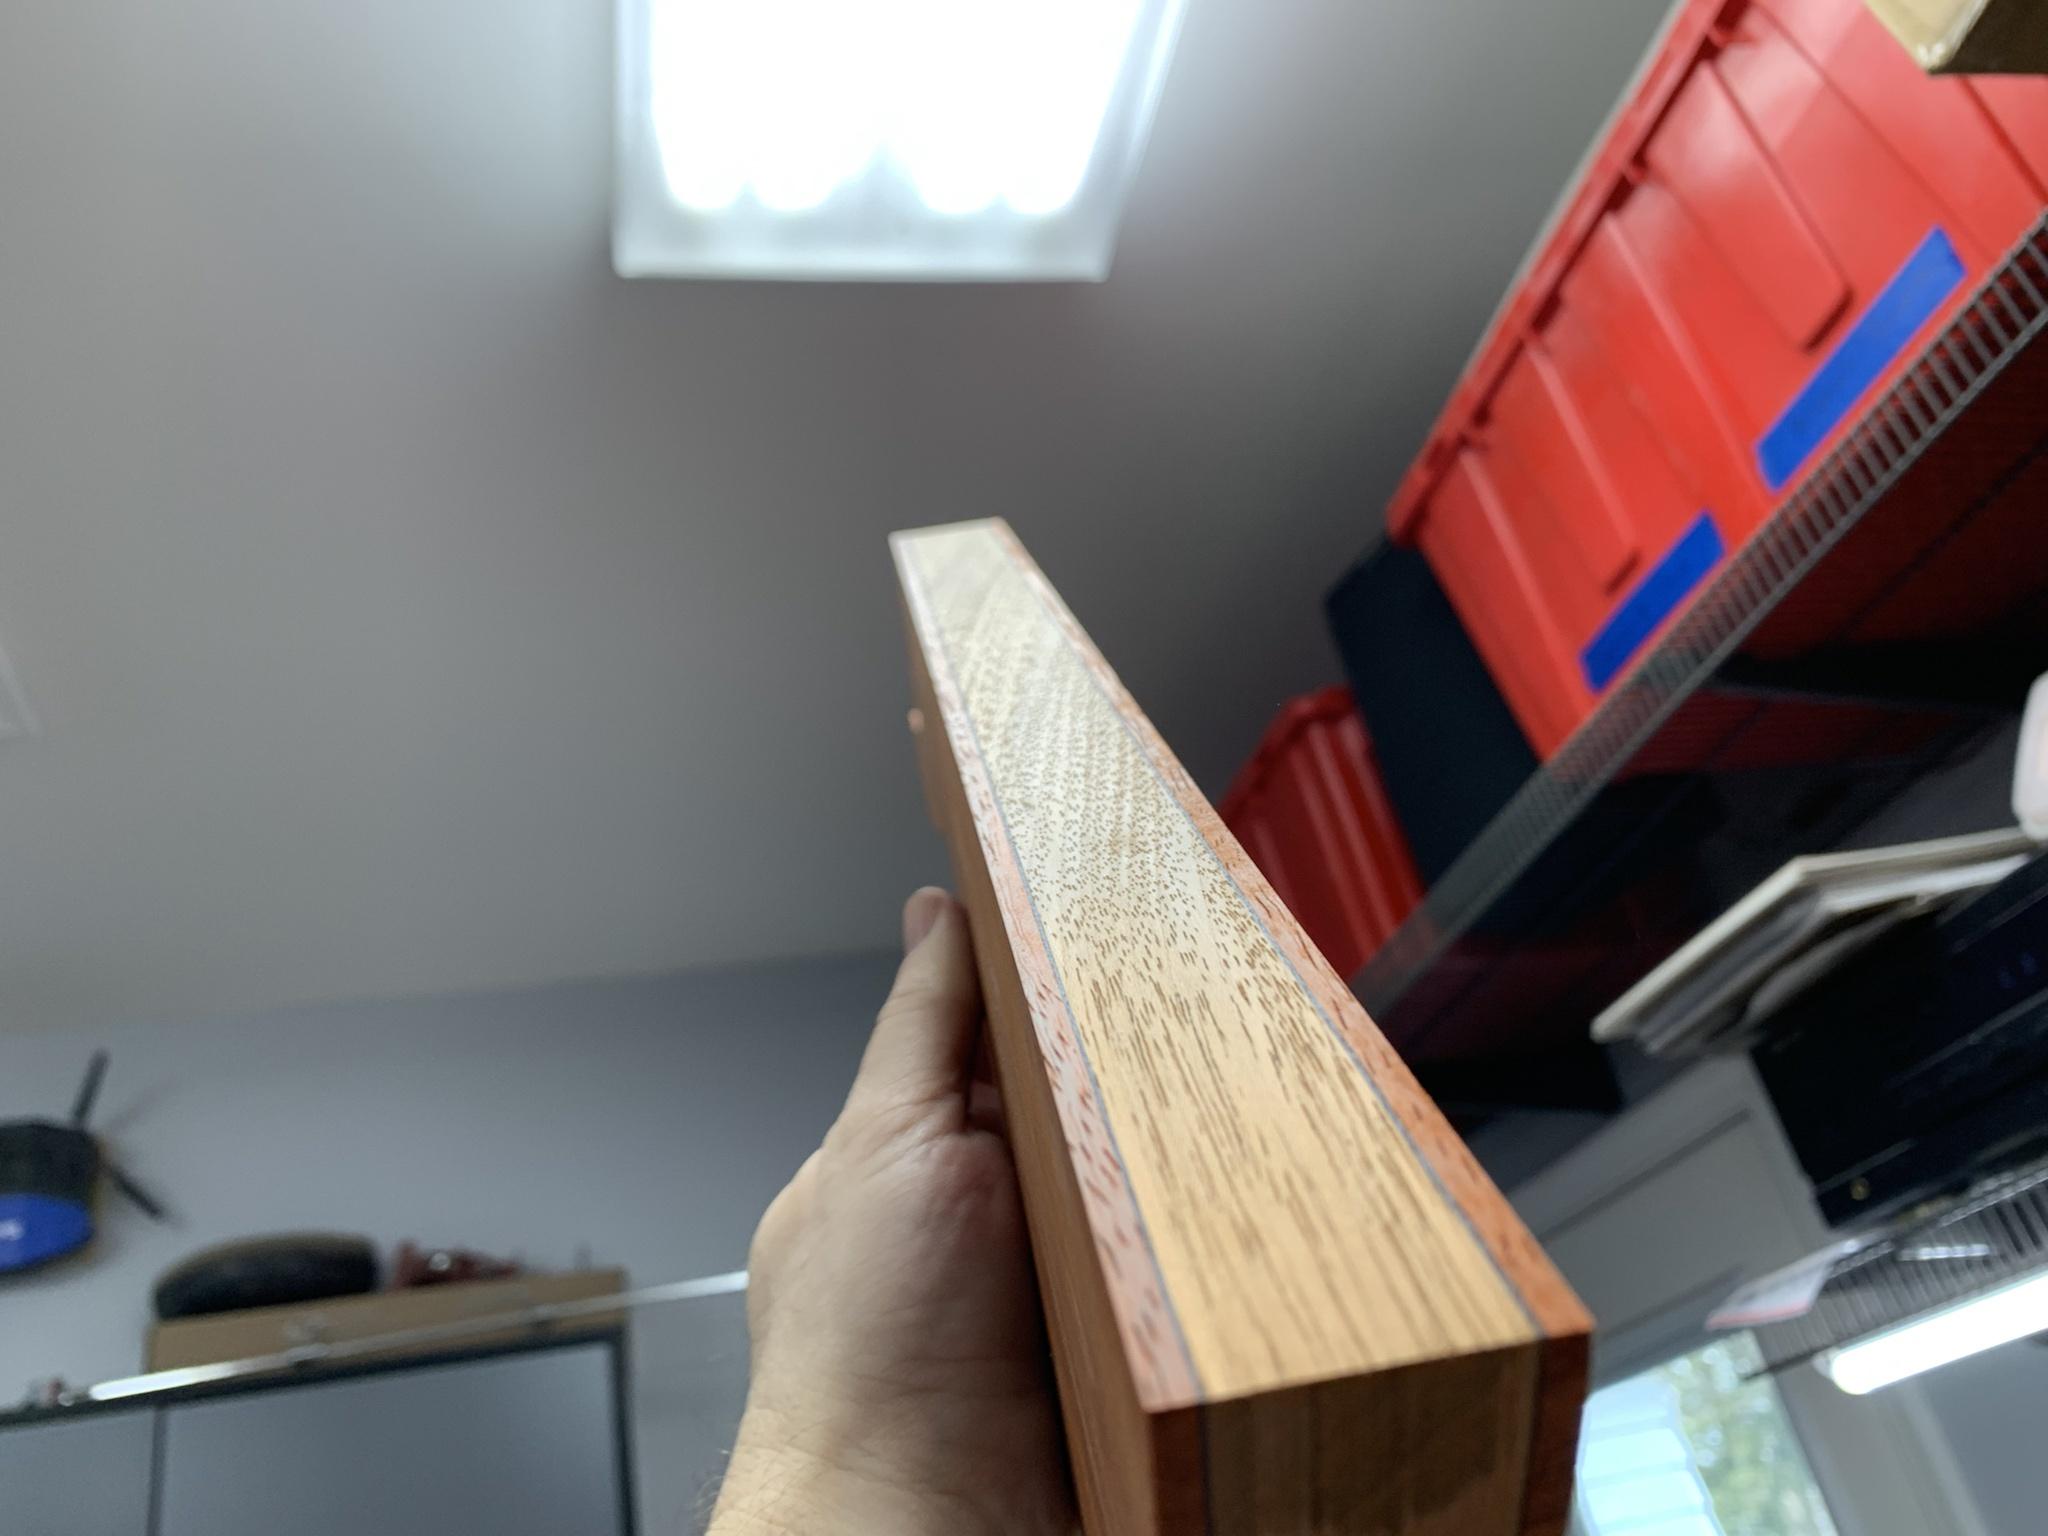
I added alignment pins to the body wings and drilled corresponding holes in the neck beam. I added the black poplar in between. Here you can see a pin protruding.
Finally, I glued up the whole works with Cascamite plastic resin glue and clamped the dookey out of it.
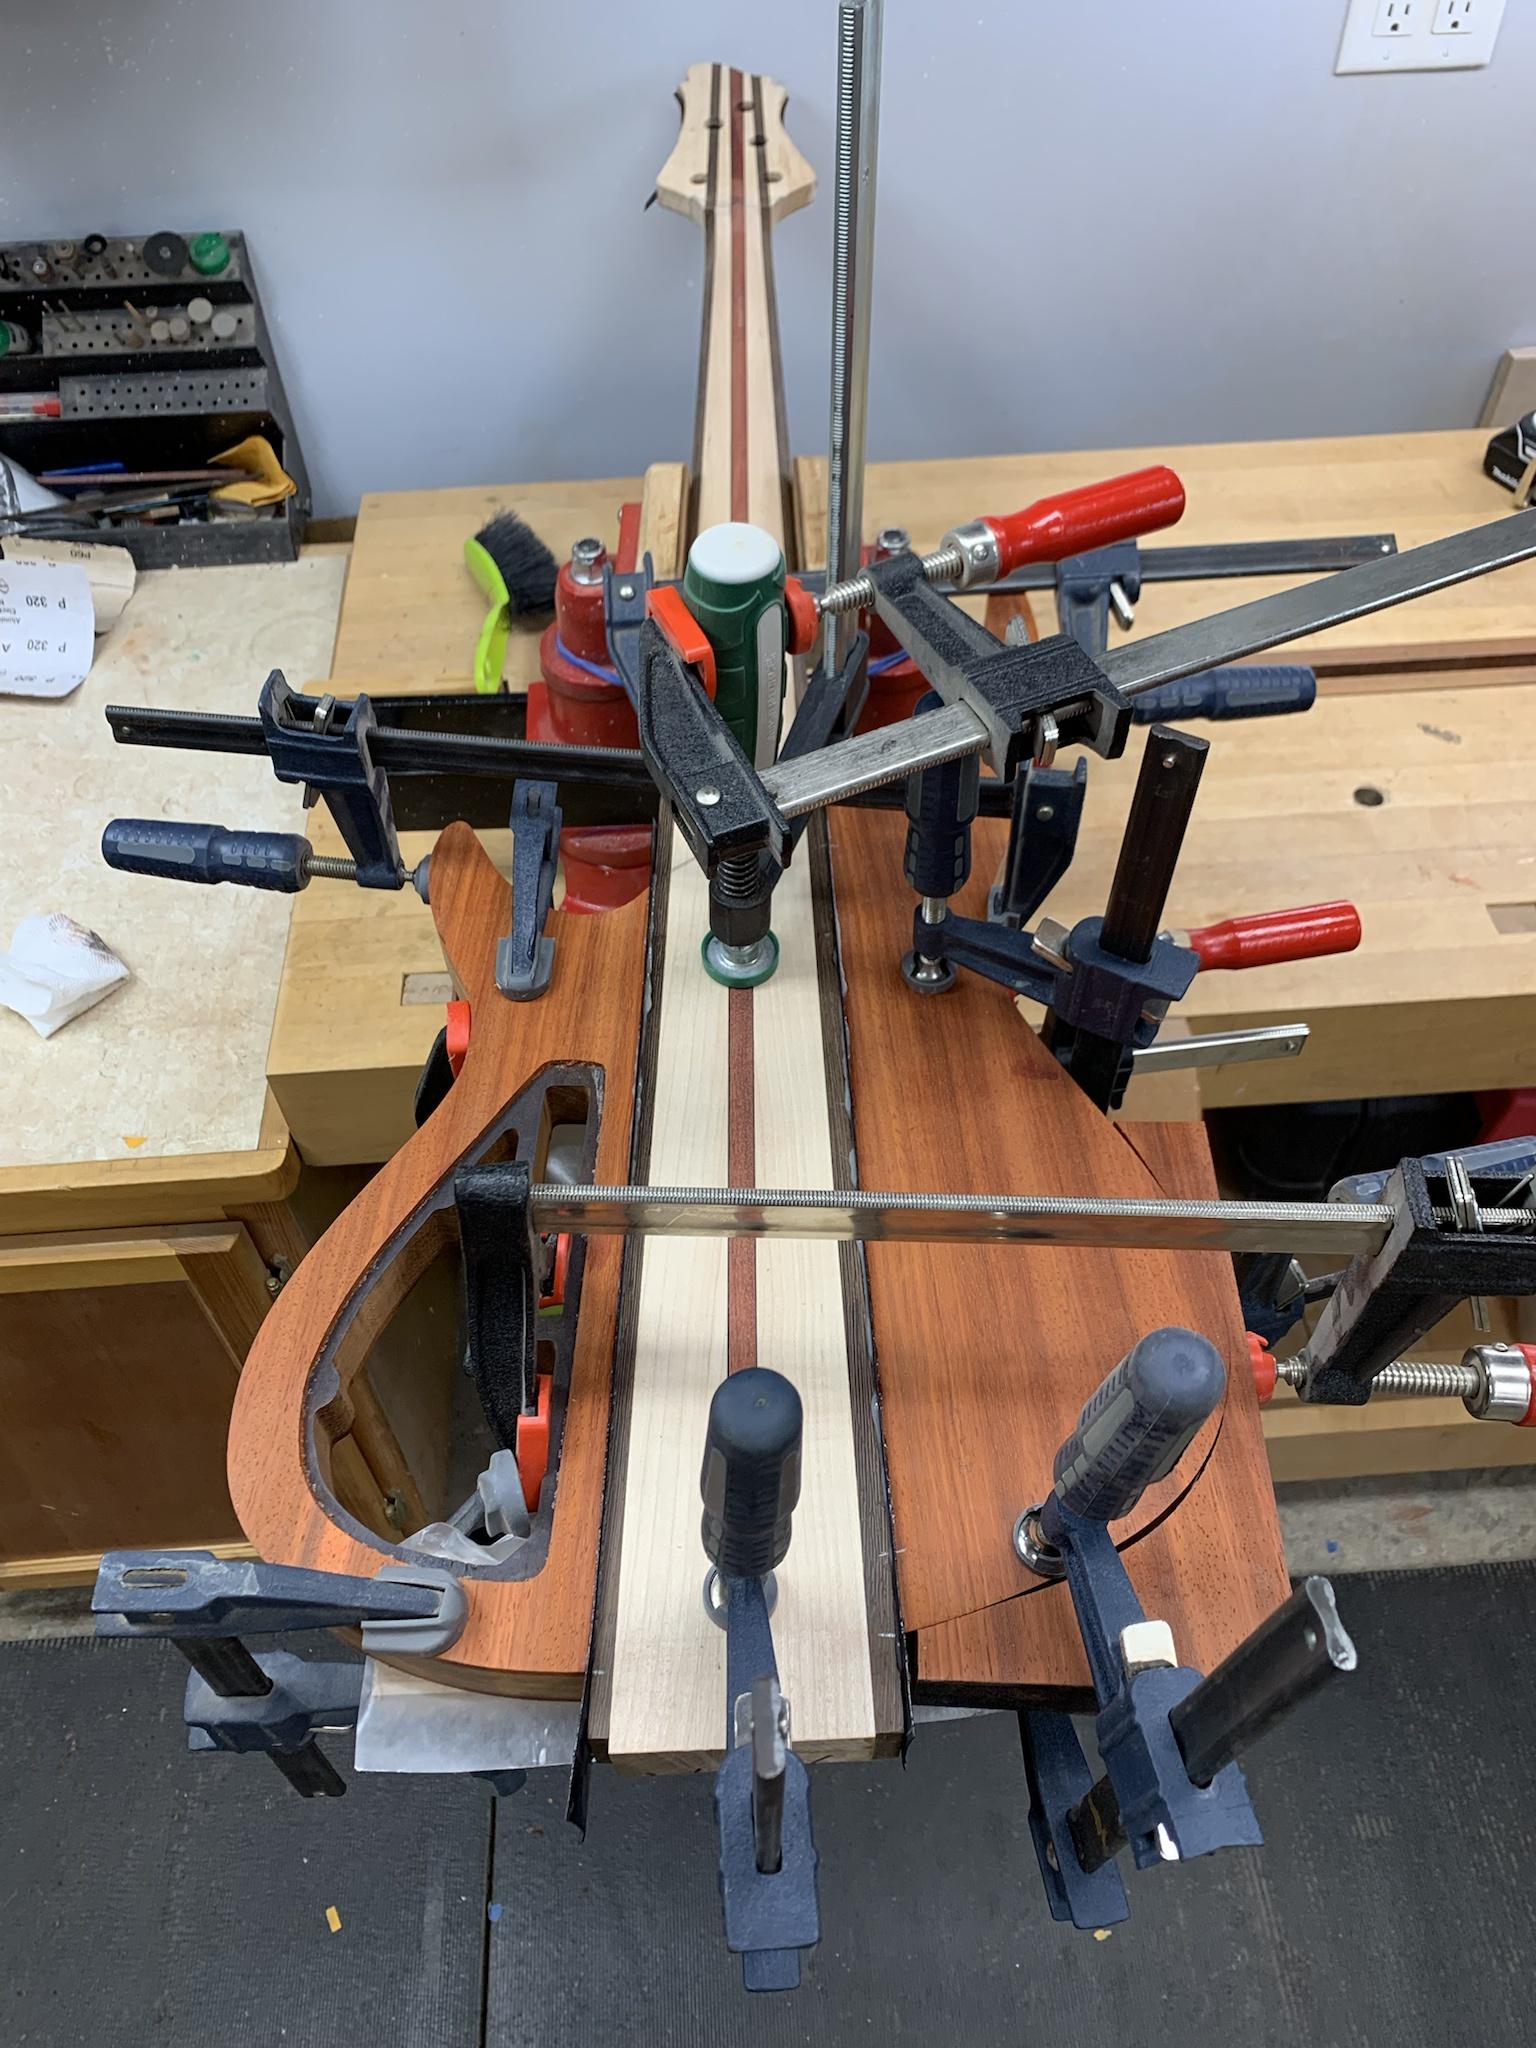
A BSO is nigh.
I double checked the body portion of the neck beam for squareness and, well, straightness... whatever. Then I clamped on some straight boards so that I could register the wings to the top face of the neck beam. Any error can run out to the back of the body and be corrected later. I want minimal hassle to the front side since that's where I'll be gluing the top. Oh, I did think ahead and I did add some wax paper between those registration boards and the neck beam so that the glue doesn't stick.
I trued up the glue surfaces of the wings with a hand plane.
I added alignment pins to the body wings and drilled corresponding holes in the neck beam. I added the black poplar in between. Here you can see a pin protruding.
Finally, I glued up the whole works with Cascamite plastic resin glue and clamped the dookey out of it.
A BSO is nigh.

So now I'm wondering... If I "invest" in his next product, could I keep it?
Great work. Really It's awesome.
Great work. Really It's awesome.

Qüïmsgëfääërdën ÏÏ (rëvïsïtëd) Hëädstöck Wïng Dëtäïl
I took a few days of PTO so that I can (hopefully) make some rapid progress on this bass. With that deadline looming, I'm like a deer in the headlights.
This morning I tackled the headstock wing detail. This was a feature that I wanted to implement on the first version of the design. But due to not allowing for the tuner washers, I could not execute it to the full extent. Instead of explaining it all, I'll just show you.
I mounted some elevation blocks near the nut area.
View attachment 4607351
I made a copy of the center headstock template and cut off the tip (Mazel tov!) so that I had a hinge point. I carefully aligned the template and mounted it using the trick.
View attachment 4607352
Next, I inserted an extra piece as a brace to keep it from flexing.
View attachment 4607353
I used my Colt router with a 3/8" by 1/2" deep bit and took shallow passes.
View attachment 4607354
View attachment 4607355
View attachment 4607356
I did some initial cleanup with chisels and sandpaper... this will need some additional fairing of course.
View attachment 4607357
View attachment 4607358
Neato.
View attachment 4607359
View attachment 4607360
View attachment 4607361
I will be fitting additional contrasting laminates in the little wingies. I'm just happy to have this part done... made me a little nervous, mmm hmmm.
More soon.
This is genius, love it.
I must say I enjoy watching your builds, everything is so neat and precise, and you never seem to get in a flap about anything.
So now I'm wondering... If I "invest" in his next product, could I keep it?
Great work. Really It's awesome.
I guess it depends on how much you invest!!
 Thanks for the kind words, I appreciate it.
 This is genius, love it.
I must say I enjoy watching your builds, everything is so neat and precise, and you never seem to get in a flap about anything.
Well, thanks. I do tend to stay more calm than I used to, but there are times when the profanity flows like... well something that flows very freely.


This morning I removed the clamps from the wing glue-up. We officially have a BSO!
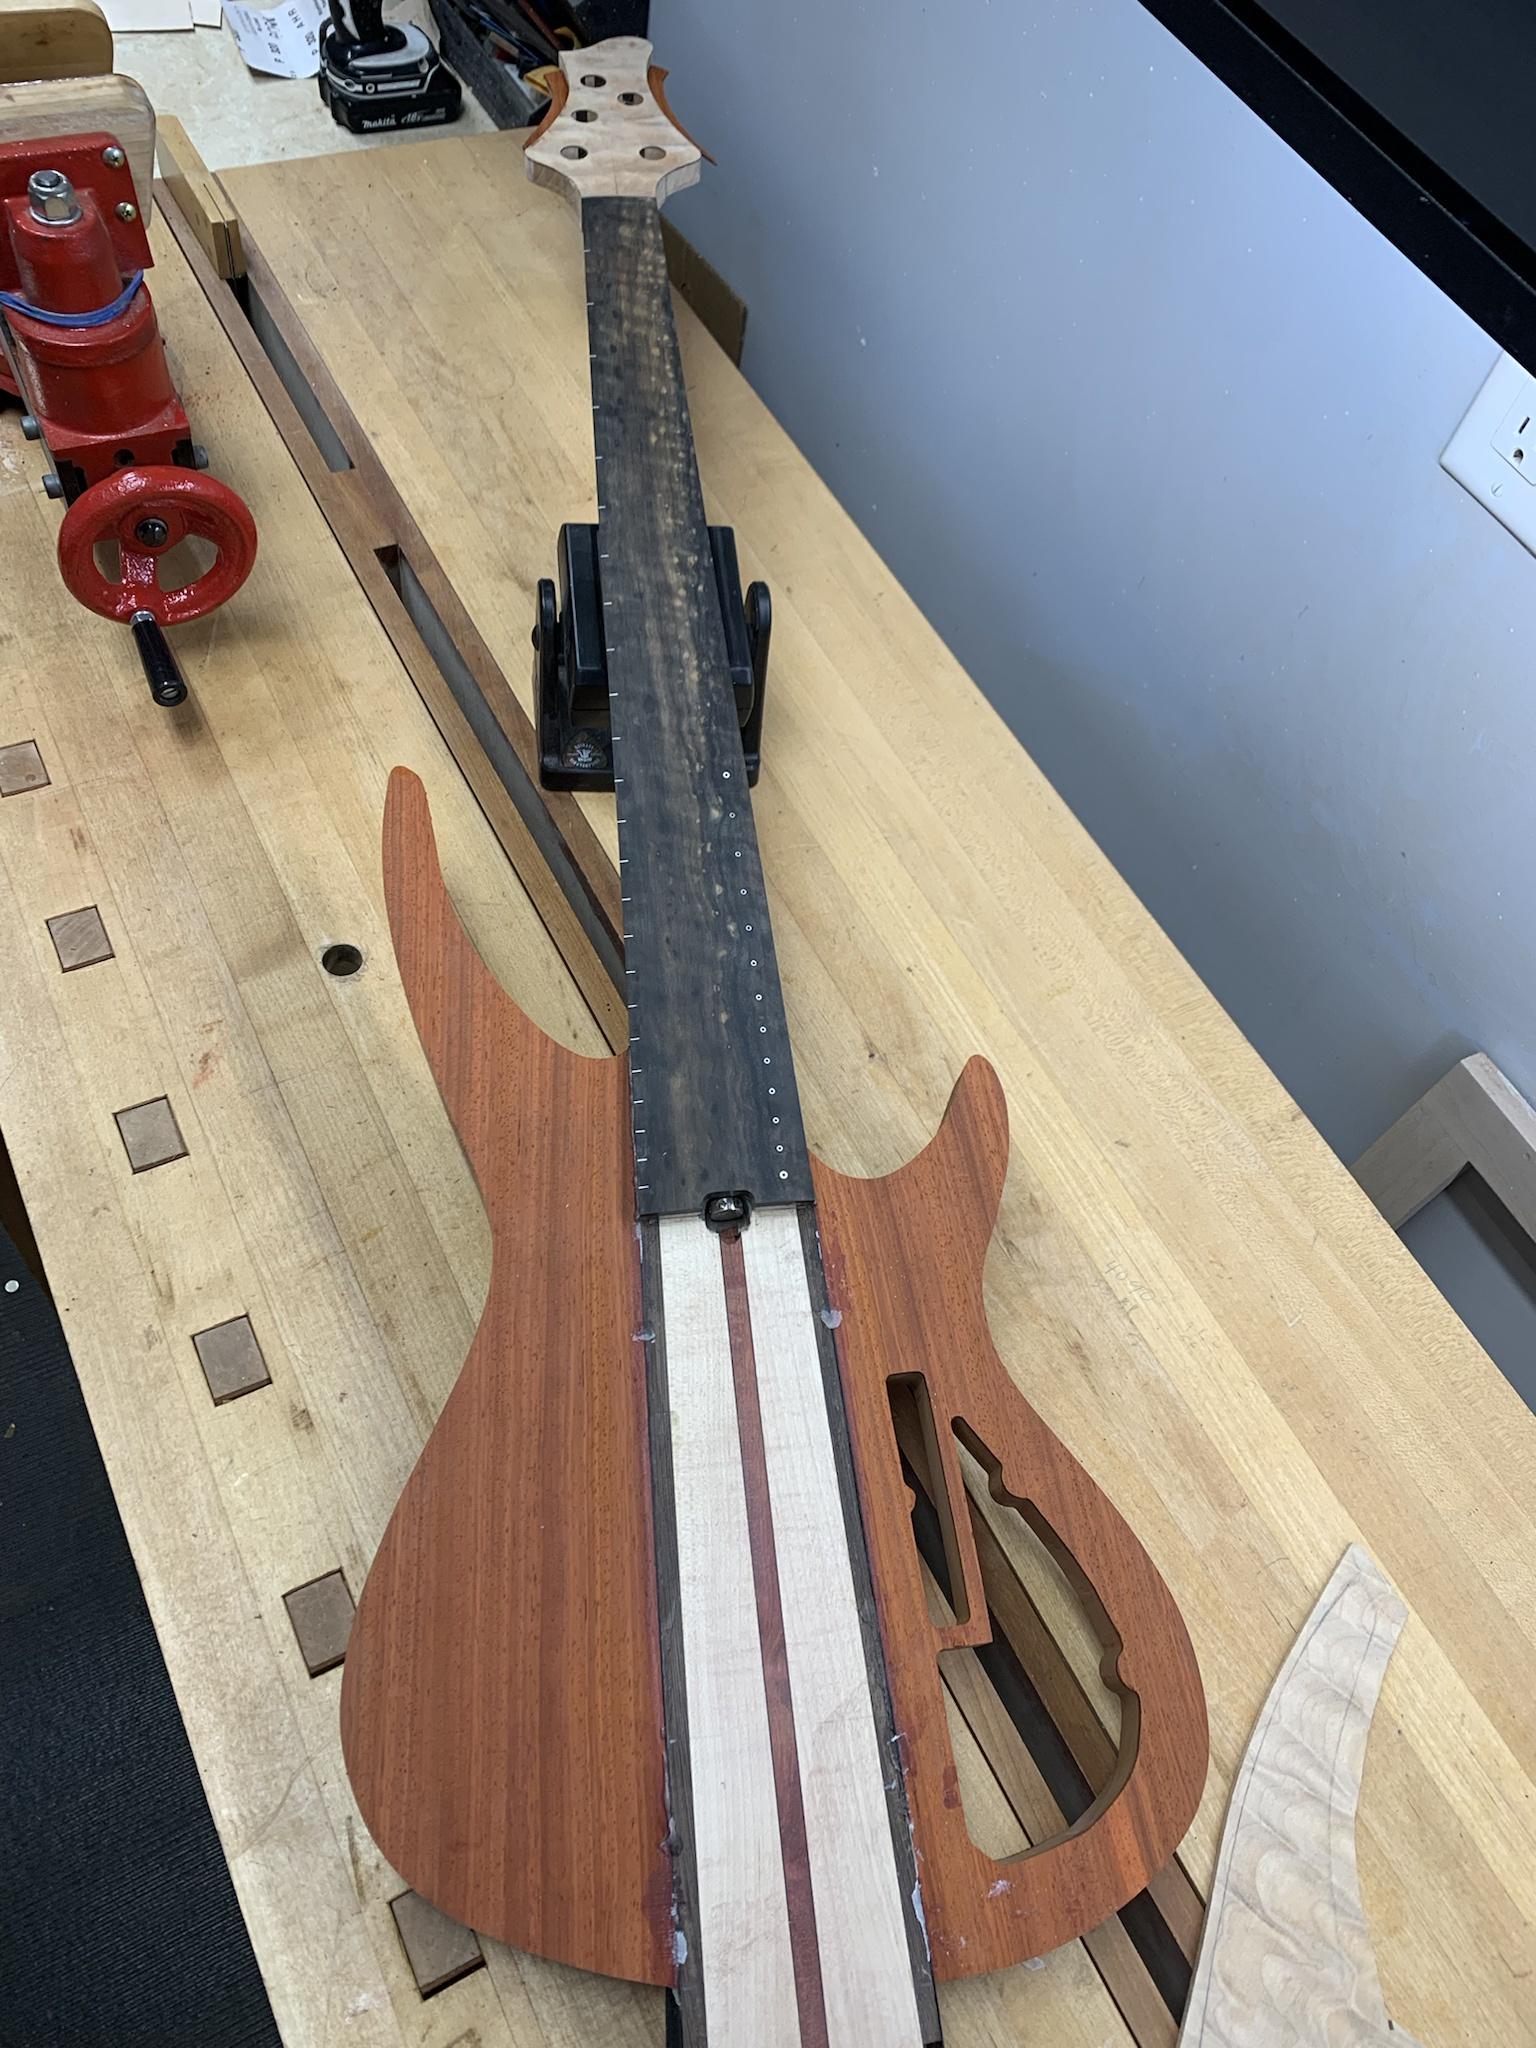
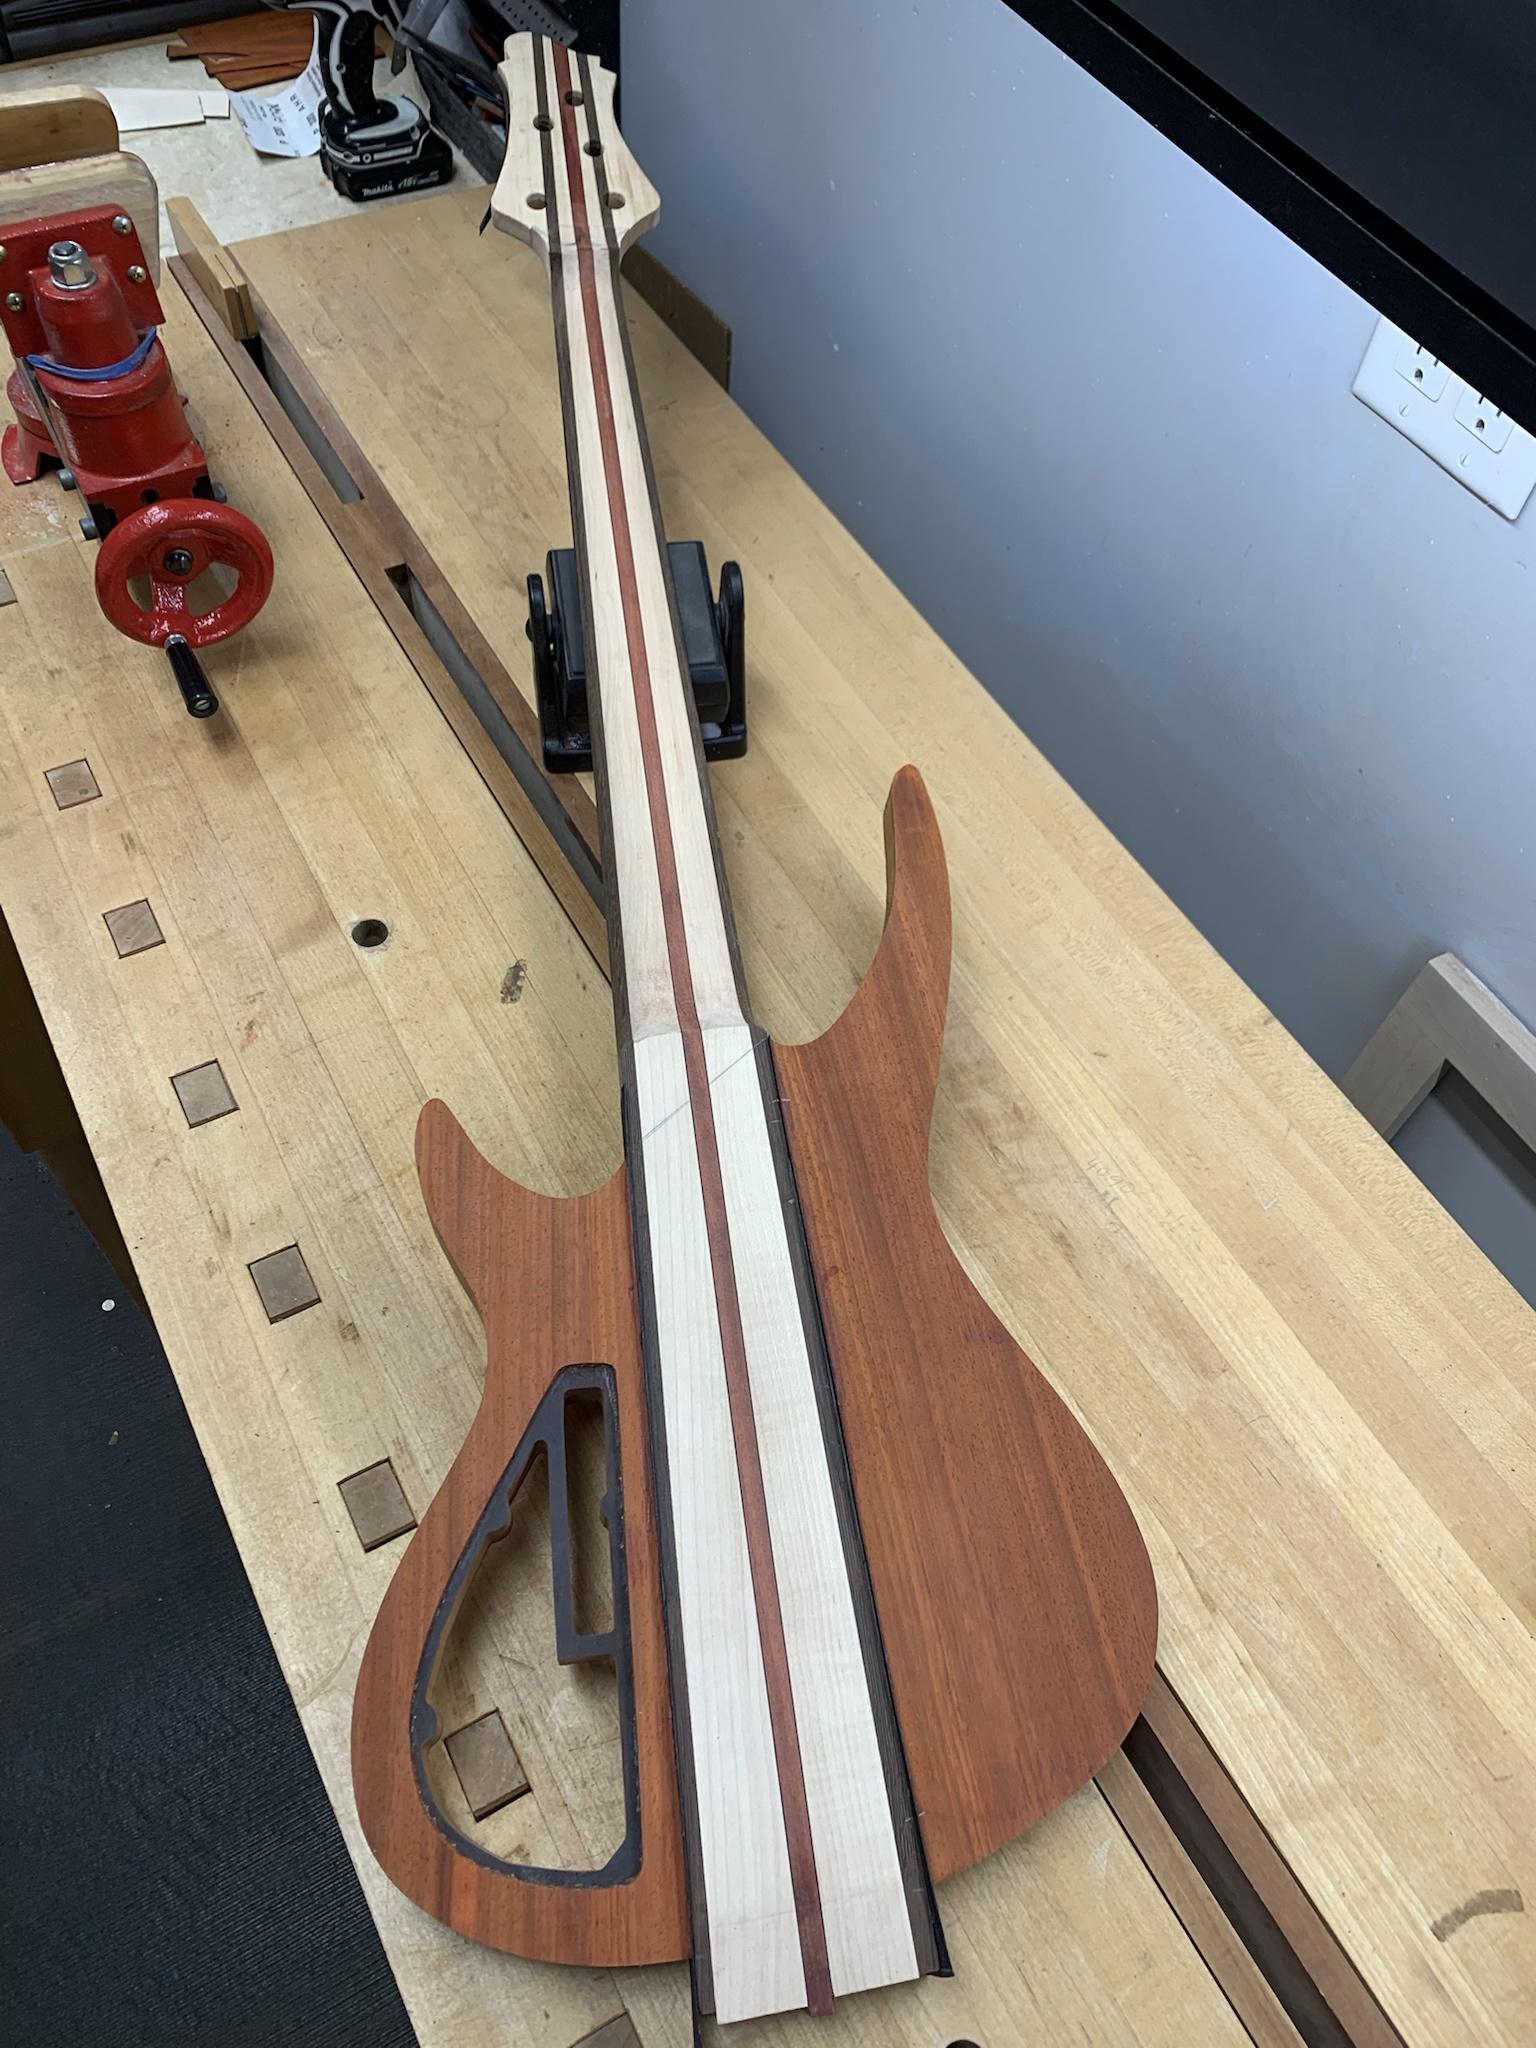
The next step was to get the joints cleaned up.
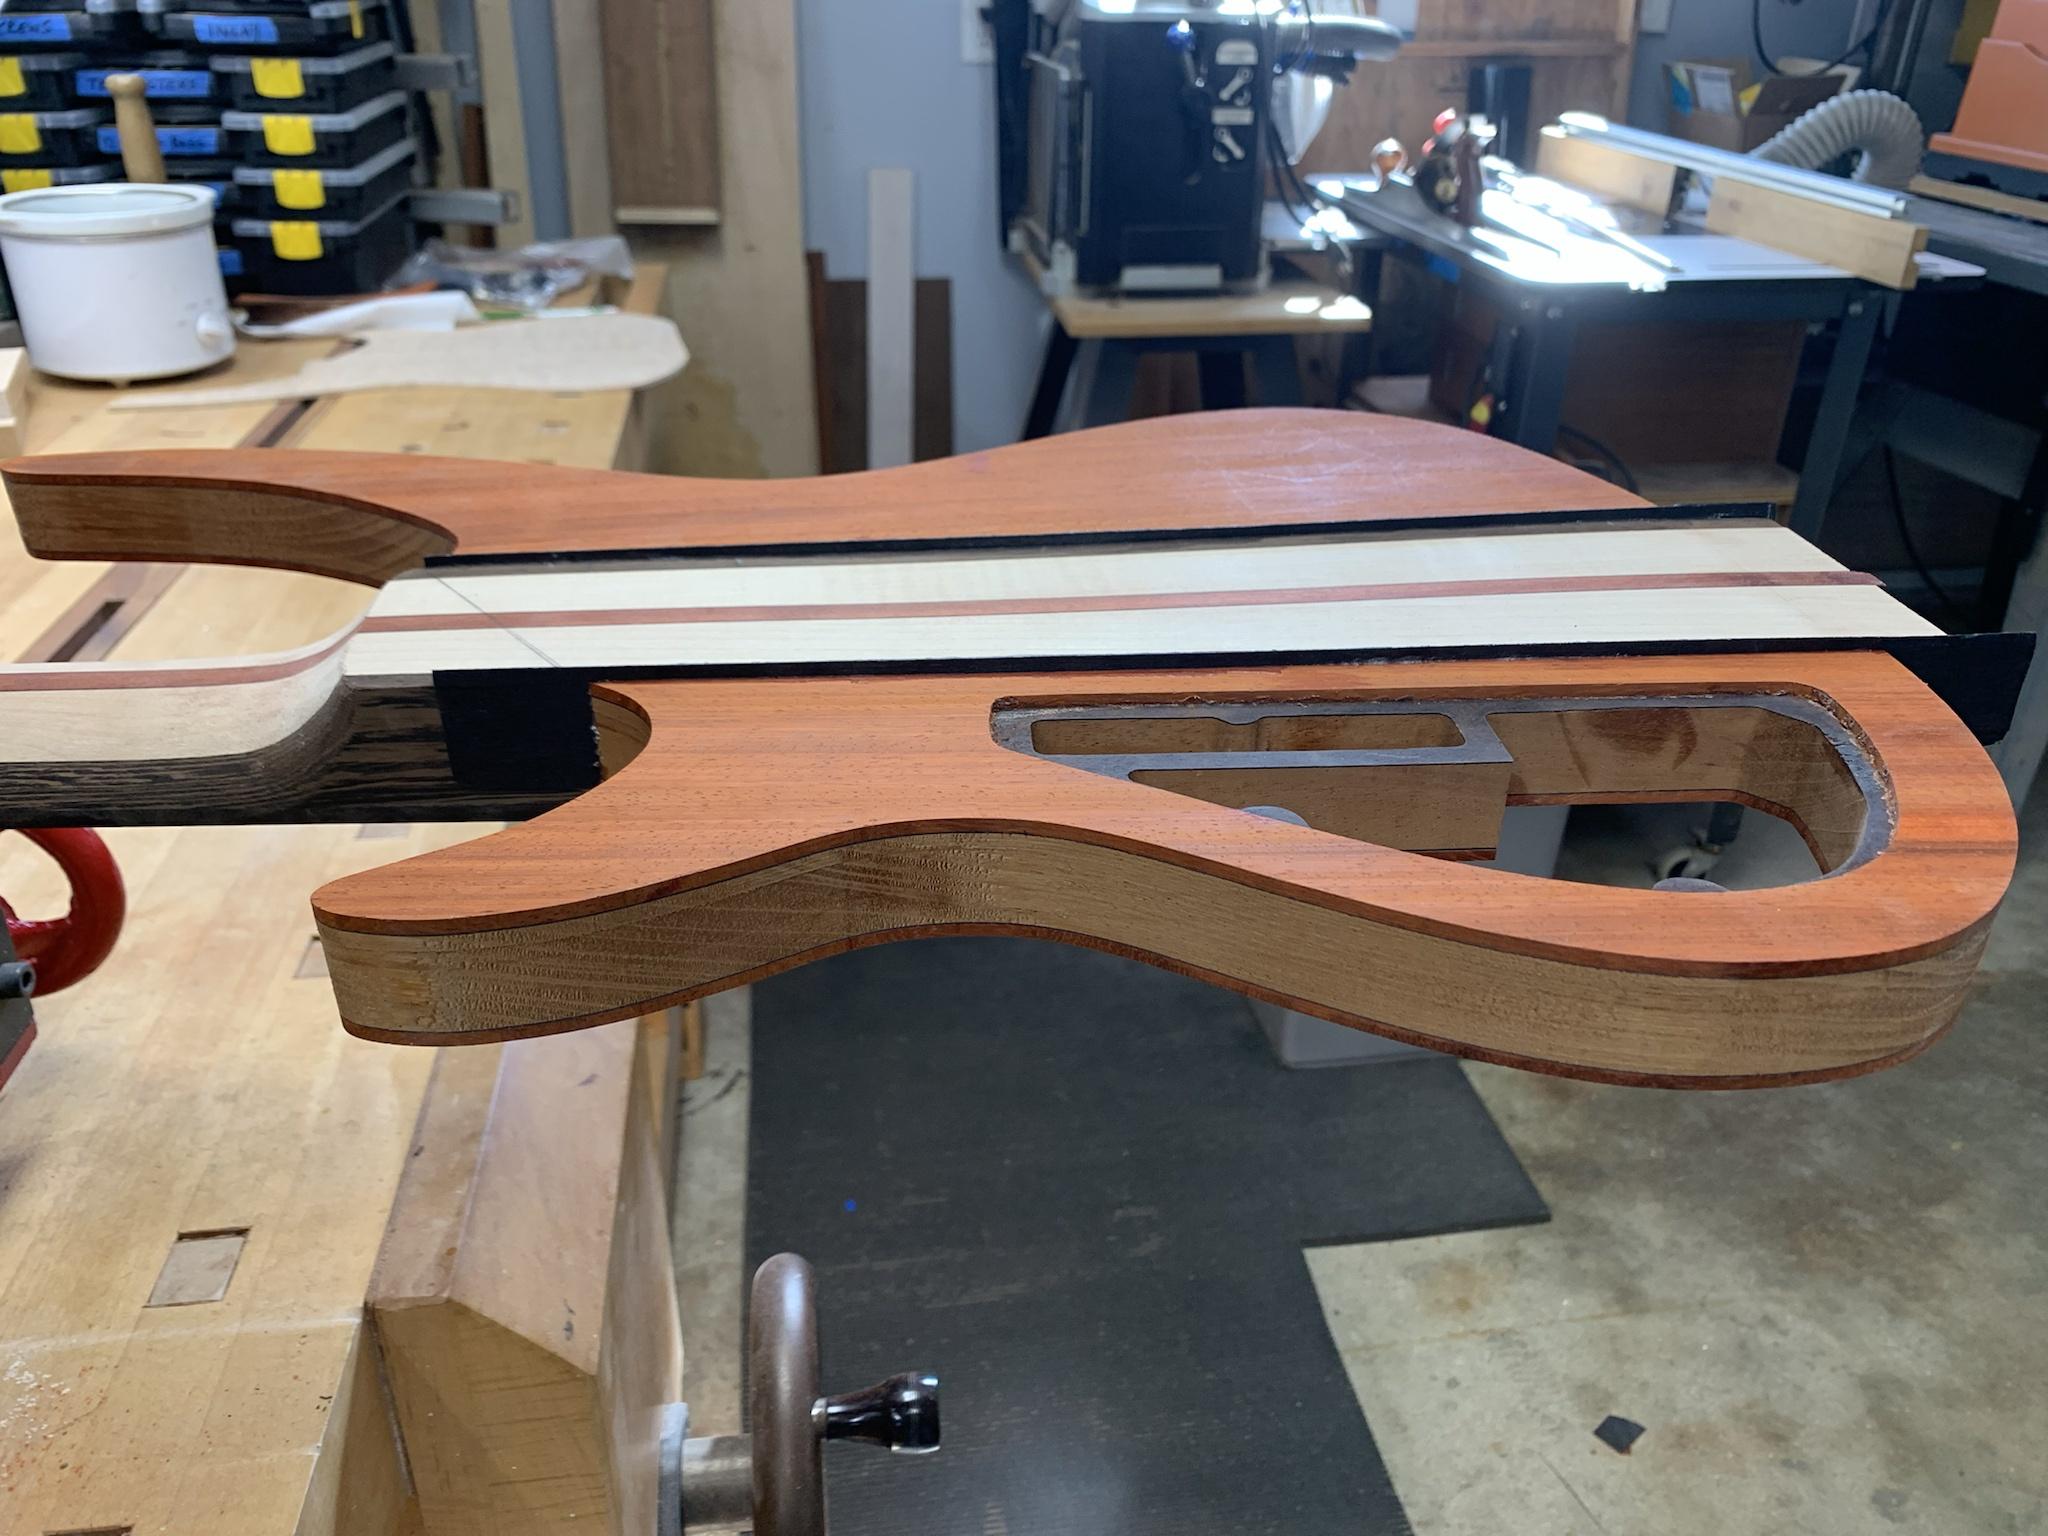
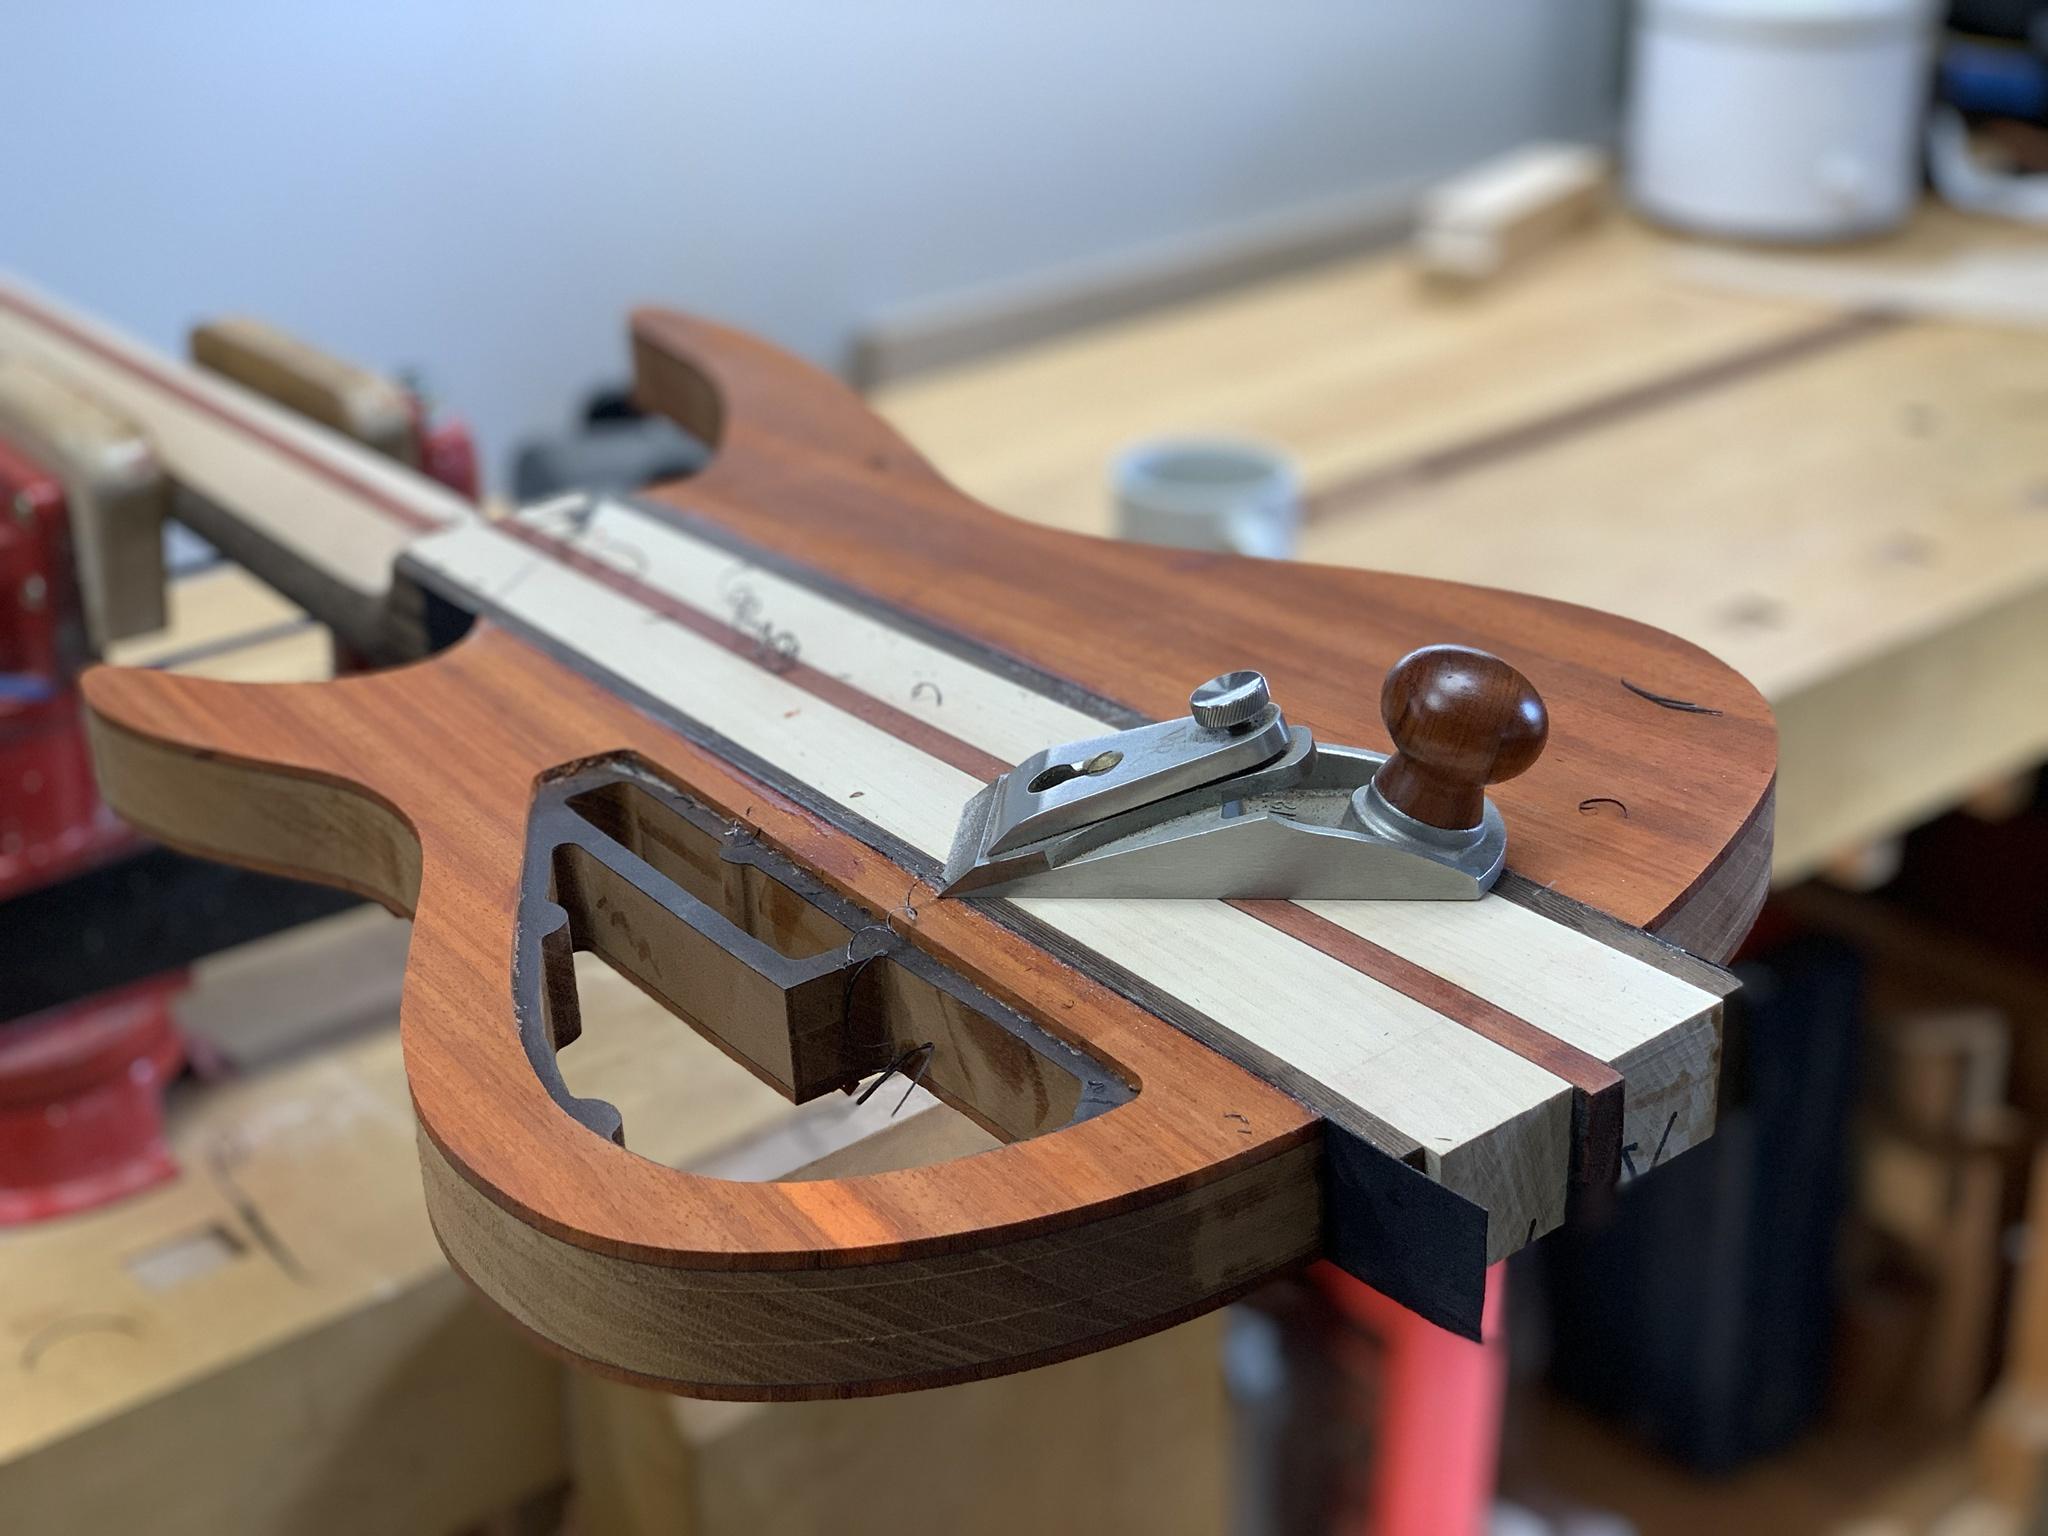
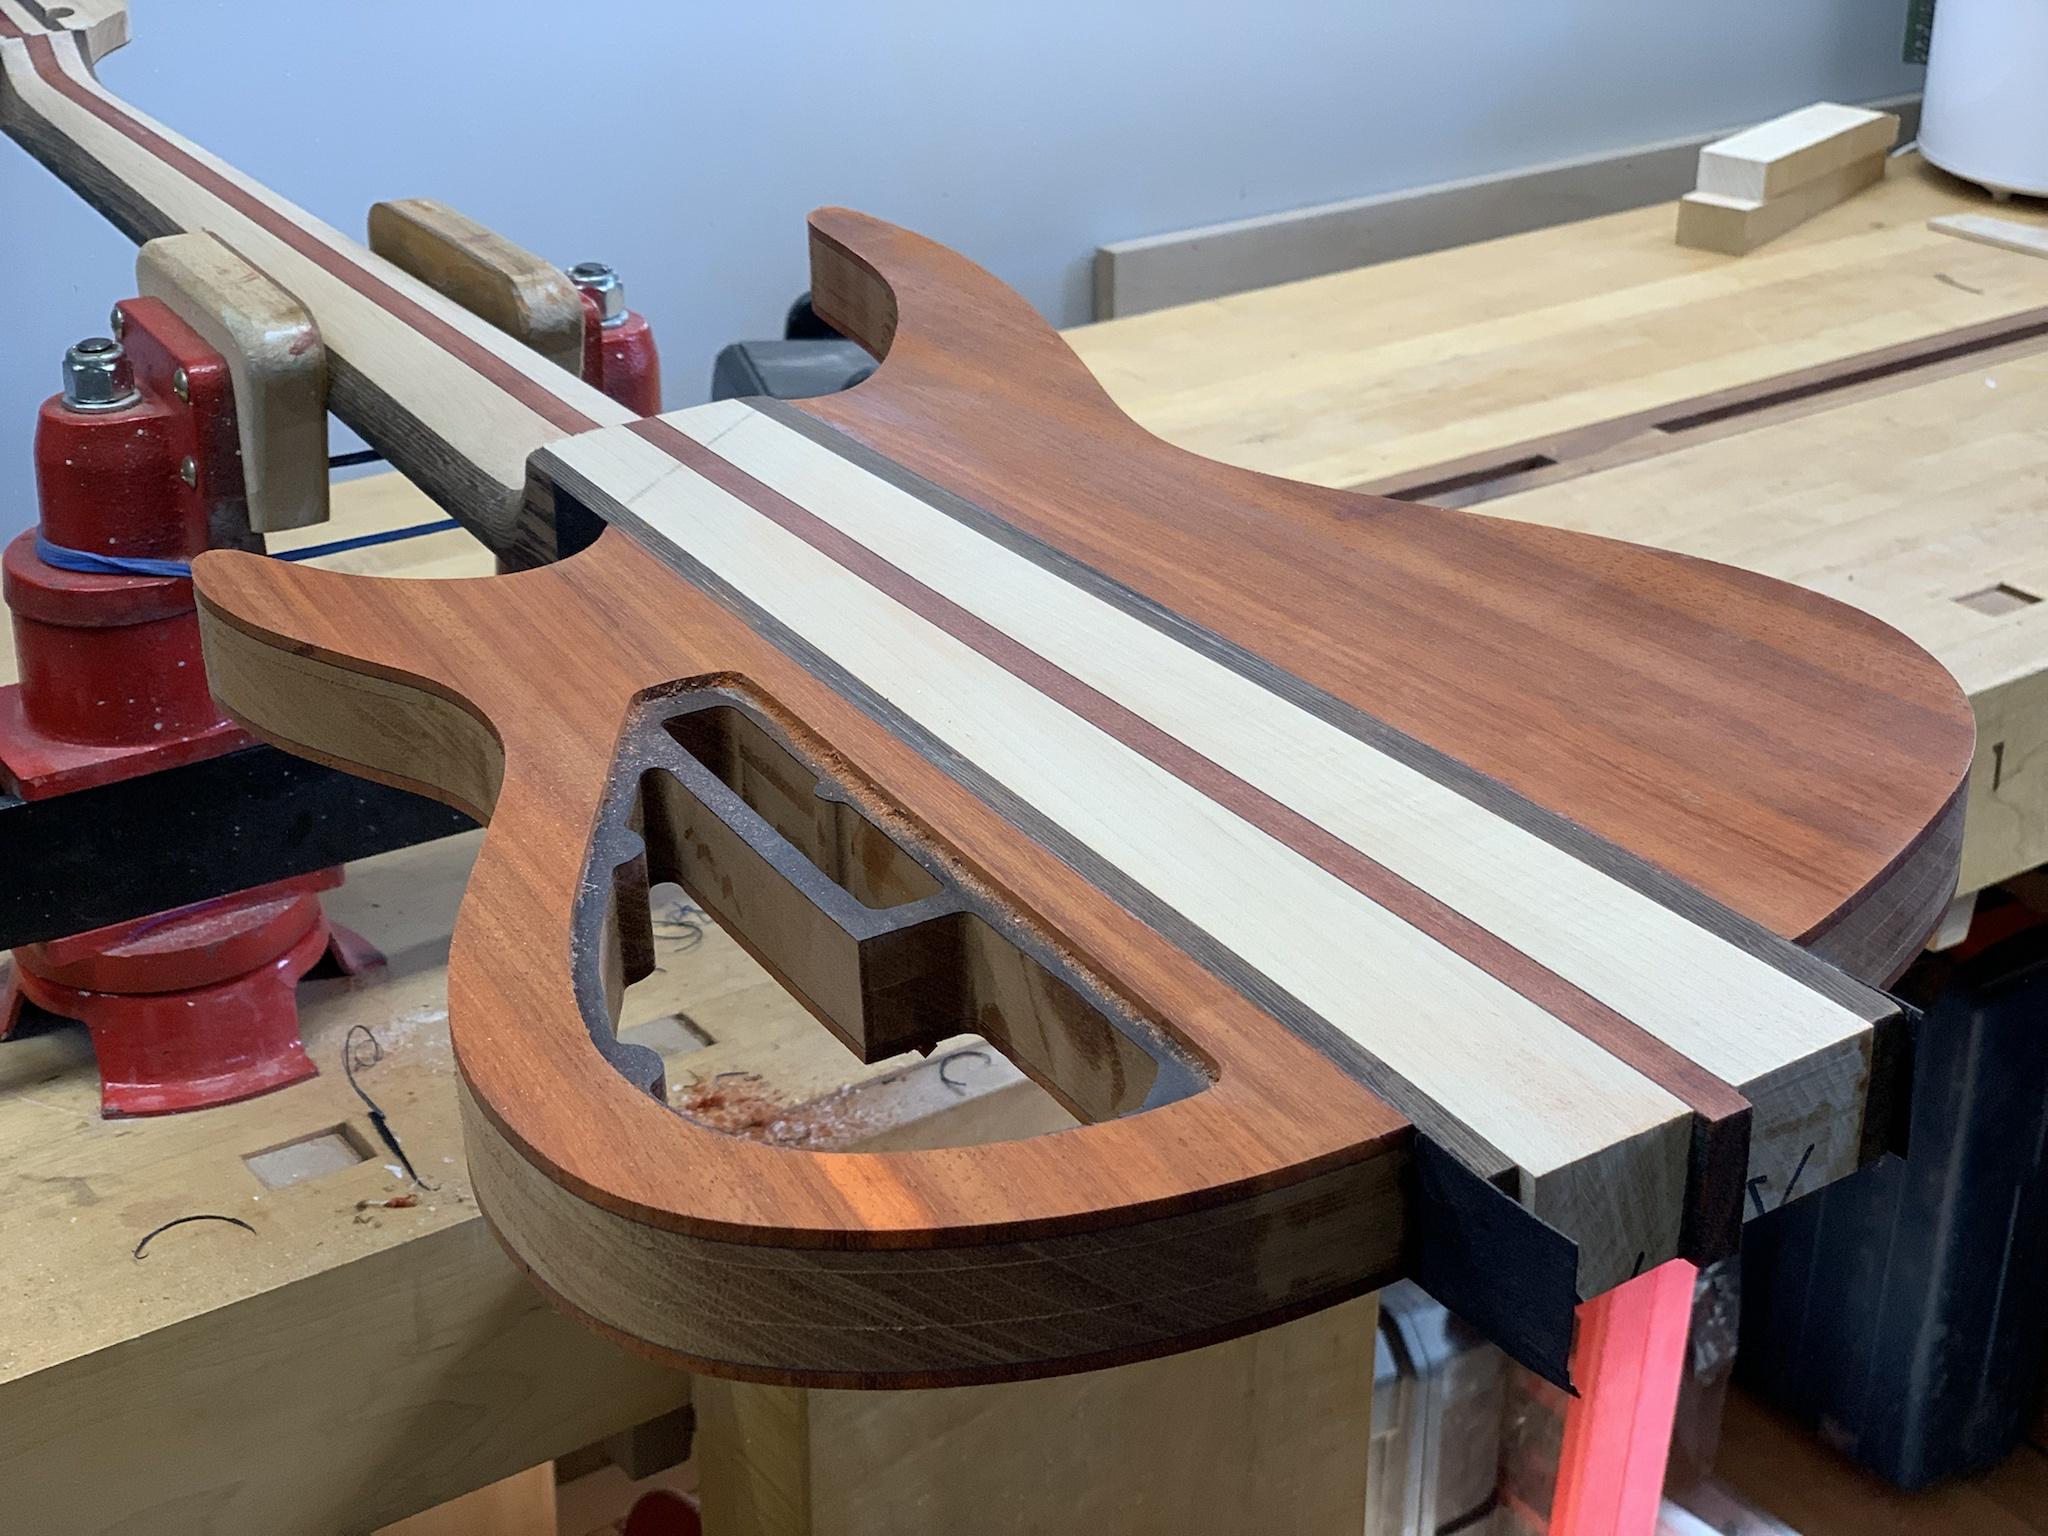
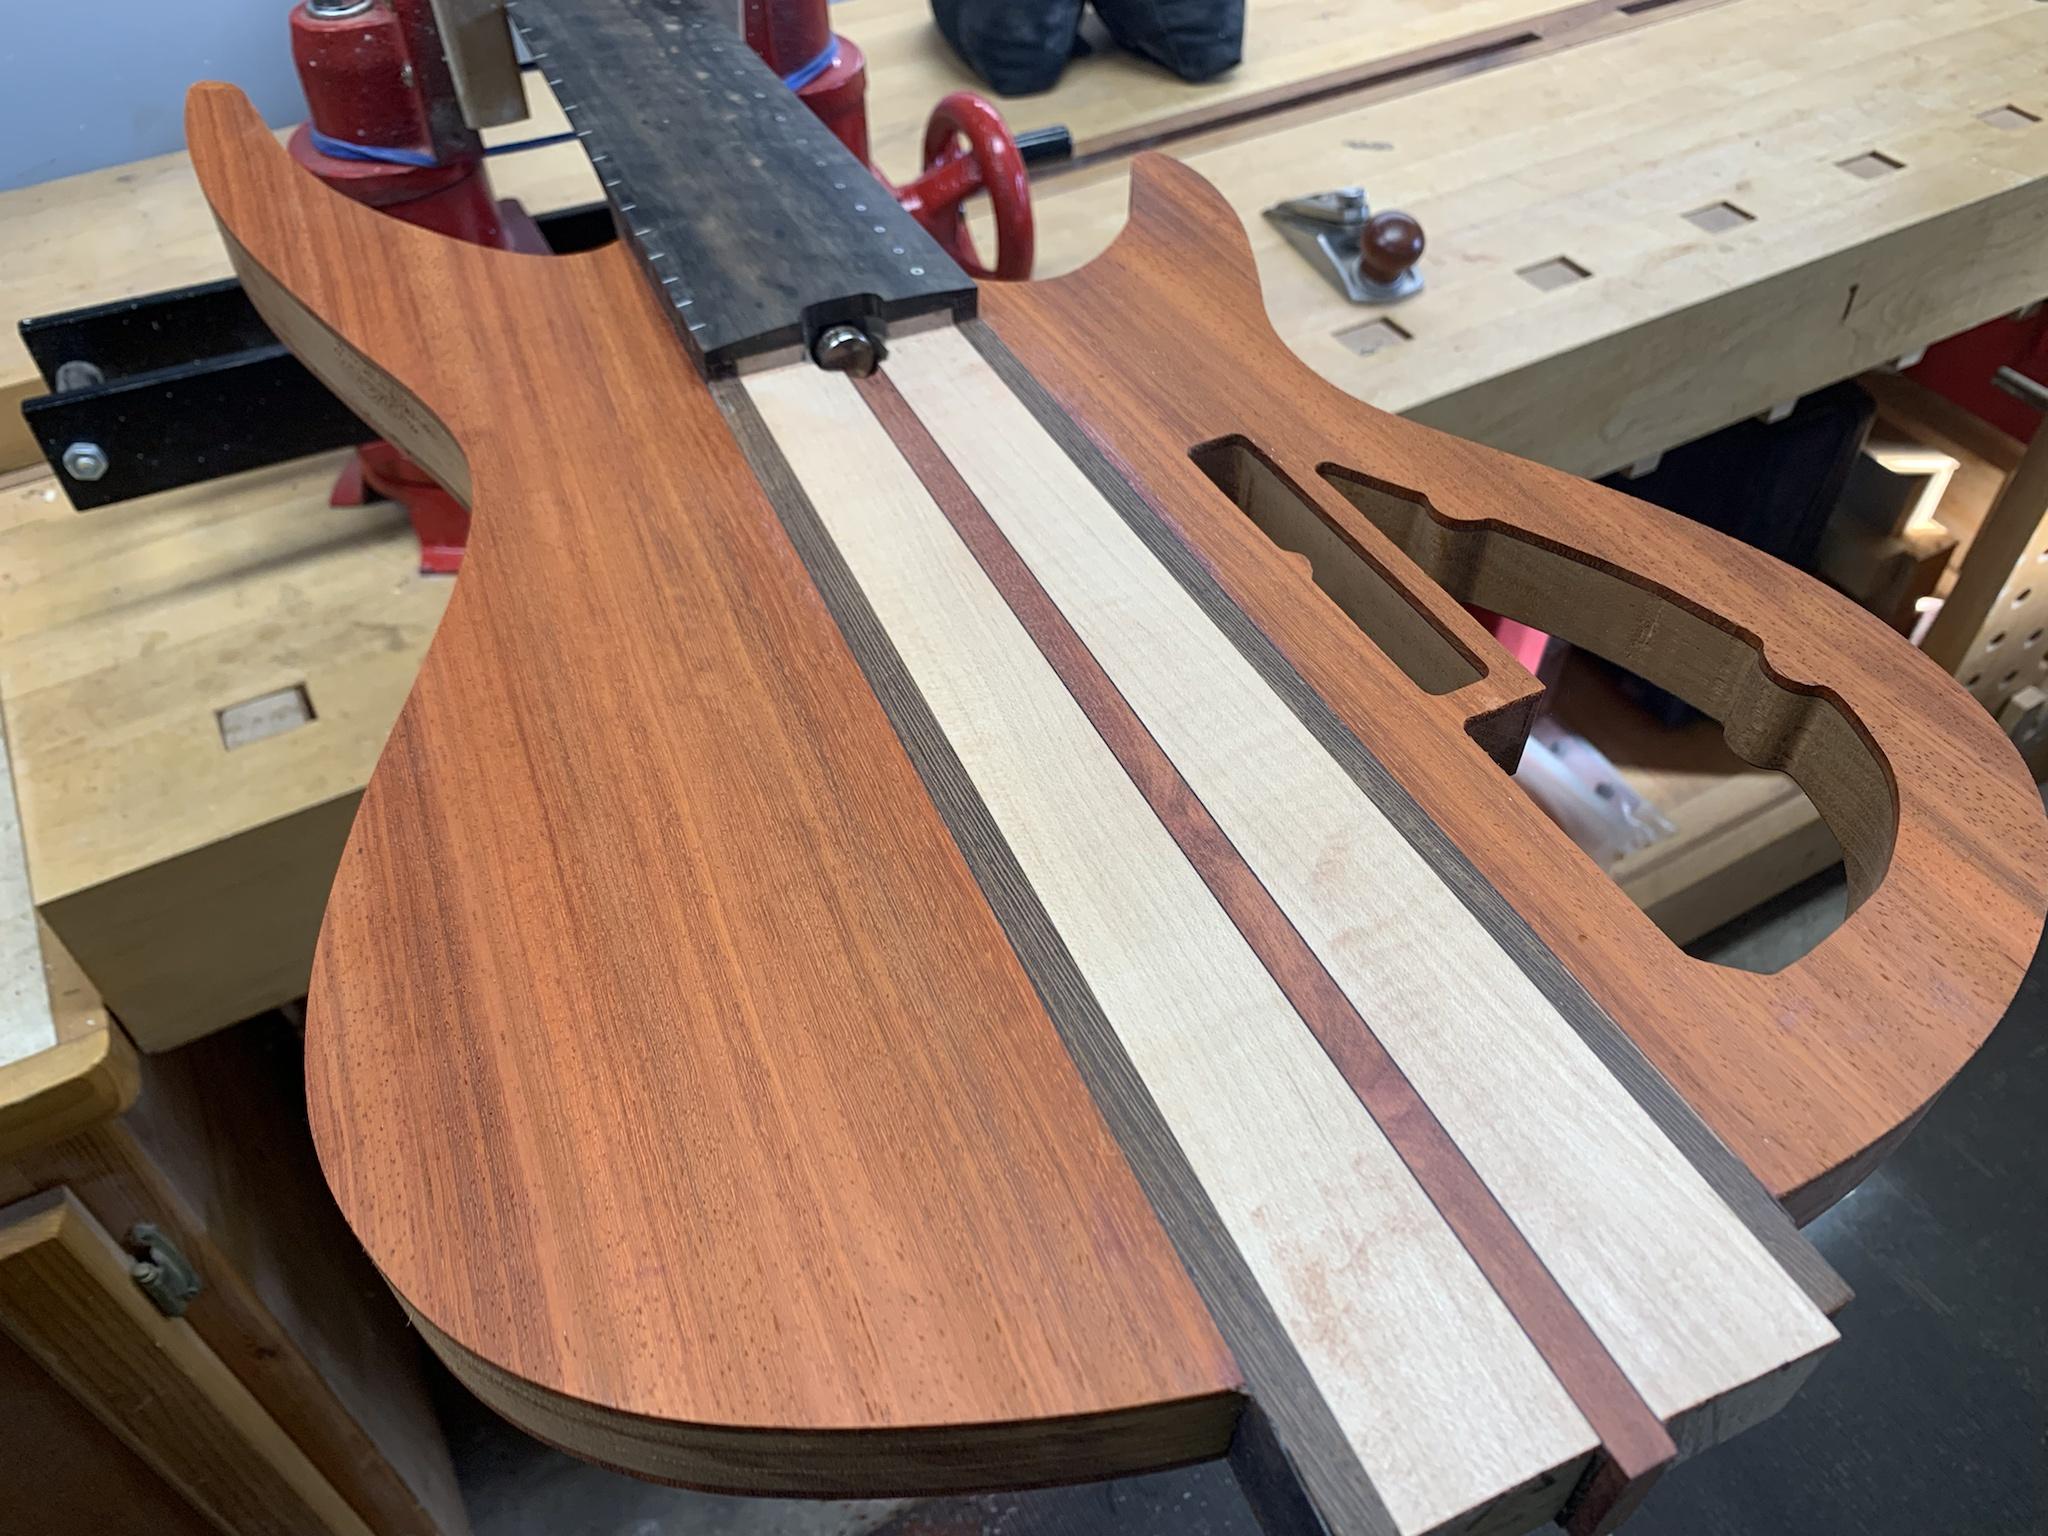
More soon.
The next step was to get the joints cleaned up.
More soon.


