• TalkBass has been independent since 1998. Add your voice.
    Create a free account to reply to discussions, view embedded media, and browse with fewer display ads.
    Join freeLog in
    Want zero display ads or expanded classifieds tools? Compare plans.

Winter Build Off 2022 - The Crook

Super annoying :/ It's temp line that has frozen, so it would be nothing for them to heat the copper pipe on either end and just run a new temp. I'll then keep the water running. One guy has refused to touch it since it's a job already already underway by another contractor.

You may well have thought of this already, but if not, what about a heated cable? Ex:
Invalid Link Removed

I use one of these near the drain at the end of my driveway when it ices up. IME it doesn't take a lot of heat to thaw enough to get water moving again. Good luck!
 
You may well have thought of this already, but if not, what about a heated cable? Ex:
Invalid Link Removed

I use one of these near the drain at the end of my driveway when it ices up. IME it doesn't take a lot of heat to thaw enough to get water moving again. Good luck!

Well, that had not crossed my mind, but it sure as **** should have been the first thing the plumber tried when I called him this morning! 50 bucks worth of heat tape and 7/8 ID foam pipe insulation and 2 hours later I had water. I bet he had all of this on every one of his trucks. :rolleyes:
 
You may well have thought of this already, but if not, what about a heated cable? Ex:
Invalid Link Removed

I use one of these near the drain at the end of my driveway when it ices up. IME it doesn't take a lot of heat to thaw enough to get water moving again. Good luck!
And thank you. I realized after I had neglected to say that and your idea solved my problem near instantly. :D A friend of mine who's a retired plumber confirmed for me in the evening that this was a solid plan and "should have been installed in the first place" on a temp line. ;)
 
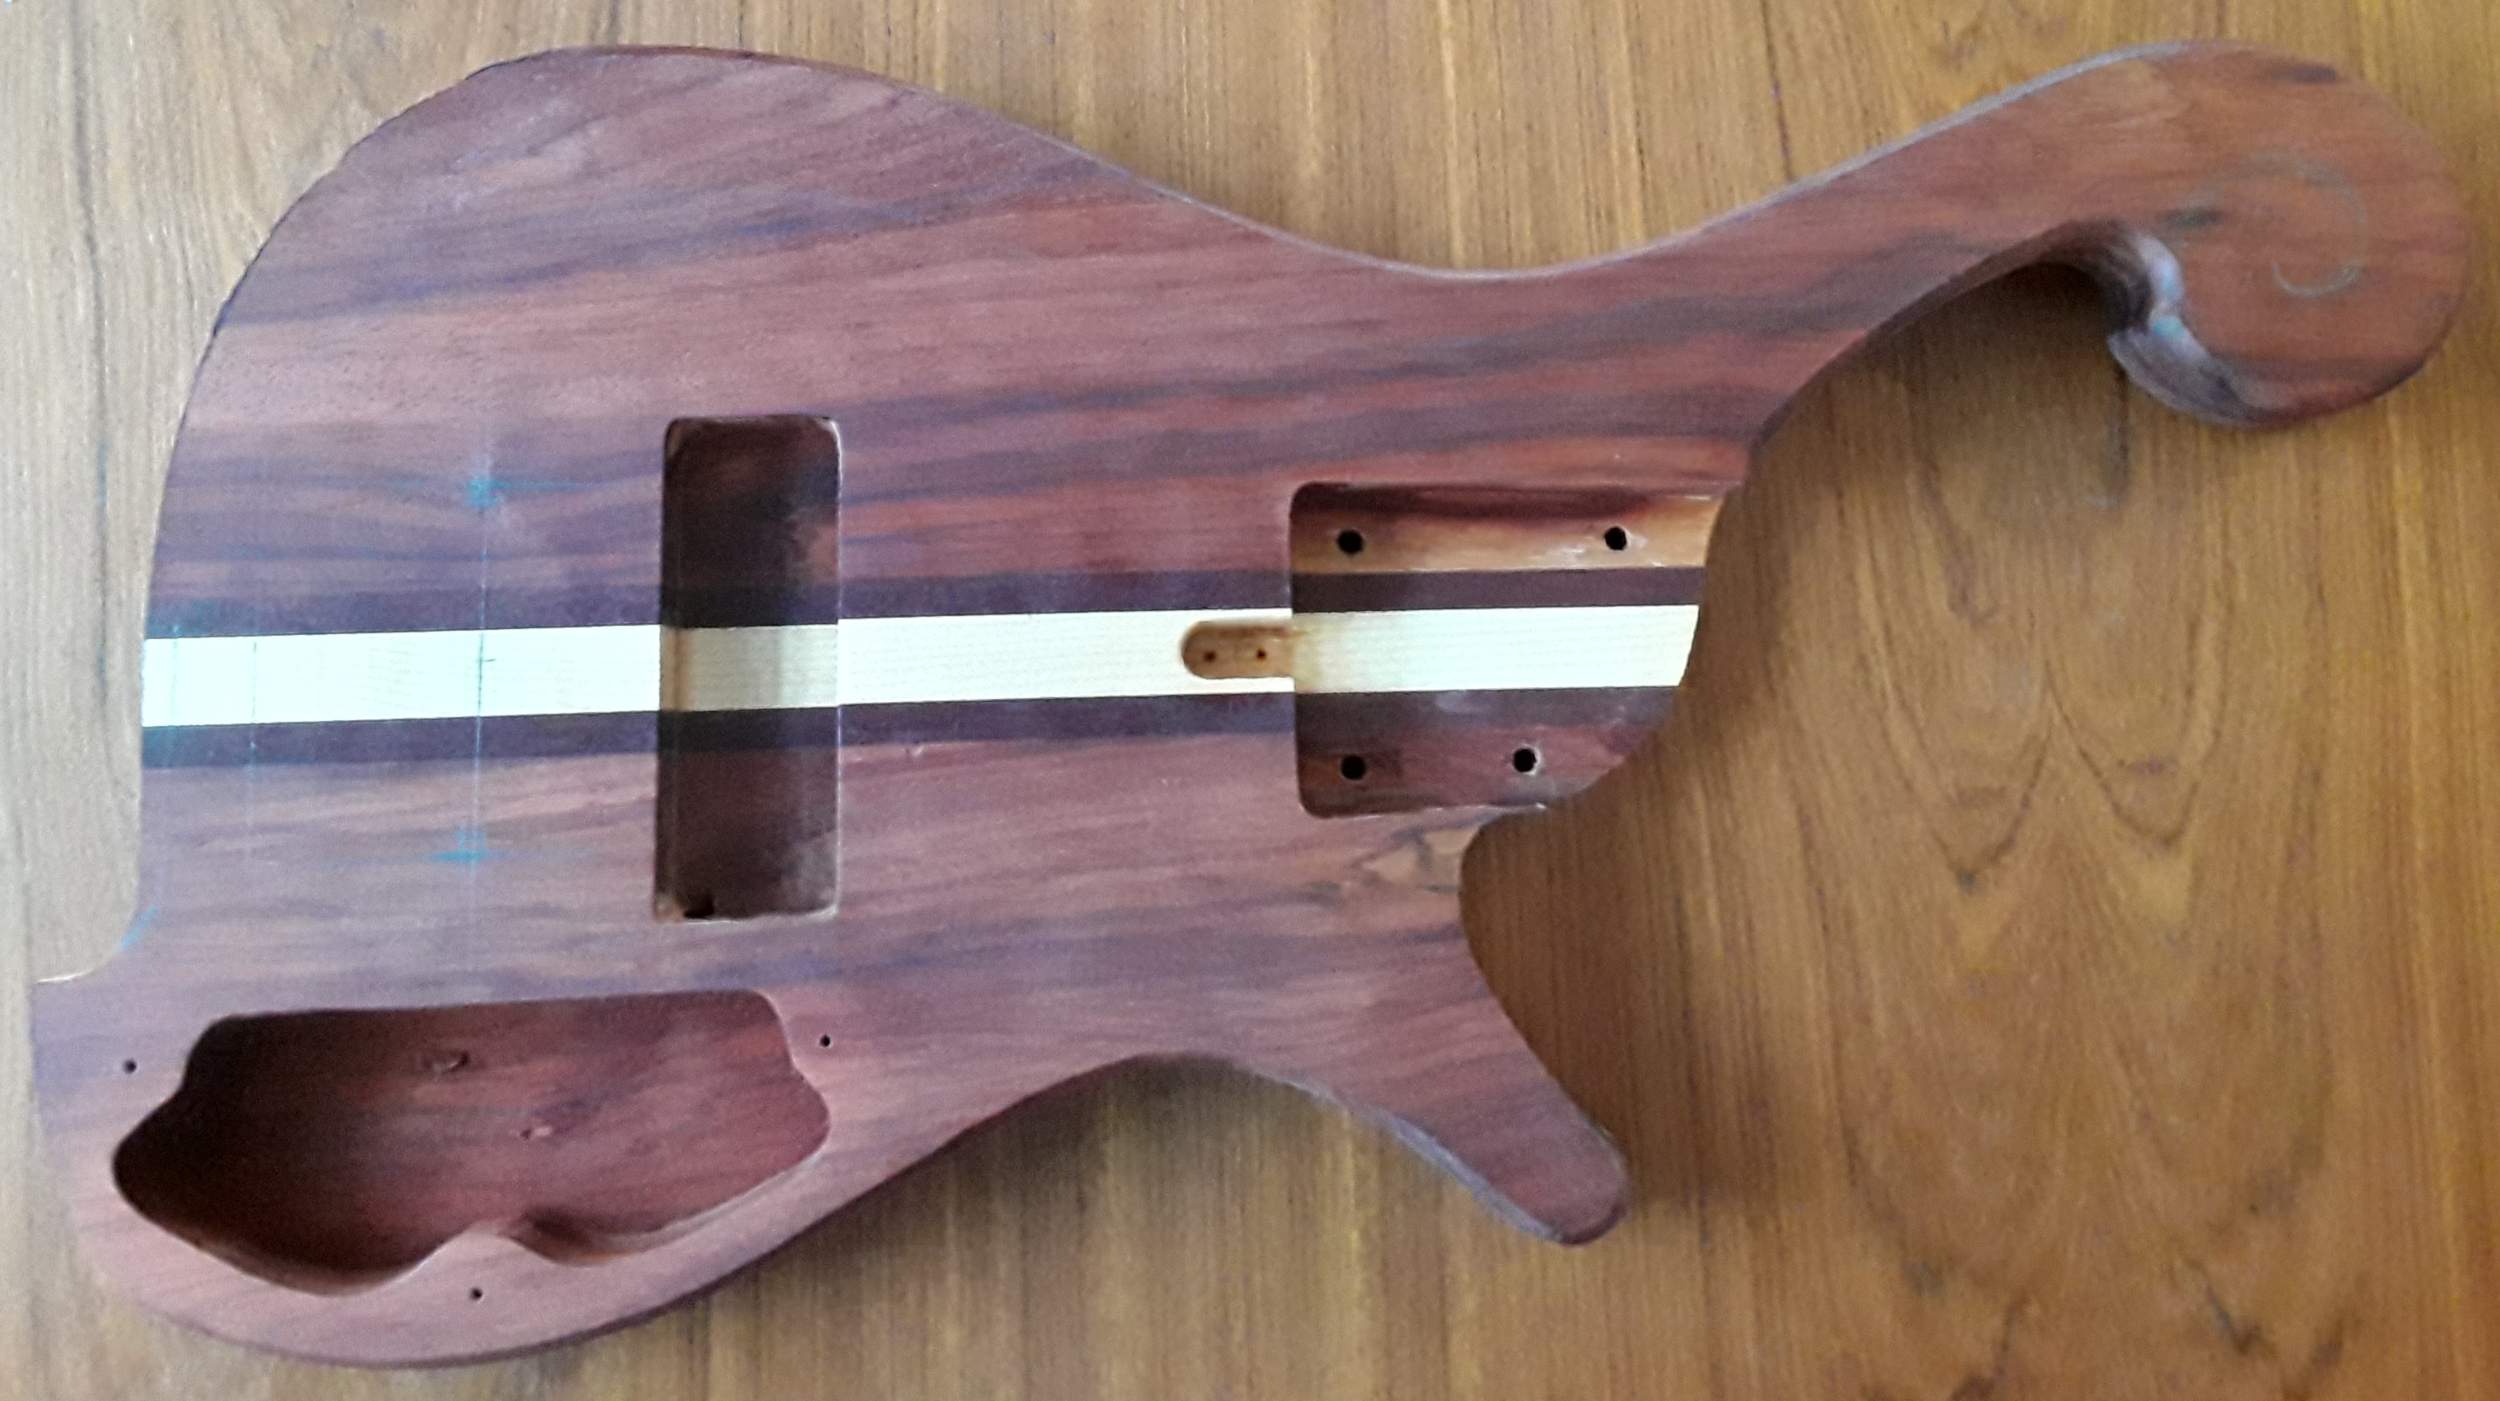
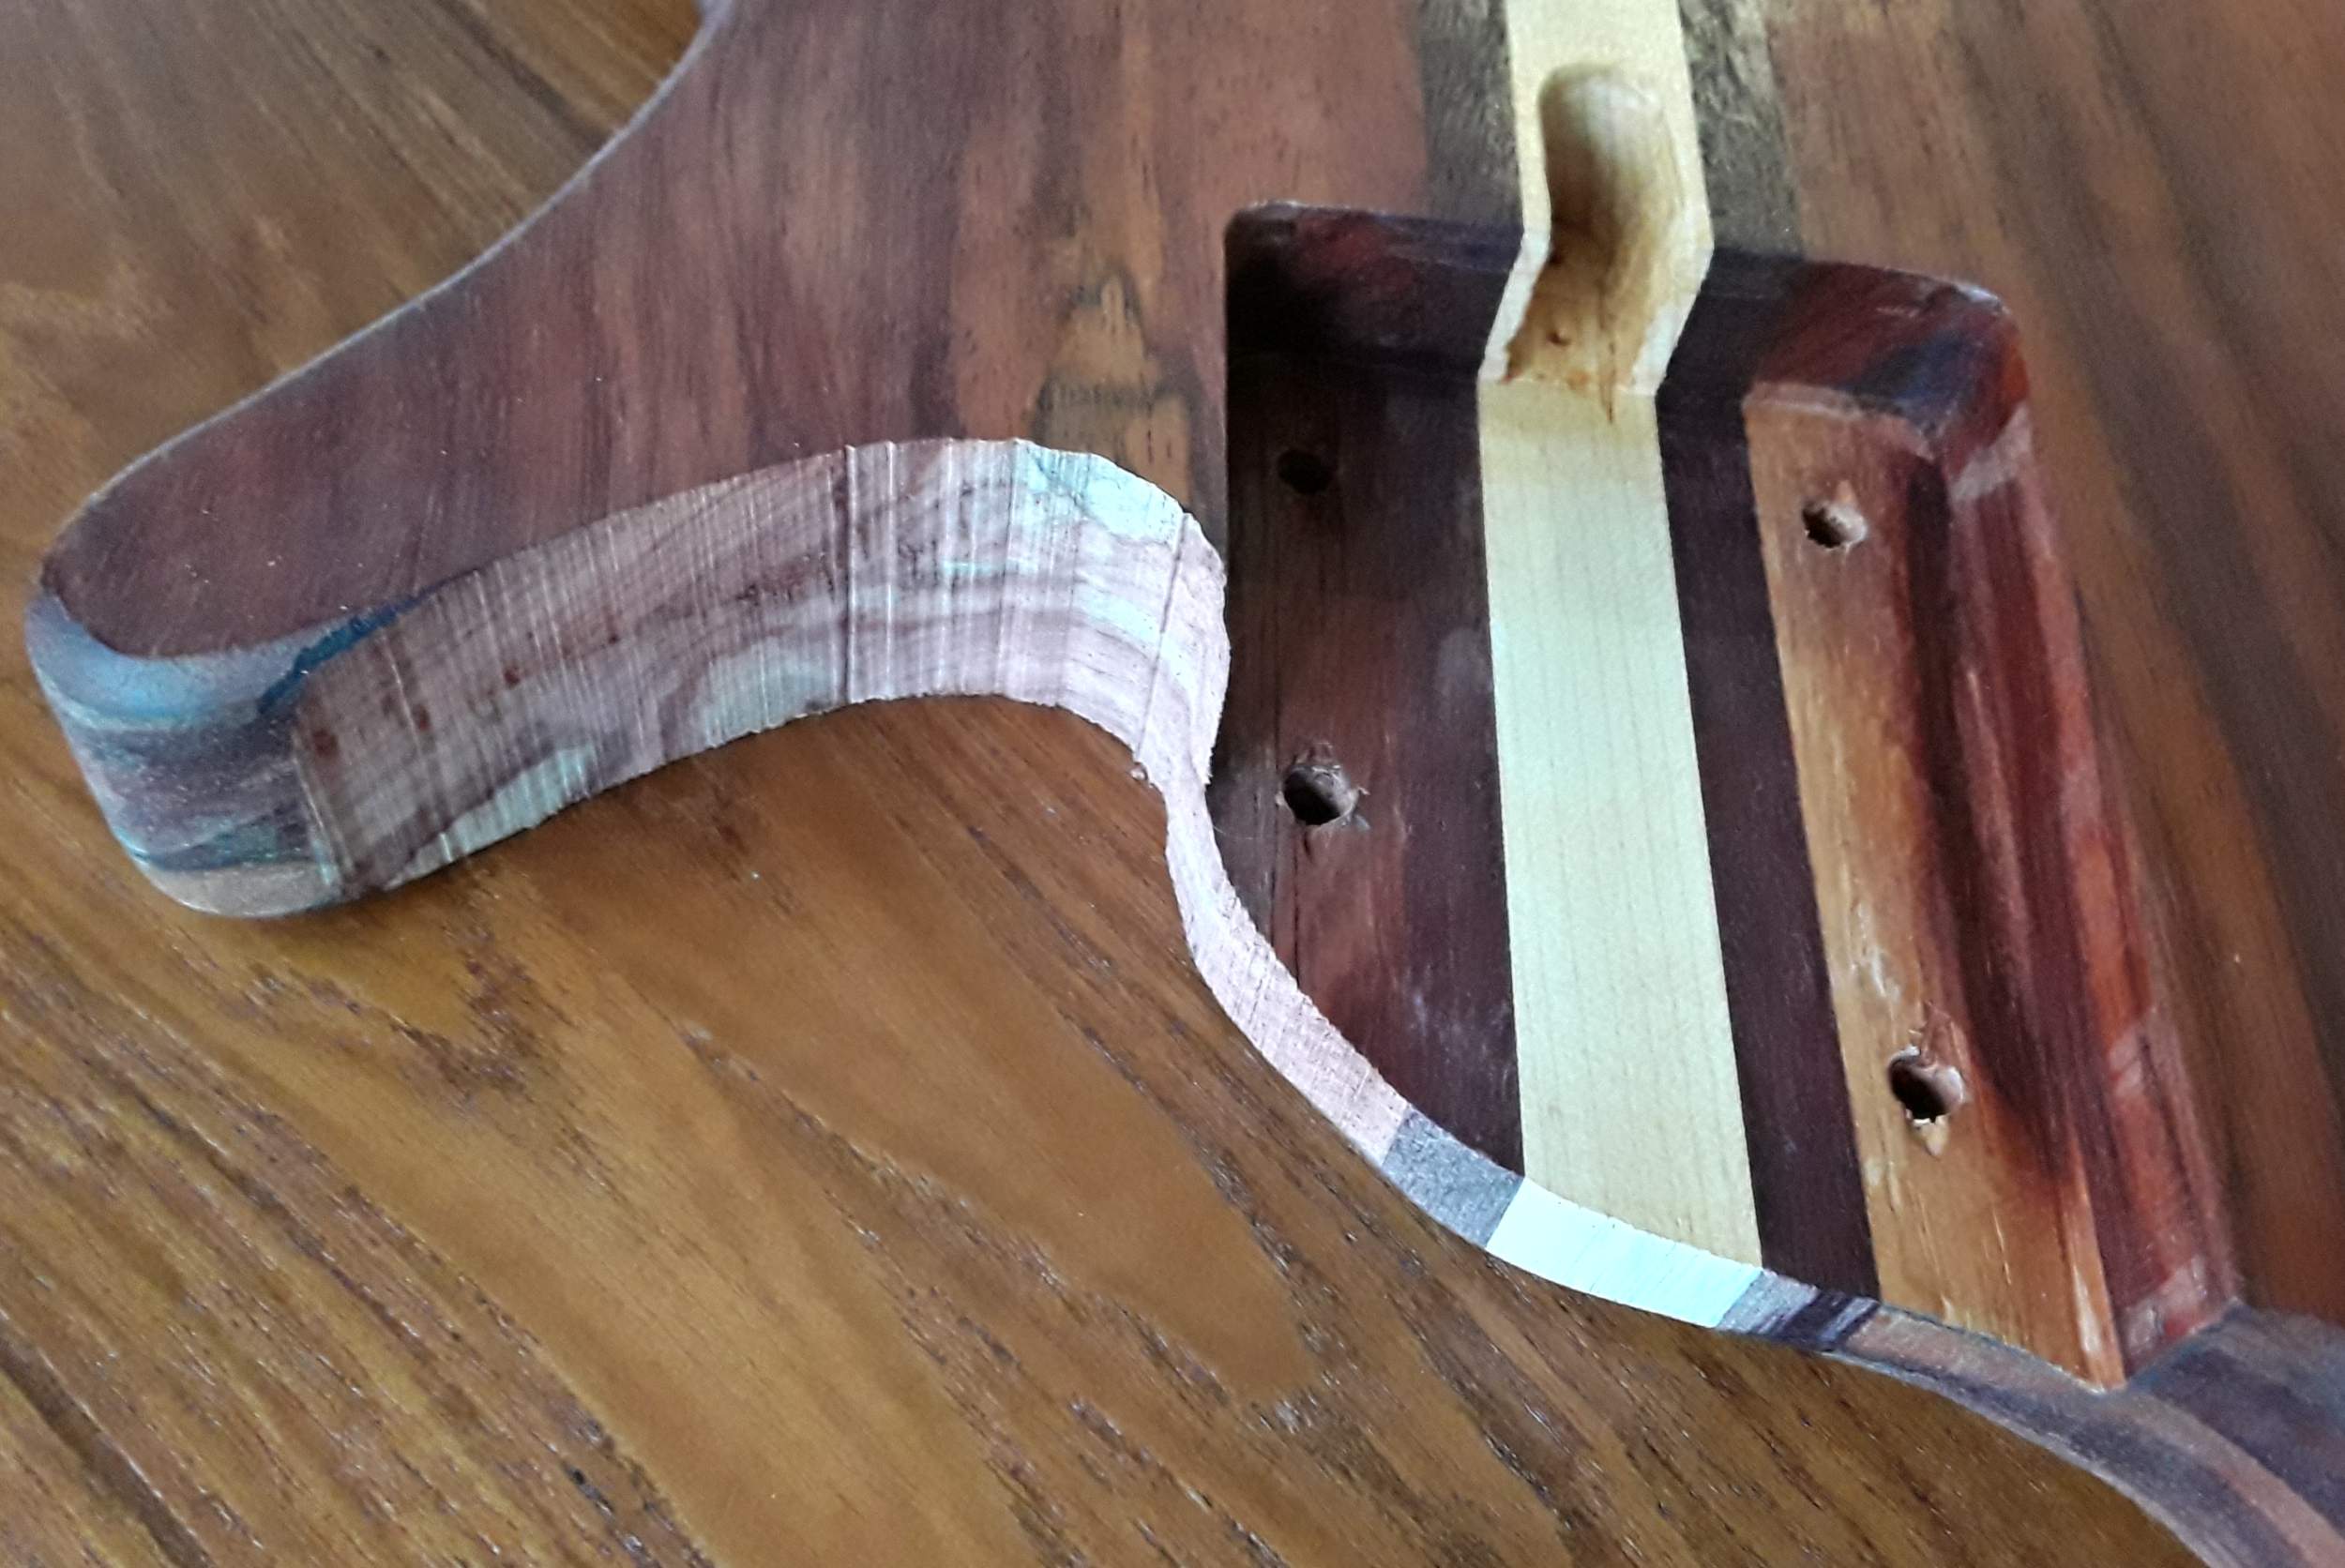
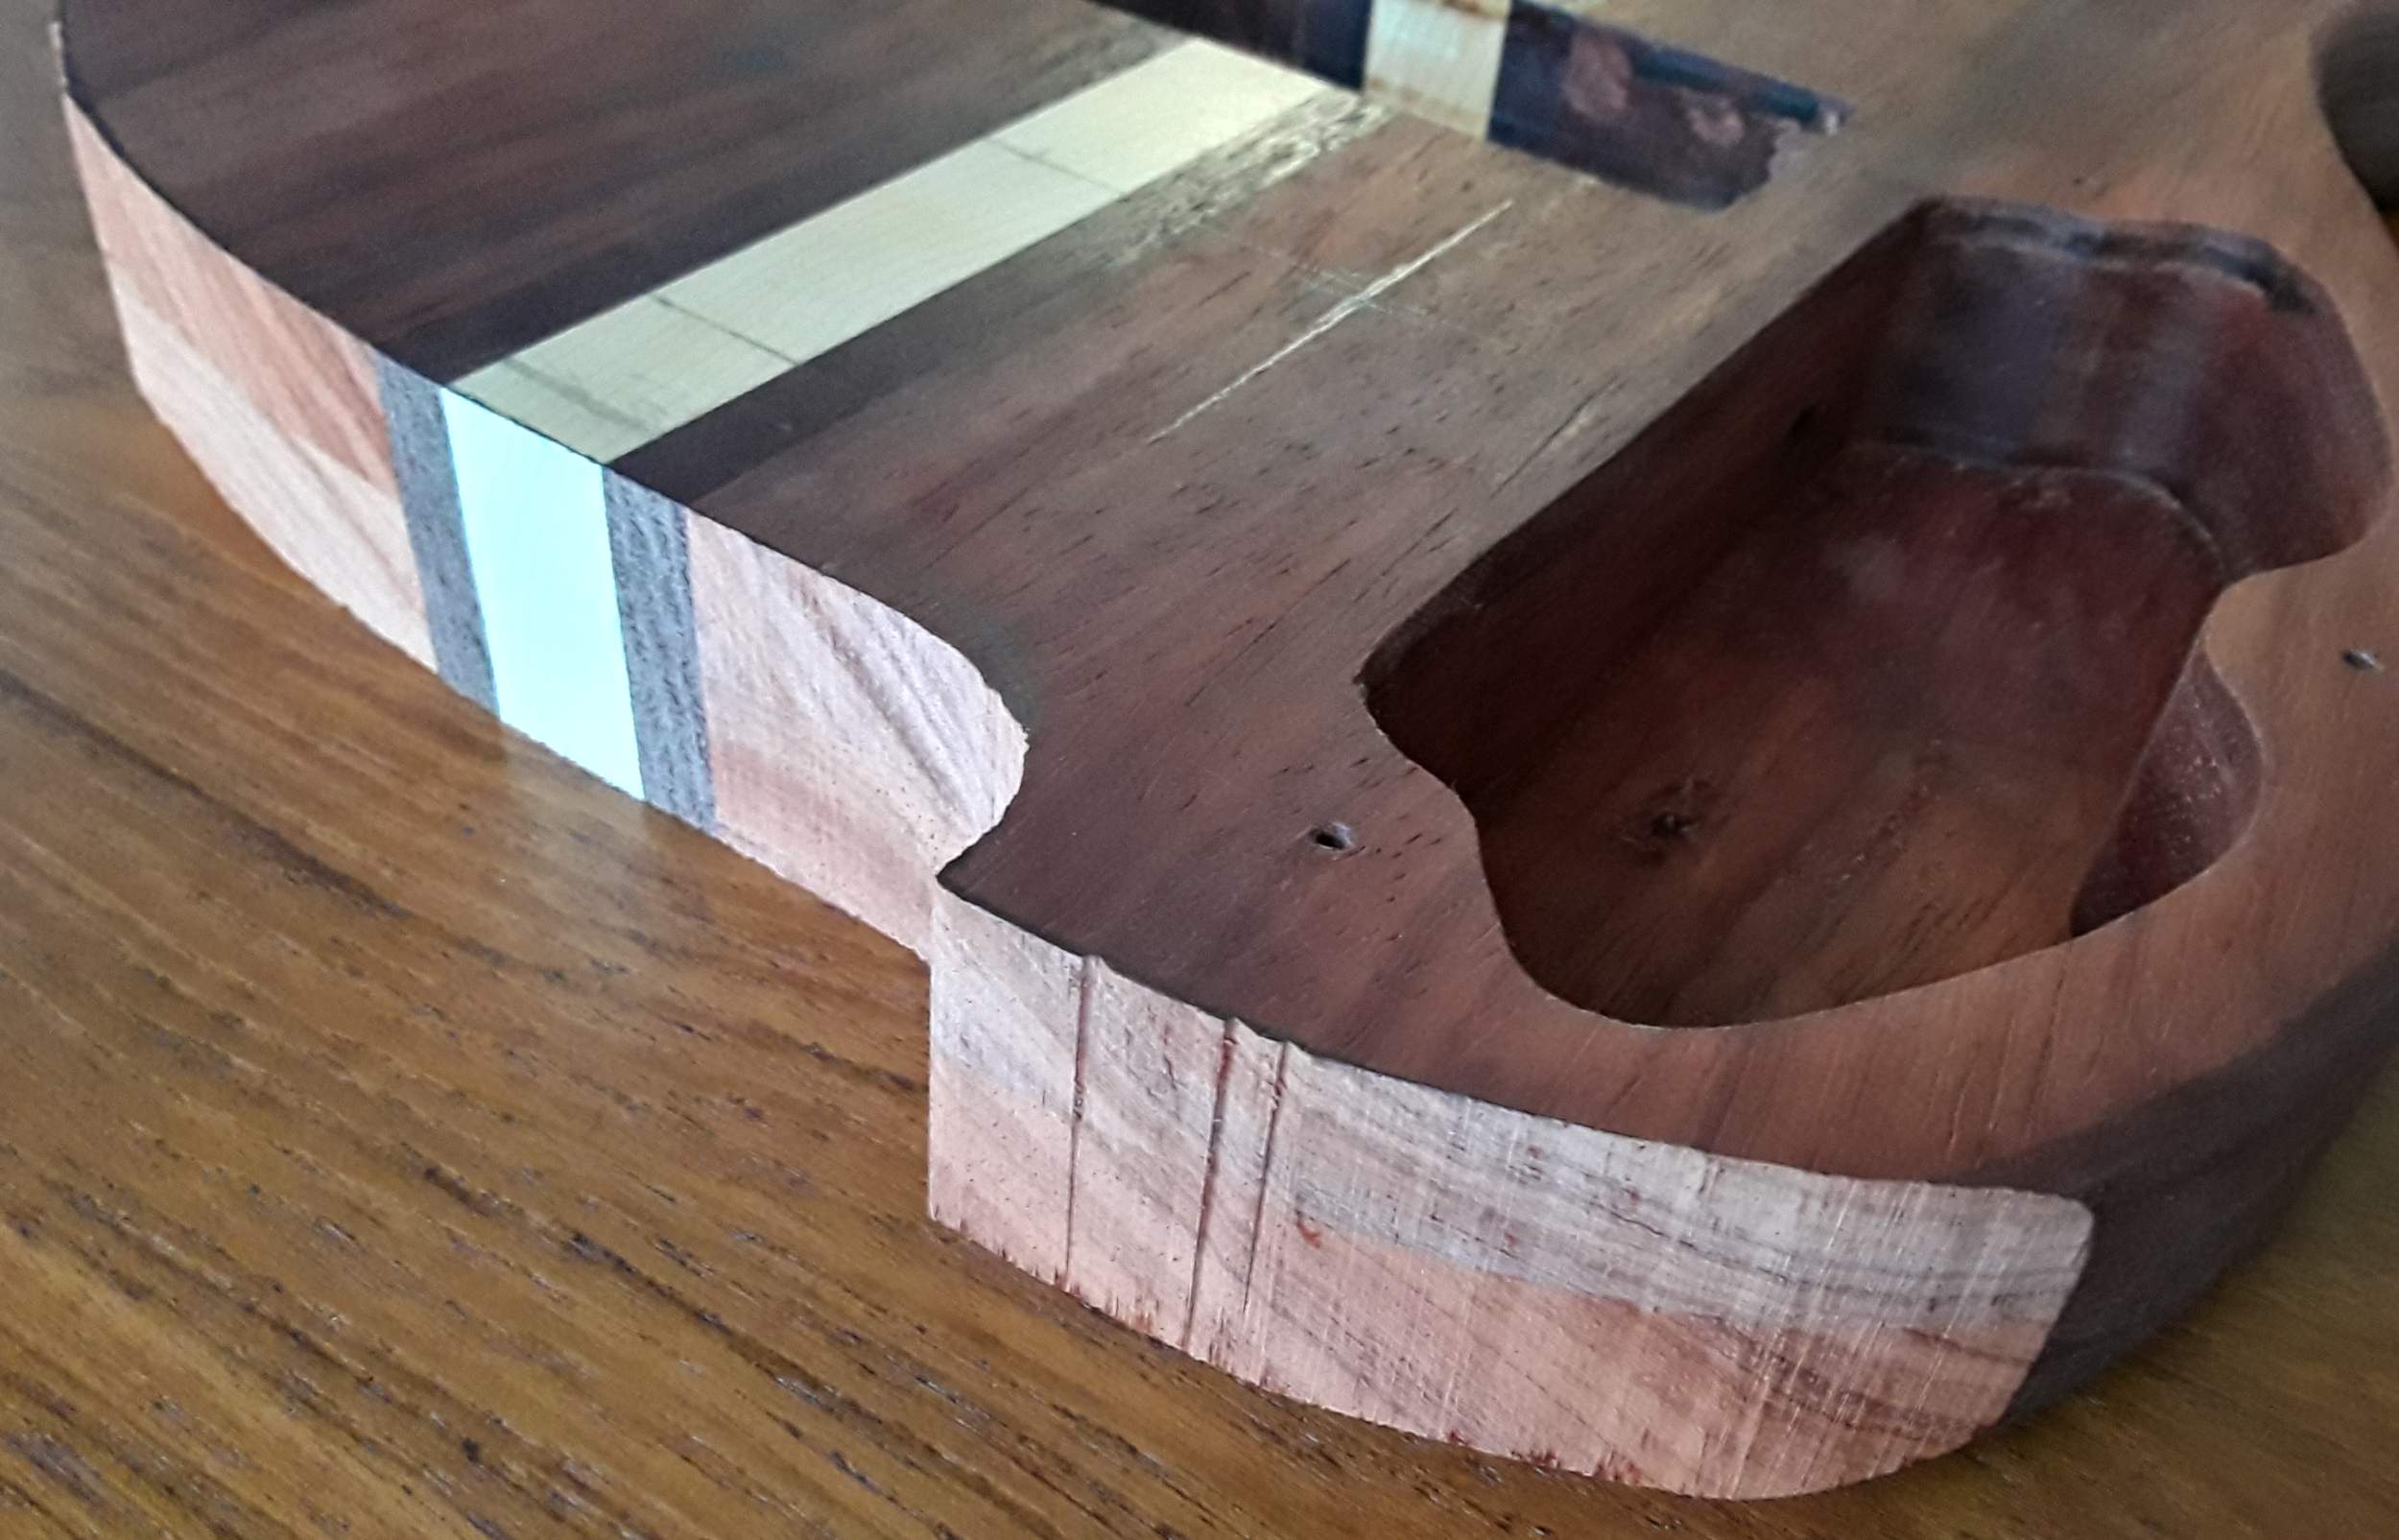
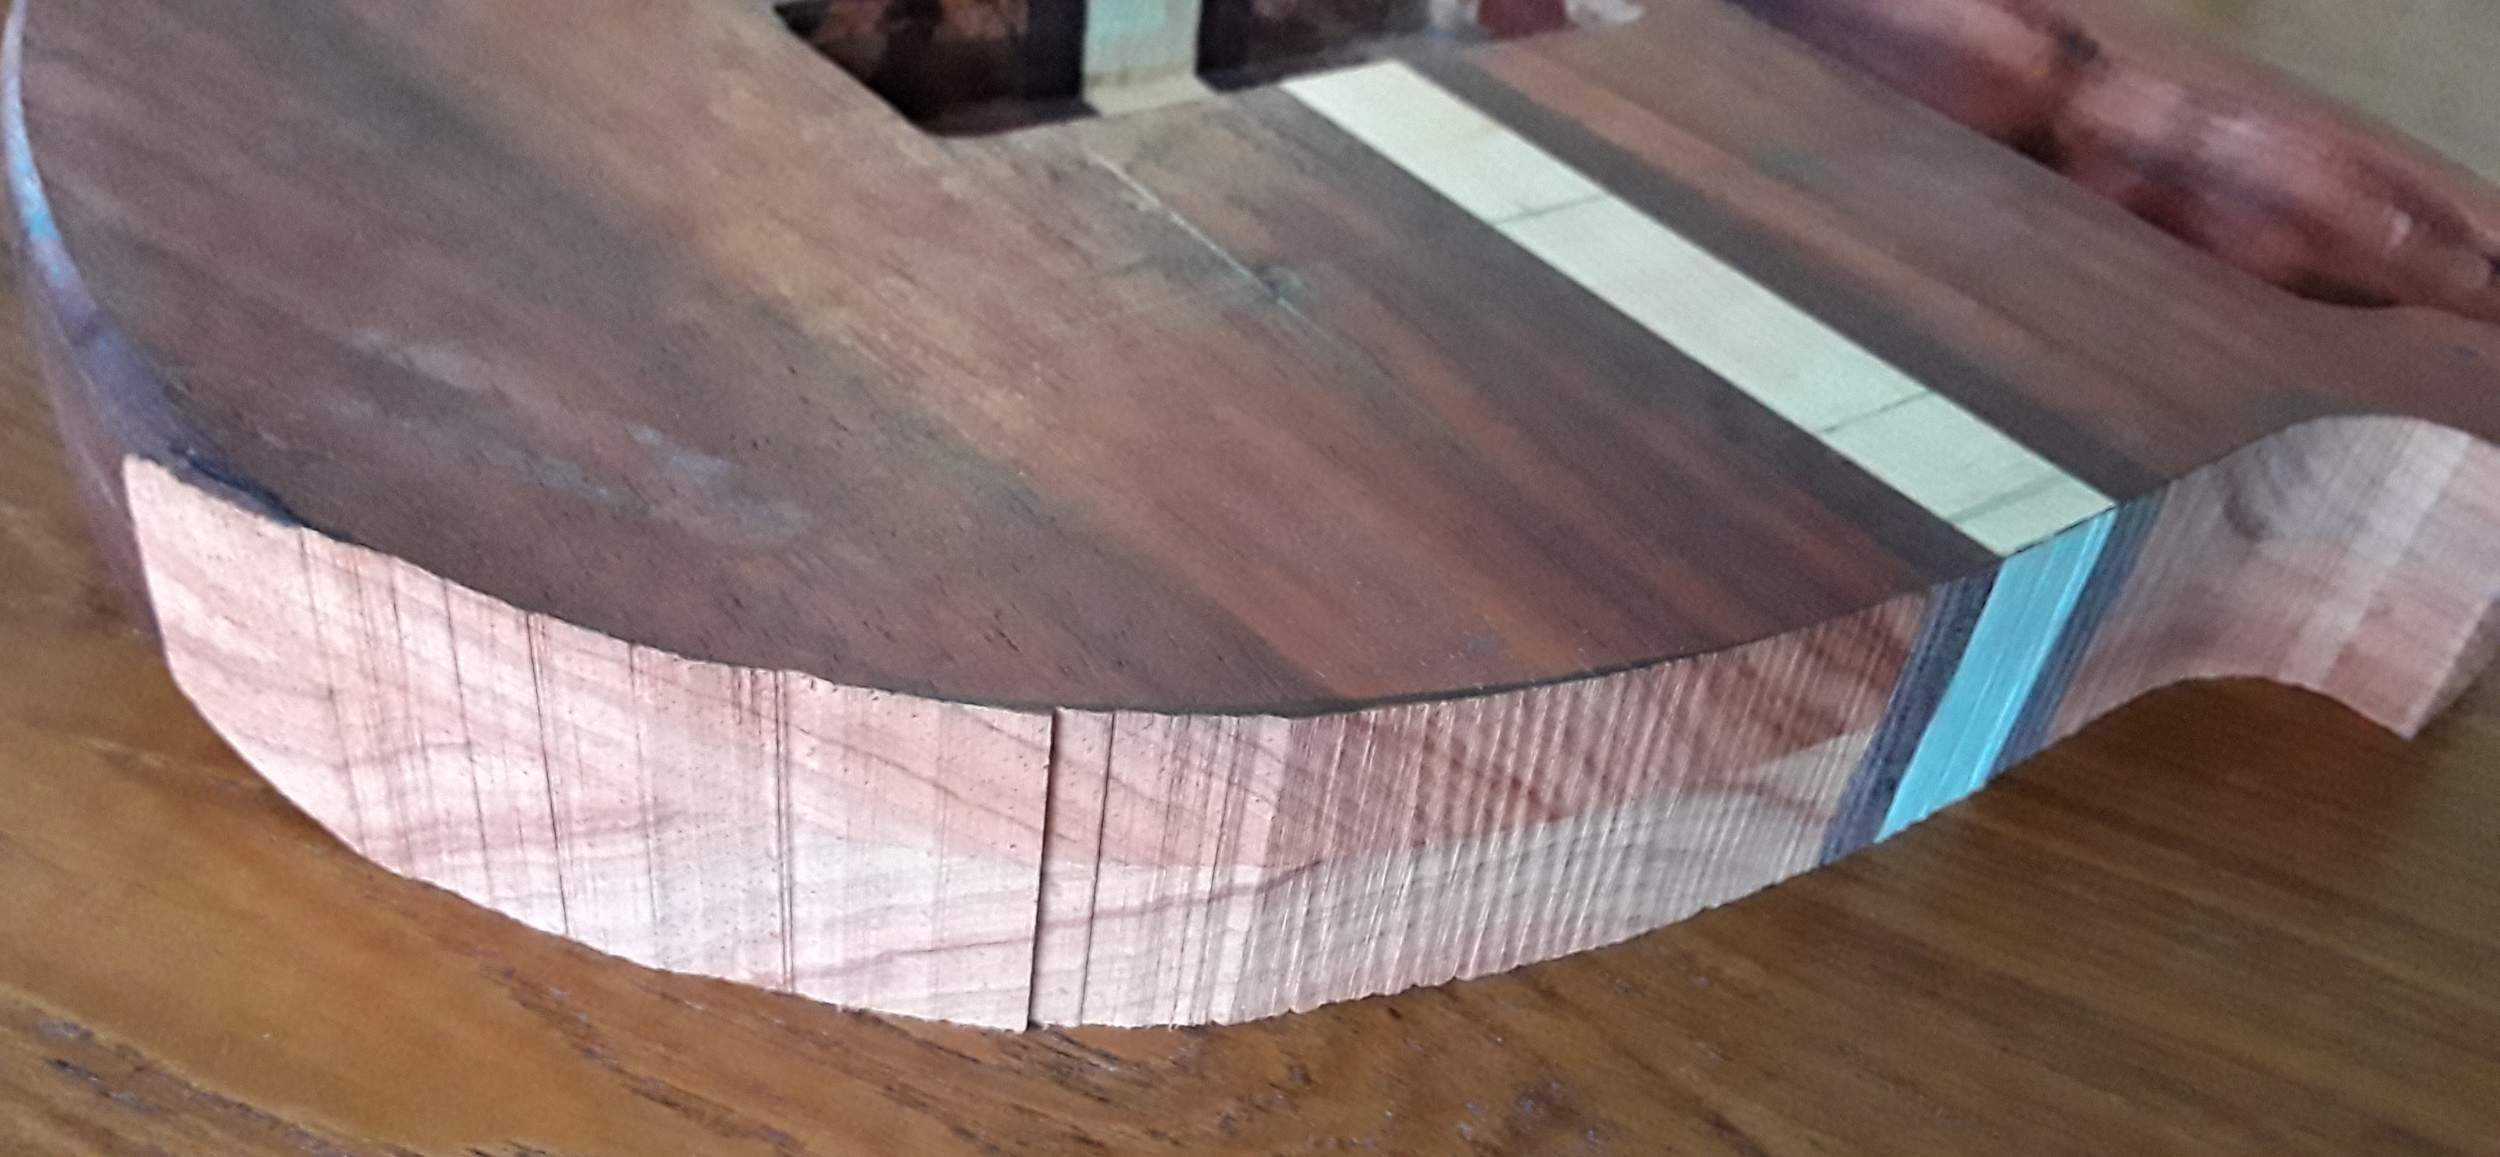
And a small bit of progress. I layered up and went outside to the shed to trim the body close to the line with the bandsaw. I had poor lighting, so I didn't get super close and will get out there again for another icy session with the spindle sander tomorrow. :D I had also planned to cut the plugs for the four headstock tuner holes that need plugging, but I couldn't find the plug cutter in my drill bit drawer. At one point during my move last summer, the large toolbox fell backwards against the wall, and many tools fell back into one another's drawers. I'll hopefully find it tomorrow.

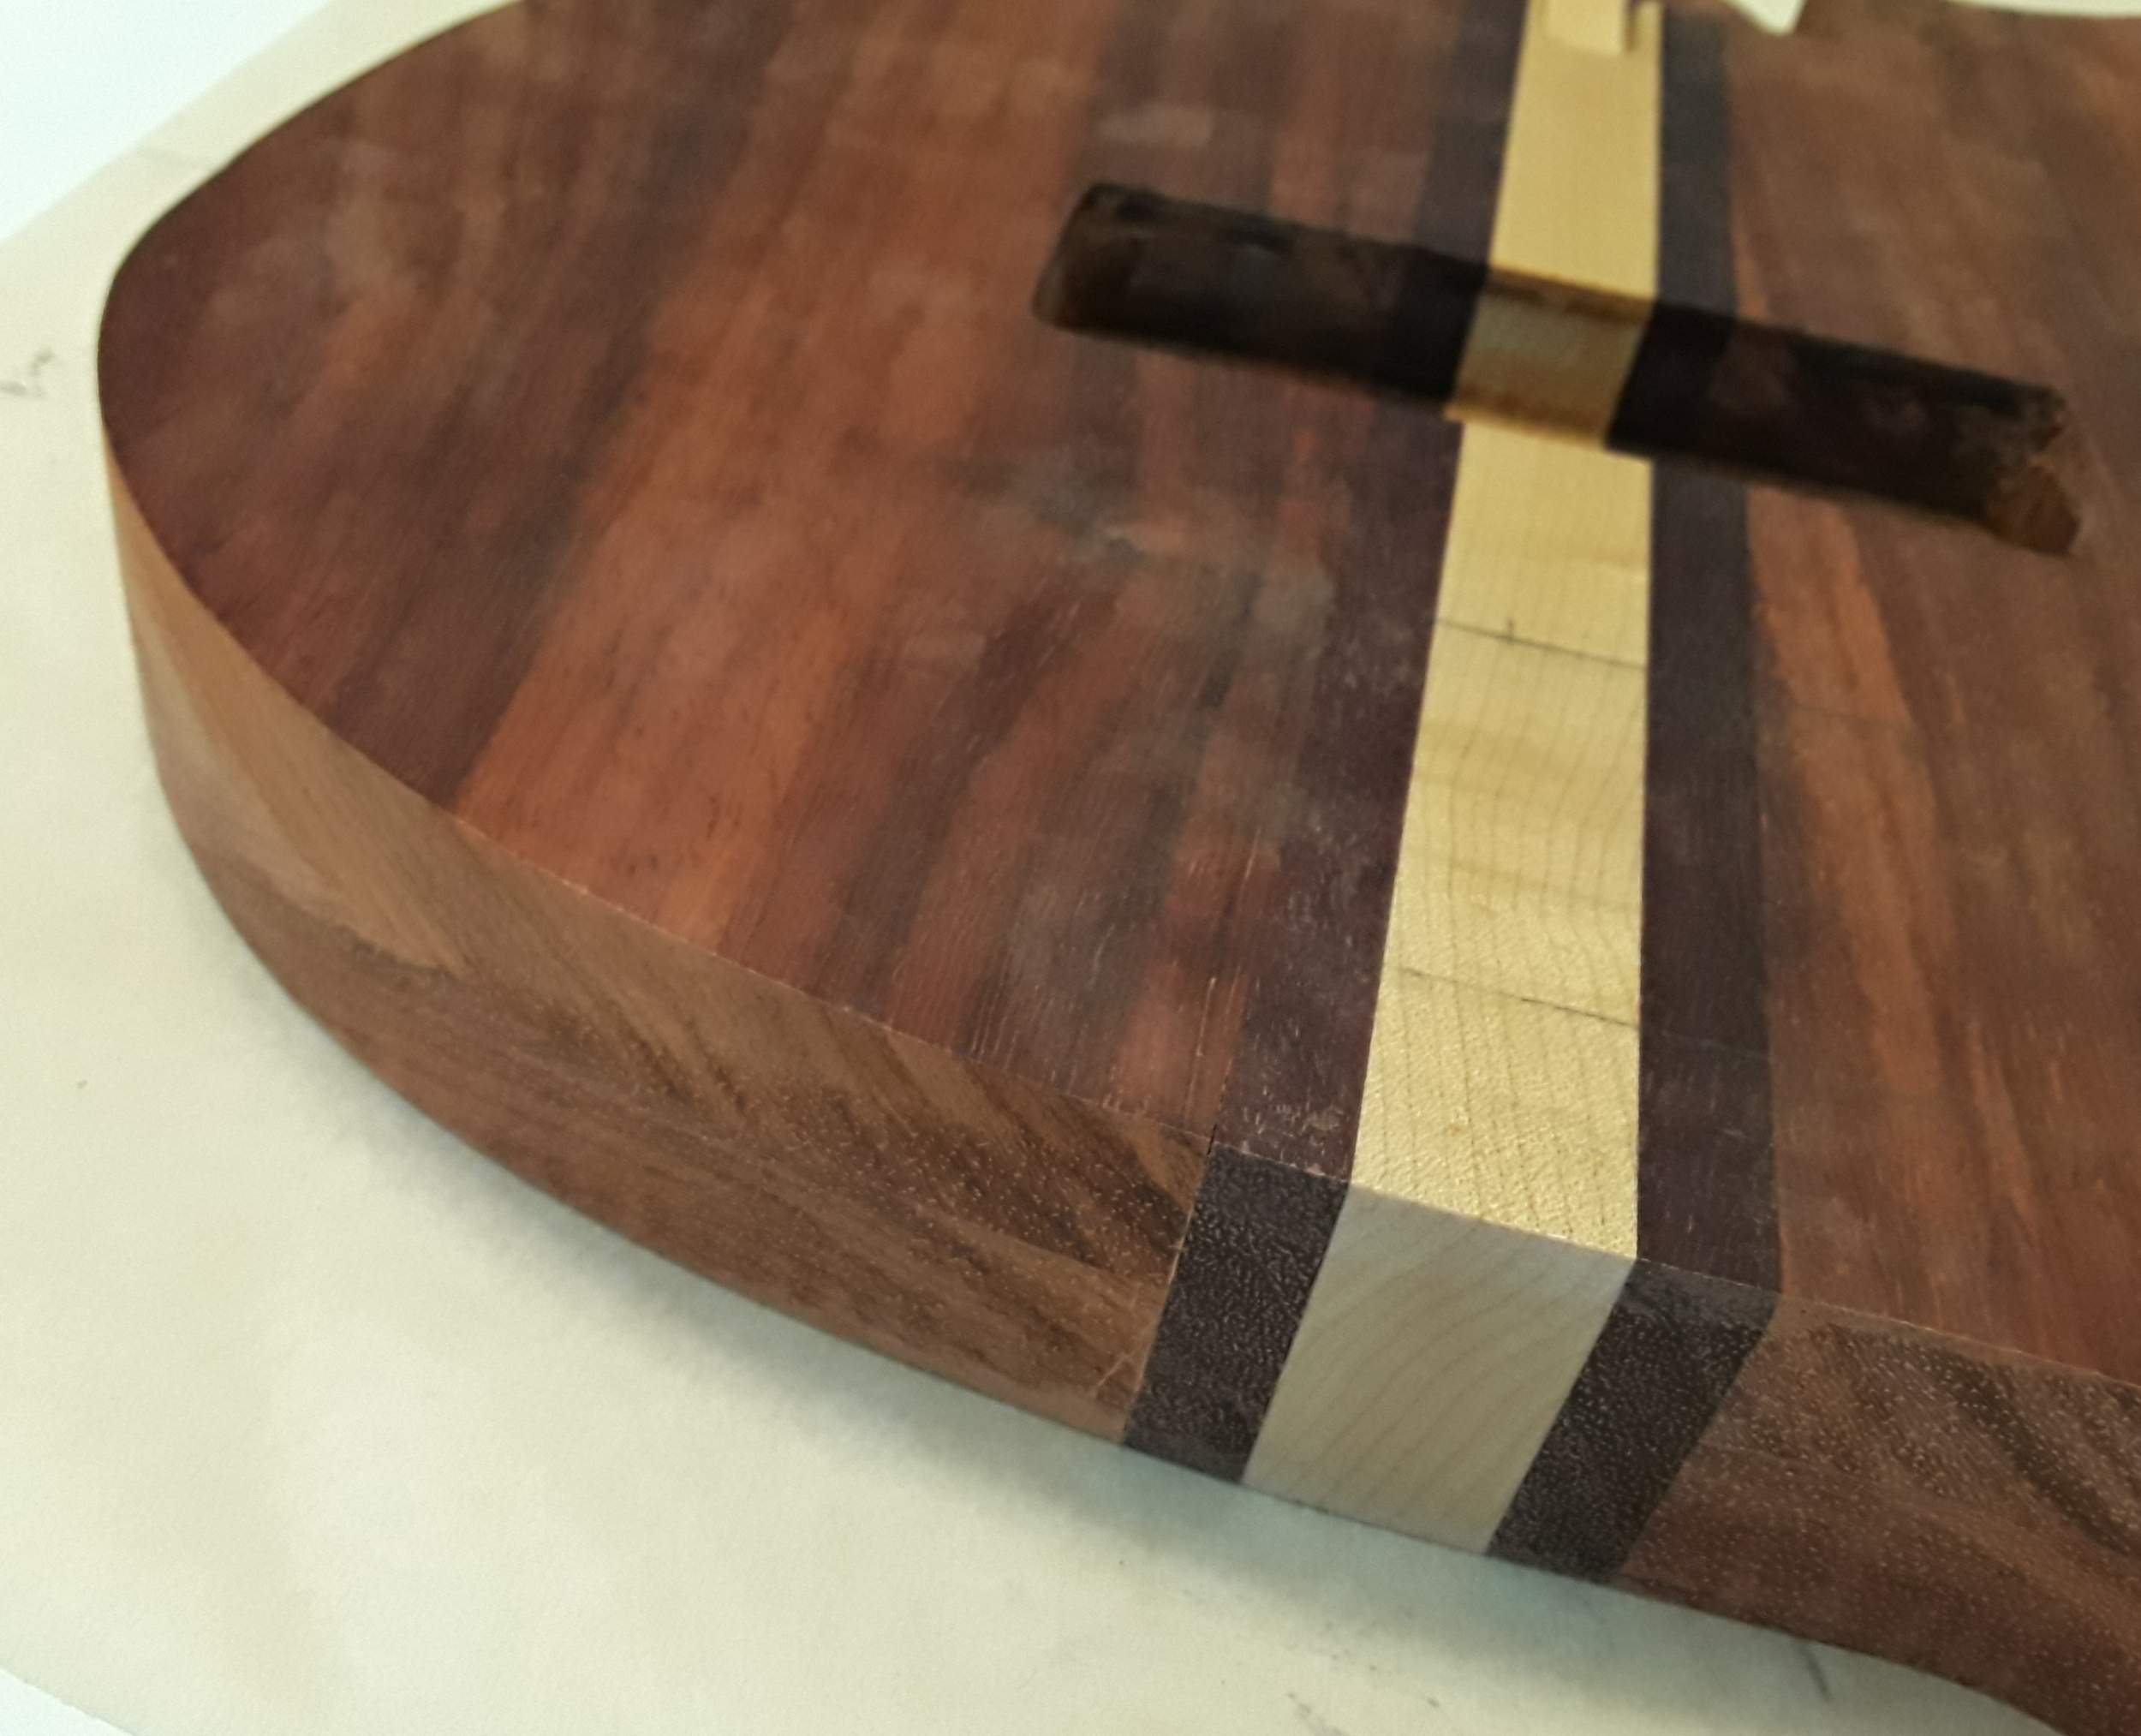
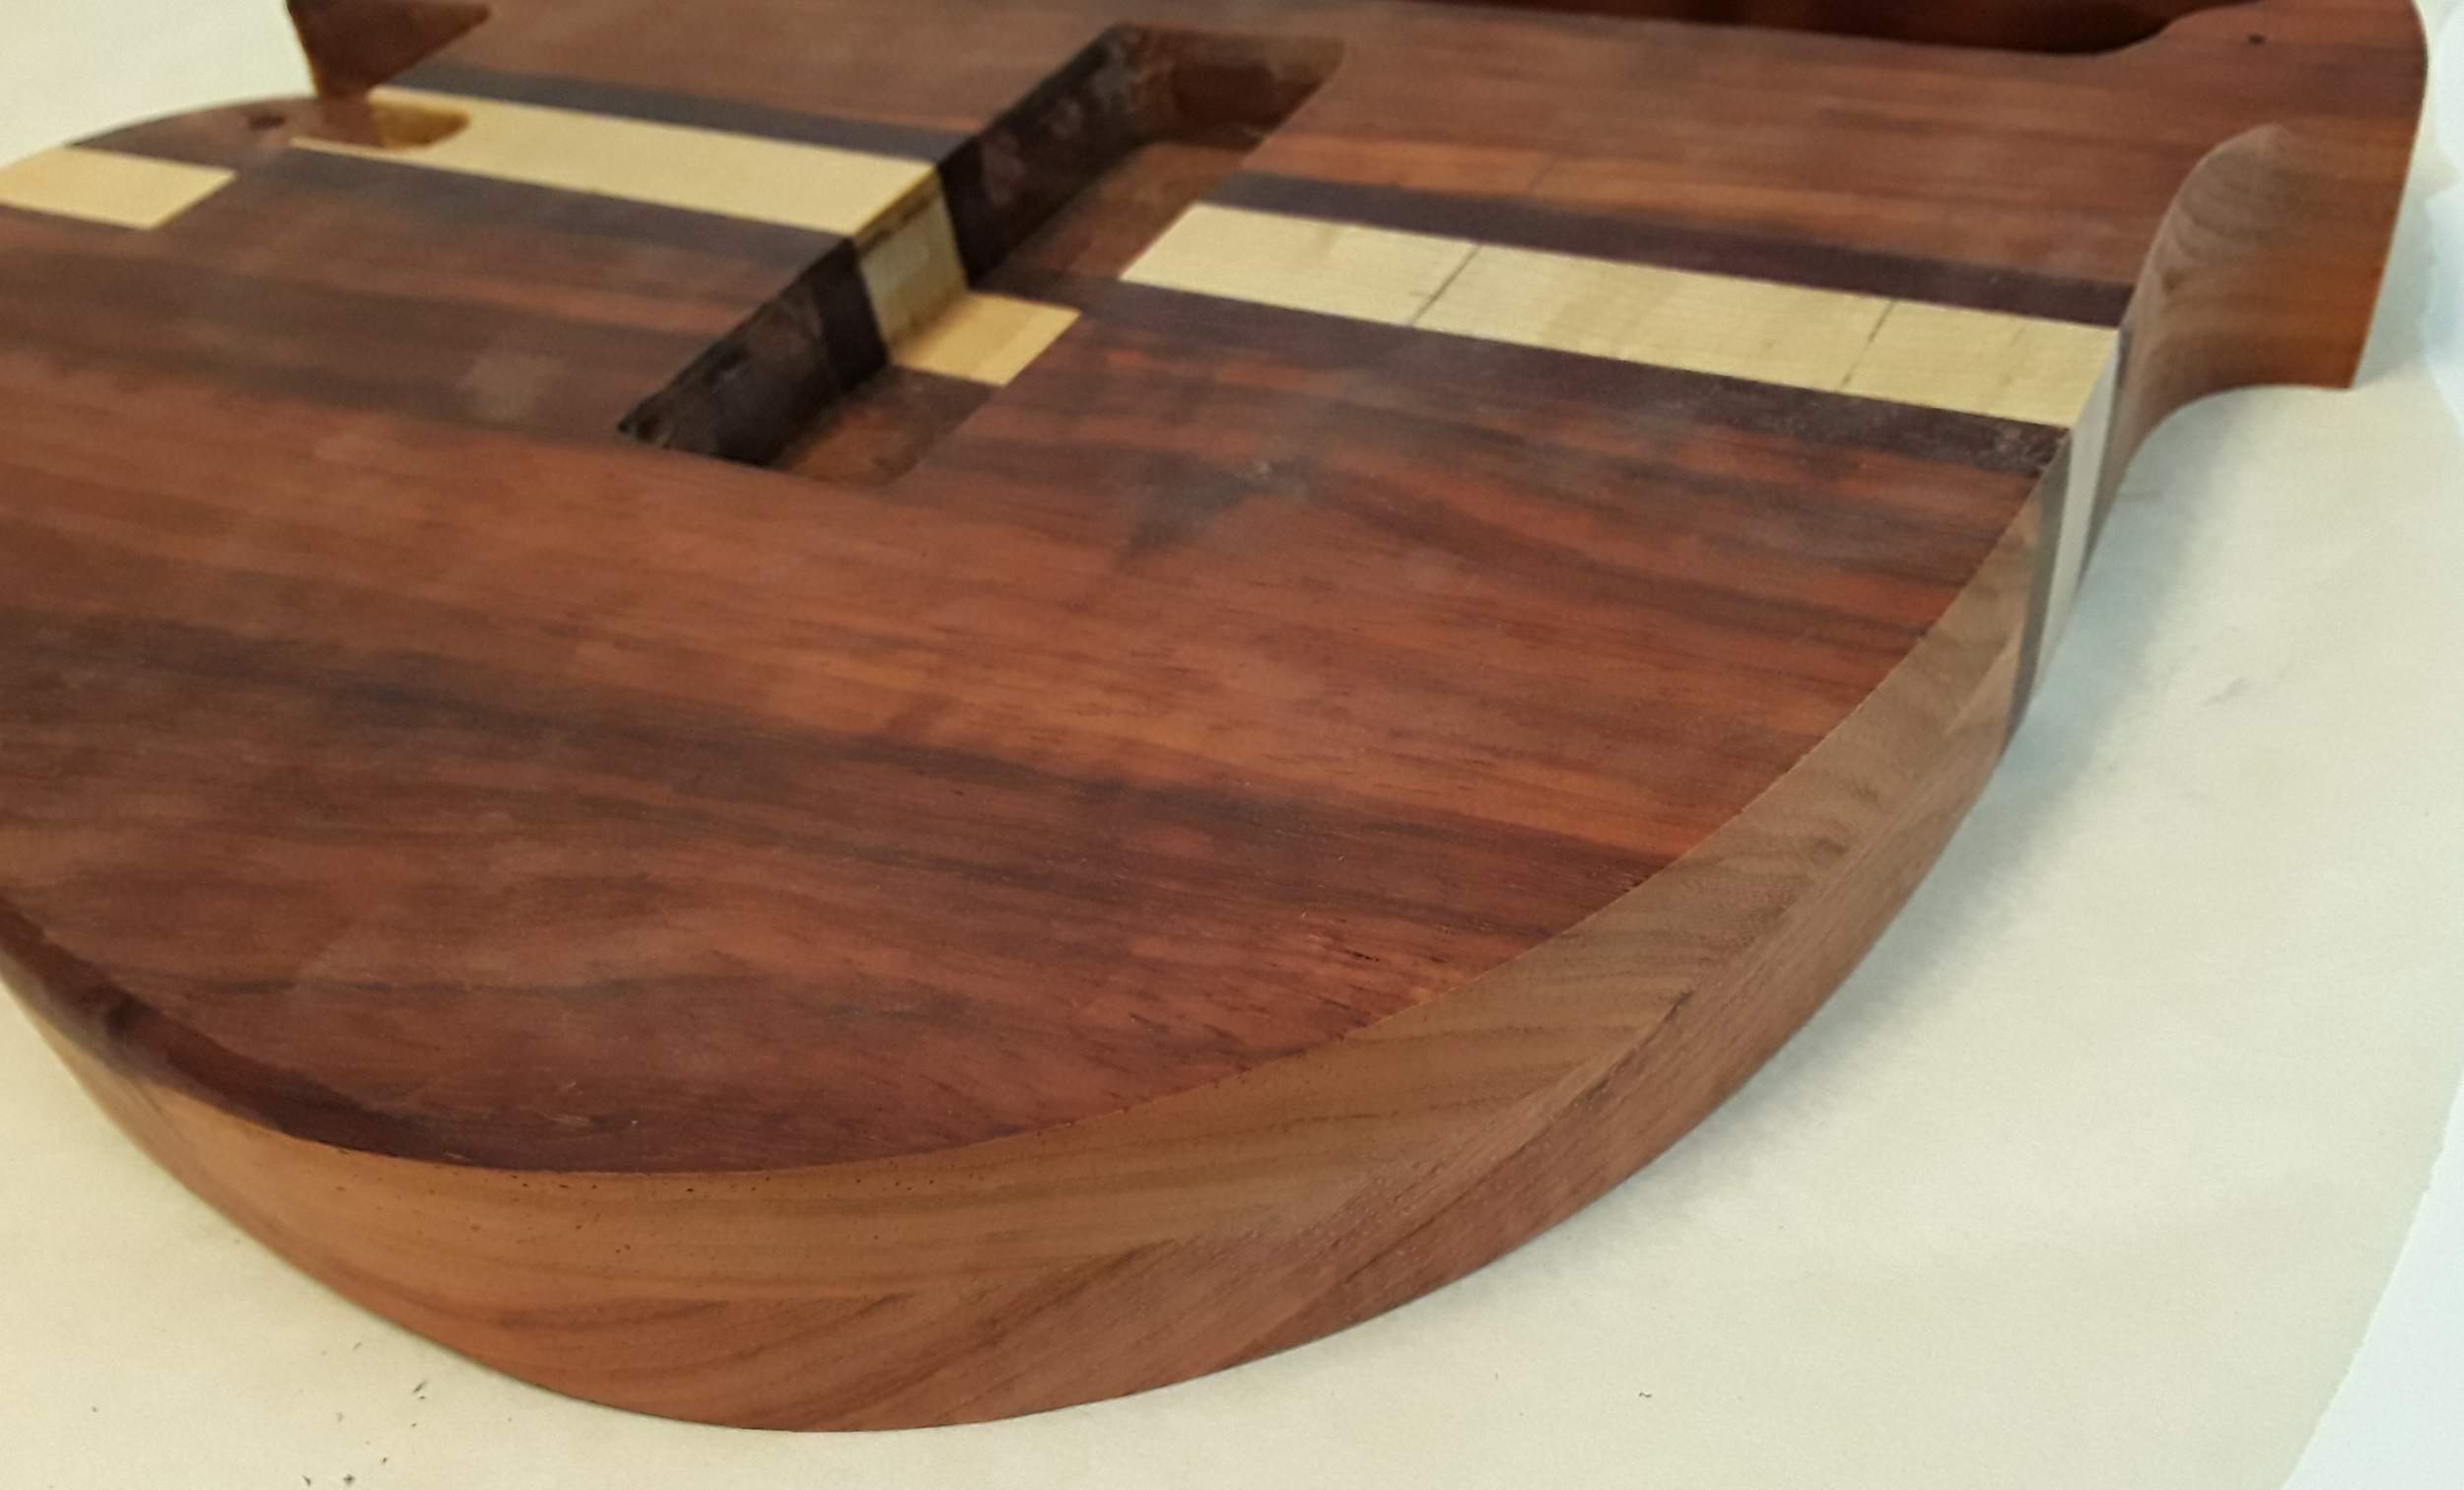
Overall top shot.

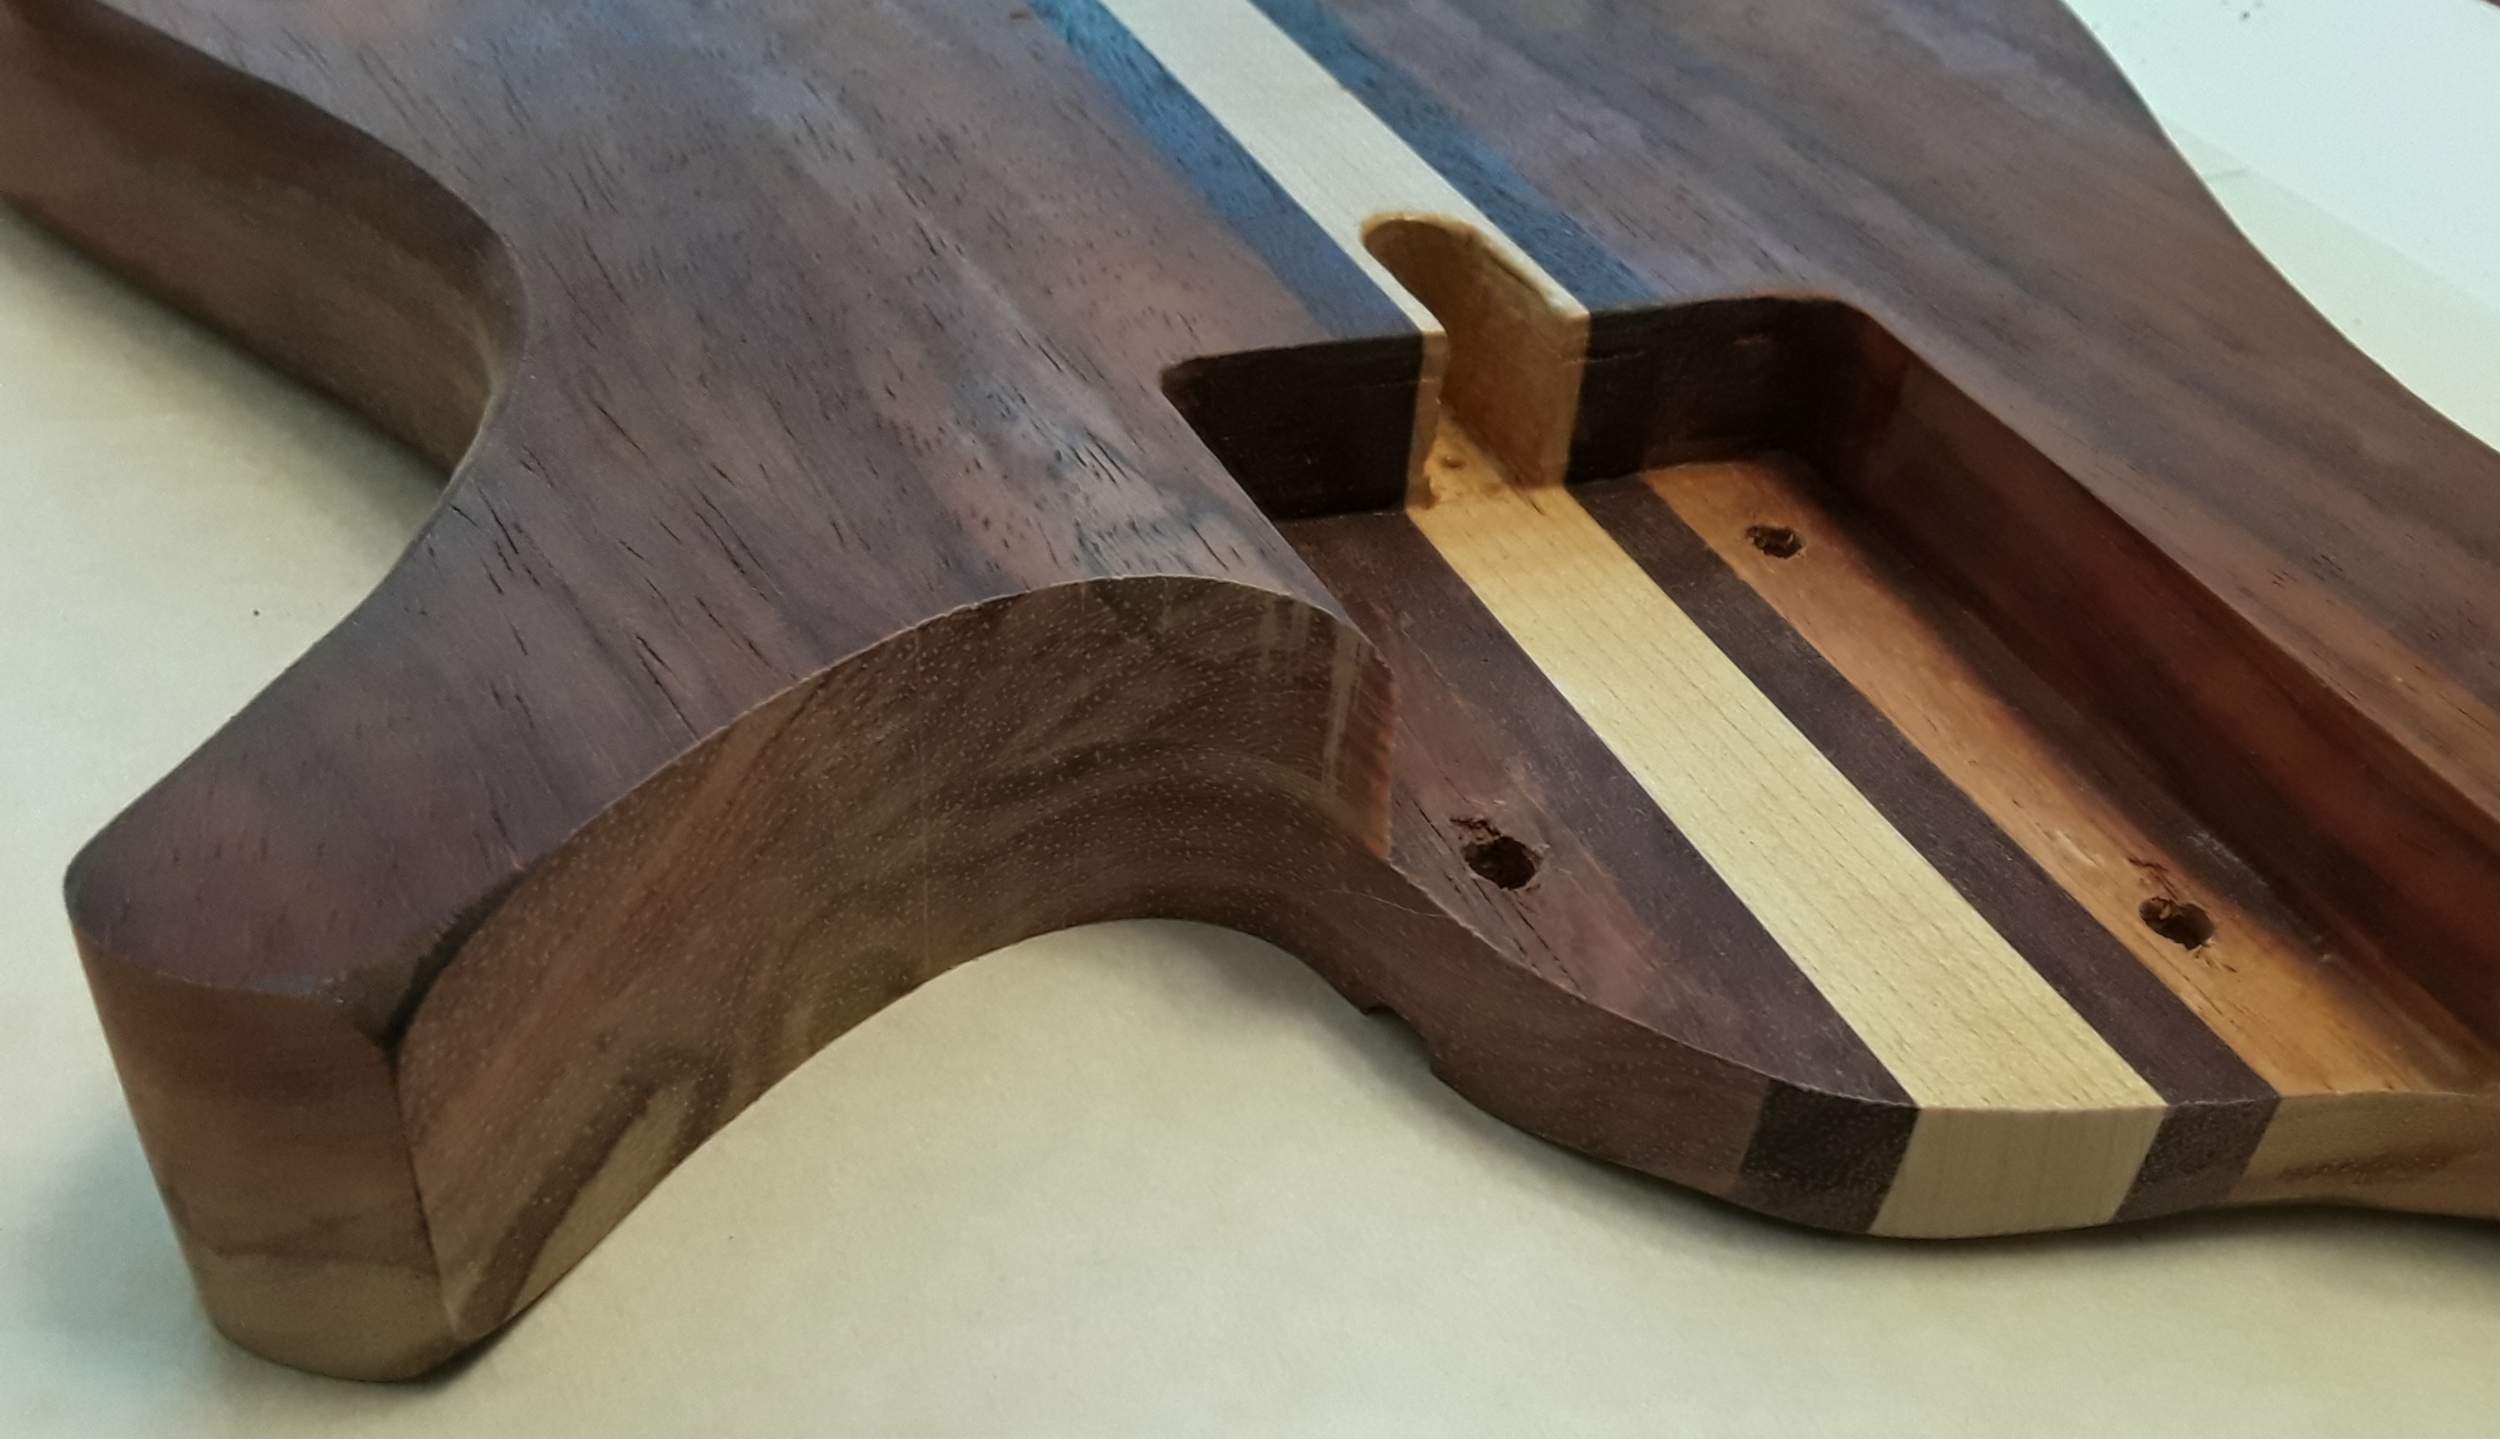
Close up of the cutaway and reshaped pocket edge.

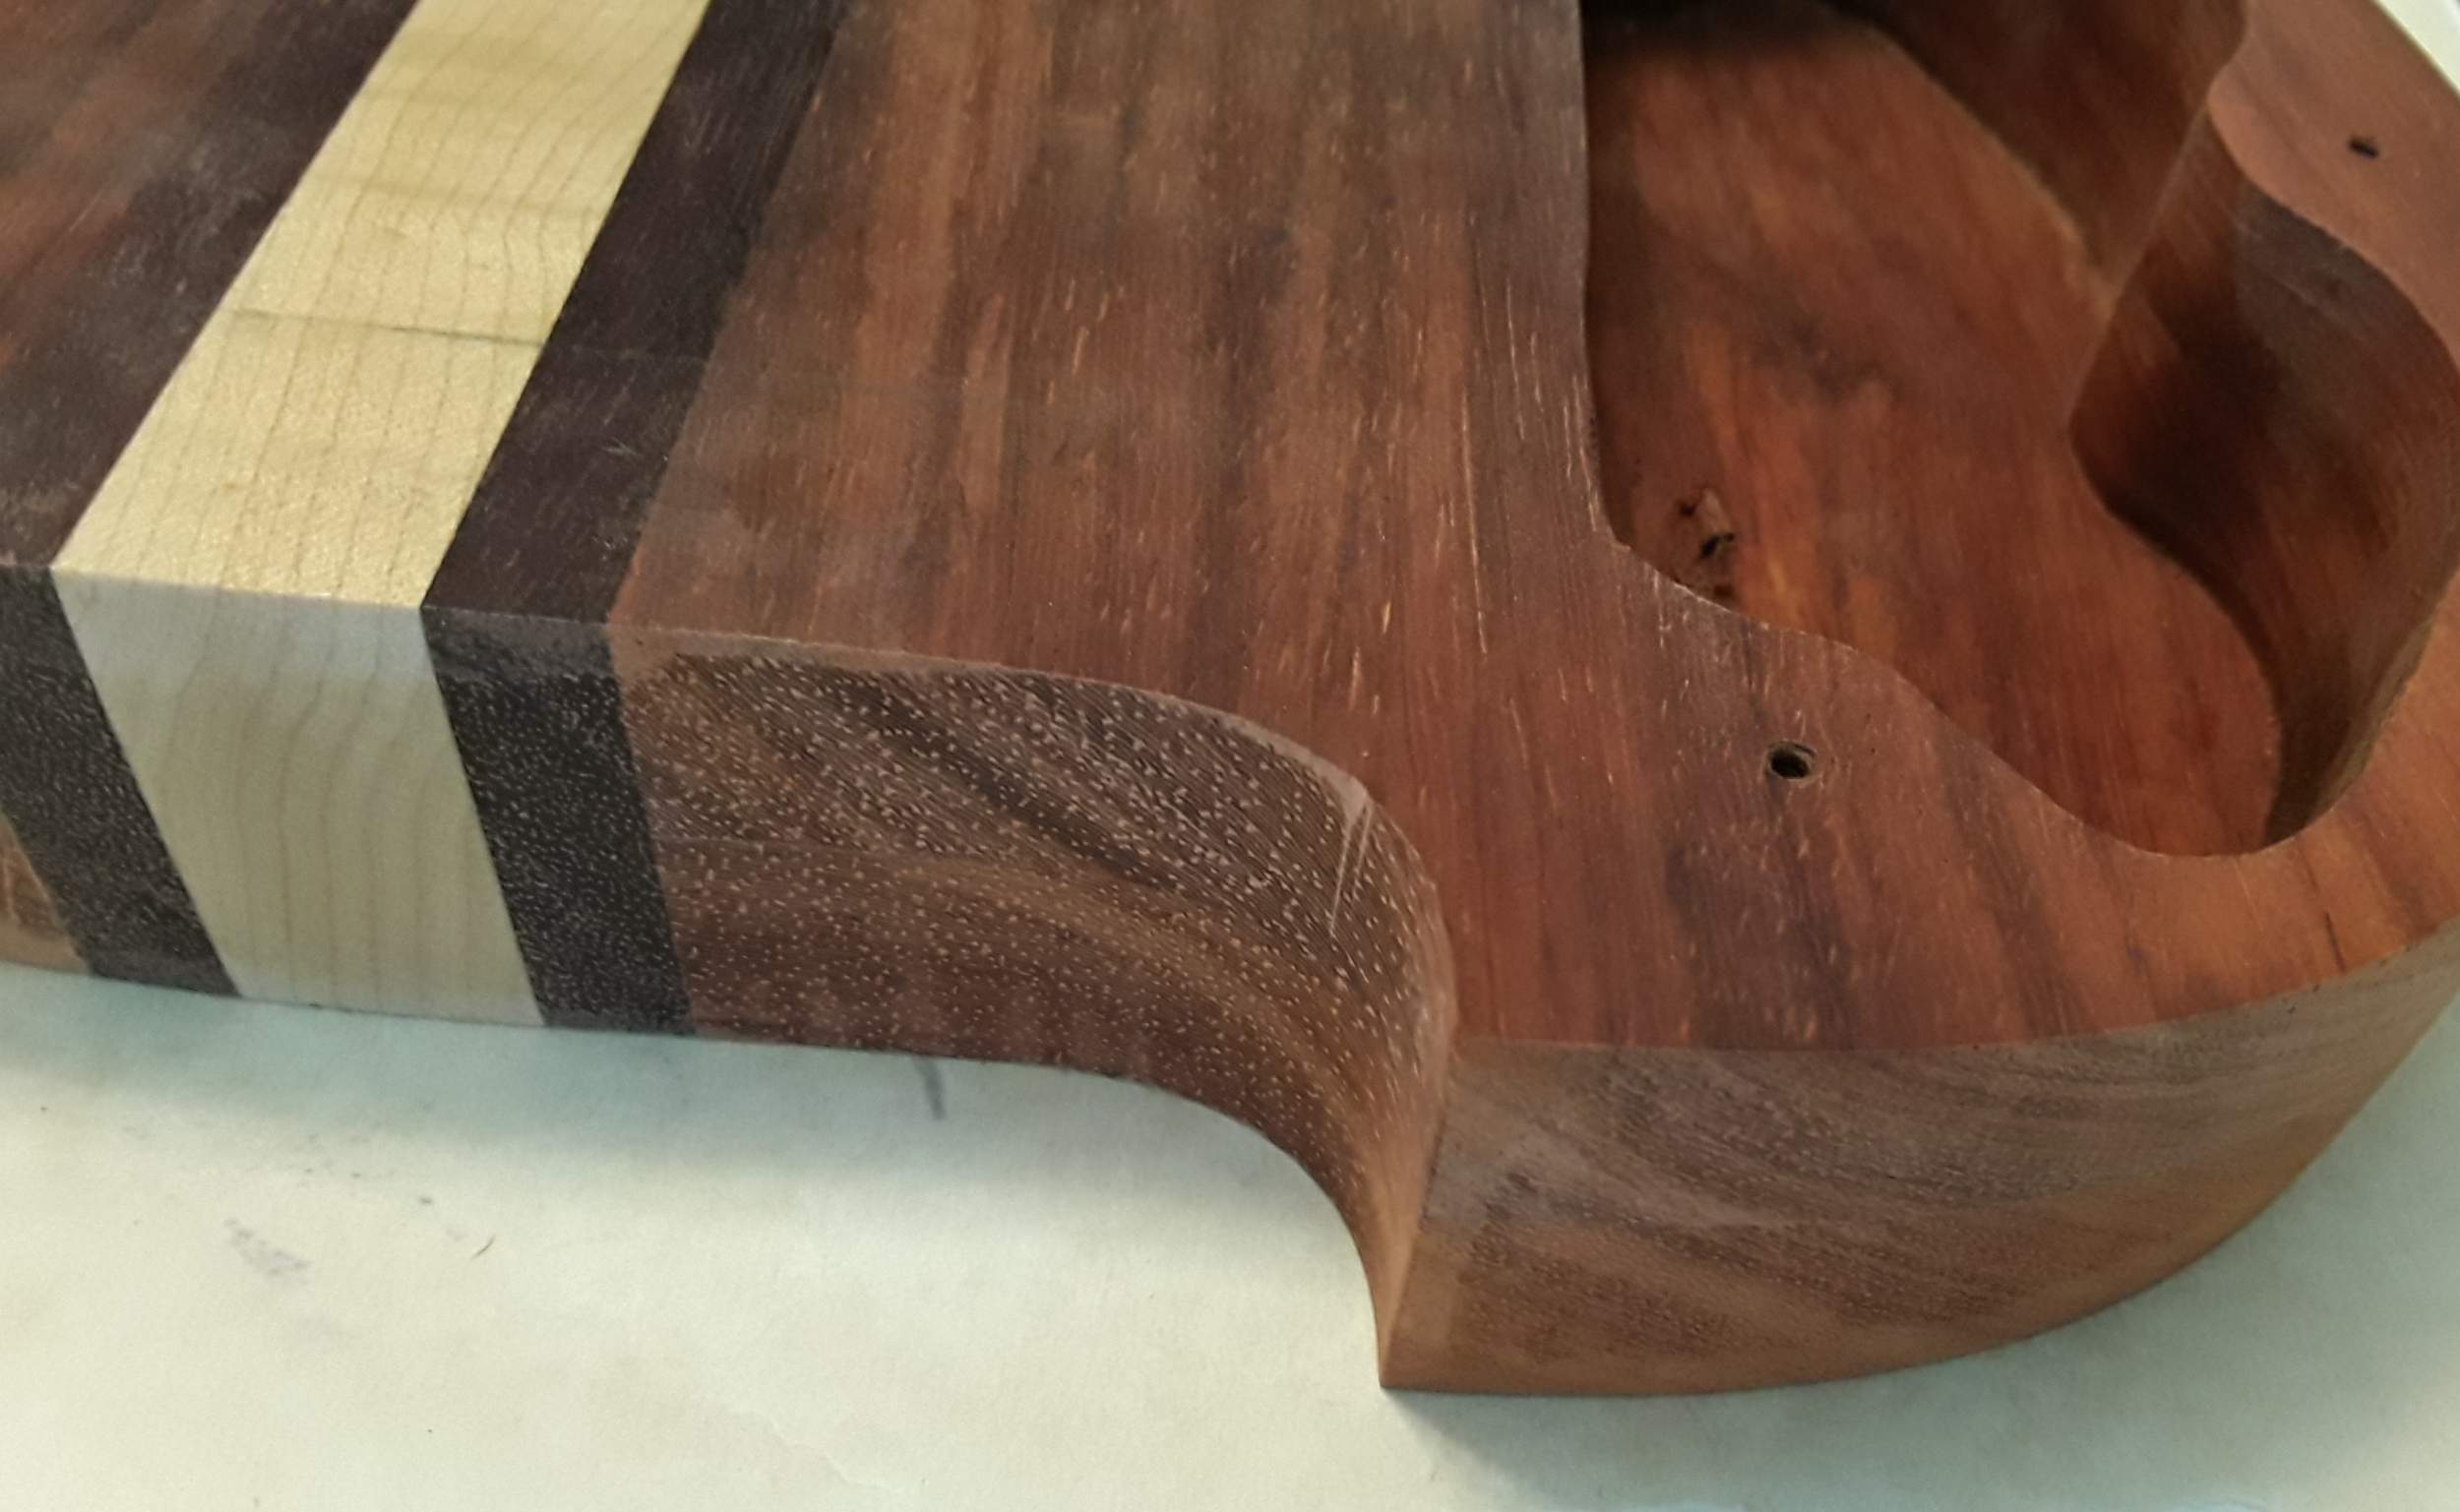
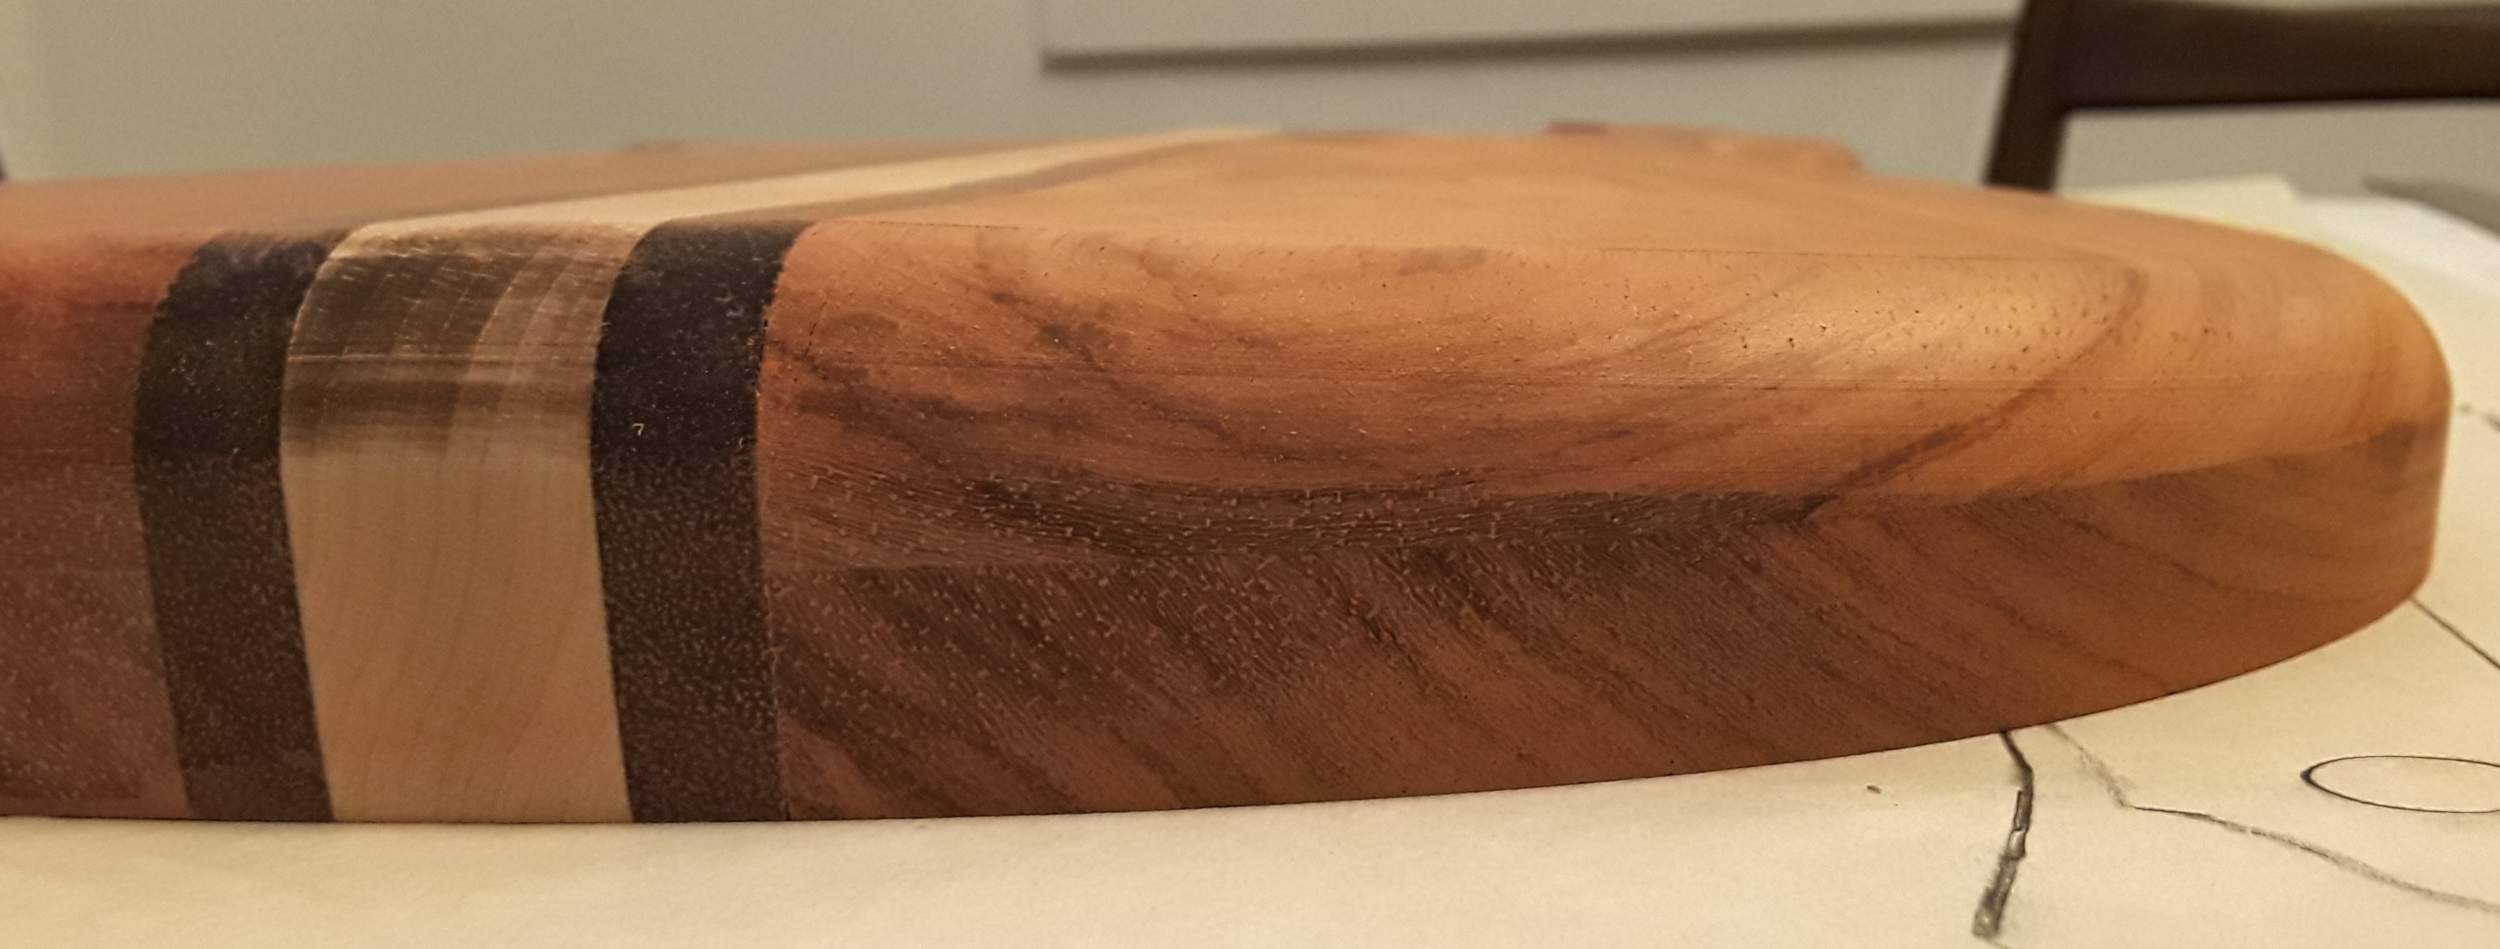
Butt.

Another angle showing my butt.
 
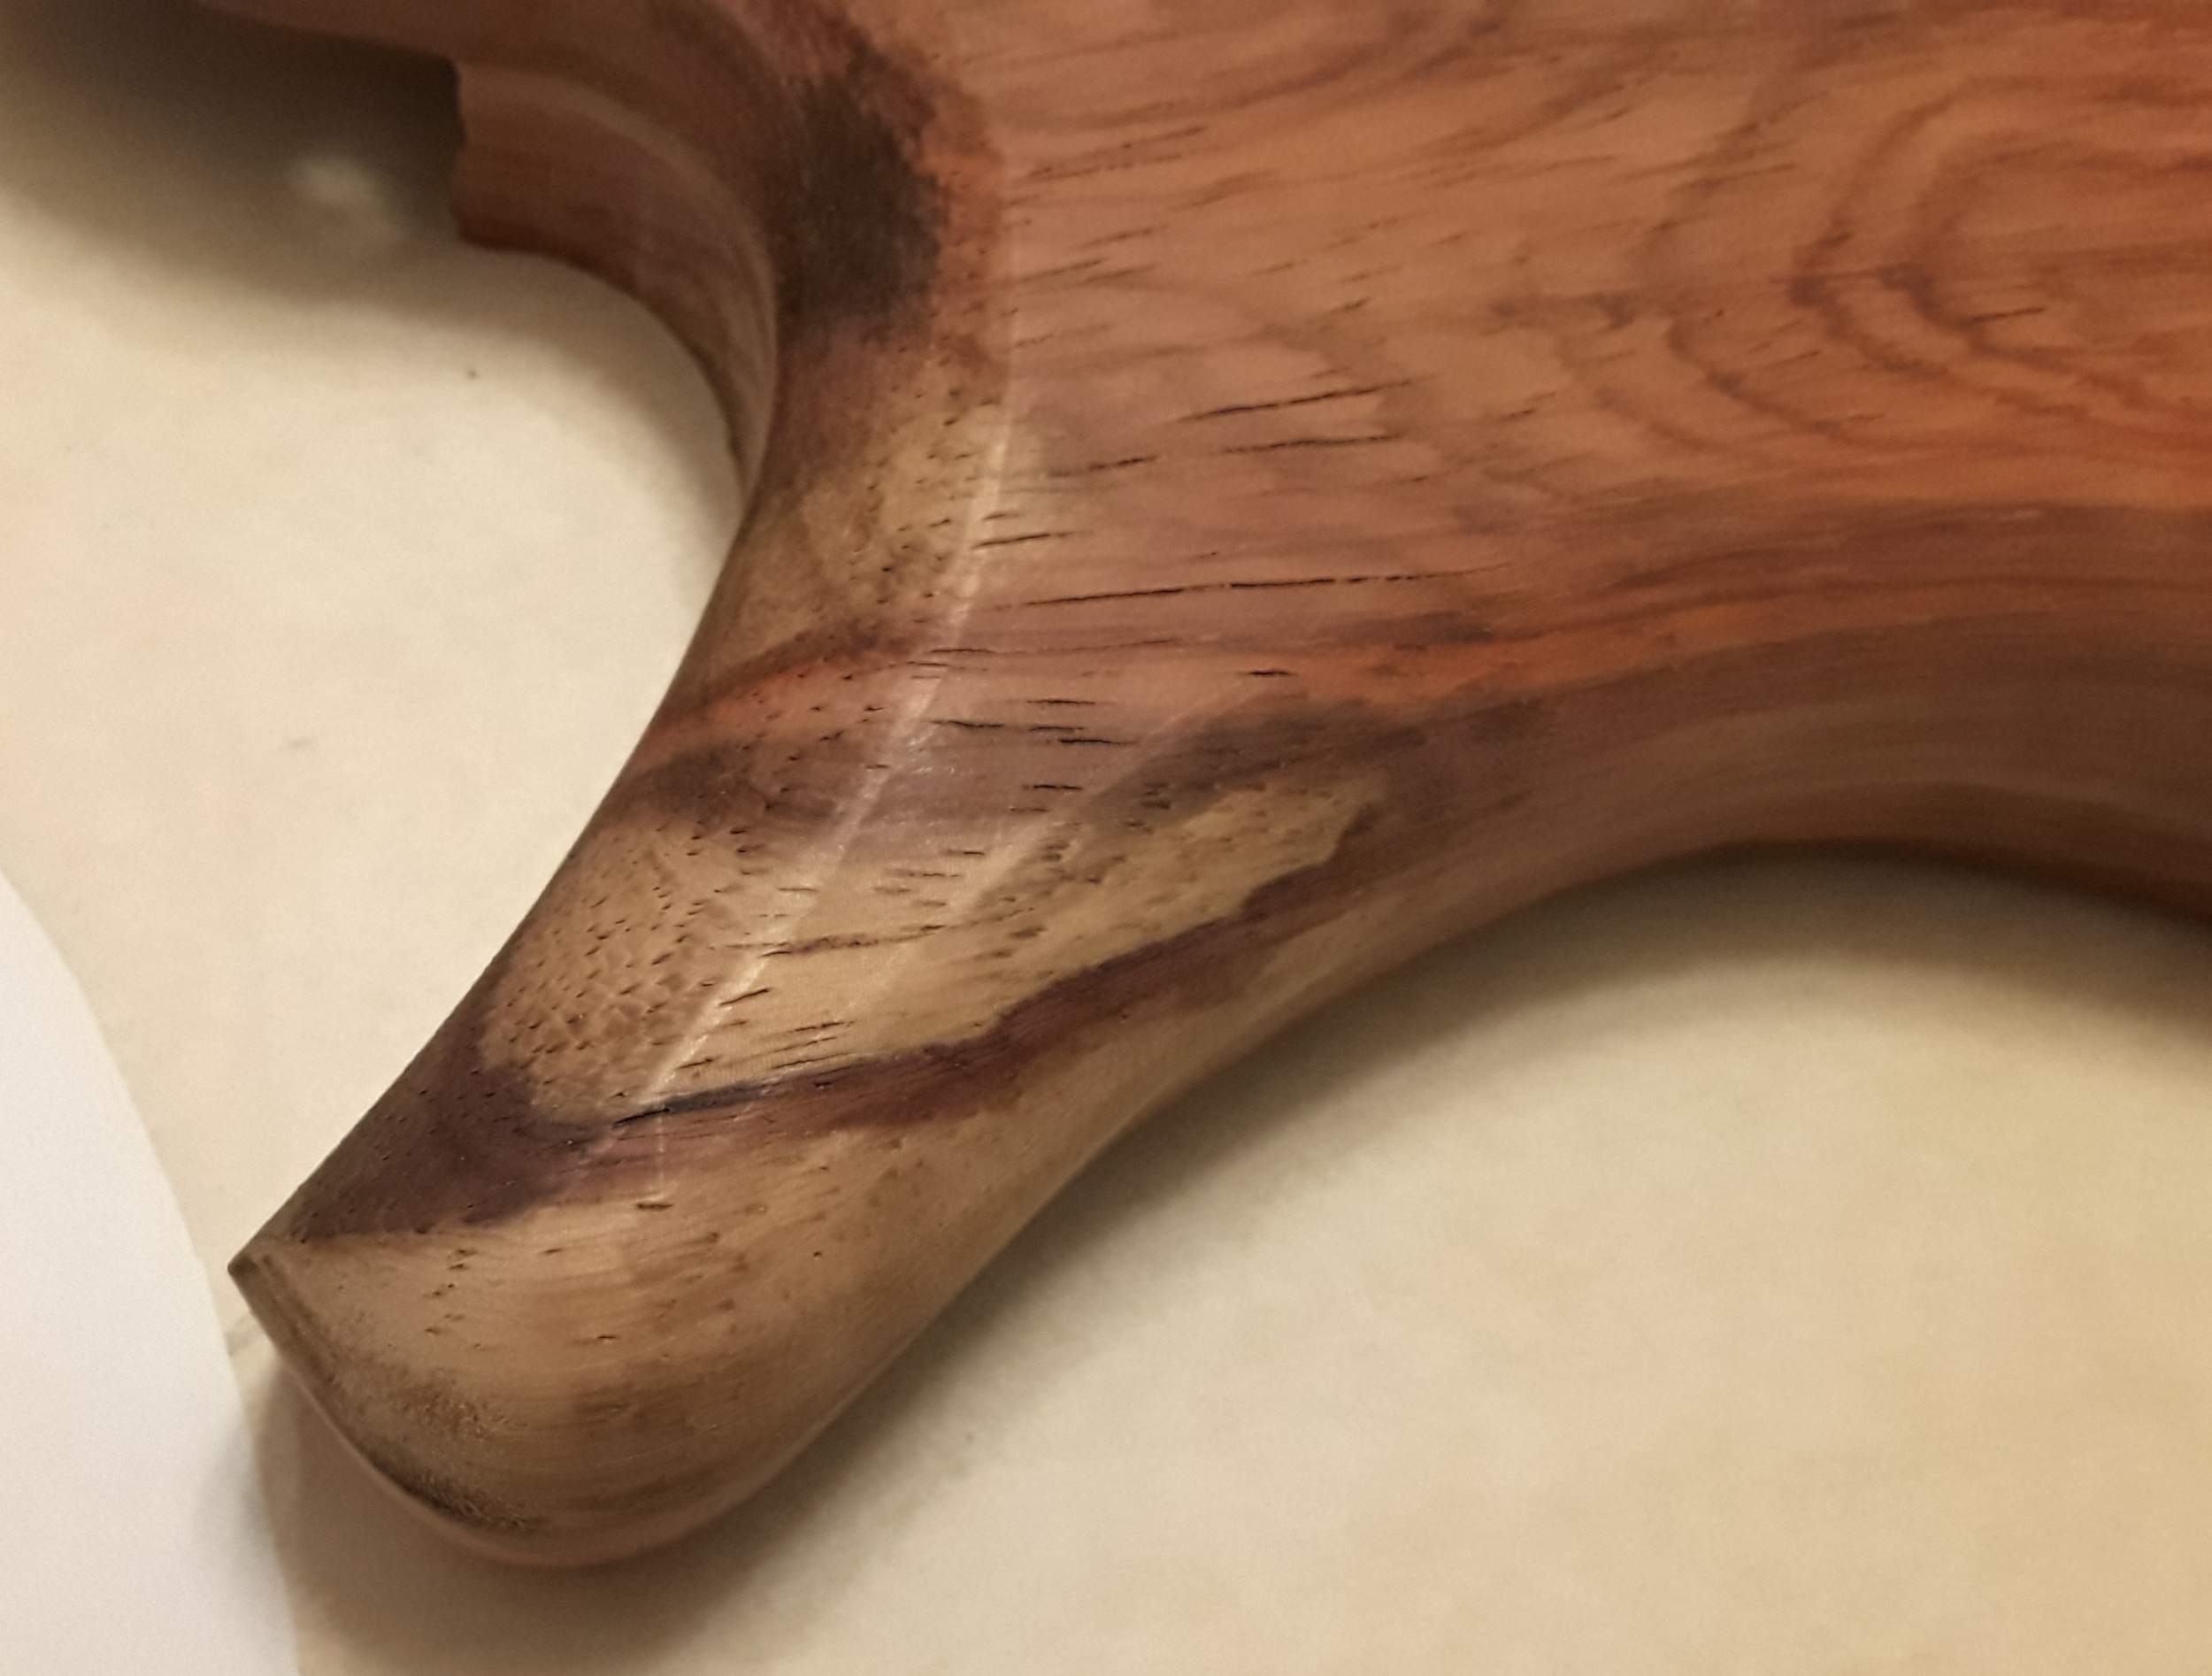
I did a few steps this morning. I set up my spindle sander and smoothed out the sides enough to be routed cleanly. Here's the lower cutaway and edges of the neck pocket.

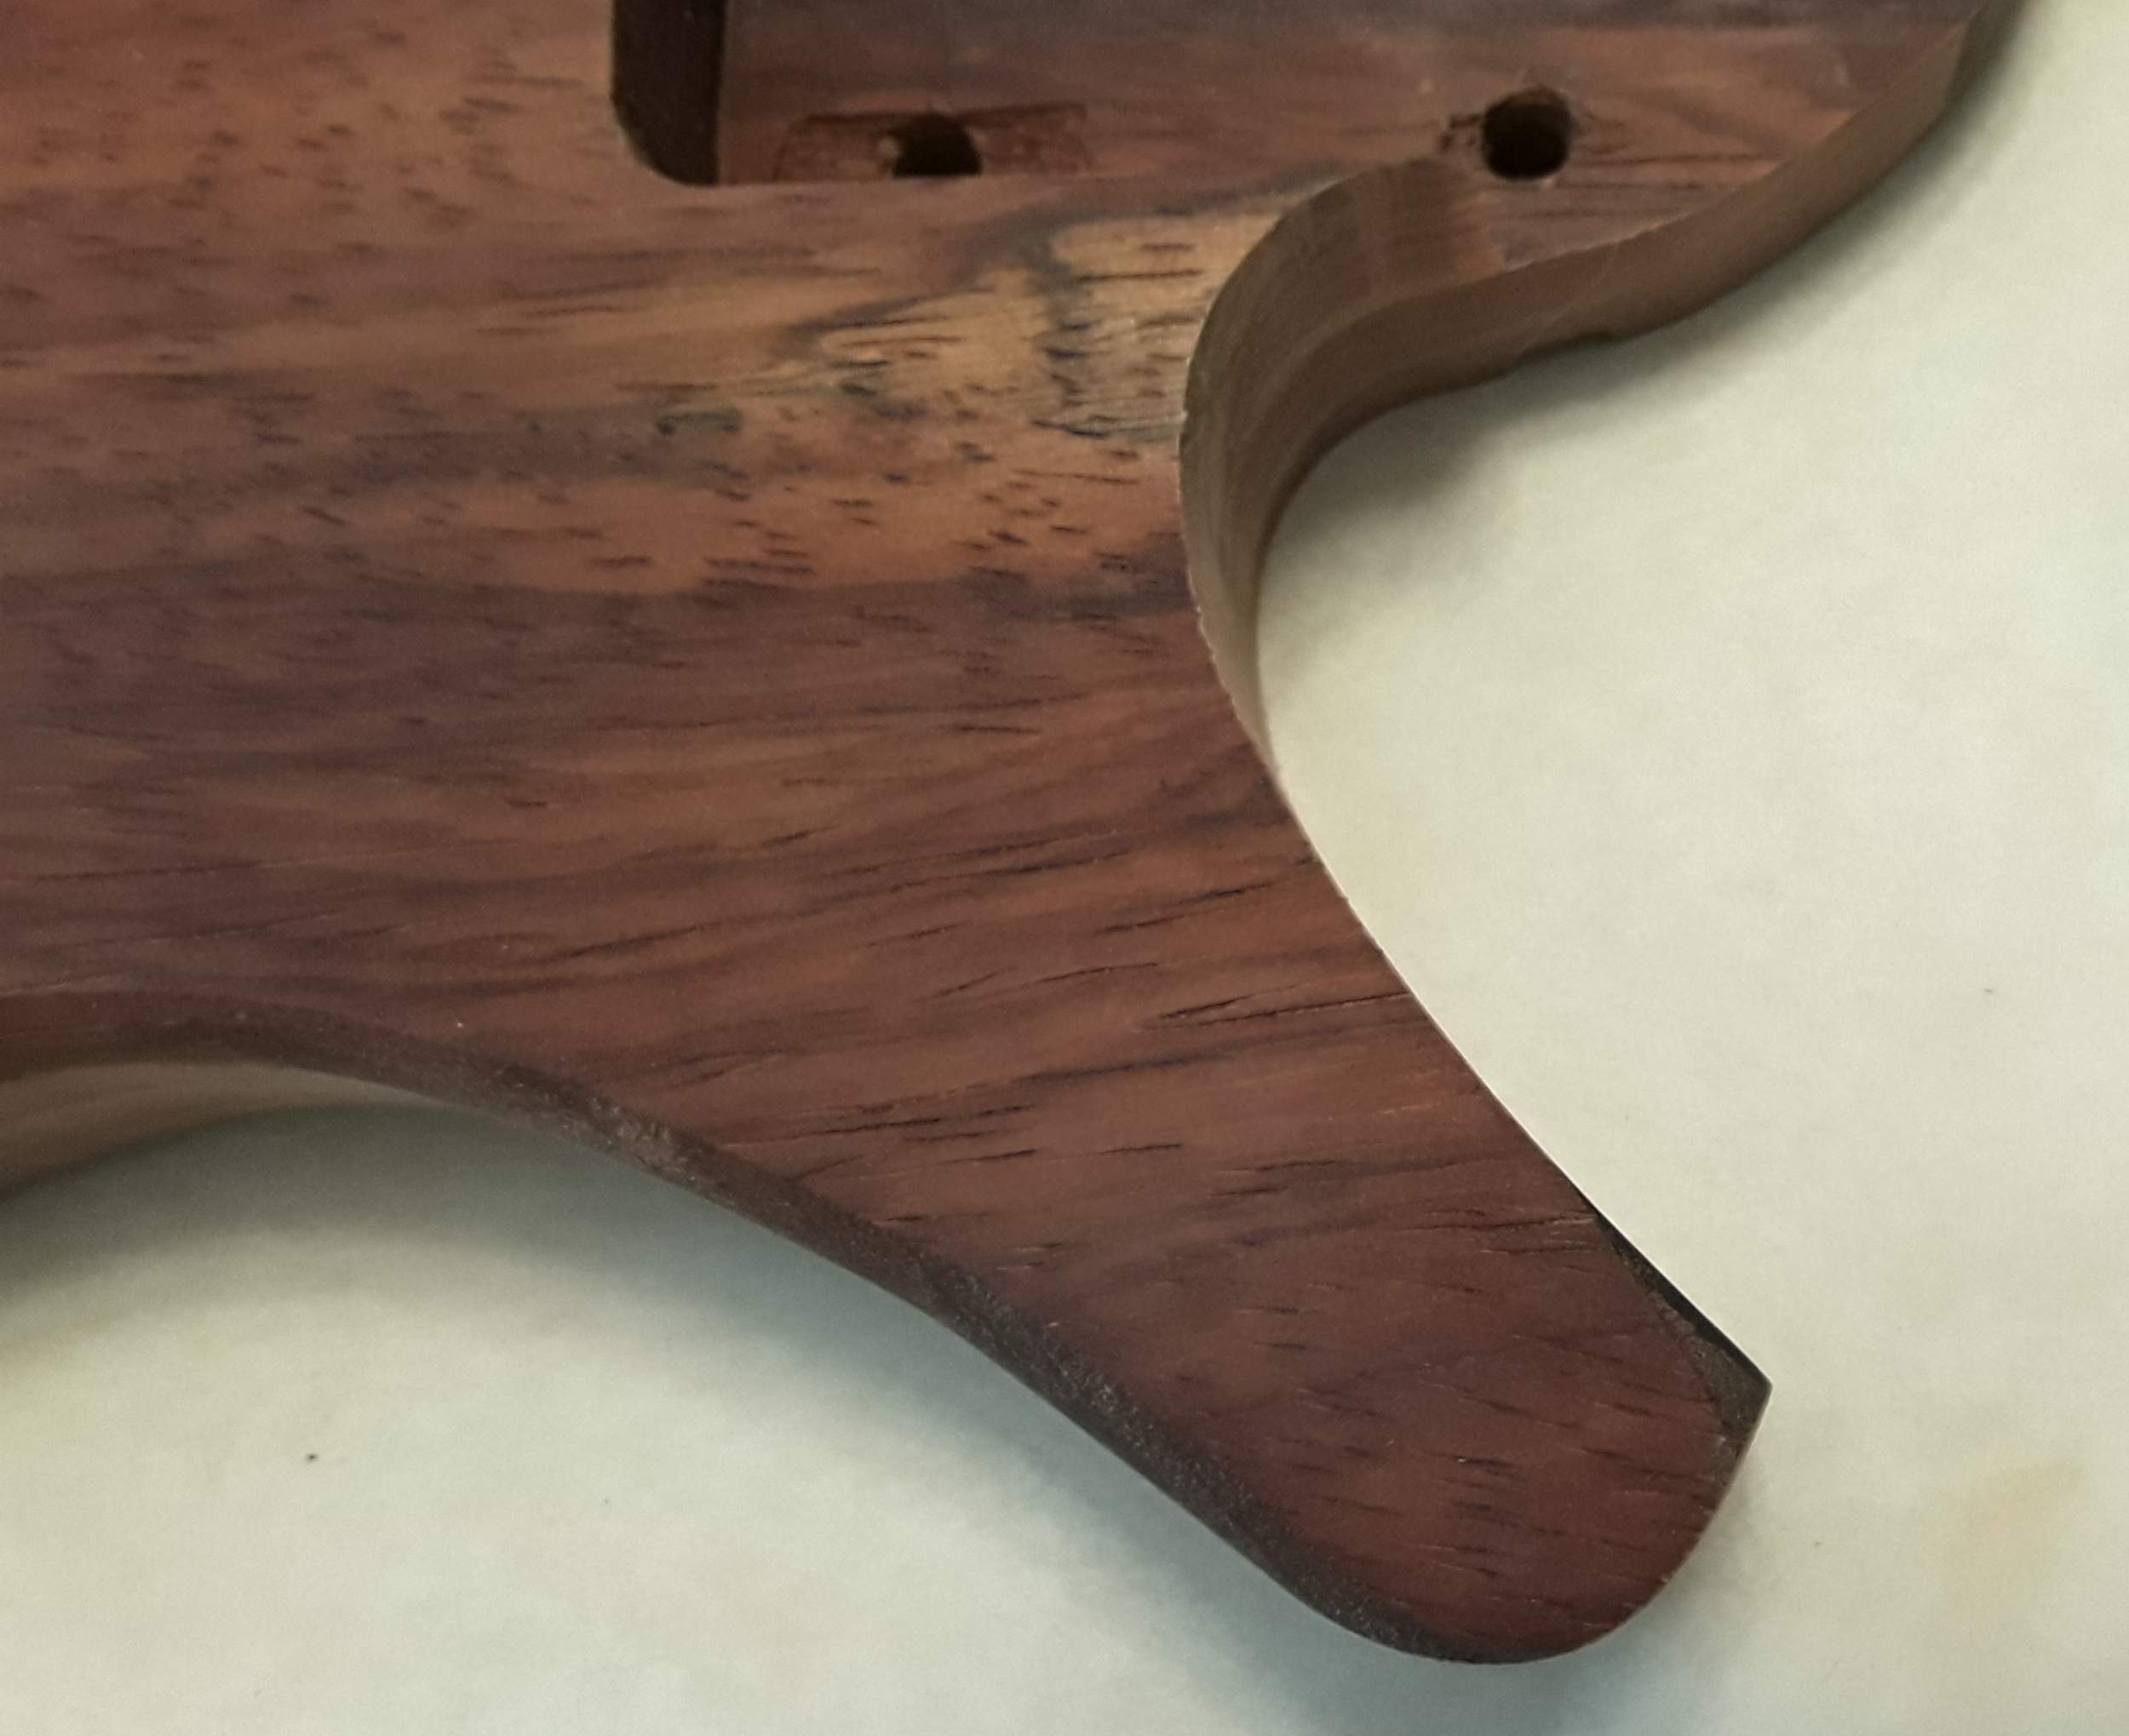
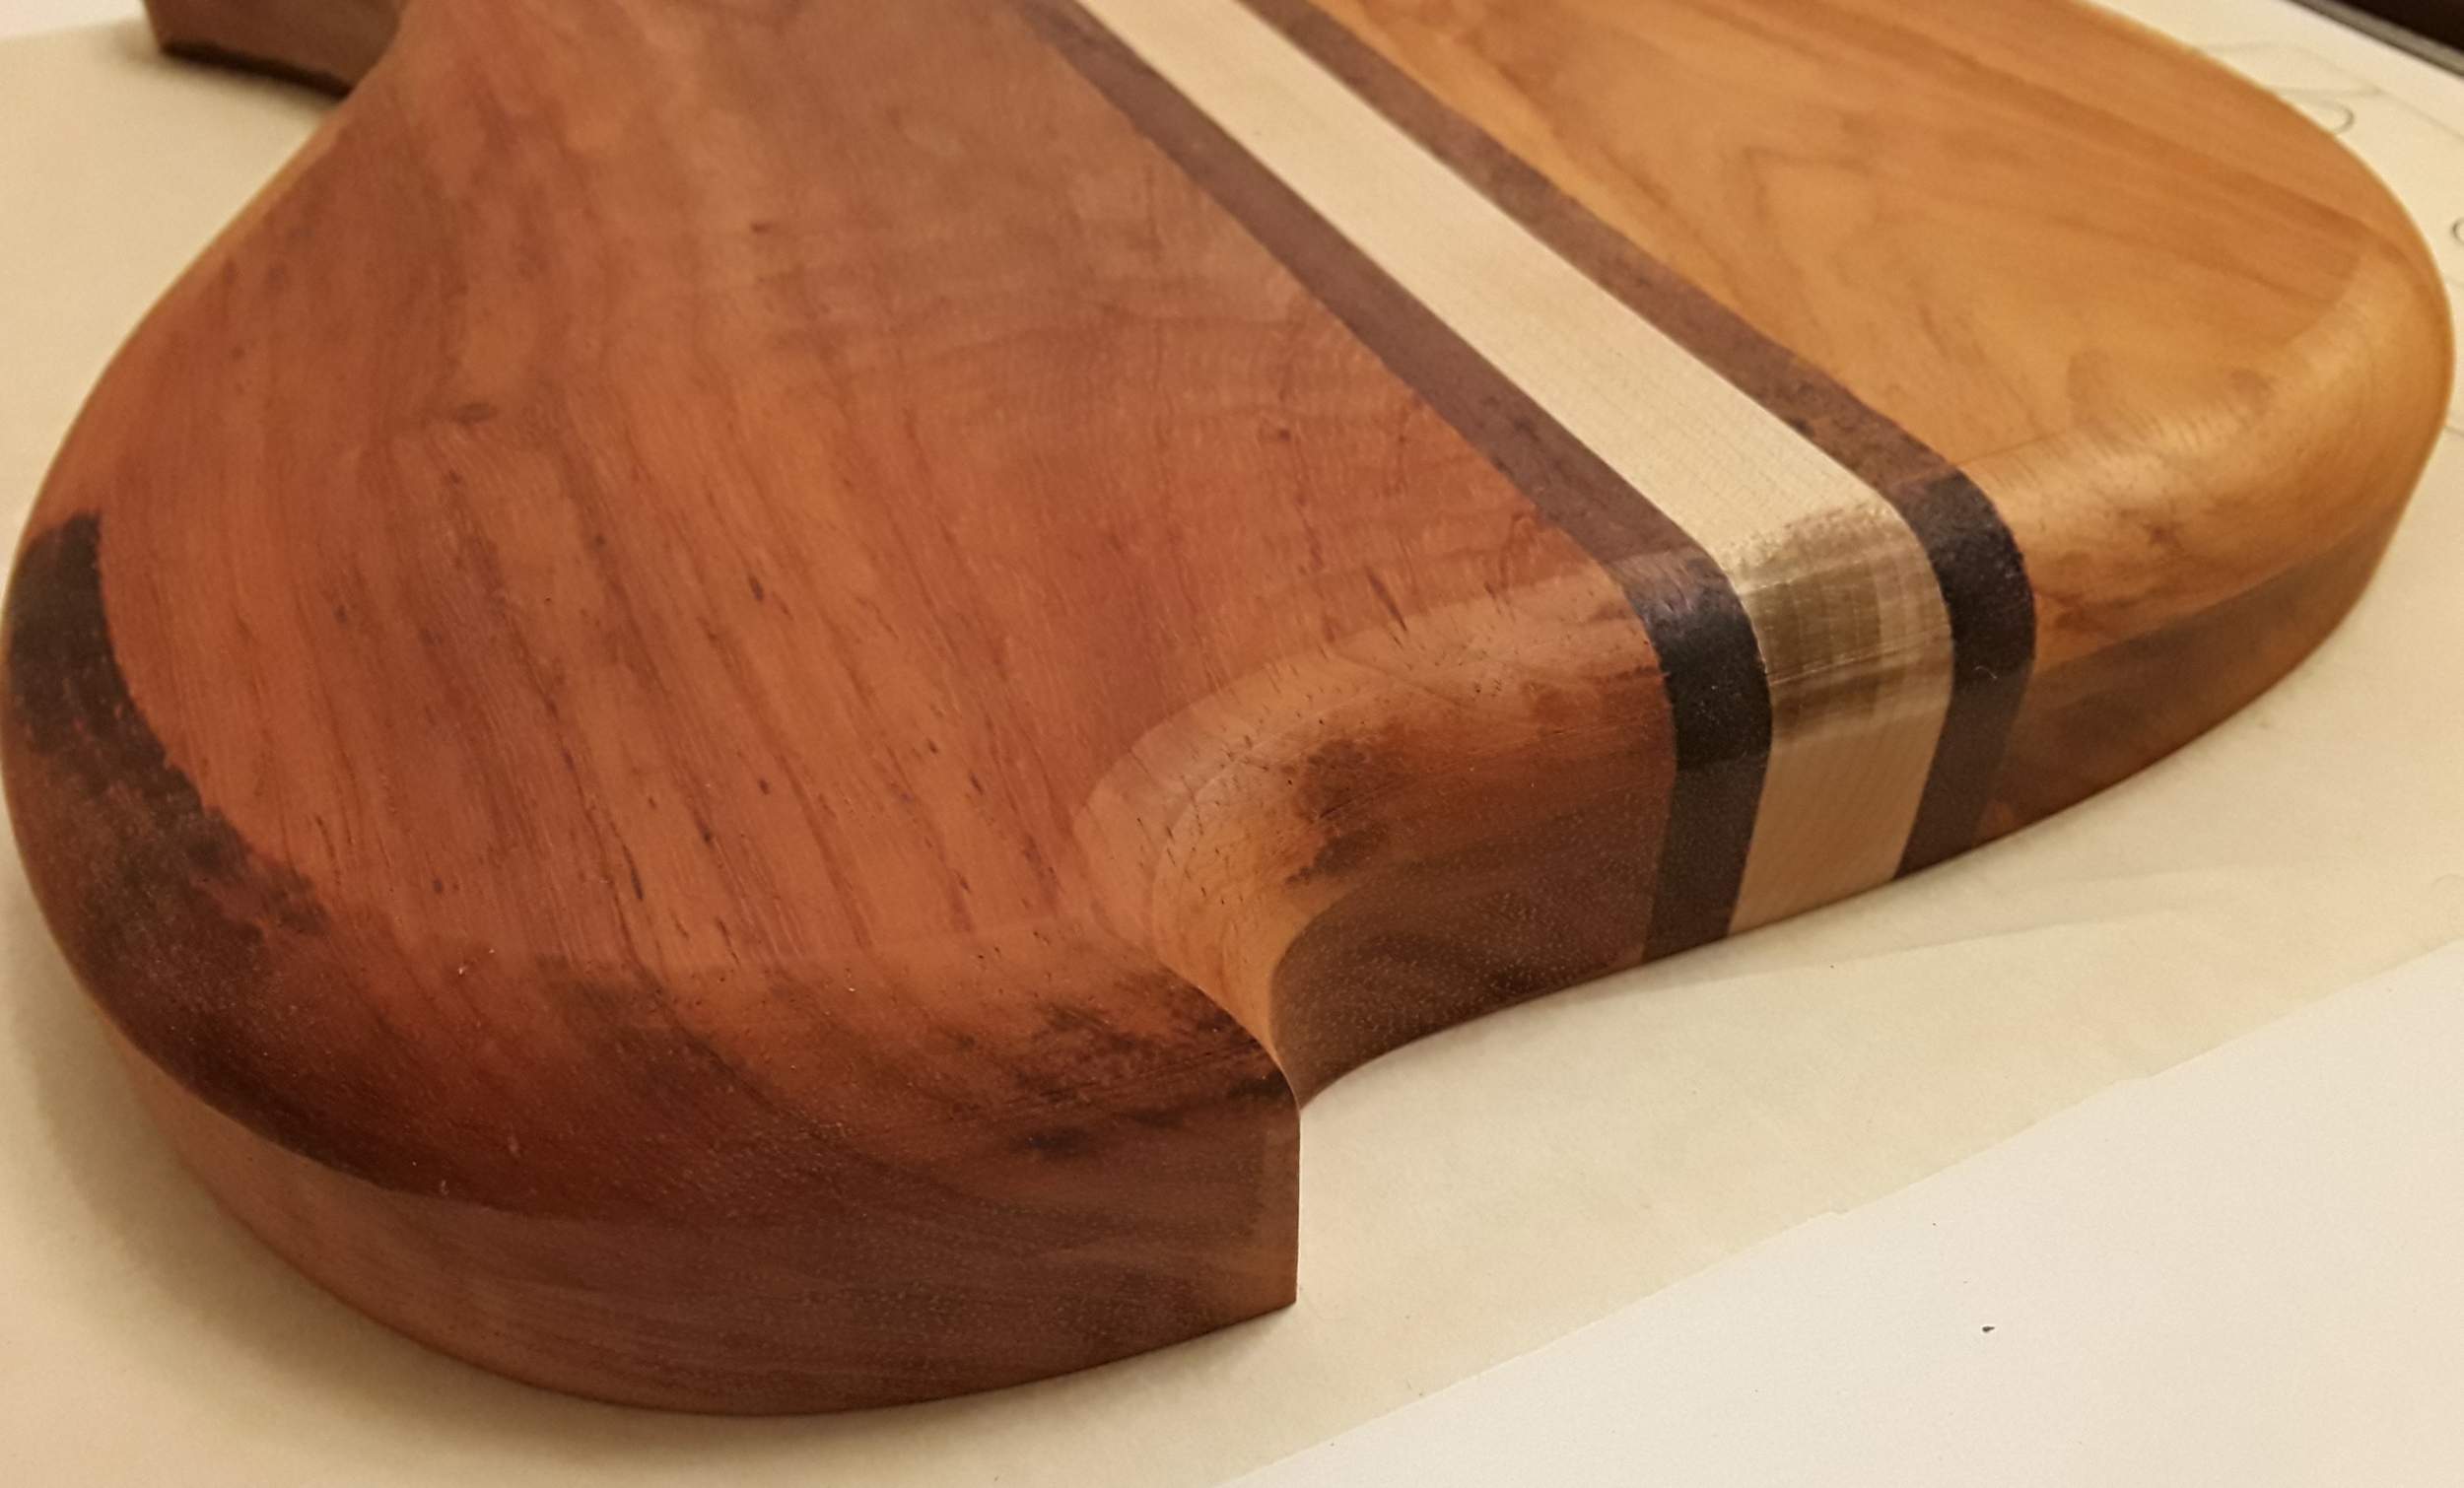
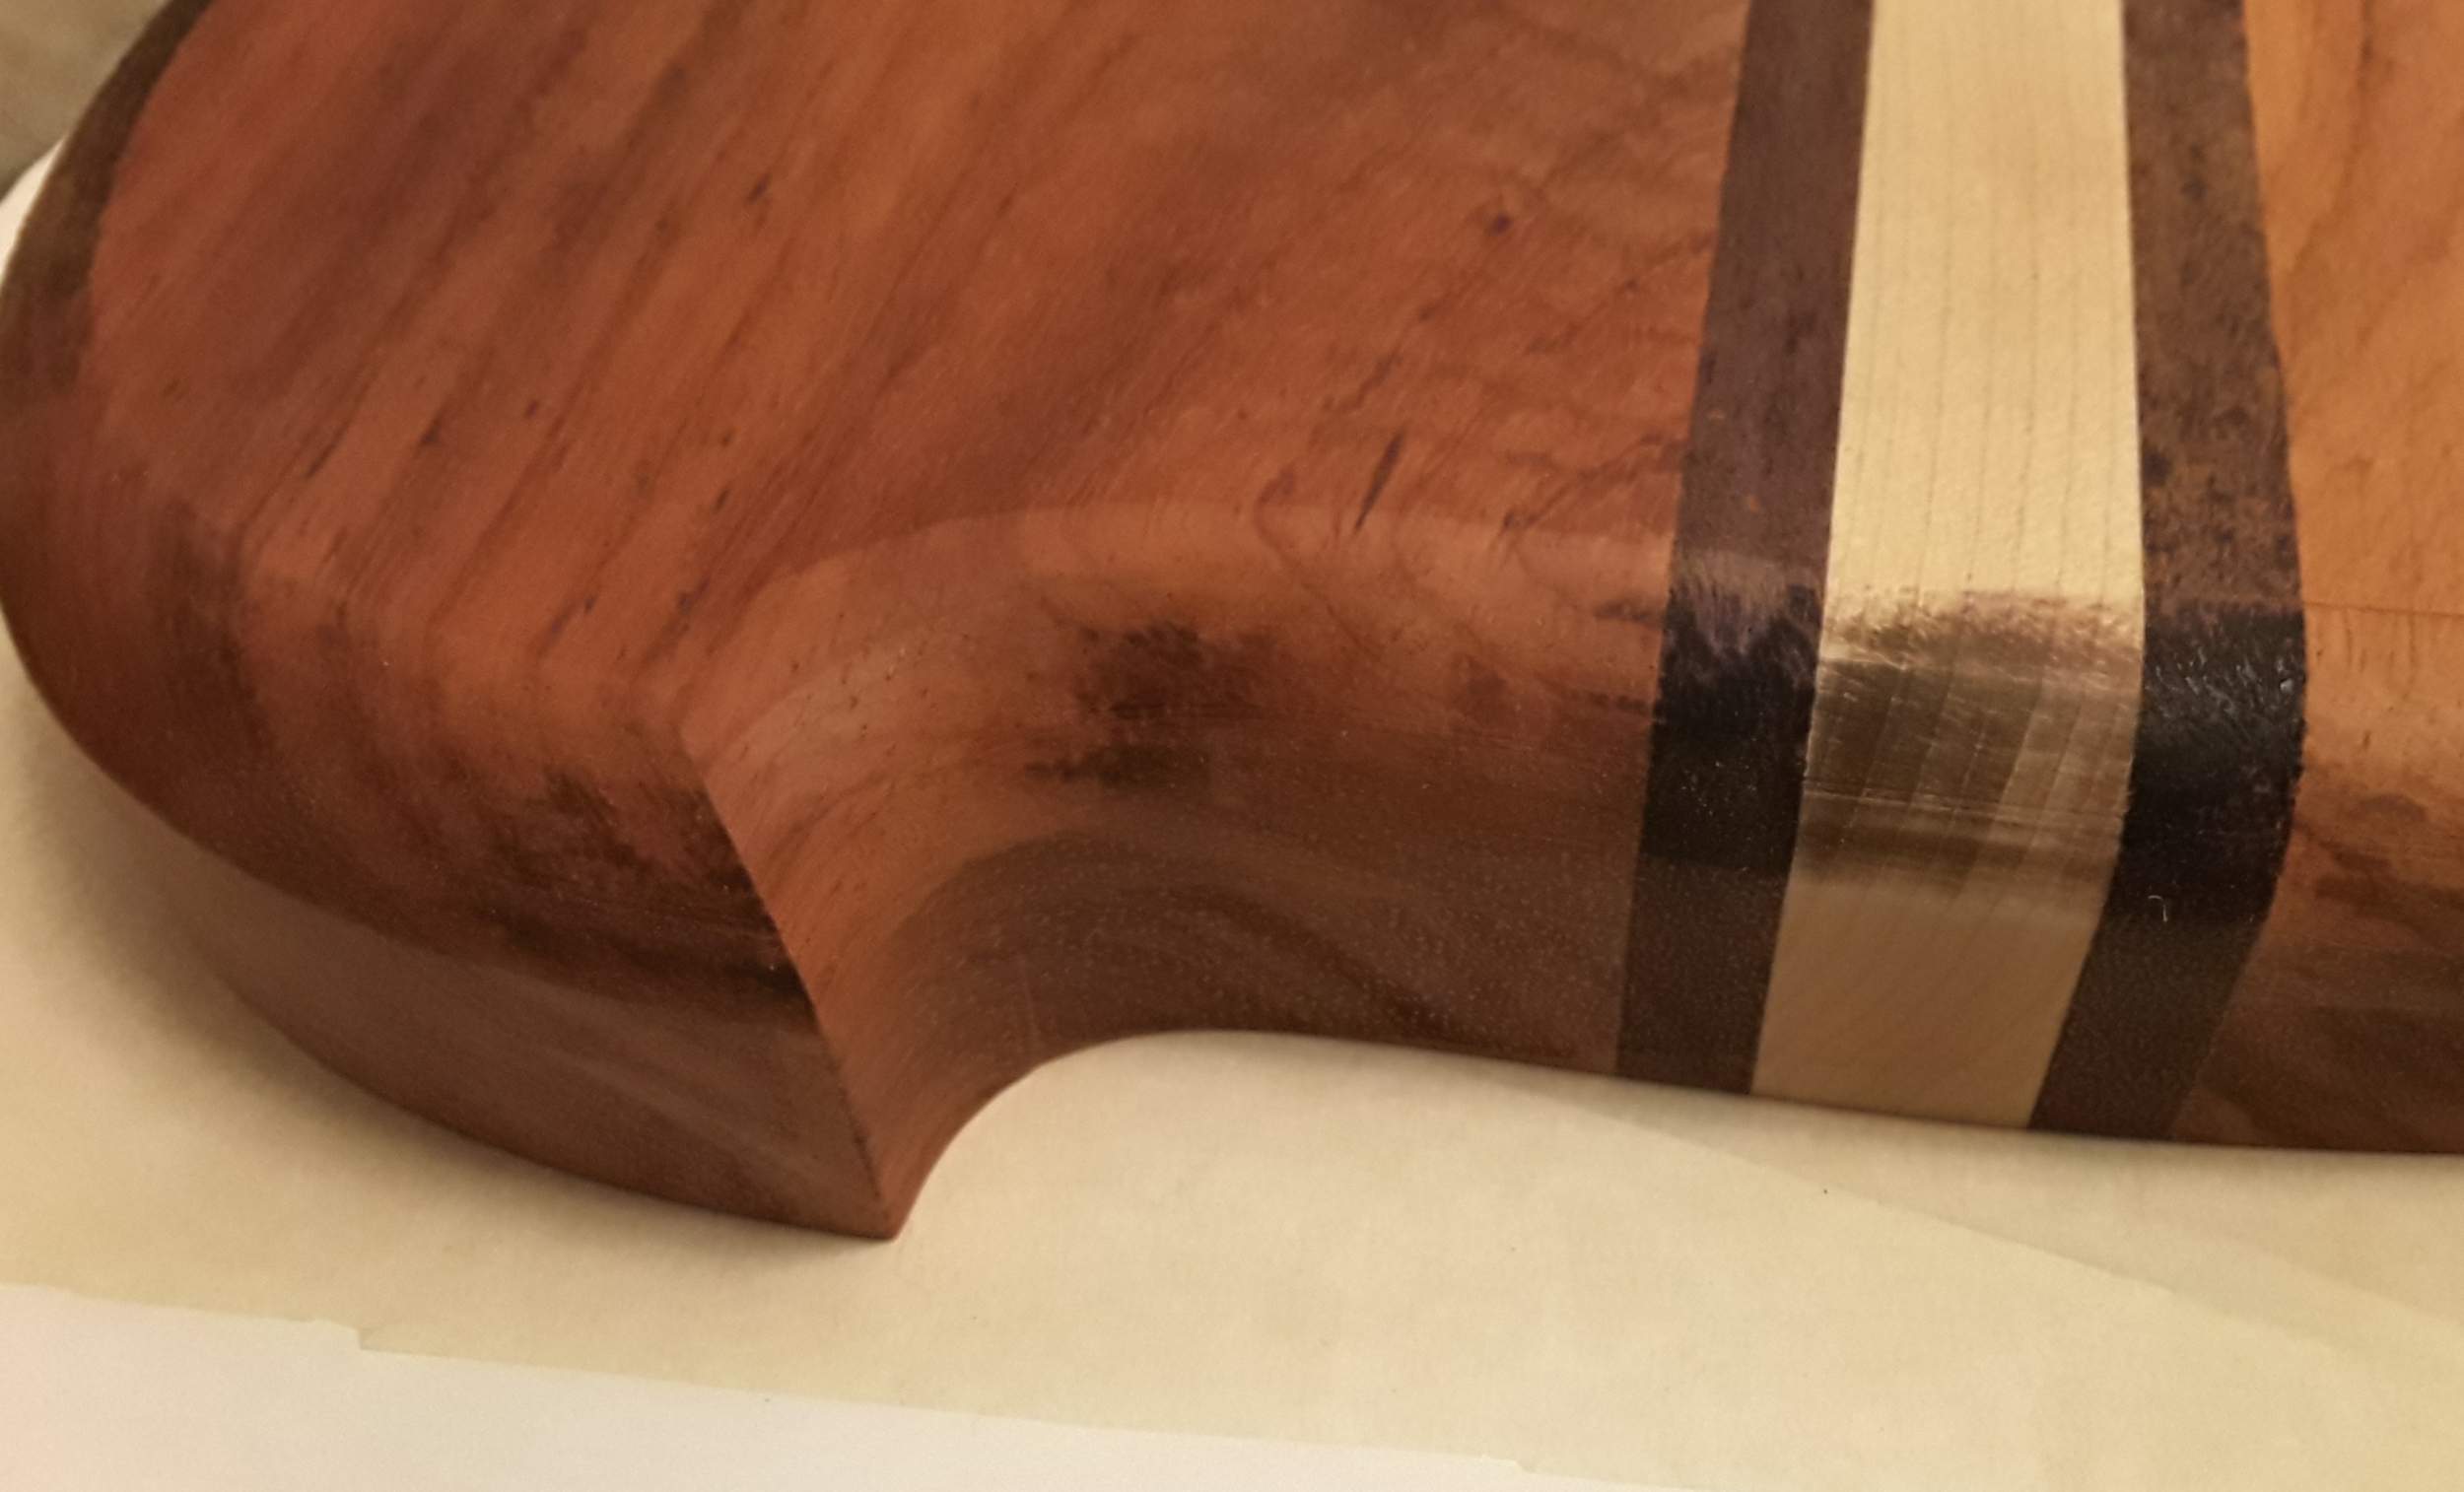
I gave the lower horn a little point to reference the tail point and scroll point.

Here's the tail cleaned up and the curve smoothed into existing curves in the body.

I also took some close measurements of the neck to see what I'm dealing with. Over time, it developed some backbow. I was not able to get it perfectly flat with clamping, so I decided to put it in my neck jig and plane both the front and back flat. It took a lot to get the bow out through routing. Enough that I almost broke through the fingerboard to the side dots.

I also flattened the back of the neck so the heel and back of headstock were level again.

The headstock had been routed thicker on one side than the other, and with the little bit of twist my routing removed, the effect became really pronounced. :D
I'll rout this flat before putting down the padauk cap.

I'm being a little cavalier about this neck because I was initially on the fence about it's salvageability. Although the walnut is tempered, the neck has the grain running at an angle and has quite a bit of runout down the length toward the headstock. It appears to have curved and twisted slightly in line with the grain runout. If I need to, I'll whip up a new neck while freezing my backside off in my janky shed.
 
You are made of stronger stuff than I. It was just about 60 degrees when I was in my shop this morning working and could only spend about 1/2 hour there because I was literally shivering. I have a sneaking suspicion that your janky shed is likely colder than my janky garage.
It was only around -5 today (23F), so not too bad with layers. Yesterday I suffered, today I worked smarter not harder. :D I wore my thickest jeans with pajamas over top. Then t-shirt, flannel shirt, wool sweater, hoodie, larger wool sweater and toque (knit cap) with mechanix gloves. Warm enough to work for a couple of hours at a time, but I have a large pile of laundry now. :smug: And still somehow have padauk dust on my shins. o_O

I like the re-profiling so far:thumbsup:. Maybe work on the scroll next;)?
I have a couple of ideas, but nothing particularly clever. :)
 
Last edited:
I used to work in the cold all the time and throw a fit whenever anyone whined about it,..... Because they would also whine when it was 80. Or when it rained, or when it was windy, or when it was too bright, too cloudy, mud flurries, whatever.
But I've grown to hate the cold. And the more I think about how I hate it, the worse it gets. I've paid my cold weather dues. I would have no problem living in a place where 60F is considered chilly at this point.
Old man weather talk/
 
It was only around -5 today (23F), so not too bad with layers. Yesterday I suffered, today I worked smarter not harder. :D I wore my thickest jeans with pajamas over top. Then t-shirt, flannel shirt, wool sweater, hoodie, larger wool sweater and toque (knit cap) with mechanix gloves. Warm enough to work for a couple of hours at a time, but I have a large pile of laundry now. :smug: And still somehow have padauk dust on my shins. o_O
Like this?
christmas-story.gif
 
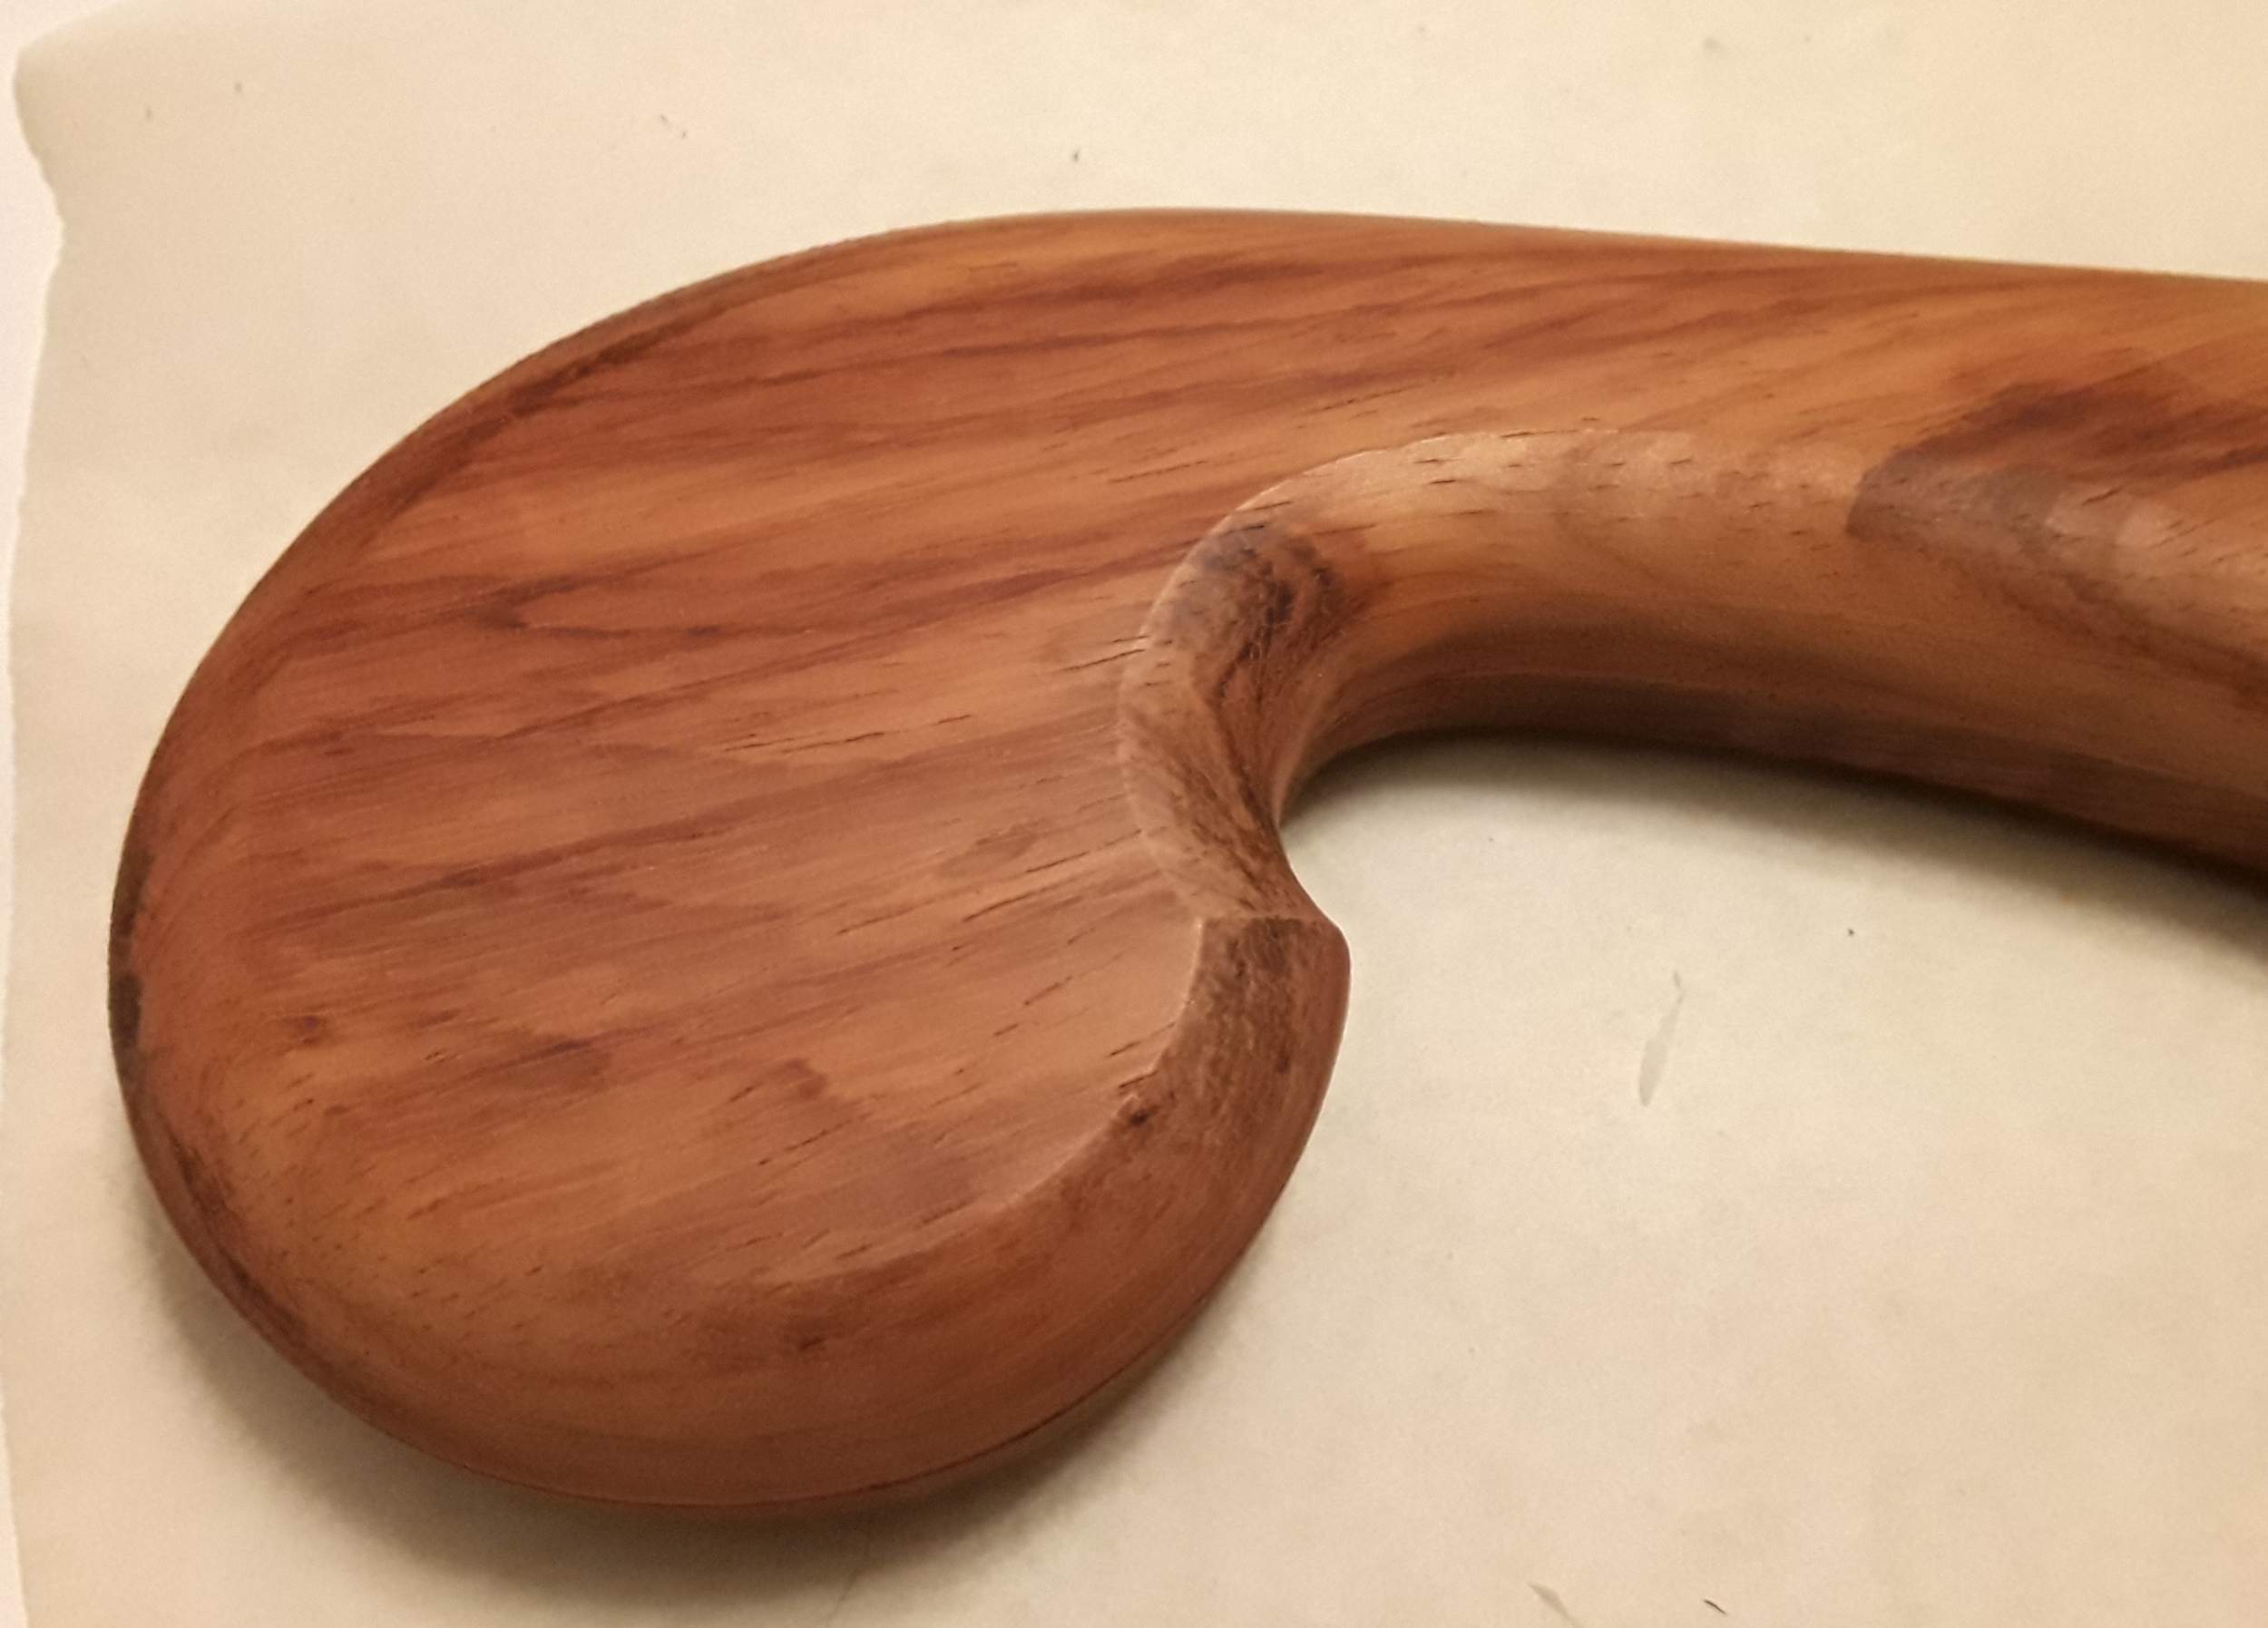
Getting the outline done and sanded flush meant I could rout the radius into the upper half of the back of the body and then rout the roundover.

Here's the radius in the body. I'll still do a bit of a belly carve once the top is done.

I used a 5/8" radius bit and took it nearly all the way flush for pillowy softness.

The little point on the lower horn came out nice. :woot:

So did the back of the scroll. I have some carving ideas but I'm happy to poach yours if they are any good. :smug:

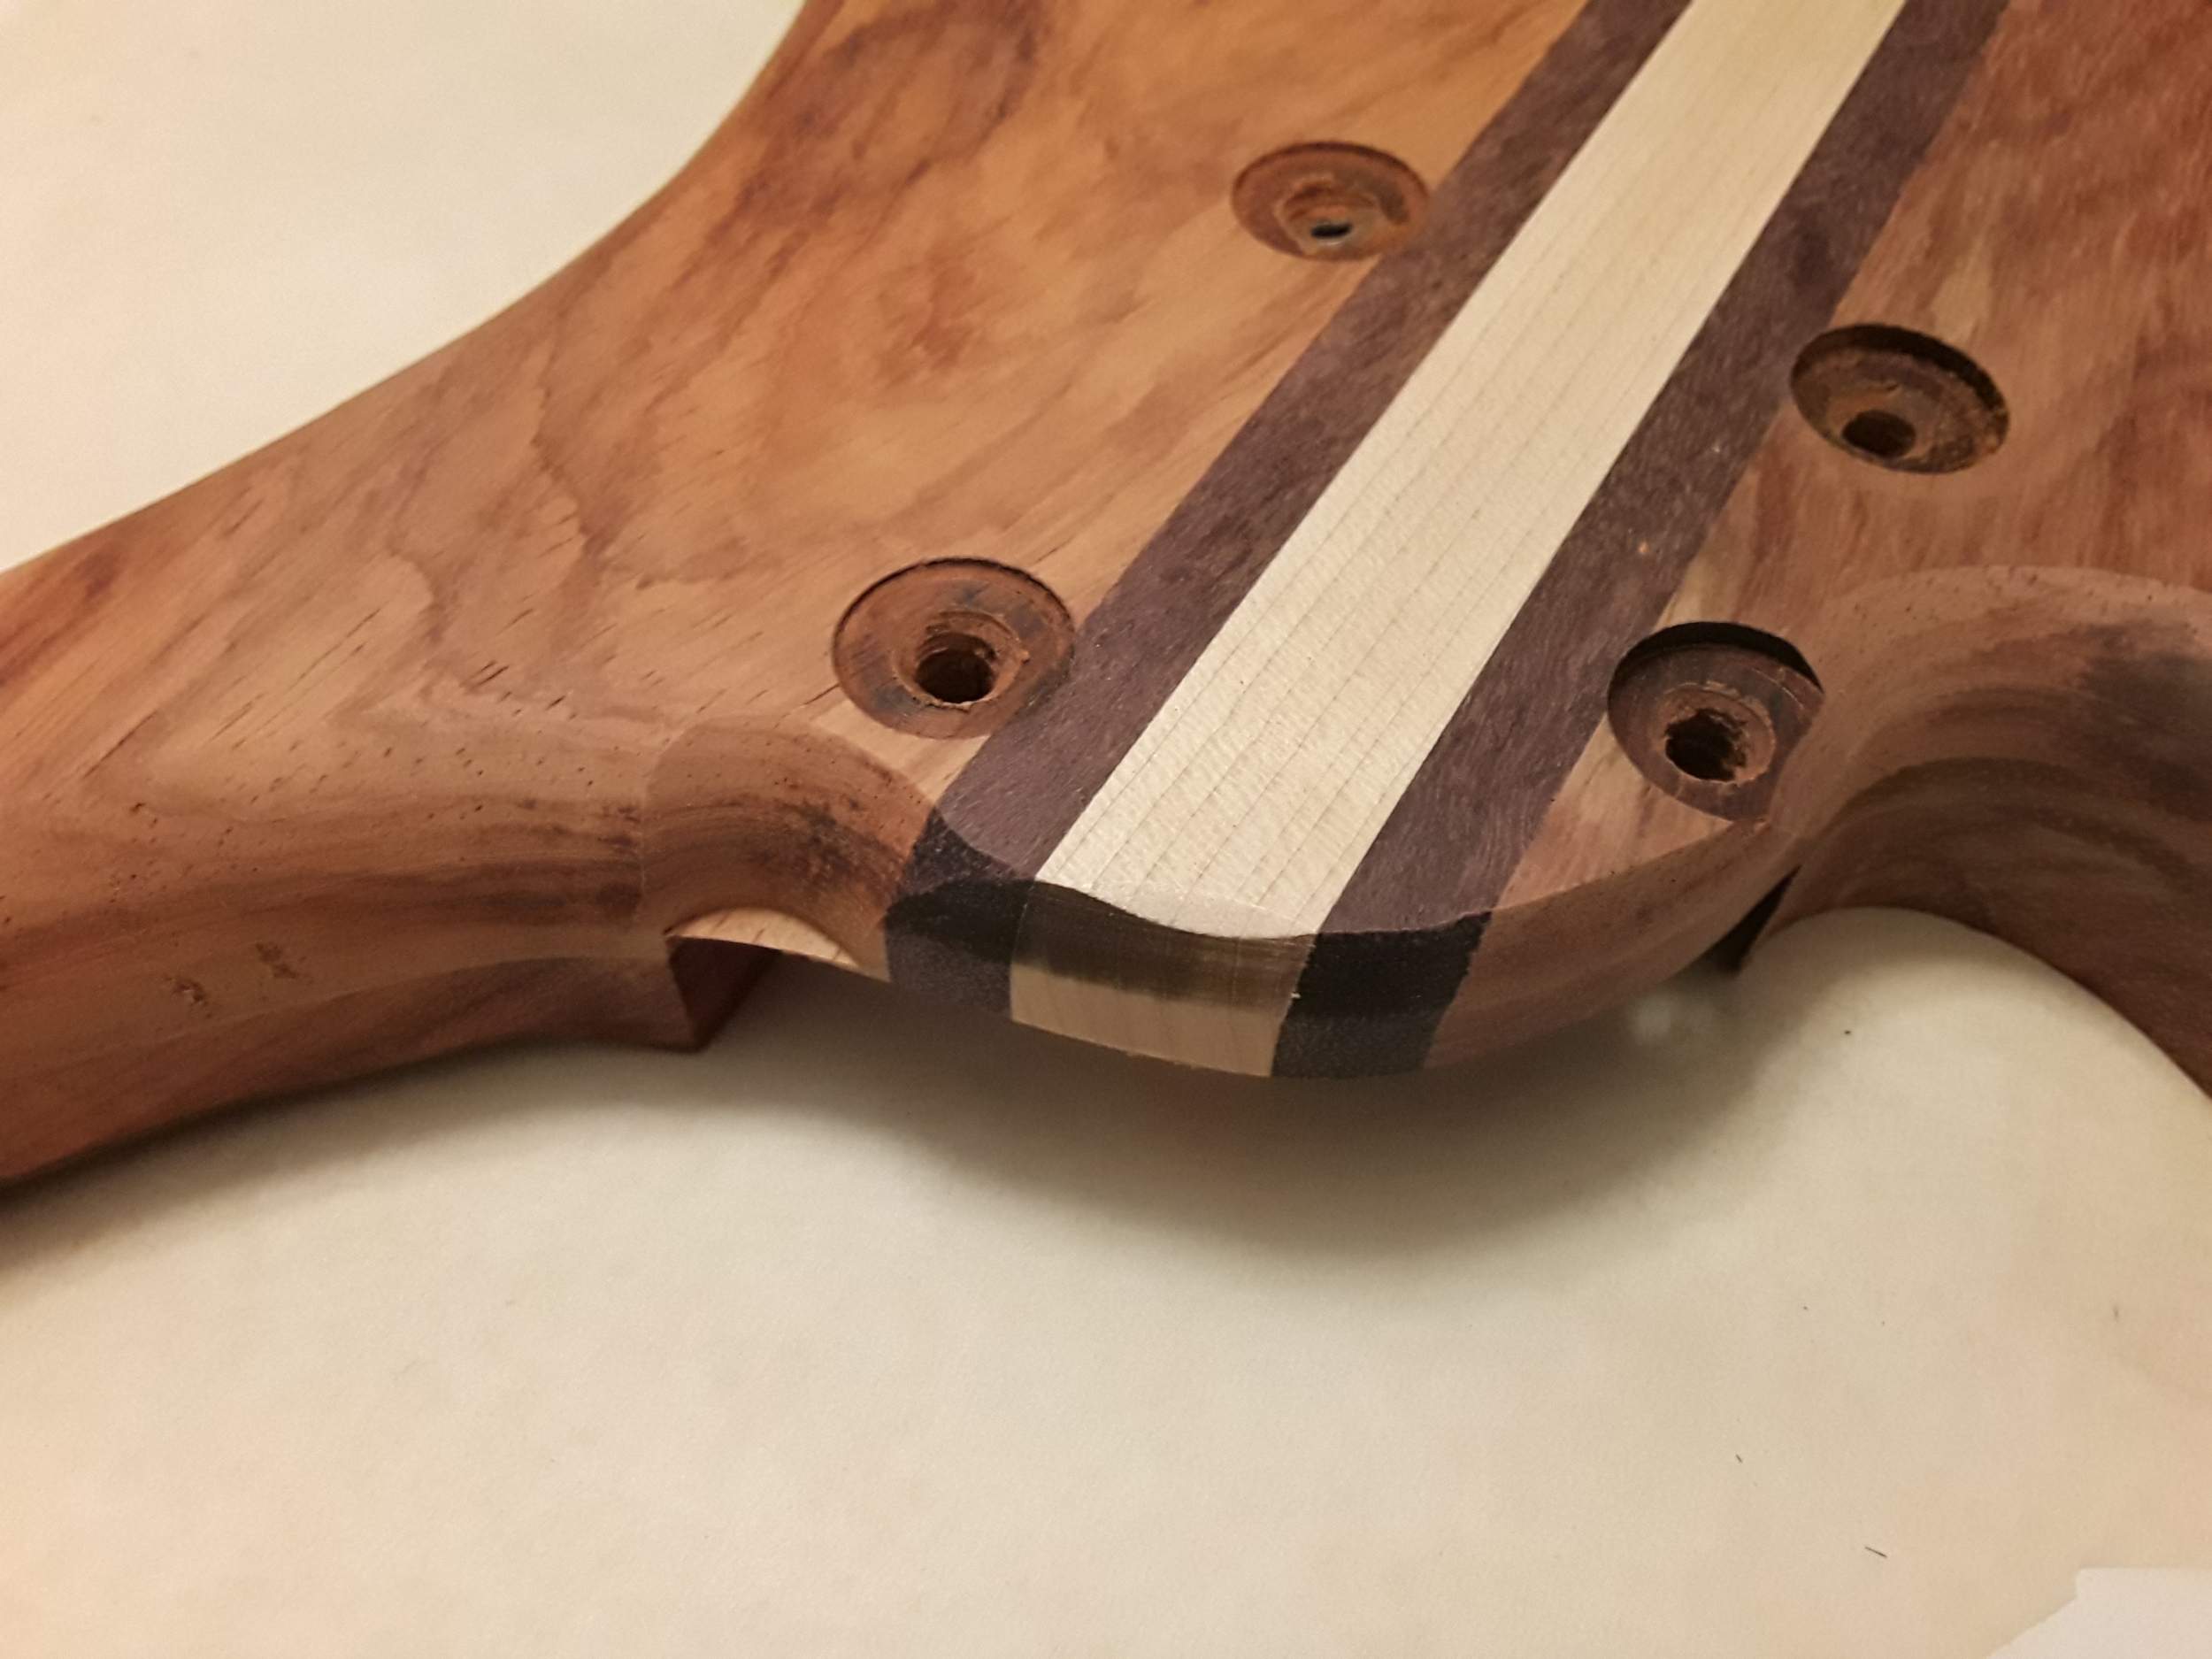
The cold gets to you and affects foresight and problem solving as there's this inherent rush to everything that happens even when I try to slow things down. Case in point, I knew the bearing was not going to have anything to ride on, and to quit before getting to this point, but it still happened. Now I have a feature to incorporate. :rolleyes:

Next up is a series of hurdles on the front that must be safely cleared to apply the radius. :thumbsup:
 
Wow, this is a great example of having a vision and then seeing it unfold. I have to be honest, when I saw the body in your first post I struggled trying to figure out what you'd do with it that wouldn't turn out a dud visually. But that's a really well done modification that looks coherent and purposeful!
 
  • Like
Reactions: Beej
That heel boo boo should be able to be blended into the upper horn:thumbsup:. I would consider losing the scroll and pointing (not really pointed) the horn:cool:. By the way did I mention (total personal preference disclaimer) I despise scrolls:vomit:?
 
  • Like
Reactions: Beej
Nothing interesting to report. I've been working on insulating my shed so I can get work done for longer hours at a time. I should have done this in the summer, but I was counting on a new garage going up in the fall. Now that it will be at least next summer, I might as well insulate this shed. But of course, it needs more outlets, and there are a few holes in the soffits, and, etc, etc... Build progress should ensue shortly tho.