
Enjoy the benefits of a premium membership!
Upgrade Account
-
TalkBass has been independent since 1998. Add your voice.
Create a free account to reply to discussions, view embedded media, and browse with fewer display ads.
Join free Log in
Want zero display ads or expanded classifieds tools? Compare plans.
You are using an out of date browser. It may not display this or other websites correctly.
You should upgrade or use an alternative browser.
You should upgrade or use an alternative browser.
Winter Build Off 2022 - The Crook
- Thread starter Beej
- Start date
More options
Who Replied?

@Beej You have become an advertisement for the Summer Build off!
Says the guy whose cigar box project sat still for a month.These lulls in building are unacceptable.
What am I supposed to look at and be occupied with when I'm not working on mine?

I feel like you should go check out the Beardly Customs thread. He does amazing stuff with the scroll upper horn. Might give you some good ideas for how to improve yours, if you feel like it needs improving.... I have some carving ideas but I'm happy to poach yours if they are any good....
Pretty sure at this point Vancouver Island is just Washington-North.... I'll admit I'm barely a canadian anymore in this department.


Now that it's a little warmer, I've done a thing or two. I drew a paper cover plate template and ensured it fit the existing cavity, then I transferred it to 3/4" MDF and cut it close to the line on the bandsaw. Then I mounted that rough cut cover plate dummy to a small block of 3/4" MDF that is mounted to a larger piece of MDF that I can clamp to my workbench.
 I ran around it with a top bearing bit and cleaned it all up. Then I flipped it over, remounted it to the same block, and ran around it again. This makes a perfectly clean, smooth surface. I used this cover dummy to do the bondo template trick so that I can make a tight-fitting template for routing the cover recess into the top.
I will also use the same dummy to rout the cover out of purpleheart. First step is to draw the shape on the purpleheart. What you see is the backside of the cover dummy and backside of the cover.
Here, I've cut it out really close to the line on the bandsaw. I'll take it even close on the spindle sander before routing around it to the final dimensions.
That last routing will be a climb cut the entire way around the cover in order to prevent tearout. It can be hairy, but a good grip and only going a few inches at a time usually works out well.
Here's the cover blank face up on the dummy. When it comes time, I'll use the CA glue trick to attach it to the dummy and rout it out.
cover plate template fabbing
cover plate template
I will also use the same dummy to rout the cover out of purpleheart. First step is to draw the shape on the purpleheart. What you see is the backside of the cover dummy and backside of the cover.

Here, I've cut it out really close to the line on the bandsaw. I'll take it even close on the spindle sander before routing around it to the final dimensions.
That last routing will be a climb cut the entire way around the cover in order to prevent tearout. It can be hairy, but a good grip and only going a few inches at a time usually works out well.

Here's the cover blank face up on the dummy. When it comes time, I'll use the CA glue trick to attach it to the dummy and rout it out.

Here I've glued a 4mm padauk back plate to the headstock.
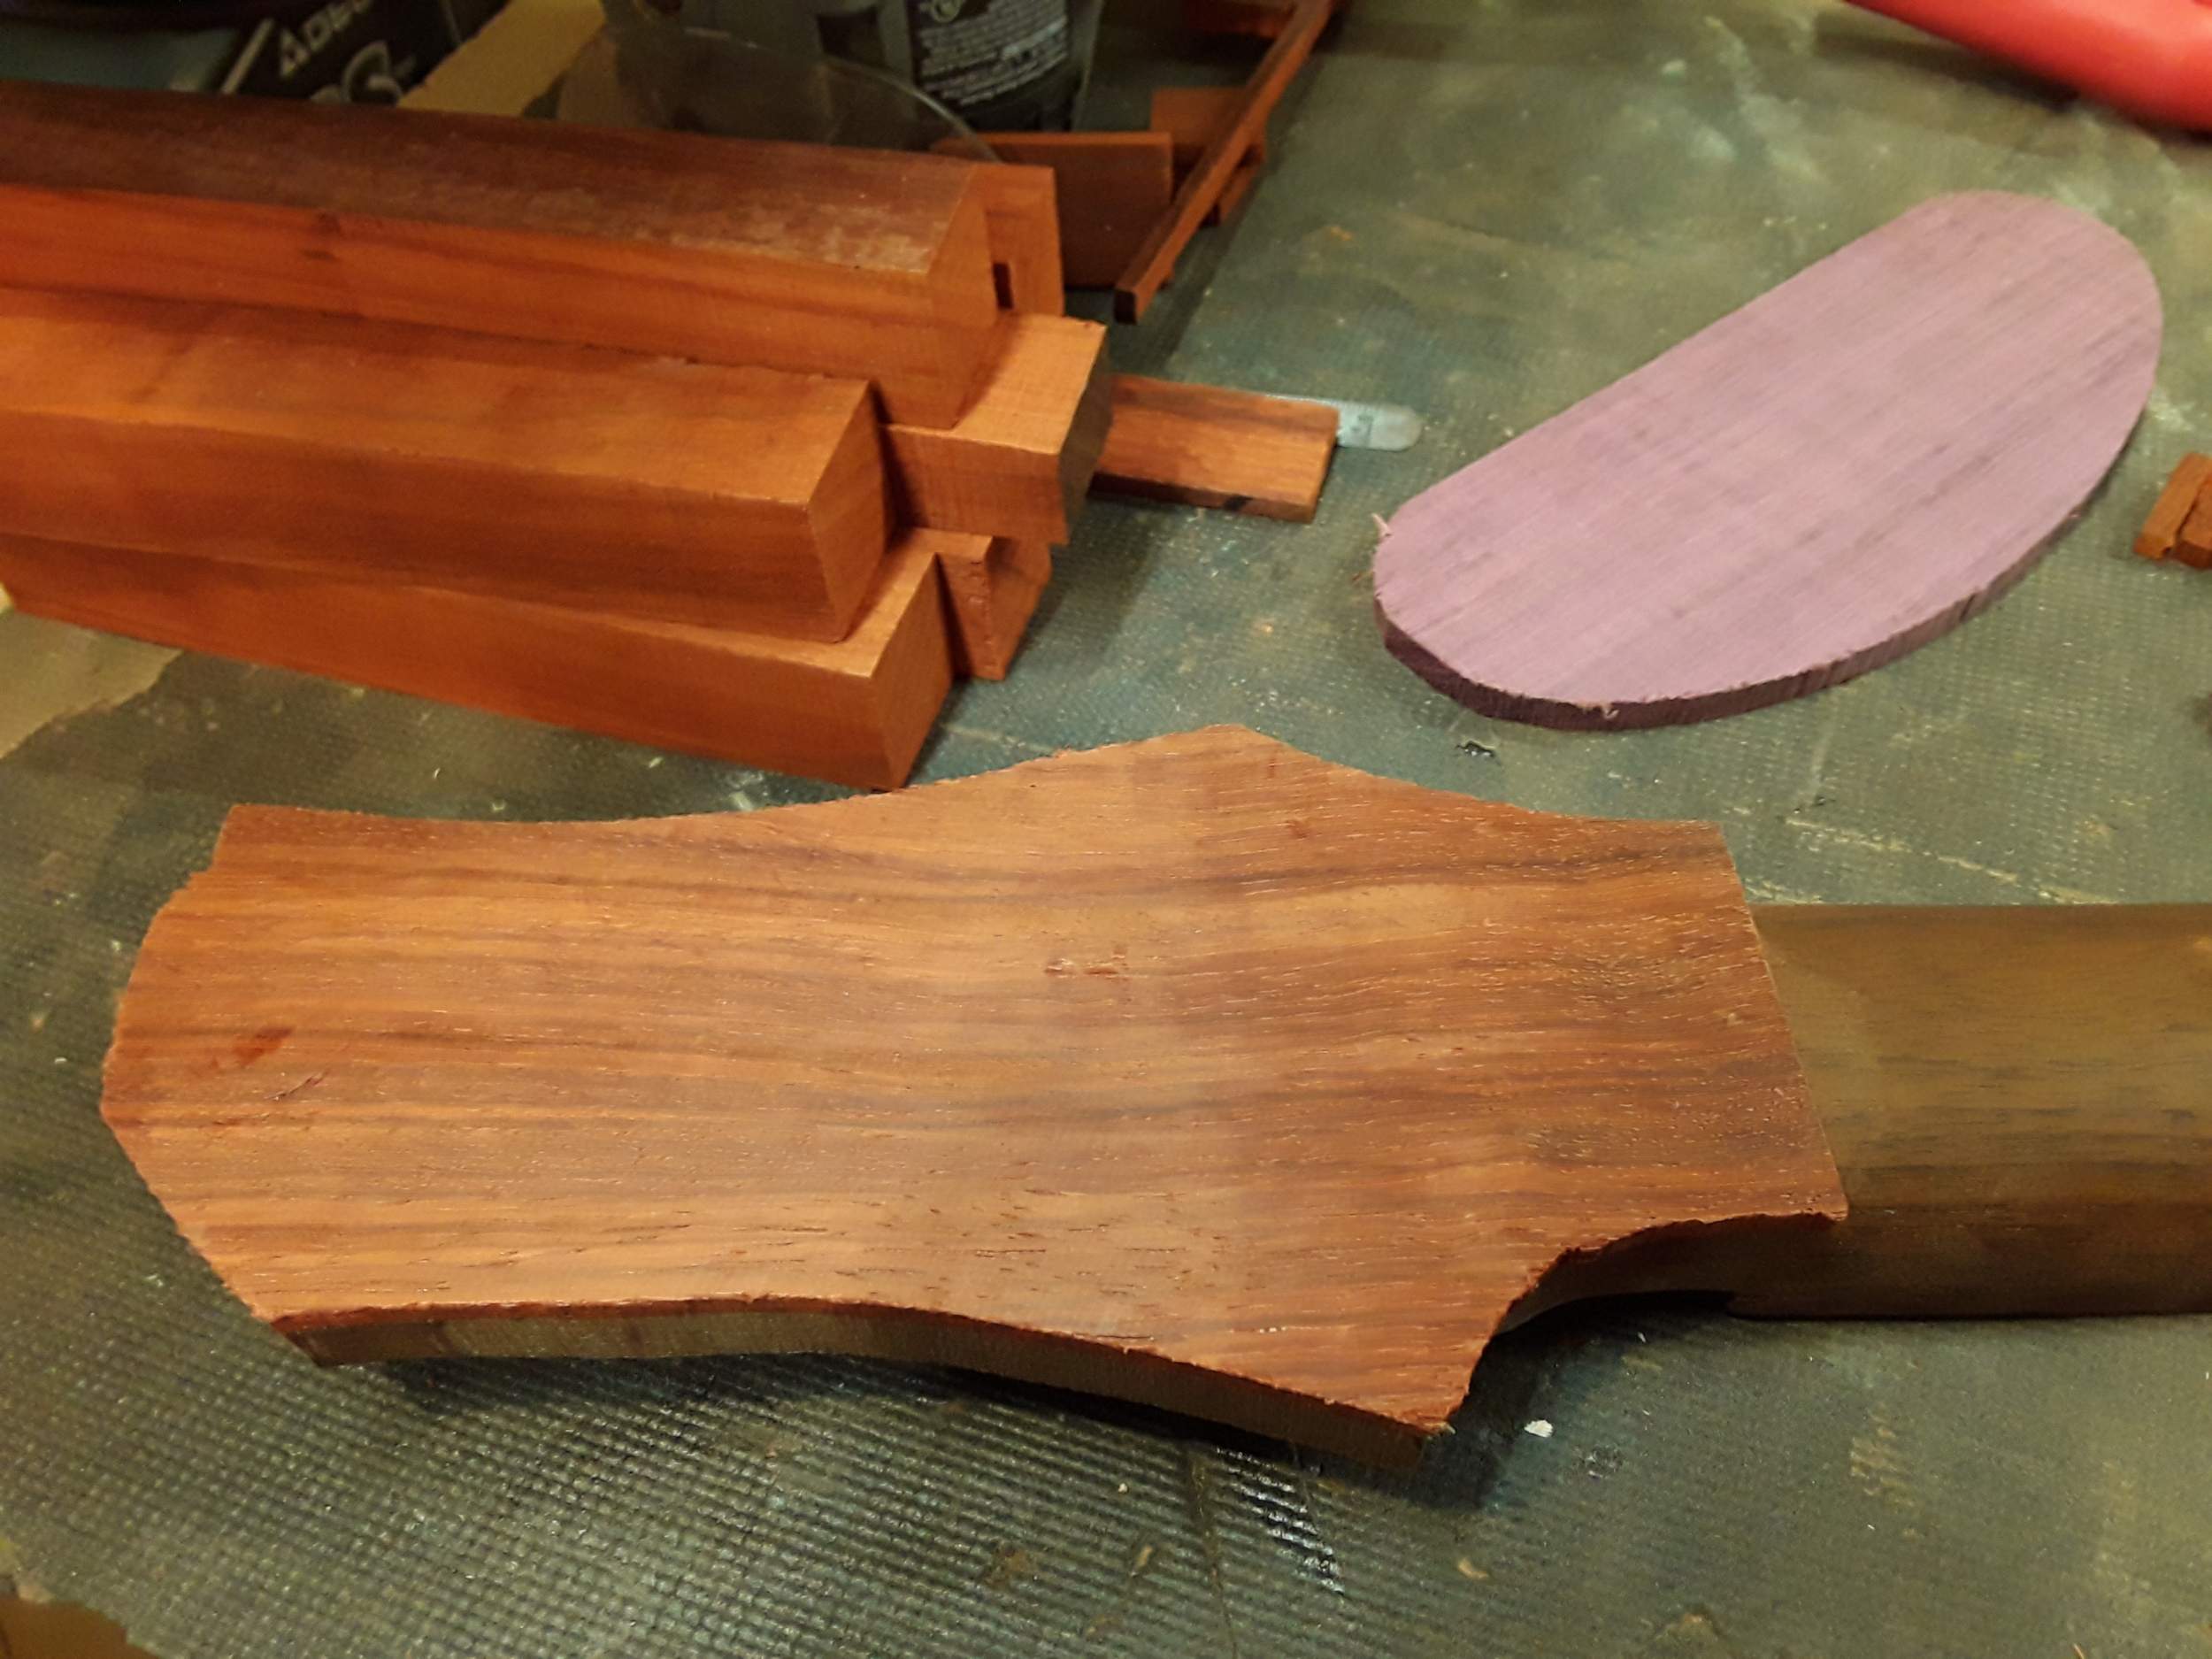
And put some maple plugs in the tuner holes (I couldn't find any walnut scraps). I'll rout the face flush and then glue down another 4mm padauk plate.

And put some maple plugs in the tuner holes (I couldn't find any walnut scraps). I'll rout the face flush and then glue down another 4mm padauk plate.
Since the neck pocket is a little out of square, if I were to use it as-is, my bridge would be noticeably off centre. No can do. First I squared up the end and sides of the pocket and removed the roughly 3/8" radius in the corners.

Then I cut and shaped a couple of pieces to fit in the sides of the pocket so I can relocate the neck on centre and rout it out again.

The original neck pocket had the neck sitting a little too low and would have required recessing the bridge into the body. With the little extra heel I removed leveling the neck, I was able to add another 4mm thick padauk plate to the heel which will bring the neck 3/8" above the body at the end of the heel. I'll also taper the heel just a shade so I can create a tiny neck angle to allow me to lay the strings flat on the fingerboard.
I also built the box for the pickup cover and glued the purpleheart top. I don't seem to have a pic of the final item.

And here is a series of how to make a tight-fitting negative template to your positive template. First I shaped the pickup dummy as per the process I showed earlier. Then I wrap the edges all the way around with one layer of masking tape. I then trace around it on a piece of MDF that will form the template. I drill a few holes inside the lines and cut it out with a jigsaw. I take the piece I cut out, put it across the hole and screw into it from the dummy so that I can hold the dummy in place when I bondo it.
Top of the dummy attached to the board.

Bottom side of the above pic.

Then I put some paste wax on the masking tape, mix up some bondo (or in this case, generic auto body putty) and slather it around the dummy. I scrape it back from the edges to make it easier to push it out when it's dry. The paste wax doesn't stick to the bondo (neither does the masking tape really) so after it's hard you can carefully push it out from the bottom. I'll show the rest when I do it.

Then I cut and shaped a couple of pieces to fit in the sides of the pocket so I can relocate the neck on centre and rout it out again.
The original neck pocket had the neck sitting a little too low and would have required recessing the bridge into the body. With the little extra heel I removed leveling the neck, I was able to add another 4mm thick padauk plate to the heel which will bring the neck 3/8" above the body at the end of the heel. I'll also taper the heel just a shade so I can create a tiny neck angle to allow me to lay the strings flat on the fingerboard.
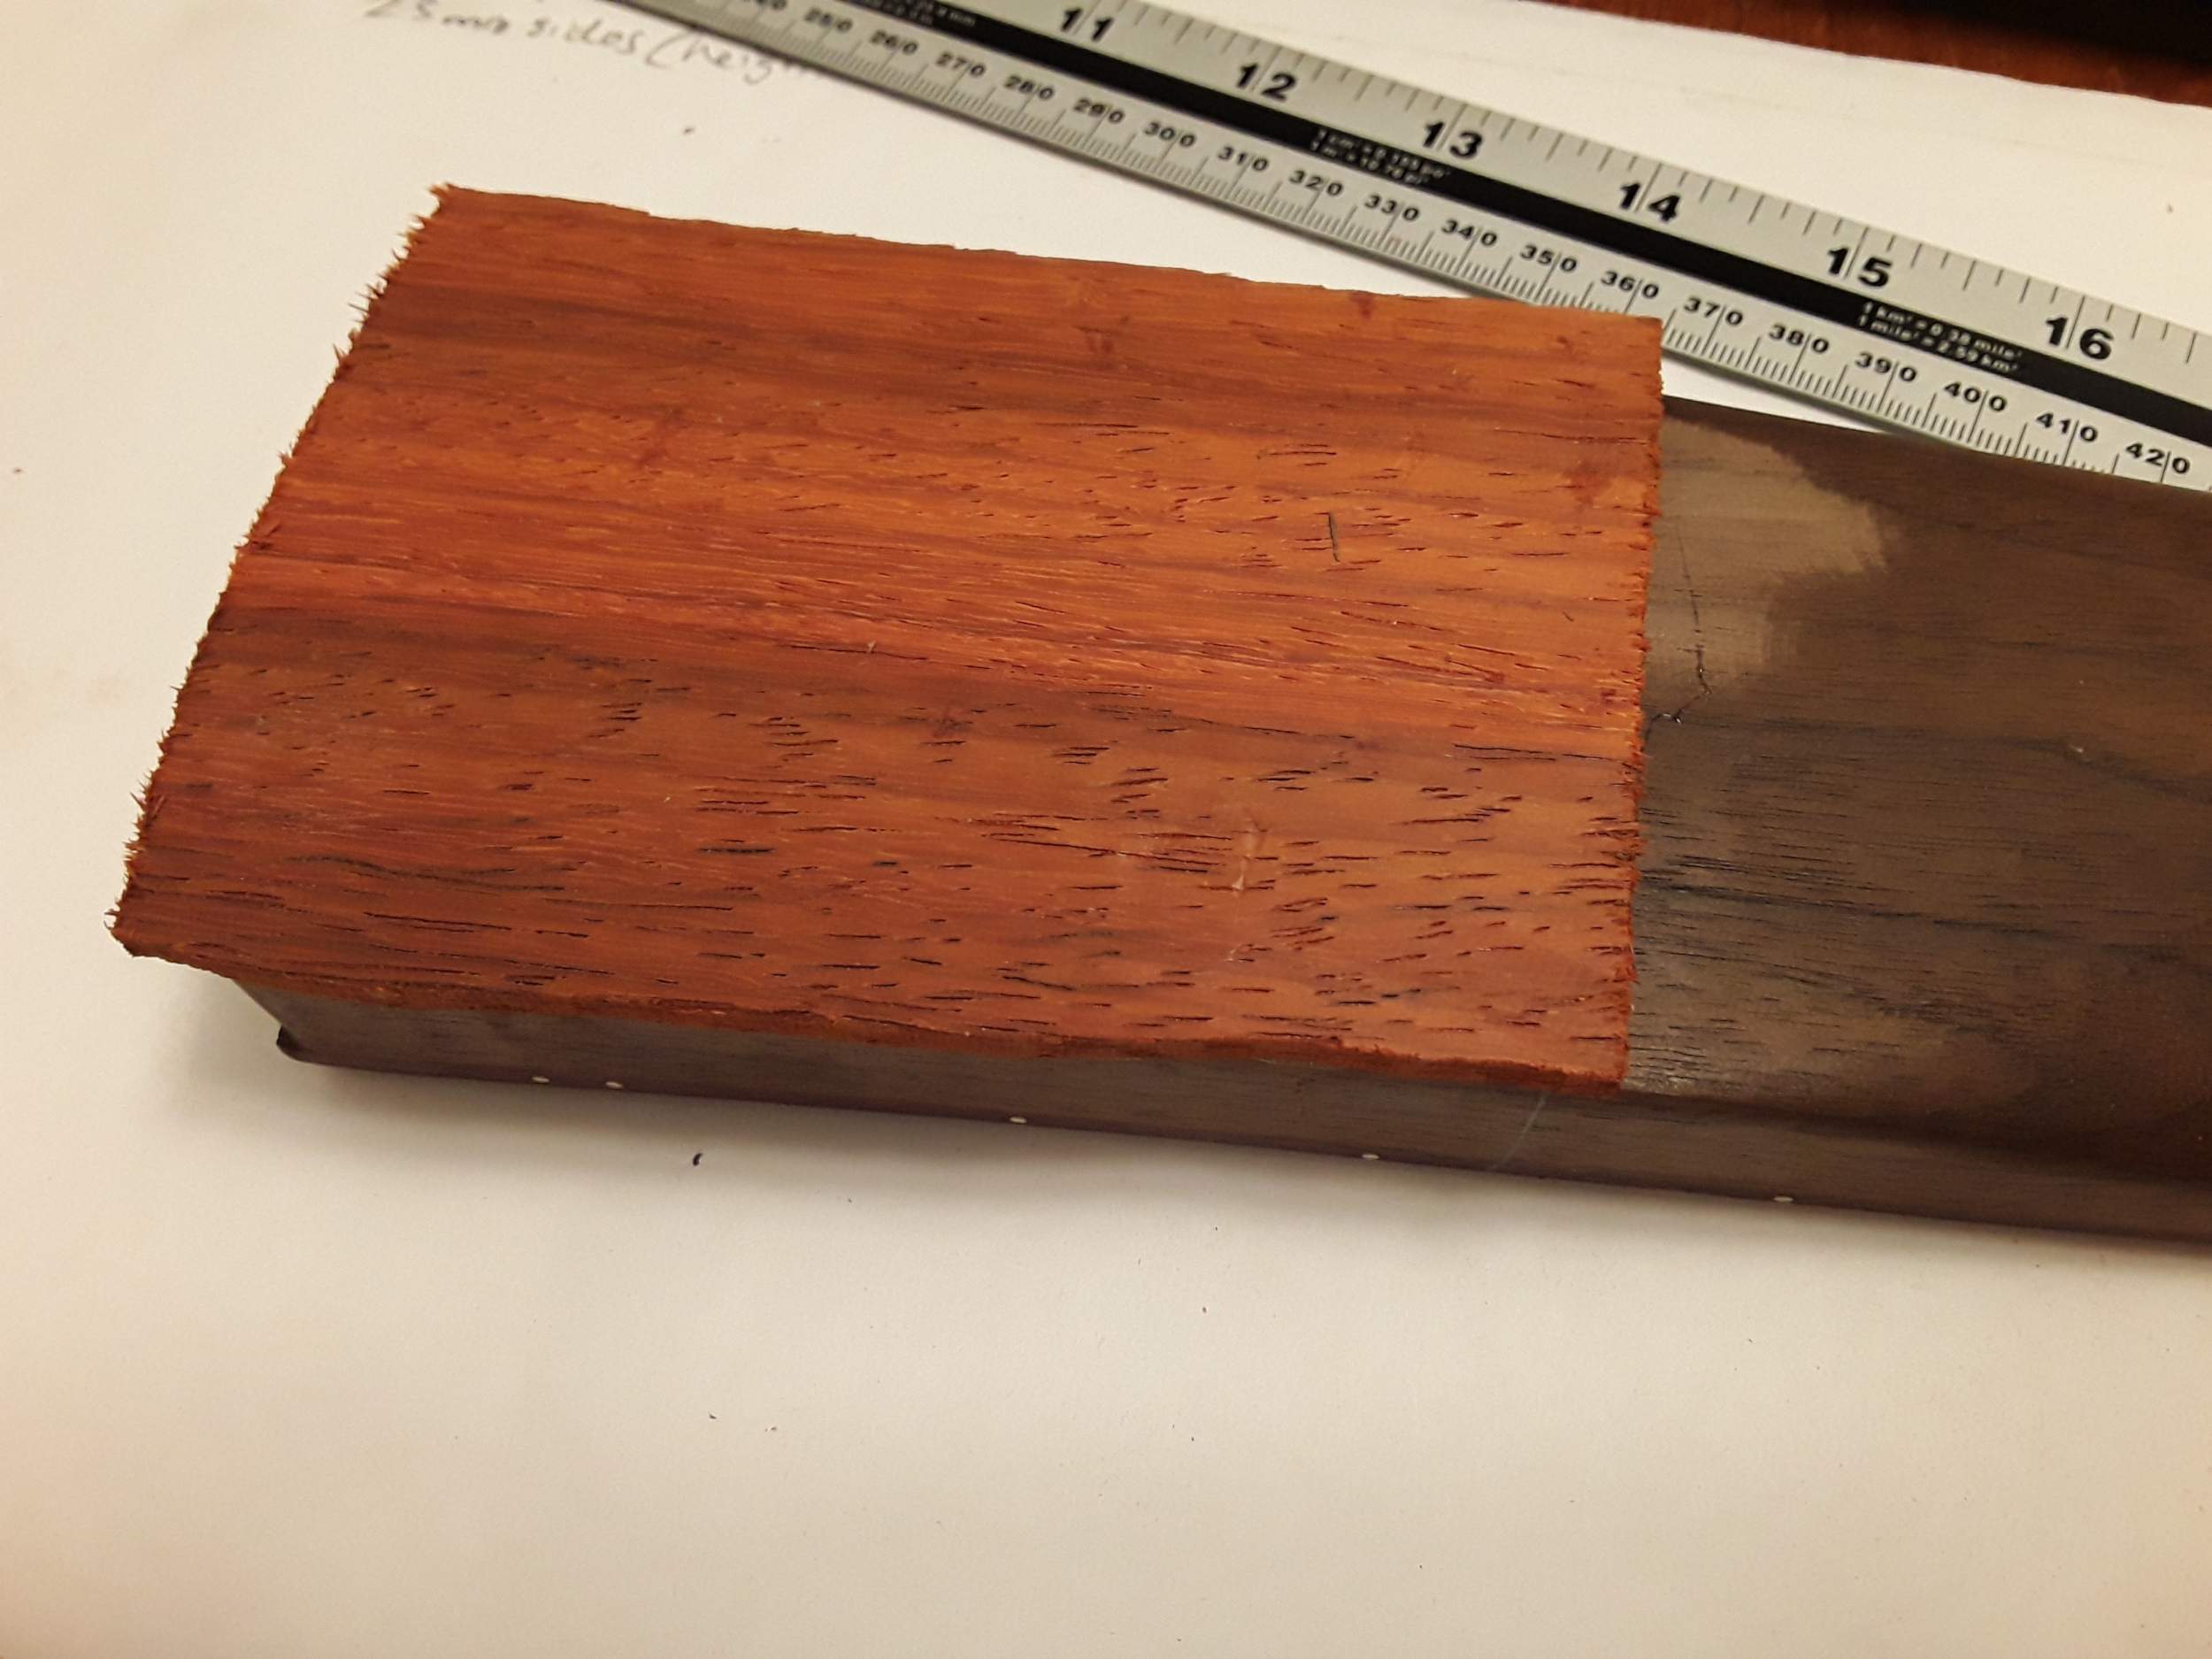
I also built the box for the pickup cover and glued the purpleheart top. I don't seem to have a pic of the final item.
And here is a series of how to make a tight-fitting negative template to your positive template. First I shaped the pickup dummy as per the process I showed earlier. Then I wrap the edges all the way around with one layer of masking tape. I then trace around it on a piece of MDF that will form the template. I drill a few holes inside the lines and cut it out with a jigsaw. I take the piece I cut out, put it across the hole and screw into it from the dummy so that I can hold the dummy in place when I bondo it.
Top of the dummy attached to the board.
control cover recess routing template fab
control cover recess routing template fab
Bottom side of the above pic.
control cover recess routing template fab
control cover recess routing template fab
Then I put some paste wax on the masking tape, mix up some bondo (or in this case, generic auto body putty) and slather it around the dummy. I scrape it back from the edges to make it easier to push it out when it's dry. The paste wax doesn't stick to the bondo (neither does the masking tape really) so after it's hard you can carefully push it out from the bottom. I'll show the rest when I do it.
control cover recess routing template fab
control cover recess routing template fab
Last edited:

It was a very narrow six and I'm changing it to a wider five with 18mm bridge spacingWill it still be a 6 string?

Edit: to be more specific, it looks like it would have required 15mm string spacing at the bridge in order to make six strings work. I've done a six stringer with that tight spacing and although it's workable, it's better with a pick than fingers IME. I like 16.5-17mm on my fives, but this should work out just fine.
Last edited:
When the bondo hardened, I pushed out the dummy and then ran around the inside edge of the template along the bondo shape with a bottom bearing bit like this:
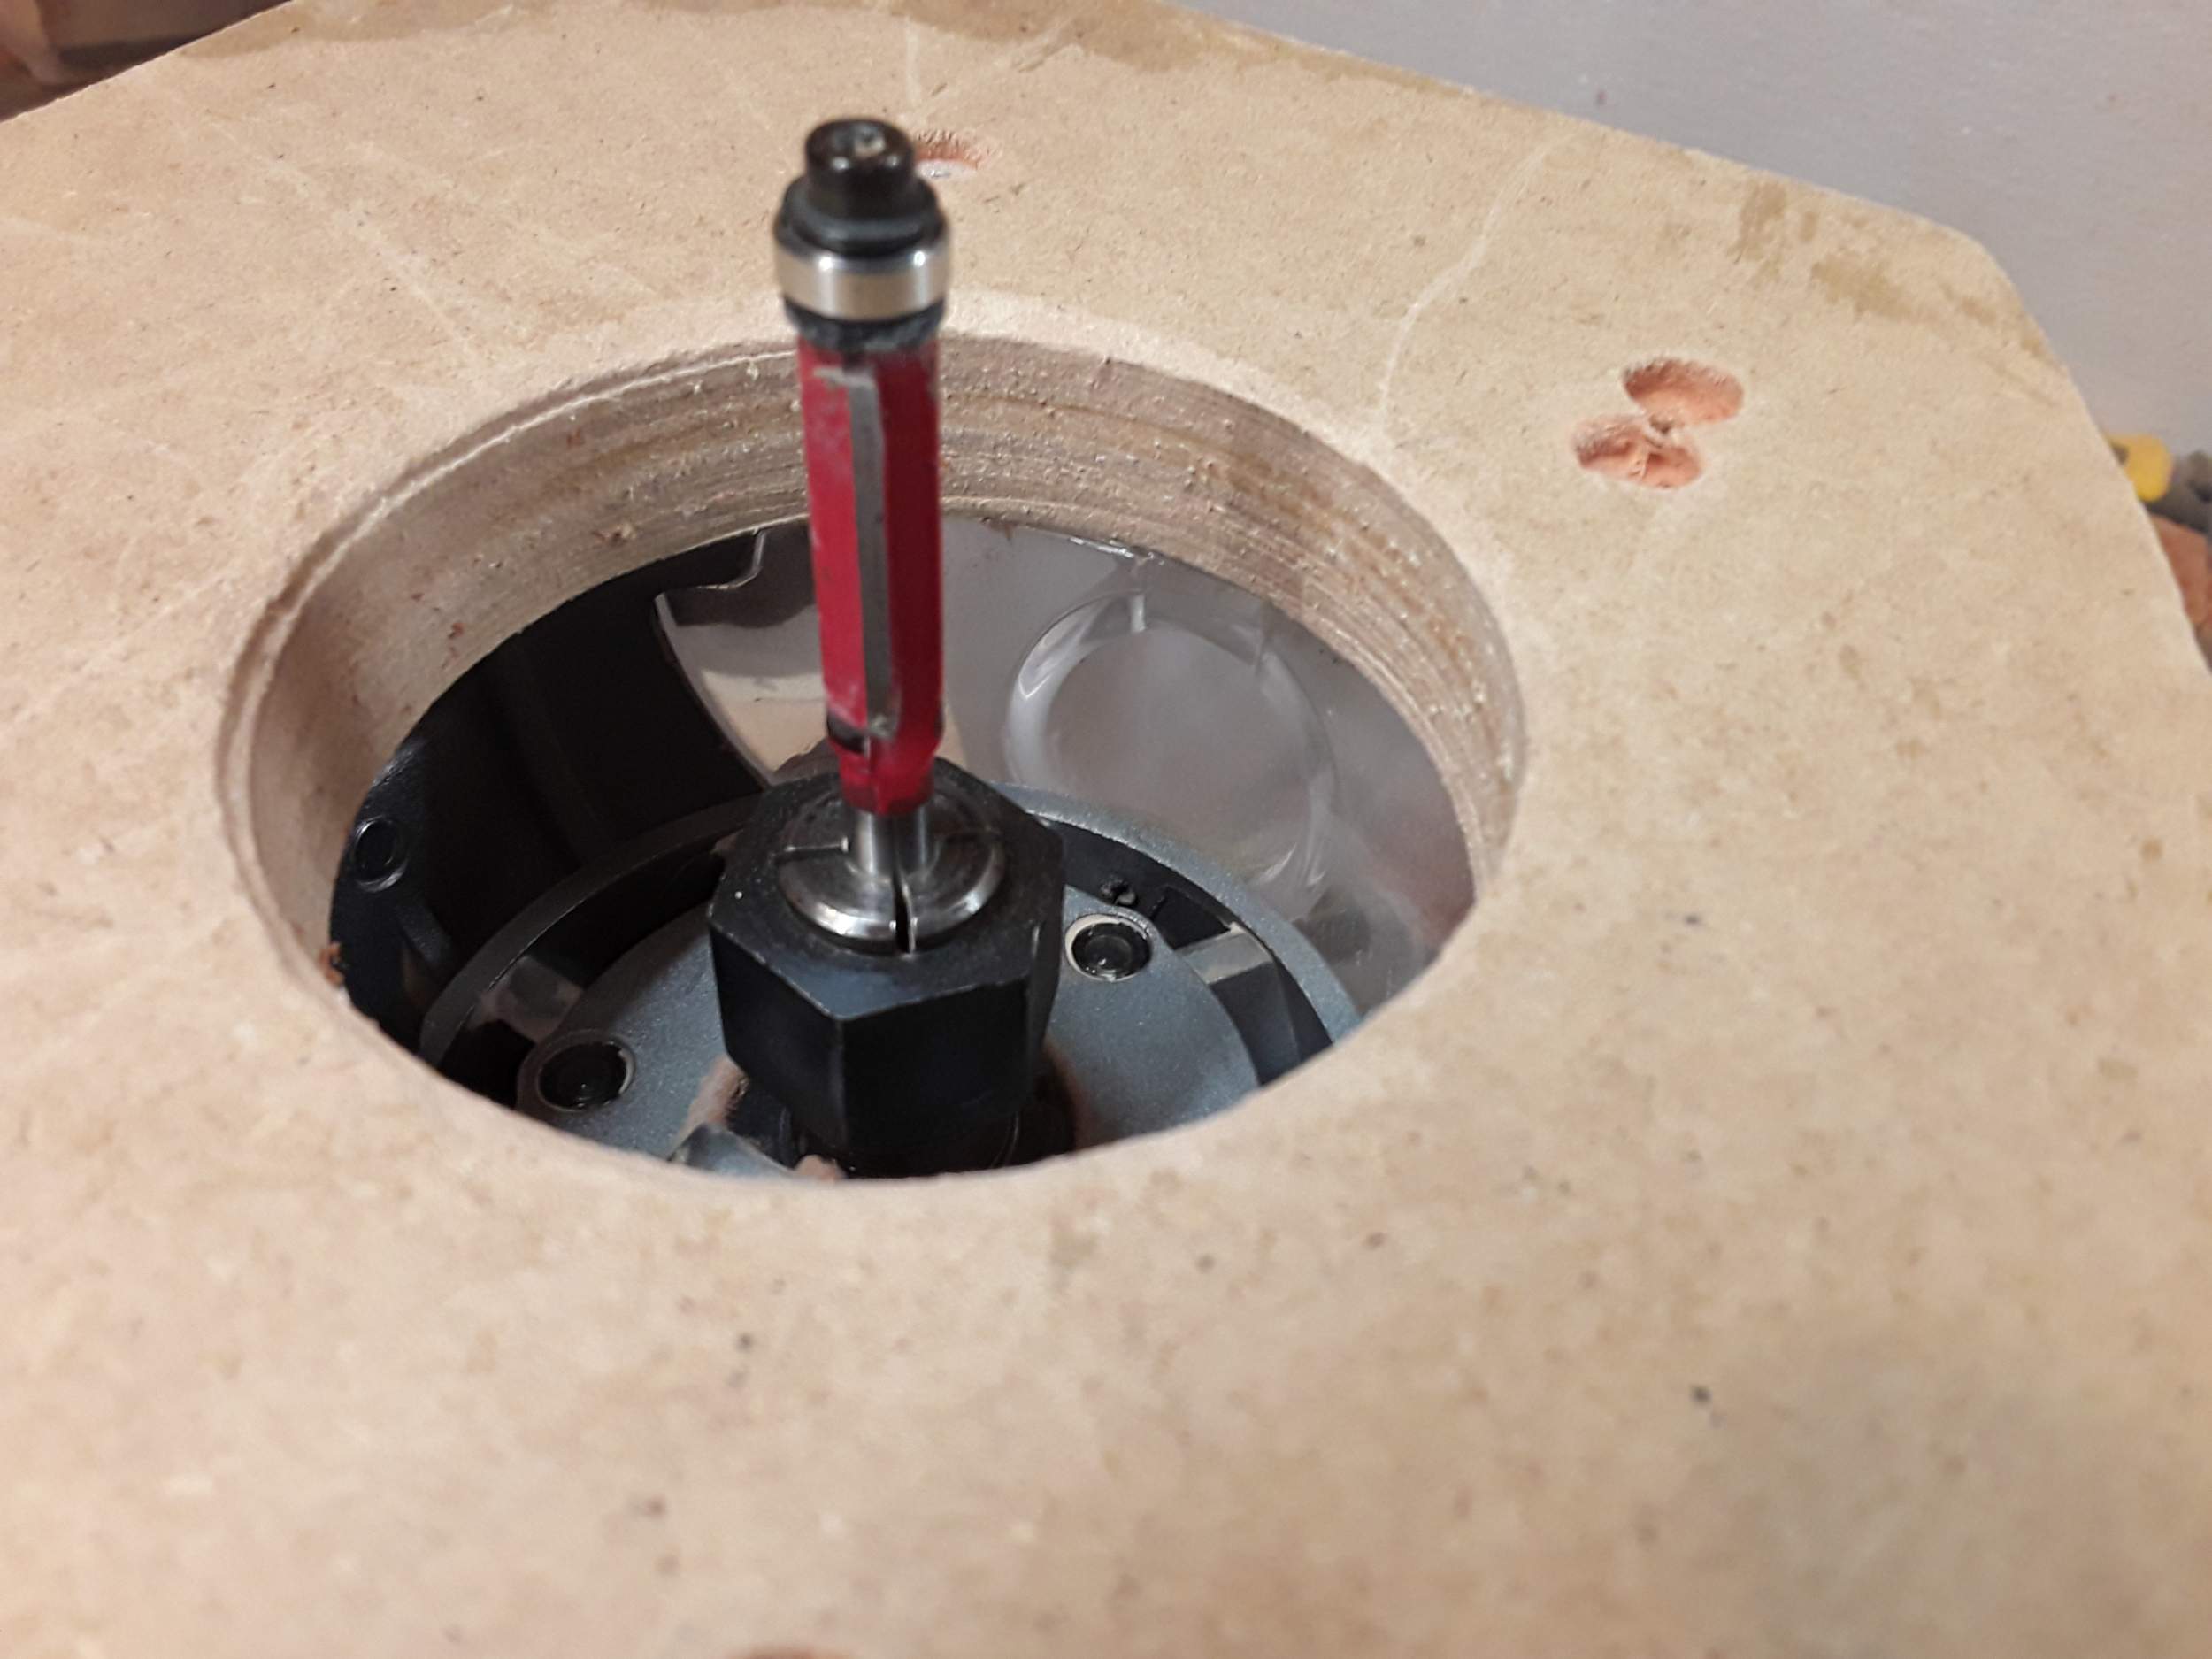
Which gave me this:
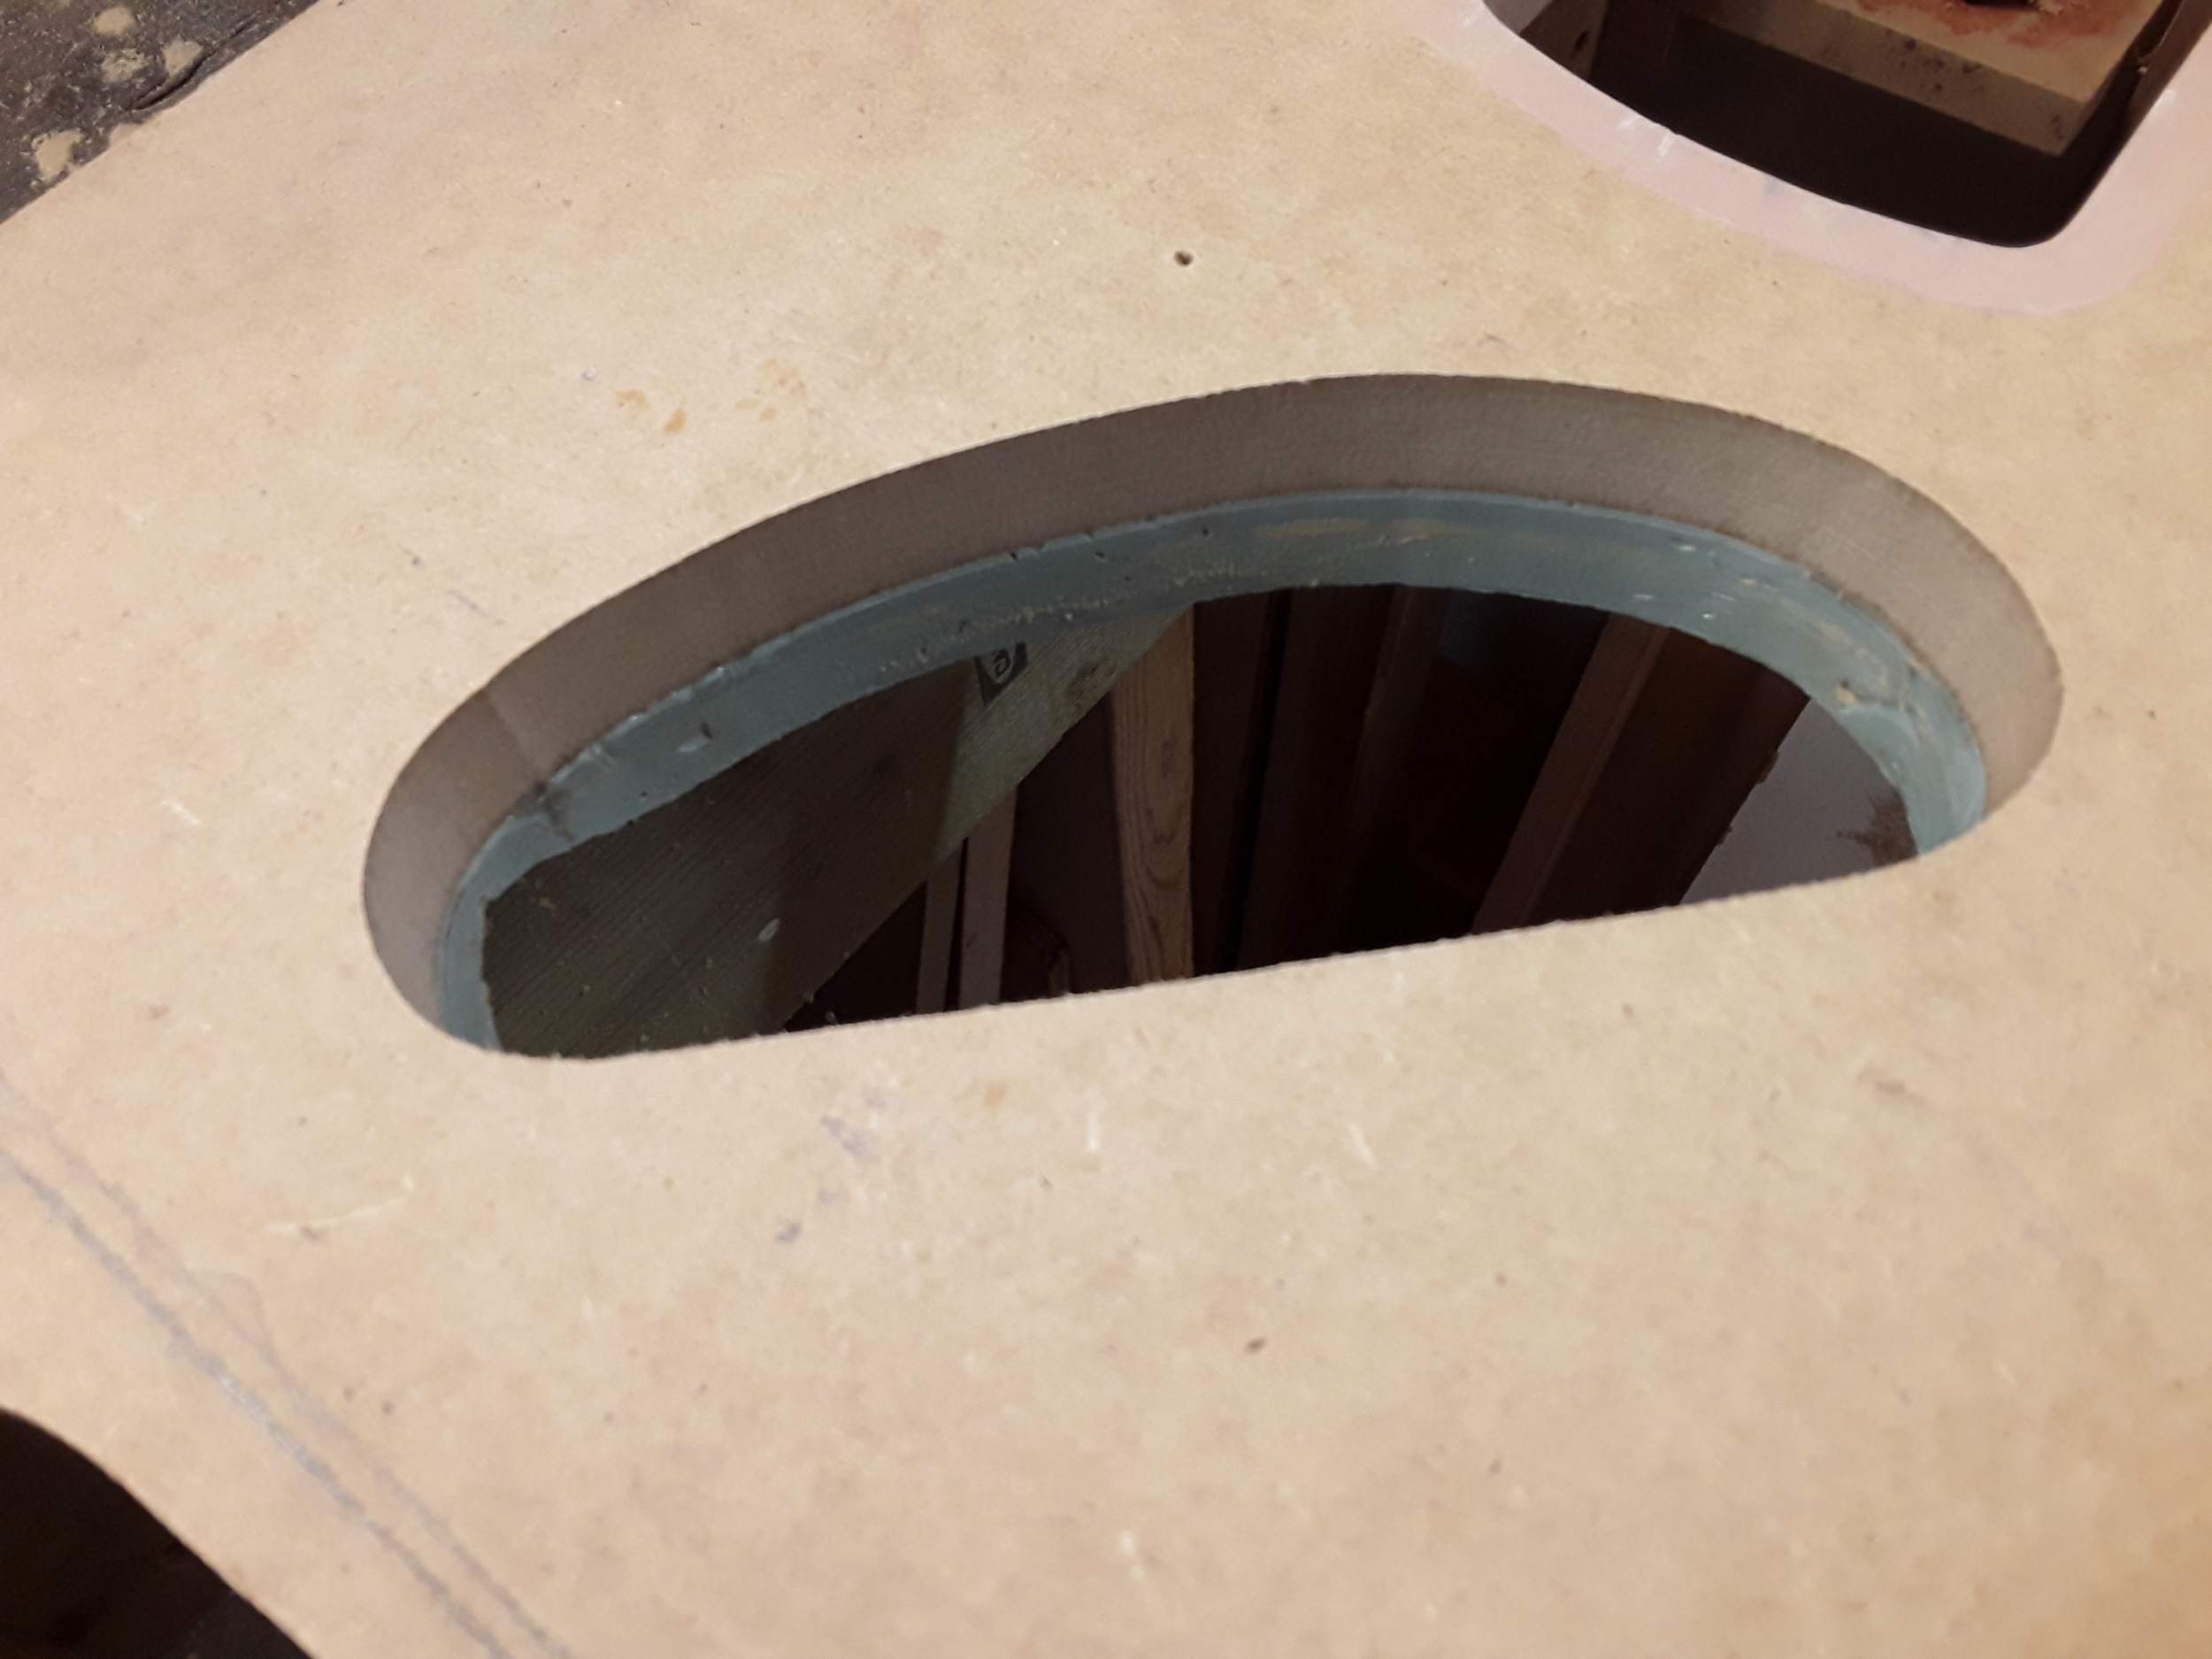 The dummy fits it like a glove.
Then I tackled the giant pickup rout. First I forstnered out some material and glued down the template pieces for routing. Normally, I prefer to do this glue/tape trick to make a solid template with the small pieces as it's safer than routing directly on the body and having a template move (foreshadowing ).
).

Then I routed it all out cleanly, removed the template and inspected my work. Lovely.

Ah yes, pickup cover fits like a glove here.

Hmm. Not so much here. More like a mitt. That's not a shadow, that's a gap. Template moved.

I thought about ways to hide it with creative shaping, but then I ended up doing the creative shaping on a padauk block and glued it in, just a hair proud of the top.

I then routed along a makeshift rail held in place with clamps and checked the fit.

Much better and hopefully will be hidden more under finish.
The other side is also a nice fit, so the cover and rout are now done.

Several more tedious tasks ahead.
Which gave me this:
Then I tackled the giant pickup rout. First I forstnered out some material and glued down the template pieces for routing. Normally, I prefer to do this glue/tape trick to make a solid template with the small pieces as it's safer than routing directly on the body and having a template move (foreshadowing
).
Then I routed it all out cleanly, removed the template and inspected my work. Lovely.
Ah yes, pickup cover fits like a glove here.
Hmm. Not so much here. More like a mitt. That's not a shadow, that's a gap. Template moved.
I thought about ways to hide it with creative shaping, but then I ended up doing the creative shaping on a padauk block and glued it in, just a hair proud of the top.
I then routed along a makeshift rail held in place with clamps and checked the fit.
Much better and hopefully will be hidden more under finish.
The other side is also a nice fit, so the cover and rout are now done.
Several more tedious tasks ahead.
Last edited:
After fixing the pickup rout, I finished the neck pocket repair. I don't seem to have a pic of the setup, but I clamped rails on either side of the centered neck, removed the neck and routed the pocket. The heel moved bass side about 2mm, with the headstock moving over an additional 1mm to get things centered. The bass side line is invisible but the treble stands out a bit.

The fit is good and at the right height.
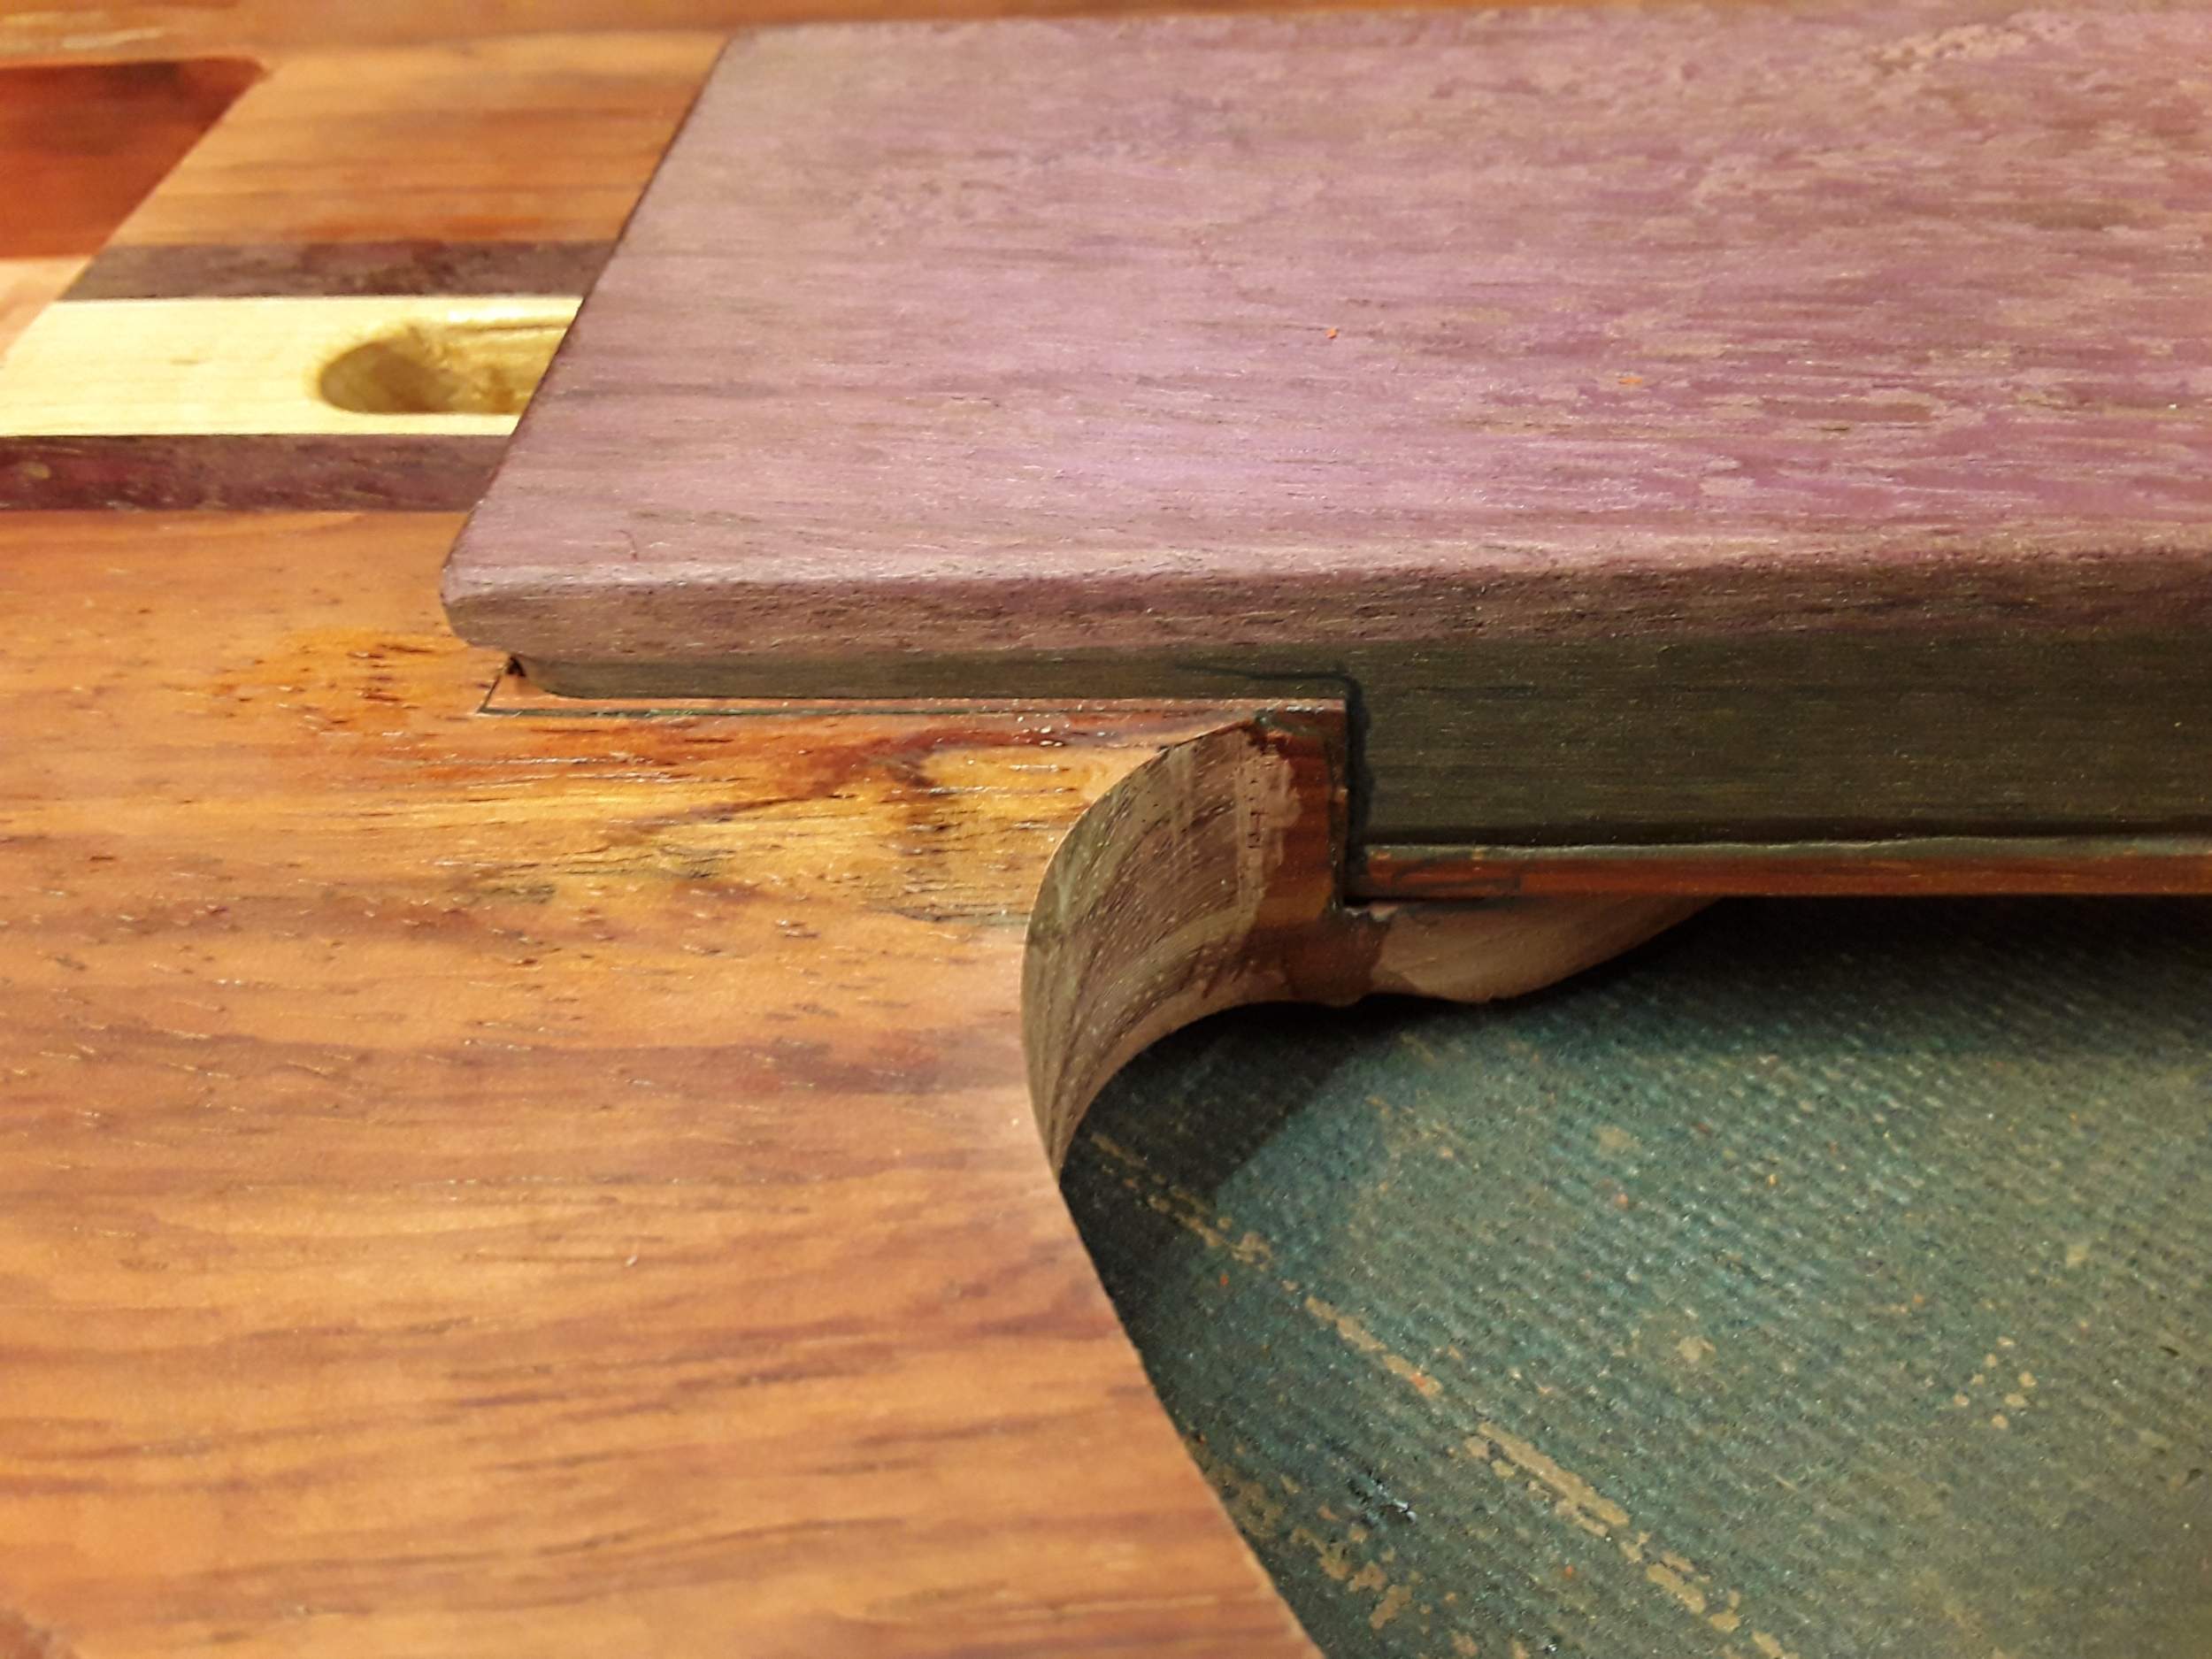
Truss rod is now in the center of the truss rod access rout.
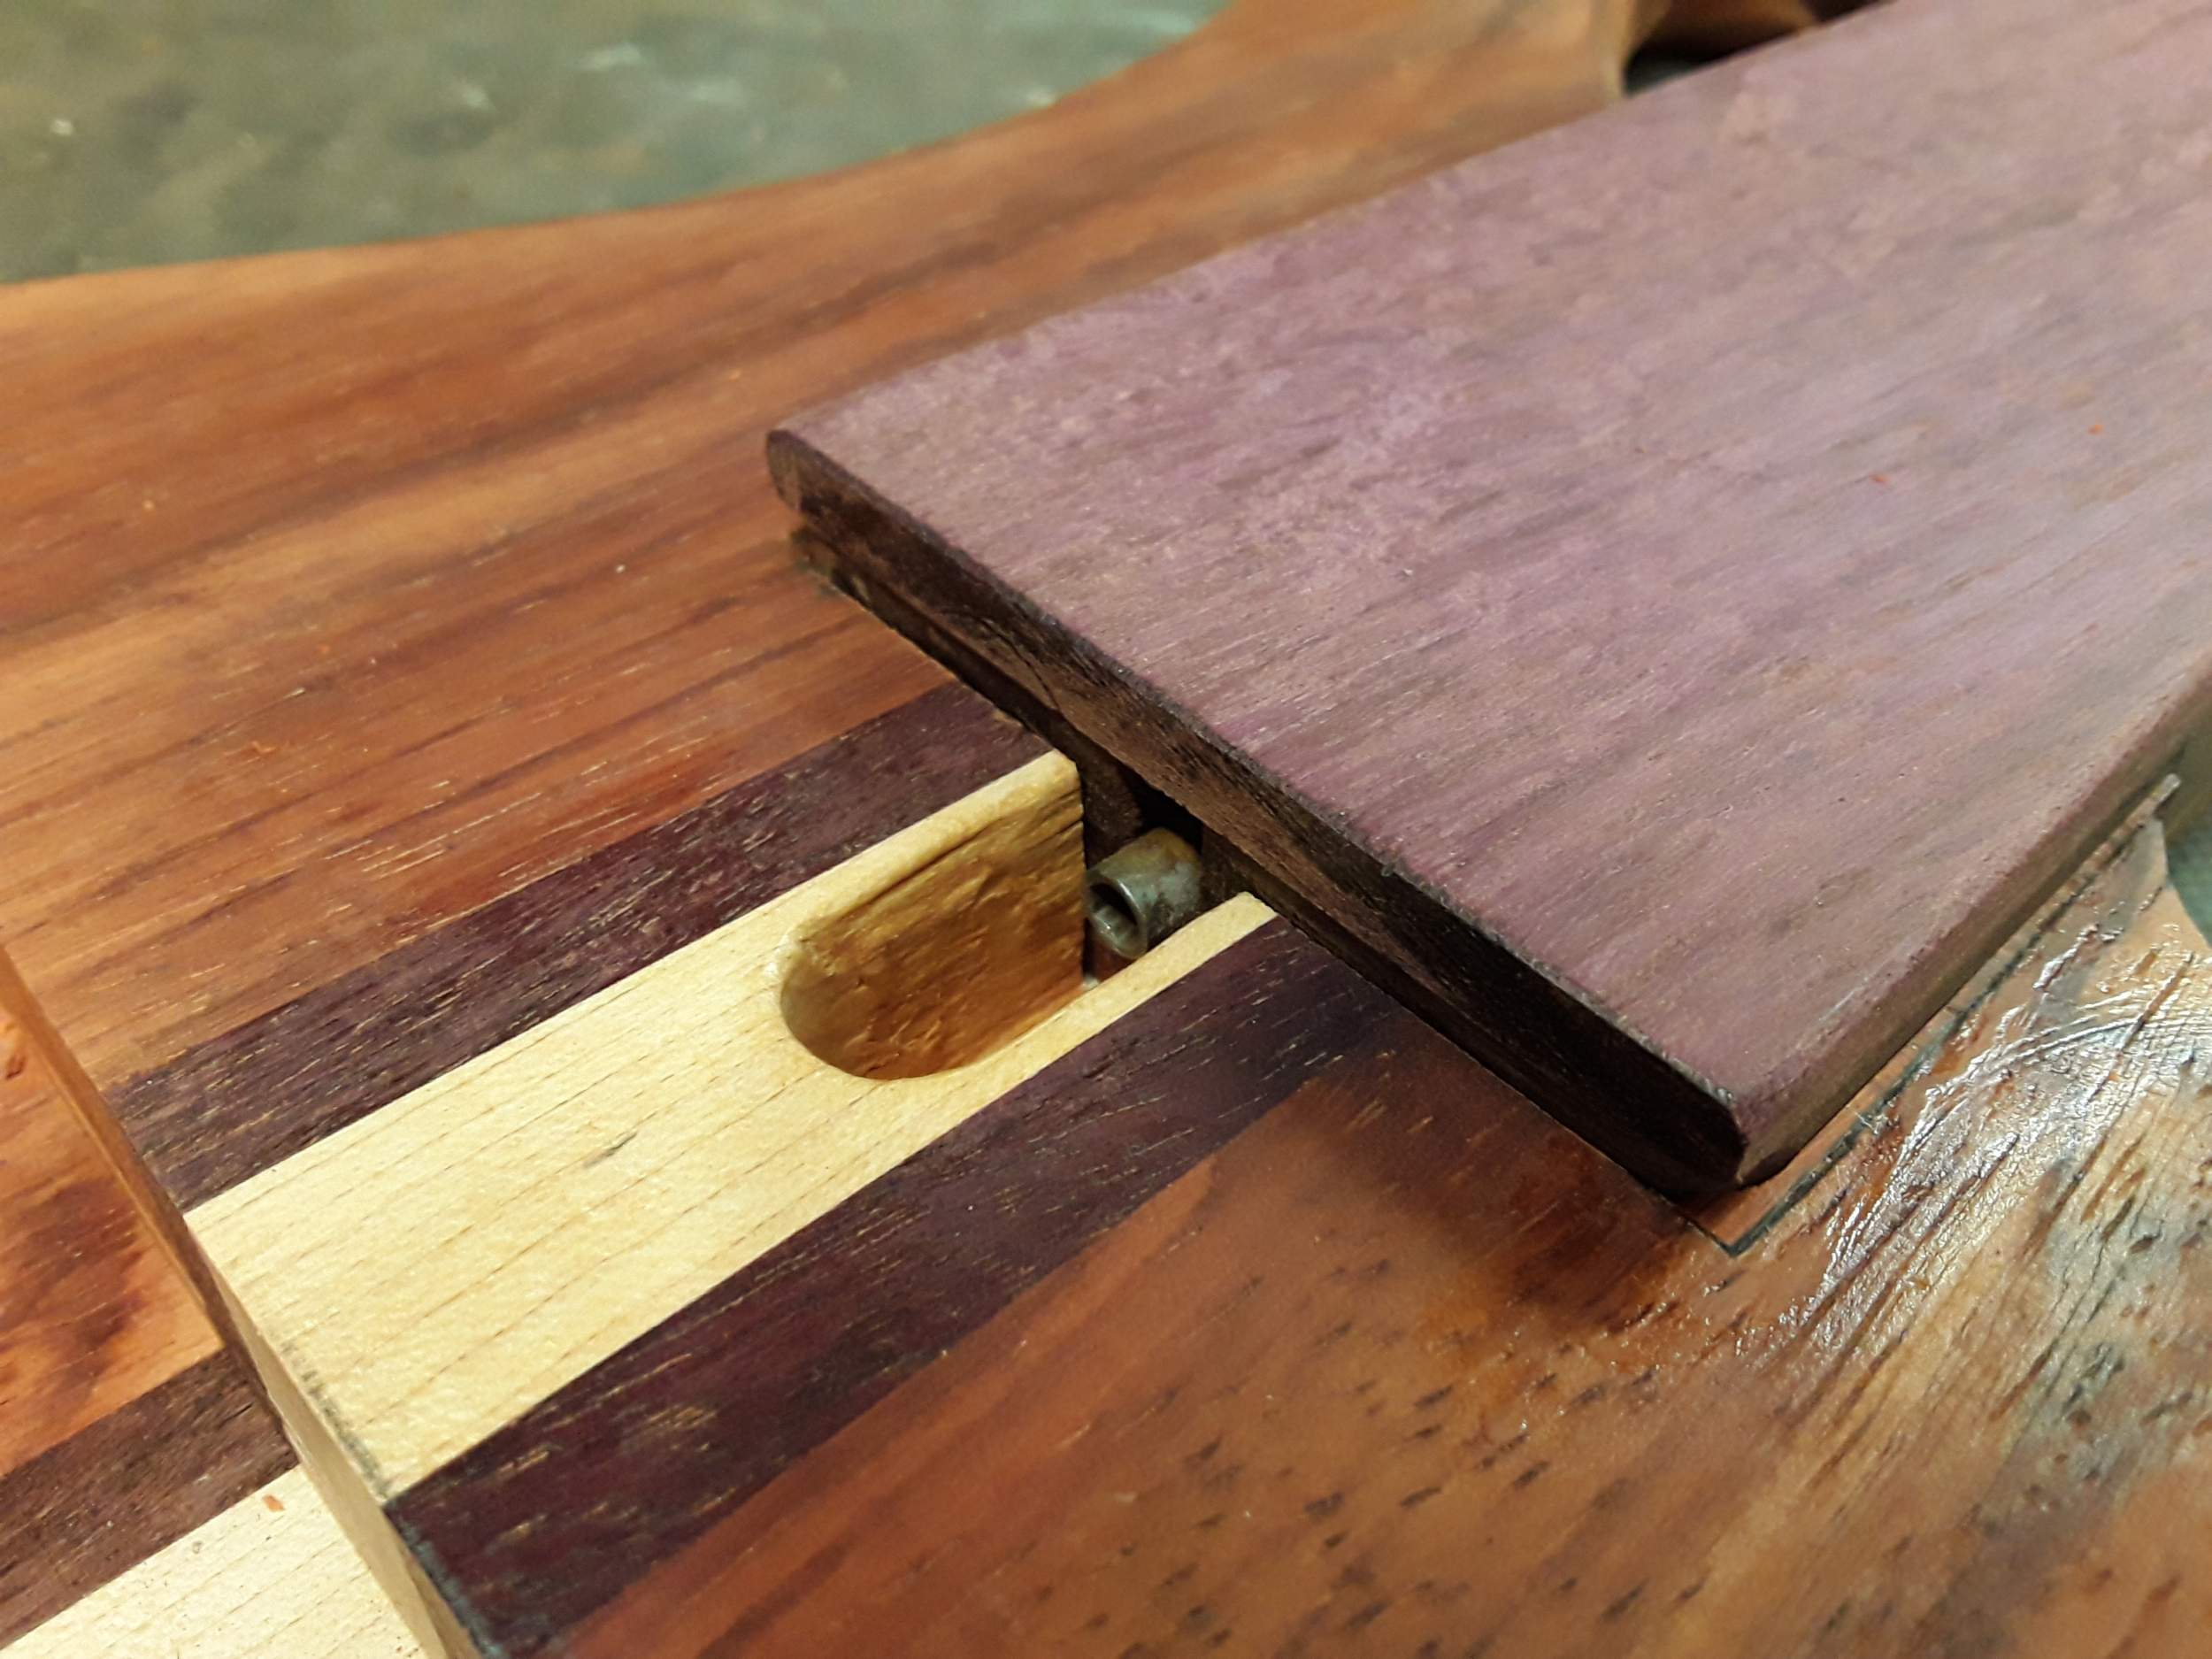
Fitting the neck allowed me to trace the pocket on the back of the neck so I could carve it a bit.
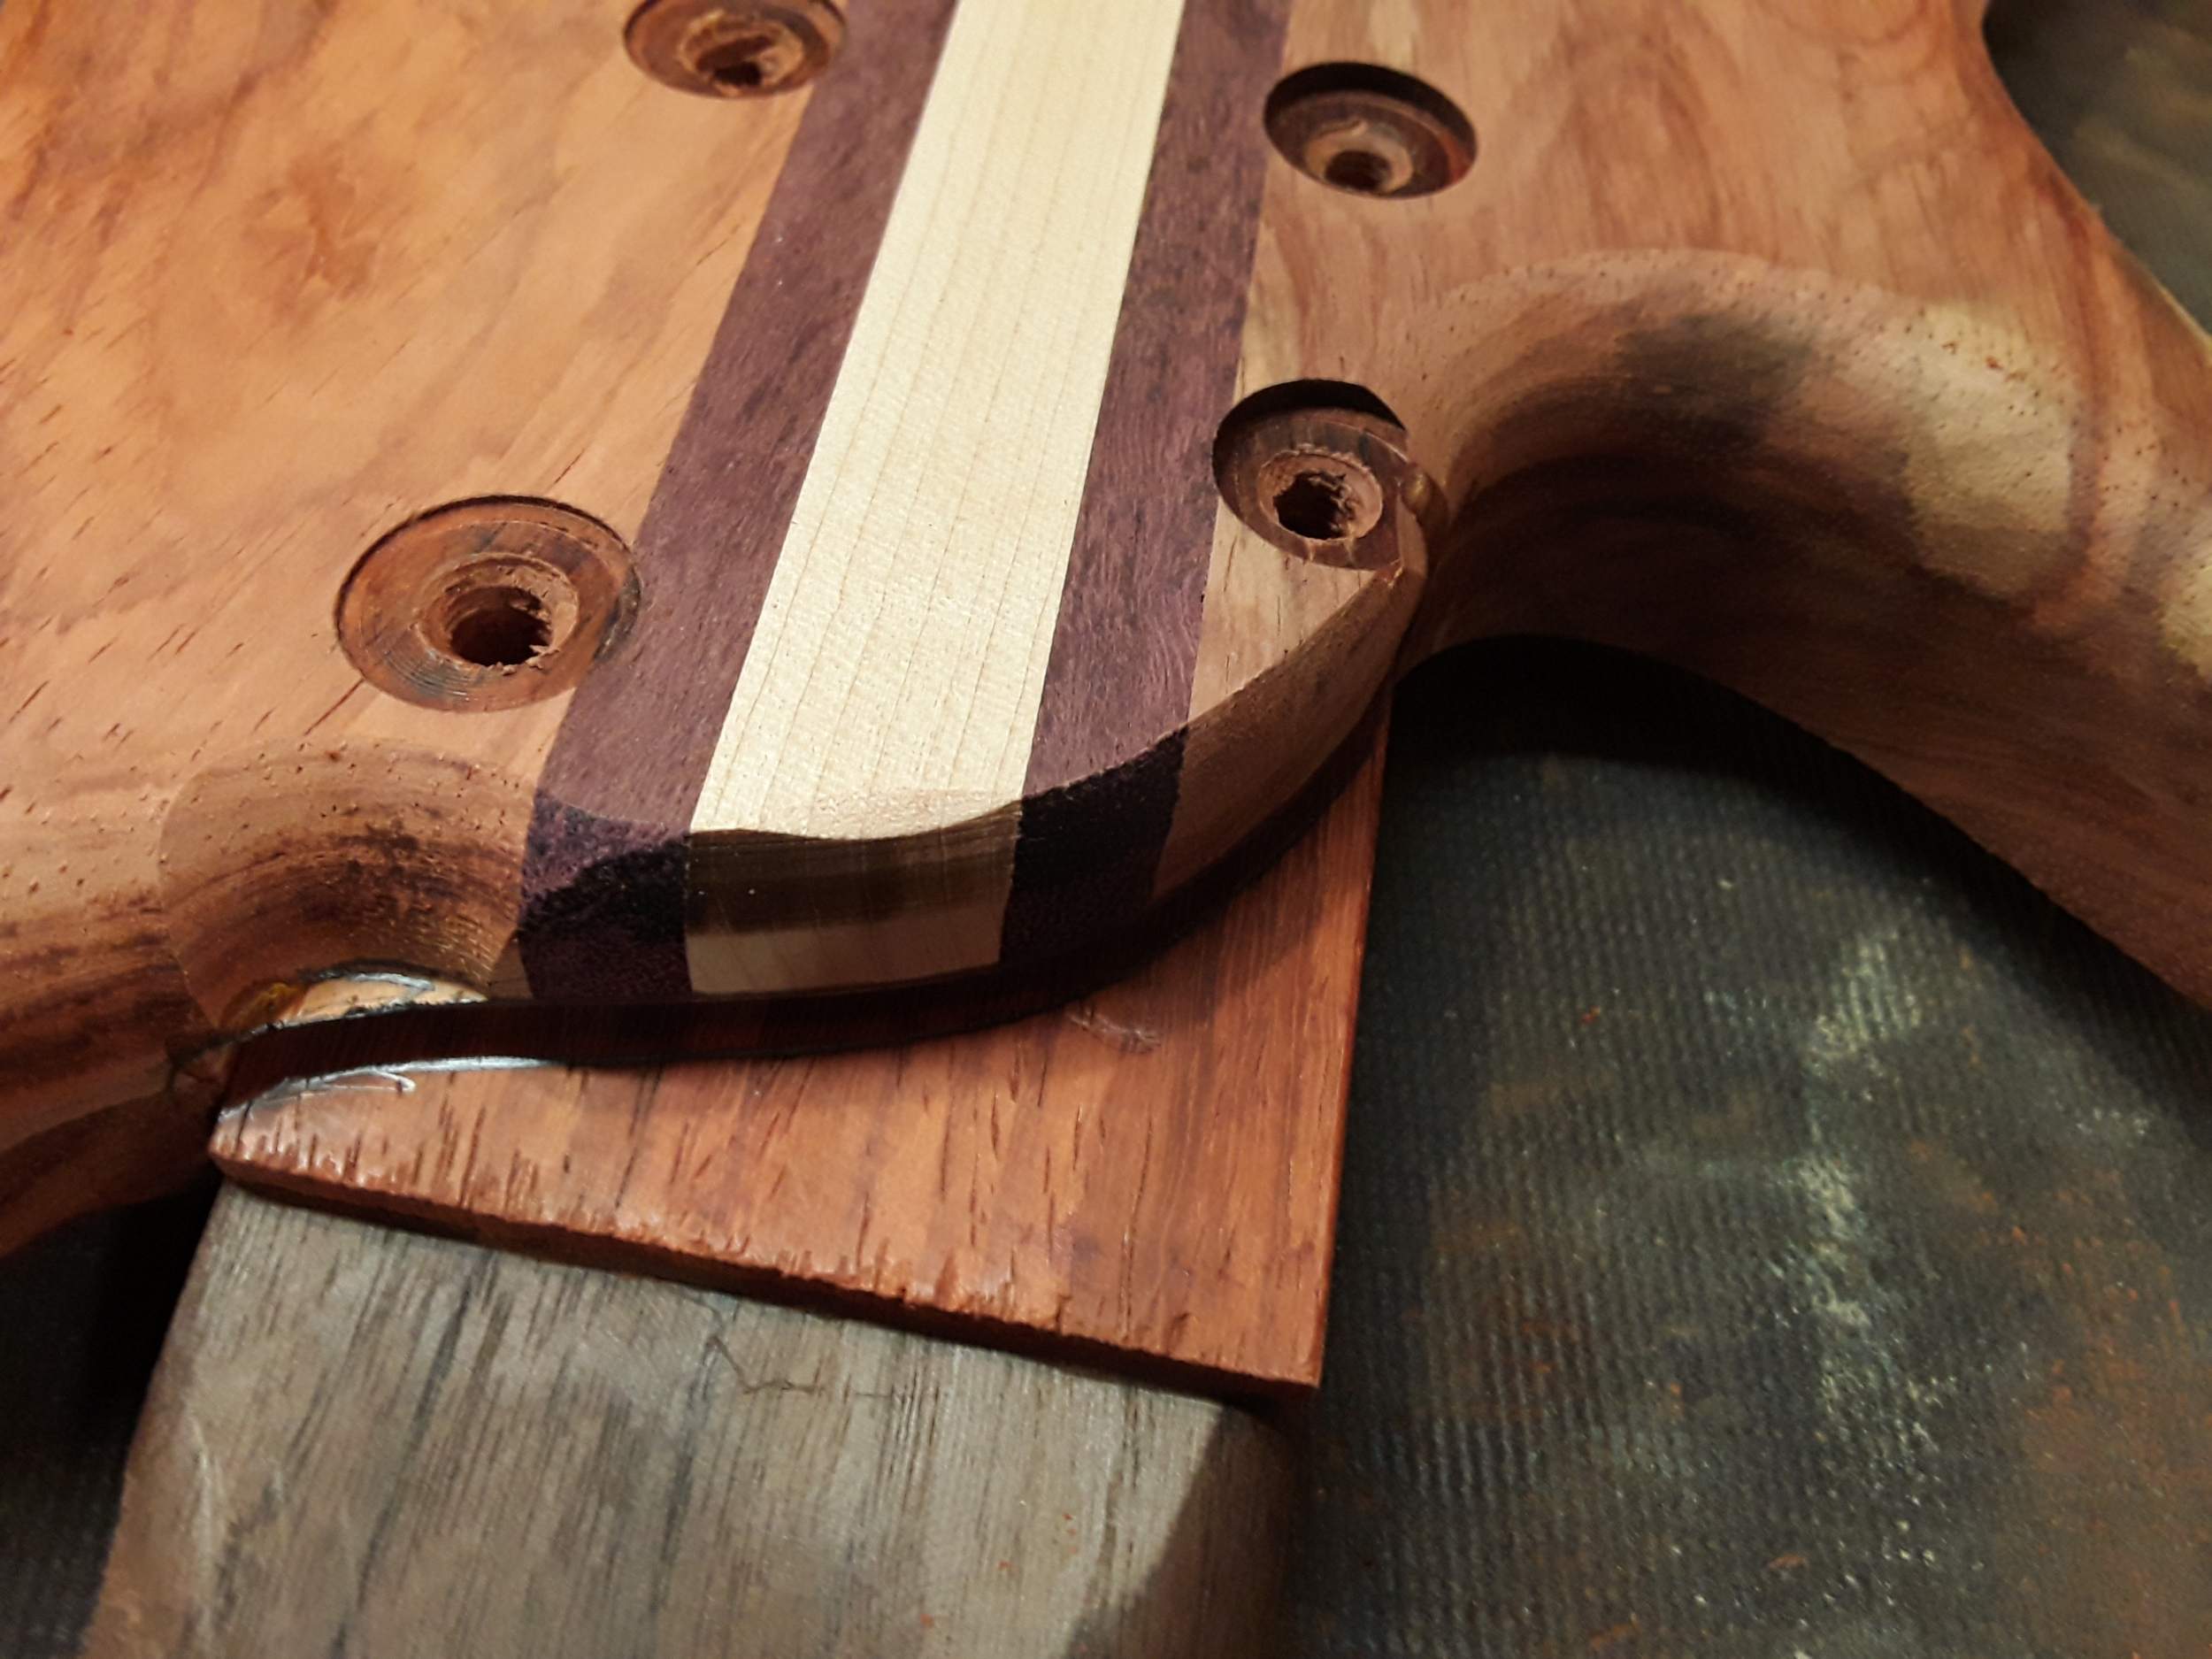

I carved most of what isn't needed away.

The fit is good and at the right height.
Truss rod is now in the center of the truss rod access rout.
Fitting the neck allowed me to trace the pocket on the back of the neck so I could carve it a bit.
I carved most of what isn't needed away.
All I did today was fiddle with the profile of the neck, so there's nothing to show, really. So here's a mockup and a sanctimonious opinion.  I know some folks really love it, but try as I might, I continue to find I simply can't get into lavenderheart. I don't really like it when it becomes magentaheart either. It's not completely unappealing when it's aubergineheart, although that seems to take years. The strips in the body look alright, but for the rest of it, ick.

I know some folks really love it, but try as I might, I continue to find I simply can't get into lavenderheart. I don't really like it when it becomes magentaheart either. It's not completely unappealing when it's aubergineheart, although that seems to take years. The strips in the body look alright, but for the rest of it, ick.
lavenderheart mockup
making a mockery of the mockery

I'm with you , just too pinkish looking for my tastes. I'll add (again on a personal preference note) I'd knock off that scroll. I think your shape would be stellar with a slim upper horn.All I did today was fiddle with the profile of the neck, so there's nothing to show, really. So here's a mockup and a sanctimonious opinion.
lavenderheart mockup
making a mockery of the mockery
Last edited:

Really depends on what it's being paired with for me. I think it looks totally wrong on your bass. But it looks great next to maple or wenge for instance. On yours it just clashes with the body.
But it looks great next to maple or wenge for instance. On yours it just clashes with the body.

Can you bleach it? Stain it? Have @MPU wrap it in carbon fiber for you?All I did today was fiddle with the profile of the neck, so there's nothing to show, really. So here's a mockup and a sanctimonious opinion.
lavenderheart mockup
making a mockery of the mockery
All 3.Can you bleach it? Stain it? Have @MPU wrap it in carbon fiber for you?
Teach that wood a lesson.

Relax and let it age to perfection.
If you want to head straight to brown, hang it in the sunlight for a while.
Gonna bring out my "people who ruin Black Cherry by covering it with red 'cherry' finish they could just as well have put on poplar and not ruined actual cherry with" PTSD if this continues on the path that's starting here.
If you want to head straight to brown, hang it in the sunlight for a while.
Gonna bring out my "people who ruin Black Cherry by covering it with red 'cherry' finish they could just as well have put on poplar and not ruined actual cherry with" PTSD if this continues on the path that's starting here.
This may be worth a shot.If you want to head straight to brown, hang it in the sunlight for a while.


