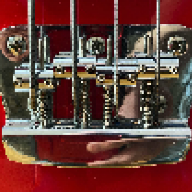
Thanks I also made aged pearl control plate as well but preferred the grey pearl in the end. I had also thought of using 2.5mm acrylic mirror. Easy to work with and cheap.That's a great look, with the front control plate matching the pickguard. I may steal that from you.

Enjoy the benefits of a premium membership!
Upgrade Account
-
TalkBass has been independent since 1998. Add your voice.
Create a free account to reply to discussions, view embedded media, and browse with fewer display ads.
Join free Log in
Want zero display ads or expanded classifieds tools? Compare plans.
You are using an out of date browser. It may not display this or other websites correctly.
You should upgrade or use an alternative browser.
You should upgrade or use an alternative browser.
Winter Build Off 2023- JazzRunner
- Thread starter Bass-Babe
- Start date
More options
Who Replied?

By the way, I once saw a photo of a front control plate that was completely see-through. I thought it looked horrible, with the visible intestines.
Last edited:
Yup I saw that when I made a clear template for figuring out control spacing.
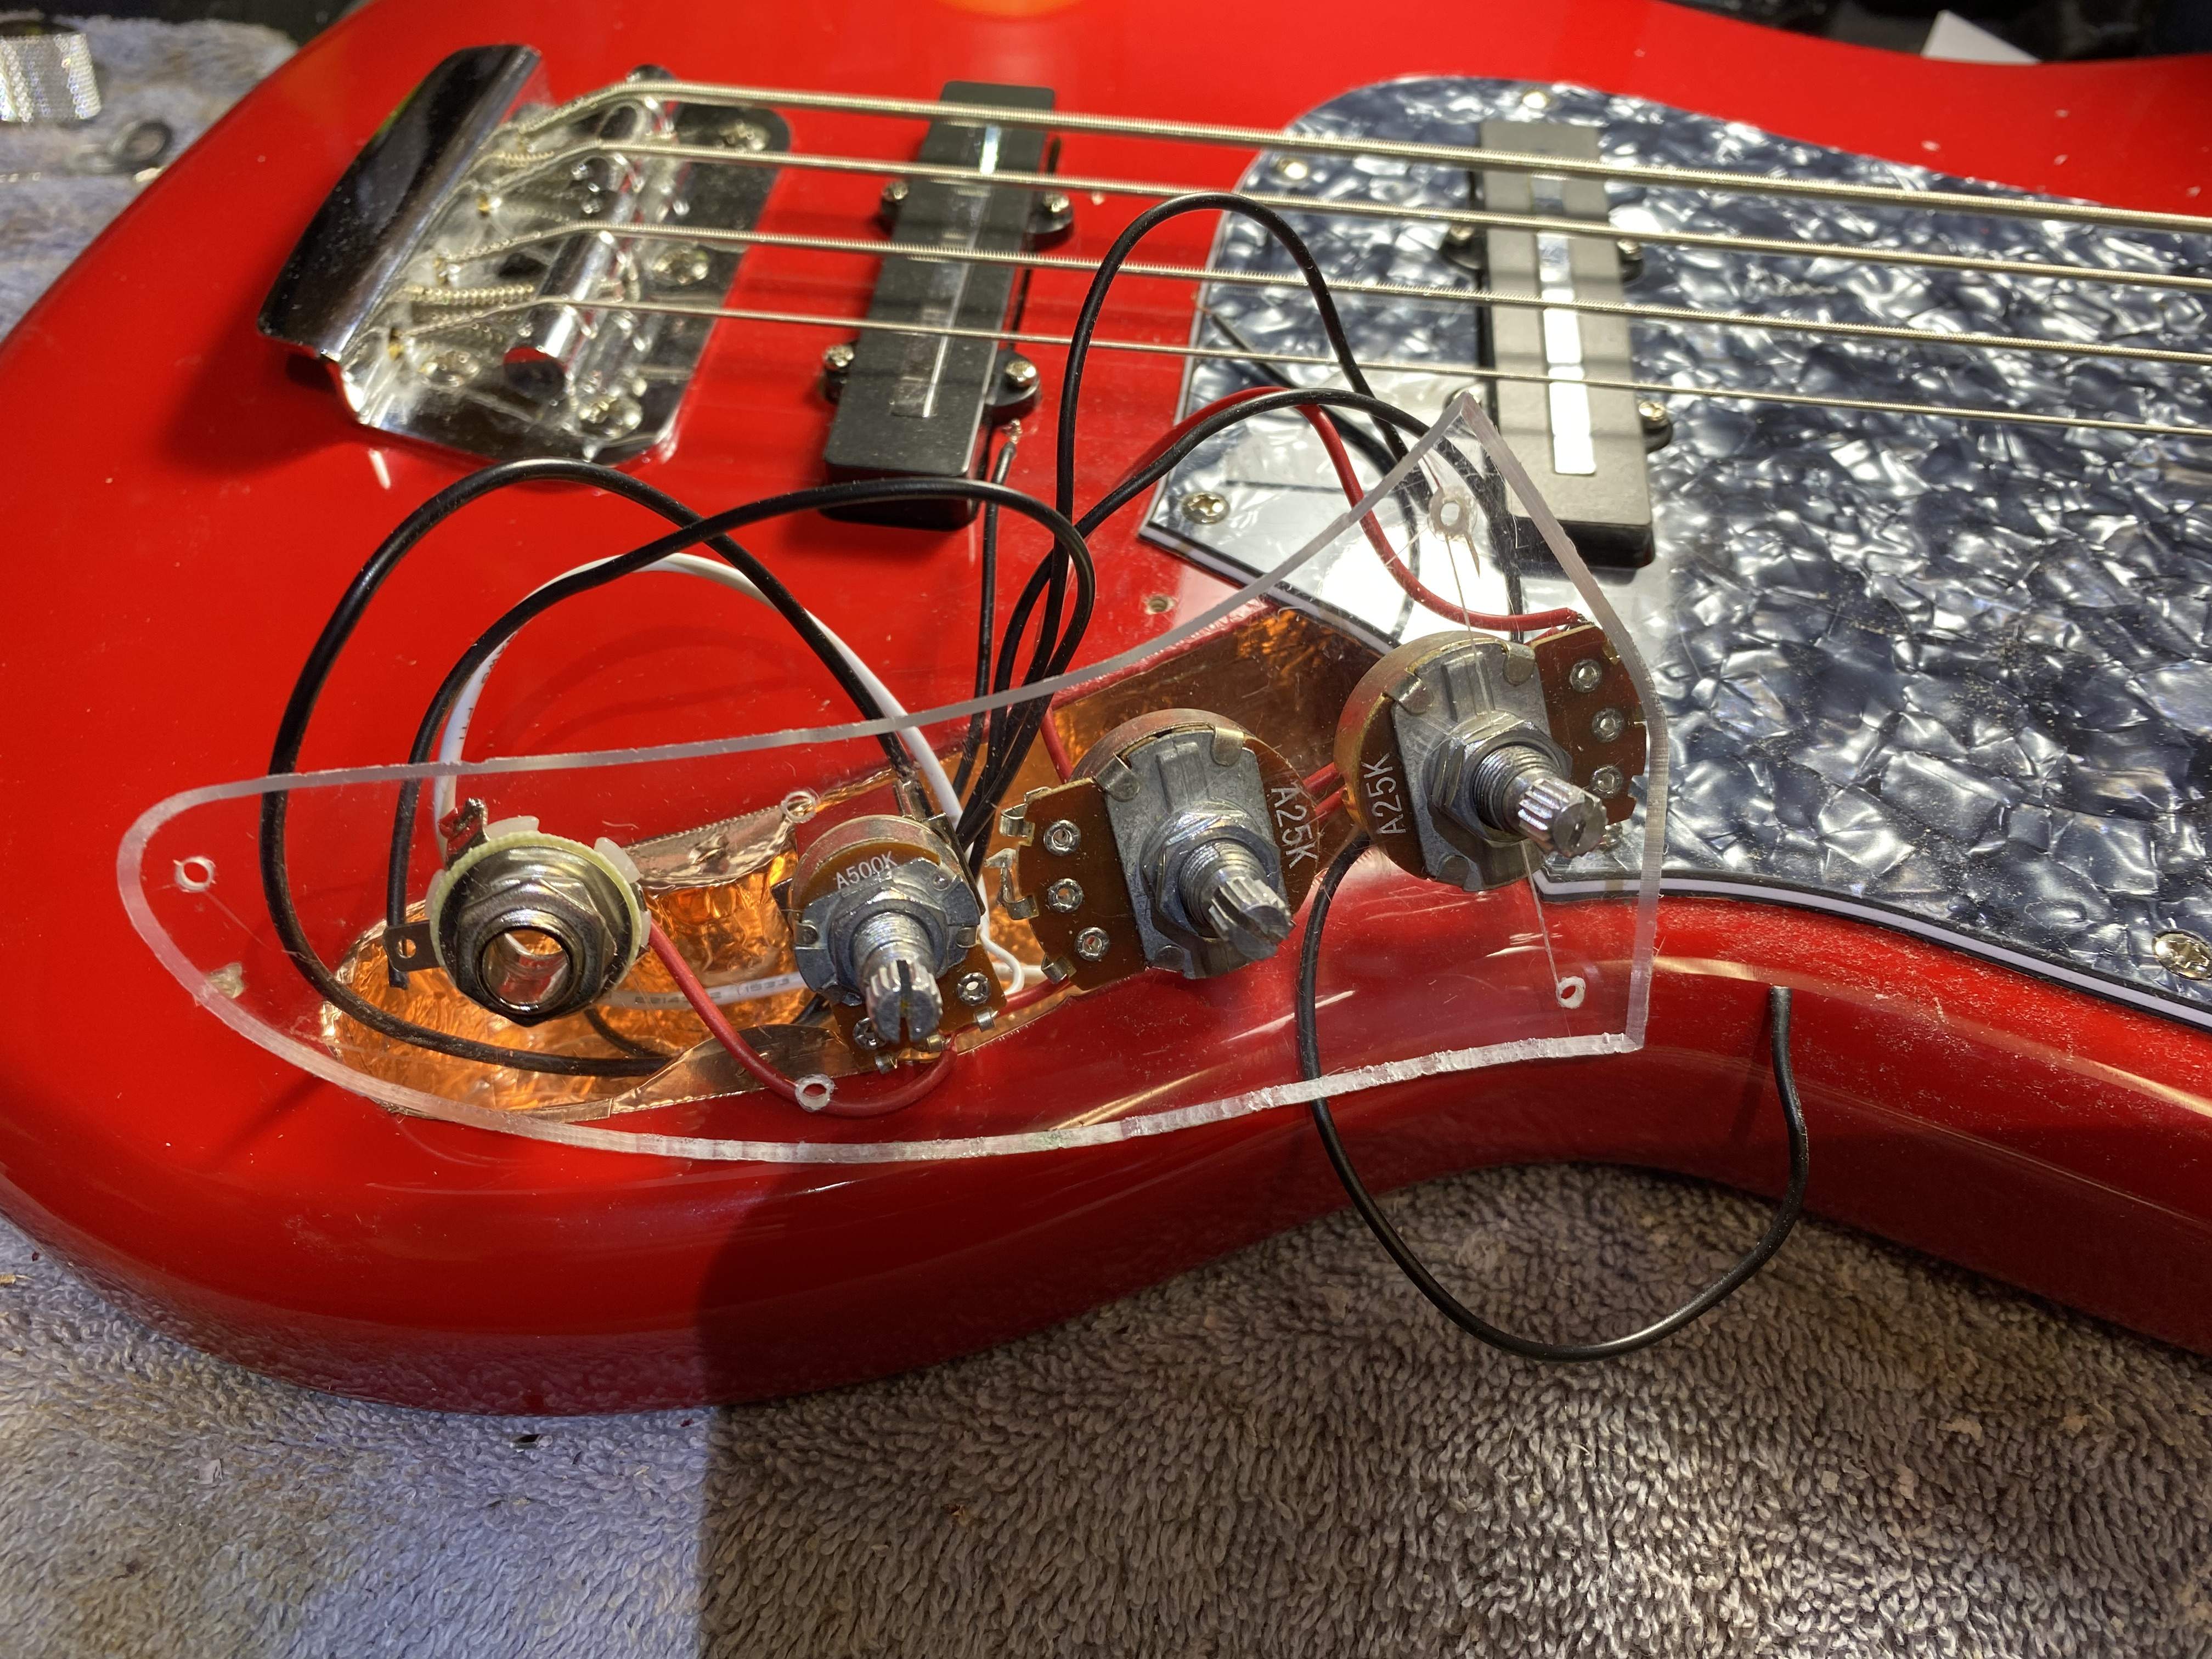



Gotta say,mechanical workings are way more interesting than wiring. I can look at motors all day, but wiring just doesn't do anything for me.A clear pick guard is definitely on my to-do list. That's an aesthetic choice that not everyone would make, but I like seeing the guts on display.
View attachment 4984486
It does not have to be badto look at , but I get ya.Gotta say,mechanical workings are way more interesting than wiring. I can look at motors all day, but wiring just doesn't do anything for me.

Last edited:
I do get that it doesn't have to look bad, I've seen some beautiful wiring jobs in f1 cars,show cars/bikes, but it always seemed more like the jewelry on a woman, purely an accent. Not the focal point.It does not have to bad, but I get ya.
View attachment 4984530
Just my opinion, and I'm an idiot so...
I love looking at machinery, fascinating.I do get that it doesn't have to look bad, I've seen some beautiful wiring jobs in f1 cars,show cars/bikes, but it always seemed more like the jewelry on a woman, purely an accent. Not the focal point.
Just my opinion, and I'm an idiot so...
So I may regret this. But Ireally felt the bleach blond maple neck was too light. So I decided to "kiwi" it. I used 0000 steel wool and brown kiwi and gently buffed it out with the intention of giving a relic'd vintage colour tone.
After wood I sealed it with a light touch of tung oil. What do you think?? I could always resand it and start over but it does look older now,,,
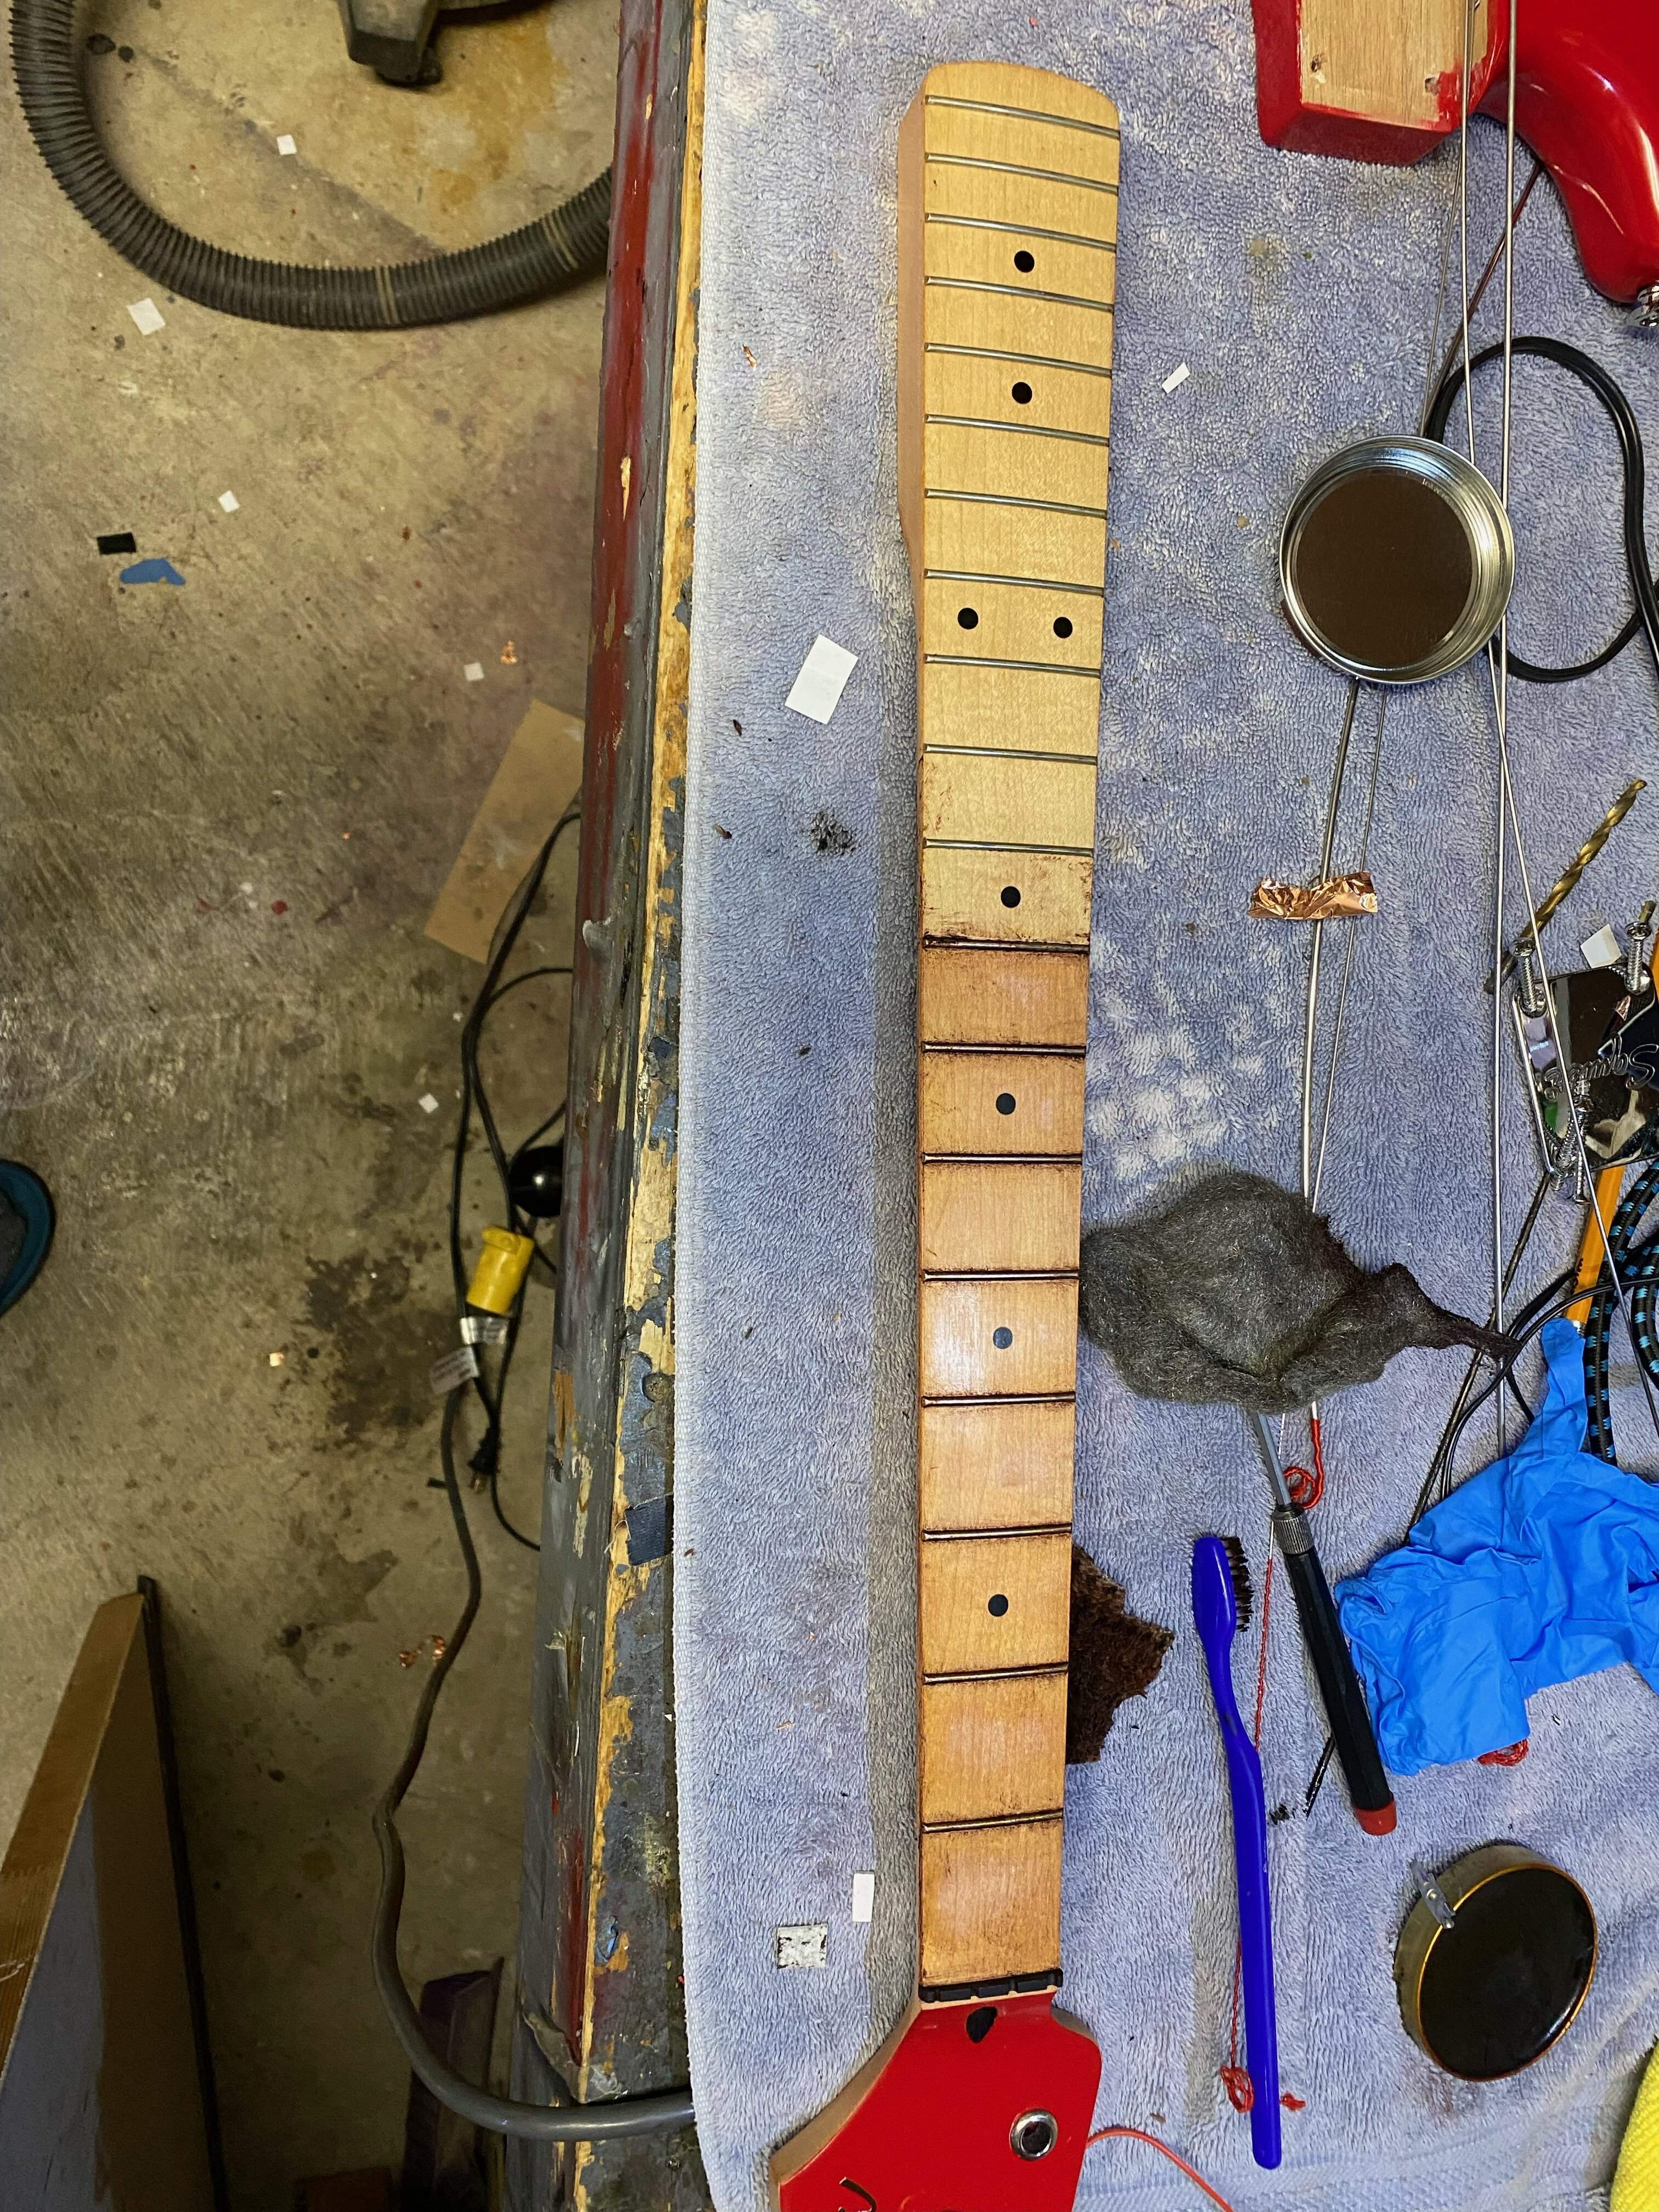
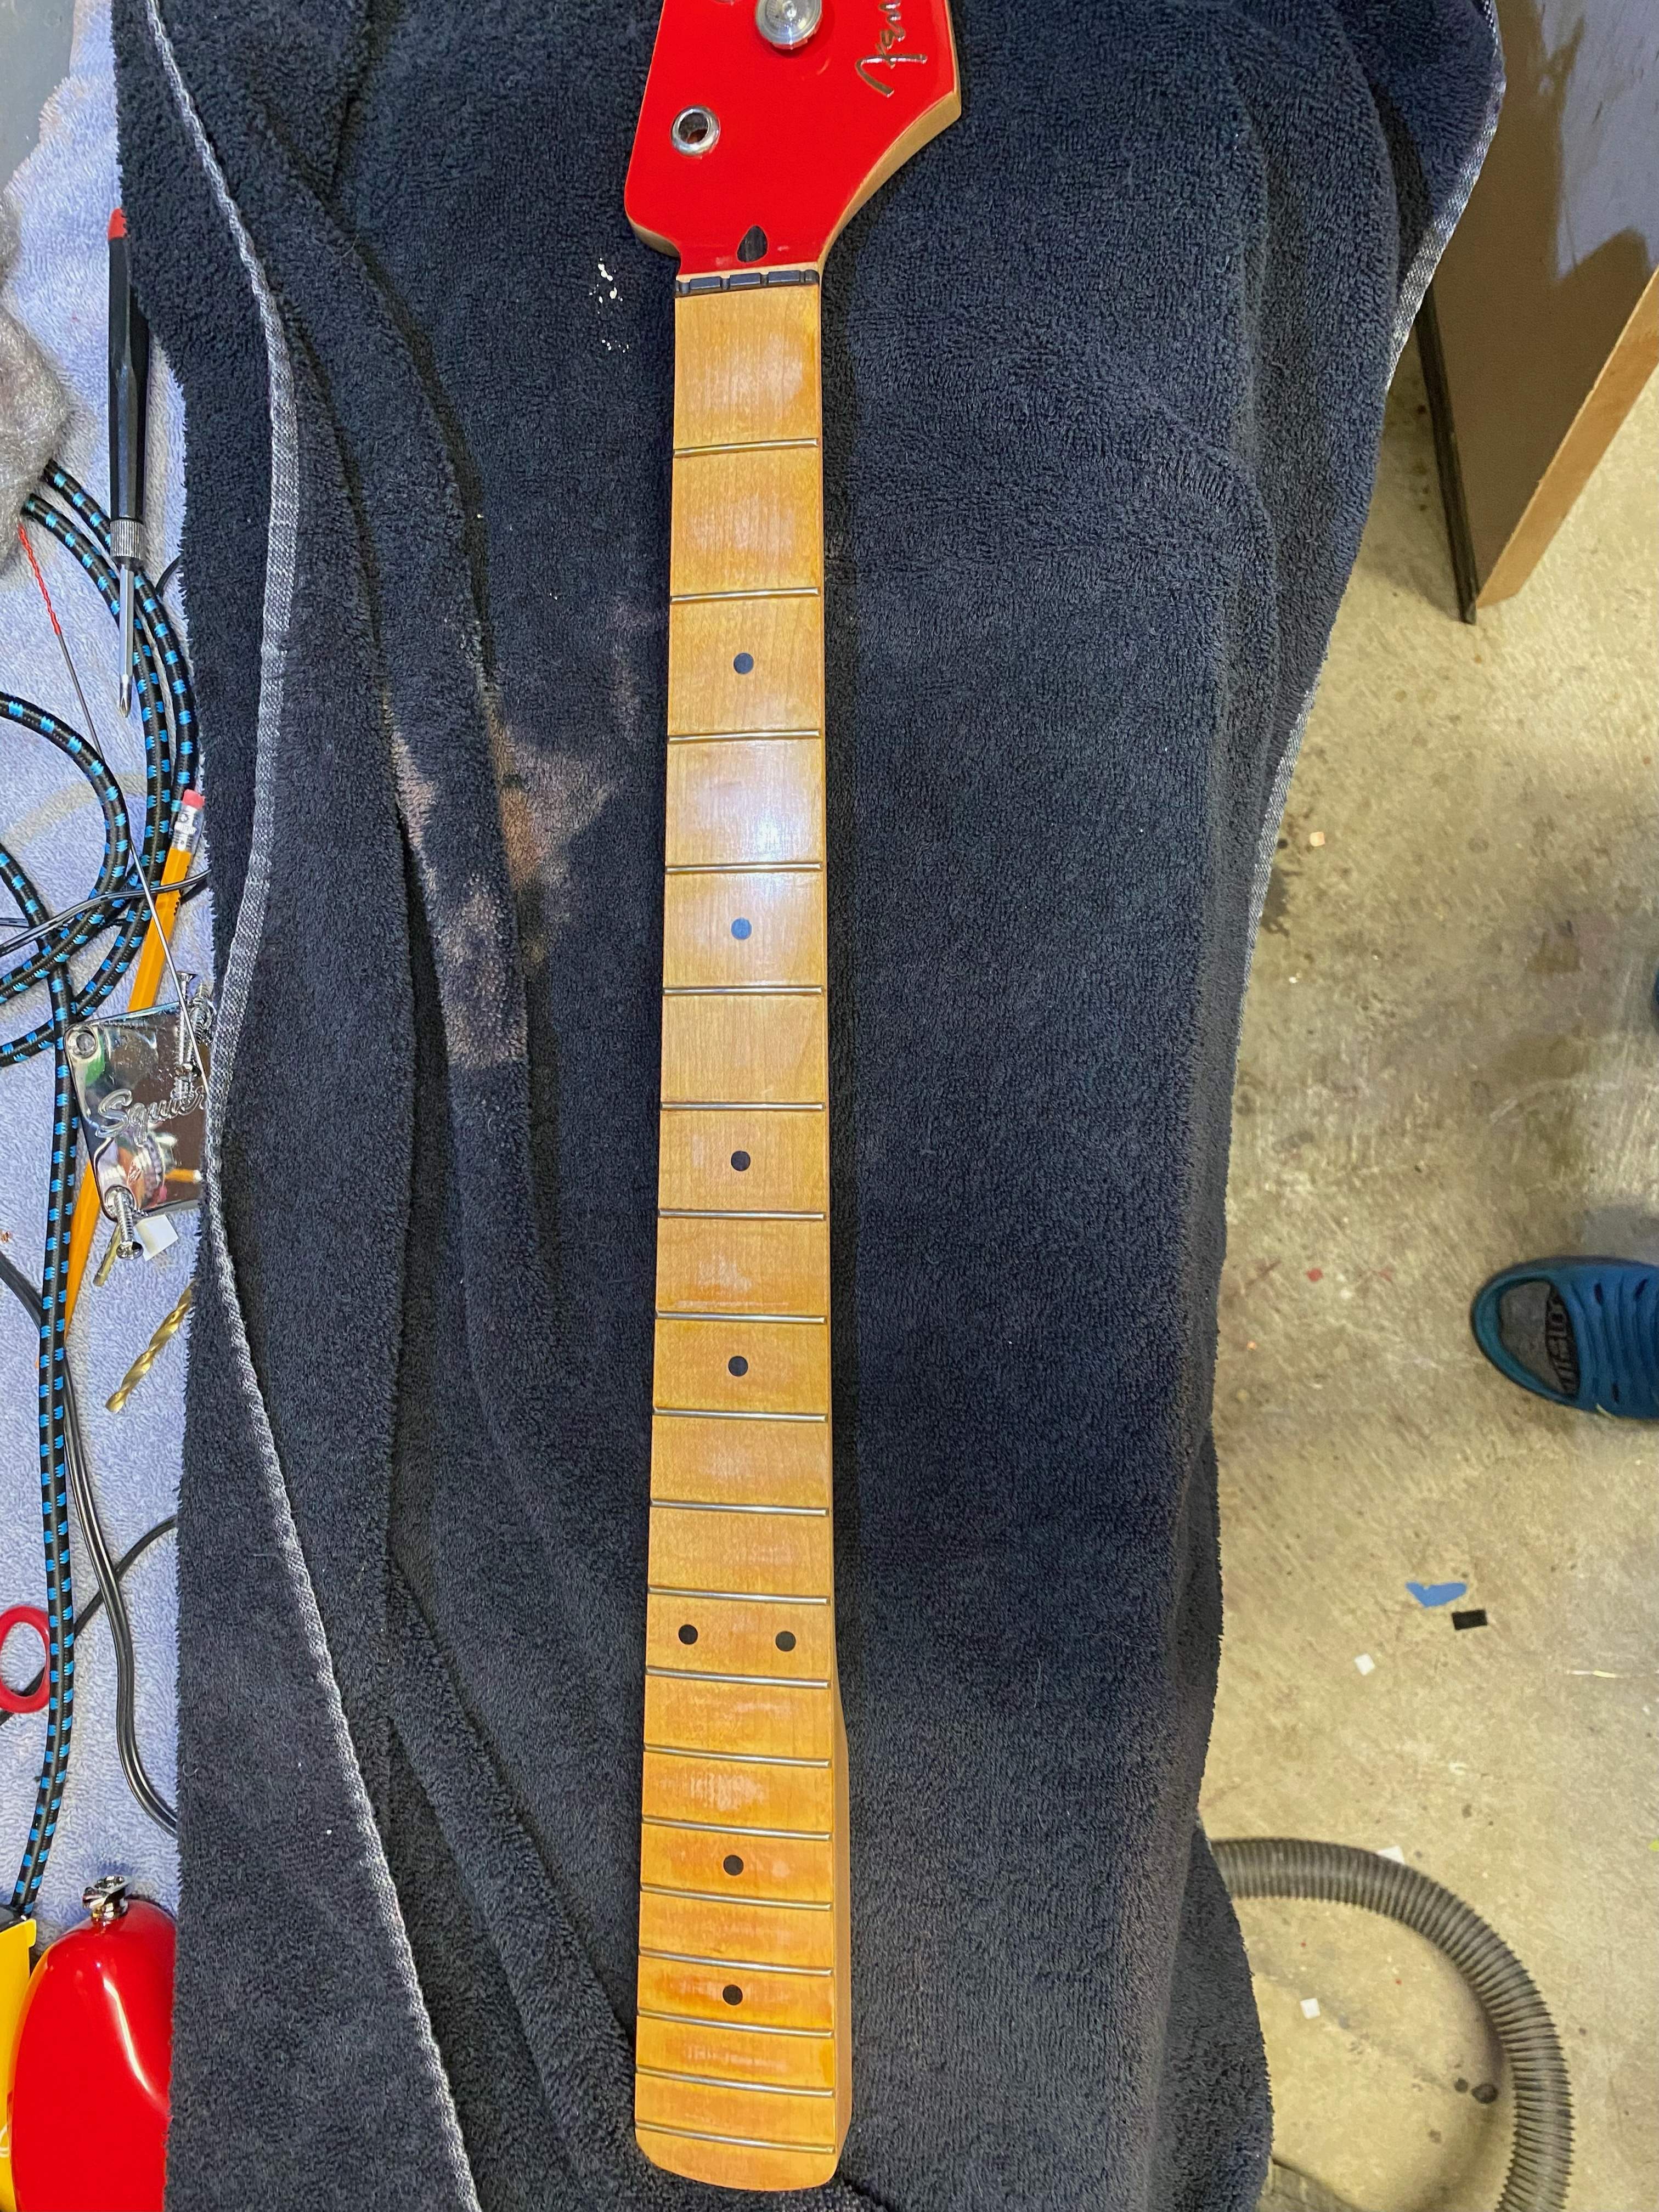
After wood I sealed it with a light touch of tung oil. What do you think?? I could always resand it and start over but it does look older now,,,


In the first picture it’s the area closer to the headstock? I like that. It looks older without being too orange, I guess, which a lot of the inexpensive “aged lacquer” necks do.
Thanks for the input. I was not loving it. I just removed it all via 0000 steel . Hopefully this time it look better without patches...

Attachments
Last edited:
So here it is now. Refinished.After stripping and then with refinish....
Led lights I have in my shop are daylight bulbs with a lot of blue. It looks darker in person. Happy with that I think.
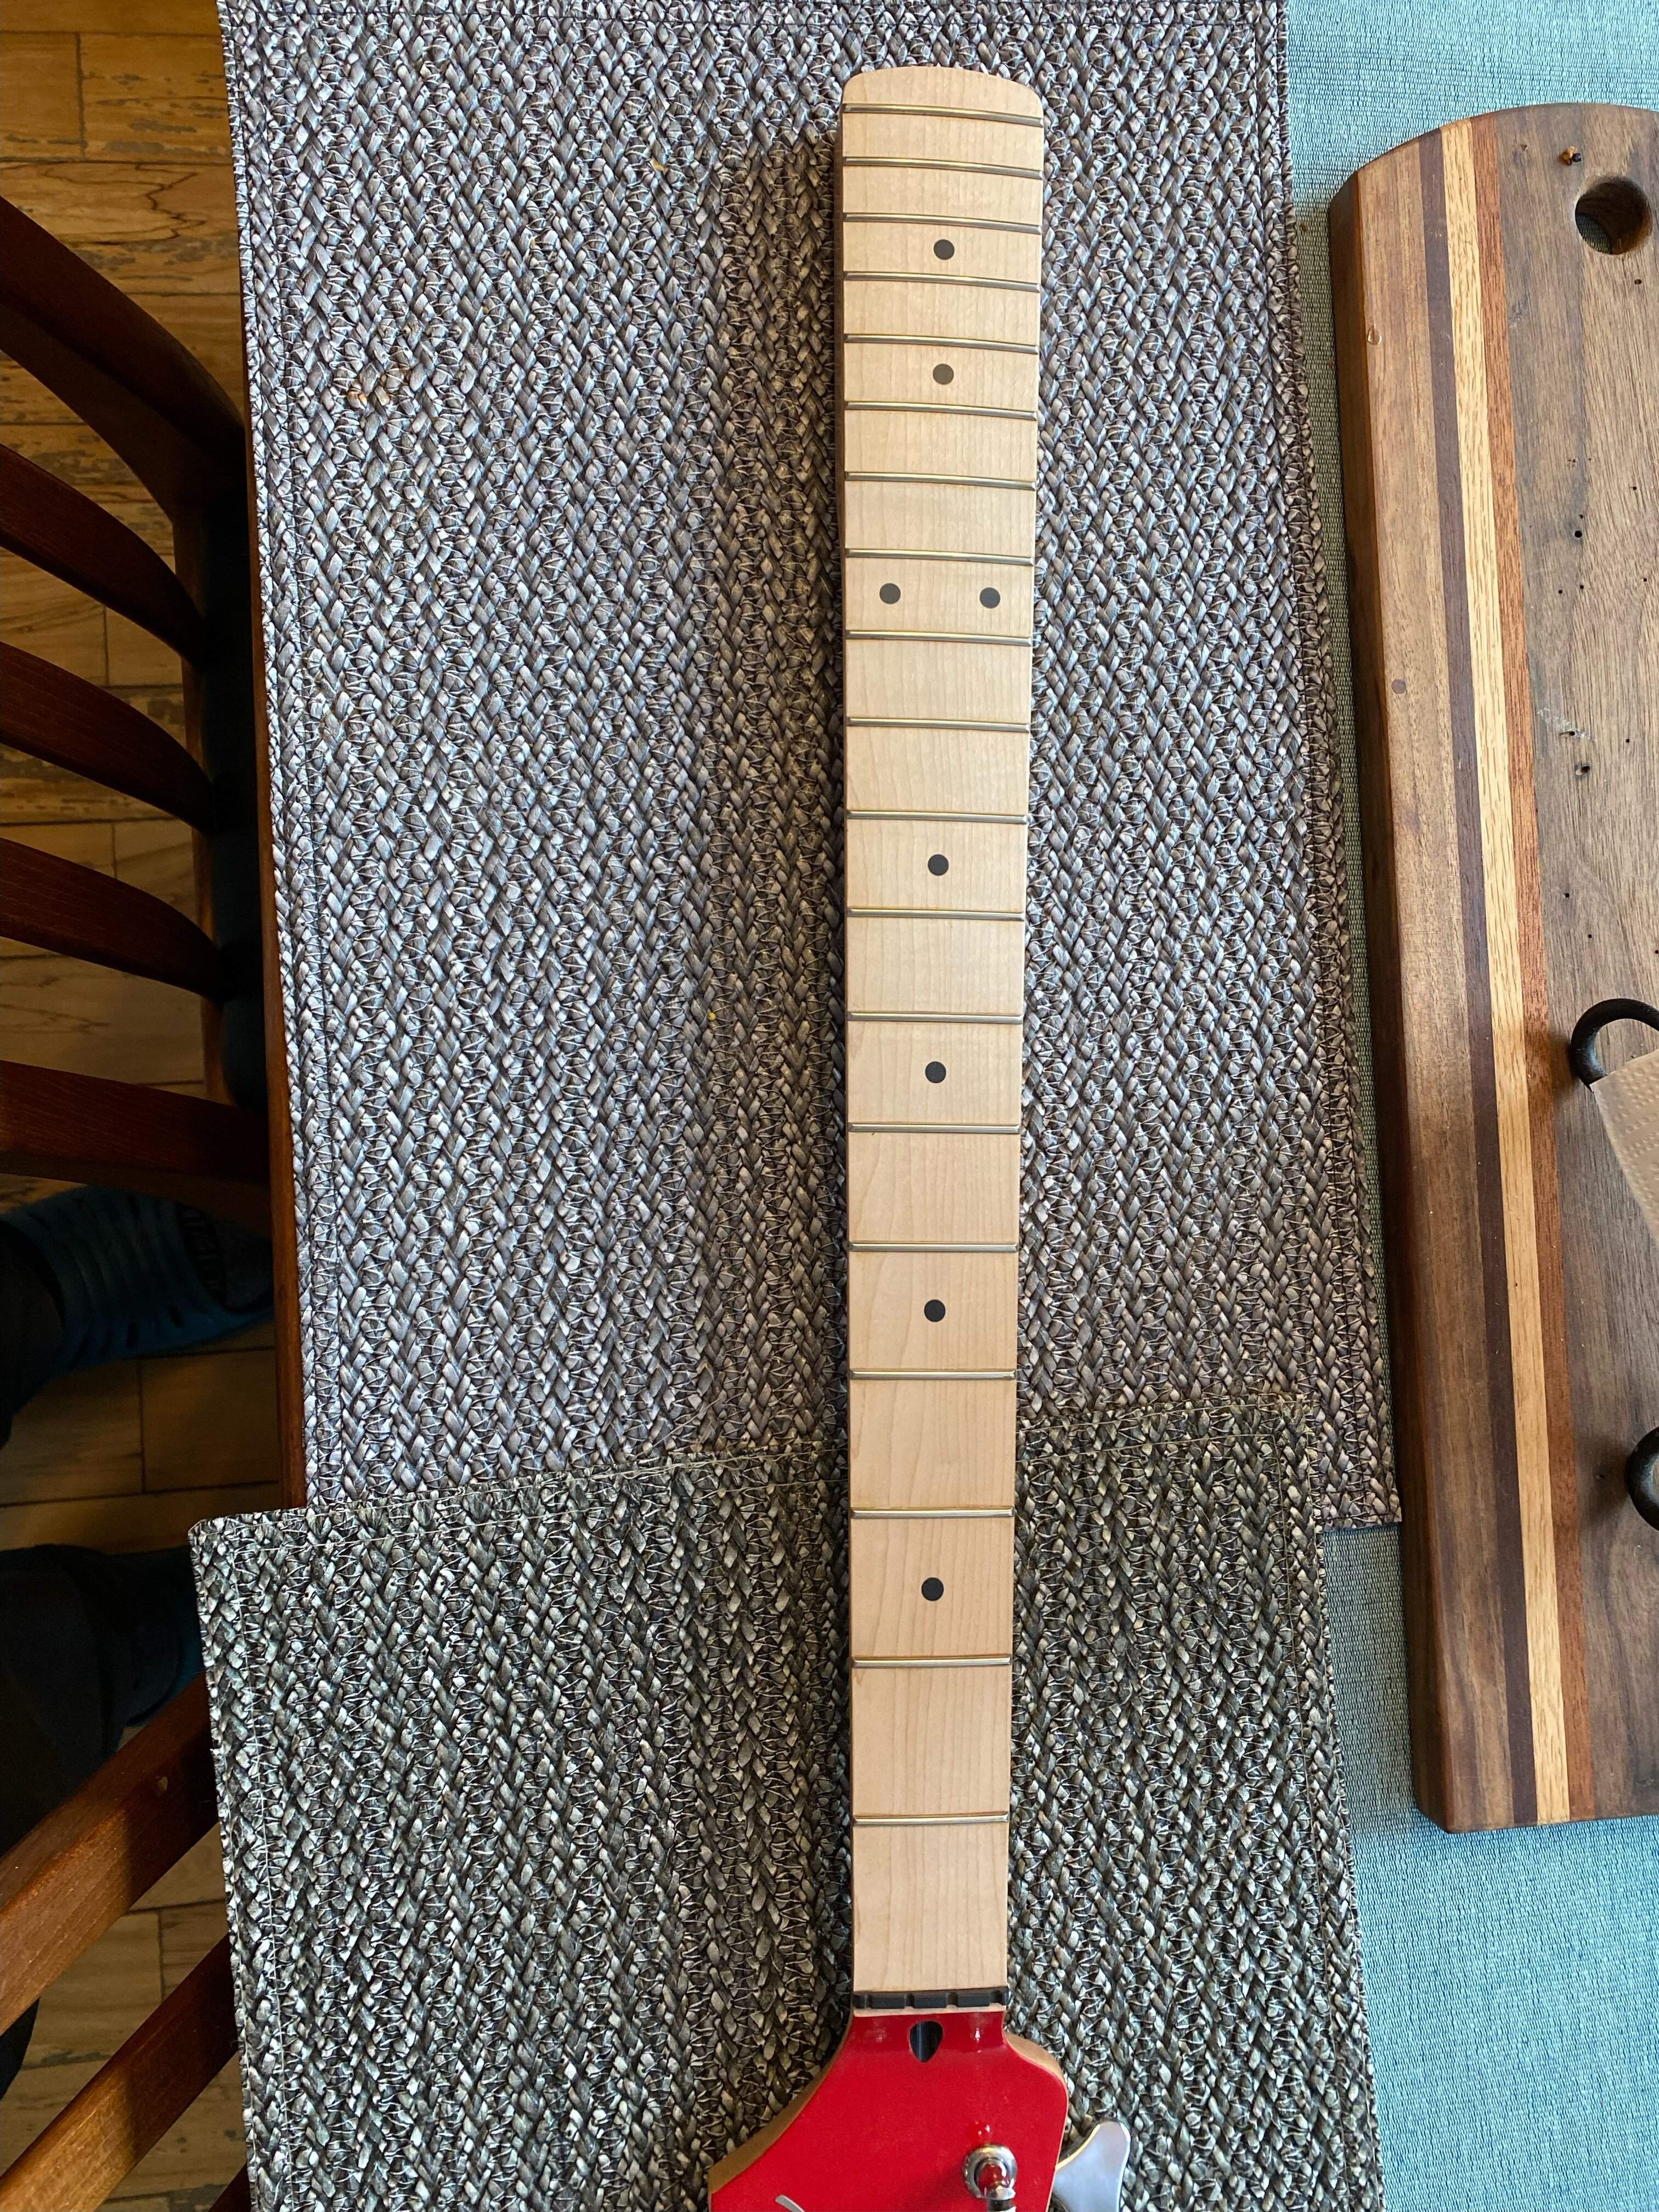
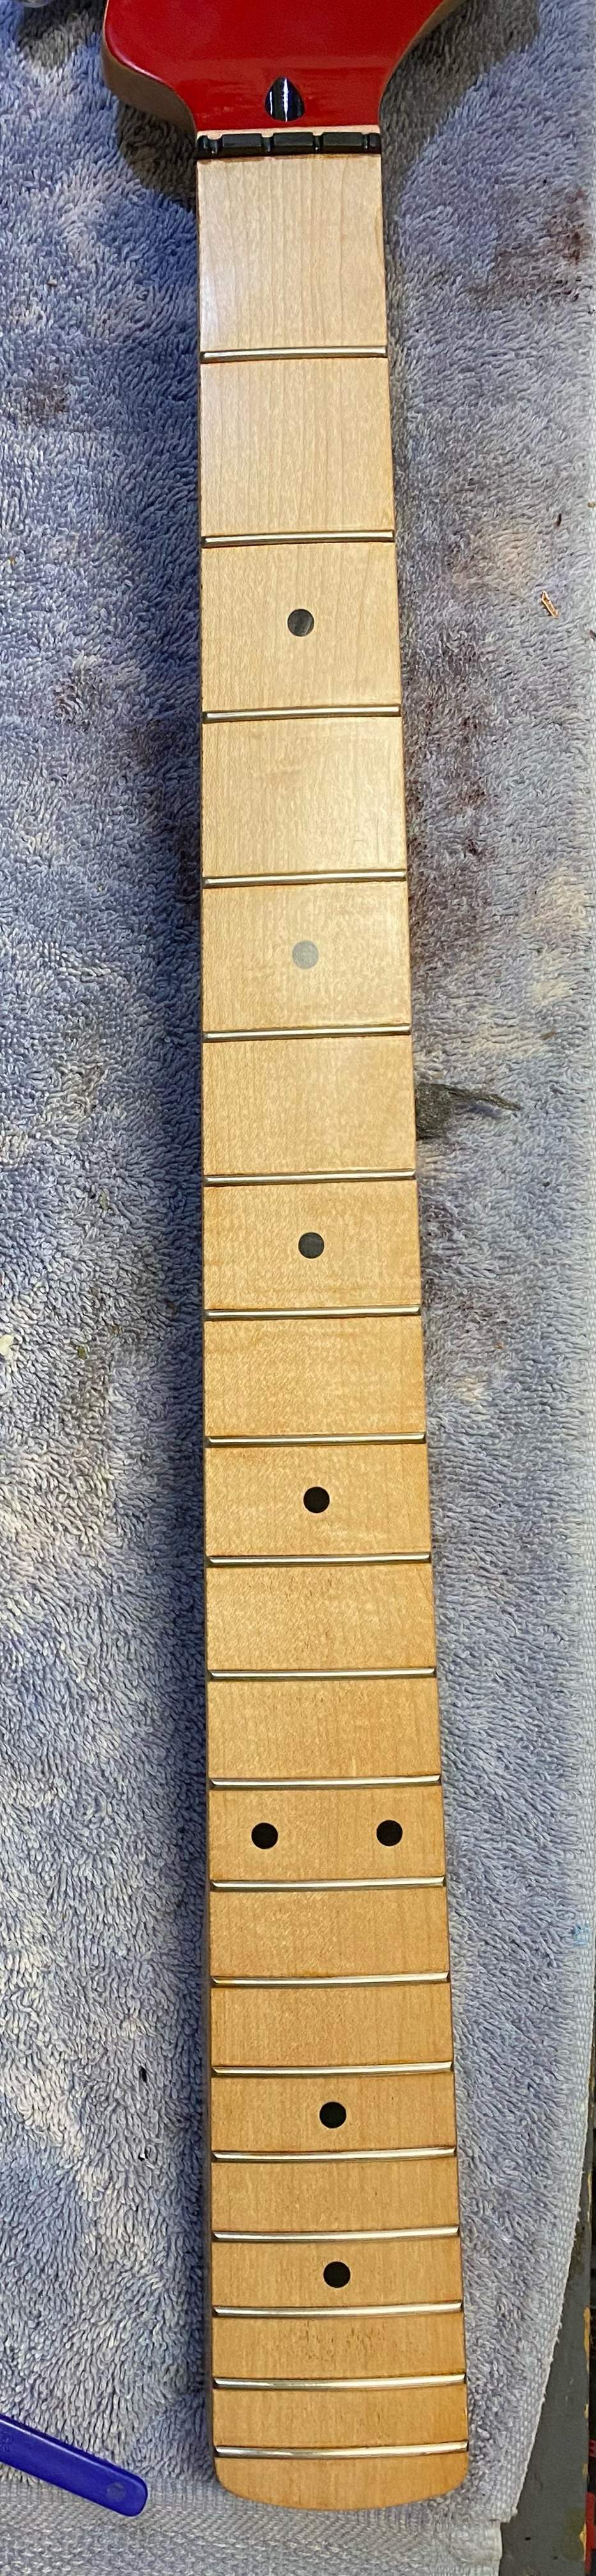
Led lights I have in my shop are daylight bulbs with a lot of blue. It looks darker in person. Happy with that I think.
Attachments

Last edited:

Let talk tuners.
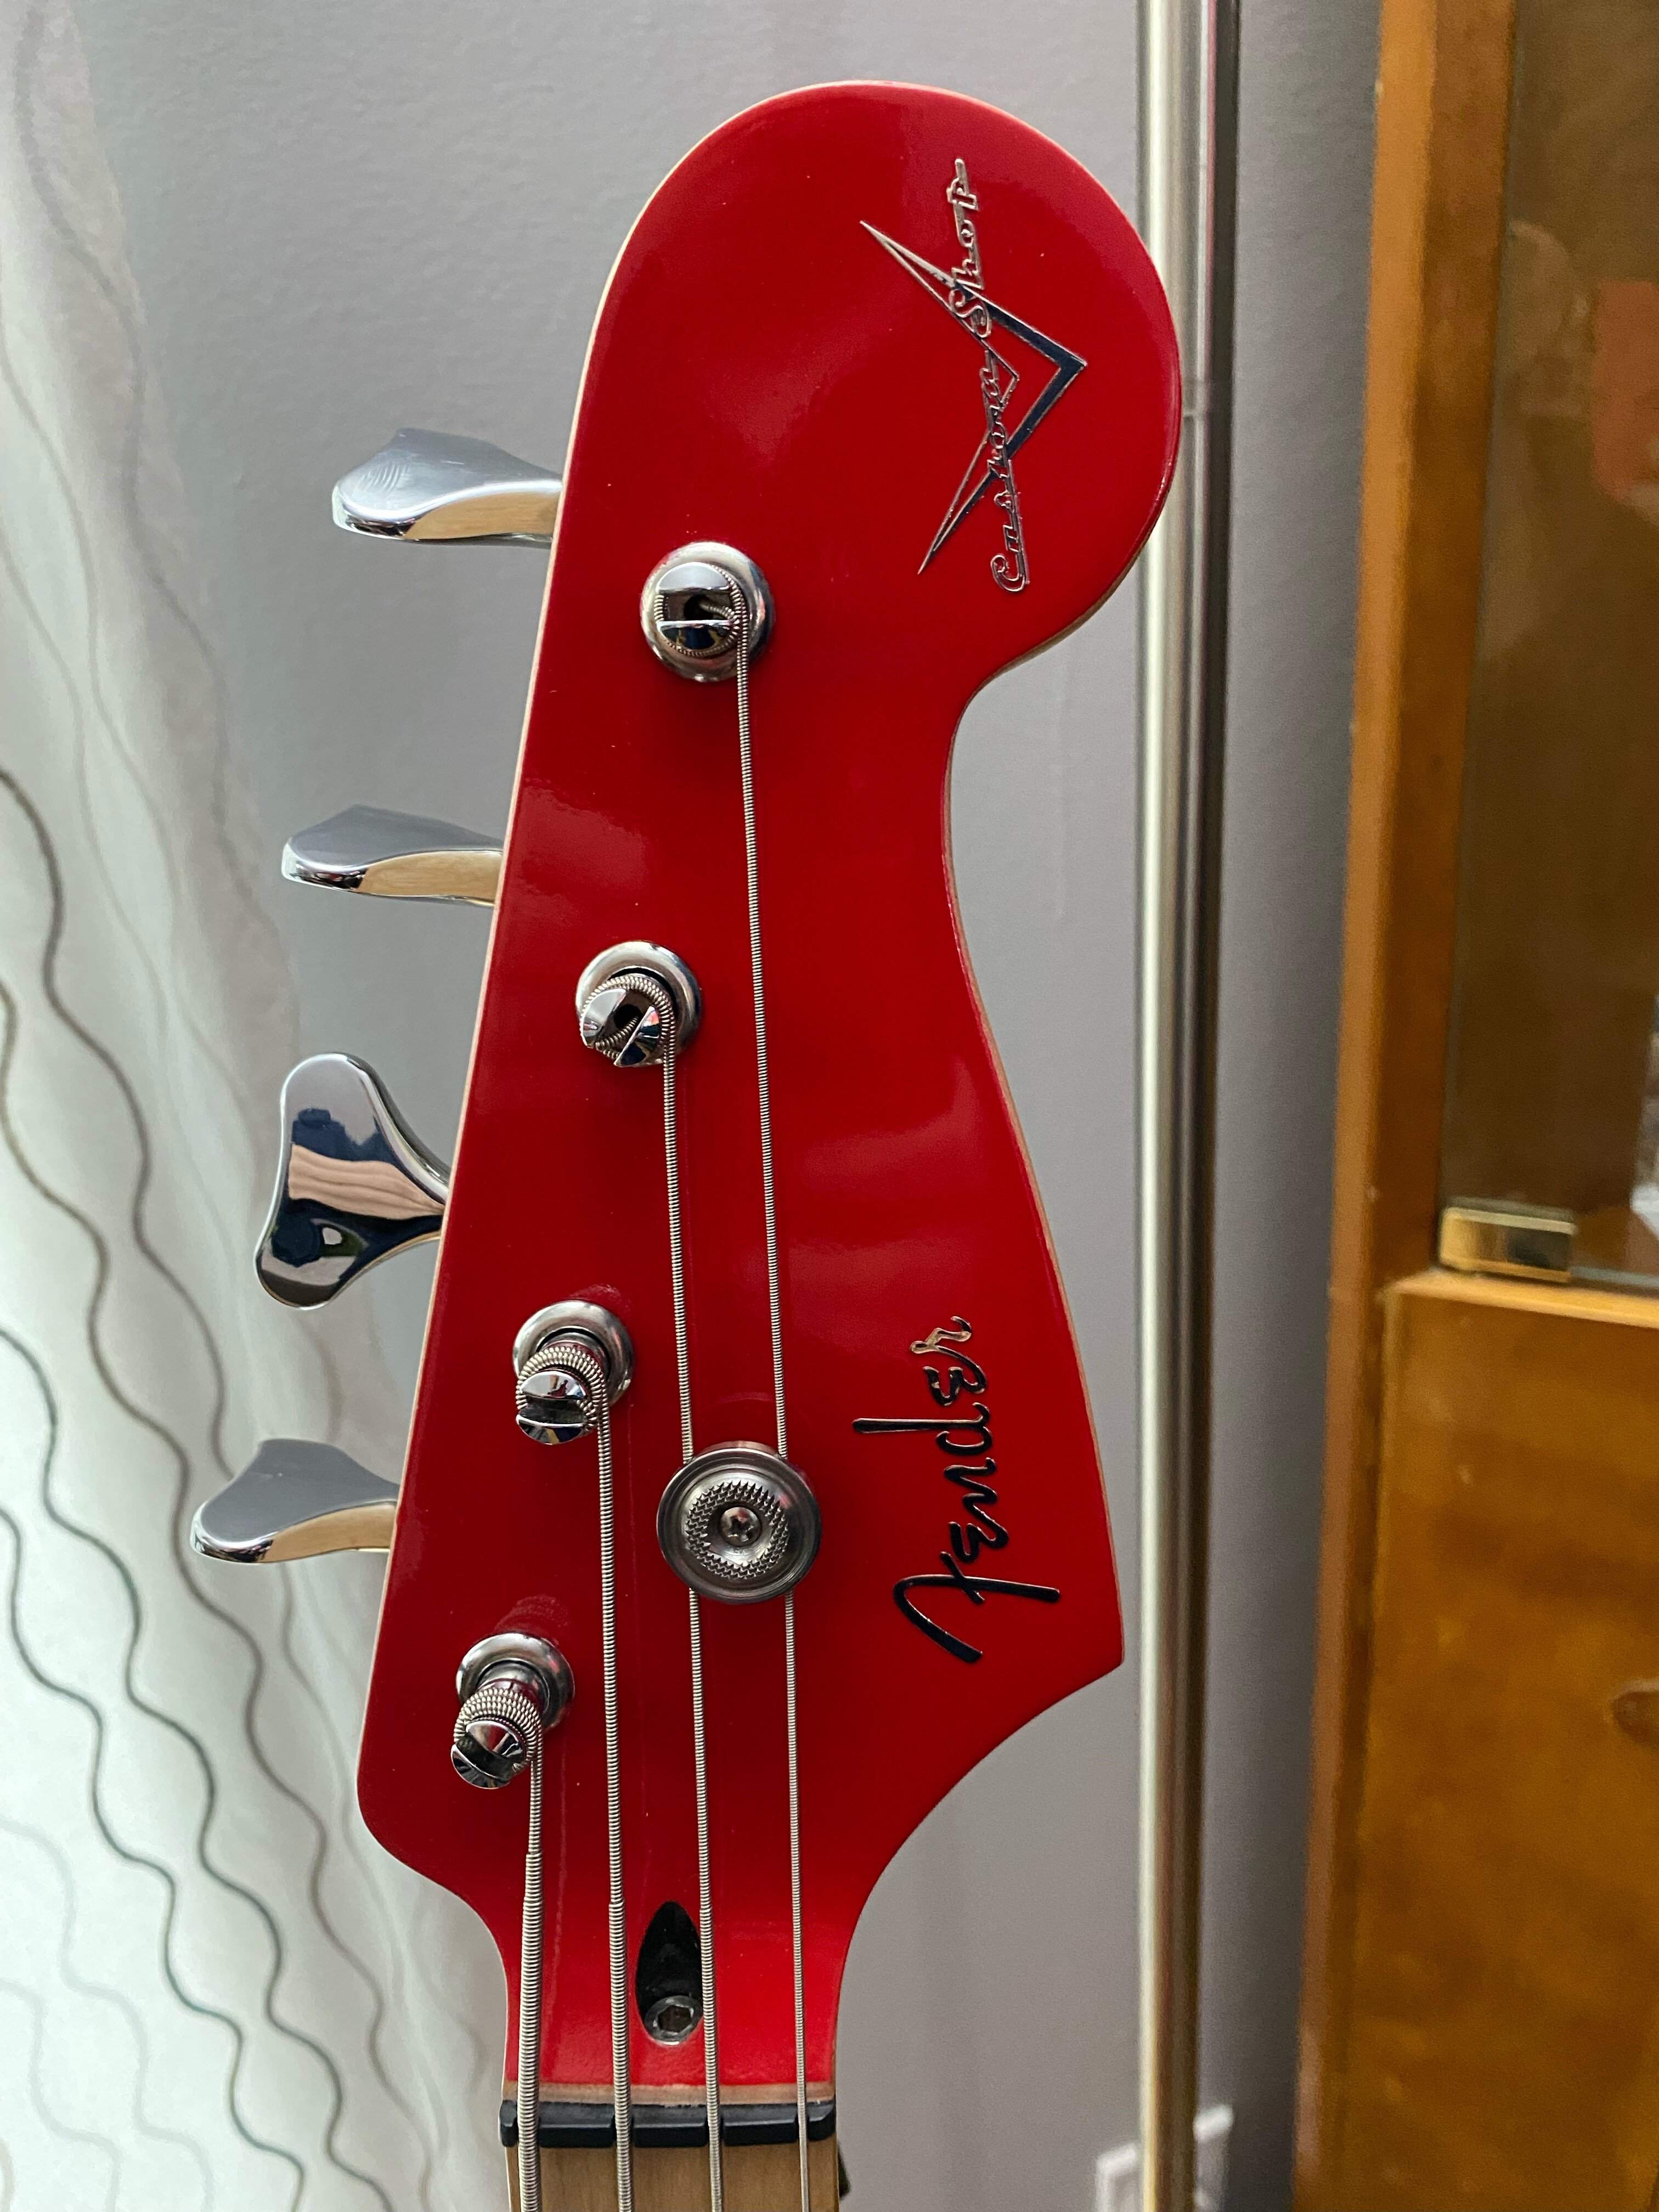
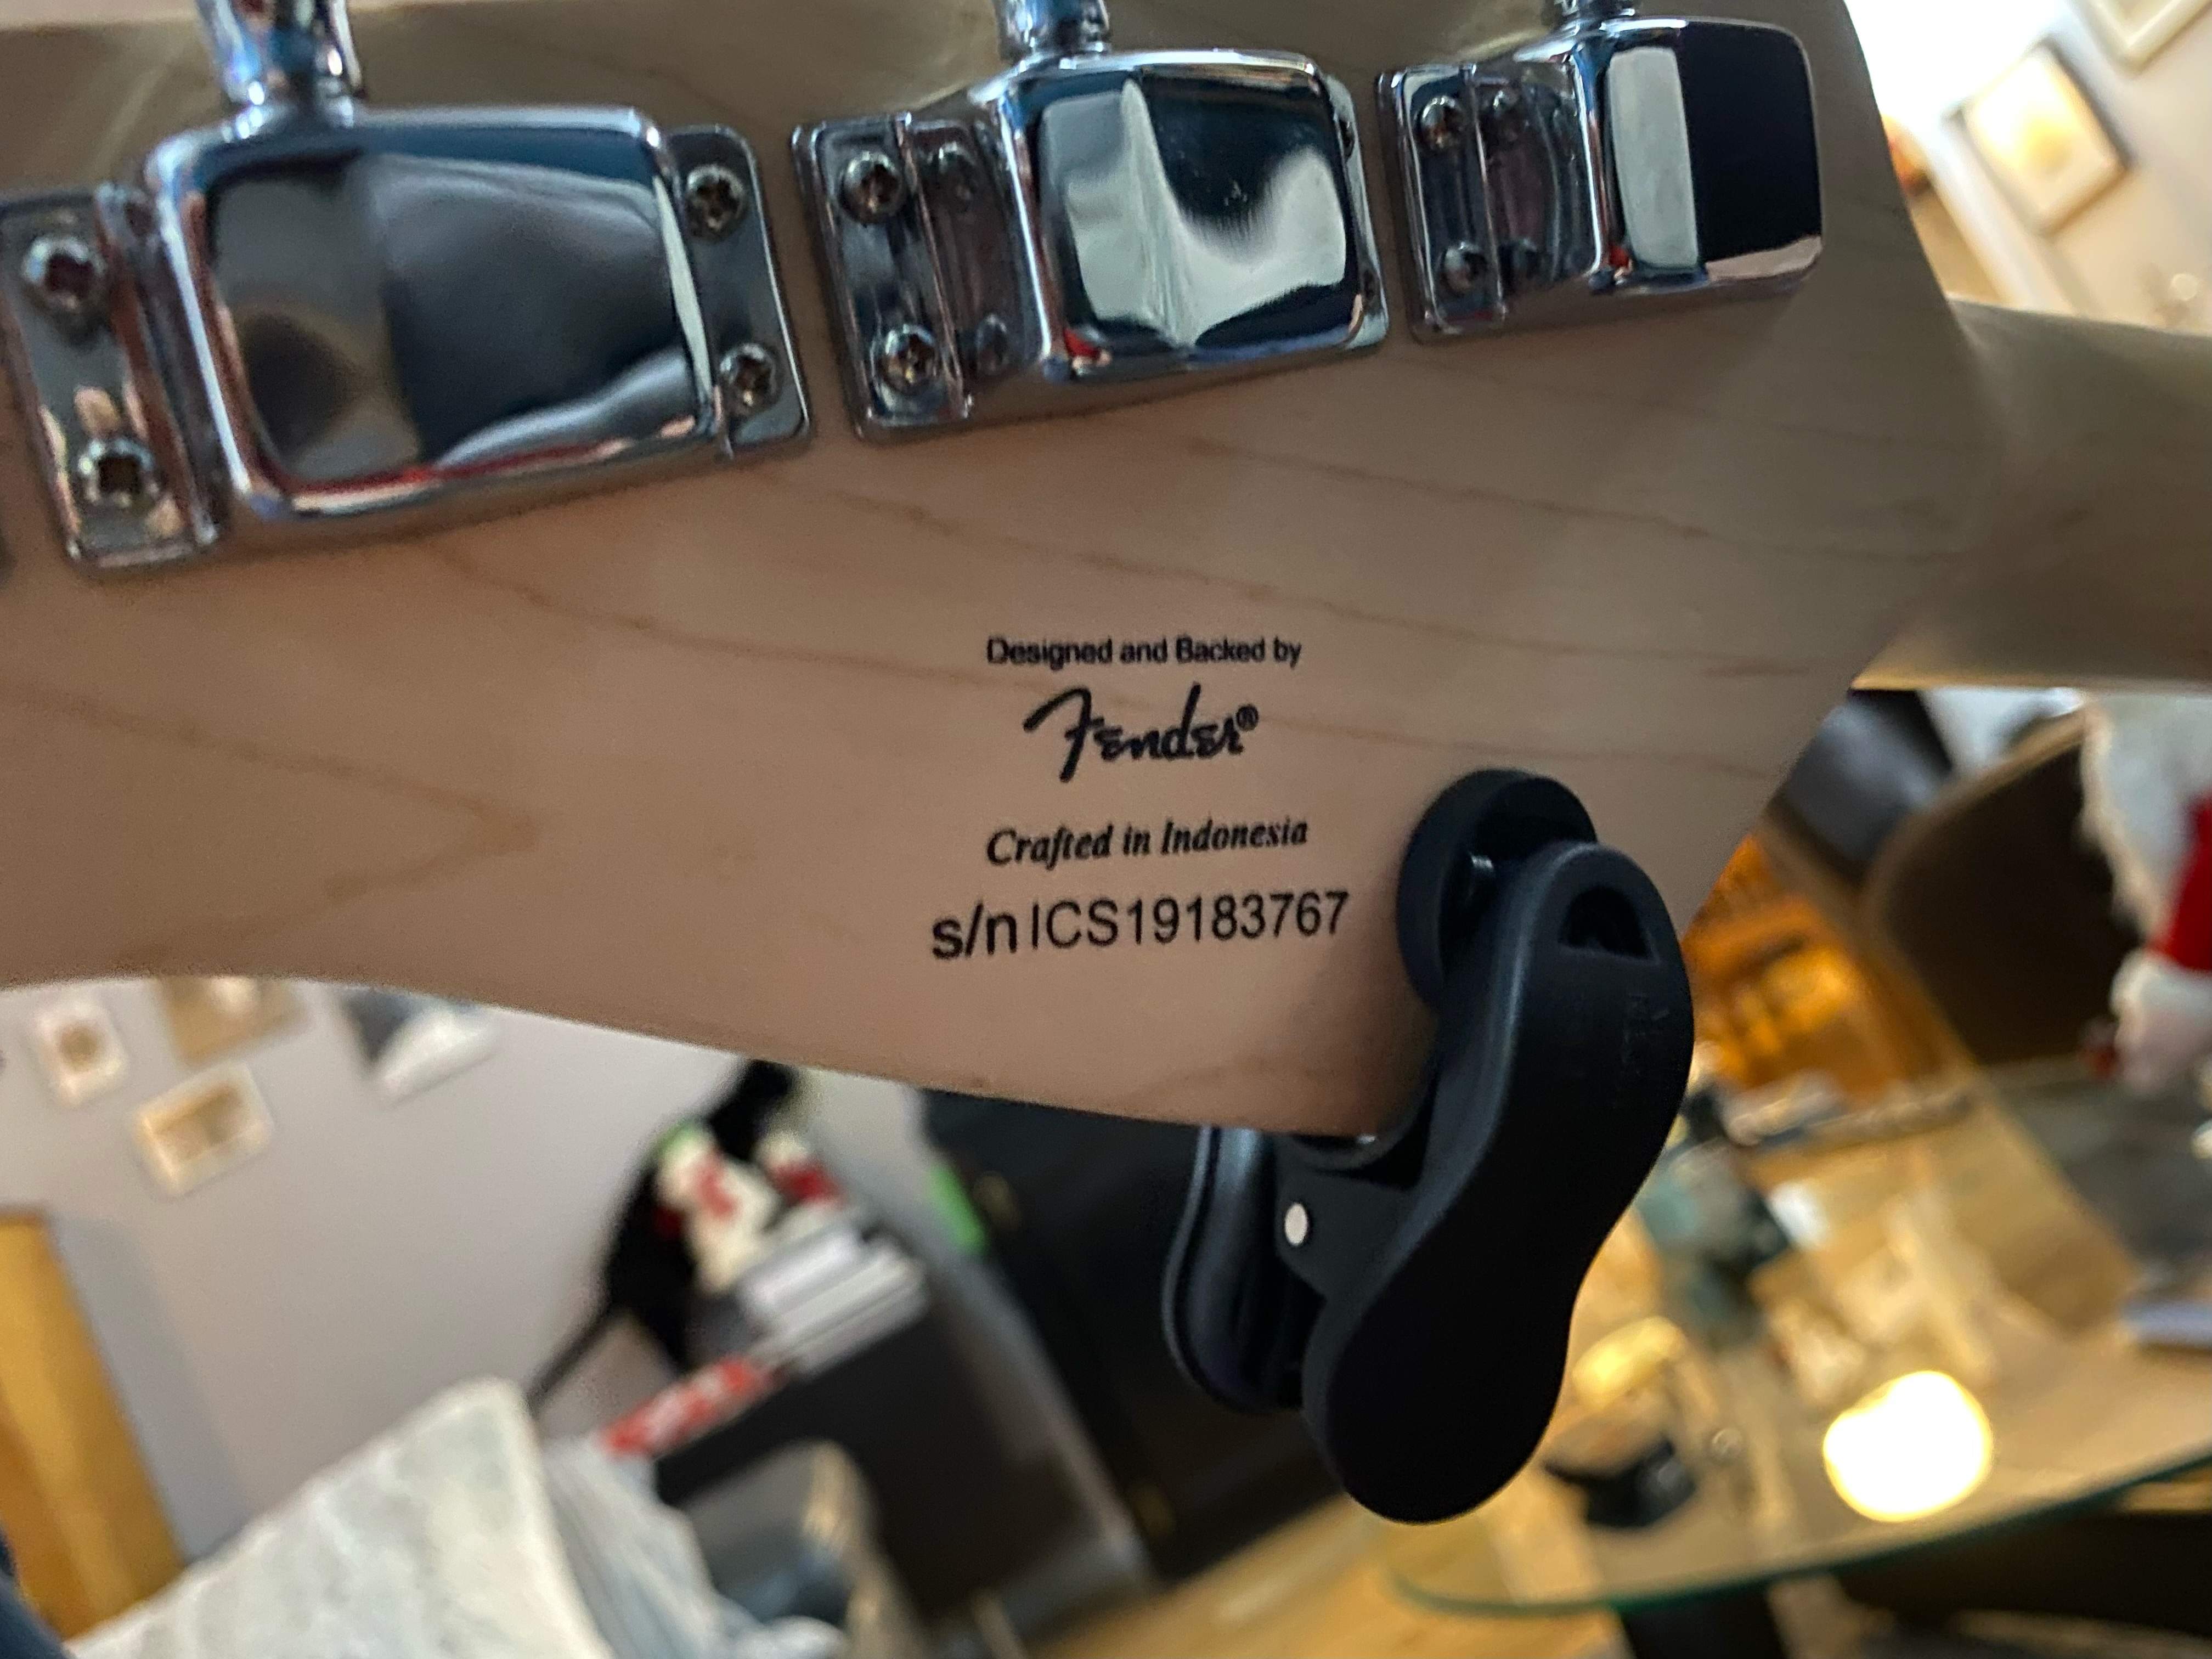
Initially I was gung ho to replace the stock tuners per previous experience bronco tuners.
However while they looked very similiar on the surface this 2019 has much better tuners than the 2009 I have.
The 2019 has metal tuner wings have adjustable tension on the wings via a machine screw. Also cast bases vs bent metal and the gear range is improved 1:17 vs the older 1:14. The shafts had teflon washers with carbon steel shaft vs other rougher one "cast ones. After de burring etc the gears and lubing and adjusting they feel pretty decent and can't fault them. Fyi all the mounting holes are shifted 2mm down vs the 2009 version due to larger gear.
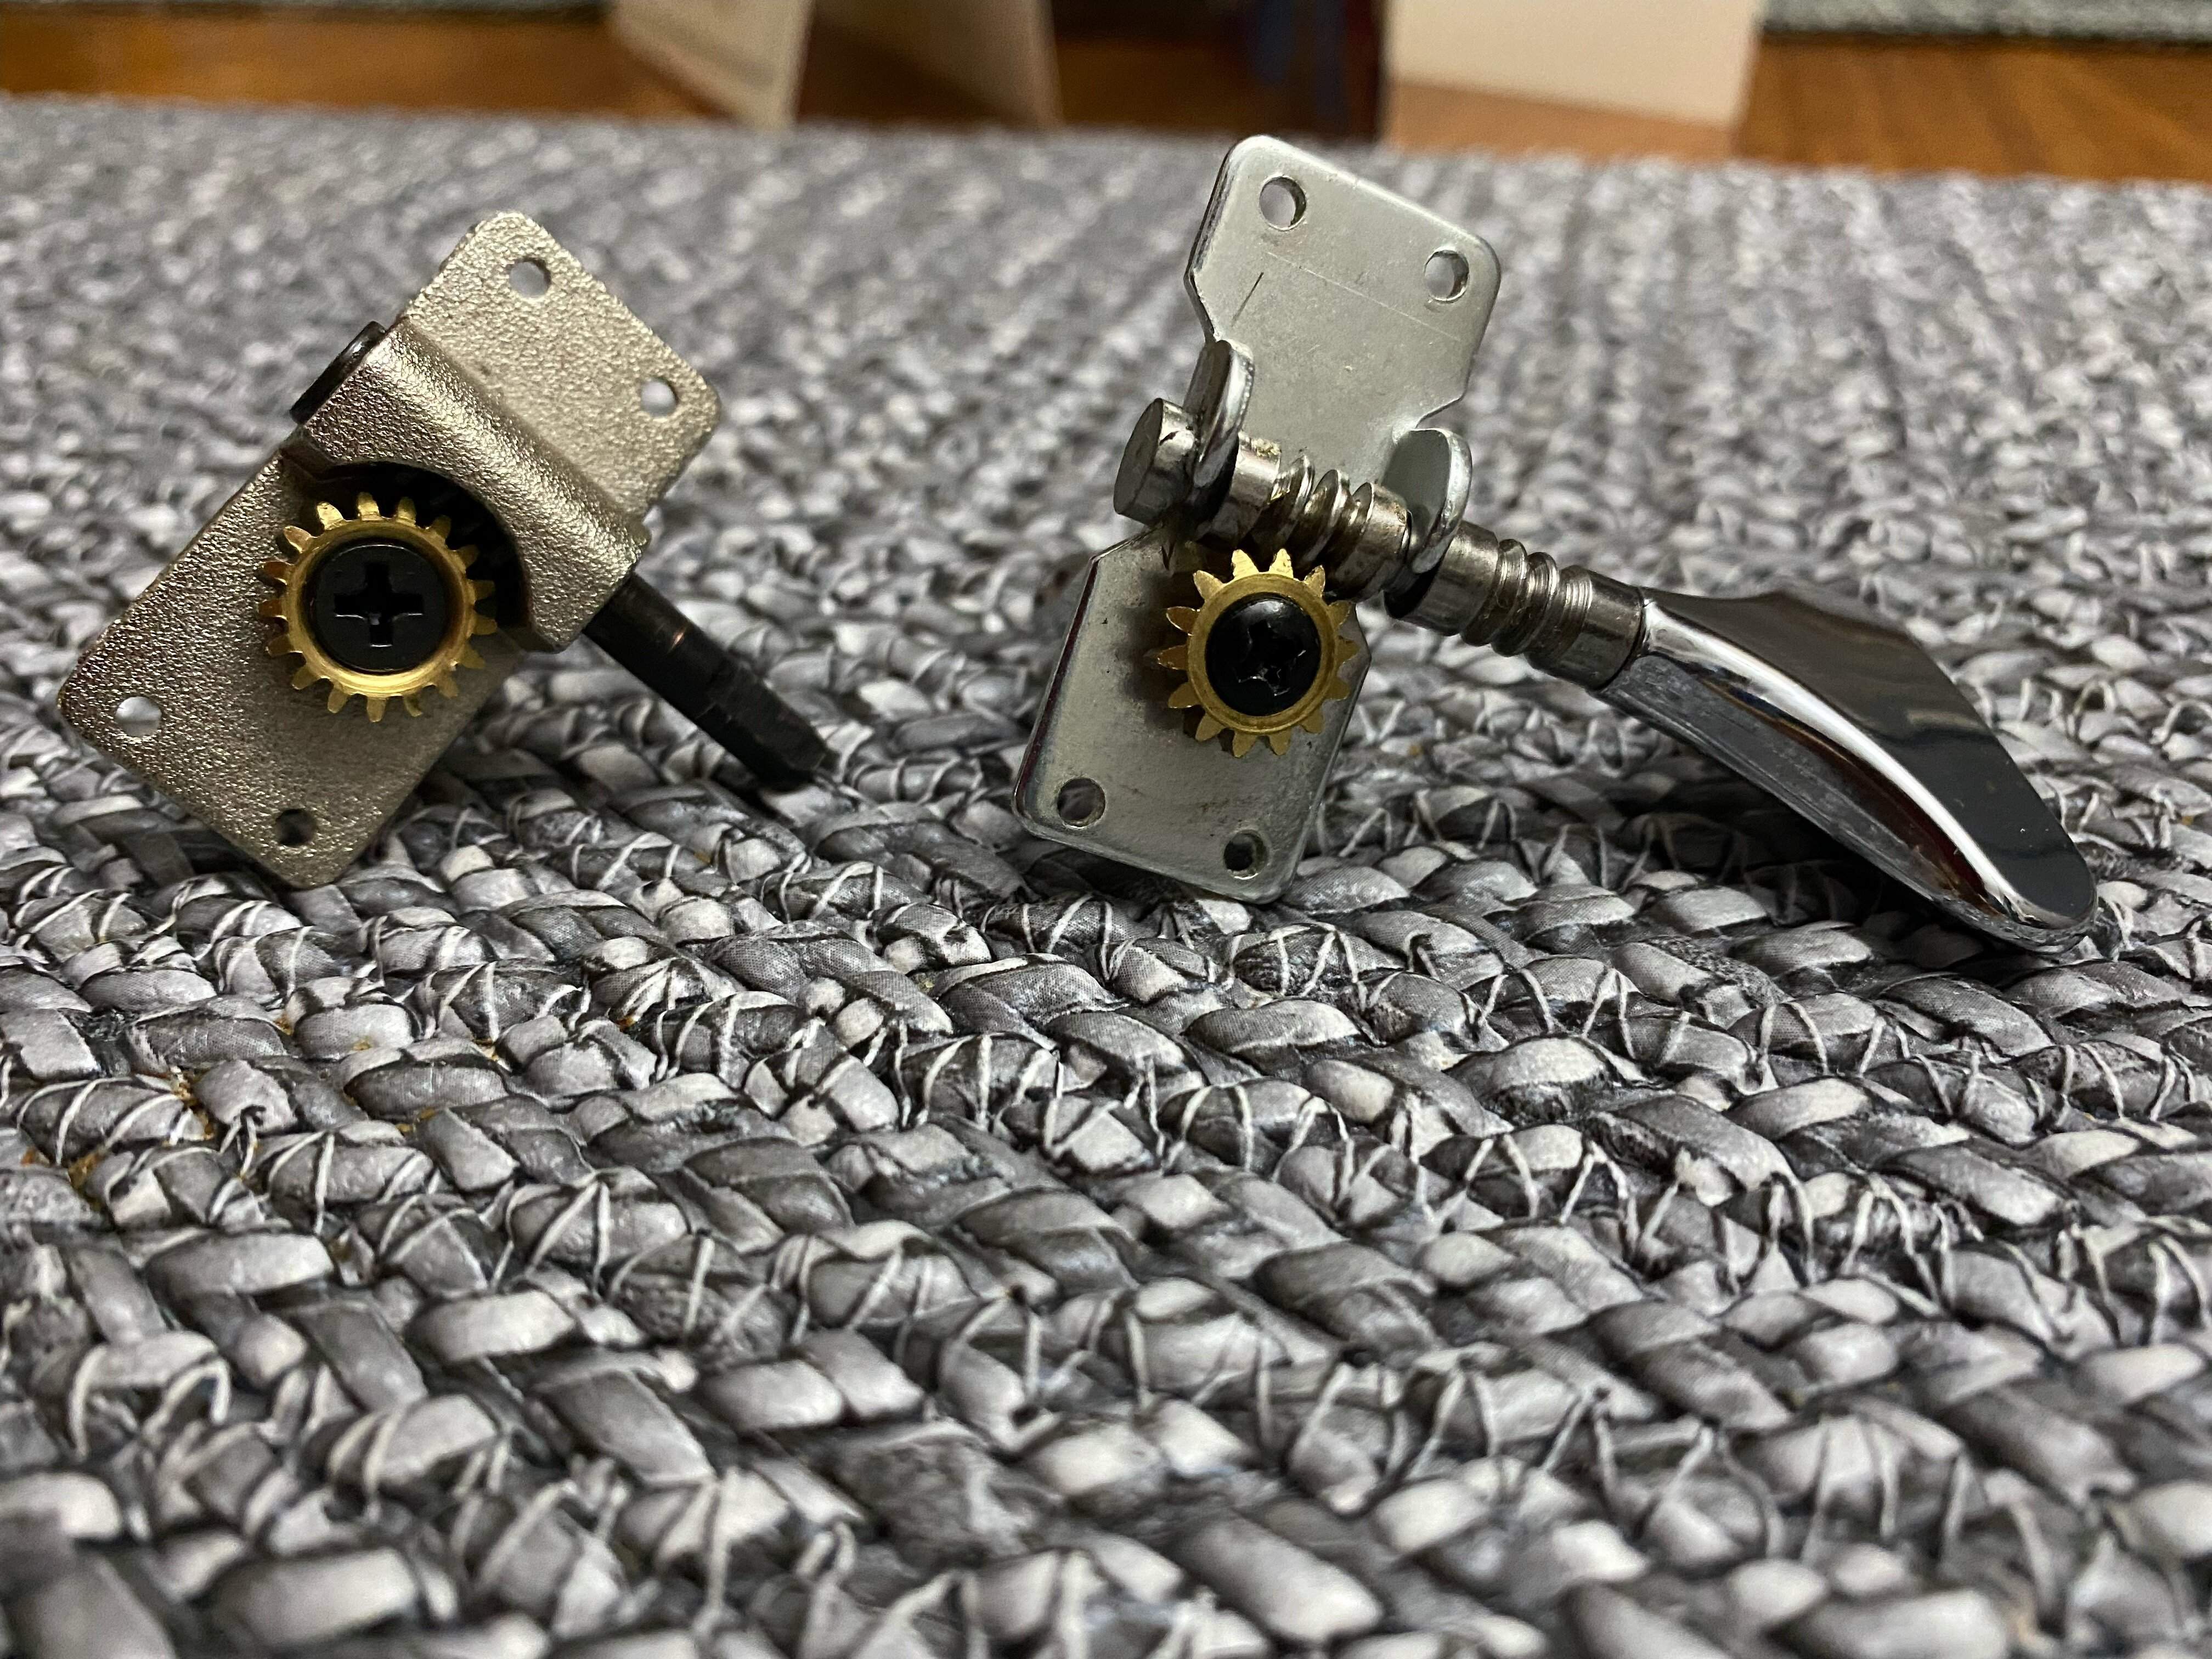
Initially I was gung ho to replace the stock tuners per previous experience bronco tuners.
However while they looked very similiar on the surface this 2019 has much better tuners than the 2009 I have.
The 2019 has metal tuner wings have adjustable tension on the wings via a machine screw. Also cast bases vs bent metal and the gear range is improved 1:17 vs the older 1:14. The shafts had teflon washers with carbon steel shaft vs other rougher one "cast ones. After de burring etc the gears and lubing and adjusting they feel pretty decent and can't fault them. Fyi all the mounting holes are shifted 2mm down vs the 2009 version due to larger gear.
Thumb rests, I don't much like the look of standard 2 screw rests. So I decided to make some by laminting matching pickguard material with layers of plexiglass I already had. With two layers of plexi and 1 layer pickguard it gave me a nice size to work with. I use plastic welding solvent which chemically melts the two surfaces together and clamp the piece for an hour. After that hit the band saw cut a outline and then bench beltsander . After much wet sanding and buffing I got this.


 .
.
I use gorilla clear mounting tape, it is waterproof -super strong , stiff but can still be removed if needed with damaging the pickguard ie screw holes. Notice I only use a short piece at each end. It makes it easier to remove if needed .
The angle gives good access to E string with a nice smooth ledge to move around on if needed .Blends in to the back ground and adds a bit of retro plexi style.
.I use gorilla clear mounting tape, it is waterproof -super strong , stiff but can still be removed if needed with damaging the pickguard ie screw holes. Notice I only use a short piece at each end. It makes it easier to remove if needed .
The angle gives good access to E string with a nice smooth ledge to move around on if needed .Blends in to the back ground and adds a bit of retro plexi style.
So as I wrap up this build I was cleaning up my tiny workshop. Started organizing.. Here is nerdy shot of templates I have had to make for this and other projects. This ⅜ mdf is really handy for this purpose.
Templates is nerd porn??
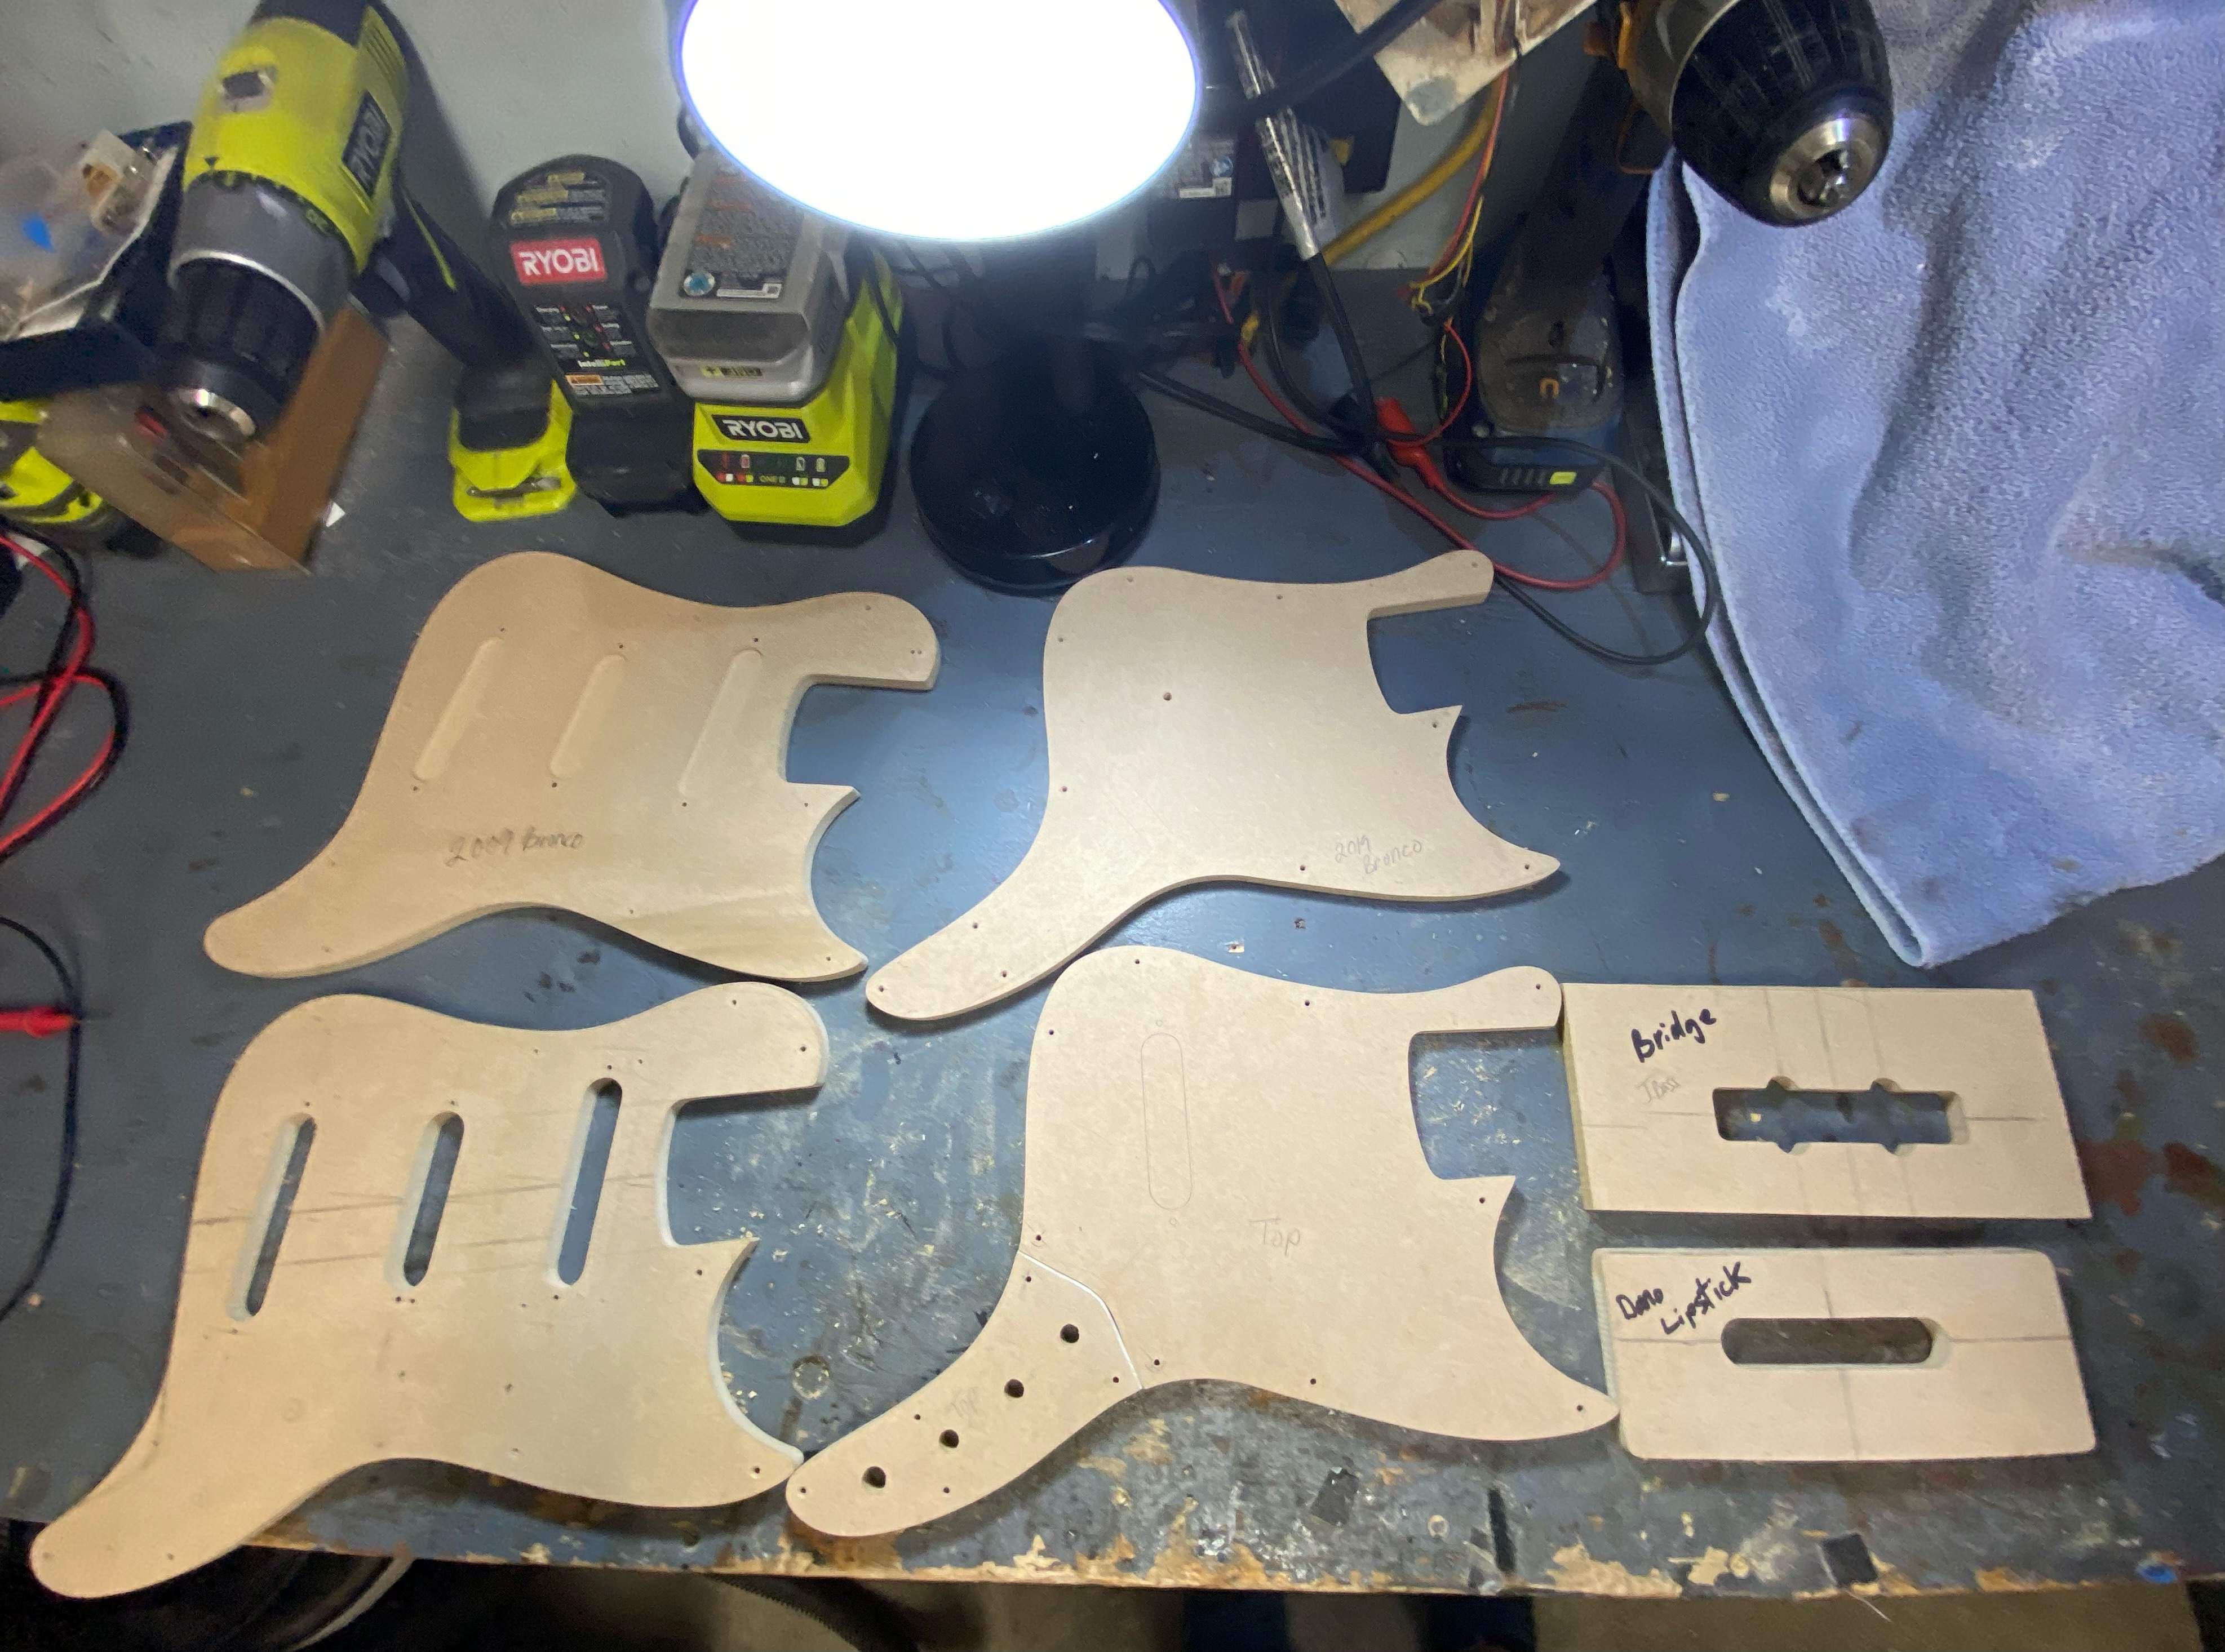
Templates is nerd porn??
That photo is now hanging on my workshop wall.Templates is nerd porn??


hahahahaThat photo is now hanging on my workshop wall.
Today I was looking at the knobs whose faces I had re turned on my lathe or a different. I really wanted some sort of marker to see where knob is set easily without being over the top. I decided to convert lathe into its milling machine configure so I could just mill in a simple dot on each knob.
Once the setup is done on the machine and pathways locked each hole will be identical in placement and angle and size. I dotted each knob while mounted so holes will all line up.


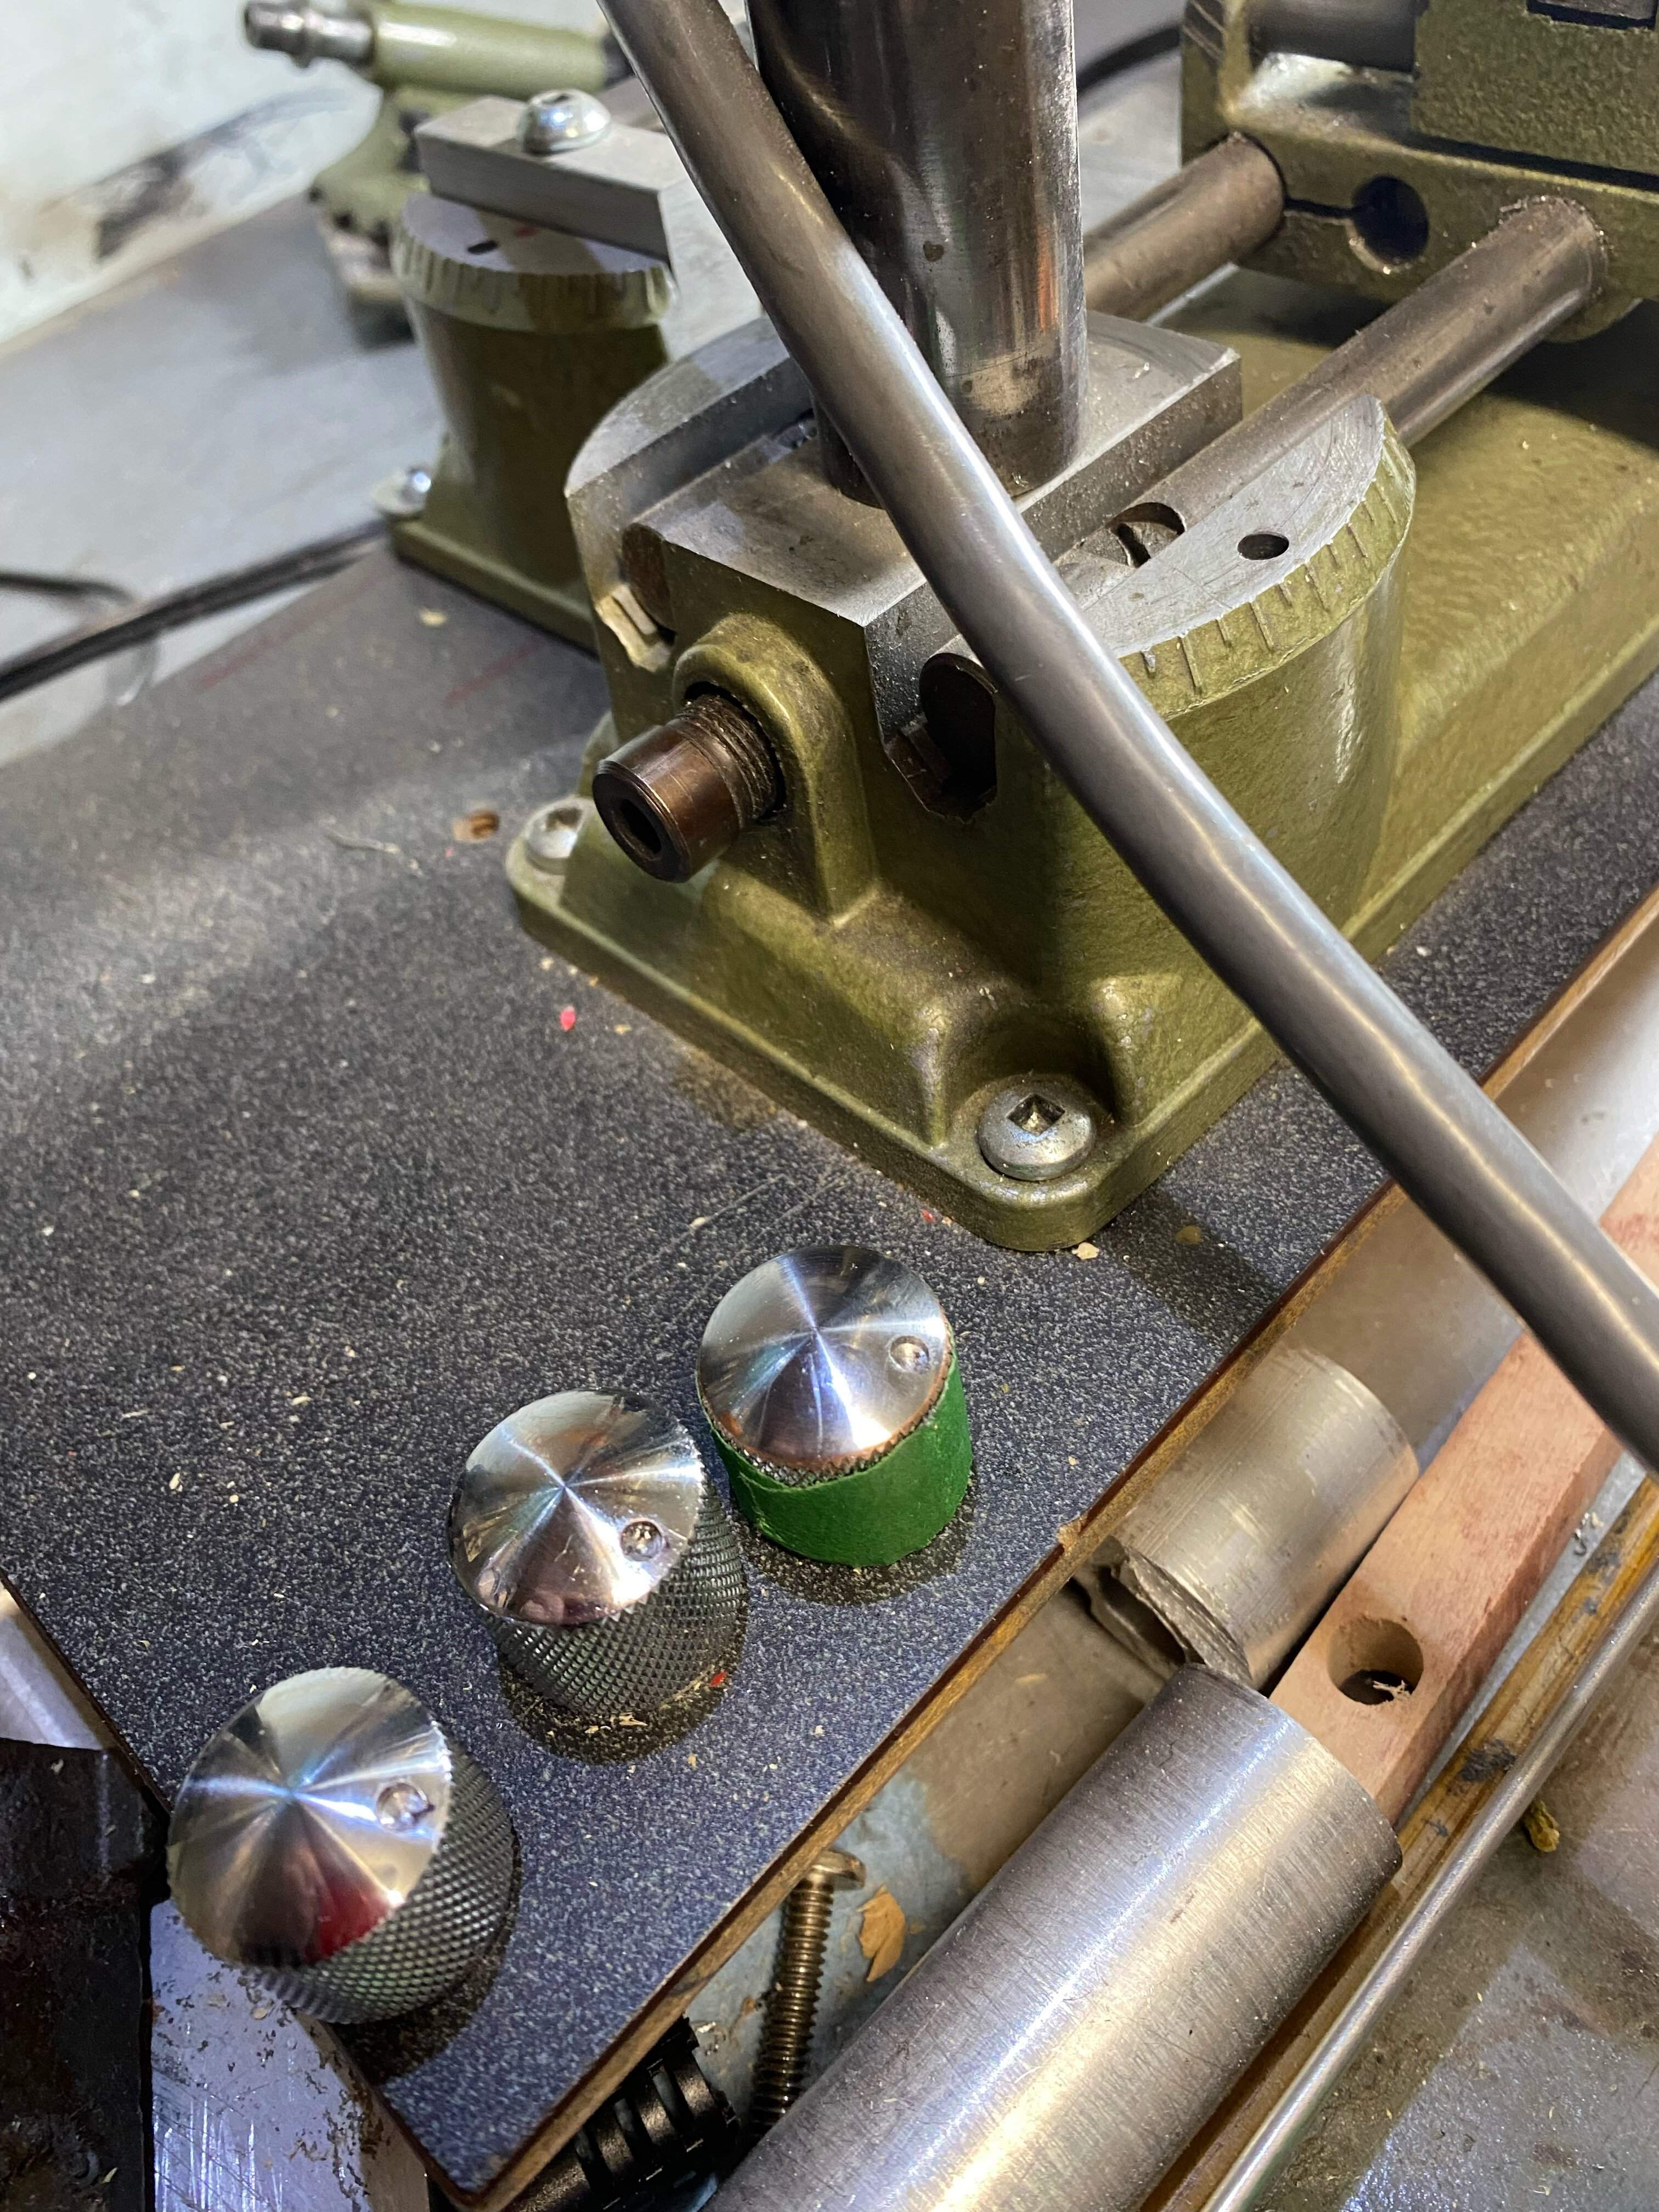
Also these knobs are copper plated under chrome over aluminum and want to move all chrome and copper off the last two knobs so they will go back on the lathe power file and wetsand those layers off.
Getting there. .
. 
Done I think. phew. better ya?


I went from 600 to 400 grit then to 0000 steel wool for the polish without removing the swirly machine marks which I wanted to keep for the cat eye look.
Once the setup is done on the machine and pathways locked each hole will be identical in placement and angle and size. I dotted each knob while mounted so holes will all line up.
Also these knobs are copper plated under chrome over aluminum and want to move all chrome and copper off the last two knobs so they will go back on the lathe power file and wetsand those layers off.
Getting there.
. Done I think. phew. better ya?
I went from 600 to 400 grit then to 0000 steel wool for the polish without removing the swirly machine marks which I wanted to keep for the cat eye look.
Last edited:


