
• TalkBass has been independent since 1998. Add your voice.
    Create a free account to reply to discussions, view embedded media, and browse with fewer display ads.
    Join freeLog in
    Want zero display ads or expanded classifieds tools? Compare plans.

Winter Build Off 2026 - Colonel Hathi

Here's my entry for the 2026 build off in the Unfinished Business catigory.

This started in october. I kind of had one of those spontaneous moments of creativity and just ran with it. I'm making a tribute to one of Colonel Claypools earlier pachyderm basses, but fretless.

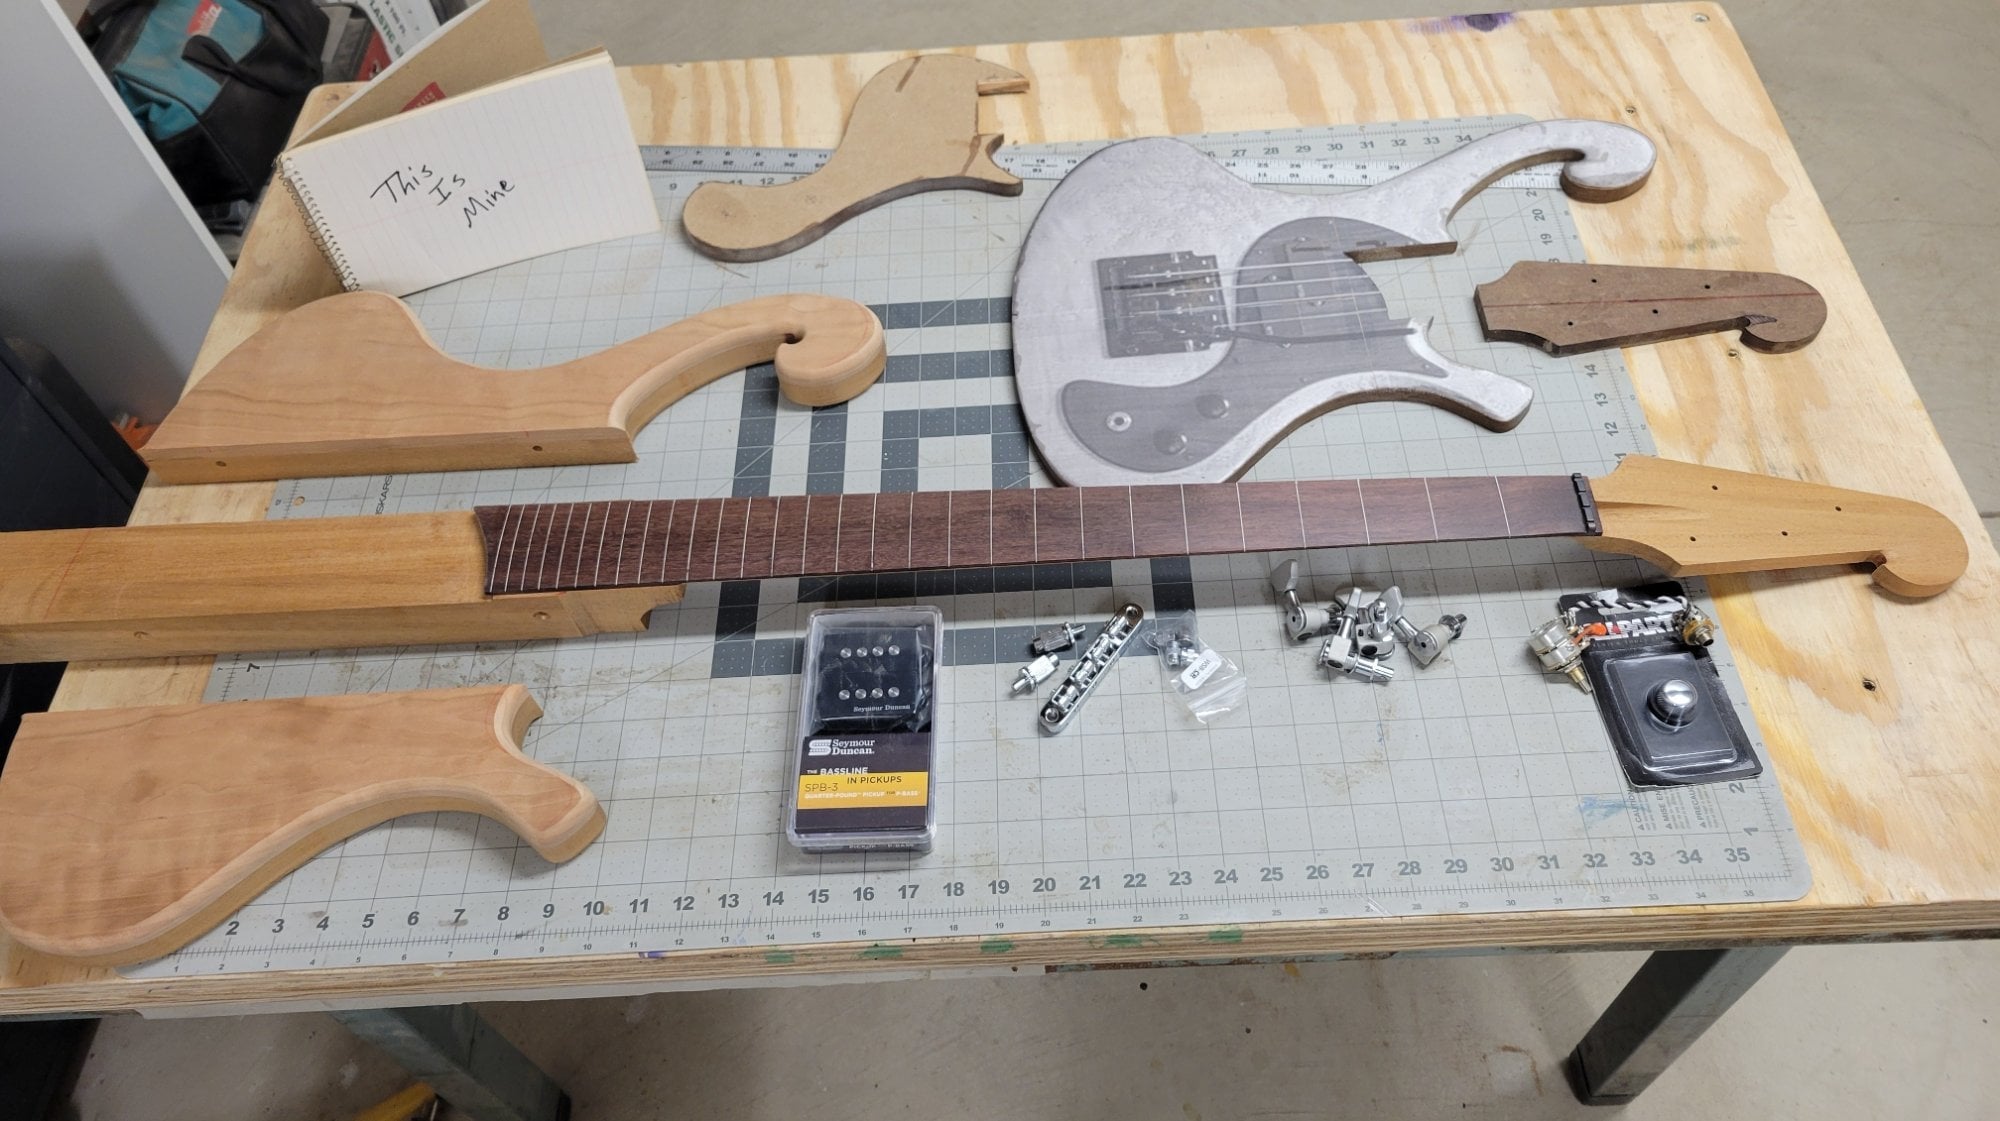
So far I have the neck (three piece mahogany) carved, and the body wings (mahogany with a cherry top) mostly shaped. The fingerboard is katalox with 29 contrasting "fret" lines.
20260101_132944~2.jpg

Hardware will be a Seymour Duncan 1/4 pound p-bass pickup, stacked volume/tone, tune-o-matic style bridge with string through ferrules and Spertzel tuners.
 
Last edited:
Just a few picks of progress to get up to this going.

20251123_160133.jpg

Yea... i still radius the fingerboard the hard way.

20251204_115908.jpg
20251214_121923.jpg


20251214_154203.jpg

20251217_141509.jpg

This!
This is the router bit I should have had all along, no more unsightly tear out here.

20251214_111026~2.jpg

Spertzel bass tuners are no longer being made, and I really wanted to use them on this bass. I had to settle for a used 2+2 set, so the headstock had to be made to accommodate that.
 
Last edited:
Here's my entry for the 2026 build off in the Unfinished Business catigory.

This started in october. I kind of had one of those spontaneous moments of creativity and just ran with it. I'm making a tribute to one of Colonel Claypools earlier pachyderm basses, but fretless.

So far I have the neck (three piece mahogany) carved, and the body wings (mahogany with a cherry top) mostly shaped. The fingerboard is katalox with 29 contrasting "fret" lines.

View attachment 7400423
Hardware will be a Seymour Duncan 1/4 pound p-bass pickup, stacked volume/tone, tune-o-matic style bridge with string through ferrules and Spertzel tuners.
Colonel Hathi?
Yeah, baby!
1767308882366.png
 
Hats off to you for hand-sanding a fretboard. Having done a couple fingerboard radius "the hard way", complete with the inherent sweat and blisters, I finally built a router radius jig, which seems to work really well. I had a lot of trouble inadvertently "dishing" boards by hand, as any back/forth sanding motion spends twice as much time over the center of the board as either end. I tried pretty hard to negate that by varying how I sanded, but never really got it down. Cool build, I always liked the Pachyderm body shape. Te upper horn makes a great "carrying handle", kinda like a Ric.
 
  • Like
Reactions: postalflunkie
First thing down in the shop was to take the clamps off and work the neck blank down flush with the body. The front did'nt need too much work, one quick pass with a hand plane but mostly did it with the sander
20260102_112030.jpg


The back had a little more work involved.
20260102_112053.jpg


Got at it with the big No.6 plane, then took the last 32nd off with the belt sander and cleaned it up with my little mouse sander.
20260102_115002.jpg


Back over to the front, I needed to clean up where the neck blank rides along the fingerboard. I used a small carving set and micro files to do that part. Usually I leave a curved transition here, but this one needs to be square for the pickguard to fit in nice and snug.
20260102_115607.jpg

20260102_120034.jpg
 
Last edited:
First thing down in the shop was to take the clamps off and work the neck blank down flush with the body. The front did'nt need too much work, one quick pass with a hand plane but mostly did it with the sander
View attachment 7401004

The back had a little more work involved.
View attachment 7401005

Got at it with the big No.6 plane, then took the last 32nd off with the belt sander and cleaned it up with my little mouse sander.
View attachment 7401006

Back over to the front, I needed to clean up where the neck blank rides along the fingerboard. I used a small carving set and micro files to do that part. Usually I leace a curved transition here, but this one needs to be square for the pickguard to fit in nice and snug.
View attachment 7401008
View attachment 7401009
And that’s just one reason I taper my neck blanks. Saves having to trim along the fret/fingerboard like that.
 
Time to clean up the heal. Did most of the work with a half round rasp then switched to my robosander in a handheld drill.
20260106_141141.jpg

20260106_151737.jpg


Then after I cleaned up the mess on the floor I put my sanding box, connected to the vacume, underneath it and started on the tummy cut. Nothing fancy about this, just used the shinto rasp
20260106_144249.jpg


Cleaned it up with my mouse sander, then flipped it over and did the forearm releaf.
20260106_154538.jpg
 

Latest posts



