
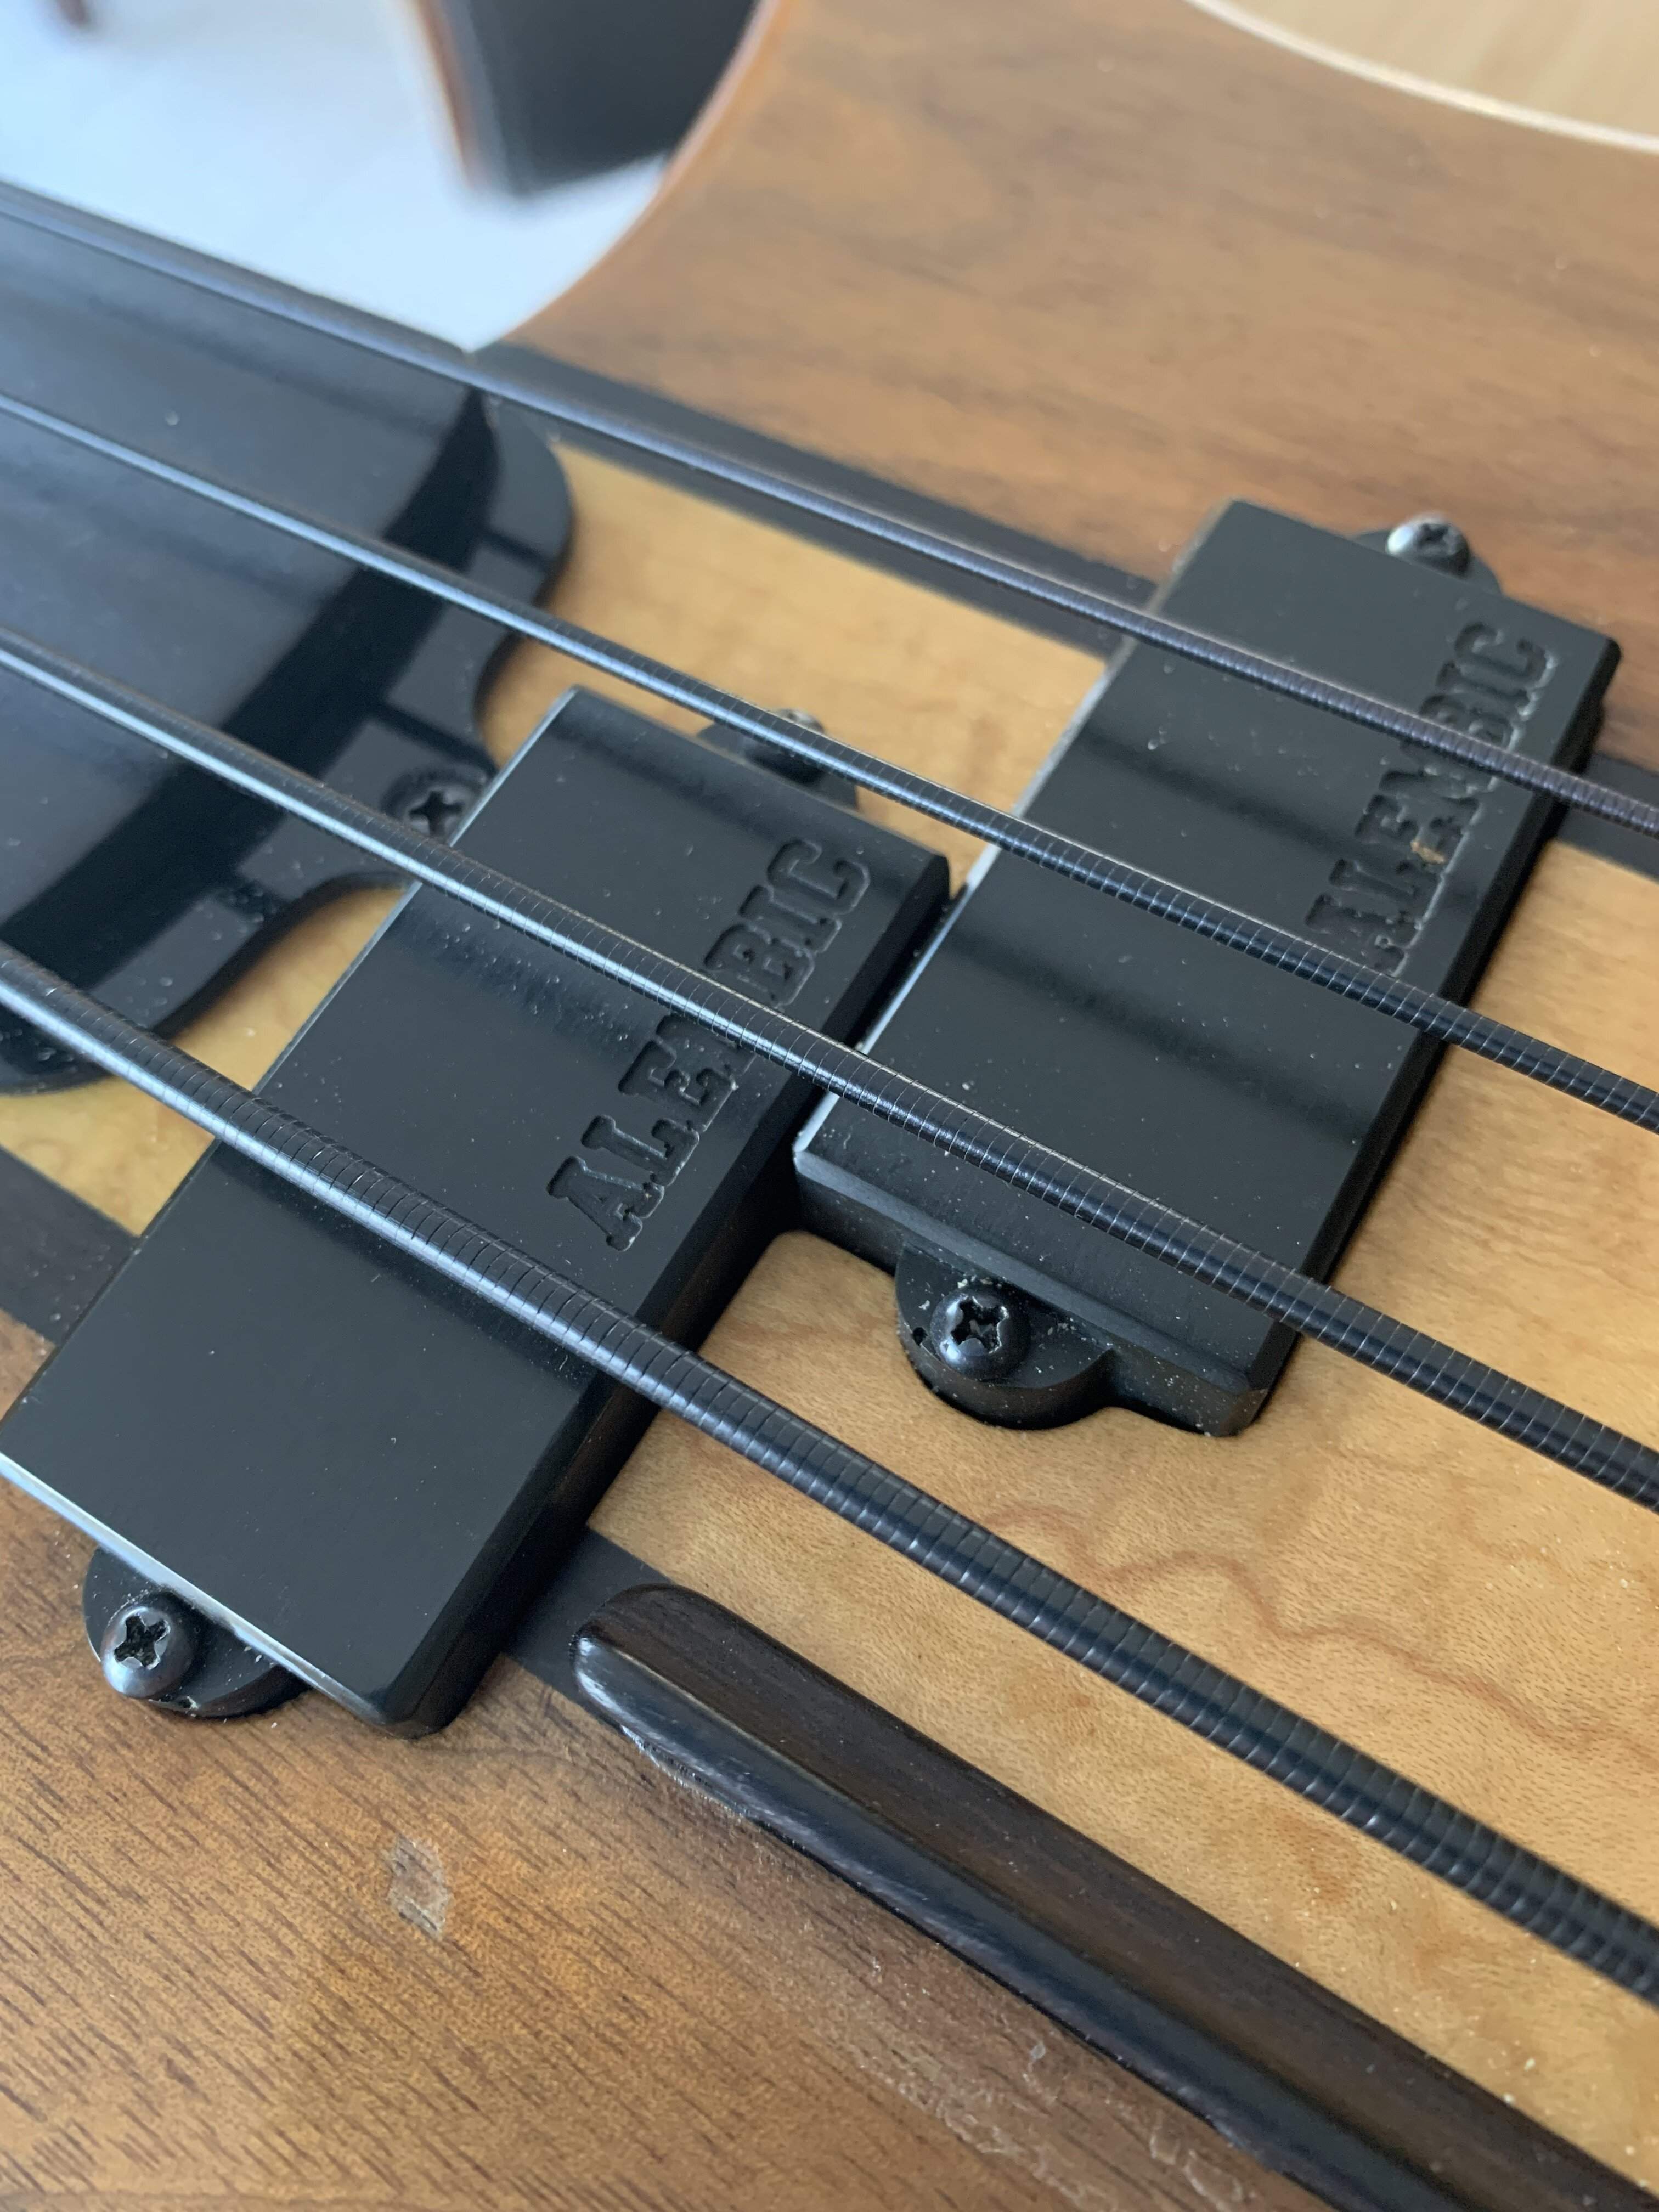
Sand the surface smooth and then do a brushed finish. If it’s good enough for Alembic pickups it will do here and add to the uniqueness
Last edited:

TalkBass has been independent since 1998. Add your voice.
Create a free account to reply to discussions, view embedded media, and browse with fewer display ads.
Join free Log in
Want zero display ads or expanded classifieds tools? Compare plans.

I think the biggest problem is, adding height to the pickup means I'd need to route the cavity deeper, which at this point is problematic. Also, I don't have any veneer to place on it that I'm happy with the aesthetic of, being right in the middle of that fretboard like it is. It might be different if the fretboard stopped at the 24th fret area like a normal one does. But the only thing I'd be okay with is ebony, which I don't have. And even then, I'm back to the cavity depth problem.I still don't see the problem with veneering the top, leaving your desired thumb-cutout-place at the other end (yeah, sure, the thunb-cutout-place is black and the top is veneer - so? contrast is fine.) Just cut/sand the veneer to fit the shape of the top of the pickup, dimple and all.




The 5th wheel is the one you hold in your hands.If that was a 5 wheeler I'd be all over it


400hp @ 5,500rpm and 400lb/ft torque @ 4,500rpmWhat's max torque, at what rpm?

3/8ths mile asphalt oval with what I’d call medium banking. I think it’s somewhere around 21 degrees. They claim to be “The Fastest 3/8th On The West Coast”. I’m not sure how accurate that is anymore, but there’s also only 1 other 3/8ths on the west coast these days, and it is very, very flat. They used to repave it about every 5 years so it always had tons of grip. But now that the millionaire owner has retired and his kid is running it, it hasn’t been repaved in about 15 years so it’s getting pretty worn out.Kachow!
track must be short and steep with that alignment
CT355 crate?
Had to look it up, they changed the designation again. That’s a ZZ6 that’s sealed. That unsealed is what is in my avatar with the Edelbrock proflo4 EFI3/8ths mile asphalt oval with what I’d call medium banking. I think it’s somewhere around 21 degrees. They claim to be “The Fastest 3/8th On The West Coast”. I’m not sure how accurate that is anymore, but there’s also only 1 other 3/8ths on the west coast these days, and it is very, very flat. They used to repave it about every 5 years so it always had tons of grip. But now that the millionaire owner has retired and his kid is running it, it hasn’t been repaved in about 15 years so it’s getting pretty worn out.
Don’t let the front suspension fool you, most of that is just a product of a-frame angles trying to get what we refer to as “jacking force”, it’s all about tire loading. It changes a lot when the car sets in the corner.
As for the engine, it’s the Chevy crate “604”. They will only let us run the 602 or the 604. We get a 100lb weight reduction for it, or we can run any built engine up to 355ci with no weight reduction. The 602 gets 150lbs, but it’s gutless so it’s not worth it. These tires have very little grip, they poke really hard with the durometer, so throwing 500+hp with a built engine at it just spins tires every time you breathe on the gas pedal. The 604 is a good compromise for the tires.




Okay, it looks like this build isn't going to make it either. I've run into a major problem that I don't think I can solve in the amount of time left.
I started wet sanding today and everything was going fine. Today is day 15 after the last coat of finish i applied, so it's probably as cured as it can be. I started with 400 grit and worked up to 1000. That went fine. It seemed okay. I was happy enough with it.
Then I started buffing using my normal method of a buffing pad on my cordless drill and the Turtle Wax polishing compound. I've done this before on 2K with great success. But for some reason I had a decent sized area on the headstock just start flaking off in big chunks -
View attachment 4619242
You can see it over there between the nut and the E string tuner holes. It just flaked off as if the finish simply wasn't adhered to the surface. The white area around the edge of that section is additional finish that I can catch my finger nail under and flake it off too, it just kind of keeps going.
The only way I know to fix this is to sand it back down to the wood and start over, which means it won't make the deadline.
Also, I have a problem on the body where the finish is turning into this gritty feeling stuff all over the surface. It's like you buff it and it turns to sand on the surface. So I think I also need to sand the body back to the wood too. Watch is super problematic now that the fretboard is glued on because I'm not sure I can redo the burst with the fretboard on the way.
So yeah, sorry guys, I'm out. And to be honest, I'm not even sure how to fix this from here.


