• TalkBass has been independent since 1998. Add your voice.
    Create a free account to reply to discussions, view embedded media, and browse with fewer display ads.
    Join freeLog in
    Want zero display ads or expanded classifieds tools? Compare plans.

Wishbass headless fretless project

jbybj

Supporting Member
Jun 11, 2008
6,808
16,379
Los Angeles
What's a cure for the Quarantine blues? POWER TOOLS!!!!!!!

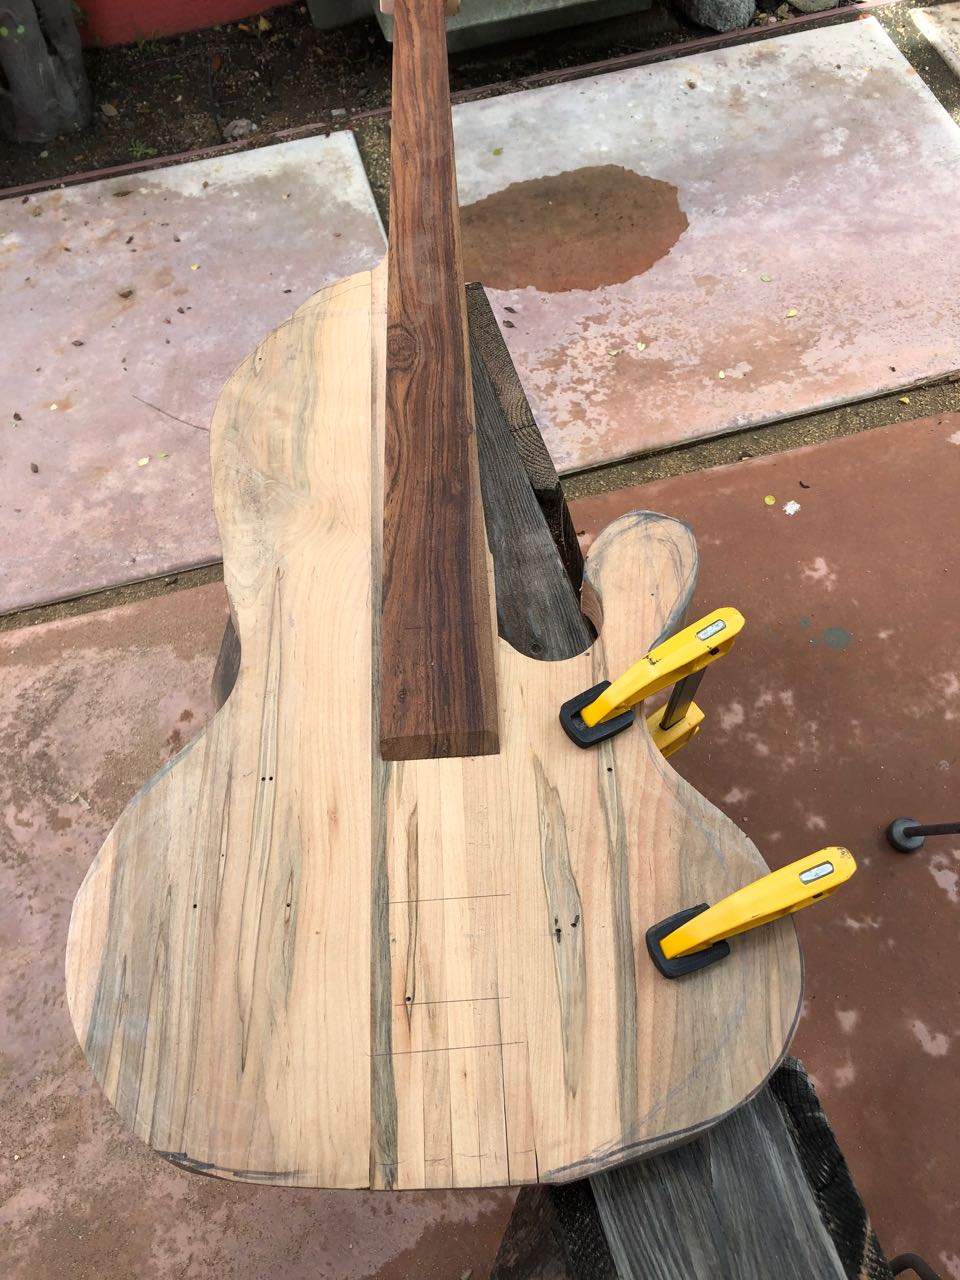
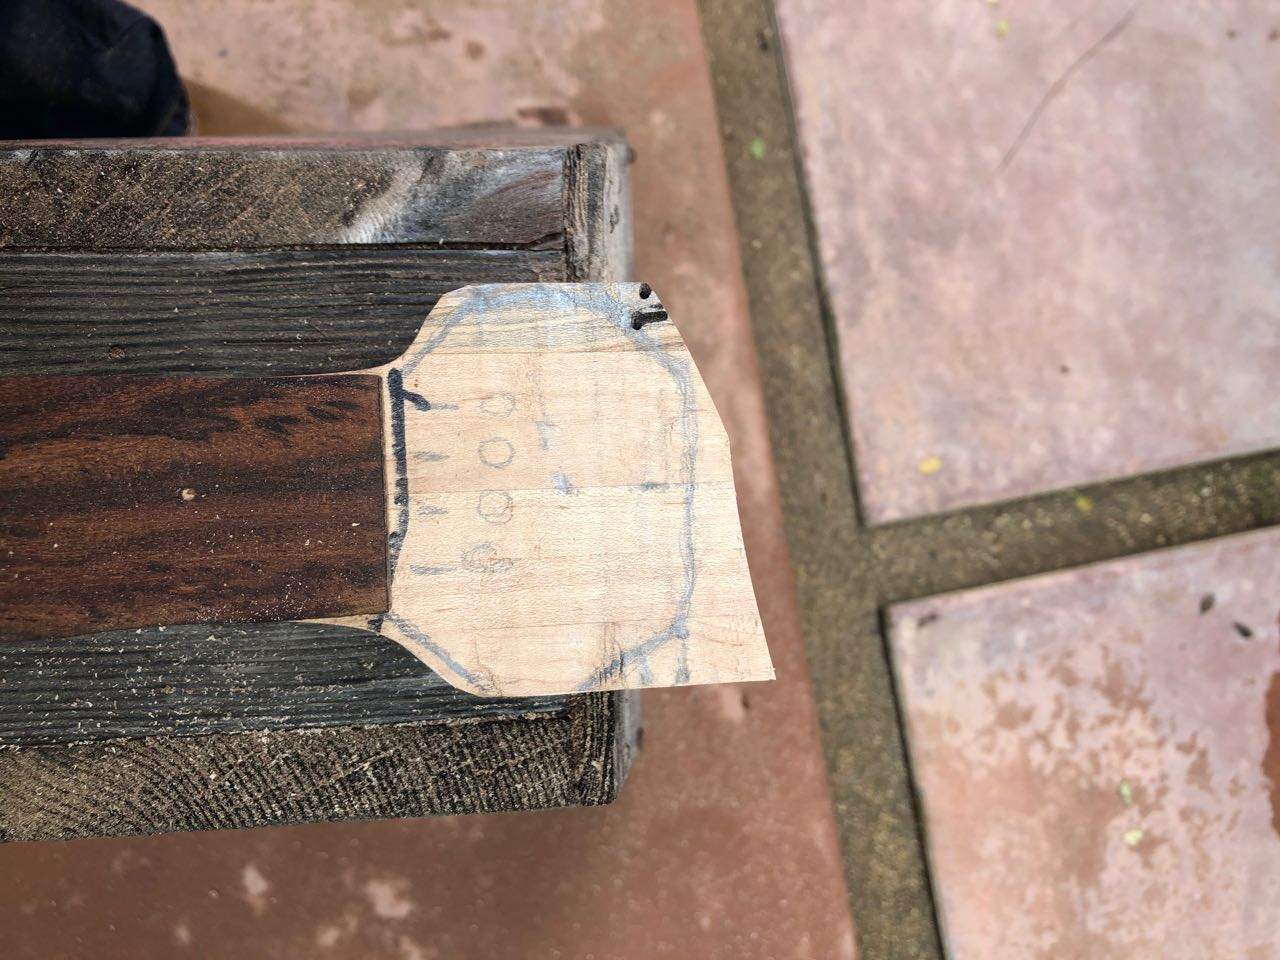
For the last couple of years I have been focusing on reducing my bass collection, but still, I peruse the various sources out of curiosity. I found this on Reverb, being sold locally, so I had a chance to check it out. The seller had ordered a partially completed 4 string Lobe, headless, from Wish. The body was cut extra big to allow for further shaping by the owner. The neck was about 90% shaped. There has been no routing done. It's a very heavy Maple with a Jatoba fingerboard. The sale included Gold ABM headless bridge and tuners, some pots, and assorted hardware, and a no-name soapbar humbucker from Wish.
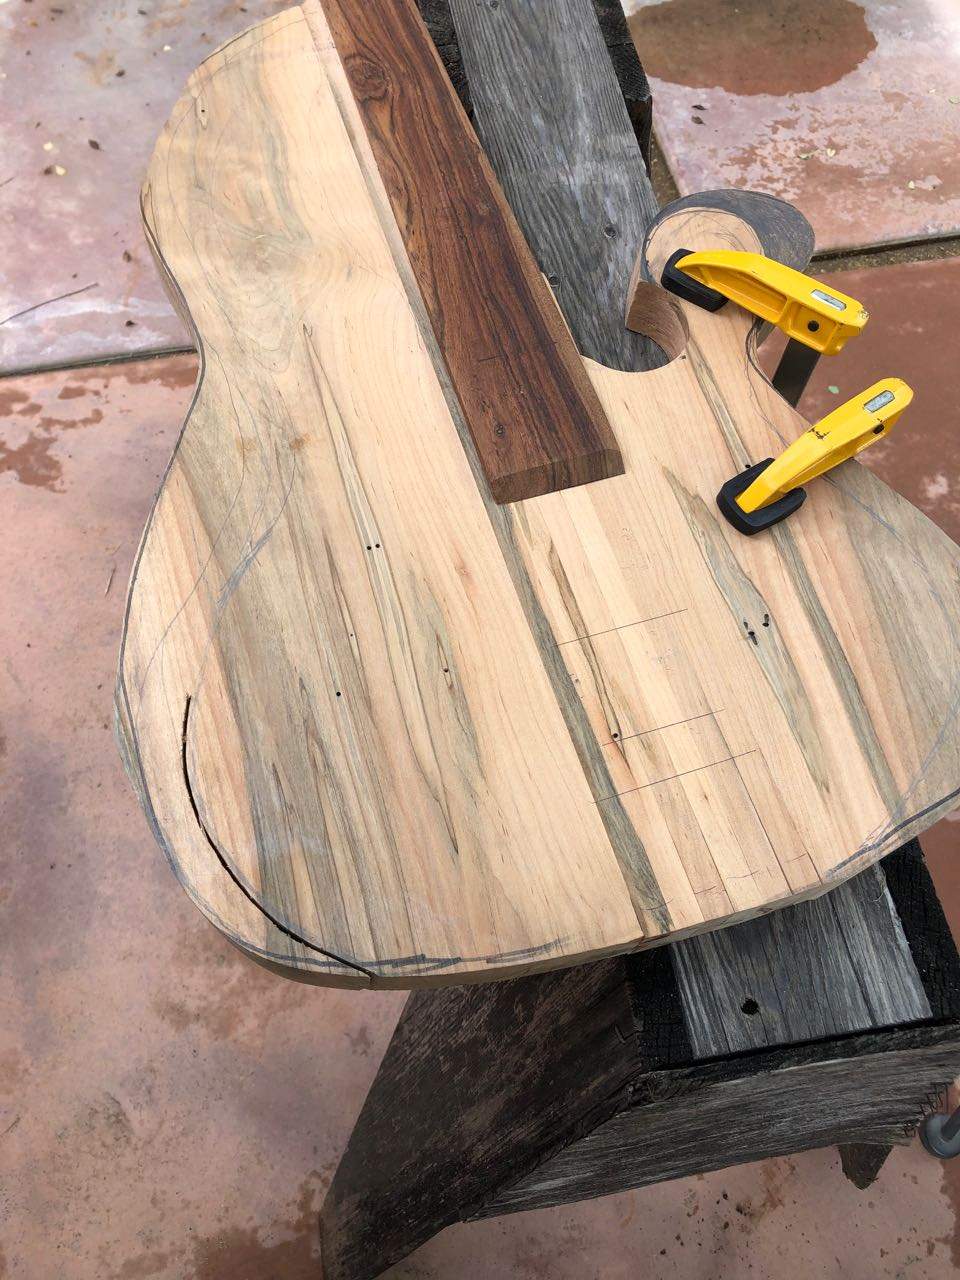
IMG_2740.jpg


First task is to start reducing the body.
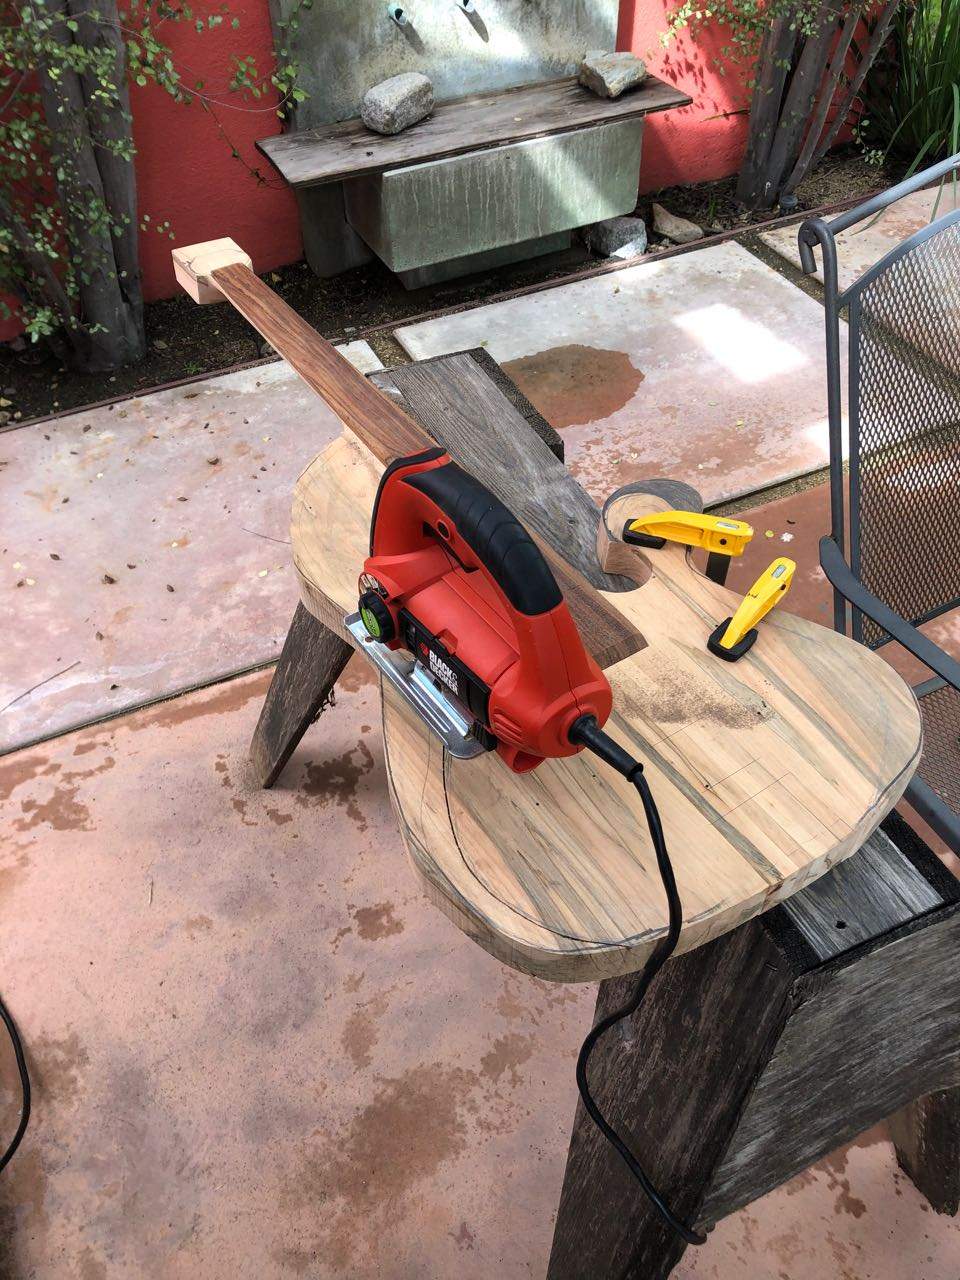
IMG_2741.jpg

IMG_2745.jpg


Some broad strokes on the headless stock.
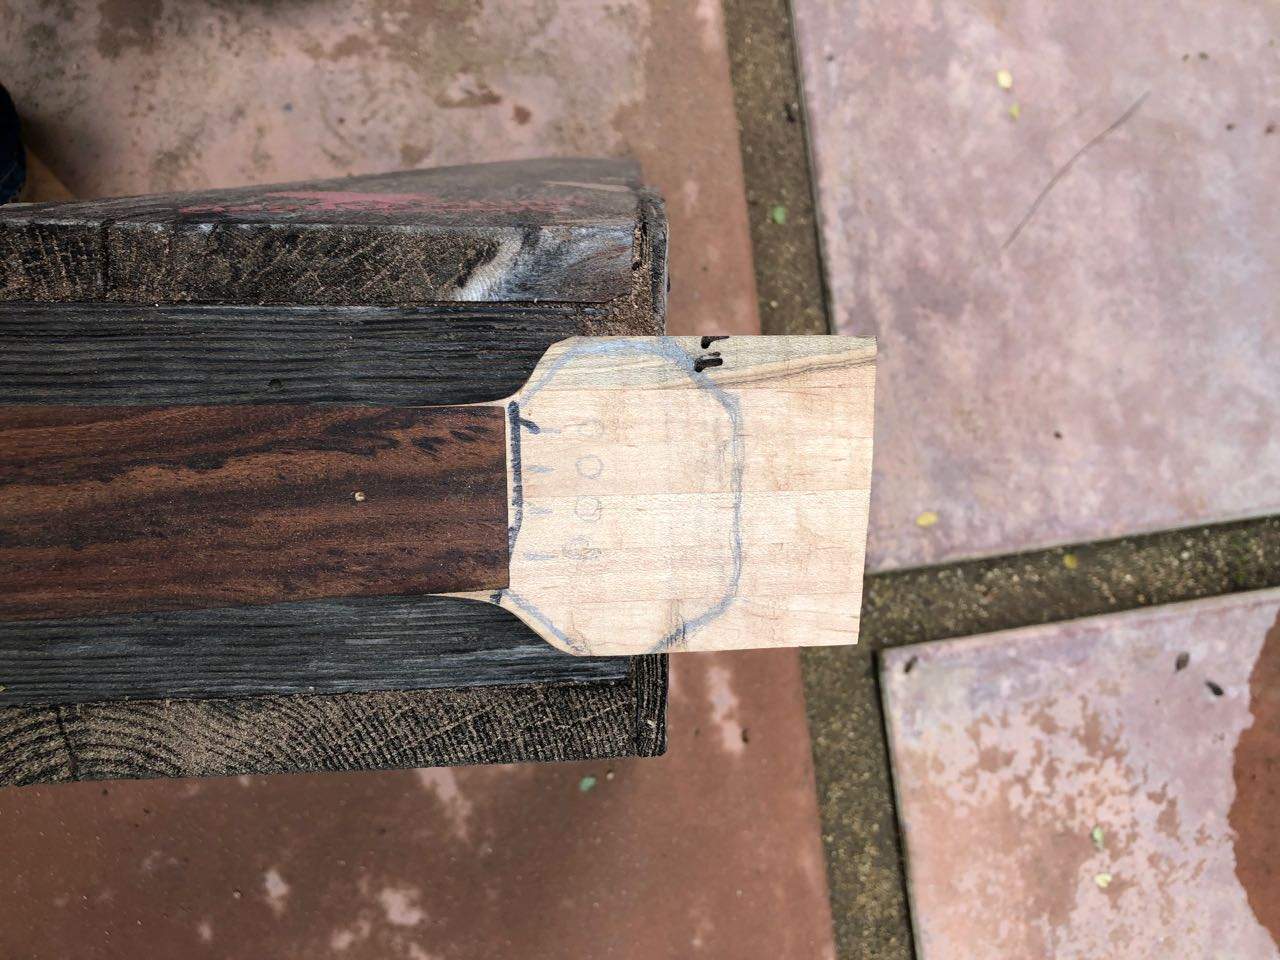
IMG_2746.jpg

IMG_2747.jpg


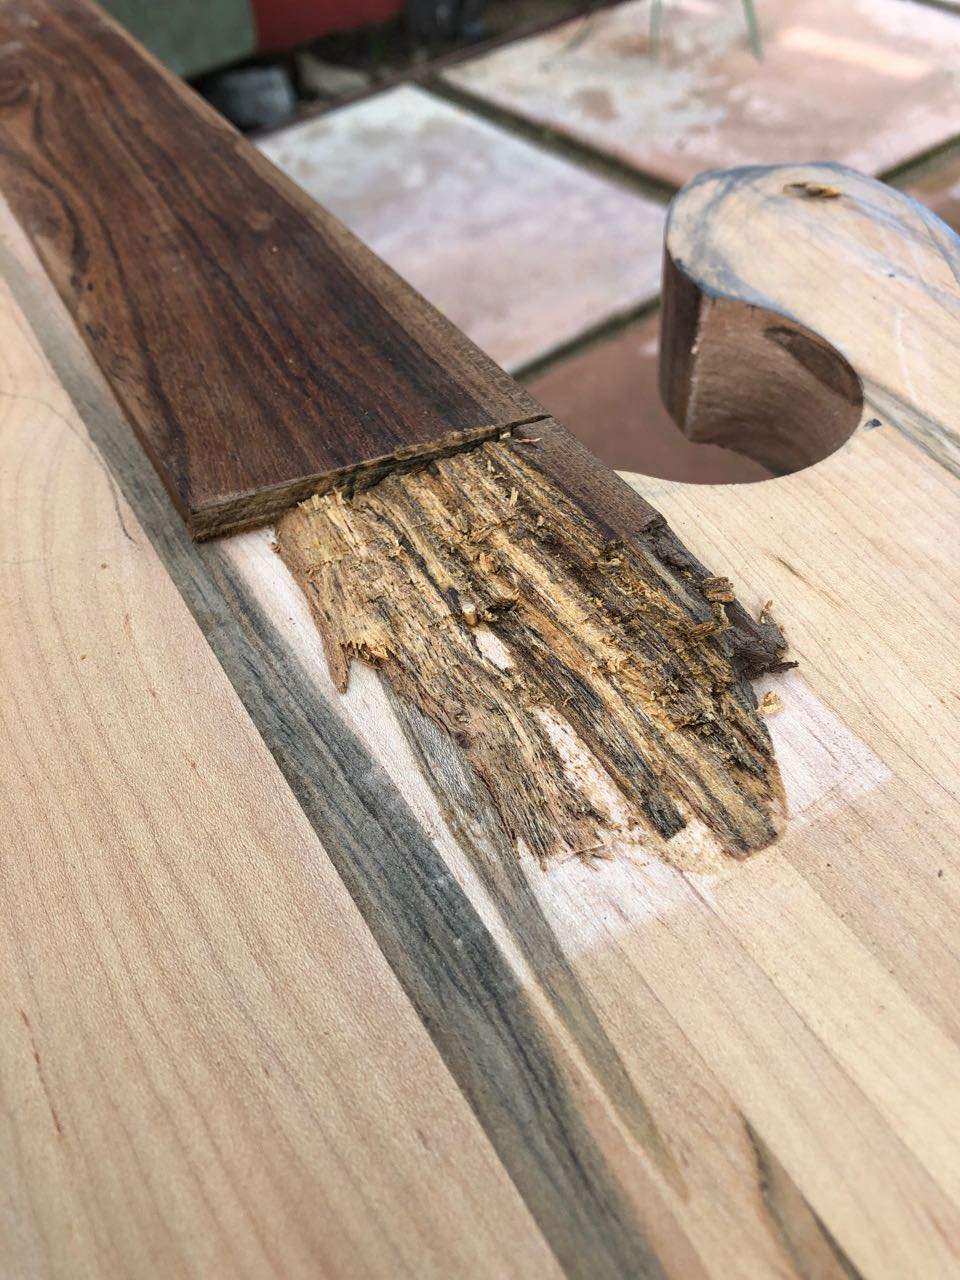
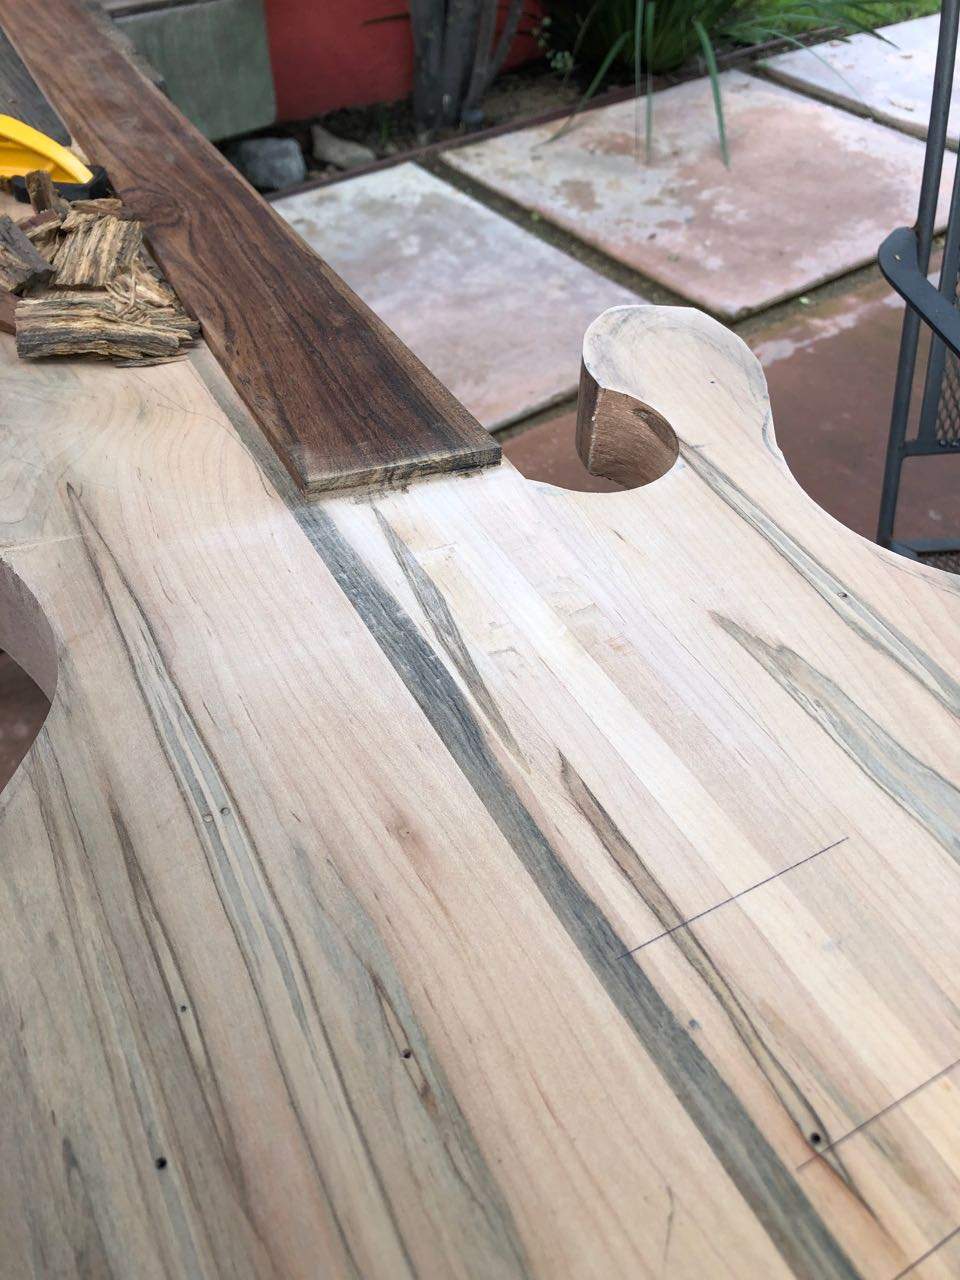
My current plan is to retask a 35 year old active EMG Precision pup that I have. If I don't like it I will be happy with my limitation to the P shape. But, the extra long fingerboard is in the way of my preferred placement, (top edge of the pup 27.5 inches from the nut). So my first nerve wracking adventure involved a hand saw, and a hammer and chisel. There were no divots created that can't be overcome.
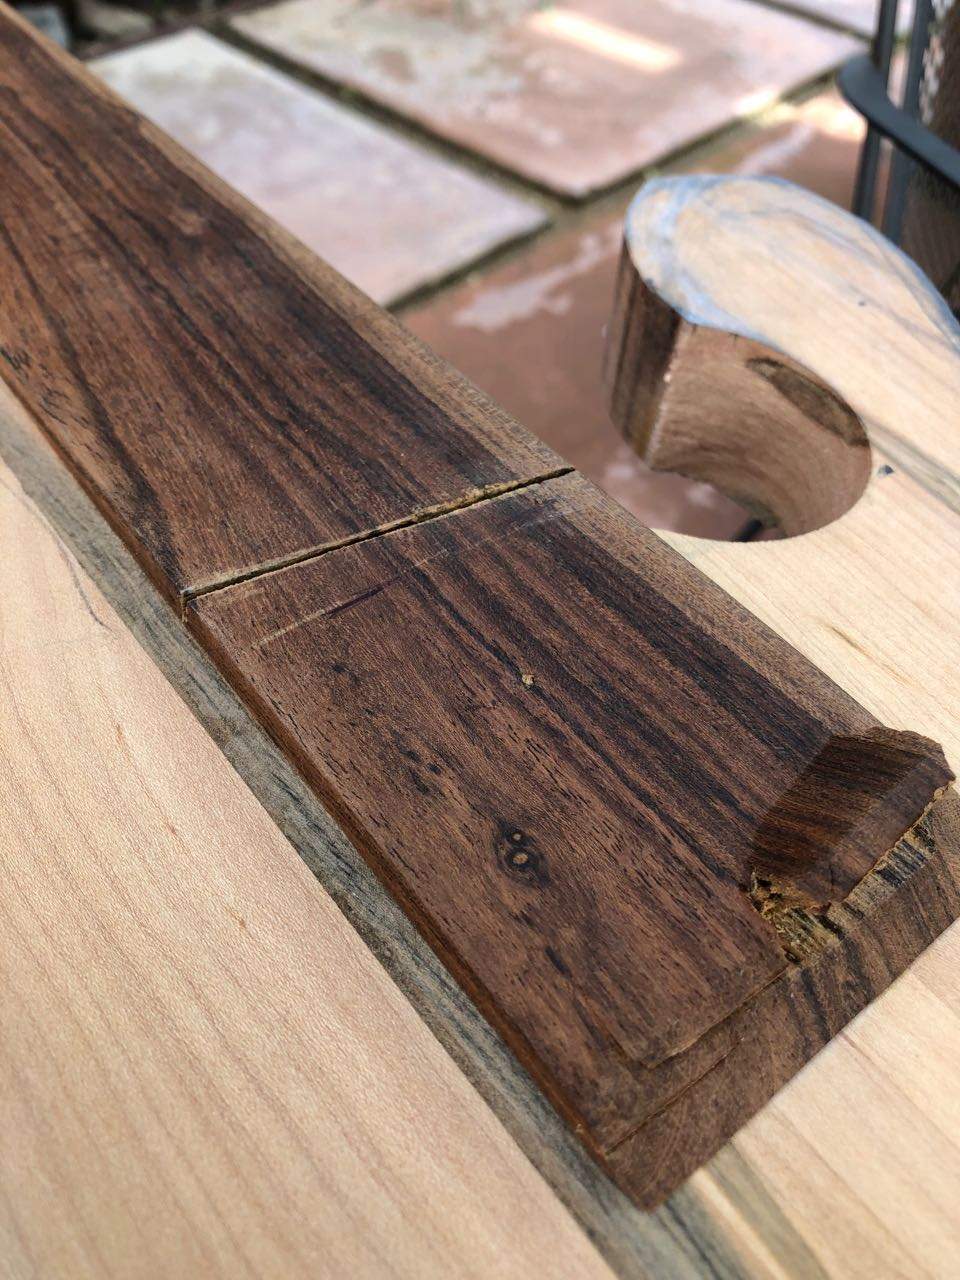
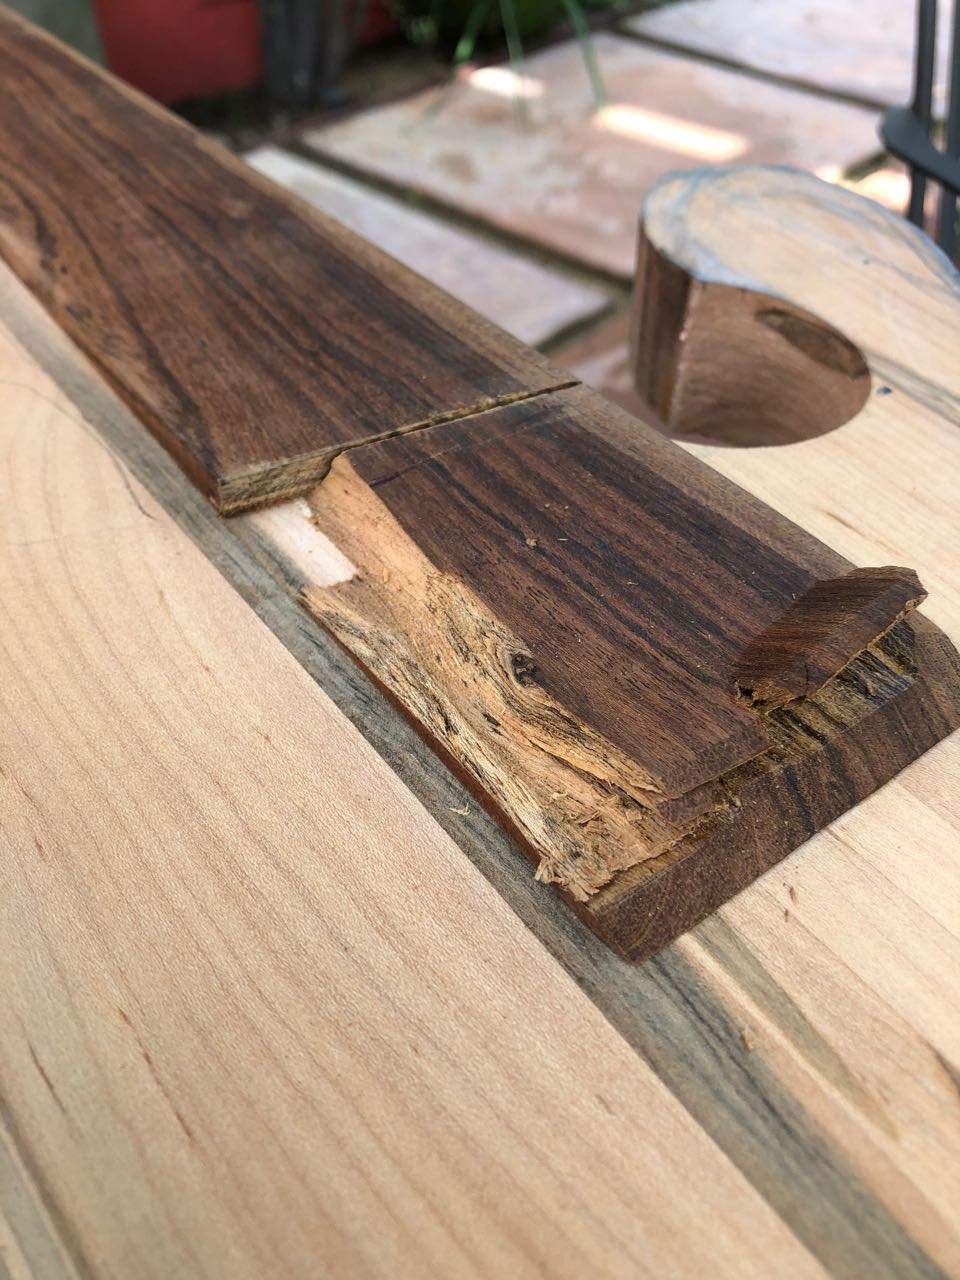
IMG_2748.jpg

IMG_2749.jpg

IMG_2750.jpg

IMG_2751.jpg


My current vision of the path ahead.
Thin the body overall by 1/4".
Lots of table sander time shaping the edges and horn.
A P bass pup in the neck position, and perhaps no other pups, but I'm open.
I have just purchased the matching gold string anchors from ABM. They are individual devices so I can offset them, get creative with placement.
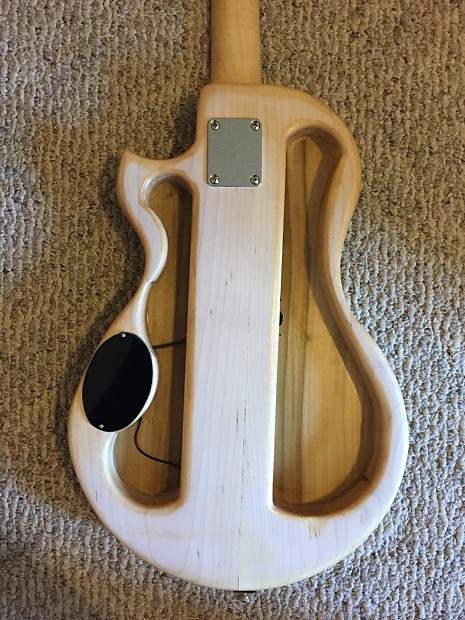
A couple of years ago, Wish came out with the JJK model. They uncharacteristically use a bolt on neck, because the body is just an open frame from the rear, with a thin top on front. Like a heavily chambered body, but with no cover on the back.
JJK back.jpg


I'm toying with the idea of something similar. Routing "valleys" or "depressions" in the back of the bass.

This maple feels cool. It's very hard, and seems to be really dry as well. Wishes claim about the JJK design is that the body resonates in a very pungent and pleasing fashion. I want to follow my hunch that if I make this maple body relatively thin, it may ring out nicely. I also want to keep it light, so that is another reason to consider some open chambers.
 

Attachments

  • IMG_2752.jpg
    IMG_2752.jpg
    144.5 KB · Views: 50
That's a beautiful piece of maple. Cliche, I know, but what's it weigh? :)
It started at about 10lbs, 14ozs. After todays cuts it comes in at 9lbs, 9ozs./8lbs, 10 ozs./ 7lbs, 1oz. My expectation is to get it down to around 7lbs before I install just under 2lbs of hardware and electronics. Cliché or not, weight matters to me.
 
Last edited:
The string anchors arrived from ABM in Germany in less than a week. I got gold to match the ABM bridge and tuner that came with the bass.
IMG_2823.jpg

IMG_2824.jpg

First order was to thin the body, I thought to try a belt sander. Put on my HazMat suit and went to Lowe's to stock up on fresh sanding belts. My goodness this wood is freakin HARD. I was not able to make any appreciable headway into thinning the body, it did smooth out a bit.

It's a beautiful day in Los Angeles, the kind of day that only happens Post-rain. Clear, clean, and glorious. My workshop is outside so I can only work in nice weather.
Started out with the table sander, spindle and belt, to finesse the outer shape. Thinned the waist a little, made the edges perpendicular, and flattened out some stuff.

IMG_2814.jpg


I'm going old school Wish with a Gumby fade for the headless stock.

IMG_2770.jpg


Next I want to contour the top front of the lobe, like a forearm relief but across the whole top of the body. For a softer wood I would have just used the belt sander, but for this stuff I chose to use a router to do the heavy lifting.
IMG_2791.jpg

IMG_2794.jpg


Then a belt sander to finish the basic shaping.

IMG_2802.jpg

IMG_2816.jpg


here is the back with a little spirits enhanced grain.

IMG_2777.jpg


Current weight, 8lbs. 10ozs.
Next scary part, routing the pickup and control cavities. I have a nice margin for error in my control cavity, but the Pickup always seems to throw me. I have a knack for gouging templates. I'm also going to do a round over route on the 90 degree edges, but I have a good track record there.
 
The rain is coming, the rain is coming! The last thing you want to be when putting a router to wood, is in a hurry. I was able to finish, without serious injury, to myself or the instrument, and be cleaned up about 15 minutes before the rain came.

1/4" round over on the top.

IMG_2827.jpg


1/2" round over on the back.

IMG_2833.jpg


Route the pup and the tuner access.

IMG_2829.jpg

IMG_2834.jpg


Route the control cavity and the "open chamber".

IMG_2836.jpg

IMG_2832.jpg


This brings the wood down to 7lbs, 8ozs. I weighed the hardware and electronics, 1lbs, 14ozs. This is good news. It should be fairly easy to extract another 10-12 ozs. from this body. I can expand the top chamber, and maybe add a chamber to the lower half. Getting the total weight under 9lbs is my goal.
Today I began to notice some really interesting, grain, color, and texture in this wood, that I think will look really cool bathed in Tru Oil.
 
Looking good!

I like the concept of the open-to-the-back hollow, looking forward to seeing how that progresses. Are you going to cover the controls side or leave that open, too? If you were talented at making neat wiring, and could plan for things to be protected/insulated as needed, it would be interesting to do "exposed" controls.
 
Looking good!

I like the concept of the open-to-the-back hollow, looking forward to seeing how that progresses. Are you going to cover the controls side or leave that open, too? If you were talented at making neat wiring, and could plan for things to be protected/insulated as needed, it would be interesting to do "exposed" controls.
Open control cavity would be too distracting. I’d be afraid of screwing the pooch.
 
Another beautiful day in Southern California.

Got out a nice sharp chisel to square off the corners, so the pickup would actually fit. Then routed a wire trough, and drilled a hole to the control cavity.

IMG_2859.jpg


Expanded the back open chamber, wider and deeper in places.

IMG_2874.jpg


On every Wishbass that I have installed an adjustable metal bridge, I've had to recess the bridge into the body, otherwise it sits too high. Also drilled a hole for a ground wire from the bridge to the control cavity.

IMG_2873.jpg

IMG_2857.jpg

IMG_2864.jpg


Current weight, 7lbs, 1oz.
There is plenty of sanding left to do, fine tuning the shape and the edges, and the neck profile. Maybe it will lose another ounce or two, but I am done with the power tool reductions, and I have definitely brought it into the realm of acceptable. Being a Lobe, and headless, I imagine it will sit in a very beneficial position for weight distribution.
 

Attachments

  • IMG_2856.jpg
    IMG_2856.jpg
    156.9 KB · Views: 51
Thinking I was done with all the router action, I set about putting some finesse on the corners and joins.
78853DC5-8F81-4B12-9351-B13F7C9A09EC.jpeg
722DD8F0-914C-4B2C-8CE1-FD8A494D9CAF.jpeg
FF67D6CA-D26A-45D7-A975-175205728475.jpeg

152C1E65-2E48-4318-A43E-AB1C990CA726.jpeg


I tested the stability of the knot. It was weaker than pencil graphite. Now it’s a peephole.

1B69F314-52D7-4F90-95FD-B69B38B07A7C.jpeg

5E93317C-BB7B-4E04-843C-95E3BC7738BD.jpeg


As I fell asleep last night, I realized the Chi was off. I needed an open chamber on the bottom of the body, and there was only room in one place. Got out of bed and penciled an outline on the bass. I also couldn’t rid myself of the desire to break the 7lb barrier. So today I drilled the hole for the output jack,

35265A60-0ABF-4261-BD85-FDC9F553A3E3.jpeg

026F71F2-D66C-4902-A30C-C20D90E88BF3.jpeg


and routed a cartoon drumstick in the lower horn.

4D7BE706-C33E-41A2-BB42-7A58219AF96B.jpeg

E08AEAAC-66C2-4388-9DE7-D599BE8BDEDC.jpeg


Not changing the baseball bat profile of the neck, just taking on the humps and bumps. Taking out the router burns and Dremel gouges by hand. Nut blank is on the way. My first coat of oil is within sight.

oh yeah, 6lbs 15ozs!!!!!!
 
remarkable! neat stuff! :thumbsup:
Thanks. I have never actually built an instrument from scratch, but through Wishbass I have developed a hobby of modifying, from the simplest to the extreme, and Wishbass is the perfect platform.

From the start of this project, I have been pinging the body, thwacking it with my fingernail. As the weight and thickness have gone down, the body definitely rings out louder and longer. I can’t say if this will be beneficial or detrimental to the resulting tone of the instrument, but I’m looking forward to hearing it.
 
I have developed a hobby of modifying, from the simplest to the extreme, and Wishbass is the perfect platform.
i was floored to see what you're doing with that 'platform'! i recently communicated with steve about an instrument (his designs, my weight spec.). i had never considered the possibility that you're bringing/shaping to life. unfortunately, i don't have the tools/skills to do that. but i sure am admiring your work! too much. :thumbsup:

As the weight and thickness have gone down, the body definitely rings out louder and longer. I can’t say if this will be beneficial or detrimental to the resulting tone of the instrument, but I’m looking forward to hearing it.
i have a very nice parts-bass the body of which is from the cheapo glarry line. it is apparently made from paulownia but has a thick poly finish for protection. with all of the hardware, it weighs 6.2 lbs. the body 'sings for days' on this piece. amplified, it just sounds like a P-bass.

i wasn't aware that his pieces/parts could be purchased like yours was. i'm looking forward to your work on this instrument. :thumbsup:
 
i wasn't aware that his pieces/parts could be purchased like yours was. i'm looking forward to your work on this instrument. :thumbsup:
There is almost nothing he won’t do for a custom. Including, kind of a bass blank. I ordered one a few years back, I had him leave the neck in the original laminated boards, and formed the shape the neck myself from scratch. It turned out great.
 
There is almost nothing he won’t do for a custom. Including, kind of a bass blank. I ordered one a few years back, I had him leave the neck in the original laminated boards, and formed the shape the neck myself from scratch. It turned out great.
way cool --- post a pic of that if you can, or send me to a pic(s). i'd really like to see that.

edit: ha! i just realized that we're communicating 'cross-ways' on two different threads! :D
 
Starting the final approach on sanding, I've moved up to 220 grit. Nothing really photo worthy on that front. Before I start to apply the oil finish, I like to drill all the mounting holes, so that's what I did today, installed all the hardware and electronics.

IMG_2952.jpeg

IMG_2953.jpeg

IMG_2957.jpeg


I only had one gold knob in my knob drawer, so the giant pointer knob is just for kicks.

I also built a retaining wall in the control cavity for the battery. There will be foam on the cover to keep it from rattling.

IMG_2959.jpeg


I had my first chance to get a pretty accurate account of what this will weigh, all in. 8lbs, 12 ozs.

I also faced something that I have been avoiding, the fingerboard. I have been fearful of putting a flat edge to the board, for what I may find. Eyeballing and fondling the board did not indicate any obvious derivations from the level ideal, but the flat edge reveals what the eye can't see. I am very encouraged to find that the highest ridge on this board is less than a millimeter. In the past, try as I might, I've had to rely on someone more skilled to dial in my nuts and boards. I'm going to try and up my game with this one, and cut the perfect nut, and sand a wholly acceptable fingerboard.

My nut blanks are only a week late, and tracking has gone silent, but that seems to be the expectation these days. Similar scenarios have yielded surprise arrivals, usually within a couple of weeks of the expected delivery.
 
Hot Take!

when you seek to level a fingerboard, don’t use a small sanding block like the black one in the photo, use a big board. I don’t know why I was so slow on the uptake, but I think I’ve figured out why I’ve never had great success with boards.
77202FCF-2522-43FF-9306-1EEFB8A3A5C1.jpeg


Double stick tape on a board, 120 then 400 grit.

some nice grain, and what seems to be the obligatory Wish knot.
A6C3BFF0-787B-4A63-B726-199A68049500.jpeg

7798DE6B-9F46-42D4-A22E-387C7F12B374.jpeg

D411E4BA-0EEB-4C07-8A75-3D40DB3E86AF.jpeg


shaped the outer dimensions of the nut, slots to come later

4439A7CF-14A2-41B8-BD20-829703EB59C6.jpeg